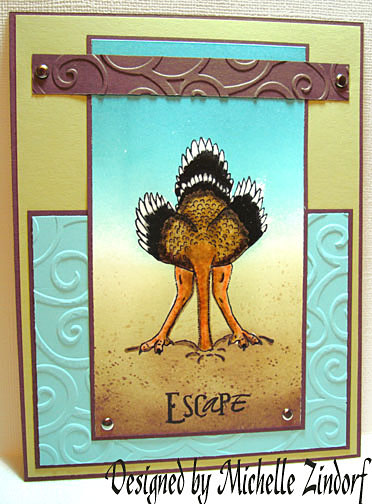
I did a little stamping therapy session last night after receiving this stamp in the mail. How cute is that Ostrich!
This is a self portait card. When I seen this stamp, I had to have it. It symbolizes me and the way I chose to live. About 1 year ago I quit watching the news, all news! My heart and head just can’t take it!!!! So this is me the Ostrich. Happy to have my head in the sand.
You can get this Ostrich stamp from My Paper Moon. Here is the link: https://www.mypapermoon.com/store/
Check it out!
Michelle, enough rambling already and get on with the tutorial you say.
Let’s get started.
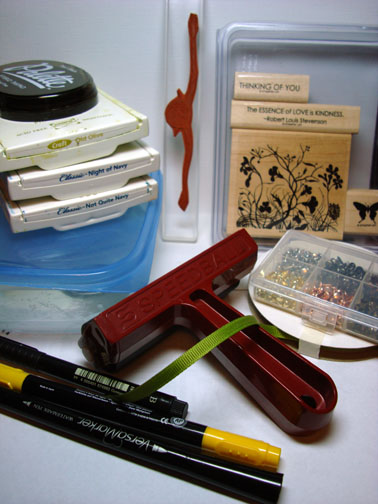
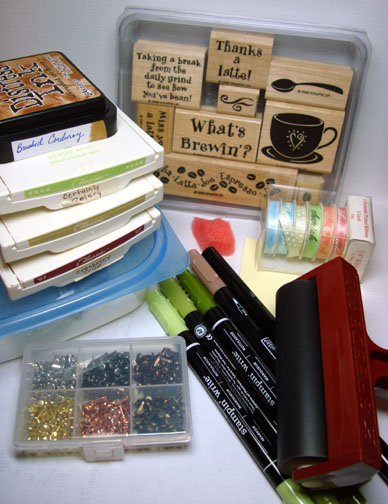
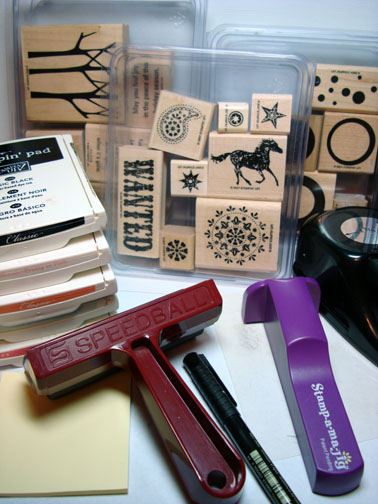
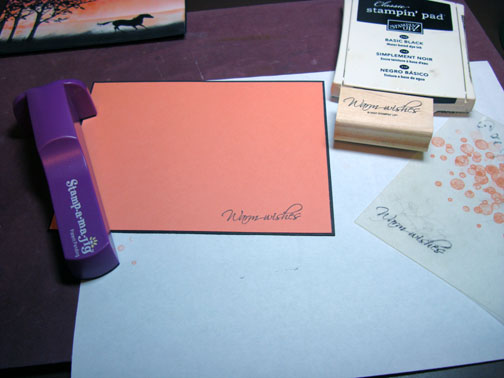
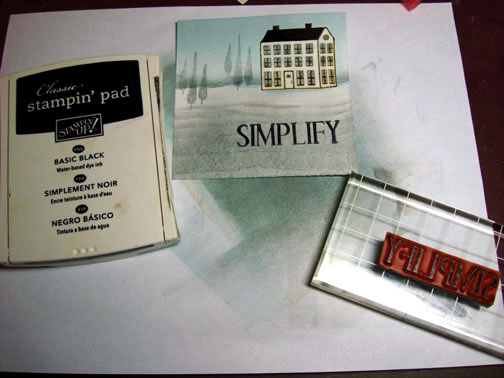
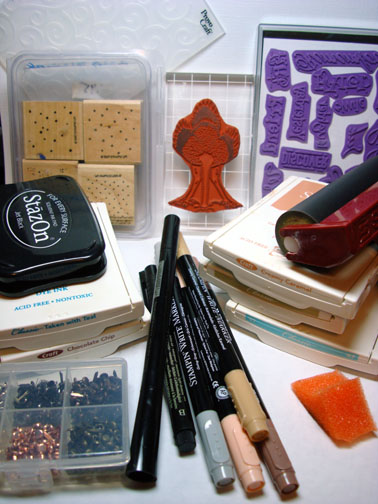
Supplies:
| Stamps: Ostrich from Mypapermoon, Sentiment from See D’s, Stampin’ Up Itty Bitty Backgrounds |
| Paper: Stampin’ Up Whisper White, Cool Caribbean, Chocolate Chip & River Rock |
| Ink: Stampin’ Up Cool Caribbean, River Rock, Creamy Caramel, Chocolate Chip & Taken with Teal, Stazon Black |
| Accessories: Stampin’ Up markers Blush Blossom, Creamy Caramel, Close to Cocoa & Going Gray, Brayer, Sponge, Clear embossing powder, heat gun, Cuttlebug embossing folder, Brads, Versamark marker |
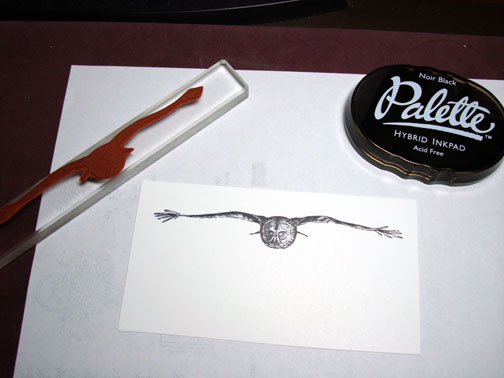
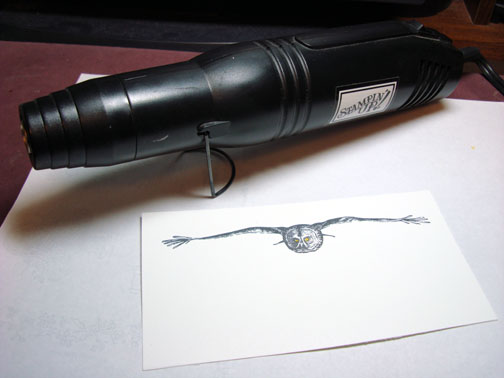
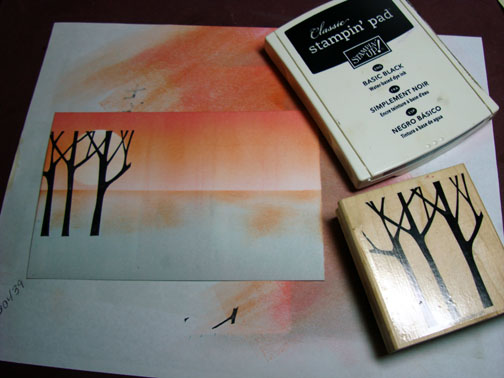
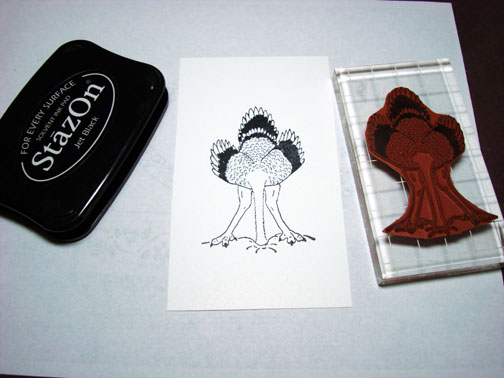
Stamped Ostrich on Whisper White card stock with Black Stazon ink.
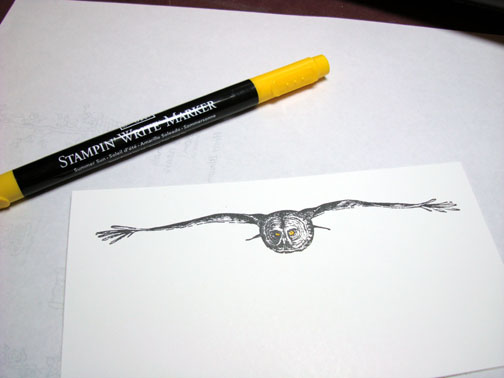
Colored his legs and neck, by outlining the insides of his legs with a Creamy Caramel marker and the outside of them with a Blush Blossom Marker. His neck is colored by outlining both sides with Creamy Caramel and coloring in the middle with Blush Blossom.
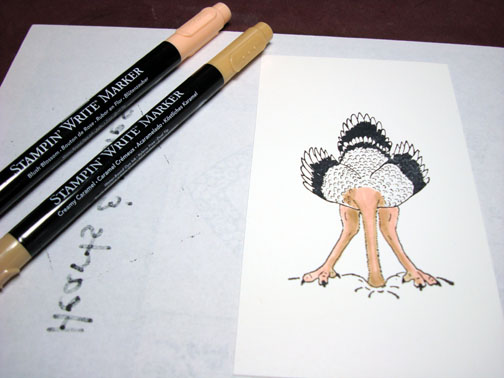
Colored his back with Creamy Caramel marker. I over colored with Creamy Carmel around his back area edges to make them darker.
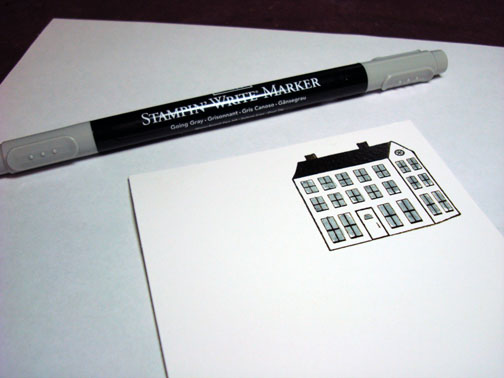
Used a Going Gray maker around the edges of his back to get darker yet. I’m trying to make a more gradual transition from his light back to his black feathers.
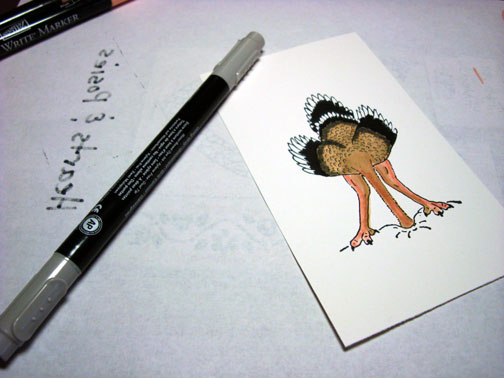
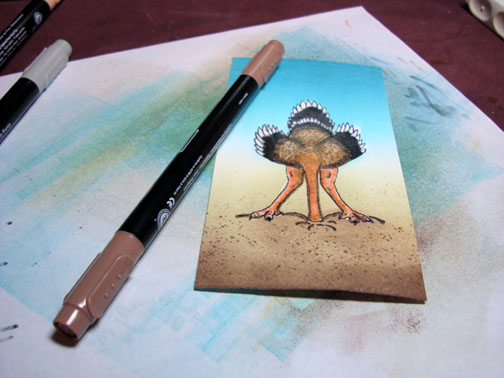
Used a Close to Cocoa marker to shadow his chest and to outline the insides of his legs and outsides of his neck for more definition.

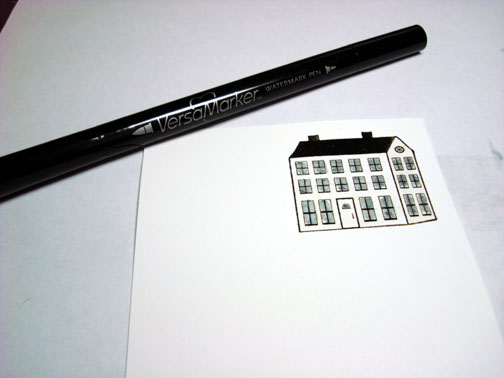
Used a Versamark marker to go over the entire Ostrich.
Note: Color your lightest areas first being careful not to smear the black onto other areas or you will have a gray ostrich. 🙂
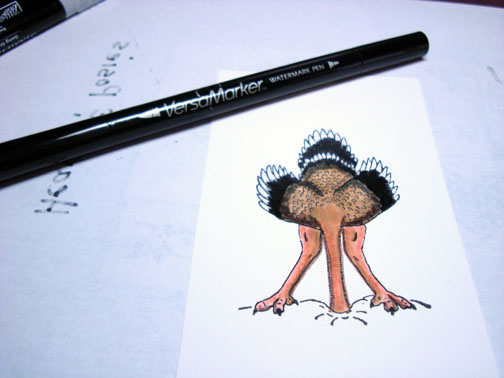
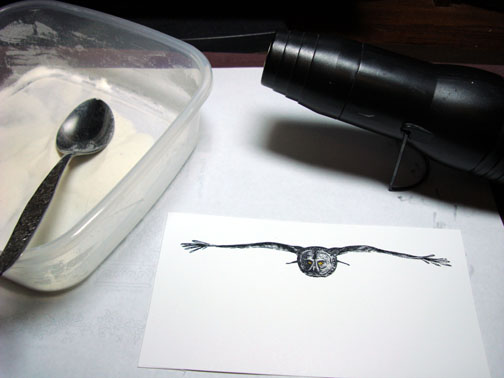
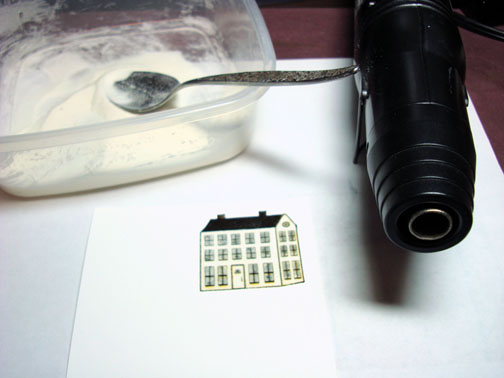
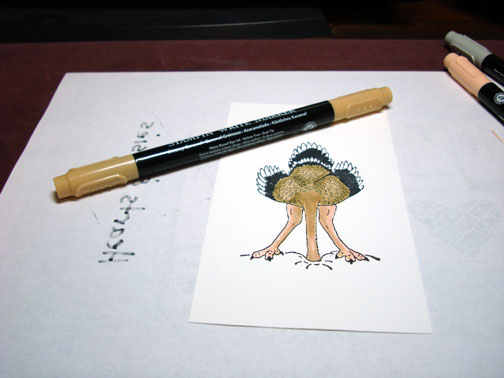
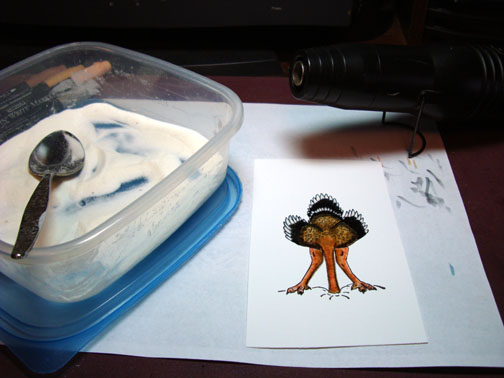
Heat emboss using Clear Embossing Powder and a Heat Gun.
Note: Your Ostrich will look much darker after it is embossed.
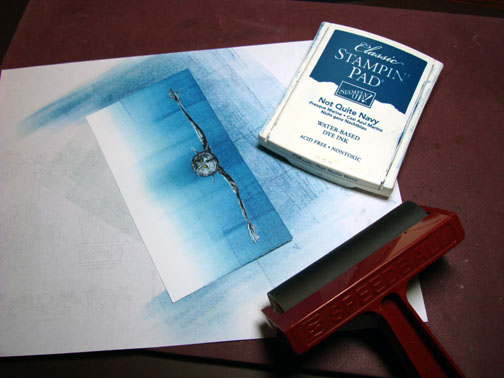
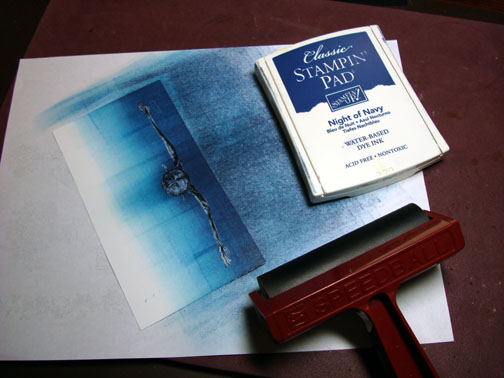
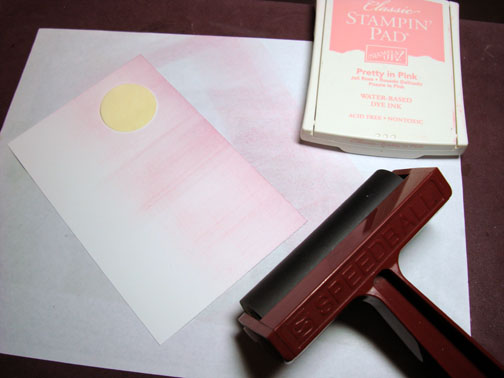
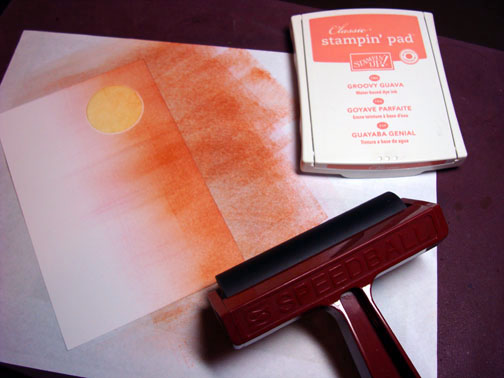
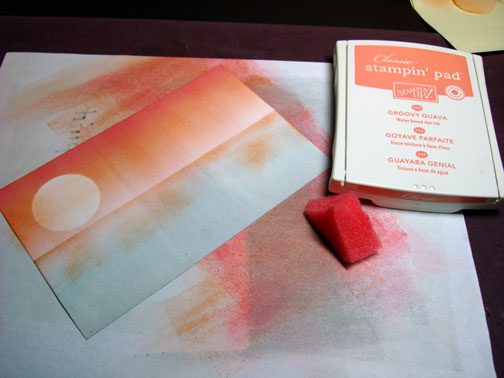
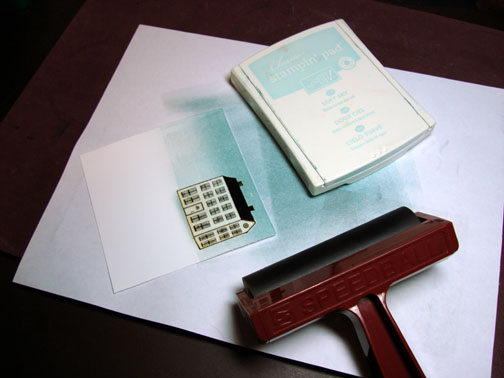
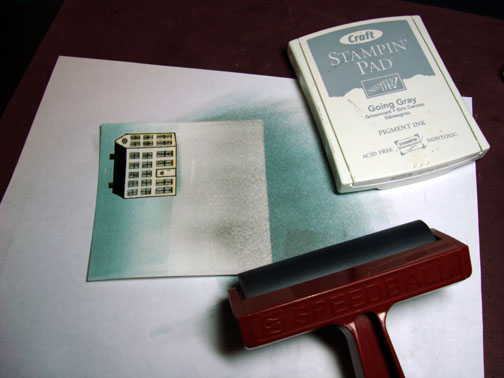
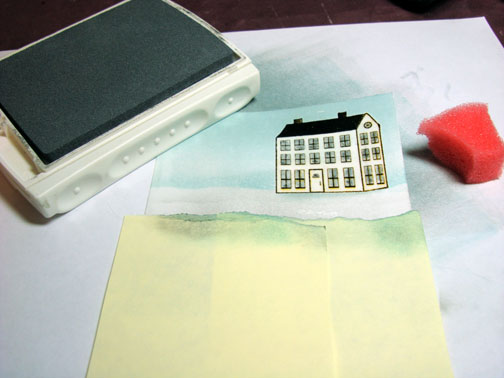
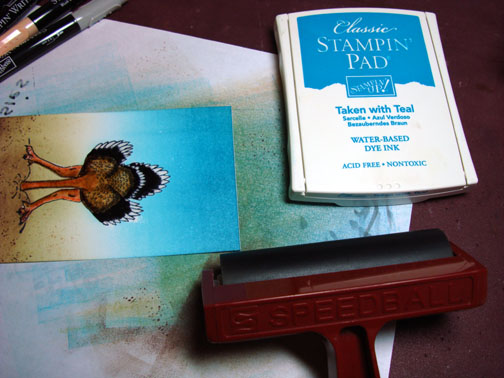
Brayer Cool Caribbean ink onto sky area.
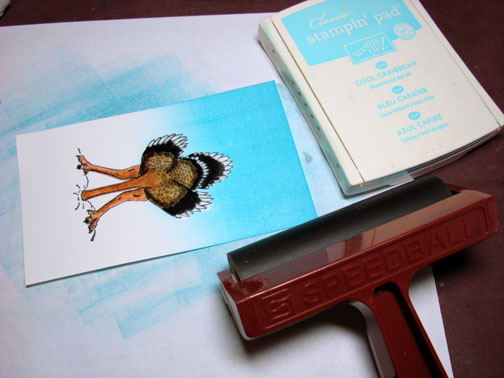
Brayer River Rock ink onto ground area.
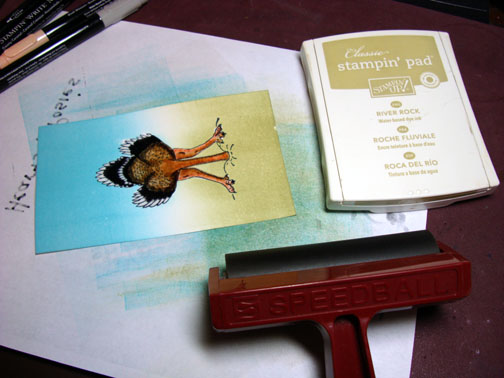
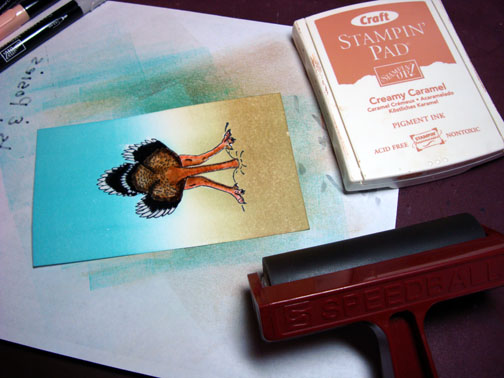
Brayer Creamy Caramel ink onto bottom of card stock, but not covering all of the River Rock ink.
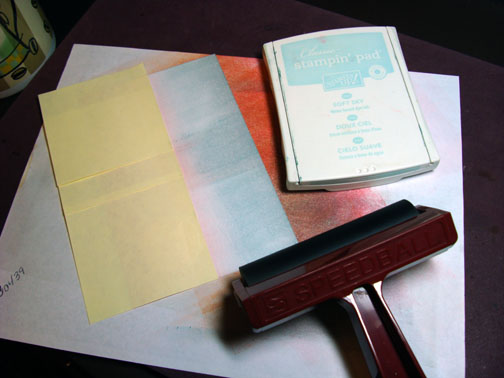
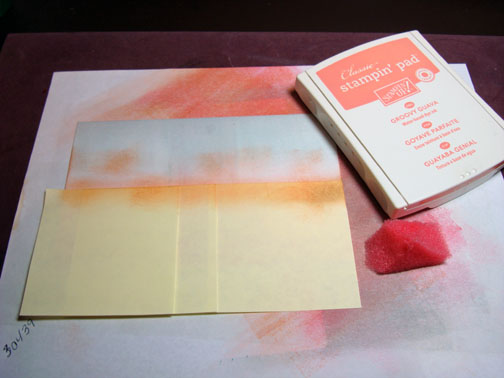
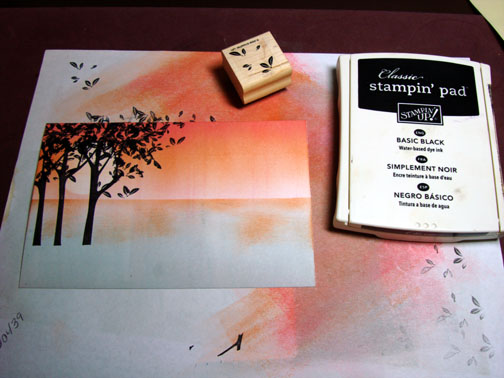
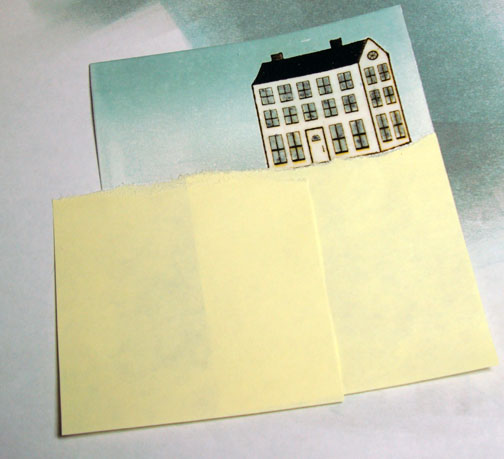
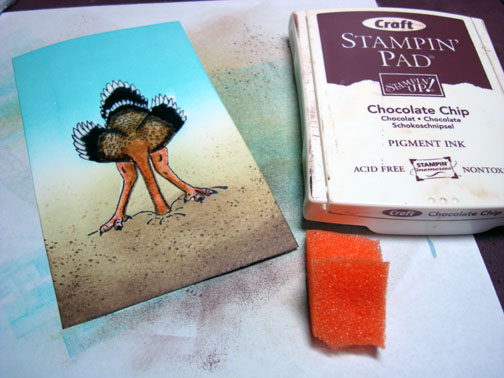
Stamped Itty Bitty Background stamp with Creamy Caramel and then With Chocolate Chip ink to make specks in the sand.
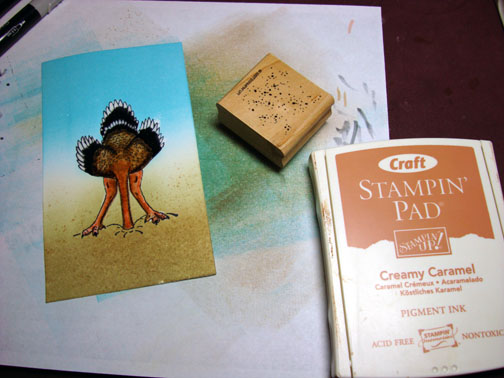
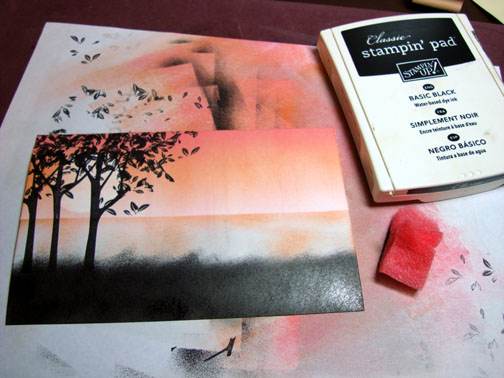
Sponged a little Chocolate Chip at the bottom of the card stock and right under the Ostrich, where he is sticking his head in.
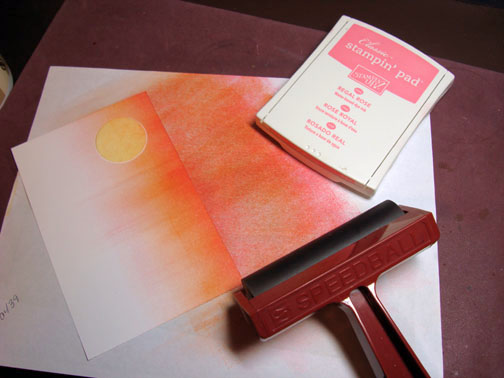
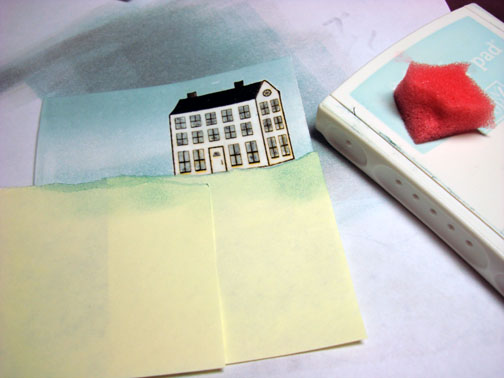
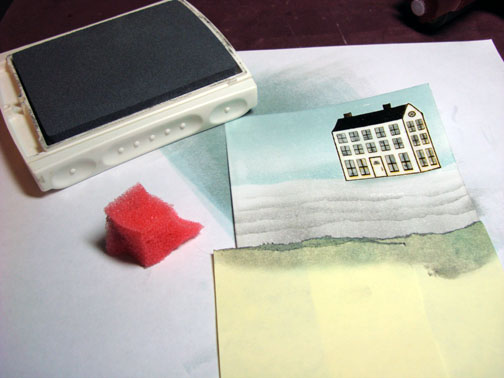
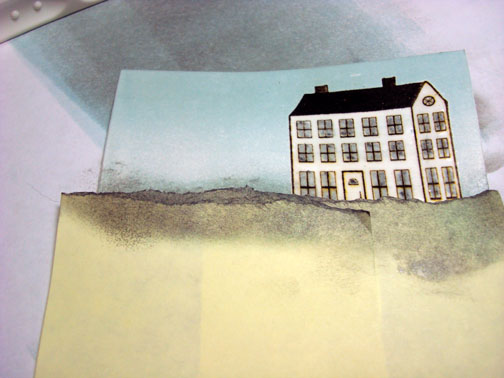
Wanted the upper Sky to be darker, so I brayered on Taken with Teal over the upper sky.
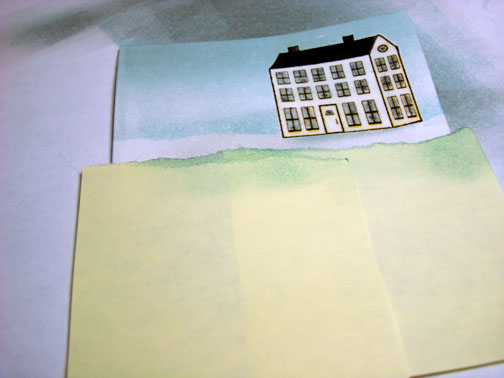
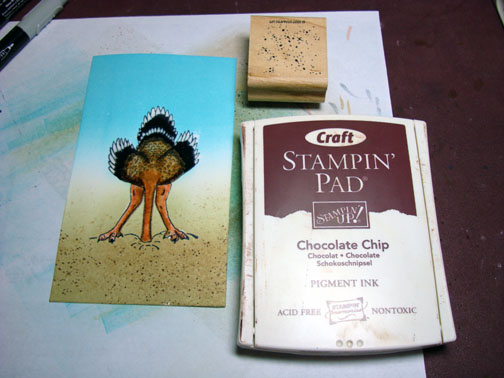
Used a Close to Cocoa marker to define the sand around his head.
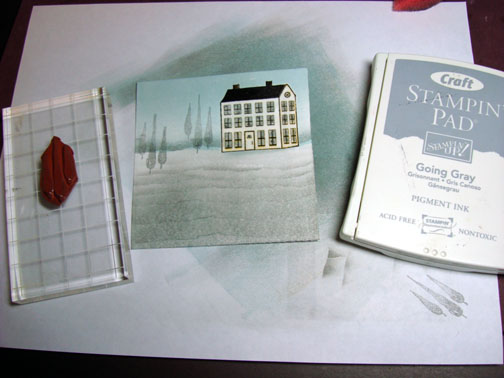
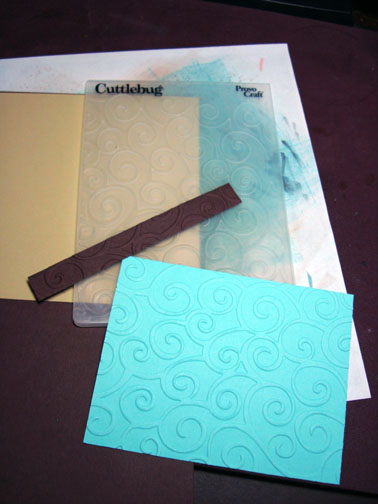
Used a Cuttlebug embossing folder to emboss two of my card layers.
Assembled card and stamp sentiment on it with Black.
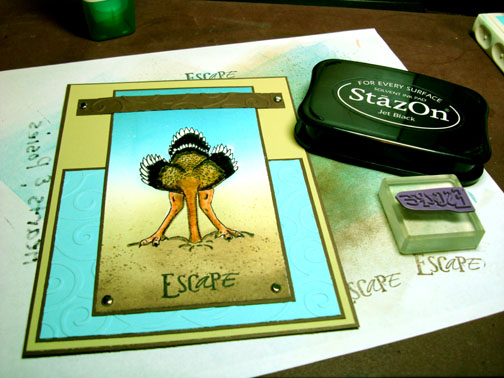
Finished card!
Thanks for joining me on my Self Portrait Therapy Session/Tutorial, lol.
Have a blissful day that has no bad news!