
Thought I would demonstrate in today’s tutorial how to put an object on a table/counter top using the emboss resist technique. Your object could be a cup, vase of flowers, seashell, etc. Use your imagination.
Let’s get started.
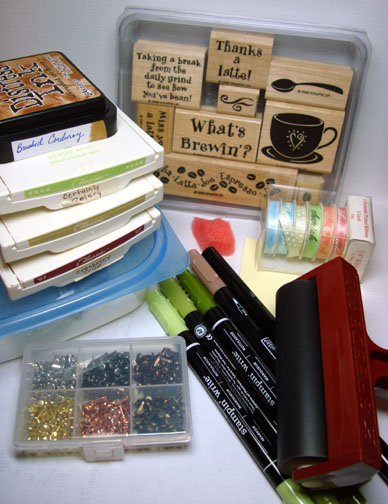
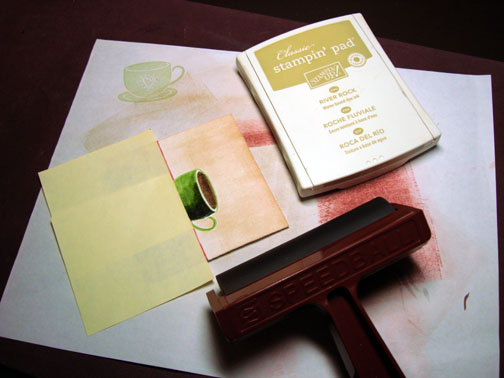
Supplies:
| Stamps: Stampin’ Up What’s Brewin’ (retired) |
| Paper: Stampin’ Up Whisper White, Cranberry Crisp, Creamy Caramel, Basic Grey Design Paper |
| Ink: Stampin’ Up Certainly Celery, River Rock and Cranberry Crisp, Distress Ink Brushed Corduroy |
| Accessories: Brayer, Post it Notes, Brads, Ribbon, Sponges, Markers, Versamark Marker, Clear Embossing Powder, Heat Gun |
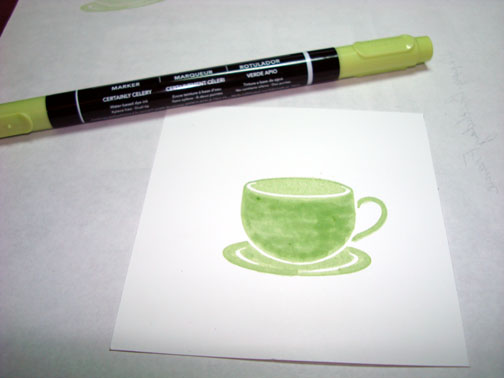
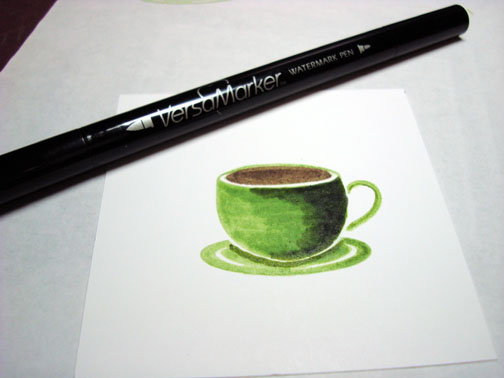
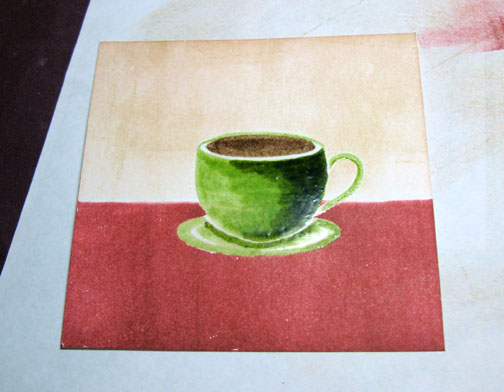
Stamp cup with Certainly Celery Ink.

Color it in with a Certainly Celery marker.
Color Right side of the cup with Old Olive marker and then color over part of the Old Olive with an Always Artichoke marker to create a shadow and some dimension to the cup. You will also want to put a little Old Olive just under the cup on the saucer.
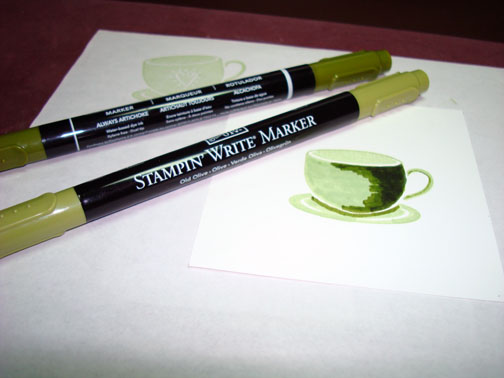
Go Over the Old Olive, Always Artichoke and part of the Certainly Celery, making it heavier on the right side. This helps give a smoother graduation in color. I am having my light source come from the left side 🙂
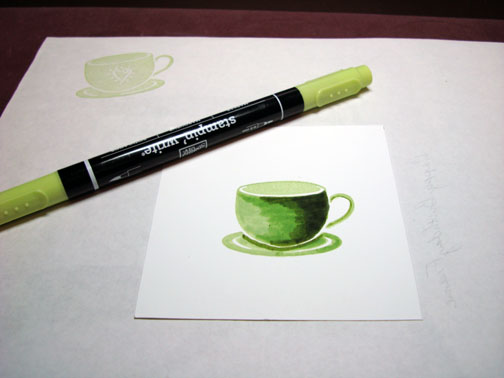
Colored in the top of the cup with Close to Cocoa marker.

Went over the entire cup and saucer with a Versamark marker.
Heat embossed it with Clear embossing powder and a heat gun.

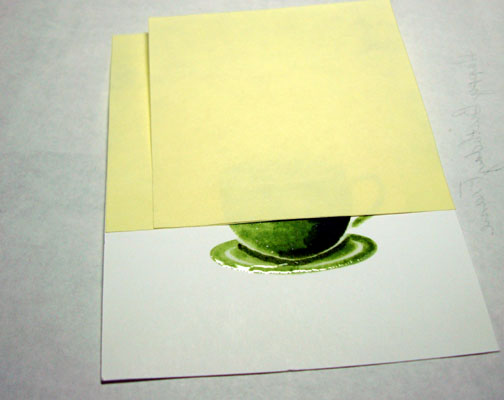
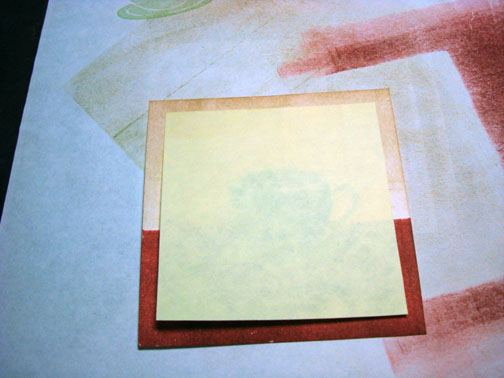
Masked top 2/3rds of card stock with post it notes.
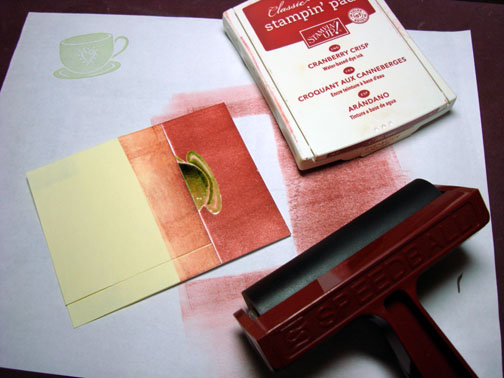
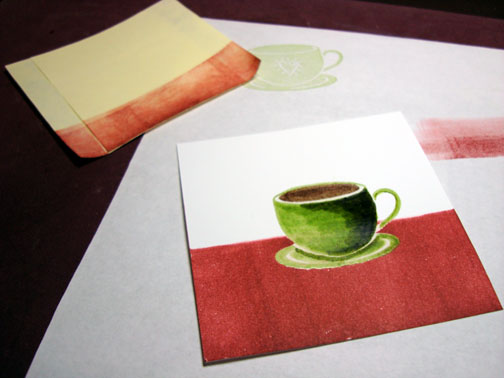
Brayered Cranberry Crisp ink over unmasked area. Let dry for a moment and then wiped the ink off of the embossed image. I then removed the mask. Note: if you take the mask off of the card stock before wiping the ink off of the embossed image you run the risk of smearing the ink wear you don’t want it.
Flip the post it notes around so they are masking the Cranberry Crisp and brayer on River Rock ink. (Note: this is what happens when you don’t clean your brayer well in between colors, lol, oh well.)
Removed post it note mask.
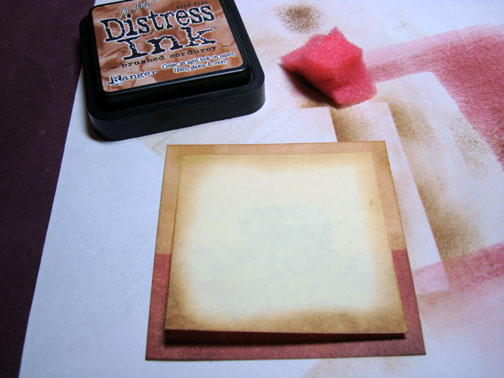
Used a Post it Note to mask the center of the card stock, so I can make a border.
Sponged Brushed Corduroy ink on unmasked edges.
Removed Post it note and stamped Steam with River Rock ink.
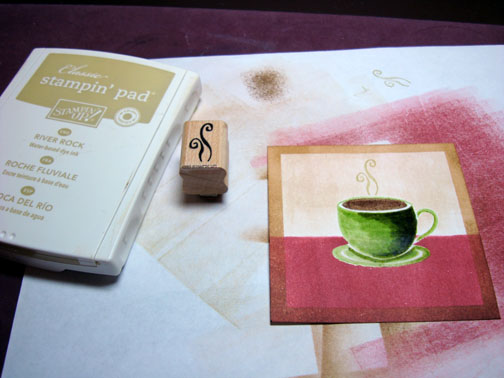
Sponged Brushed Corduroy ink around edge of Basic Grey Design Paper Layer.

Assembled card, but decided the image looked a little flat, so I went to working putting in a shadow.
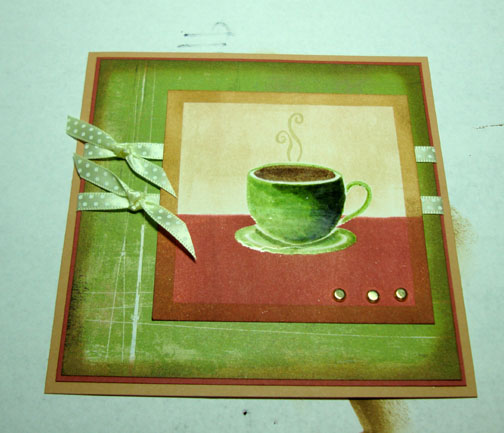
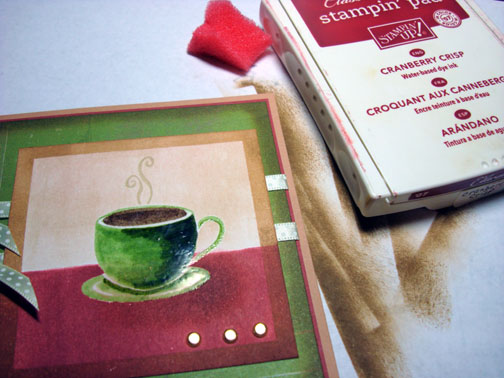
Sponged Cranberry Crisp ink under and to the right side of cup.
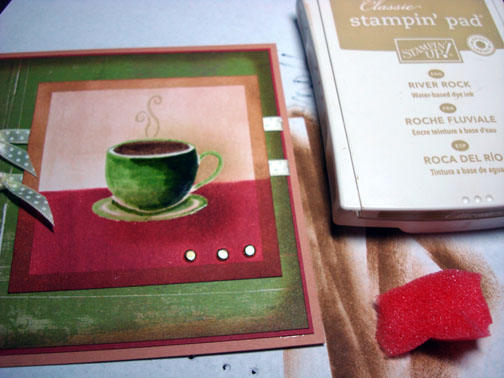
Sponged River Rock ink to the top right of the cup.
Finished card!

Thanks for following along with this tutorial. Now you give it a try!
Have a warm and wonderful day!
Until tomorrow. .. . . . . .
30 responses to “Putting it on the Table – Tutorial”