Category Archives: Tools

Stamping Tools – Simply Shammy

Screen Shot 2018-06-08 at 2.44.03 PM

Hello there,

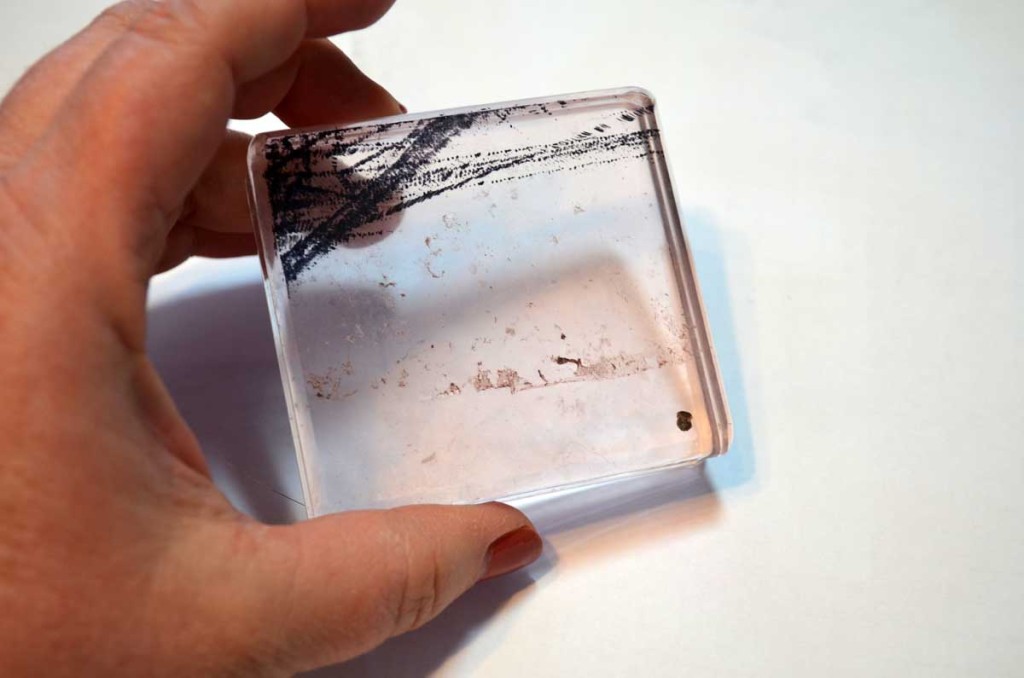
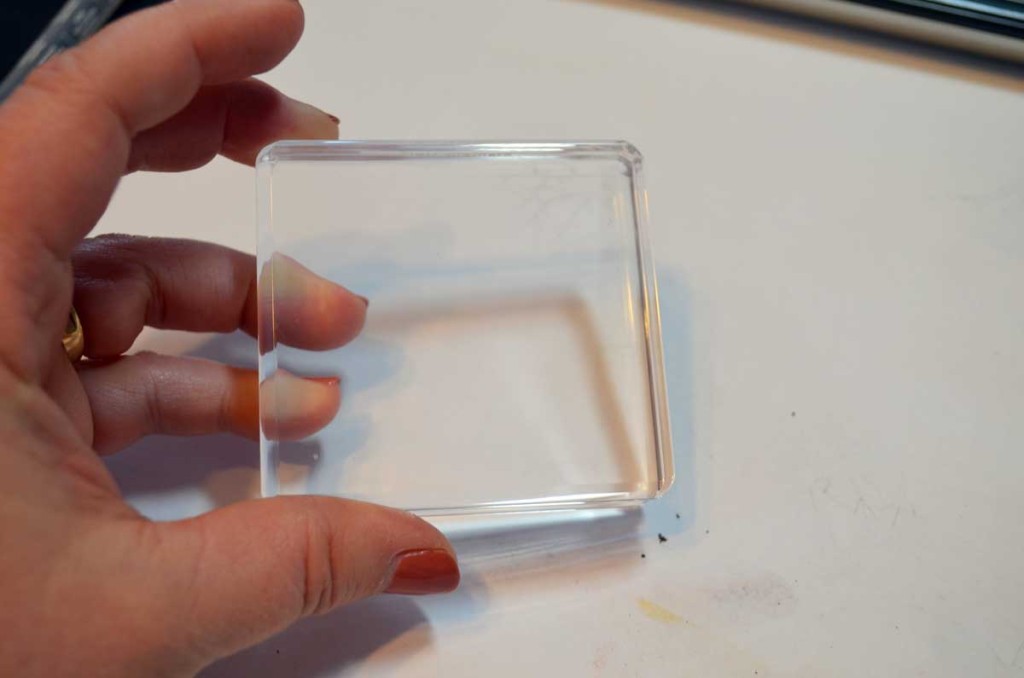
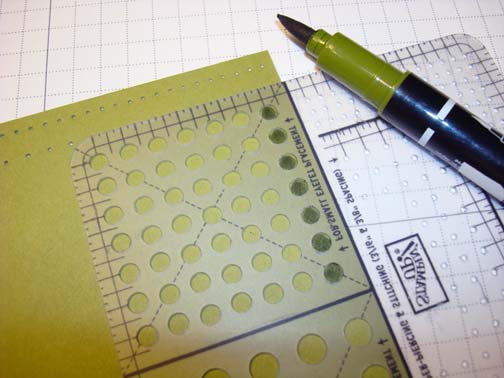
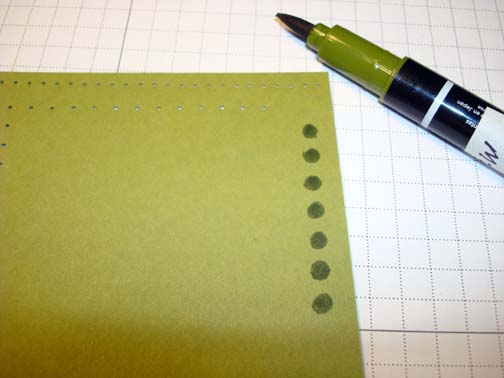
I usually don’t talk a lot about stamping tools but sometimes a tool comes along that I lose my mind over, such as the Stampin’ Up! Simply Shammy.  It’s the best stamp cleaning tool ever!

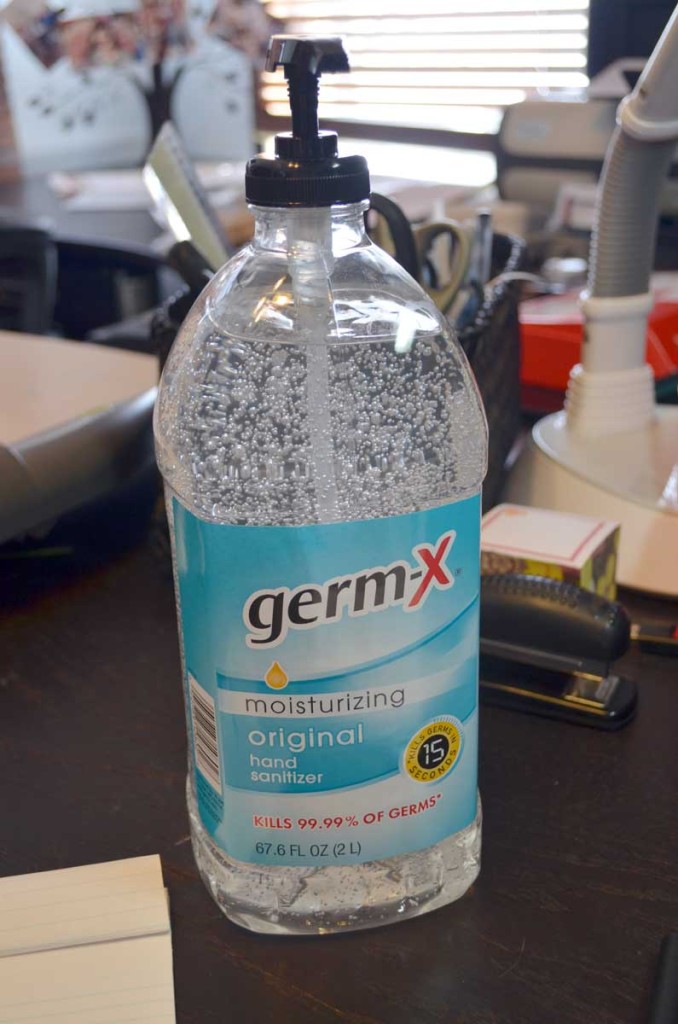
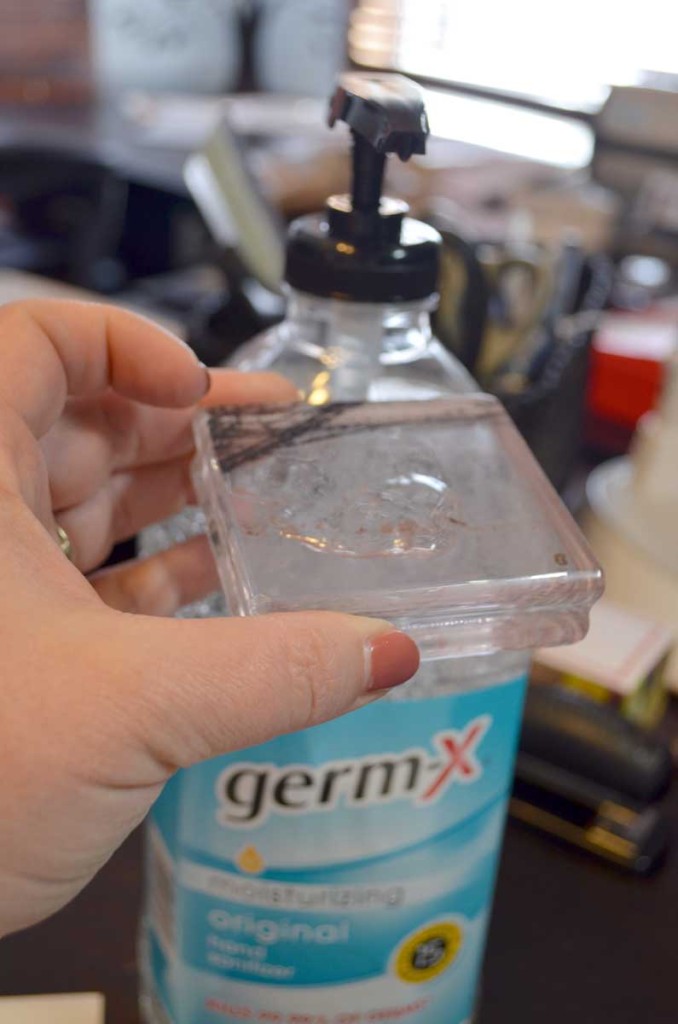
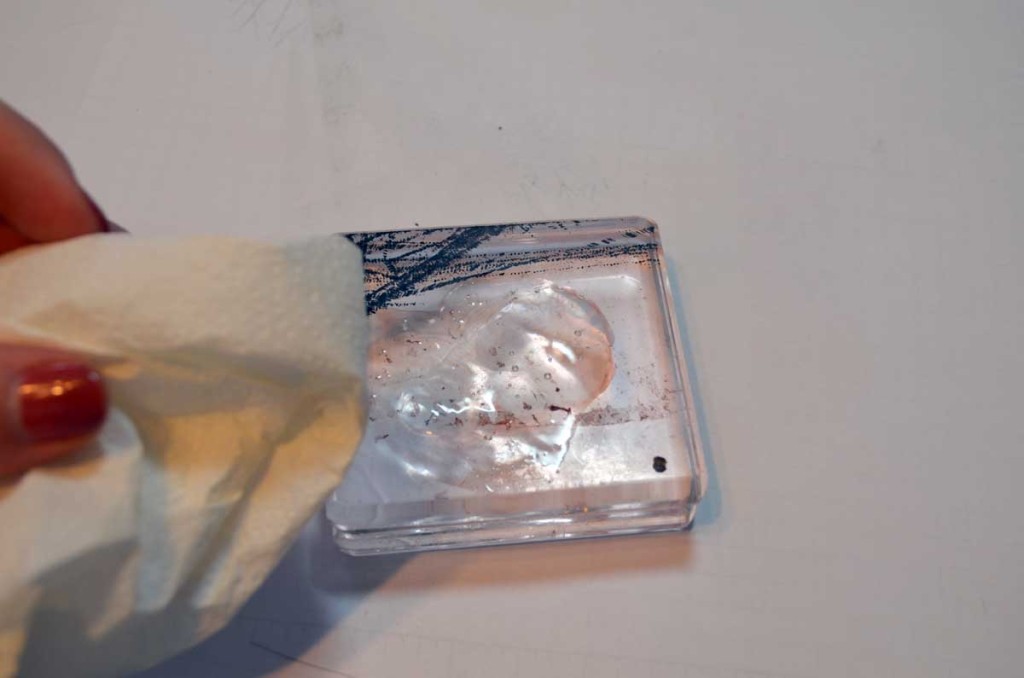
I know it doesn’t sound very exciting and you may have missed it in the new annual catalog but I have to tell you, YOU NEED ONE!  lol.  When I got it, I took it out of the package wet it and it just held that dampness the entire time I was stamping so it was ready to go when I needed to clean my stamps.  The best part is. . . . .IT’S CHEMICAL FREE, reusable and works great.  It cleans all the little nocks and crannies in your stamps, is lint free and fits in a stamp case.  Note, the shammy will get stained but the ink will not transfer to your fingers or nice manicure, it’s magic.


*****************************************

OWL BRANCH

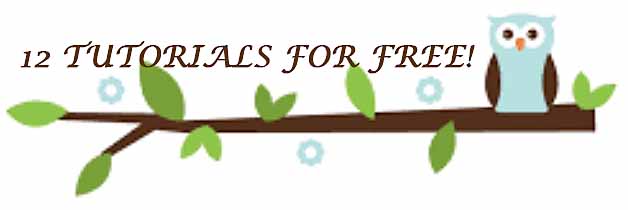
PLACE A $50 MERCHANDISE ORDER BETWEEN JUNE 1, 2018 AND JUNE 30, 2018 USING HOSTESS CODE K6THDBVV AND RECEIVE THE ENTIRE MONTH OF TUTORIALS (AT LEAST 12) FREE OF CHARGE VIA E-MAIL.  THAT’S NOT ALL KEEP READING!

Along with all 12 of the project tutorials for the month of June, you will get a recap of all of them at the end of the month you will also receive 1 virtual token from me for each $50 in merchandise purchased with your order.   **Collect 10 tokens and receive a free stamp set of your choice up to a $30 value from me with my customer loyalty program.

TO RECEIVE THIS OFFER PLEASE USE HOSTESS CODE: K6THDBVV  When placing your order.   $150+ ORDER: PLEASE DO NOT ADD THE HOST CODE.  You will automatically qualify for the 12 free tutorials for the month plus the tokens. 

**Please note tokens expire after 24 months.

Go Go Speed Racer  Sea of Textures  Brusho Flower Field

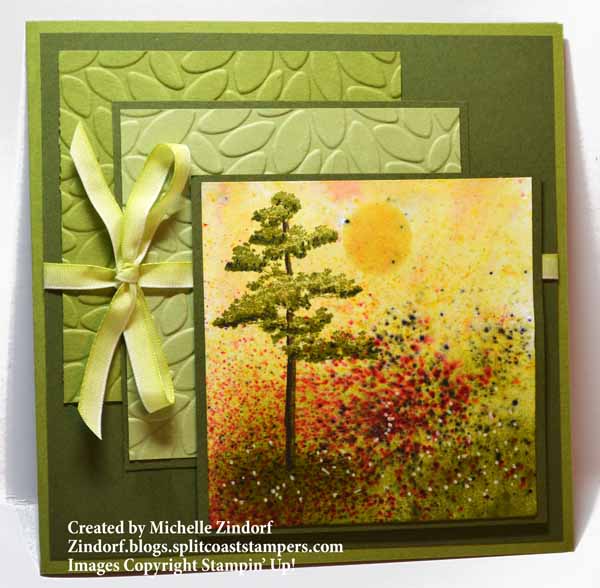
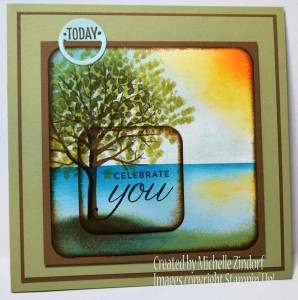
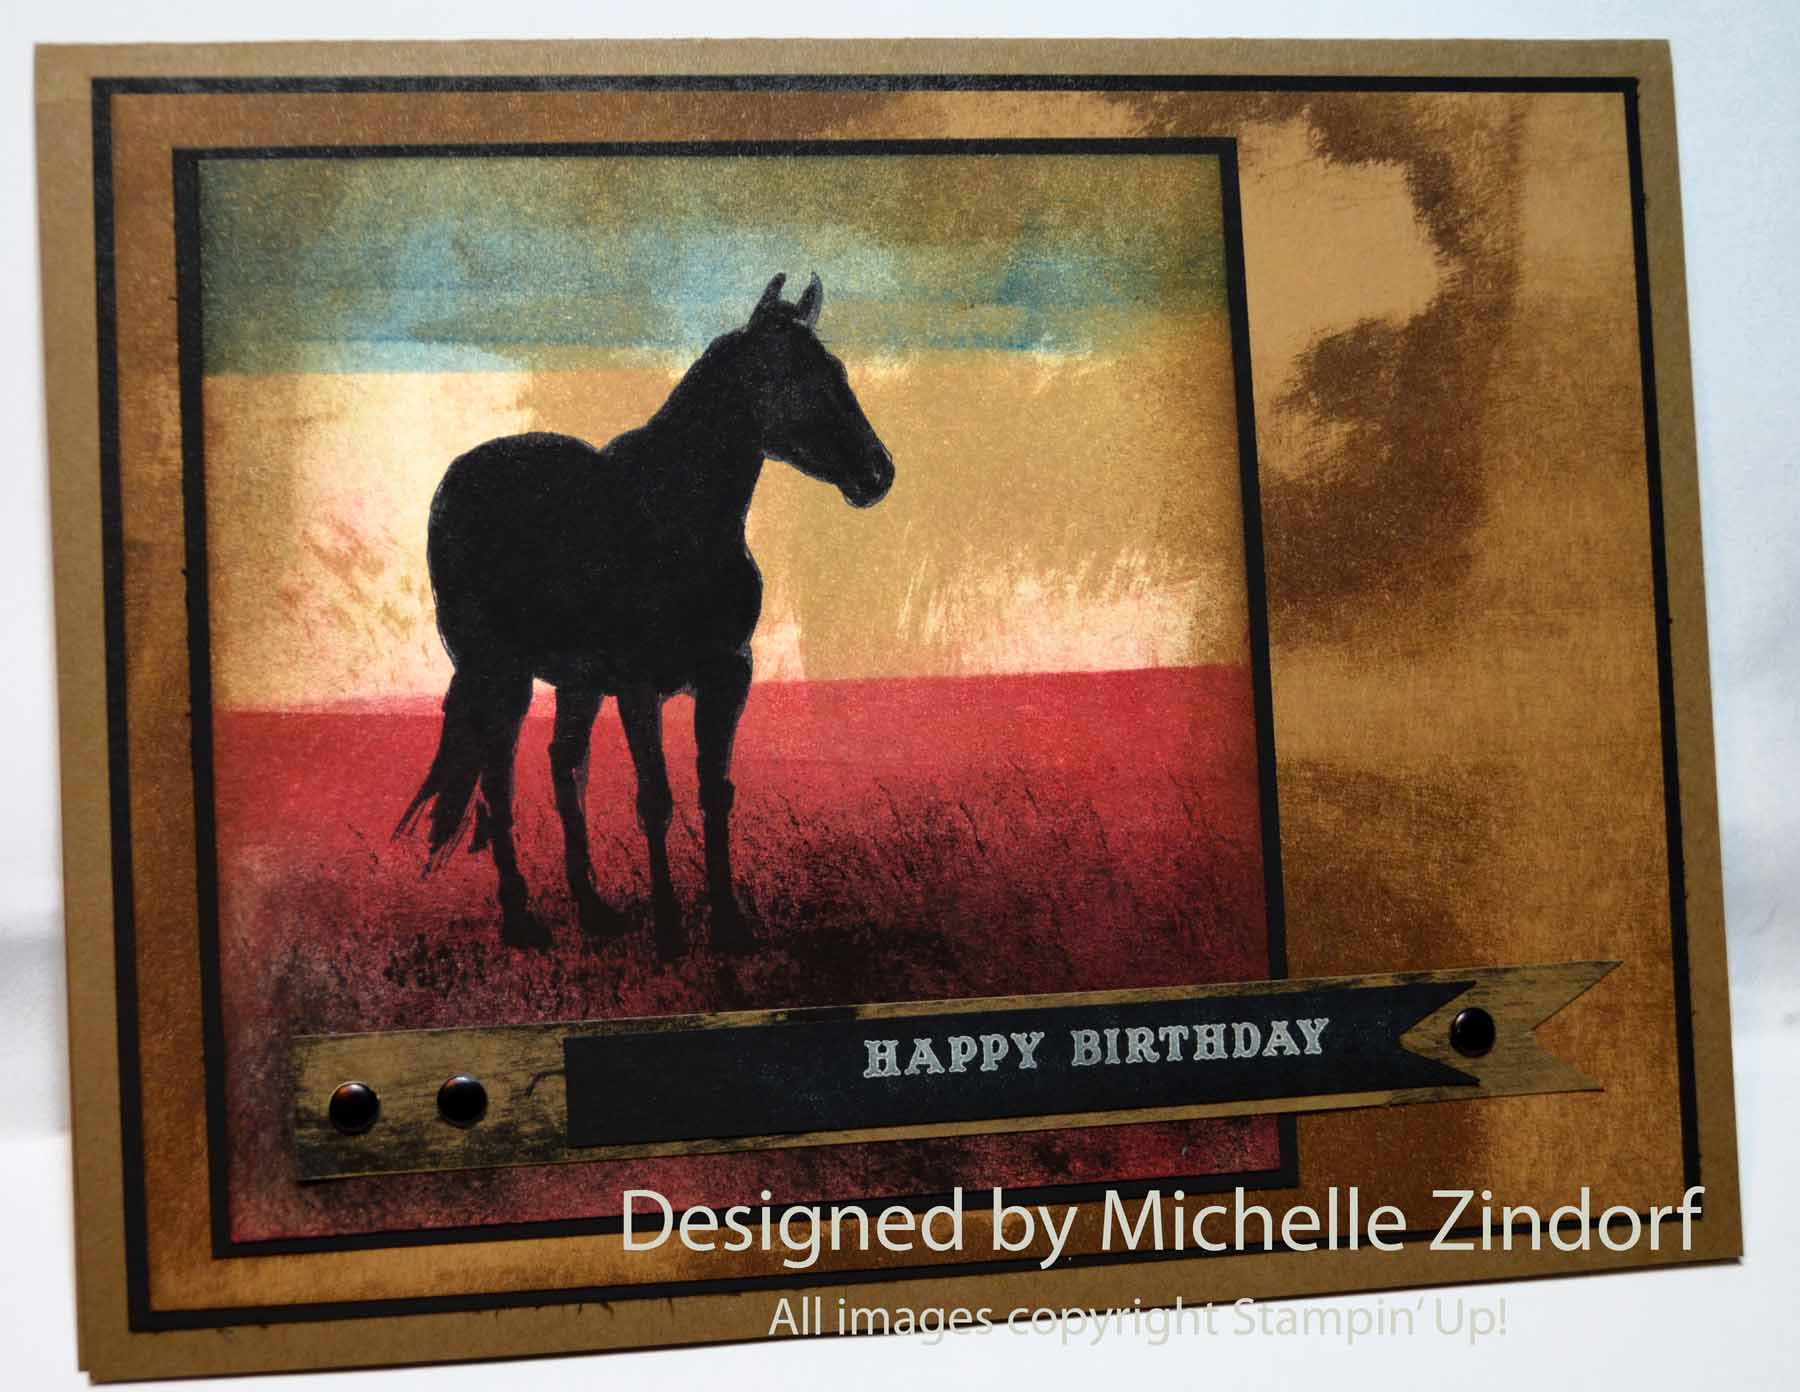
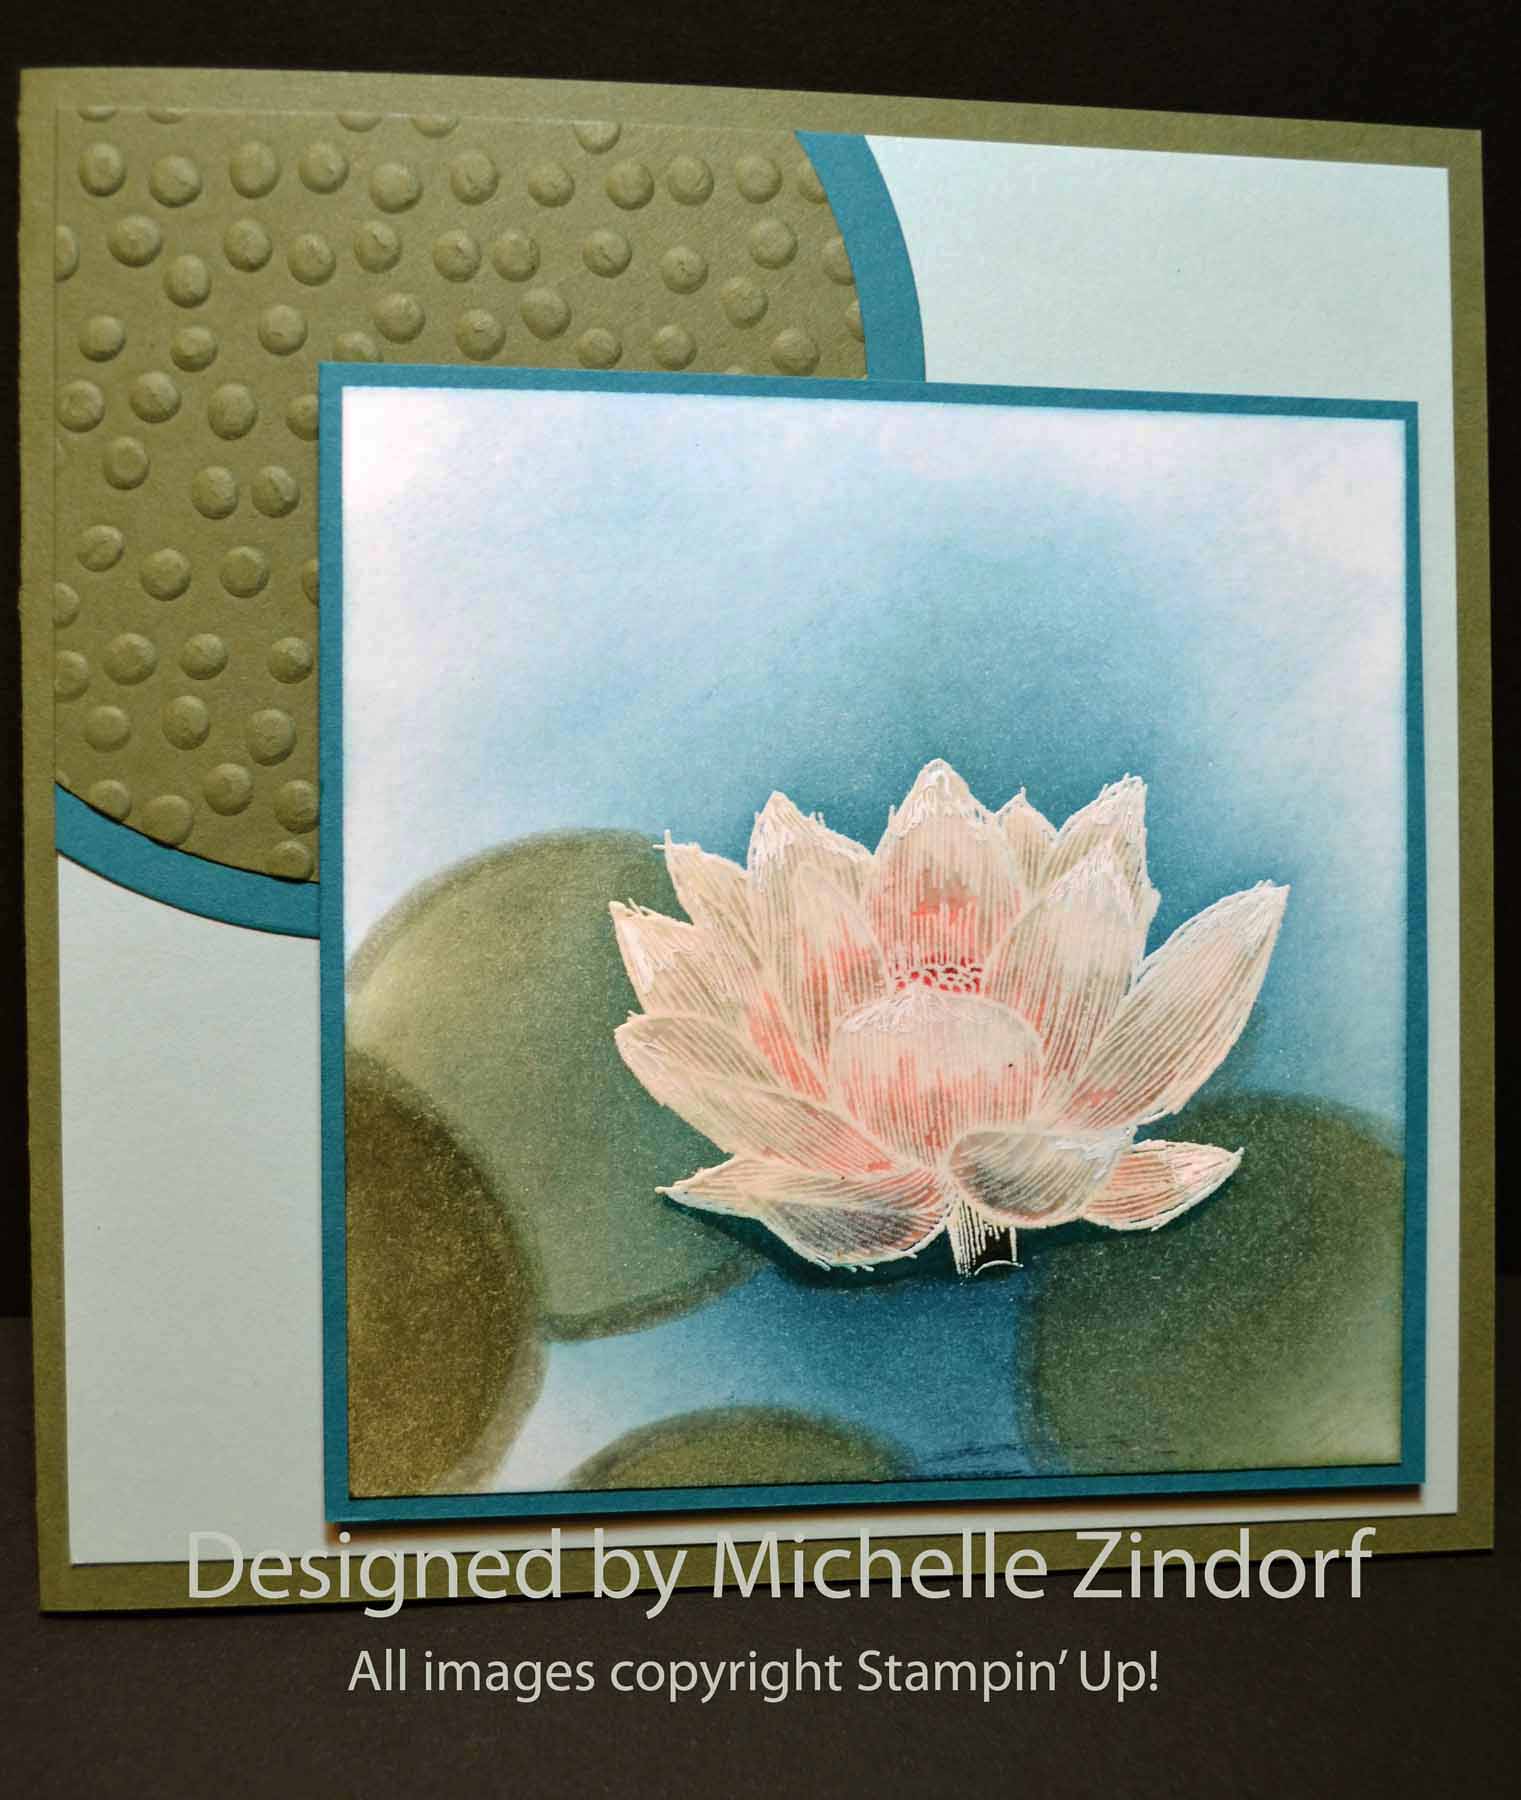
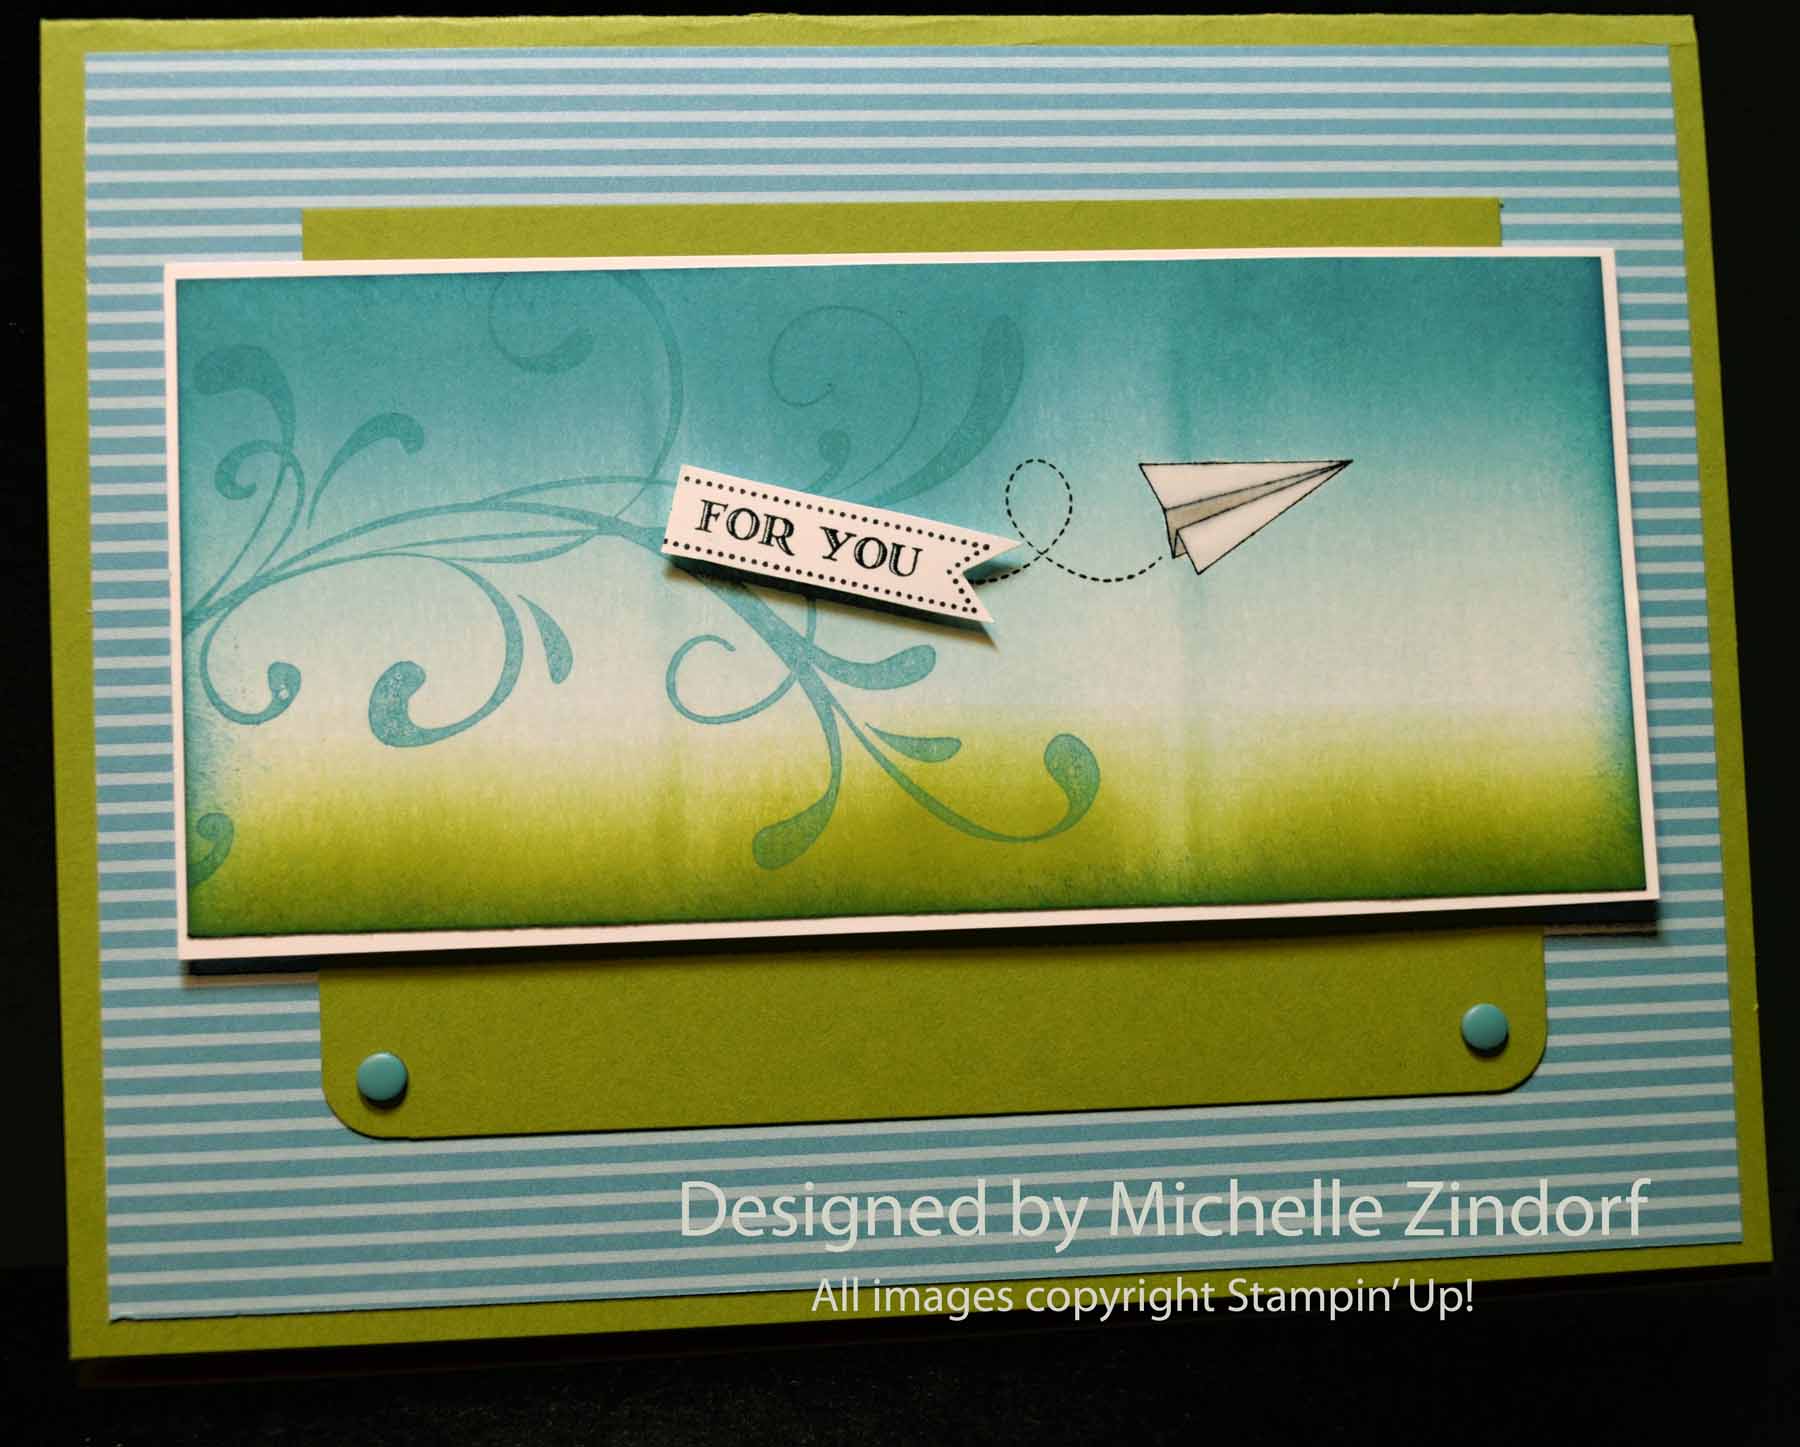
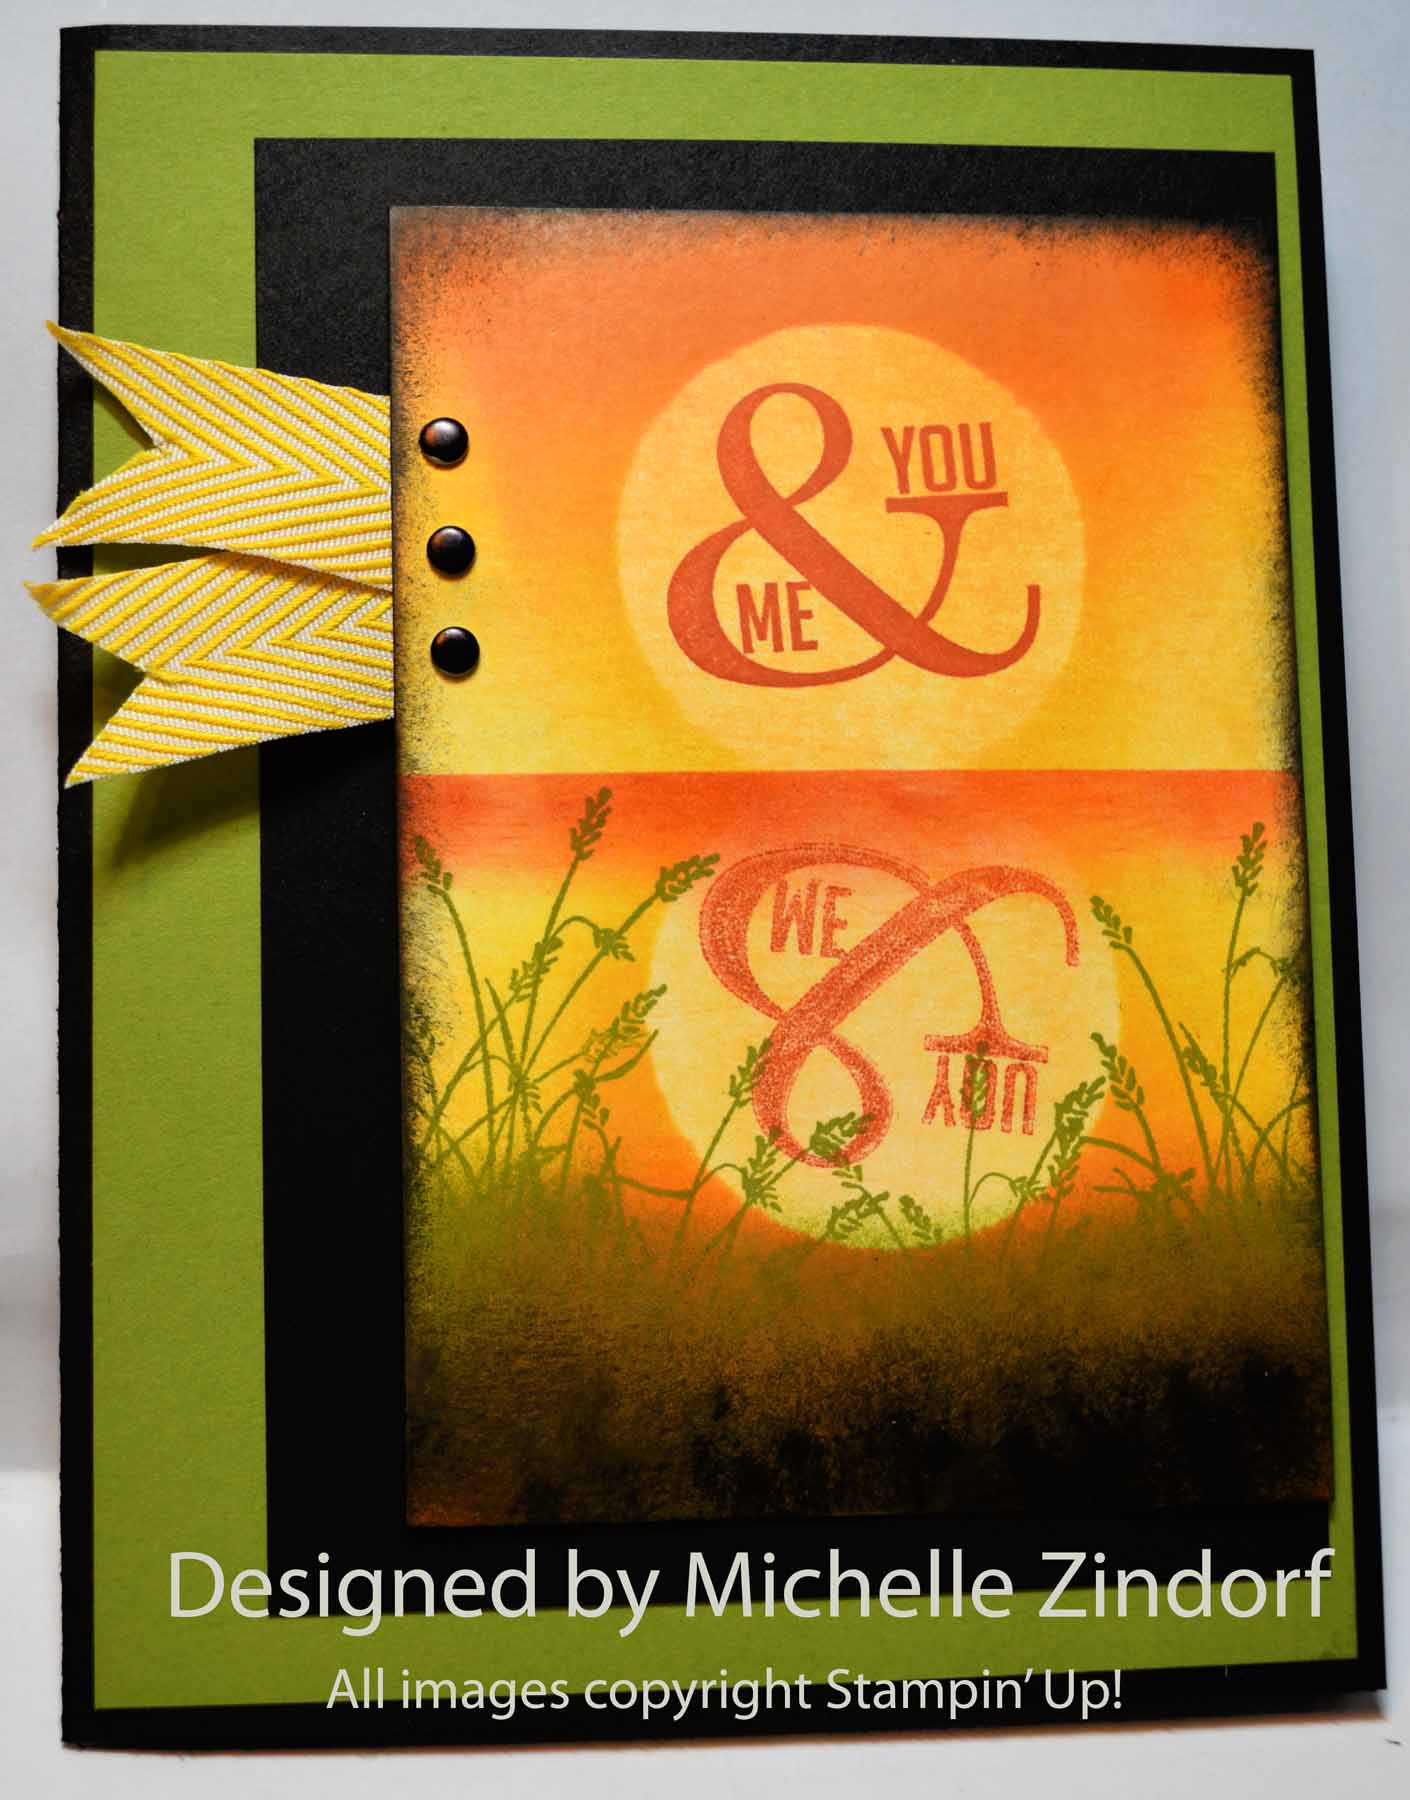
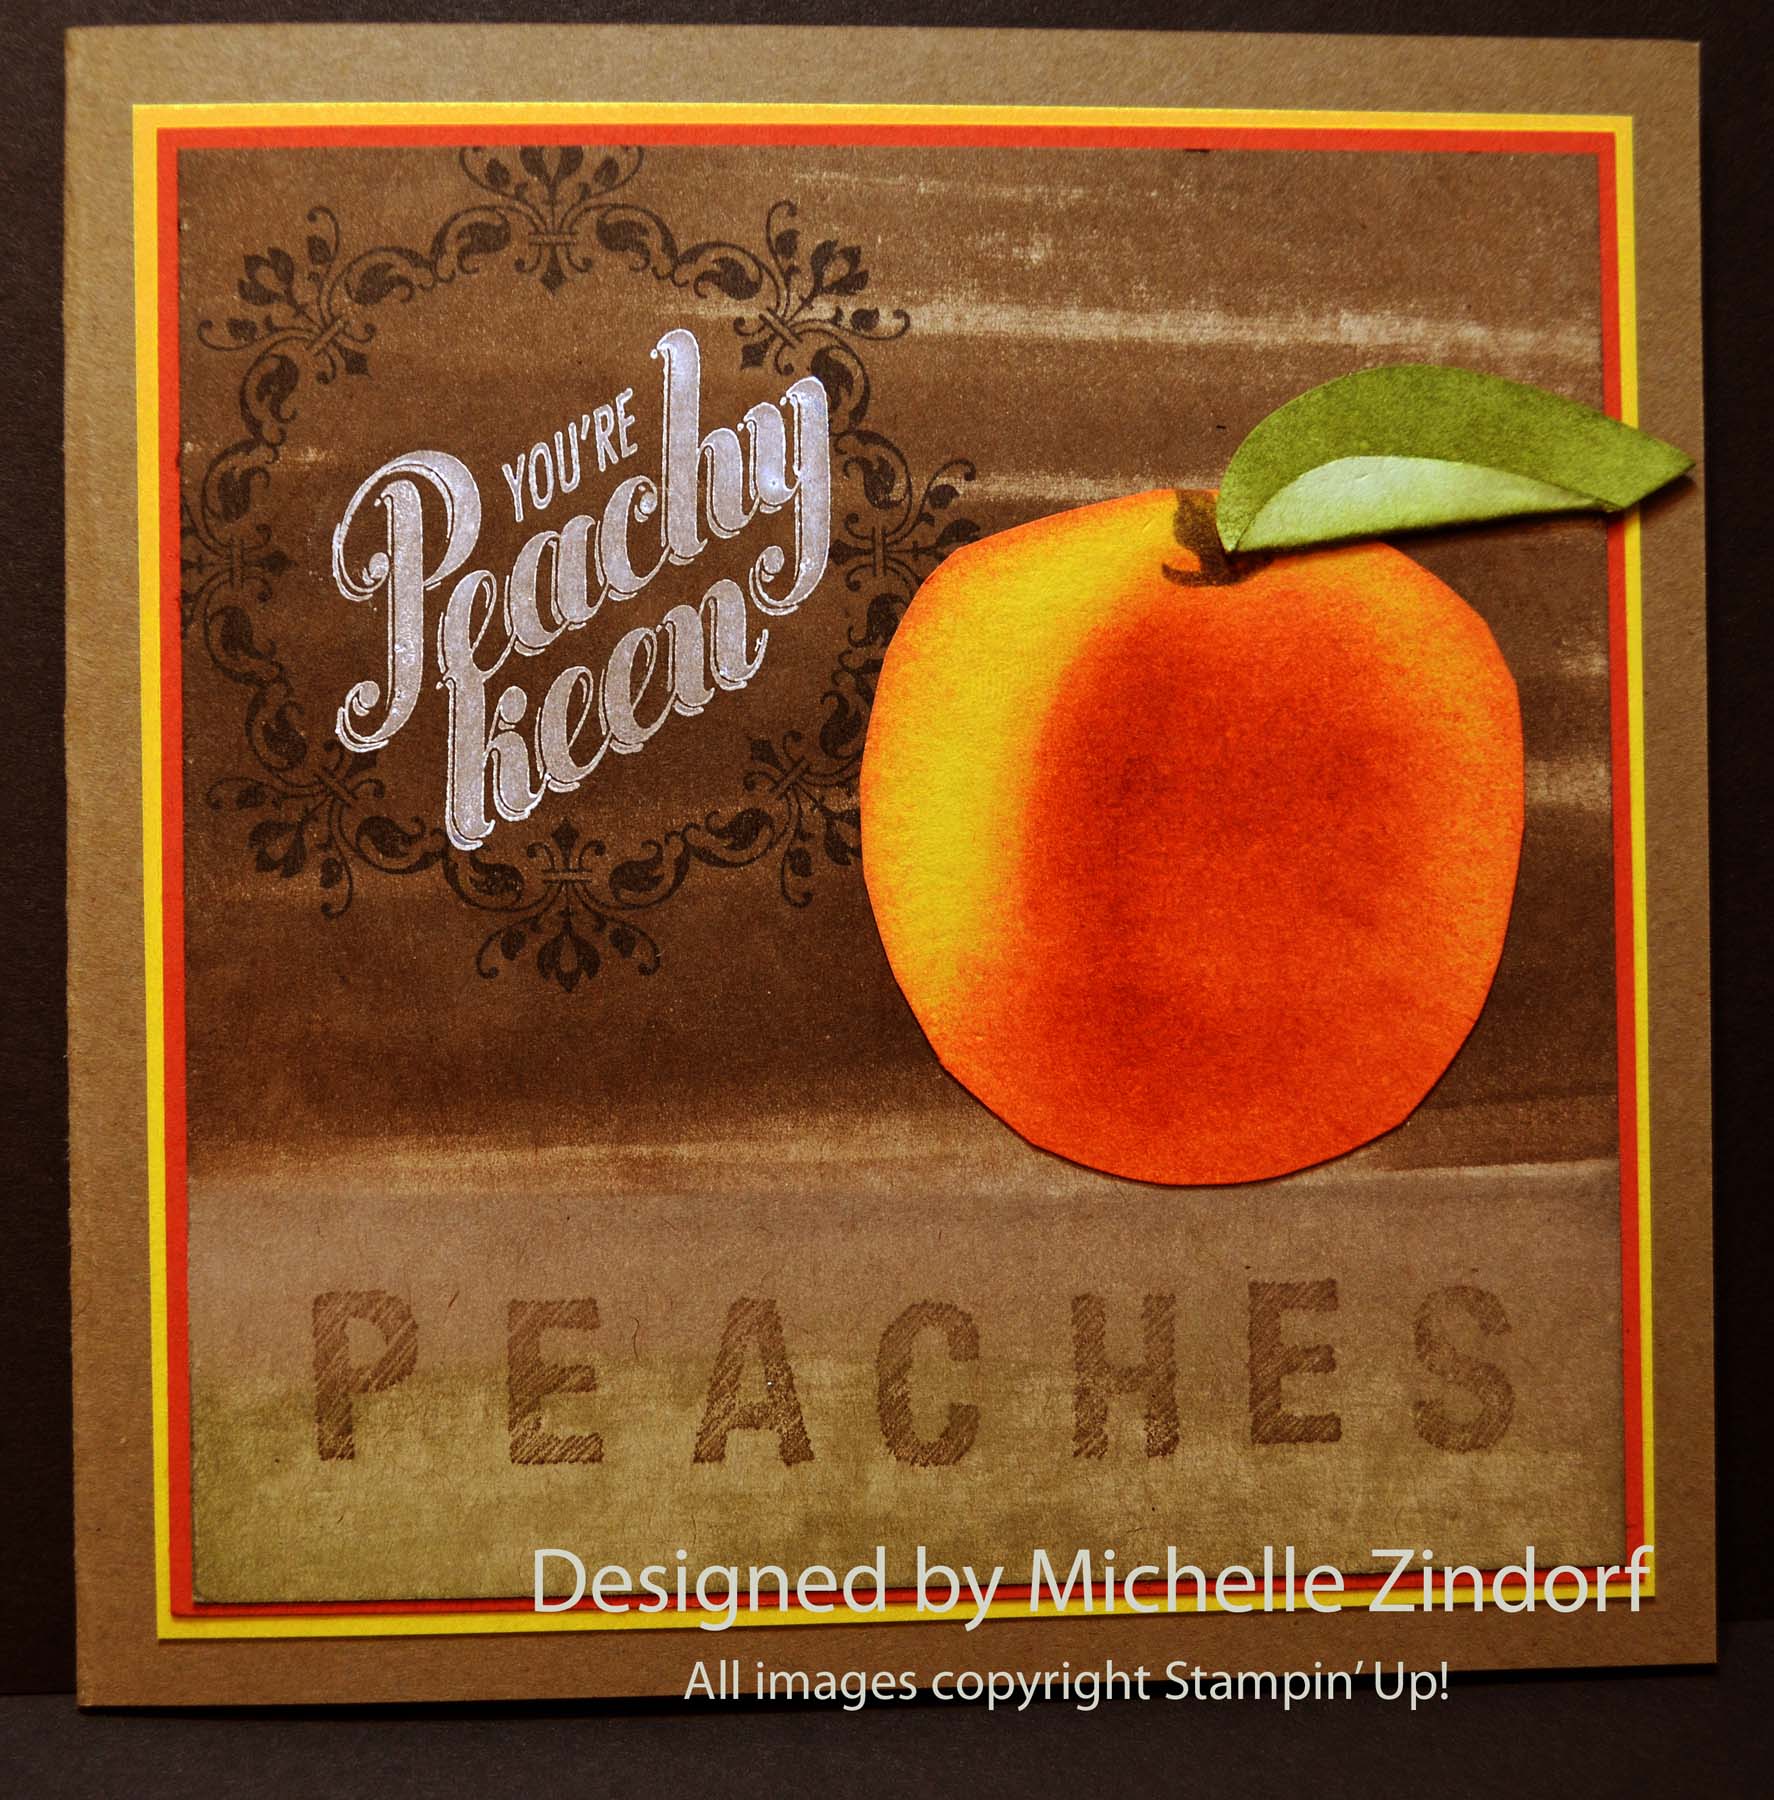
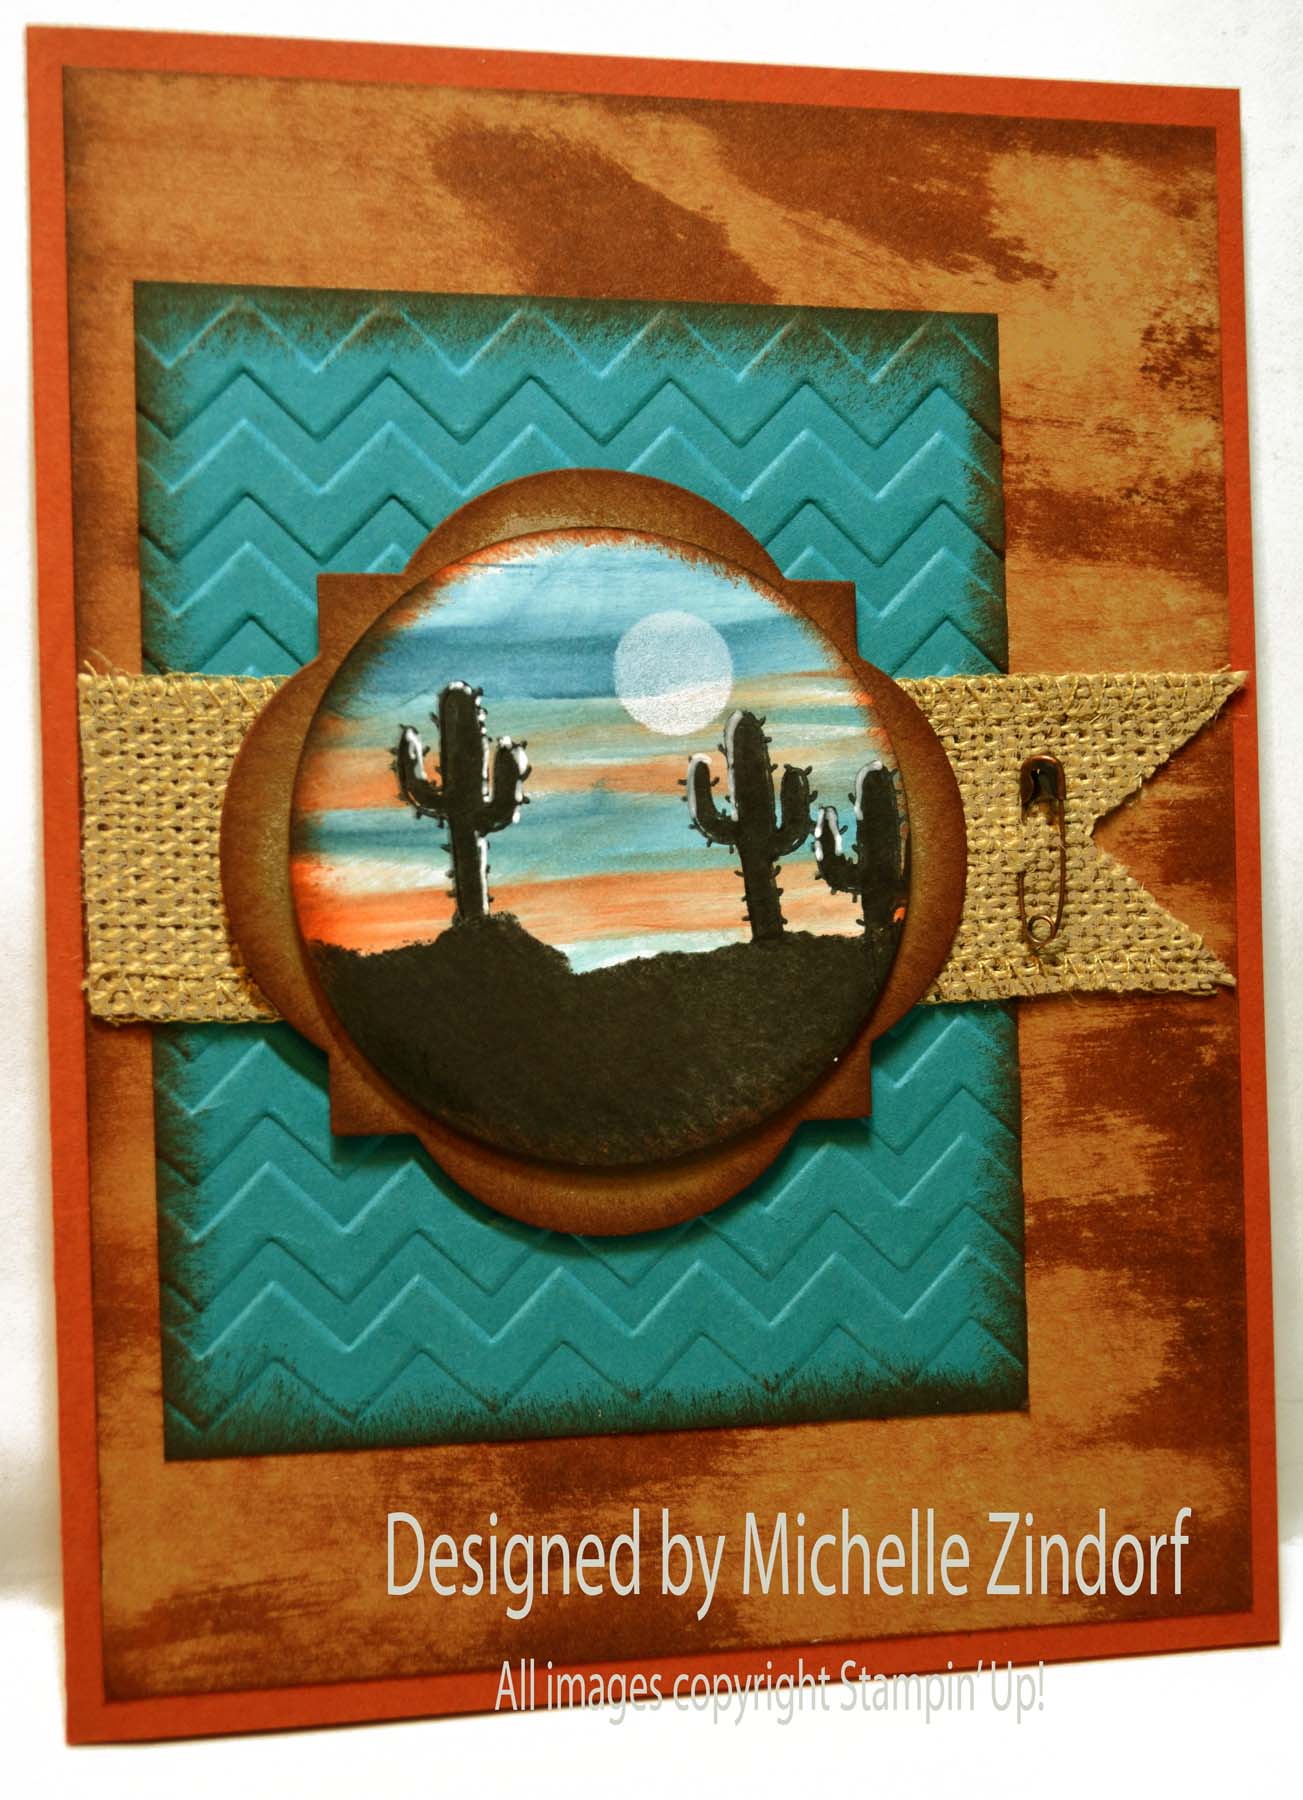
The first three tutorials in the June, 2018 tutorial package.    Nine more fun and creative projects to come in this month’s package.

Screen Shot 2015-10-02 at 9.11.19 AM copy

****************************************

TO PURCHASE THIS MONTH’S SINGLE TUTORIALS OR THIS MONTH’S TUTORIAL PACKAGE AT A DISCOUNT CLICK HERE FOR DETAILS.

*****************************************

The brand spanking new Stampin’ Up! Annual Catalog is here.  It is full of wonderful new stamps, new colors and new accessories and I cannot wait for you to see it!  Click the catalog photo below to view it online.

Screen Shot 2018-06-01 at 5.44.44 AM

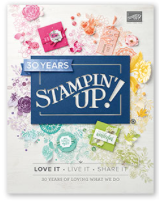
2018-19 ANNUAL CATALOG

Need a copy of the catalog?

If you don’t have a demonstrator you can get a catalog from me. The catalog is free but the shipping cost is $6.70 (this is to cover my shipping costs only). There are 241 pages in this big catalog and idea book.
Preview Image

YOU CAN ALSO ADD THE CATALOG TO YOUR STAMPIN’ UP! ORDER WITH ITEM #148889.

*****************************************

Thanks for stopping by. . . . .

Huge Hugs,

Timeless Textures and Daisies – Stampin’ Up! Card and how to organize your sponges

DSC_0026

Hello there and happy Monday!

I was thinking this morning about a sentiment in the Stampin’ Up! stamp set Helping Me Grow, which is “thanks for helping me grow.”   Did you know you help me grow?  Everyday when I sit down to create I try to come up with something new for you.  You inspire me so much to look around my craft room and seek out new stamp sets, products and techniques in order to keep things fresh and exciting in my craft and yes, help me grow.  For this I am so thank for you!  In turn, I hope you are inspired by what you see here and you never tire of growing along with me.

Today I teamed up the Helping Me Grow stamp set with it’s big bold flower images with the Timeless Textures stamp set to create my collage background.  The Timeless Textures stamp set has super collage elements.  There is no end to the different backgrounds you can create with it.  These are a couple of must have sets.

YOU CAN SEE JUST HOW TODAY’S PROJECT WAS CREATED IN TODAY’S TUTORIAL.  SEE HOW TO GET IT AND 11 OTHER TUTORIALS FROM THIS MONTH FREE BELOW.  LEARN TECHNIQUES YOU CAN APPLY TO YOUR OTHER STAMPING PROJECTS AS WELL.  

***********************************************************

Complete Supply List

***************************************************

On another note. . . . . . 

DSC_0001 (1)
Over the weekend I took stock of some tools that I use everyday and boy were my sponges worn out and really, really sad looking.   Using worn out sponges is not good.  You don’t get the same results like you do with a new sponge and they are so cheap to replace.  So I replace mine once a year.   I completely dumped my sponges in the trash and start over.
Organizing your sponges is super simple and saves so much time having your sponges set up so you can visually see the color you are looking for.  I highly suggest this!
Purchase a few packs of Stamping Sponges, item #141337.  They come 3  round sponges to a pack.  Cut each sponge in half and then each half in half and then each one of those in half.  You will have 8 sponges from one single round sponge.  That gives you 24 sponges from one single pack.
Note:  for the sponge topper, you can use a 1.5″ square of card stock, a 1 1/2″ circle punch or any label punch or die you have in your arsenal that is as wide as your wedge of sponge.  Create your topper for each sponge out of card stock that matches your  ink pad.  If you don’t have the matching card stock then sponge your topper with that ink color.  🙂
I write the name of the color on each end of the topper and fold it in half, sandwich the sponge with it and then staple it on.  That gives you a great handle to use and your fingers don’t get as inky when you use it.
Mine are stored in a tackle box tray.   The tray had a lid but I’m too lazy, I mean time efficient to keep opening the lid so I took it off.  🙂
***************************************************

Happy Stamping!

 Until my next post. . . . . . 

Huge Hugs!

***************************************************************

Get the Whole Month Worth of Tutorials Free, 12 in all!  Plus, earn tokens towards a free stamp set.

Place a $50 merchandise order between May 1, 2016 and May 31, 2016 and receive the entire month of tutorials (at least 12) free of charge via e-mail.

You will receive all of the project tutorials for the month of May, as they are created.  You will also receive 1 virtual token from me for each $50 in merchandise purchased with your order.  Collect 10 tokens and receive a free stamp set of your choice up to a $30 value from me.   Now, that’s the way to get some bang for your buck!  

Free tutorials are an exclusive perk for my valued Stampin’ Up! customers and down line

DSC_0024  DSC_0021  DSC_0027  DSC_0026

First four tutorials for this month, 8 more to come.

 PLEASE USE HOSTESS CODE:  TXBRBUDP  When placing your order.   (PLEASE DO NOT USE IF MERCHANDISE ORDERED IS OVER $150 so you receive the hostess benefits.

Screen Shot 2015-10-02 at 9.11.19 AM copyIf you wish to receive the free tutorials please do not click the “no contact” box when placing your order. 

*****************************************************************

TO PURCHASE THIS MONTH’S SINGLE TUTORIALS OR THIS MONTH’S TUTORIAL PACKAGE CLICK HERE FOR DETAILS.

******************************************************************

WARNING! WARNING!

Screen Shot 2016-04-18 at 3.22.59 PM
It’s always so sad to say goodbye to Stampin’ Up! favorites, but there must be space made for the new ones.  This is good news for you though, you can pick up items on your list before they are gone with discounts up to 50% off.

RETIRING ITEMS.  Below are links to the items that will not be offered after May 31, 2016.  Stamps will continue to be sold through the end of the catalog period, but accessories and papers are offered on a WHILE SUPPLIES LAST basis starting NOW.

Click on the pictures below to review the retiring items in my online store:

Screen Shot 2016-04-18 at 3.25.44 PM

Screen Shot 2016-04-18 at 3.25.51 PM

There is a New Tool In Town

Screen Shot 2015-10-04 at 6.01.01 AM copy

Hi there,

When I find a new tool very useful I love sharing it with you.  So today I’m sharing a video featuring a new tool for the Big Shot Machine.  It’s the incredible Precision Base Plate.  Ever have a little trouble die cutting those beautiful intricate Thinlets Dies?  You won’t anymore with this incredible tool, check out the video above.

Screen Shot 2015-10-04 at 6.10.10 AM copy

PRECISION BASE PLATE, ITEM NUMBER 139684

 Screen Shot 2015-10-04 at 6.11.12 AM copy

DELICATE ORNAMENT THINLITS DIES, ITEM NUMBER 139667

******************************************************************

 May your Sunday be totally terrific!

Until my next post. . . . . . .  .

Huge Hugs!

*****************************************************************

Get the Whole Month Worth of Tutorials Free, 12 in all!

Place a $50 merchandise order between October 1, 2015 and October 31, 2015 and receive the entire month of tutorials (at least 12) free of charge via e-mail.

You will receive all of the project tutorials for the month of October as they are created.  You will also receive 1 virtual token from me for each $50 in merchandise purchased with your order.  Collect 10 tokens and receive a free stamp set of your choice up to a $30 value.   Now, that’s the way to get some bang for your buck!

Free tutorials are an exclusive perk for my valued Stampin’ Up! customers and down line.

DSC_0028_edited-2

THE FIRST TUTORIAL FOR THIS MONTH.  11 MORE TO COME!

PLEASE USE HOSTESS CODE:  AD44HYTX  When placing your order.   (DO NOT USE IF MERCHANDISE ORDERED IS OVER $150)

Screen Shot 2015-10-02 at 9.11.19 AM copyIf you wish to receive the tutorials please do not click the “no contact” box when placing your order. 

*****************************************************************

IF YOU WISH TO PURCHASE THIS MONTH’S SINGLE TUTORIALS OR THIS MONTH’S TUTORIAL PACKAGE CLICK HERE FOR DETAILS.

*******************************************************************

Stampin’ Up! Specials Happening Now!

********************************************************************

Screen Shot 2015-09-29 at 5.18.49 AM copy

CHECK OUT THE LATEST BATCH OF STAMPIN’ UP! WEEKLY DEALS IN MY ON-LINE STORE.  DISCOUNTED PRICES ON THIS WEEK’S DEALS END OCTOBER 5TH. 

Note:  Deal prices are only good while supplies last.  Hurry and get them now!

*************************************************************

The spectacular Stampin’ Up! Holiday Catalog is here!    It’s time to make those Holidays special.

Click Here to View a PDF of the New Holiday Catalog


Cleaning Your Clear Blocks Tip

DSC_0001

I don’t know about you, but my clear blocks get so yucky dirty.  I find myself looking through my blocks to find a nice clean one to use.  When I can no longer find a clean one I break down and clean the whole lot of them.

DSC_0002

Isn’t this lovely, lol.  Never fear, I have a quick tip on cleaning those nasty blocks.

DSC_0003

Everyday hand sanitizer cleans those blocks right up.  I get warm fuzzy feeling about this process too because it kills the germs as well, bonus!

DSC_0004

DSC_0005

Just squirt some on your block and rub it around with a paper towel until your block is clean.

DSC_0006

There you have it, perfectly clean and 99.99% germ free.

Have the best day ever!

Until my next post. . . . . . .  .

Huge Hugs!

**************************************************

FREE TUTORIALS

**************************************************

Want the entire month of march tutorials free (at least 12)?

Place a $50 merchandise order between March 1, 2015 and March 31, 2015 and receive the entire month of tutorials (at least 12) free of charge via e-mail.
 You will also receive 1 virtual token from me for each $50 in merchandise purchased with your order.  Collect 10 tokens and receive a free stamp set of your choice up to a $30 value.  On top of that receive a free Sale-a-bration stamp set or accessory!   Now, that’s the way to get some bang for your buck!
Free tutorials are an exclusive perk for my valued Stampin’ Up! customers and down line.
************************************************************

Note:  Please do not select the option for no contact  when placing your order if you wish to receive the tutorials.

Shop my online store now CLICK HERE *

Please use Hostess Code:  QH2T4MXB     (Do not use if merchandise order is over $150)

***************************************************

If you wish to purchase single tutorials or check out the monthly Tutorial subscription option.

CLICK HERE FOR DETAILS.

*************************************************************


Do you have a big wish list? You can join my team for only $99.00 plus tax and you can choose $125.00 worth of amazing stuff…plus…you can either choose a free project kit from the Occasions catalog OR 2 Sale-A-Bration sets.  It is an awesome time to join.

Another perk, my team members get my current tutorials for free!

**************************************************************


sale a bration

Stampin’ Up! has added FOUR new products to the Sale-A-Bration list of free gift choices.  Earn an exclusive, free Sale-A-Bration gift with every $50 you spend (before shipping and tax).  Sale-A-Bration ends March 31.

********************************************************

CM1841T

BLENDABILITIES UPDATE!  Unfortunately, there have been quality issues with the Stampin’ Up! Blendabilities Markers.  They are currently unavailable (including as a Sale-A-Bration gift) and backorders cannot be filled.  I’ll keep you posted when the problem is resolved and they are available for purchase again.  As frustrating as this is, I’m glad that Stampin’ Up! believes that quality comes first!

*******************************************************

deals 25

 Check out the latest batch of Stampin’ Up! Weekly Deals in my on-line store.  Discounted prices on this week’s deals end March 2nd.

***********************************************************

Current catalogs

2014-15 Catalog     

Organizing Stampin’ Up! Photopolymer Stamps

Hello There,

I’ve decided to take a day and do some organizing in my office because it is OUT OF CONTROL!!

I had a stack of Stampin’ Up! Photopolymer stamp sets which currently come in a plastic wrapper when you order them.  Well, to be more organized I wanted them to be in my bookcase with the rest of my stamps.

So I did some research yesterday and found there is a printable label you can edit that fits into the clear mount Stampin’ Up! cases which are sold separately, Whoohoo!

This was invaluable info to me so, I thought I would pass it on to you.

Here is a link to the label, this is a Word Document:   CASE LABEL

To put this together, open the document, type the stamp set name in the two places and then copy the image from my online store and paste it in and print the label.

Slip your label in the font of the case and there you have it!

Clear Mount Cases, Item #119105

The label covers the front of the case and the spine.

The stamp set will show through the back of the case also.  🙂

Okay, now I need to get back to work.

**********************************

Have a fabulous day!

Until my next post. . . . . . .  .

Huge Hugs!


Here are the weekly deals in my online store, remember these change every Tuesday. Come and look at the deal and place your order right away for these great, discounted products.

Please note that weekly deals will be offered while supplies last! The discount will appear in your shopping bag when you check out.

*******************************

Also, do to popular demand the Free Marker pack with a Paper Pumpkin membership has been extended to March 31, 2014.  Don’t miss this creative deal.

Get Me Now!

All you need is your magic wand (credit card)
to sign up. (Get it now.)

I’m the total package:

  • • I’m $19.95 (and shipping is covered). I’ll arrive monthly.
  • • I’ve got all the stamps, ink, paper, and accessories to create pinable projects. Projects like cards, journals, décor, and more!
  • • I’m all cut, measured, and ready—with instructions included.
  • • I’m a new and exciting surprise every month.

This is important: Please make sure to pick me, Michelle Zindorf – zipcode is 45381 as your Demonstrator.

CLICK HERE TO JOIN NOW!

***********************************


FREE TUTORIALS

The complete card tutorials I create from February 1, 2014 through February 15, 2014 (at least 6 tutorials) will be e-mailed to my customers who place an order anytime between February 1, 2014 through February 15, 2014 free of charge.

Shown below are the tutorials I have created this period. 🙂

Note: All orders over $10 qualify for the free tutorials.

(more tutorials to come for this period)

All you need to do is place your order online using me as your demonstrator and the tutorials will be e-mailed to you within 24 hours and keep coming until February 15, 2014. 🙂 Free tutorials are an exclusive perk for my valued Stampin’ Up! customers and down line. This is not the only customer perk I offer to my amazing customers, check out the free stamp set program below.

Note:  Please do not select the option for no contact when placing your order or I will not be able to send you the tutorials.  Also, please make sure that my e-mail address, [email protected] is approved in your e-mail account so your e-mail does not reject my e-mails which contain the tutorials.  🙂


***********************************************************

Customer Free Stamp Set Program

Don’t miss out on my Customer free stamp set program. Check it out! For your order of $50 in product using me as your demonstrator you will receive one virtual token. Order $100 in product receive two virtual tokens, etc. After you have collected 10 virtual tokens you will receive a free current stamp set of your choice up to a $30 value.

Here is a link to my online shopping page that you can shop at 24/7 (from the comfort of your home, even in your pj’s) and the products will be shipped directly to your door step from Stampin’ Up. CLICK HERE TO SHOP.  My free stamp set program will be an on going program. :)

******************************

Check out the free products that are available with a $50 purchase!


*******************************************************

Check it out!  For every $50 purchase of any of Stampin’ Up’s products  you get to choose 1 free exclusive product from the Sale-a-bration Brochure FREE.

**********************************************************
Want to pull some friends together and host a party, you will receive $30 additional hostess credits during Sale-a-bration with a party of $300 or more.
If you wish to hold a book party, please let me know and I will give you your very own hostess code for your friends to use and they can shop right at home online while you accumulated the hostess credits.  🙂
**************************************************************
Join Stampin’ Up! during Sale-a-bration and get $150 worth of products that you chose for $99.  That’s $50 worth of free products of your choice from any Stampin’ Up! catalog.
Have a long want list?   Sign up now to get 20% off your future orders and be a hobby demonstrator or build  your own business to earn income.
*************************************************************


Tool Time – Glue

Hi There,

Today’s post is a little stamping/paper crafting tool time tip.

Adhesive is very important to us paper crafters, right?   Really, what would be do without it?   I cannot remember a project that I put together without it.

I’m asked frequently what kind of adhesive I use, well I have found my favorite adhesive to be the Tombo Mono Multi Liquid Glue that comes in the little green bottle, Stampin’ Up! item number 110755, $3.95.   I use to use the Snail Adhesive/tape runner for everything, but I had a problem with getting my paper layers straight when I would stick them together, probably operator error, lol.    But when I tried the Tombo Liquid Glue I was in heaven because it gives you a moment to shift your layers right where you want them by sliding them.  Also, you will not see any warping of your paper and your projects will not fall apart.    The glue bottle has a large (bottom) and small (top) applicator tip.   I always use the small one.

Now don’t get me wrong, there is nothing wrong with other adhesives, this is just my preference.   I’m just saying. . . . . . . .. .

See below how little of the glue is needed.   All you need is the thinnest of lines of glue 1/4″ in from the edge and your project will be stuck together like glue, lol, ya know I had to say it, grin.   Also, this glue goes a long, long way and is very cost effective.

Now at my workshops I find the smartest stampers.  They always have great tips to share.  Here is one from my Dayton workshops recently:  Keep a small candle holder on your desk and turn your glue bottle upside down in the candle holder and the glue will remain at the tip right where you need it for the next application.  No shaking the bottle to get it to go to the tip when you are using it.  This saves a bit of time.   🙂  Note:  when you finish creating for the day you will want to put the cap back on the bottle.    This was one idea that when I heard it I had to say DUHHHH!  Why didn’t I think of that, lol.

Before closing for today here is a couple friendly reminders so you don’t miss out:

Stampin’ Up! Sale-a-bration sales period runs from January 24 – March 31, 2012. During this sales period you will receive your choice of a free stamp set from the Sale-a-bration catalog for every $50 in product you order.   CLICK HERE TO CHECK OUT THIS YEAR’S SALE-A-BRATION CATALOG! You won’t want to miss out on the sale-a-bration sets, paper and embellishments.

Don’t miss out on my Customer free stamp set program. Check it out!  Along with a thank you card from me for your order you will receive a token for each $50 in product you order using me as your demonstrator.  After you have collected 10 tokens you will receive a free current stamp set of your choosing, a value of $39 or less.   Here is a link to my online shopping page that you can shop at 24/7 (from the comfort of your home, even in your pj’s) and the products will be shipped directly to your door step from Stampin’ Up:   CLICK HERE TO SHOP.   My free stamp set program will be an on going program.  🙂

Don’t forget the Stampin’ Up! new Occasions Mini Catalog CLICK HERE TO TAKE A LOOK AT IT. I know you will fall in love with the new stamp sets, dies and accessories.   They are to die for. . .

May your day be filled to the brim with excitement!

Until my next post. . . . .  . . .

Hugs,

Get ready for Brayer and Direct to Paper Workshops!  I am coming to the following locations, click the location name for more information.

Dayton, Ohio – Brayer Workshops

Austin, Texas

Seattle, Washington

Greeneville, Tennessee

Indianapolis, Indiana

Indiana, Pennsylvania

Sparta, New Jersey (Sold Out)

Piedmont, Alabama

Post Falls, Idaho (outside of Coeurd’Alene)

Sand Lake, Michigan (just North of Grand Rapids)

Lawrence, Kansas

Elizabethtown, Kentucky

West Bend, Wisconsin

Longmont (Gunbarrel), Colorado

Orange, Massachusetts

Sacramento, California

Staley, North Carolina


Here is a link to my workshop calendar where you can see all of my travel schedule and to get info on beginner and advanced Brayer workshops, along with the newly added Direct to Paper Workshop: https://zindorf.splitcoaststampers.com/workshop-calendar

Don’t see a workshop in your State?  Interested in hosting the workshops in your area   Click HERE to get hostess information.

Link to my Stampin’ Up website where you can order all of your must have Stampin’ Up products from me 24-7: https://michellezindorf.stampinup.net

Tool Time – Mat Pack & Piercing Tool

I love my mat pack (Stampin’ Up item number 105826) and piercing tool (Stampin’ Up item number 116631).   I’ve used them so much so I thought I would do a little tool time segment on them.

The mat pack comes with a self healing mat, foam mat and paper piercing template.   The template is priceless.   It keeps those pierced rows of holes in your card stock on the straight and narrow.  🙂

To make a row of pierced holes, put the foam mat on the self healing mat.  Place your card stock on top of the mats and then  just line the template up and poke the piercing tool in the holes on the template.

There is a set of holes on the template that are close together and then another set that are further apart.

There are holes in the template that can be used with a marker to create dots in a row.

The large holes in the template are really to be used lining eyelets up straight.   There are holes that for the smaller eyelets and larger holes for the large eyelets.

Add a white gel pen to make faux stitching with your pierced holes.  Just make a dash in between the pierced holes.

I know there are many uses for these handy tools.  If you want to share your unique use, please share it below in the comments section.

That’s all for today.

Until my next post. . . . . . . . .

Hugs,

Michelle

   Get ready for Brayer Workshops!  I am coming to the following locations, click the location name for more information.       

Syracuse (Bridgeport), New York      

St. Peters, Missouri       

La Porte, Indiana       

Orlando (Davenport), Florida       

St. Cloud, Minnesota       

Colorado Springs, Colorado       

Ottumwa, Iowa       

Owings Mills, Maryland (Baltimore Area)      

Cleveland (Euclid), Ohio       

Staley , North Carolina (South of Greensboro)       

Monroe, Connecticut       

Dayton, Ohio     

Leesburg, Florida       

Montreal, Wisconsin       

Savannah, Georgia       

Lincoln, Illinois       

Jefferson, Louisiana (New Orleans Area)       

Here is a link to my workshop calendar where you can see all of my travel schedule and to get info on beginner and advanced Brayer workshops:   https://zindorf.splitcoaststampers.com/workshop-calendar        

Don’t see a workshop in your State?  Interested in hosting the workshops in your area in 2012?   Click HERE to get hostess information.       

Link to my Stampin’ Up website where you can order all of your must have Stampin’ Up products from me 24-7:  https://michellezindorf.stampinup.net   

 Link to my Scentsy website where you can order the best smelling, safest wickless candles from me 24-7:  https://zindorf.scentsy.us/Home   

 Donate cards to the Give Thanks Project and help out Cancer Patients.   CLICK HERE TO HELP