
I’m running a bit behind on posting. This card was made for my Stampin’ Up Down Line, Ink to Art Team’s Technique Swap for July. July’s technique was the Brushed Bleach technique.
Before I get on with the tutorial I have a couple of Brayer Workshop Locations to announce and add to my calendar. Get ready, I will be teaching in Milton, West Virginia and Cleveland (Euclid), Ohio.
Also, Russ and I just returned from St. Louis were we slipped away for 3 days to celebrate our 20th wedding anniversary. You can check out a couple of our travel pictures HERE.
Now let’s get started on that Brushed Bleach Tutorial. . . . . . .
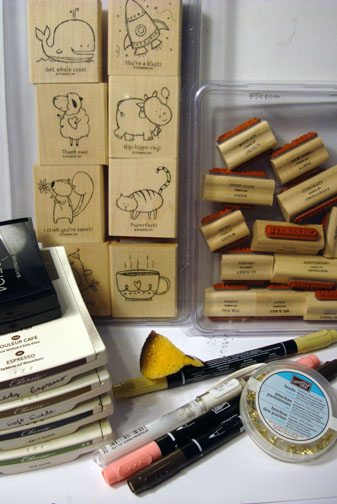
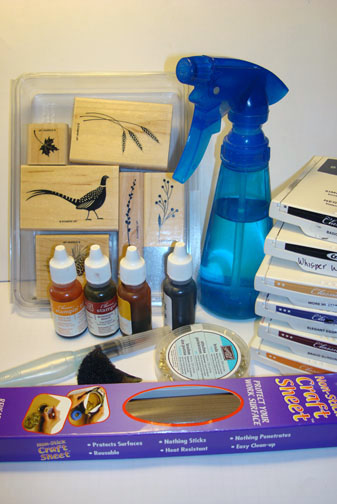
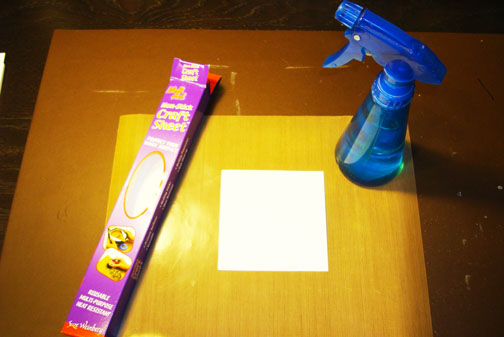
Supplies:
| Stamps: Stampin’ Up! Pun Fun and Fundamental Phrases |
| Paper: Stampin’ Up! Whisper White, Old Olive, Early Espresso and River Rock |
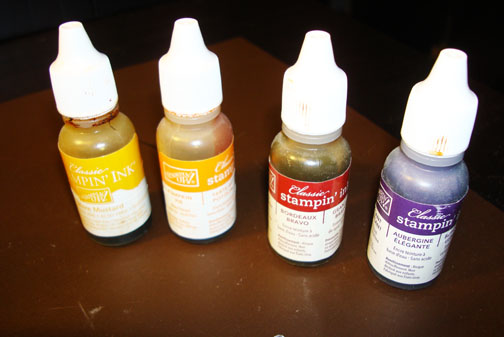
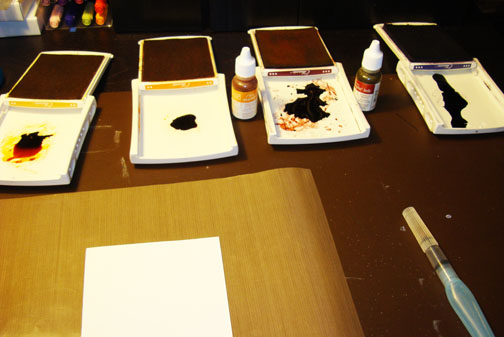
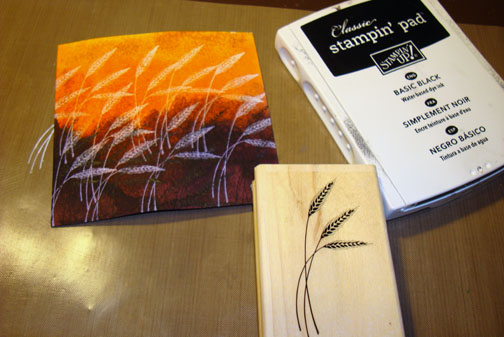
| Ink: Stampin’ Up! Early Espresso, Soft Suede, Basic Black and Old Olive |
| Accessories: Stampin’ Up! sponges, Clear embossing powder, heat gun, Gold Brads, piercing tool, Versamark Pad, Markers – River Rock, Regal Rose & Early Espresso and a White Gel Pen |
The brand new USA Idea book and Catalog is here. For your copy, please send a check for $9.95 to Michelle Zindorf, P.O. Box 116, West Alexandria, OH 45381 or send it via paypal to [email protected] USA only. Want a copy of the Summer Mini Catalog? E-mail your mailing address to [email protected] and I will get one in the mail to you. ![]() Are you getting inspiration from this blog? One way you can help support it is to order your Stampin’ Up products through me. Click HERE to place an order. Click HERE to check out the Stampin’ Up! catalogs. Want to become a Stampin’ Up Demonstrator , receive a 20% discount on product and earn instant income on orders? Consider being part of my Stampin’ Up Team and start your own business. Click HERE for more information.
Are you getting inspiration from this blog? One way you can help support it is to order your Stampin’ Up products through me. Click HERE to place an order. Click HERE to check out the Stampin’ Up! catalogs. Want to become a Stampin’ Up Demonstrator , receive a 20% discount on product and earn instant income on orders? Consider being part of my Stampin’ Up Team and start your own business. Click HERE for more information.
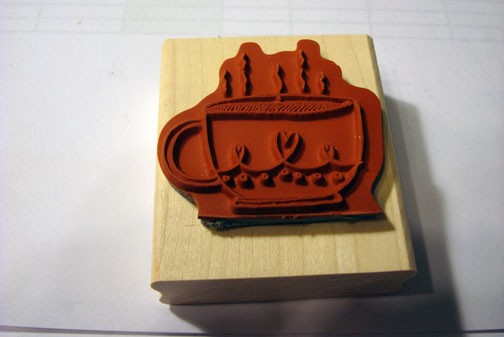
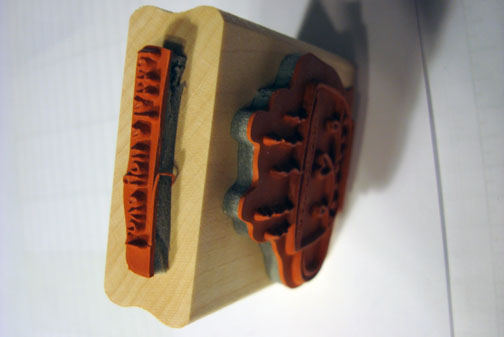
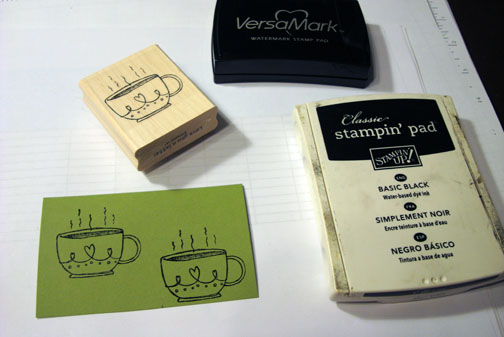
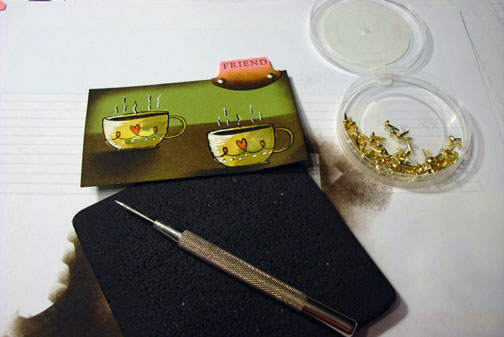
I am featuring the Stampin’ Up! set Pun Fun. Each image in this set has a sentiment below the image. Since, most of the time, I want to use the images without a sentiment I cut the image apart from the sentiment. Mount the image on one side of the block and the sentiment on the end of the block. I also cut the sticker image apart from the sentiment and mounted them on the appropriate sides of the block.
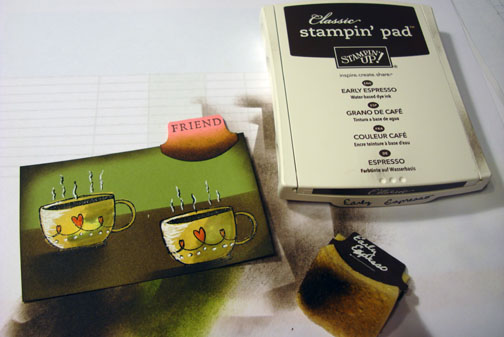
On a 2.25″ x 3.75″ piece of Old Olive card stock, stamped the coffee cup twice but first loading the stamp with Versamark and then with Basic Black ink before stamping it each time.
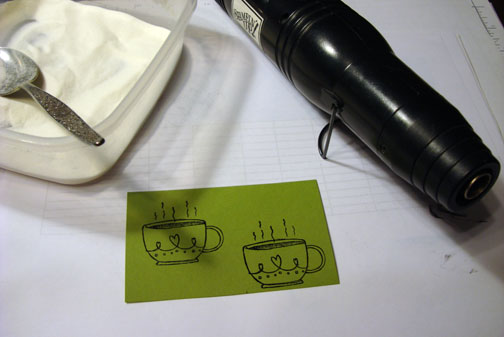
Heat embossed the images using clear embossing powder and a heat gun.
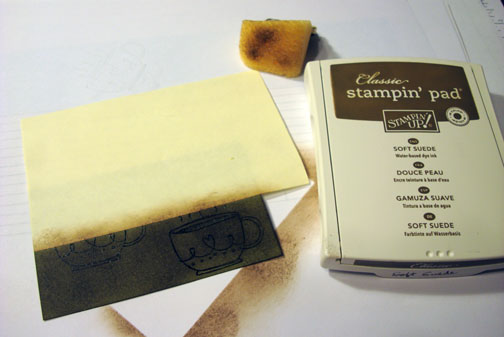
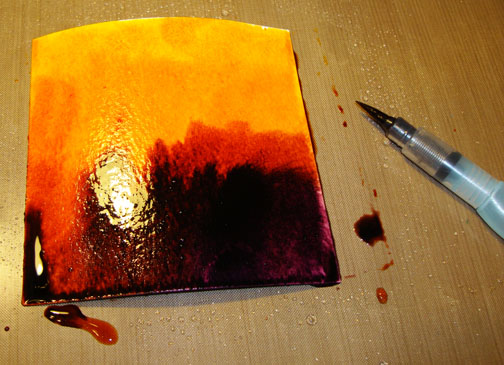
Masked the top of the card stock with a post it note and sponged Soft Suede ink at the bottom of the card stock.
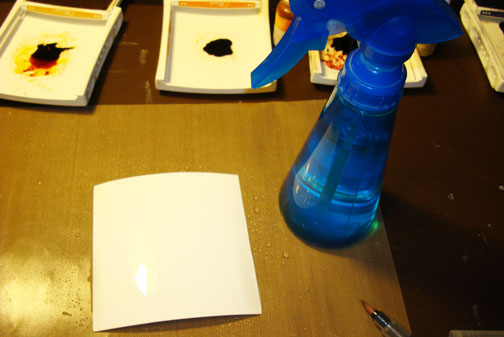
Filled an Aqua Brush with Bleach. Painted in the coffee cup images with the bleach being very careful to stay within the embossed lines.
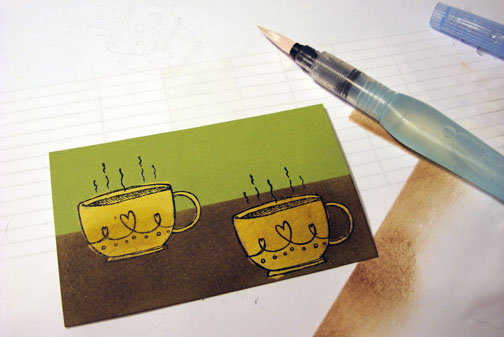
Heat the images using a heat gun to dry them.
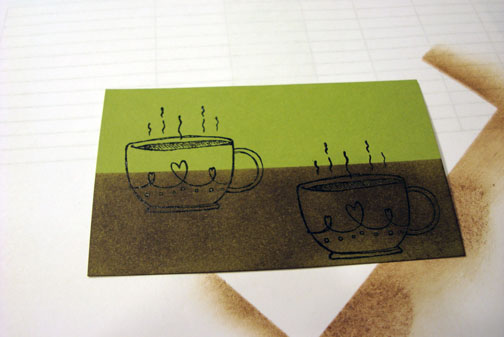
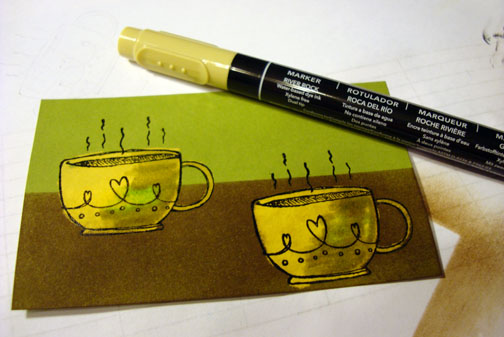
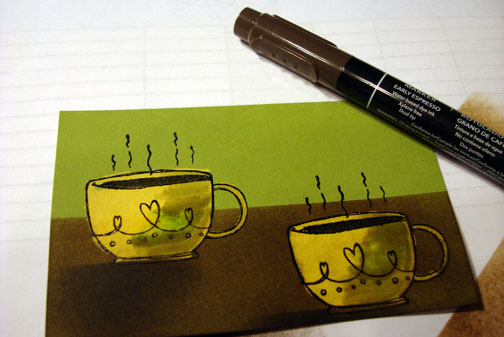
Colored the coffee cups right sides in with a River Rock marker.
Note: Don’t be surprised if some of the card stock color re-appears during this step. 🙂
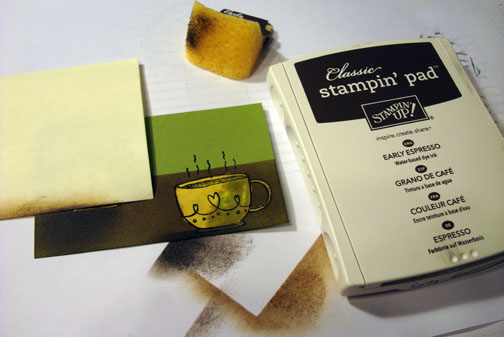
Used a post it note to mask the coffee cup and sponged Early Espresso and then Basic Black ink on the card stock to create a shadow for the cups.
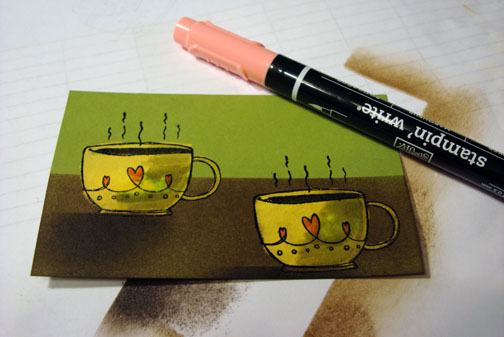
Colored the Coffee in the cups with an Early Espresso marker, of course.
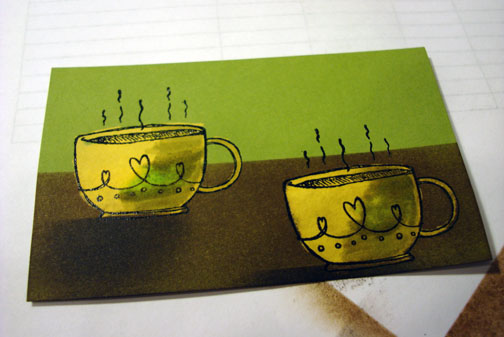
Colored in the hearts on the cups with a Regal Rose marker.
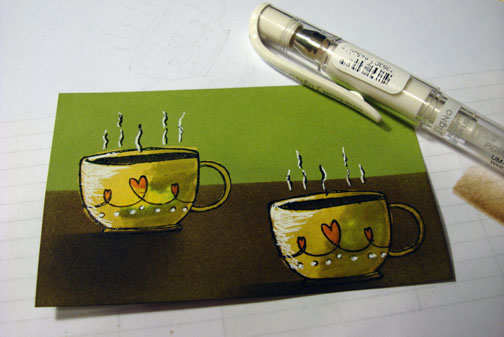
Added White Gel Pen highlights on the steam, left side of the coffee cups and the dots on the cups.
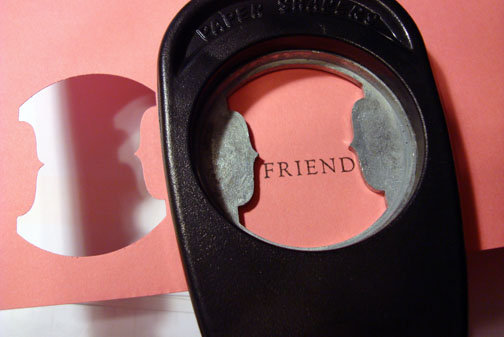
Stamped the Sentiment from the Stampin’ Up set, Fundamental Phrases on a piece of Regal Rose card stock using Early Espresso ink.
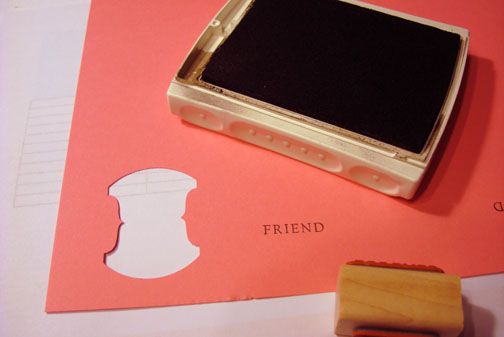
Using the tab punched, punched it out, lining the word friend up, as shown in the photo below.
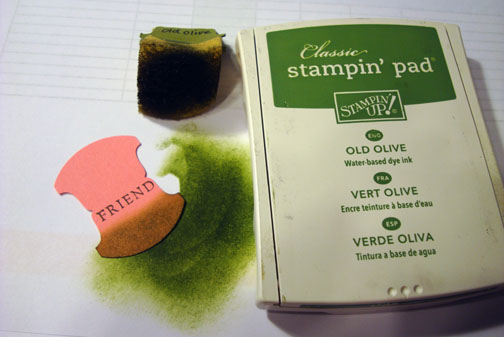
Sponged Old Olive ink and then Early Espresso ink on the tab punch.
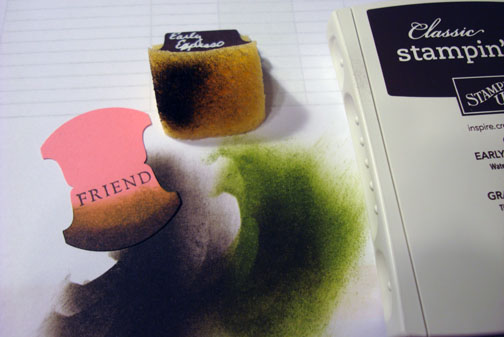
Sponged Early Espresso ink around the edges of the card stock and then glued the tab punch on.
Added two gold brads to the tab punch.
Added Early Espresso, Whisper White and River Rock panels.
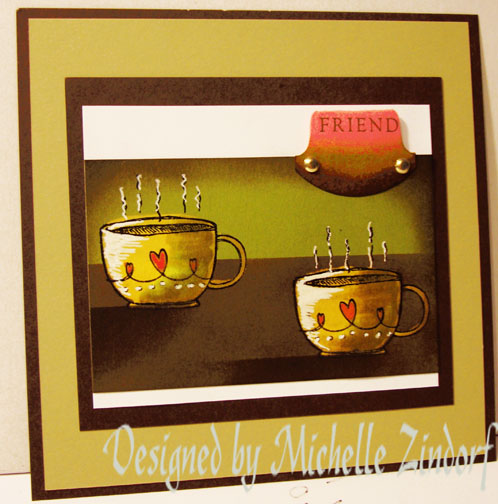
Here is the finished card measuring 5.25″ square.
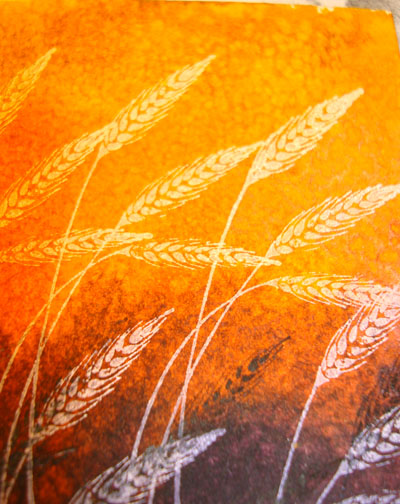
I hope this tutorial has inspired you to get out the bleach and give this technique a try. It is so much fun to see what colors appear as you use the bleach different colored card stock.
May your day be full of surprise and wonder.
Until my next post. . . . . . . . .
Hugs,
Michelle
 Get ready for Brayer Workshops! I am coming to the following locations, click the location name for more information.
Piedmont, Alabama (Near GA border close to Cedartown)
Auburn, Washington (near Seattle)
Fayette, Tennessee near Nashville, TN & Huntsville, AL
Syracuse (Bridgeport), New York
Here is a link to my workshop calendar where you can see all of my travel schedule and to get info on beginner and advanced Brayer workshops: https://zindorf.splitcoaststampers.com/workshop-calendar
Link to my Stampin’ Up website where you can order all of your must have Stampin’ Up products from me 24-7: https://michellezindorf.stampinup.net
Frequently asked questions answers: https://zindorf.splitcoaststampers.com/frequently-asked-questions/