
Hey There,
I really cannot believe this is card tutorial #500. Didn’t I just start this blog yesterday? Where does the time go . . . . . . .
If you would like a quick way to view past tutorials CLICK HERE or click on the Tutorial title at the top of my blog.
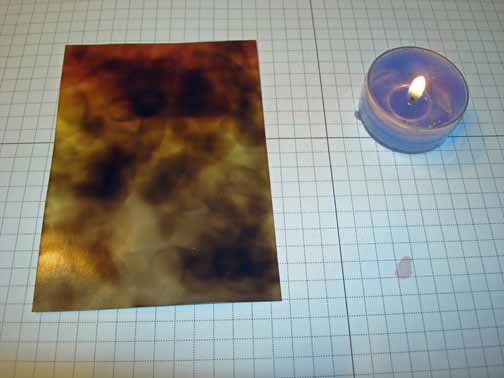
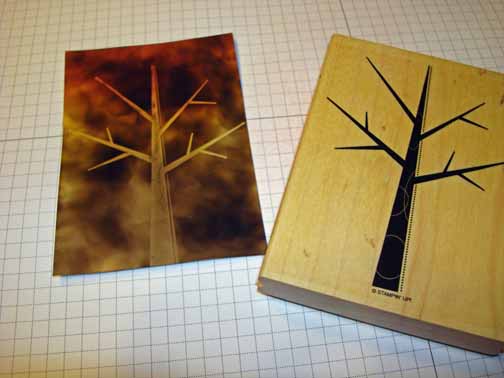
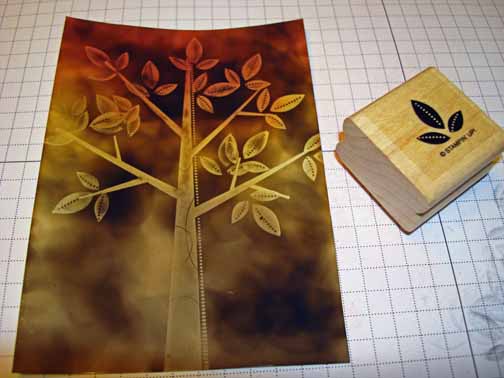
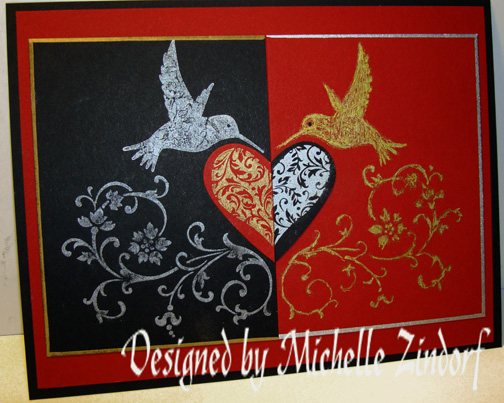
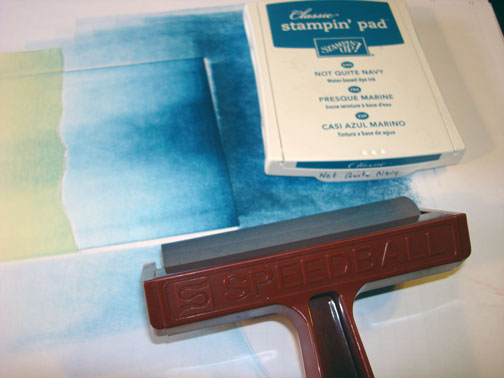
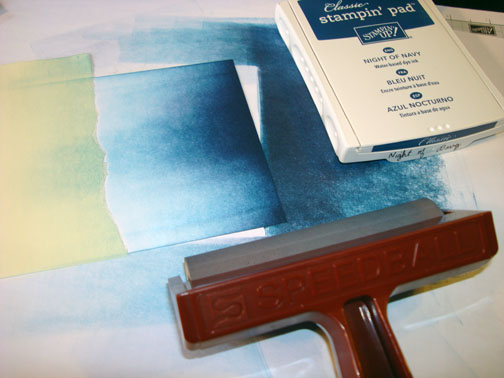
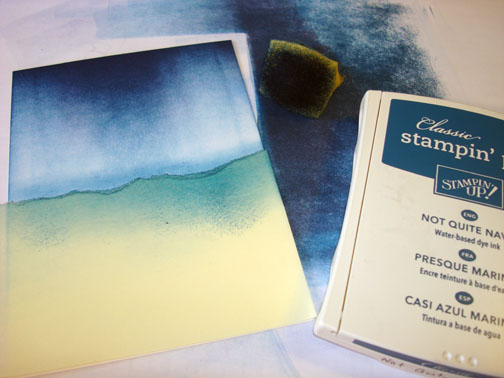
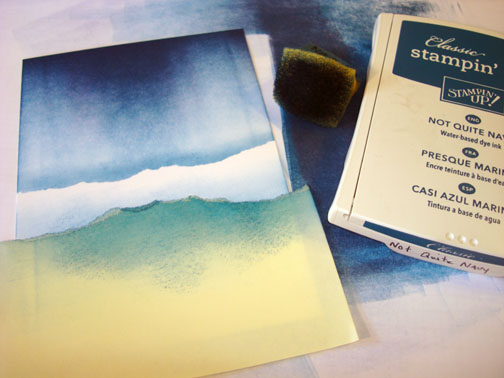
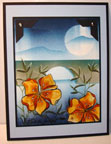
Anyhow, today’s tutorial was created for my Stampin’ Up! Down Line Technique Swap. The technique used here is Emerging Color. This technique gives you a beautiful background. It’s hard to see it in it’s full glory in these pictures. The Flowers that are stamped all over the background and then covered up really show through a bit under the dark ink put over them to give you a lovely layered look. You just have to see in it person. So get out those inks and stamps!
Reminders before I start on the tutorial:
Don’t miss out on my Customer free stamp set program. Check it out! Along with a thank you card from me for your order you will receive a token for each $50 in product you ordered using me as your demonstrator. After you have collected 10 tokens you will receive a free current stamp set of your choosing, a value of $39 or less. Here is a link to my online shopping page that you can shop at 24/7 (from the comfort of your home, even in your pj’s) and the products will be shipped directly to your door step from Stampin’ Up: CLICK HERE TO SHOP. My free stamp set program will be an on going program. ![]()
Don’t forget the Stampin’ Up! new Occasions Mini Catalog CLICK HERE TO TAKE A LOOK AT IT. I know you will fall in love with the new stamp sets, dies and accessories. They are to die for. . .
Now on with today’s tutorial. . . . . . .
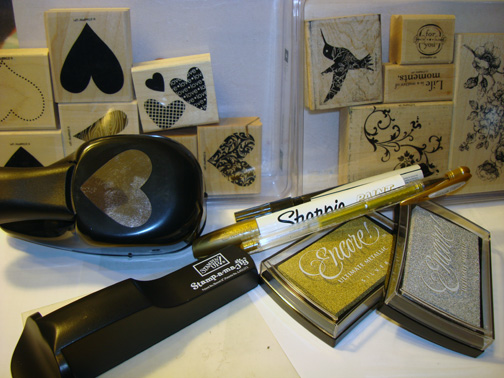
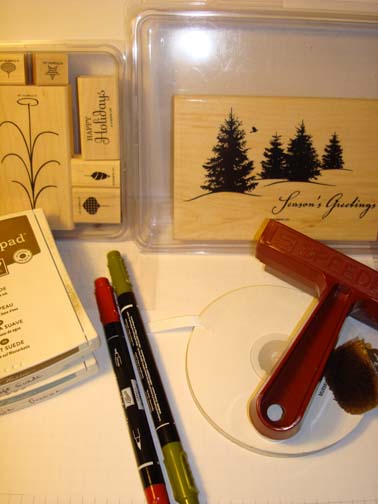
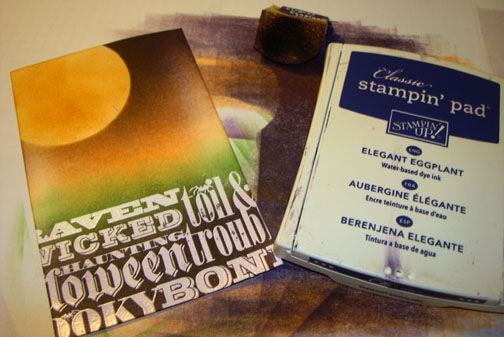
Supplies
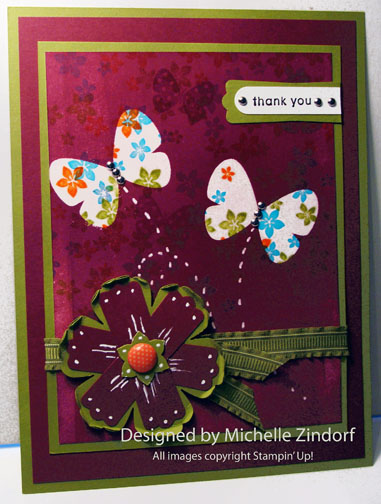
Stamps: Stampin’ Up! Flight of the Butterfly and Cottage Garden
Card Stock: Stampin’ Up! Whisper White, Rich Razzelberry and Lucky Limeade
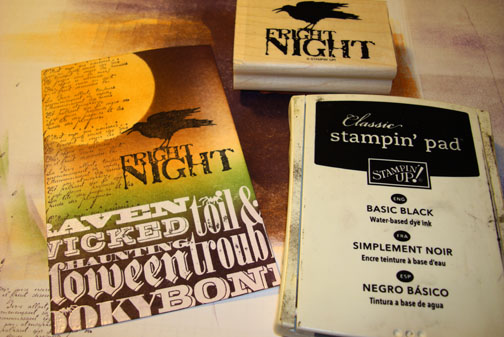
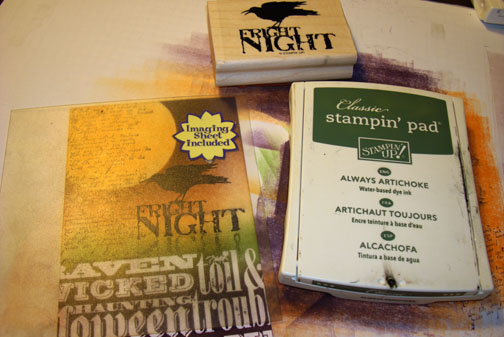
Ink: Stampin’ Up! Lucky Limeade, Tempting Turquoise Calyso Coral, Basic Black and Rich Razzelberry
Accessories: Stampin’ Up! Old Olive Ribbon, Mini Brads, Blossom Punch, Modern Label Punch, Word Window Punch, Boho Blossoms Punch, In Color Designer Brad, White Gel Pen, Brayer, Clear Embossing Powder, Heat Gun, Piercing Tools, Versamark Pad and Basic Black Marker.
Want a free copy of the current Stampin’ Up! Occasions Mini Catalog? Just e-mail your address to [email protected] and I will get one right out to you. Get your copy of the 2011-2012 Stampin’ Up! Idea Book & Catalog by sending $9.95 to me at P.O. box 116, West Alexandria, Ohio 45381 or via paypal to [email protected], shipping is free. ![]() Are you getting inspiration from this blog? One way you can help support it is to order your Stampin’ Up products through me. Click HEREto place an order and have your order delivered directly to your door step from Stampin’ Up! Want to become a Stampin’ Up Demonstrator , receive a 20% discount on product and earn instant income on orders, get to purchase products before they are released to the public? Consider being part of my Stampin’ Up Team and start your own business or become a Hobby Demo just for the discount. Click HERE for more information.
Are you getting inspiration from this blog? One way you can help support it is to order your Stampin’ Up products through me. Click HEREto place an order and have your order delivered directly to your door step from Stampin’ Up! Want to become a Stampin’ Up Demonstrator , receive a 20% discount on product and earn instant income on orders, get to purchase products before they are released to the public? Consider being part of my Stampin’ Up Team and start your own business or become a Hobby Demo just for the discount. Click HERE for more information.
Now on with the tutorial . . . .
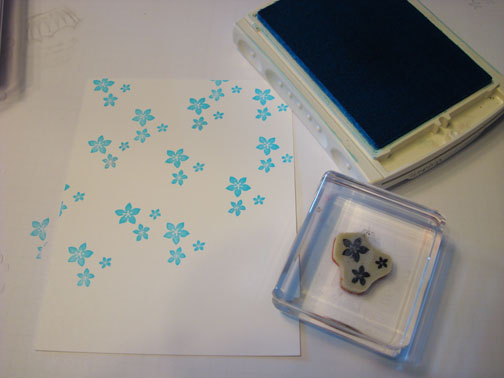
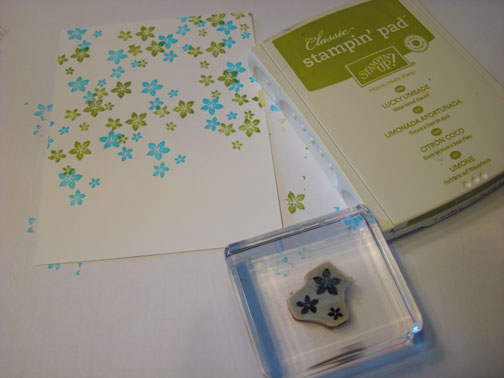
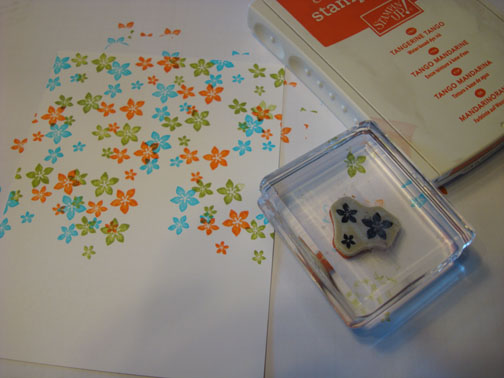
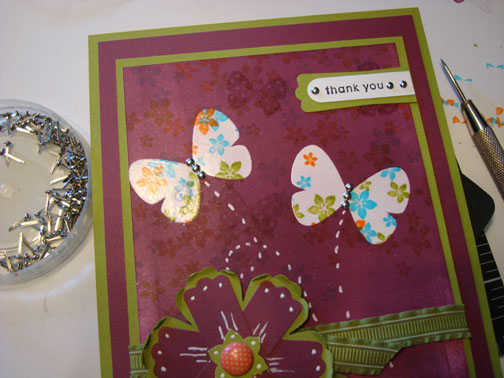
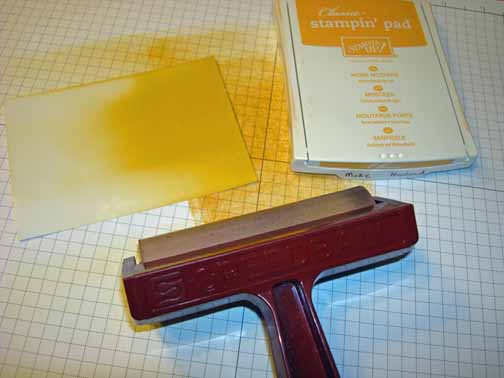
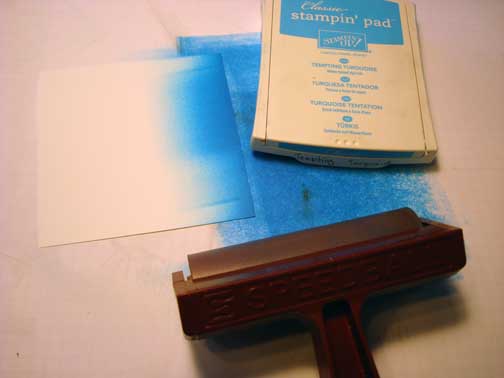
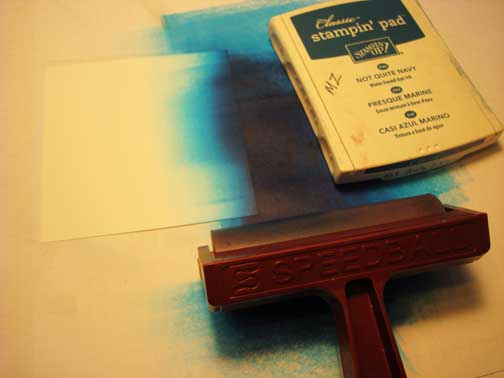
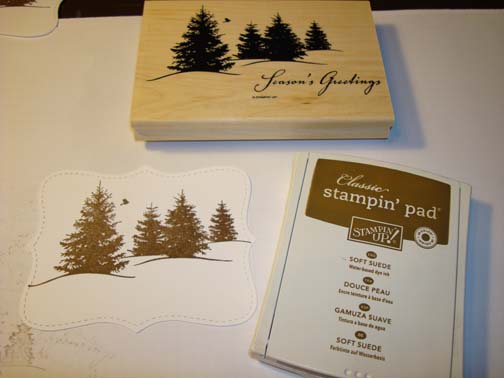
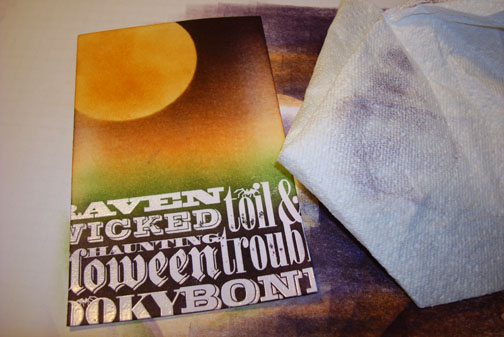
Stamped the flowers on a 4″ x 5.25″ piece of Whisper White card stock using Tempting Turquoise, Lucky Limeade and Calypso Coral inks.
Dried the ink on the card stock using my heat gun.
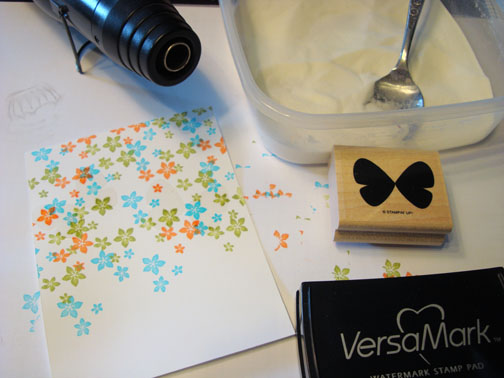
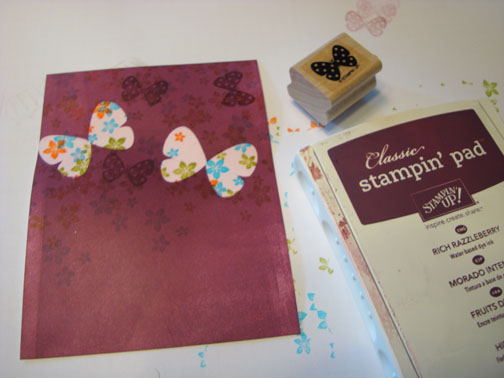
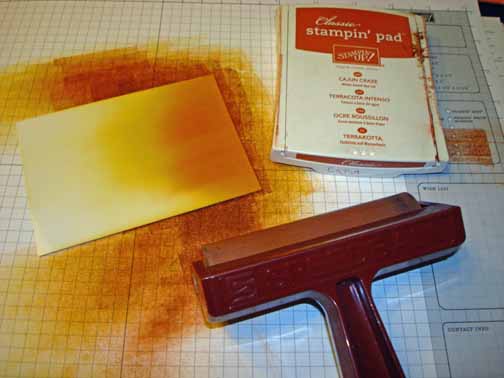
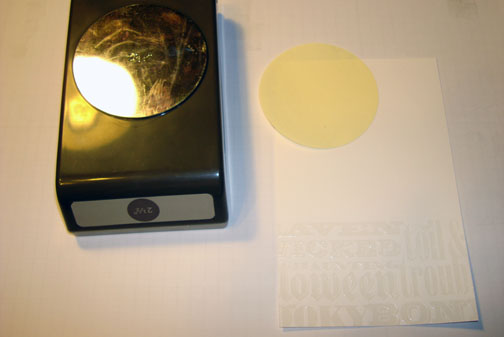
Stamped two butterflies on the cards stock using Versamark. Heat embossed the butterflies using clear embossing powder and a heat gun.
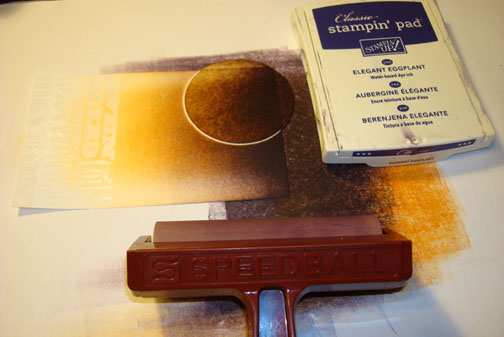
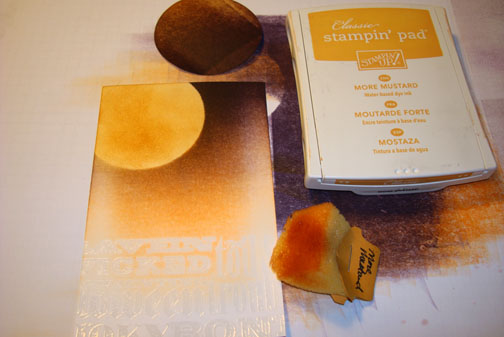
Brayered Rich Razzelberry all over the card stock. Wiped the embossed butterflies off with a paper towel.
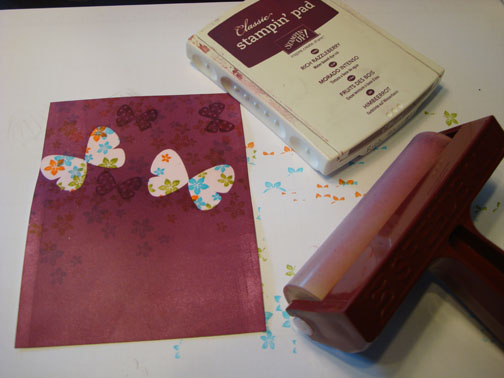
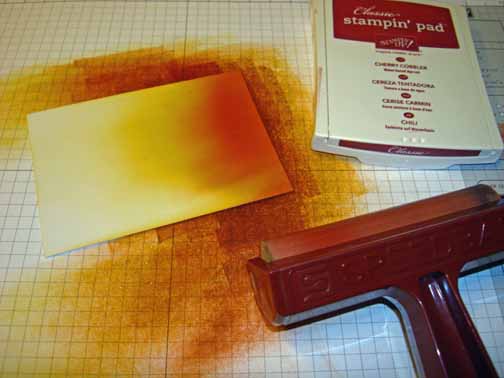
Stamped a few small butterflies on the card stock using Rich Razzelberry ink.
Added white gel pen dashes.

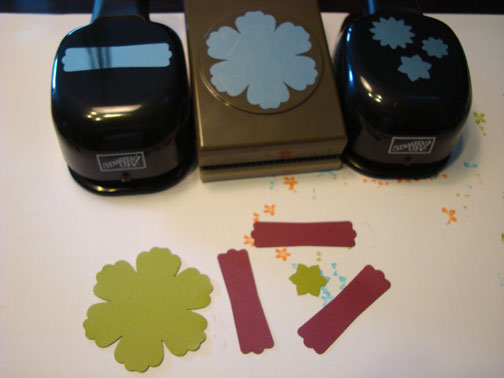
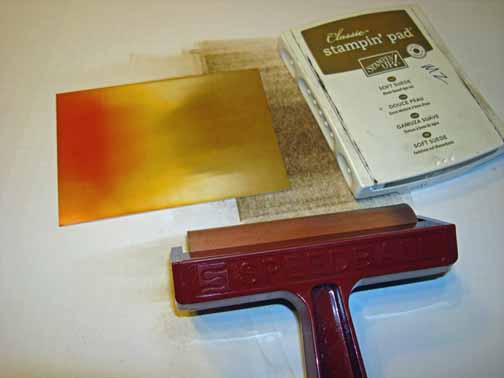
Punched the flowers from Lucky Limeade card stock and 3 Label Punches from Rich Razzelberry card stock.
Assembled as show below.
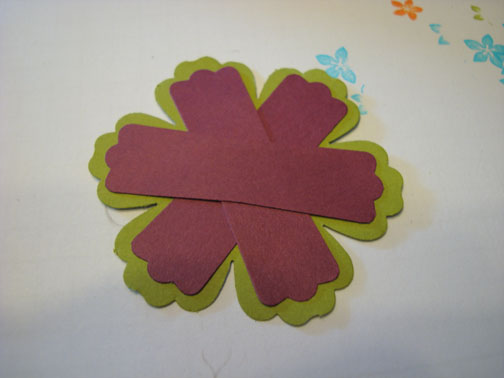
Added the small flower and a decorative brad.
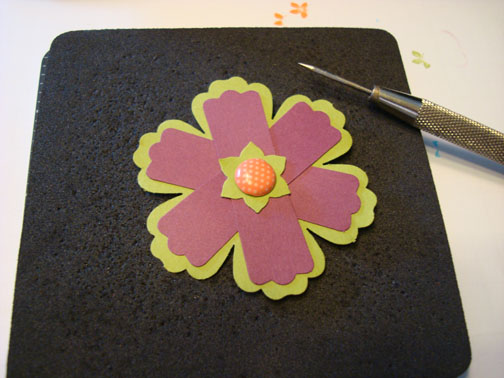
Added a Lucky Limeade panel and some Lucky Limeade Ribbon. Popped the flower up using Stampin’ Dimensionals.

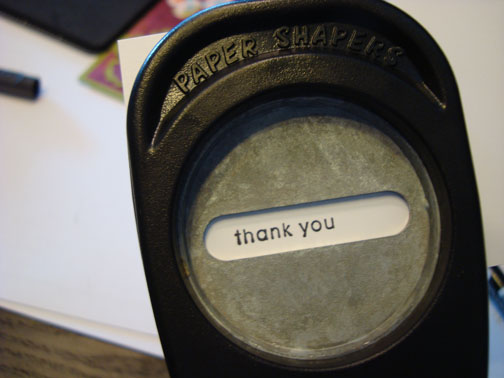
Stamped the words thank you using a Basic Black marker to color the “thank you” only and then stamped them on a scrap piece of Whisper White card stock.

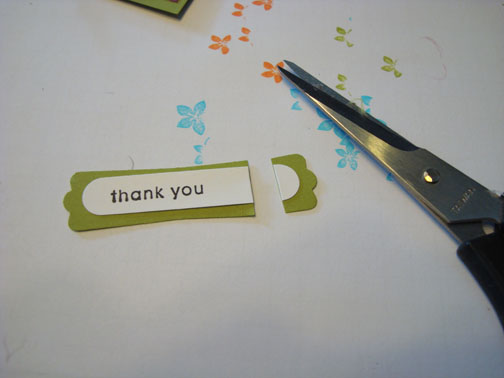
Punch it out using the Word Window Punch.
Punched a Modern Label Punch from Lucky Limeade card stock. Glued the word window Punch to it and cut the end off of both.
Added White Gel Pen to the flower.
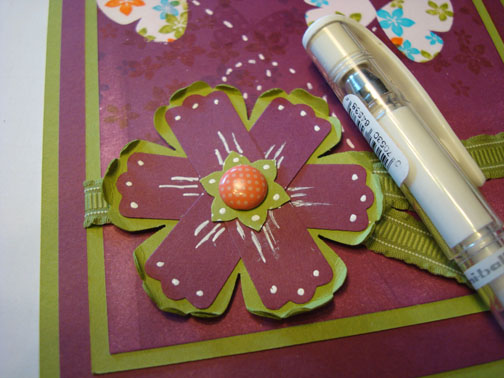
Added my sentiment and mini silver brads to the butterflies for their bodies and to the sentiment punches. Added another Lucky Limeade Panel and a Rich Razzelberry panel.
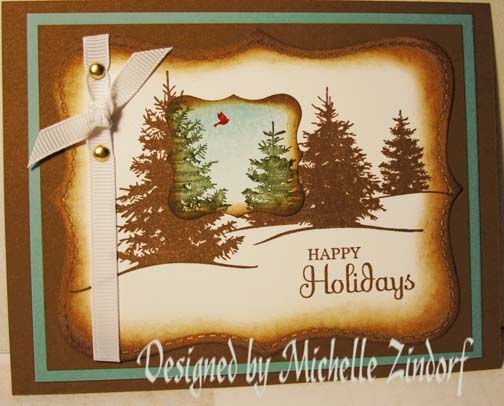
Here is the finished card measuring 5″ x 6.5″.
May you find your hands ink today.
Until my next post. . . . . . . .
Hugs,


 Get ready for Brayer and Direct to Paper Workshops! I am coming to the following locations, click the location name for more information.
Sparta, New Jersey (Sold Out)
Post Falls, Idaho (outside of Coeurd’Alene)
Sand Lake, Michigan (just North of Grand Rapids)
Longmont (Gunbarrel), Colorado
Here is a link to my workshop calendar where you can see all of my travel schedule and to get info on beginner and advanced Brayer workshops, along with the newly added Direct to Paper Workshop: https://zindorf.splitcoaststampers.com/workshop-calendar
Don’t see a workshop in your State? Interested in hosting the workshops in your area Click HERE to get hostess information.
Link to my Stampin’ Up website where you can order all of your must have Stampin’ Up products from me 24-7: https://michellezindorf.stampinup.net


