
Hello There,
I have chickens on my mind today. My hens are laying like crazy, keeping Russ and I in fresh eggs, yummy. We have hens, no roosters. Did you know you don’t need a rooster for your hens to lay? Alot of people don’t realize that. You only need a rooster if you want fertilized eggs. Boy you never know what you are going to learn on my blog, lol.
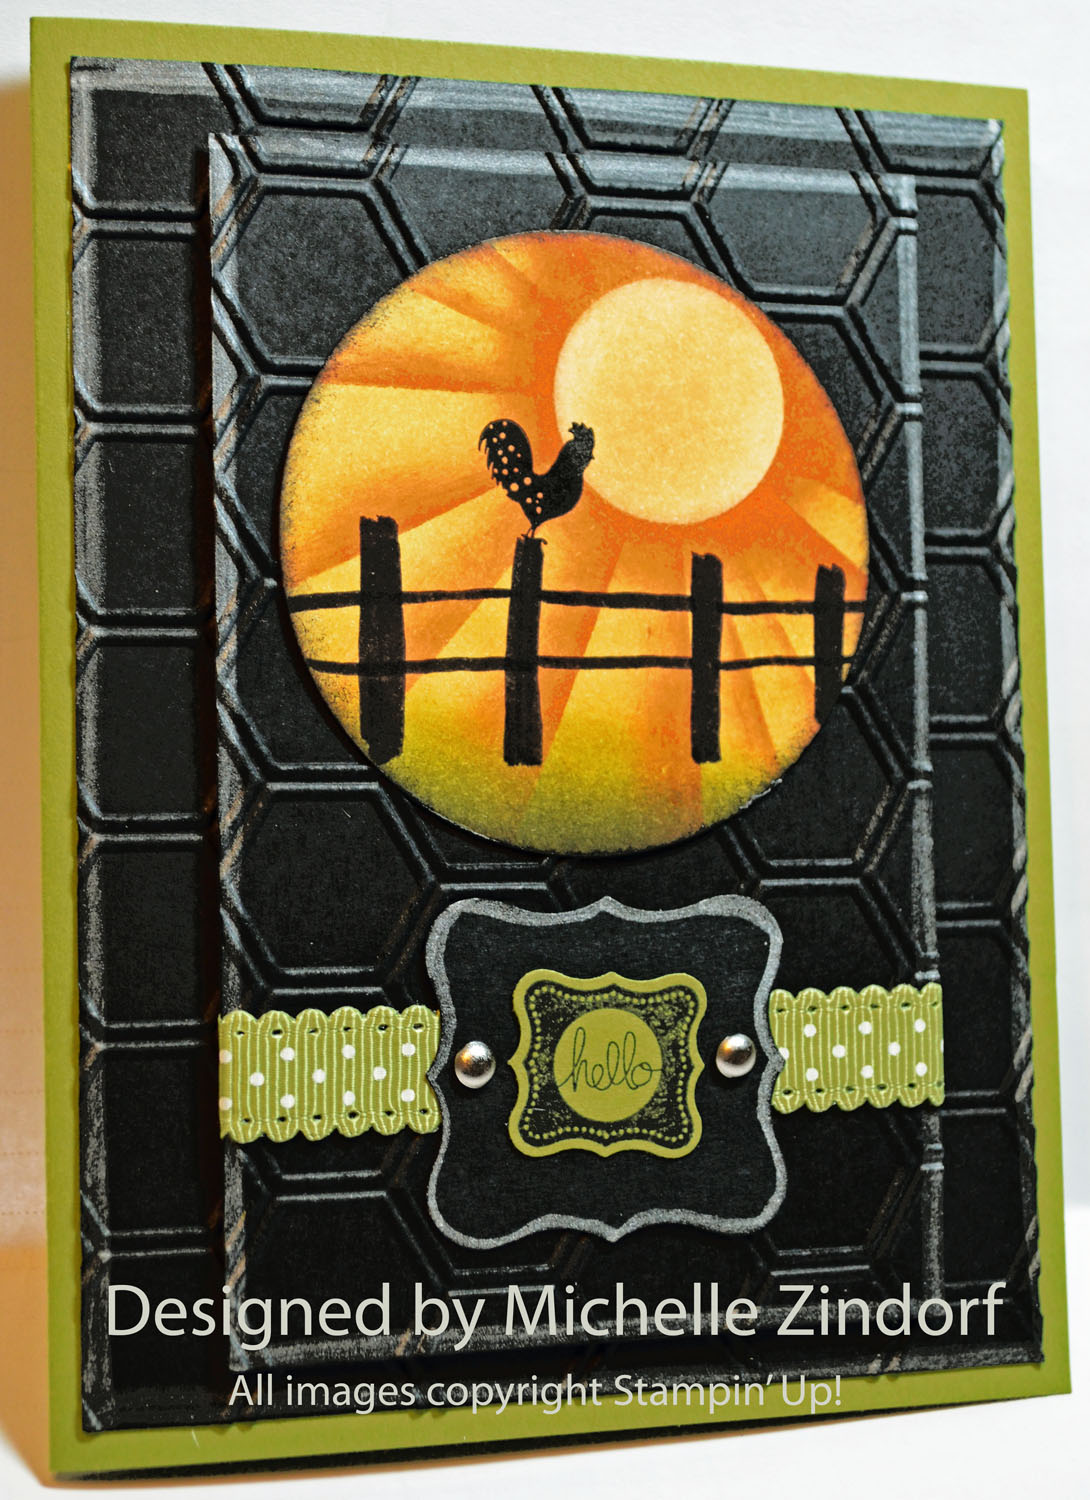
A rooster is appropriate for this scene though. Can’t you just hear him crowing in the early morning. There is a rooster a farm over from us and when we sit out on the deck in the morning we can hear him. I love the sound in the distance.
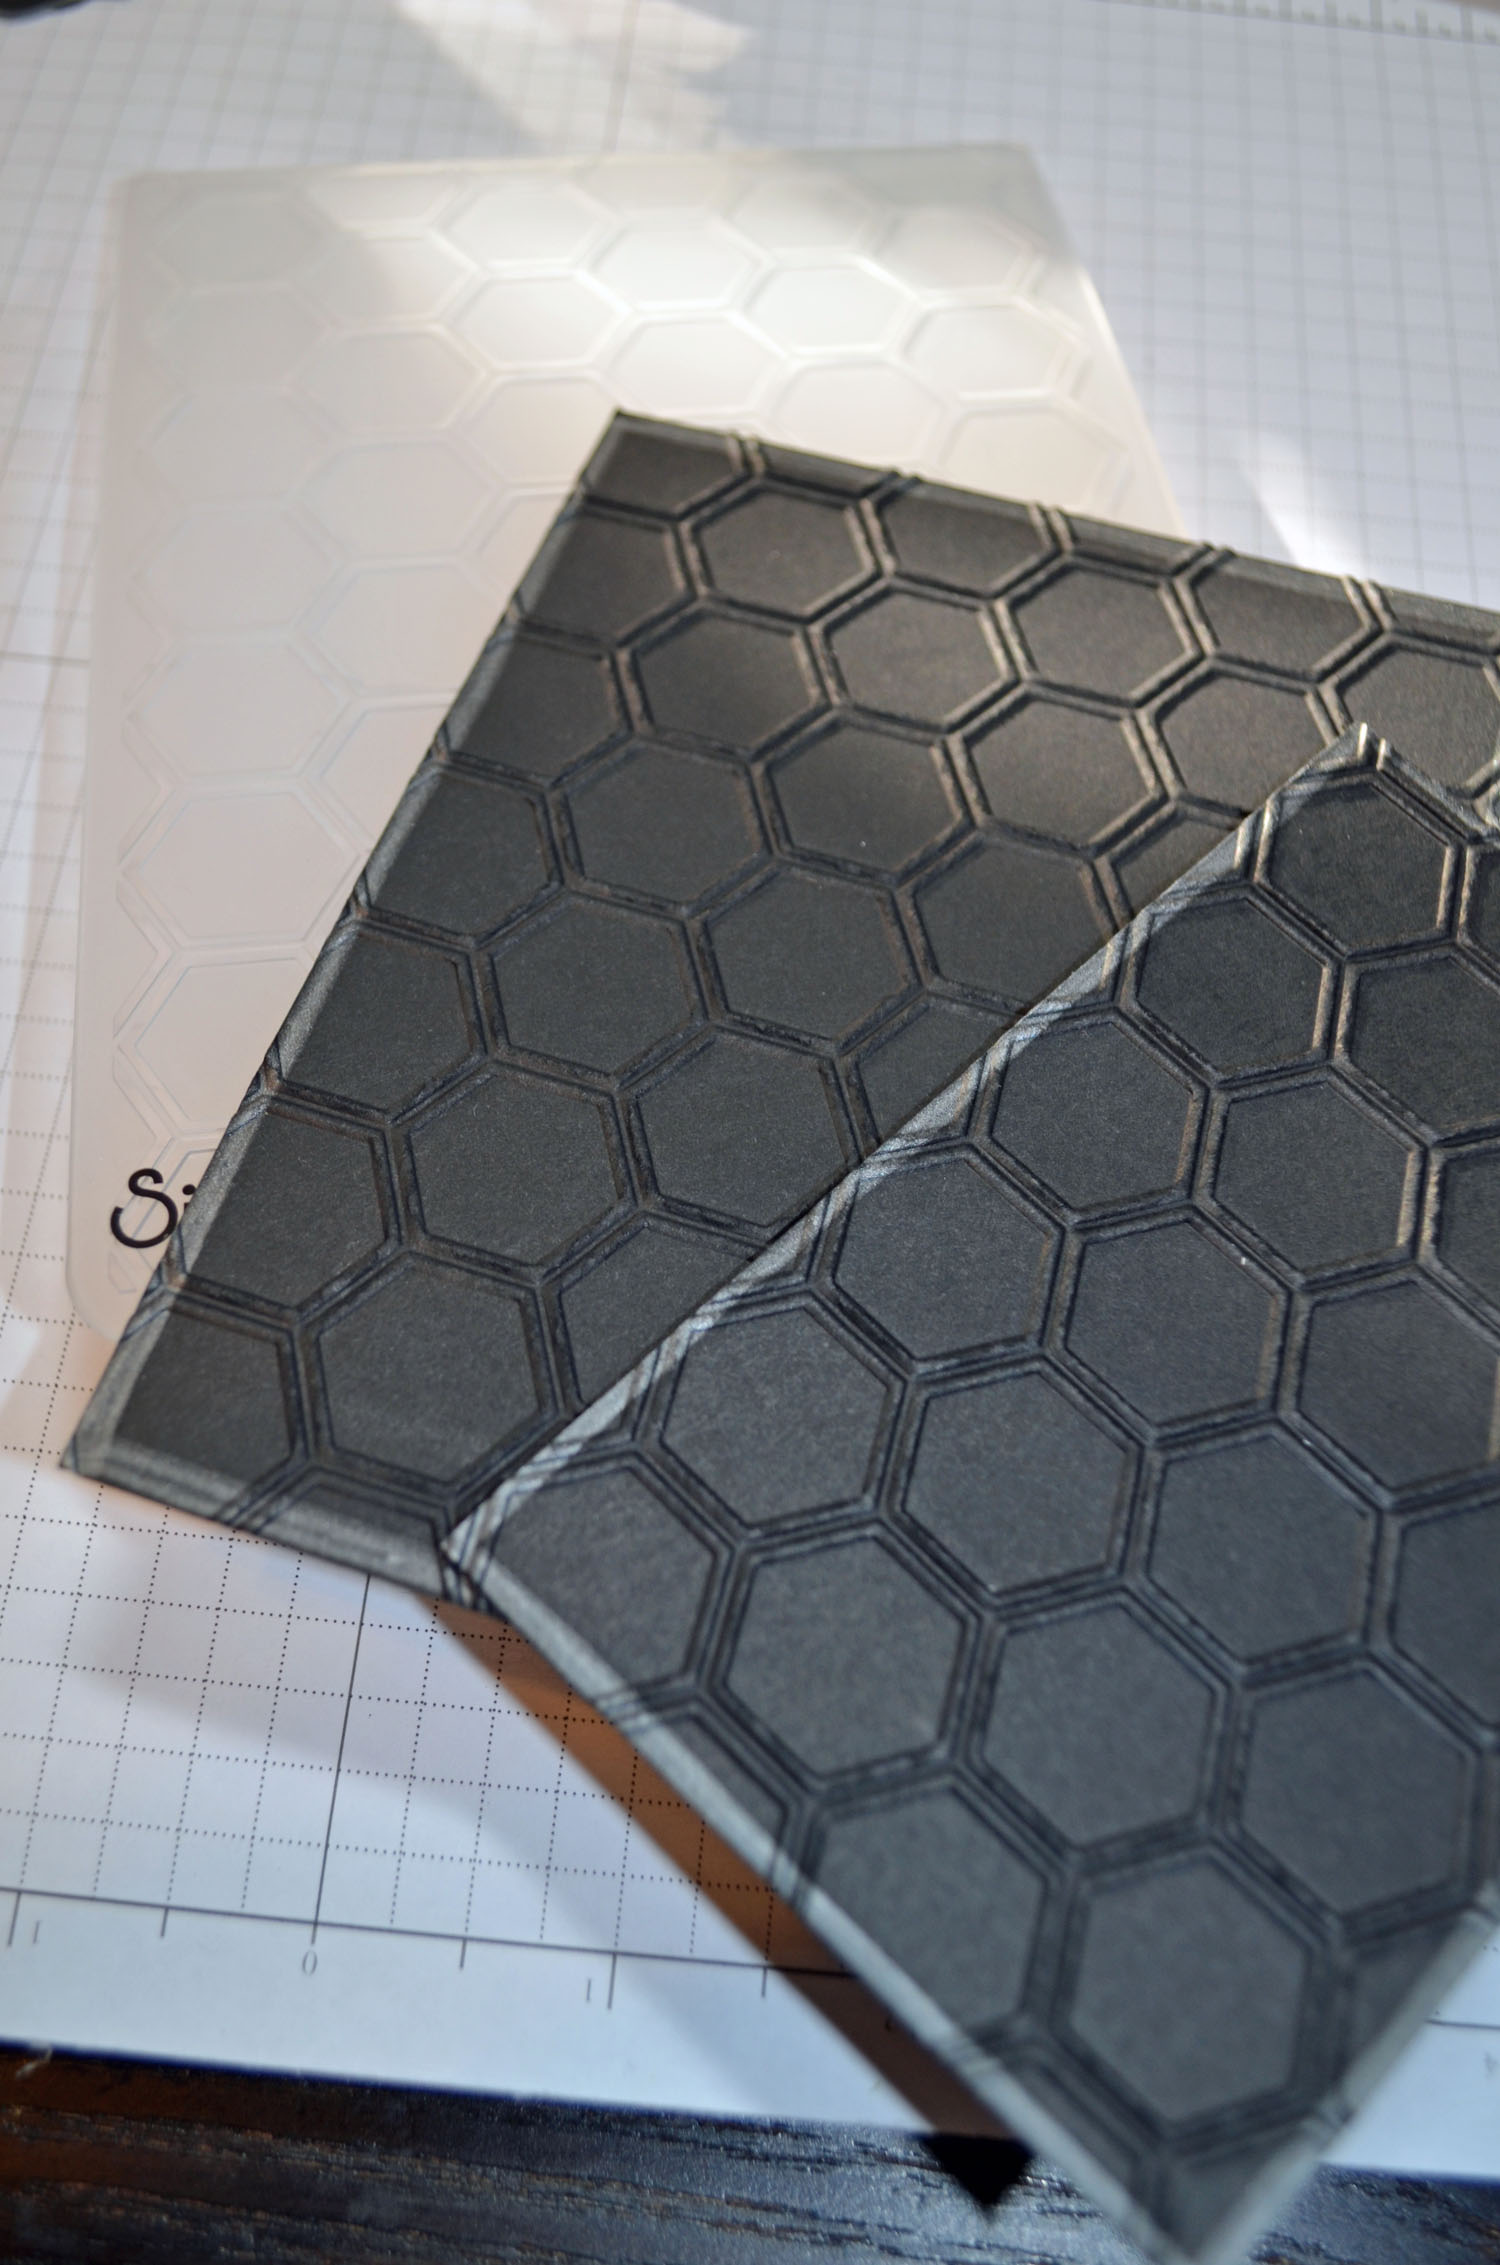
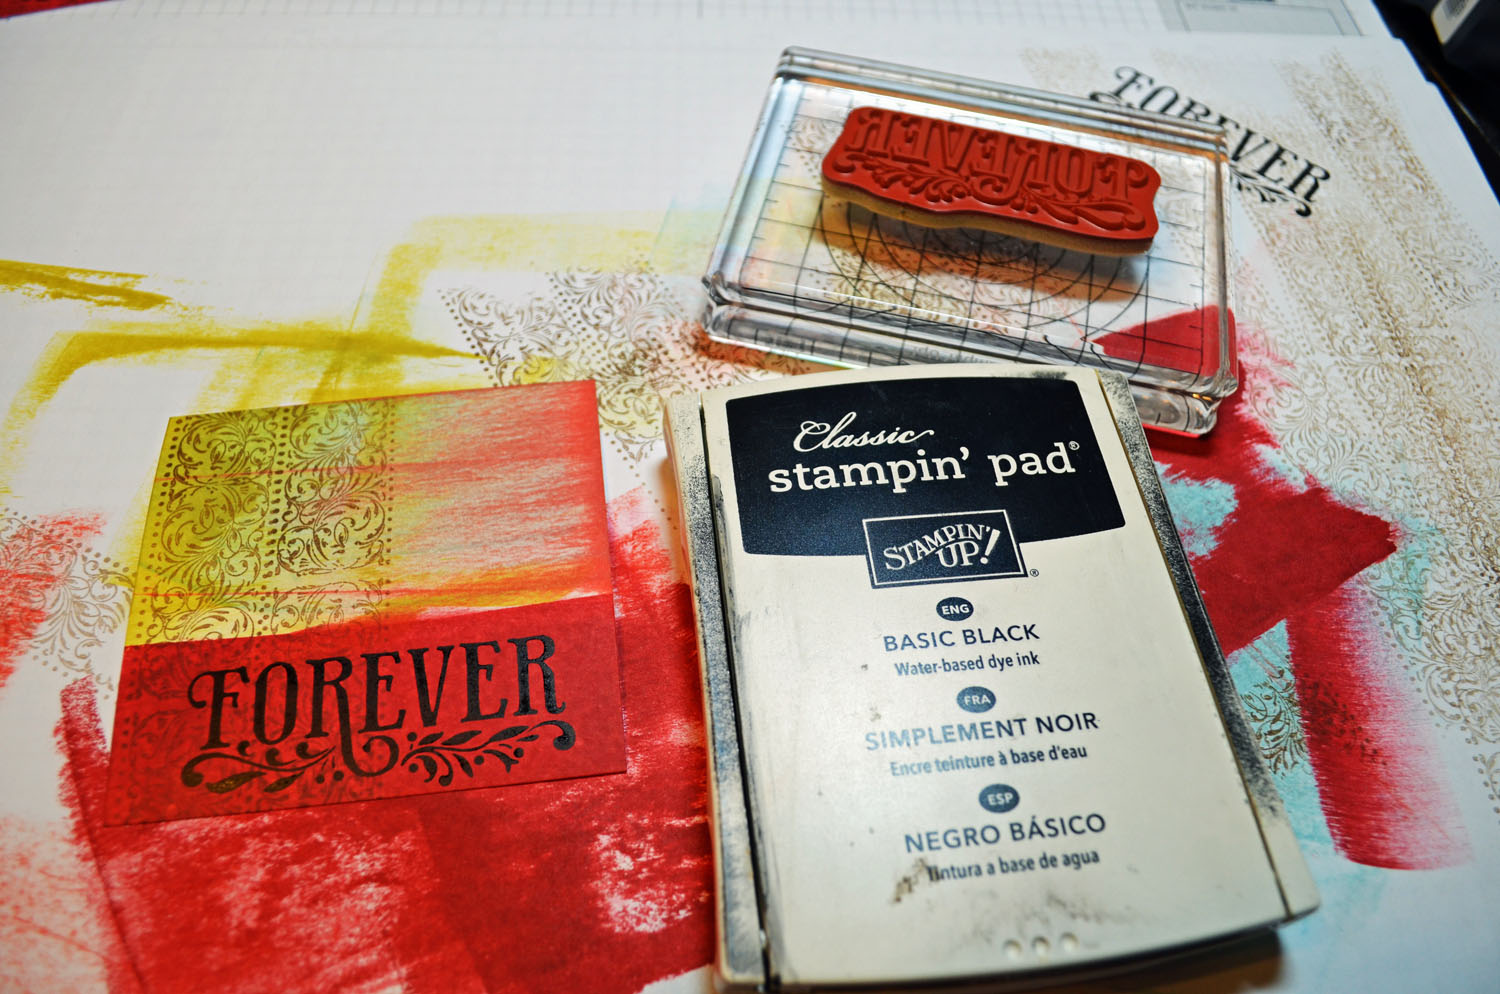
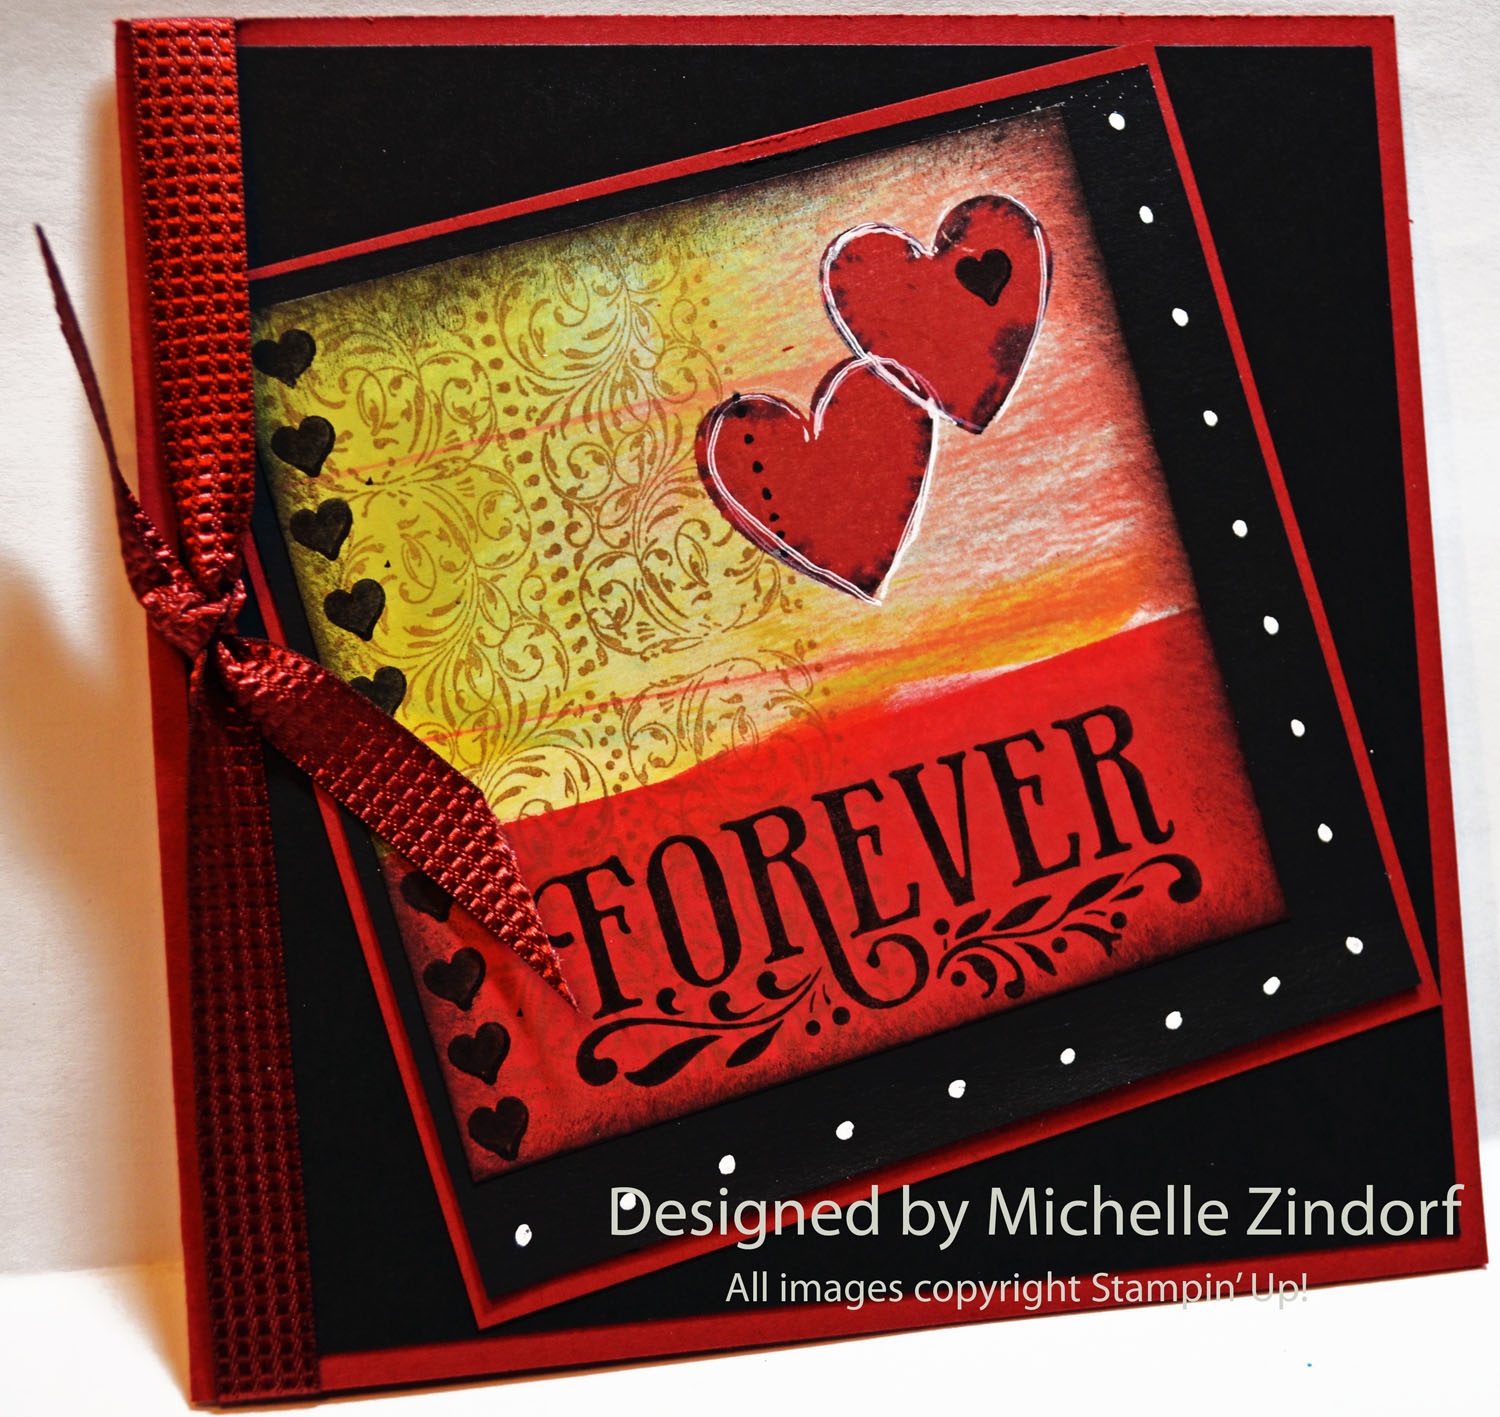
Today’s tutorial features a new Stampin’ Up! Spring Catalog Embossing folder, Honeycomb. When I first layed eyes on it I decided it would be great to use for chicken wire on cards. What do you think? Talk about texture in your card this embossing folder really embosses deep.
I also snuck a sneak peep in this card for you from our up coming Stampin’ Up! Sale-a-bration Catalog that will be active starting January 22, 2013. It’s the little hello stamp from the Pretty Petites stamp set and coordinating Petite Curly Label Punch. It really layers well with the Curly Label punch. The sale-a-bration items will be free with a $50 order starting January 22nd. So stay tuned for those.
This card has been added to my sales page. Click here to check it out.
****************************************
Now on with today’s tutorial. . . . . . .
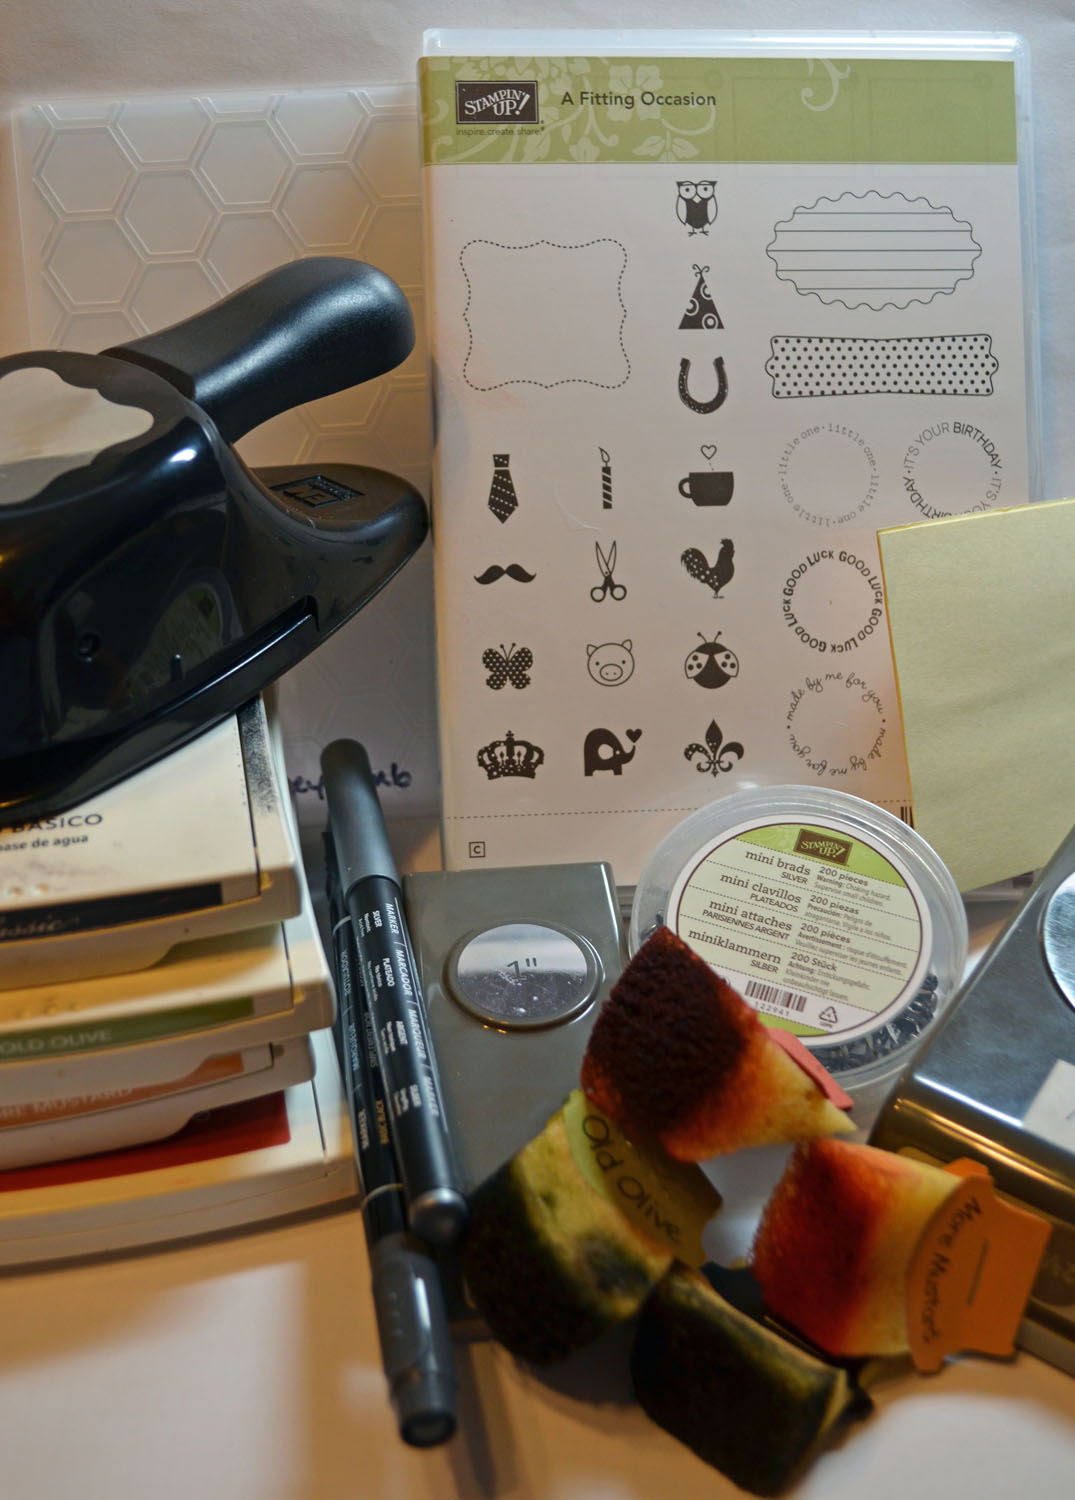
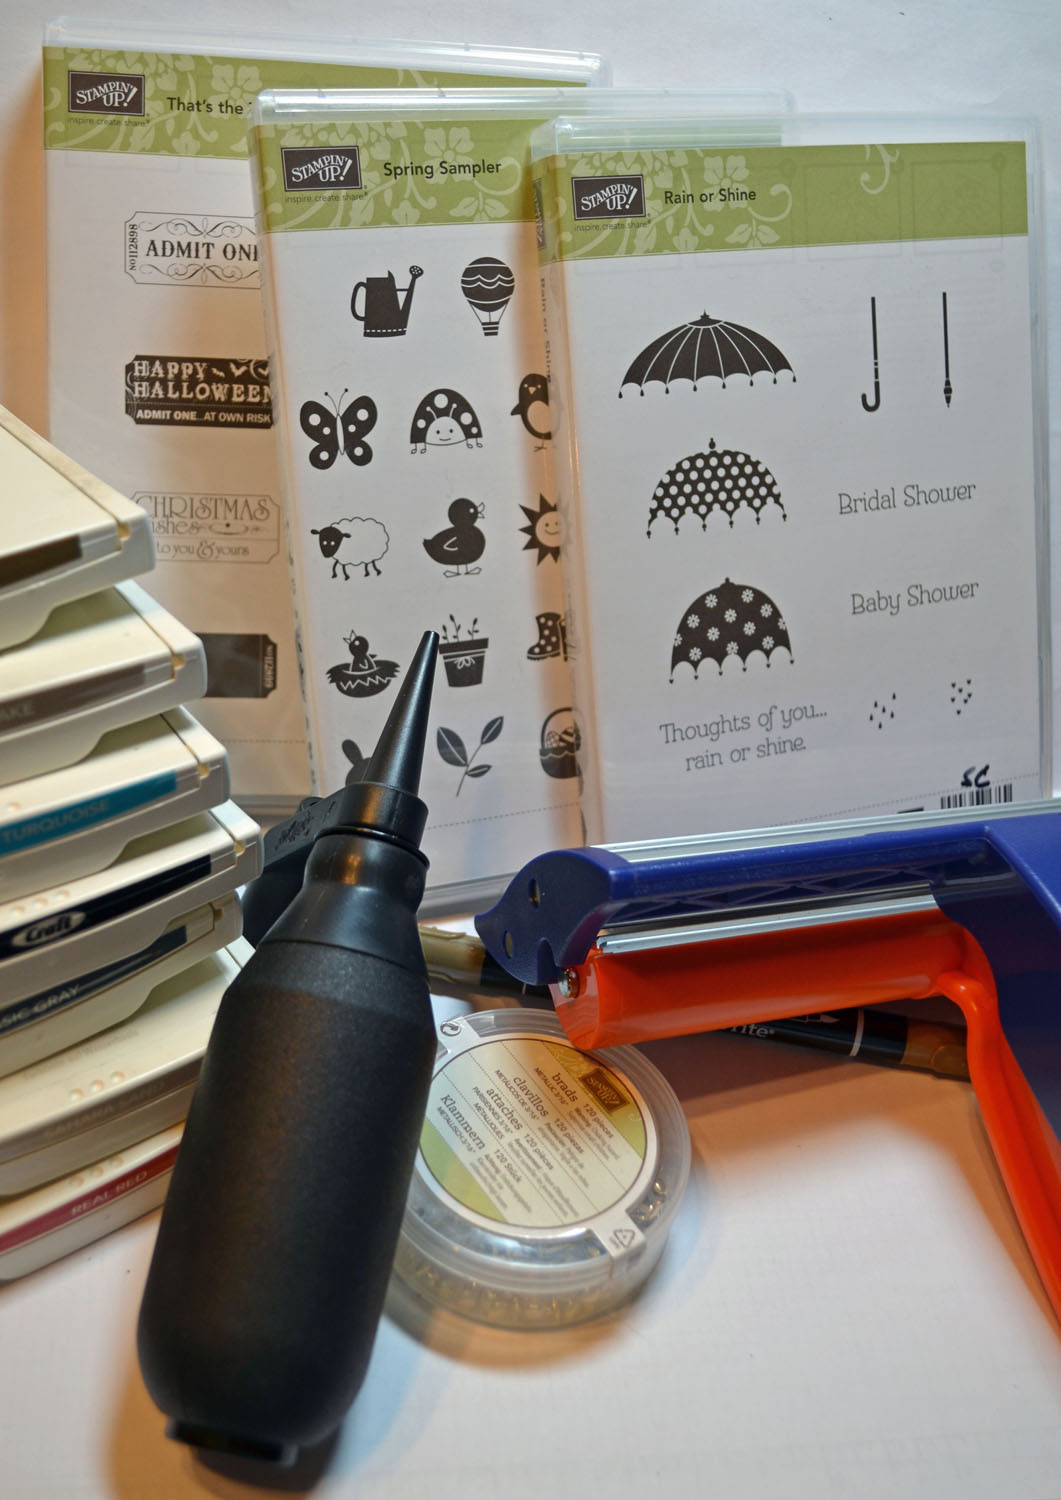
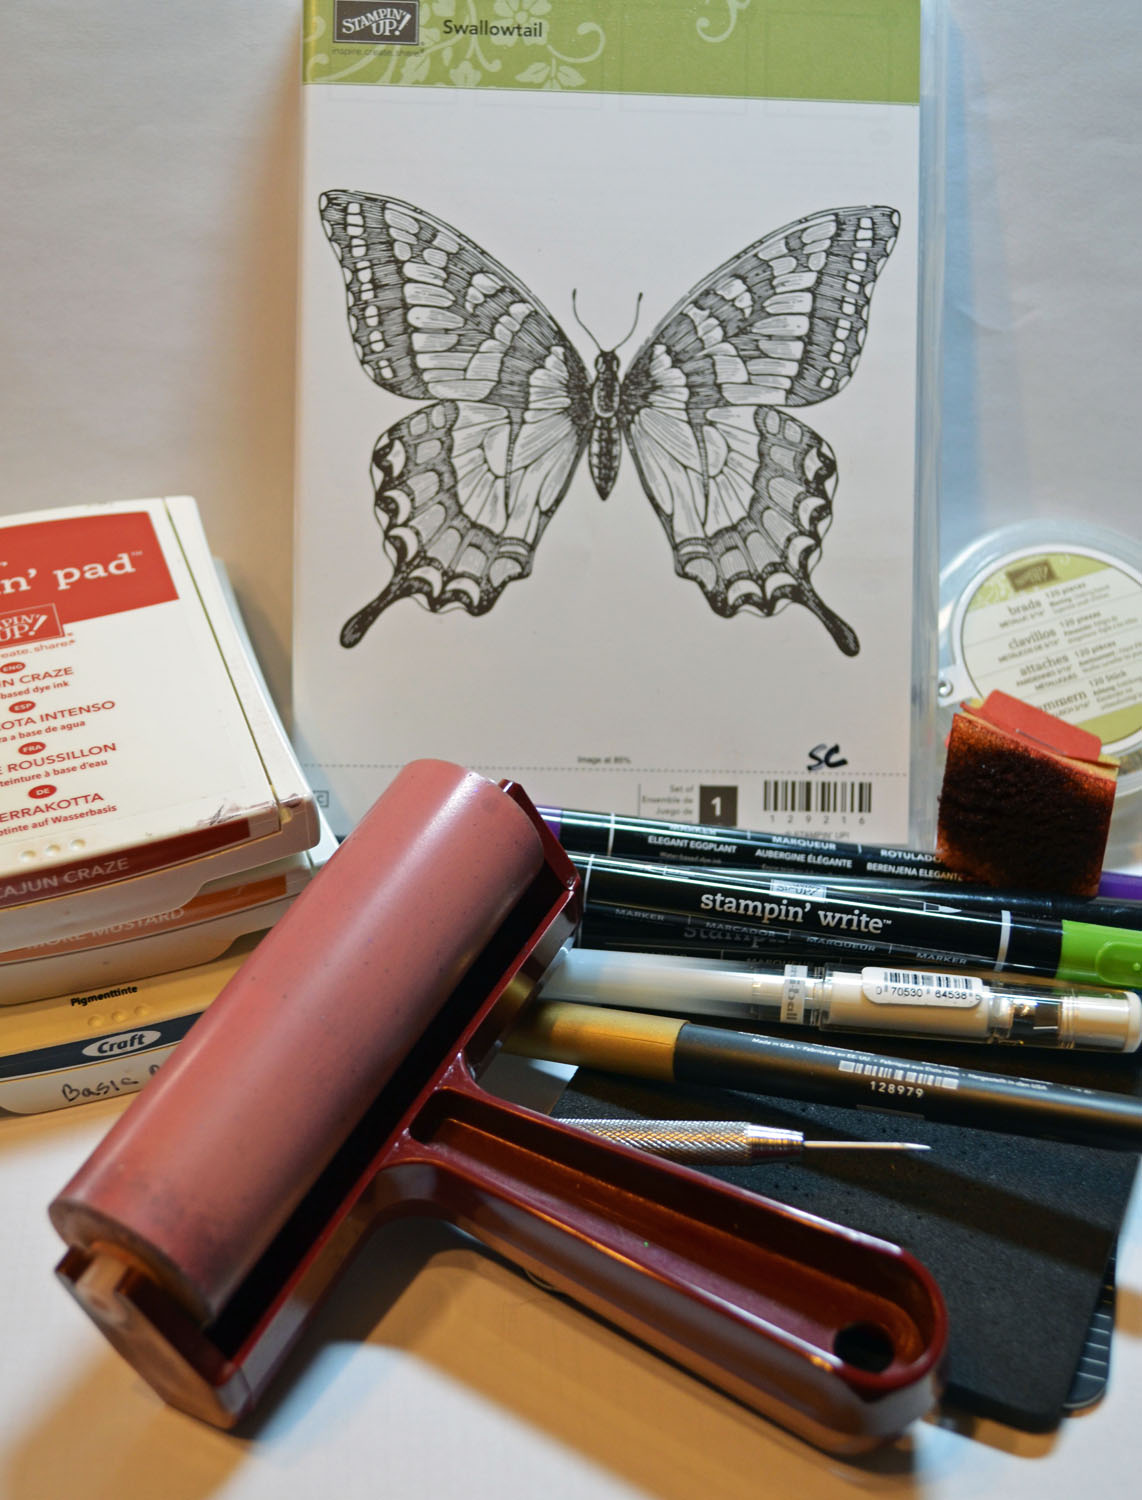
Project Supplies:
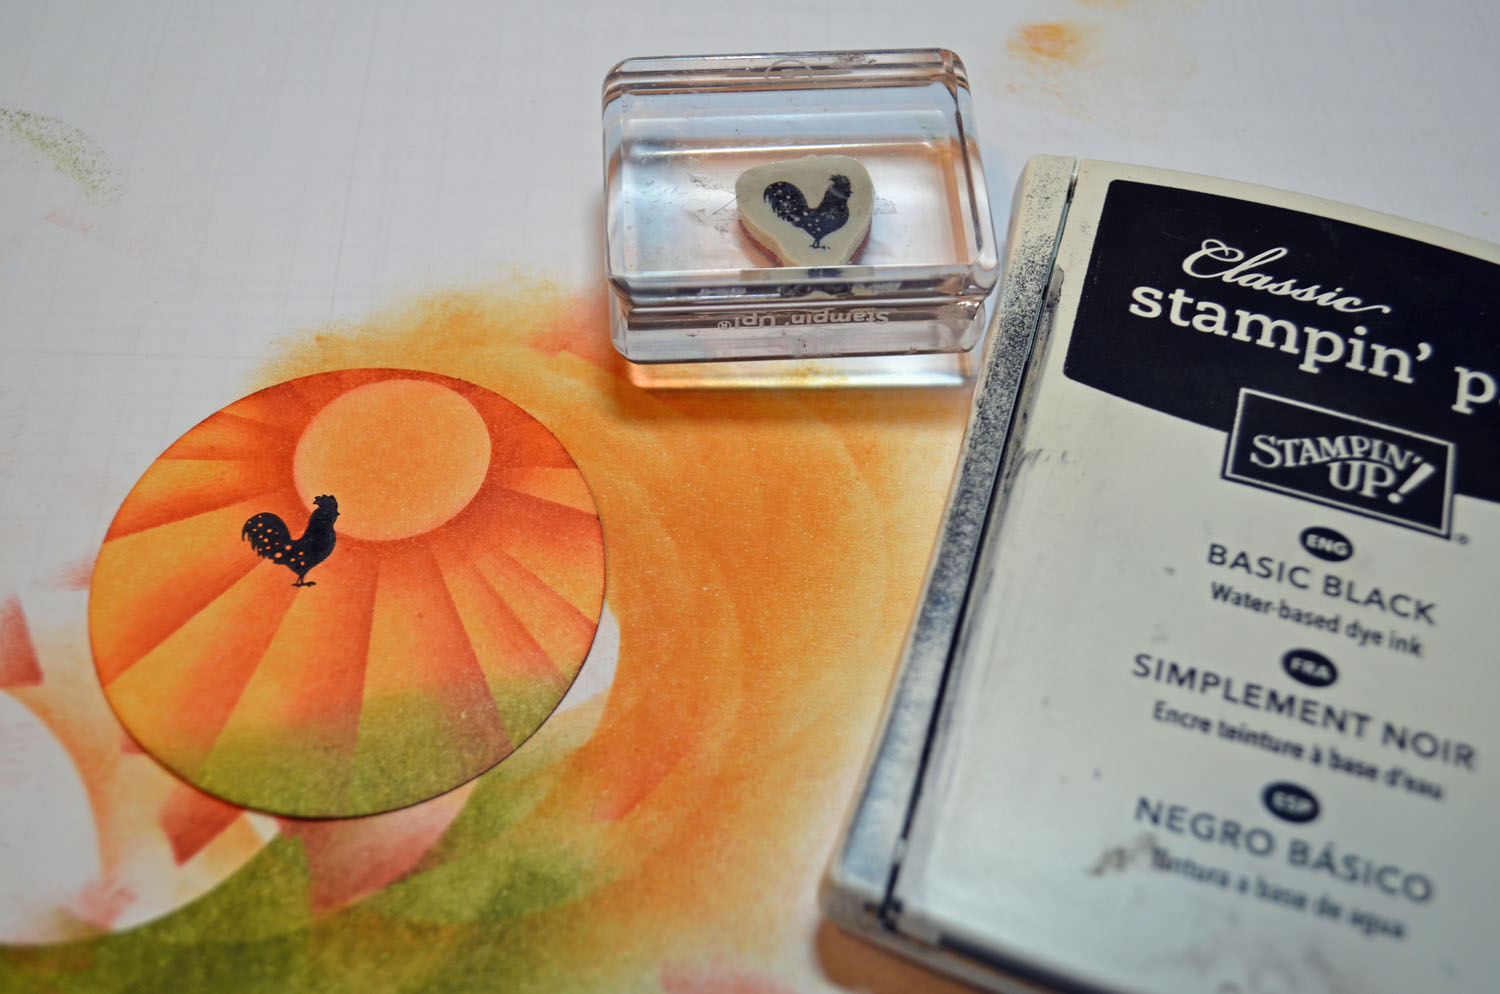
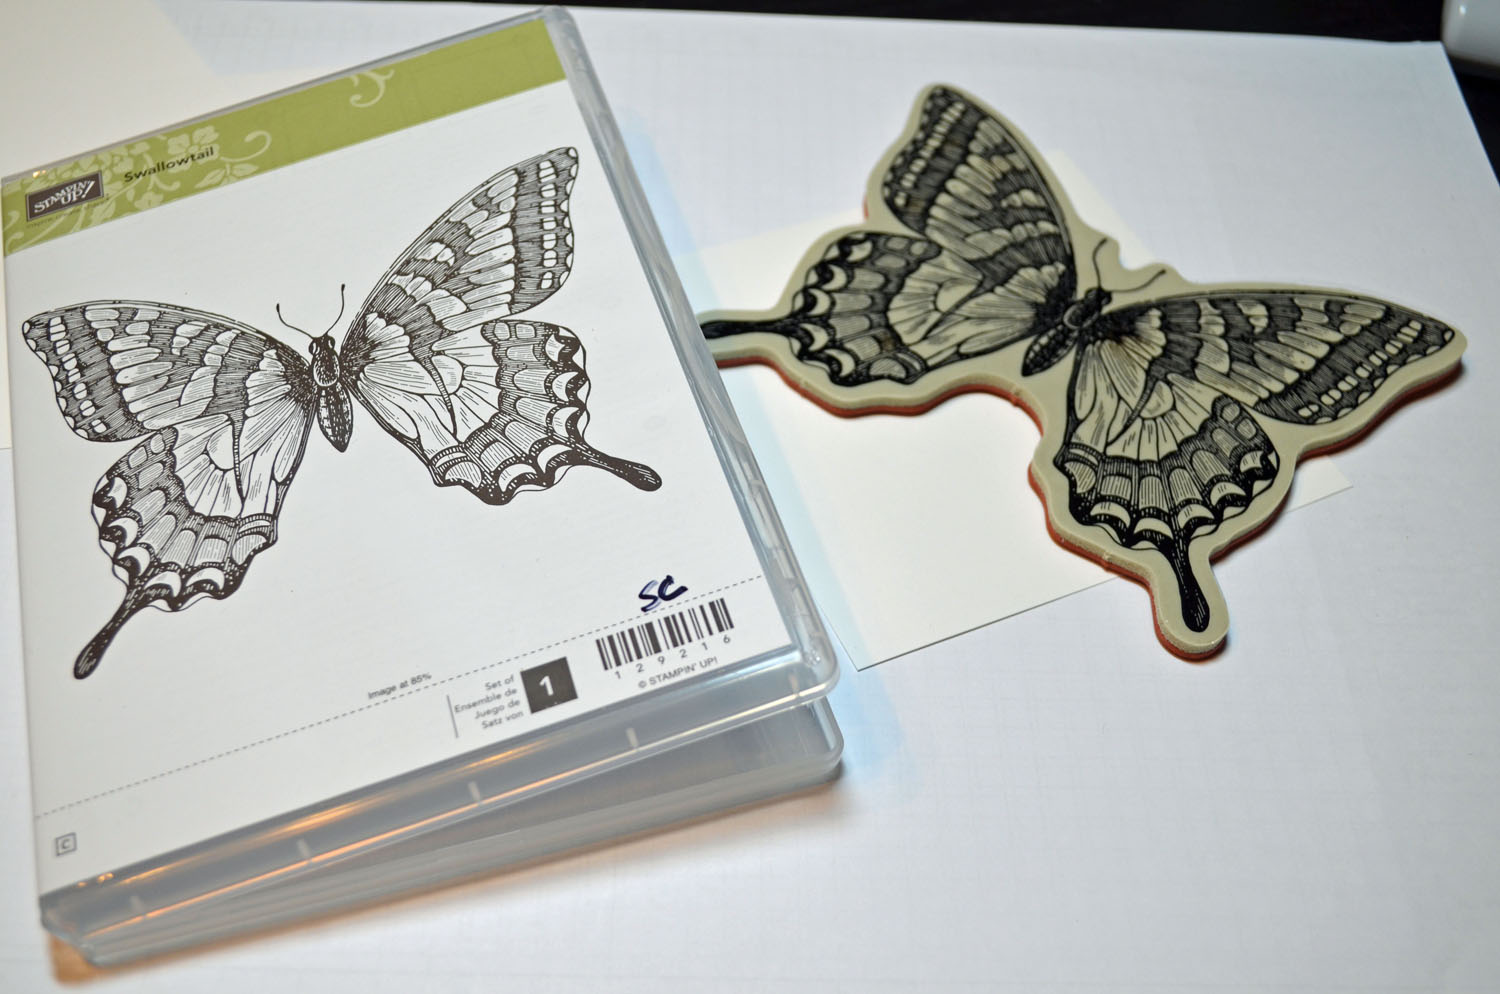
Stampin’ Up! Stamps: A Fitting Occasion (item number 127049) and Pretty Petites (Sale-a-bration set coming soon)
Card Stock: Stampin’ Up! Whisper White, Basic Black and Old Olive
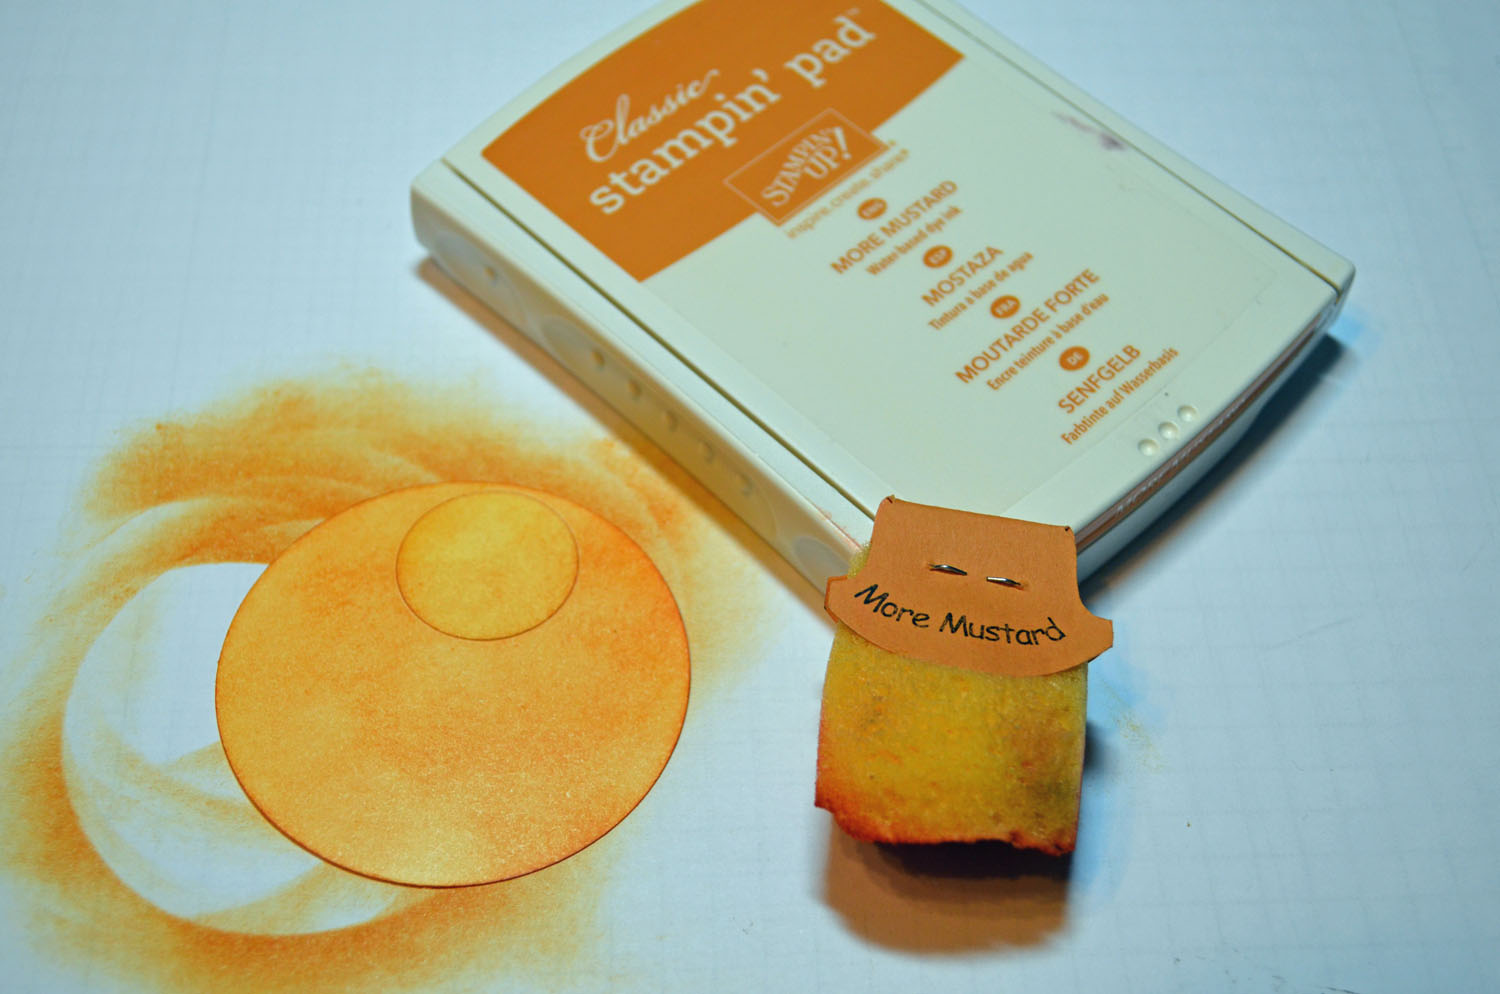
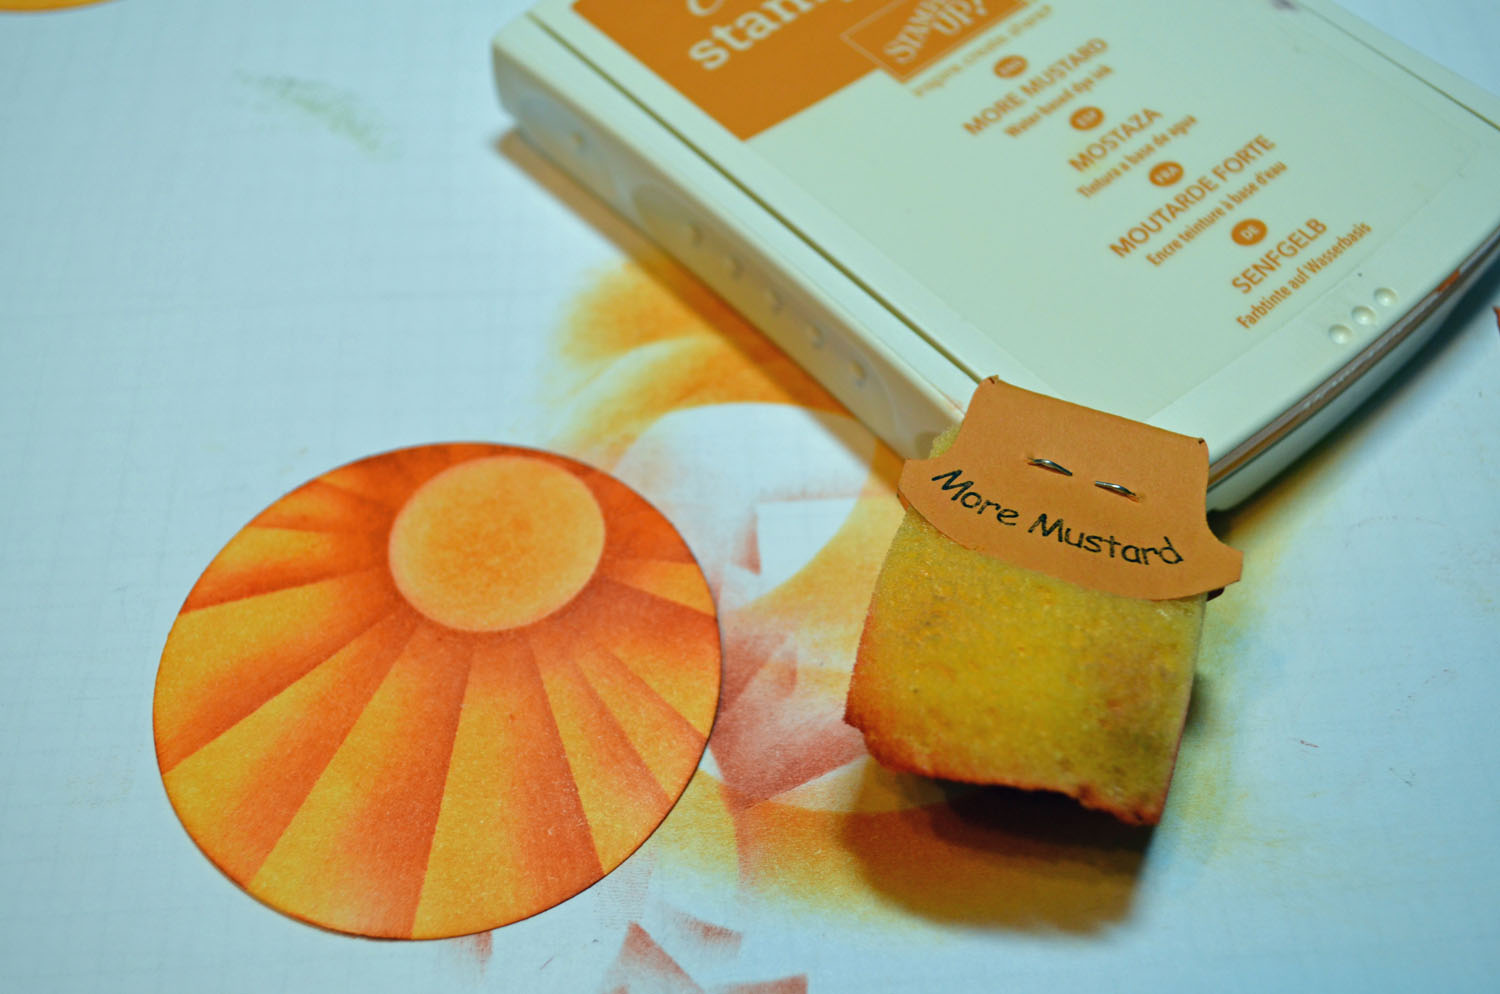
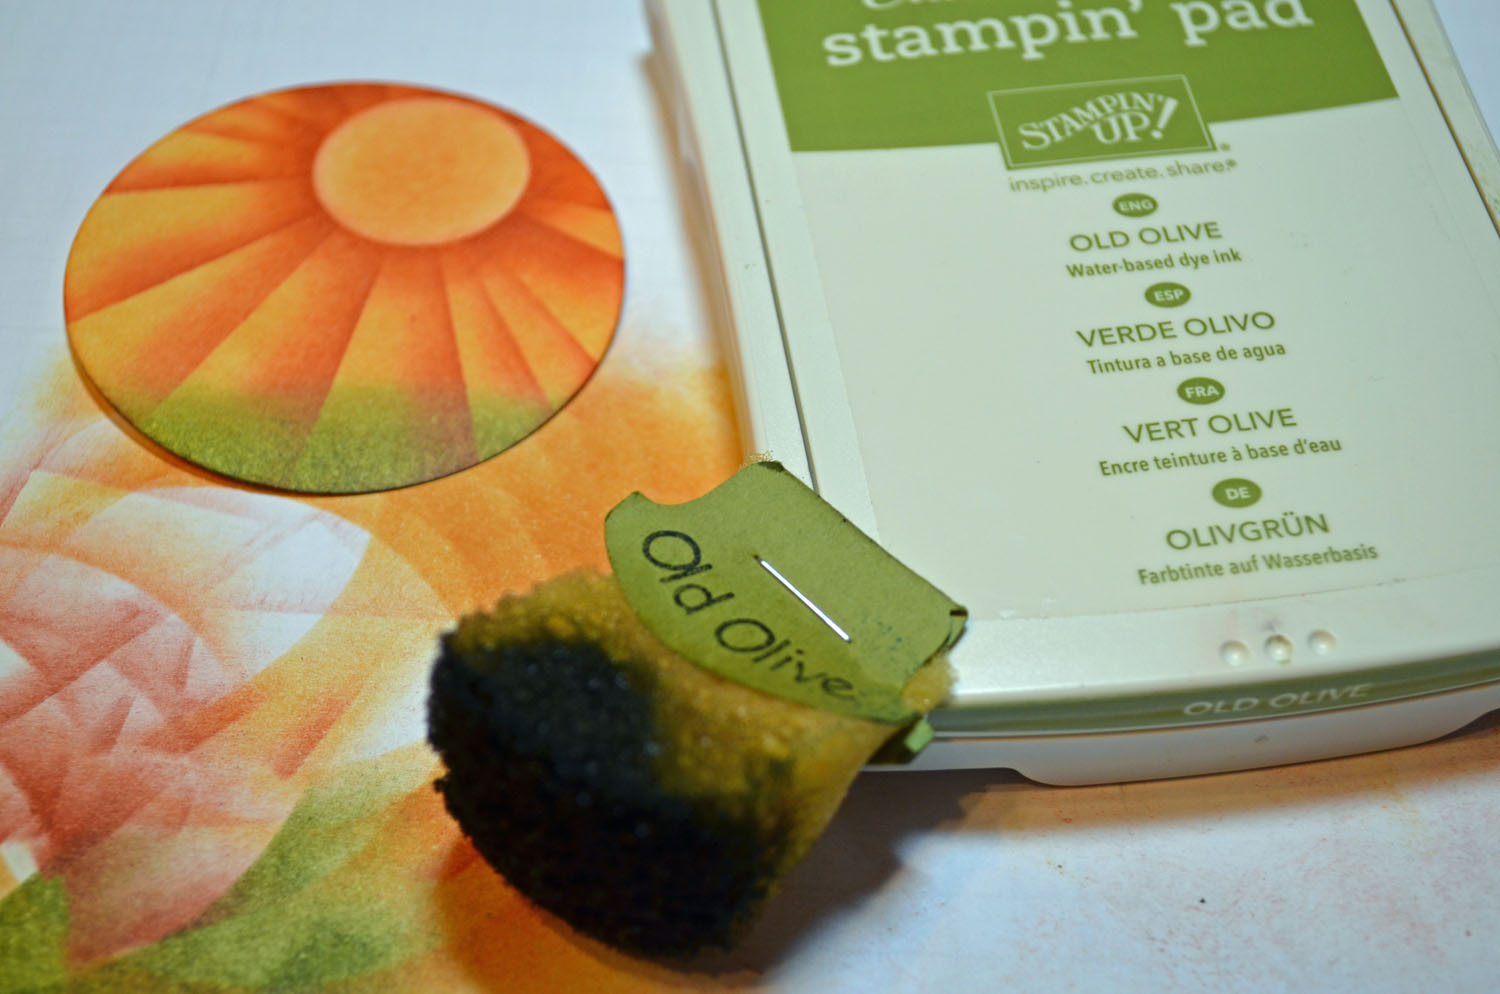
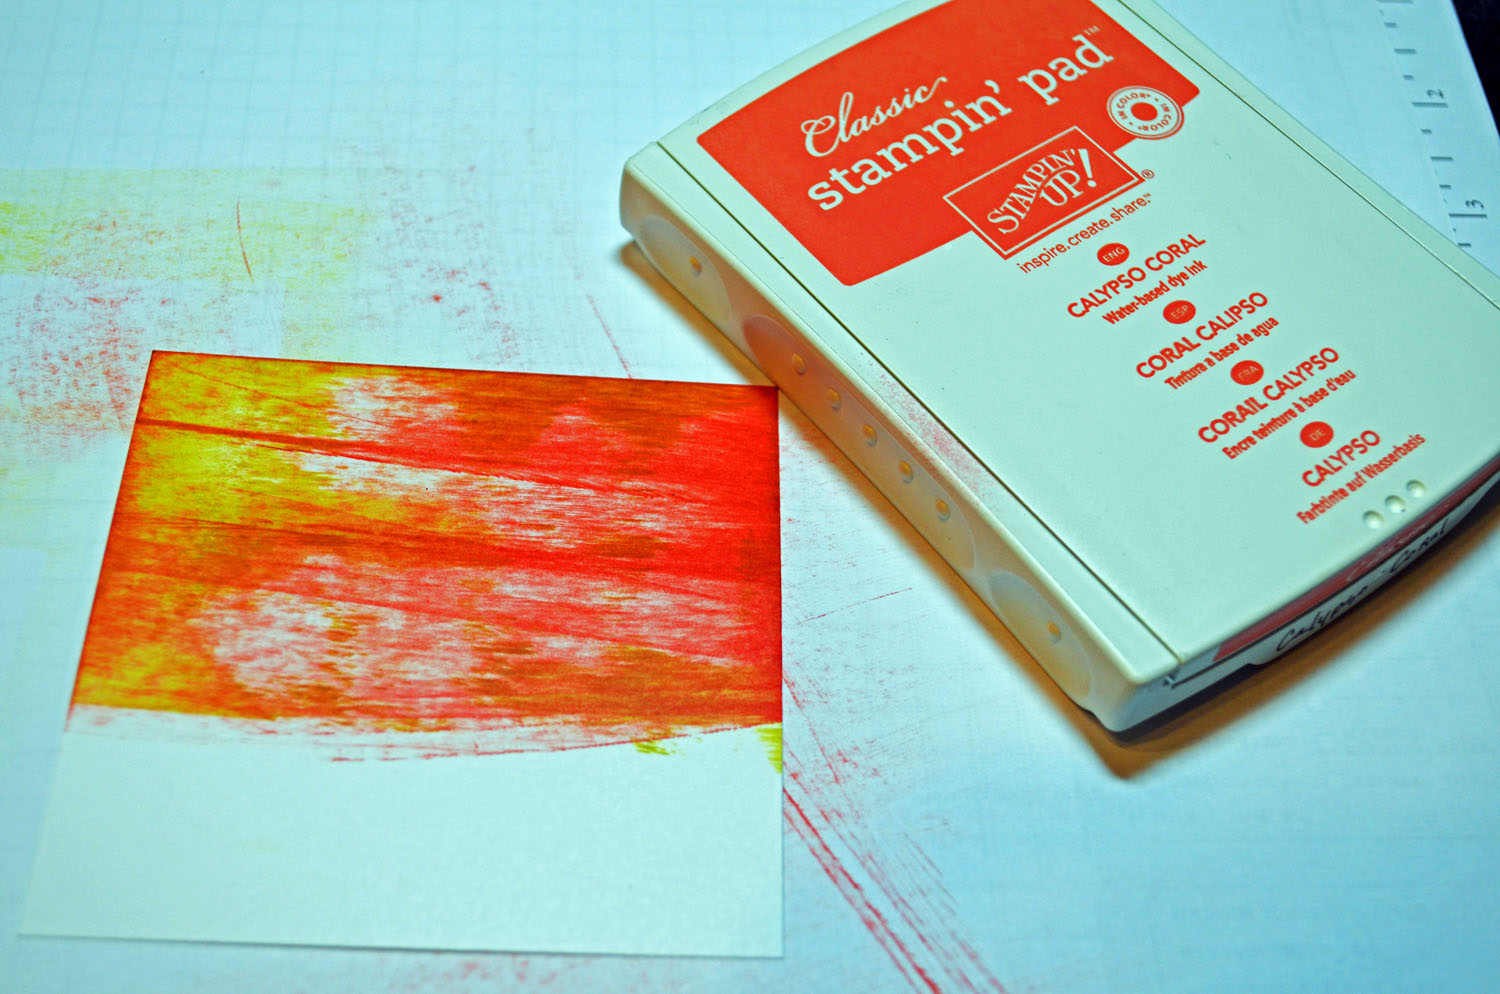
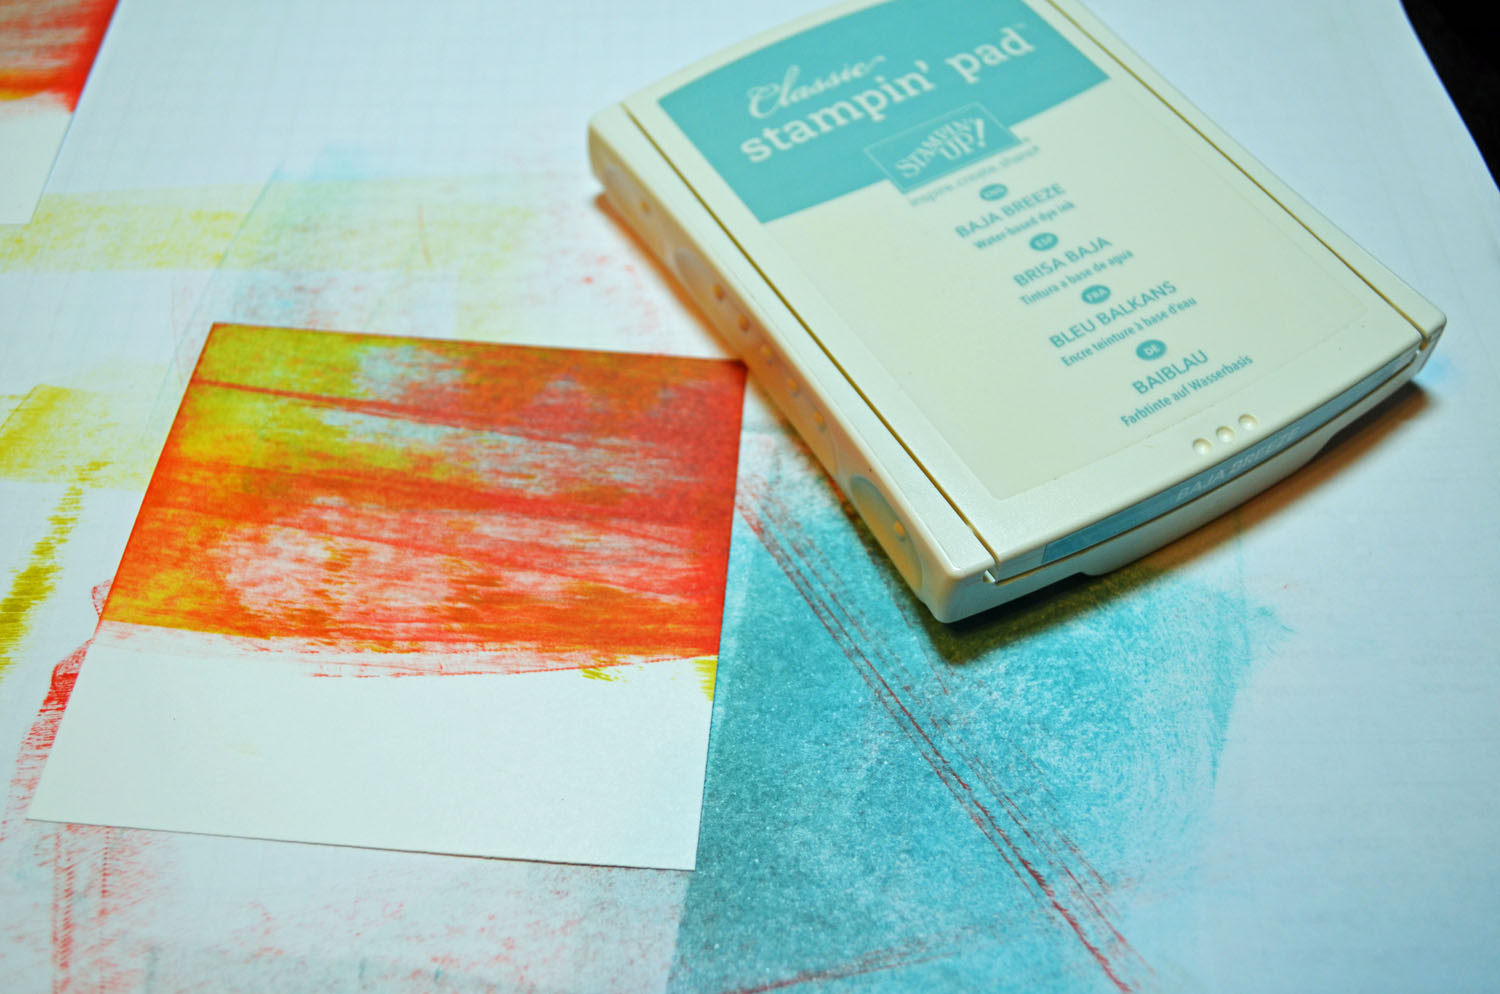
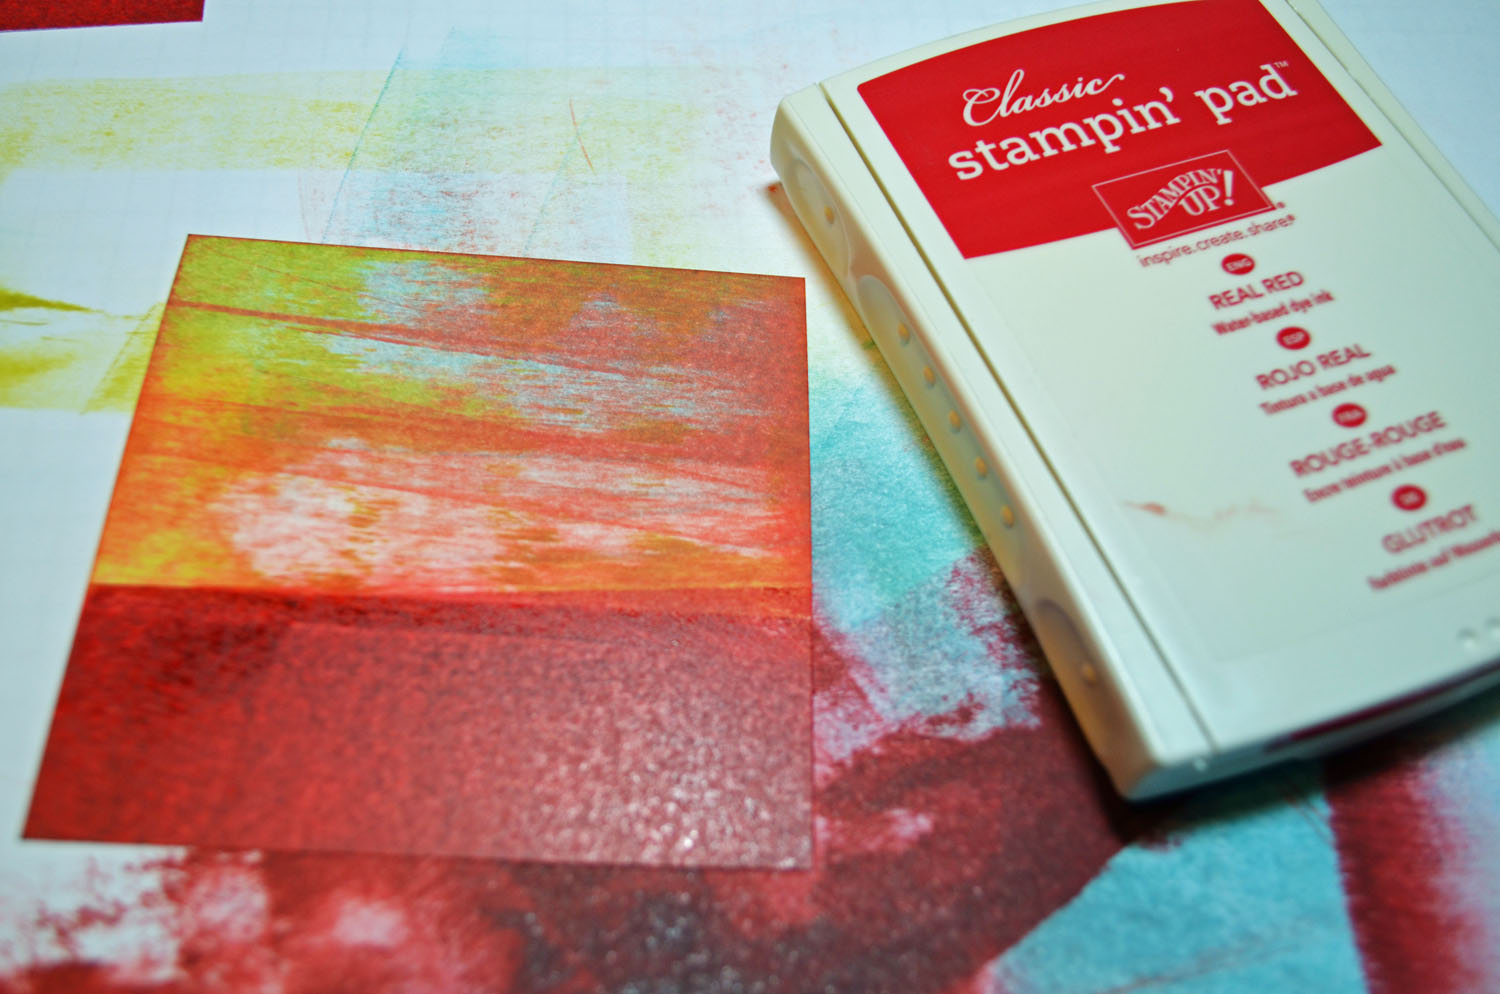
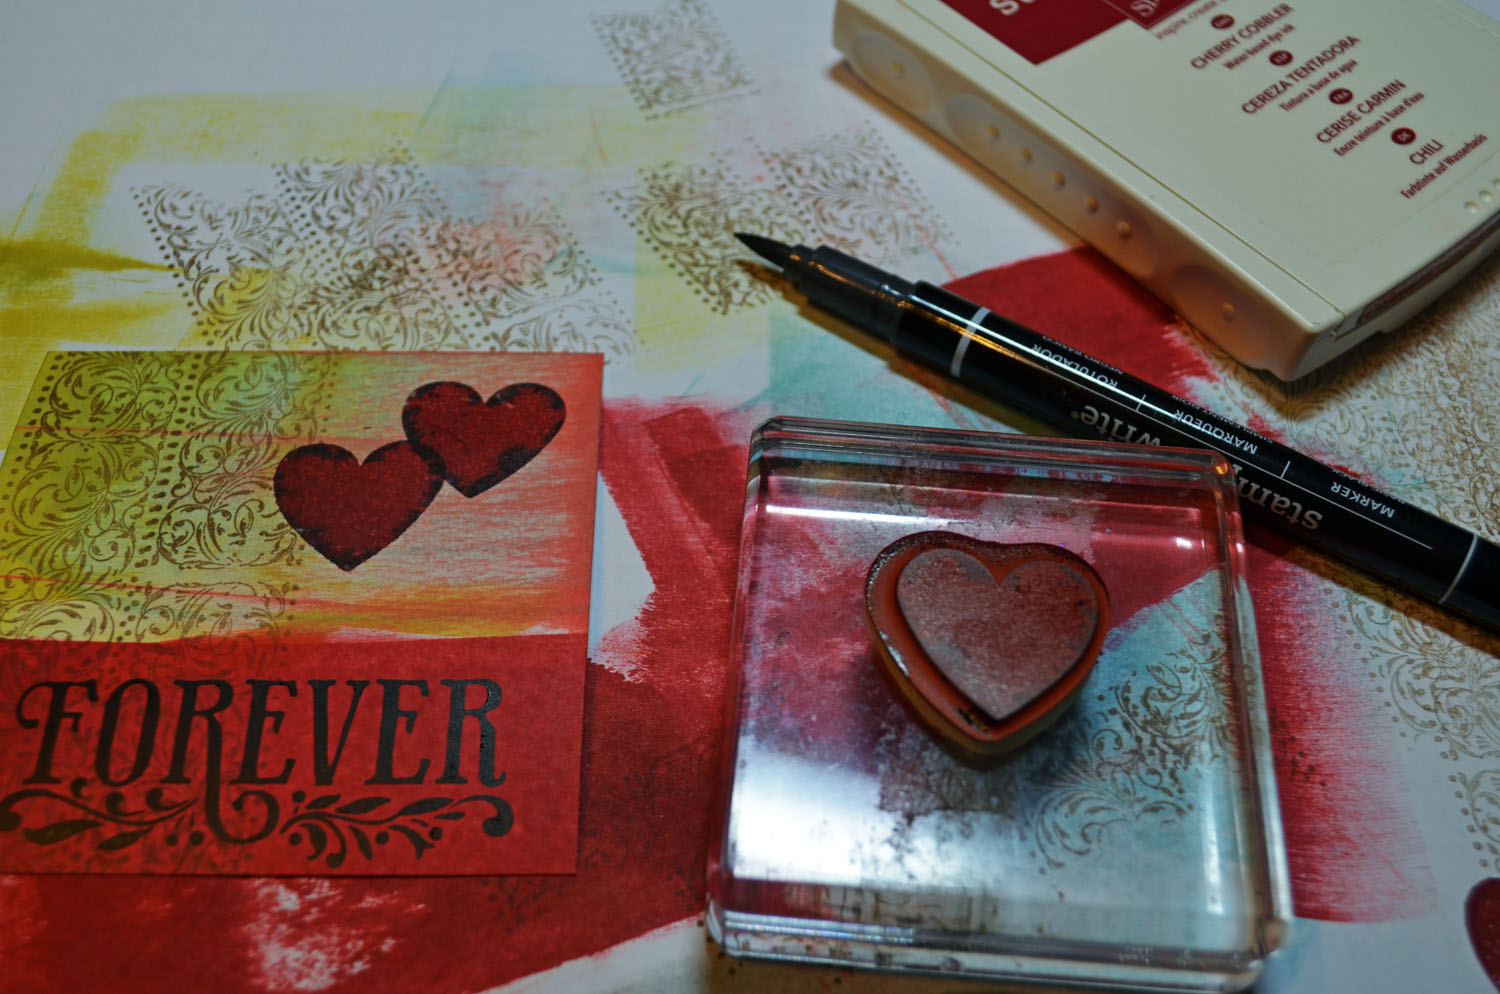
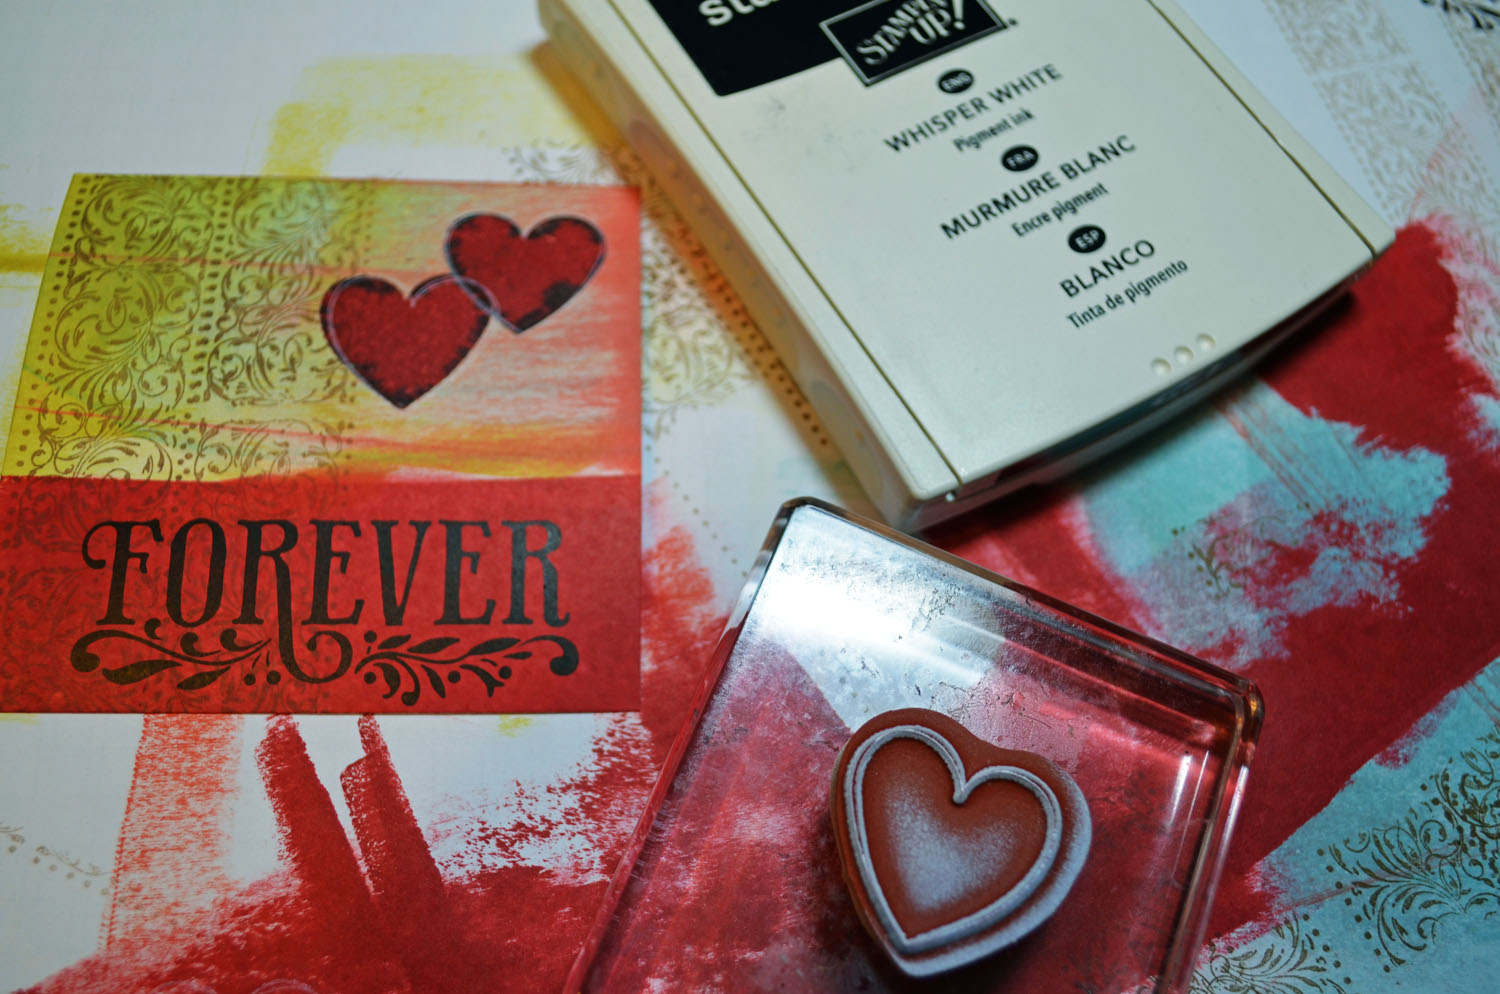
Ink: Stampin’ Up! Basic Black, More Mustard, Cajun Craze and Old Olive
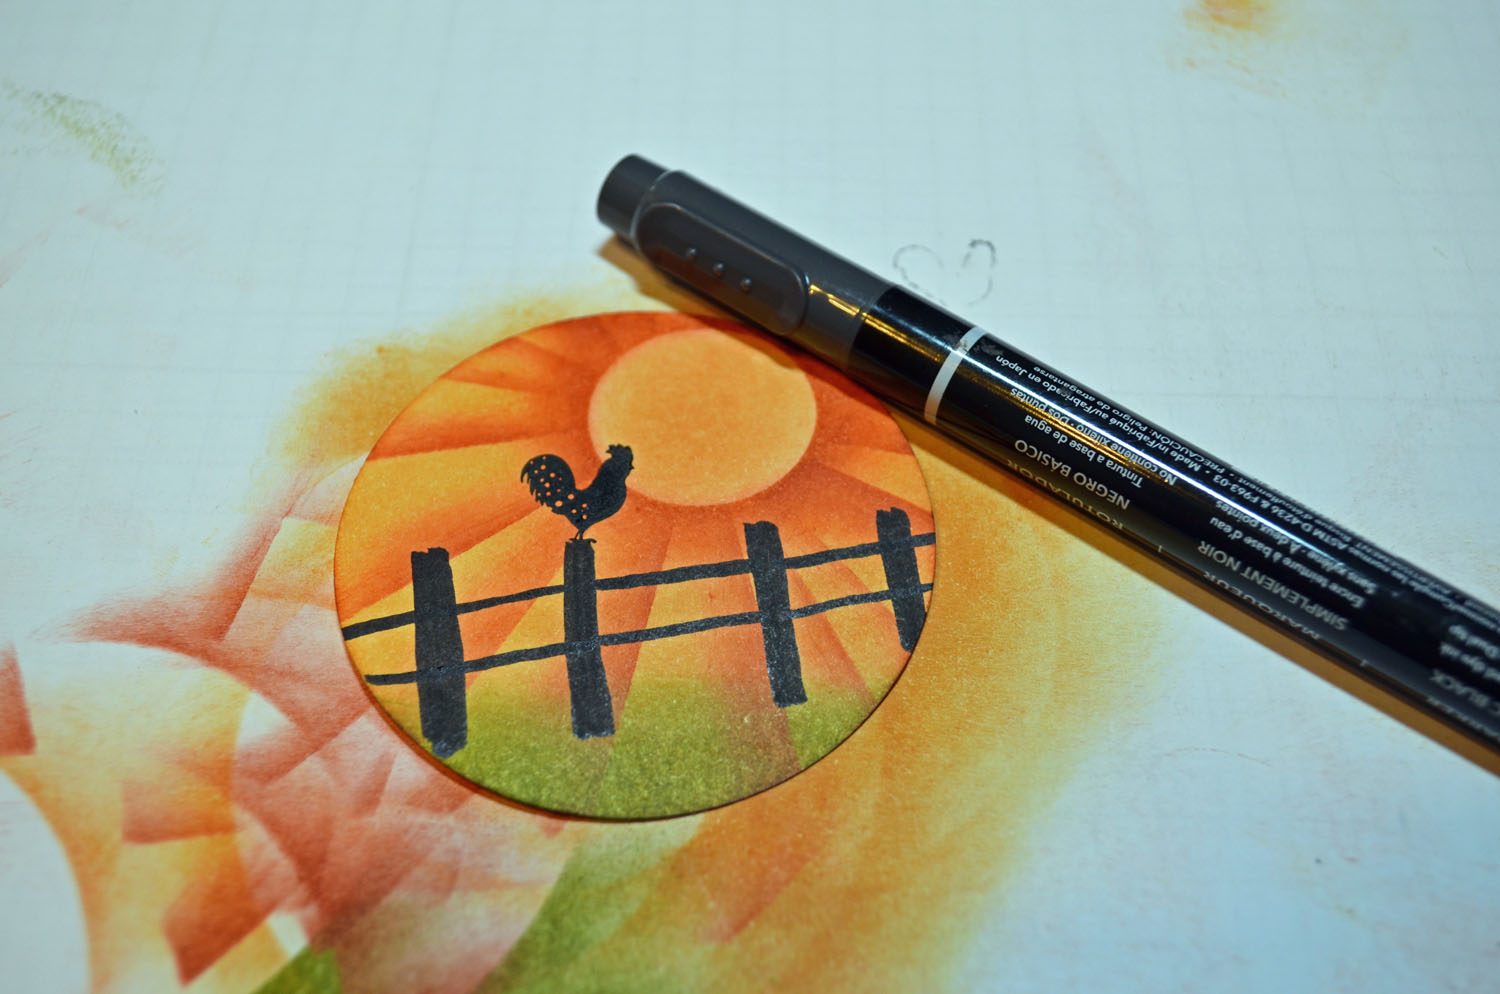
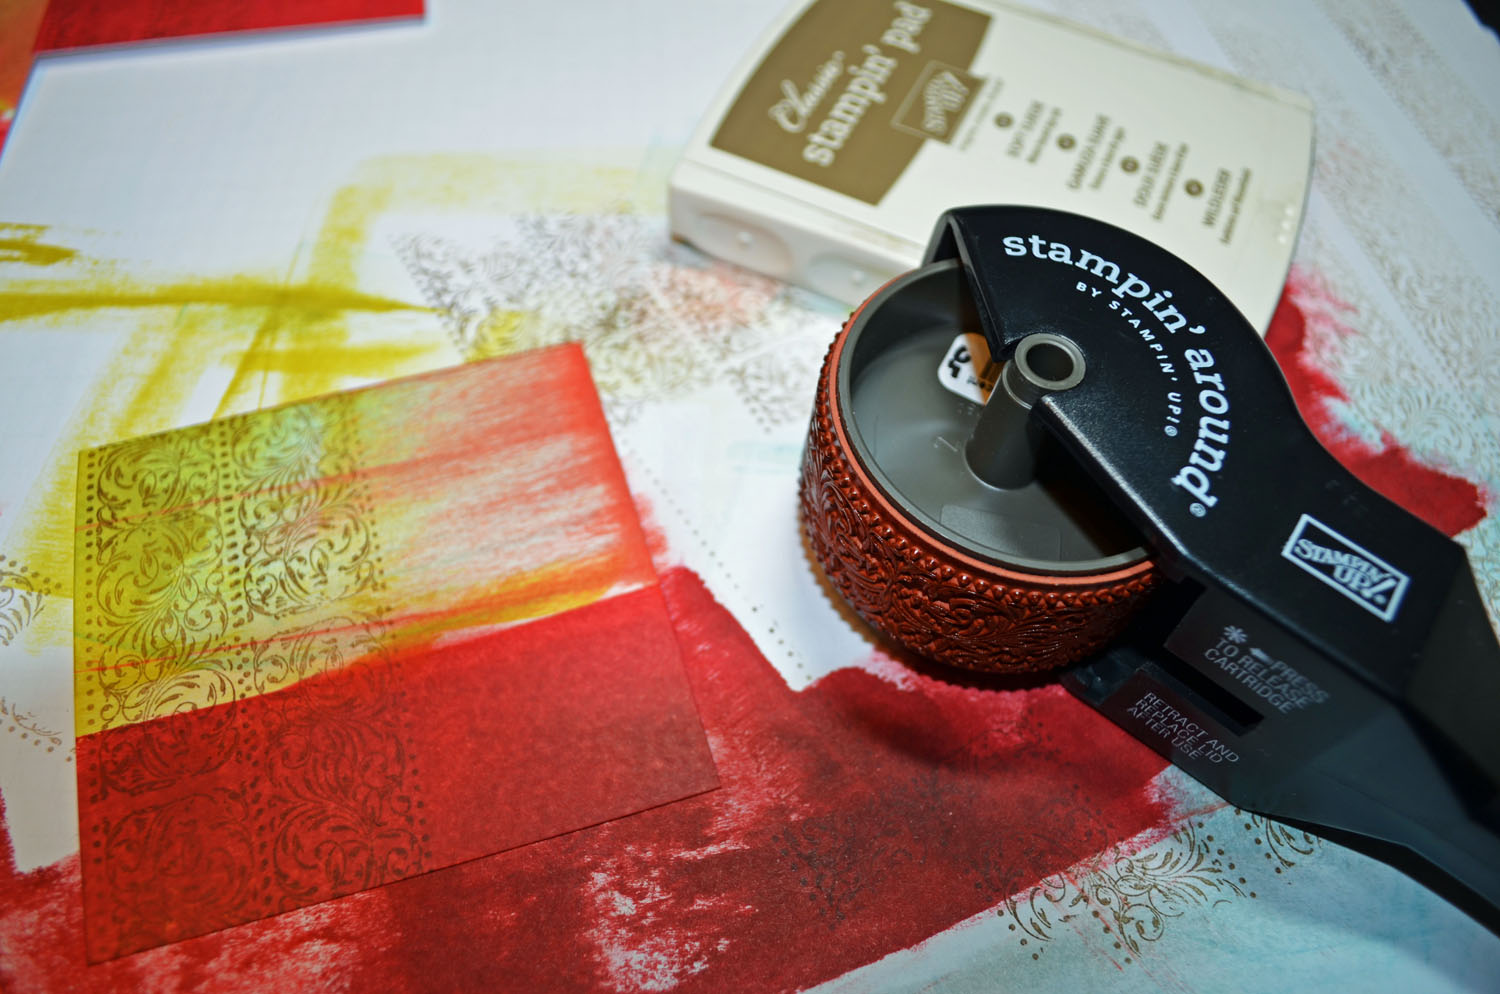
Accessories: Stampin’ Up! Sponges, Honeycomb embossing folder (item#129378), Big Shot Machine, 2.5″ Circle Punch, 1″ Circle Punch, Curly Label Punch, Petite Curly Label Punch, Silver Marker, Basic Black marker, Silver Brads, post it notes and Old Olive Dotted Ribbon
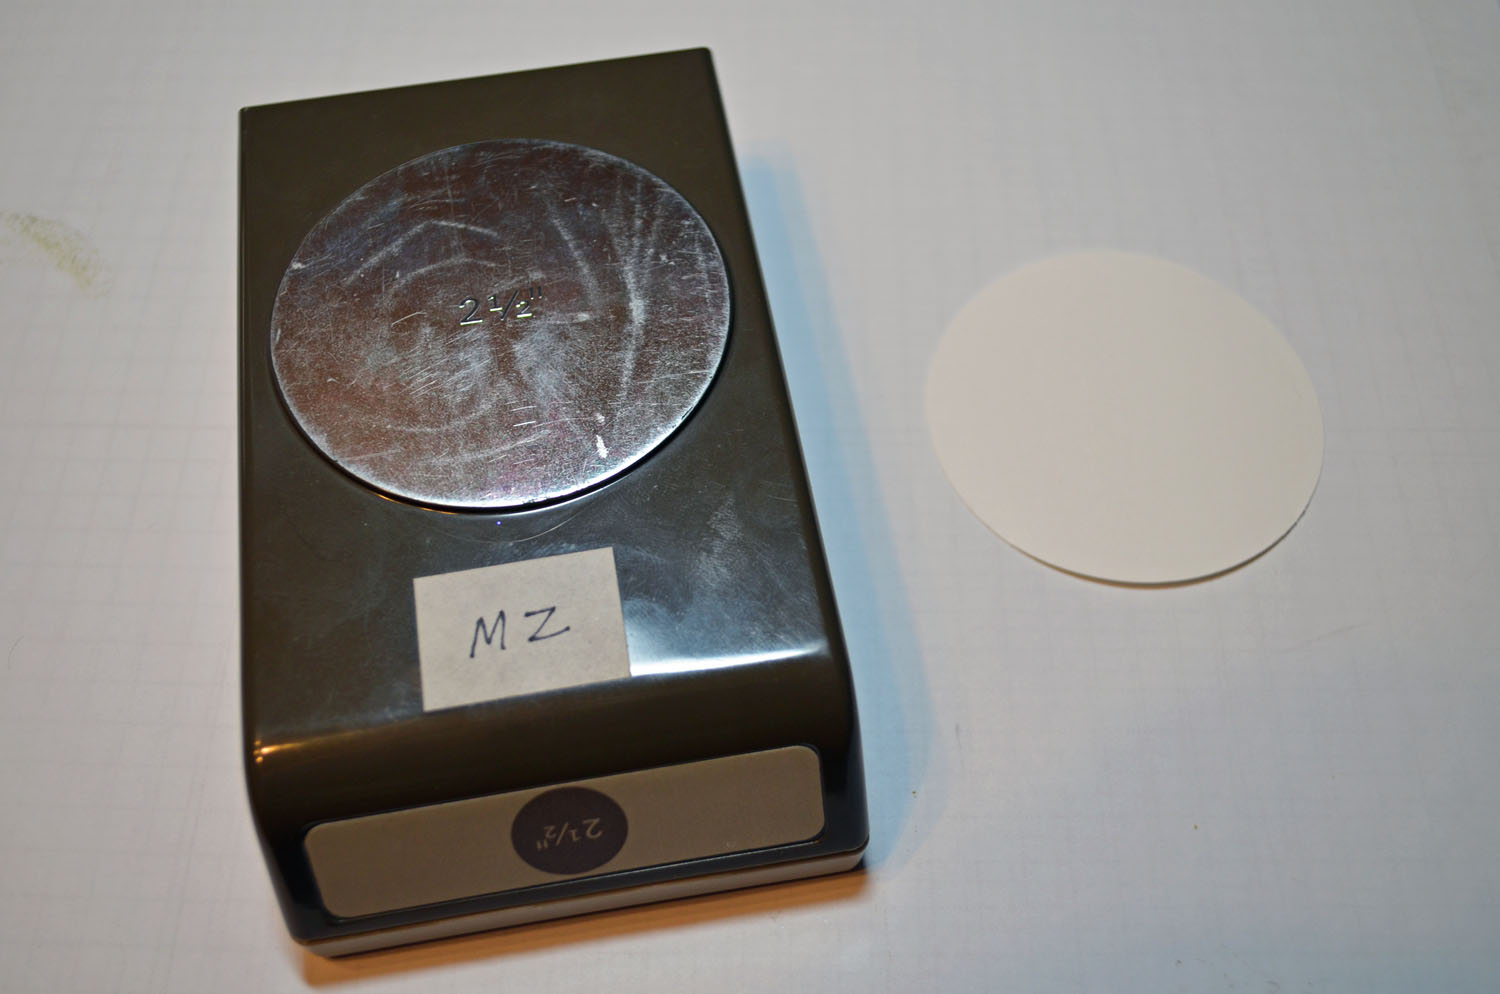
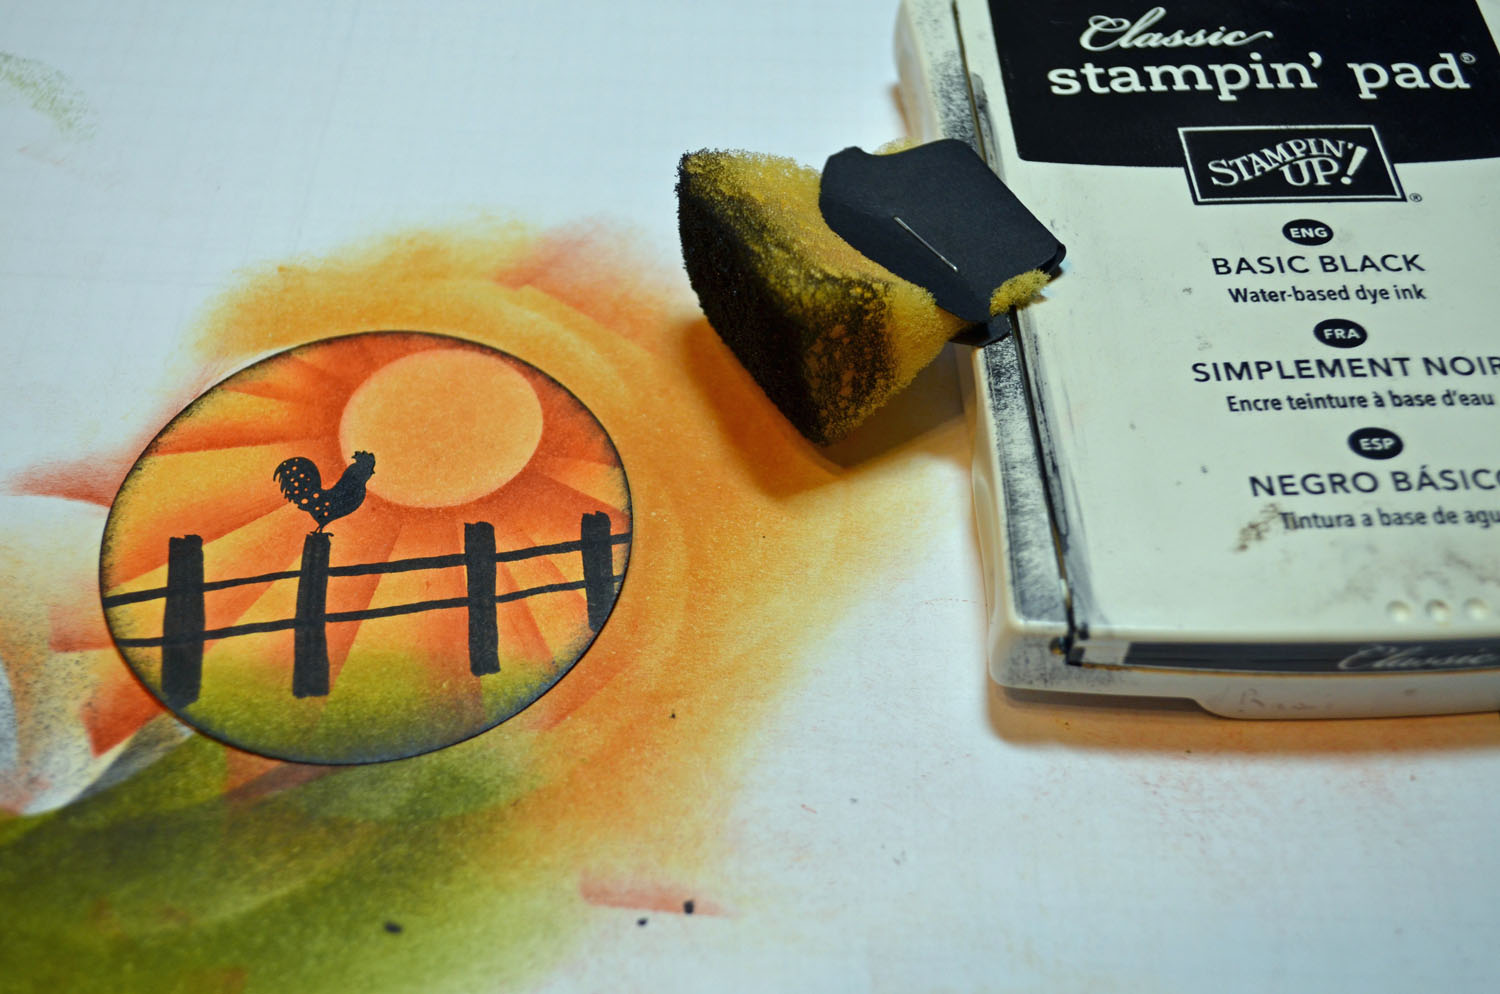
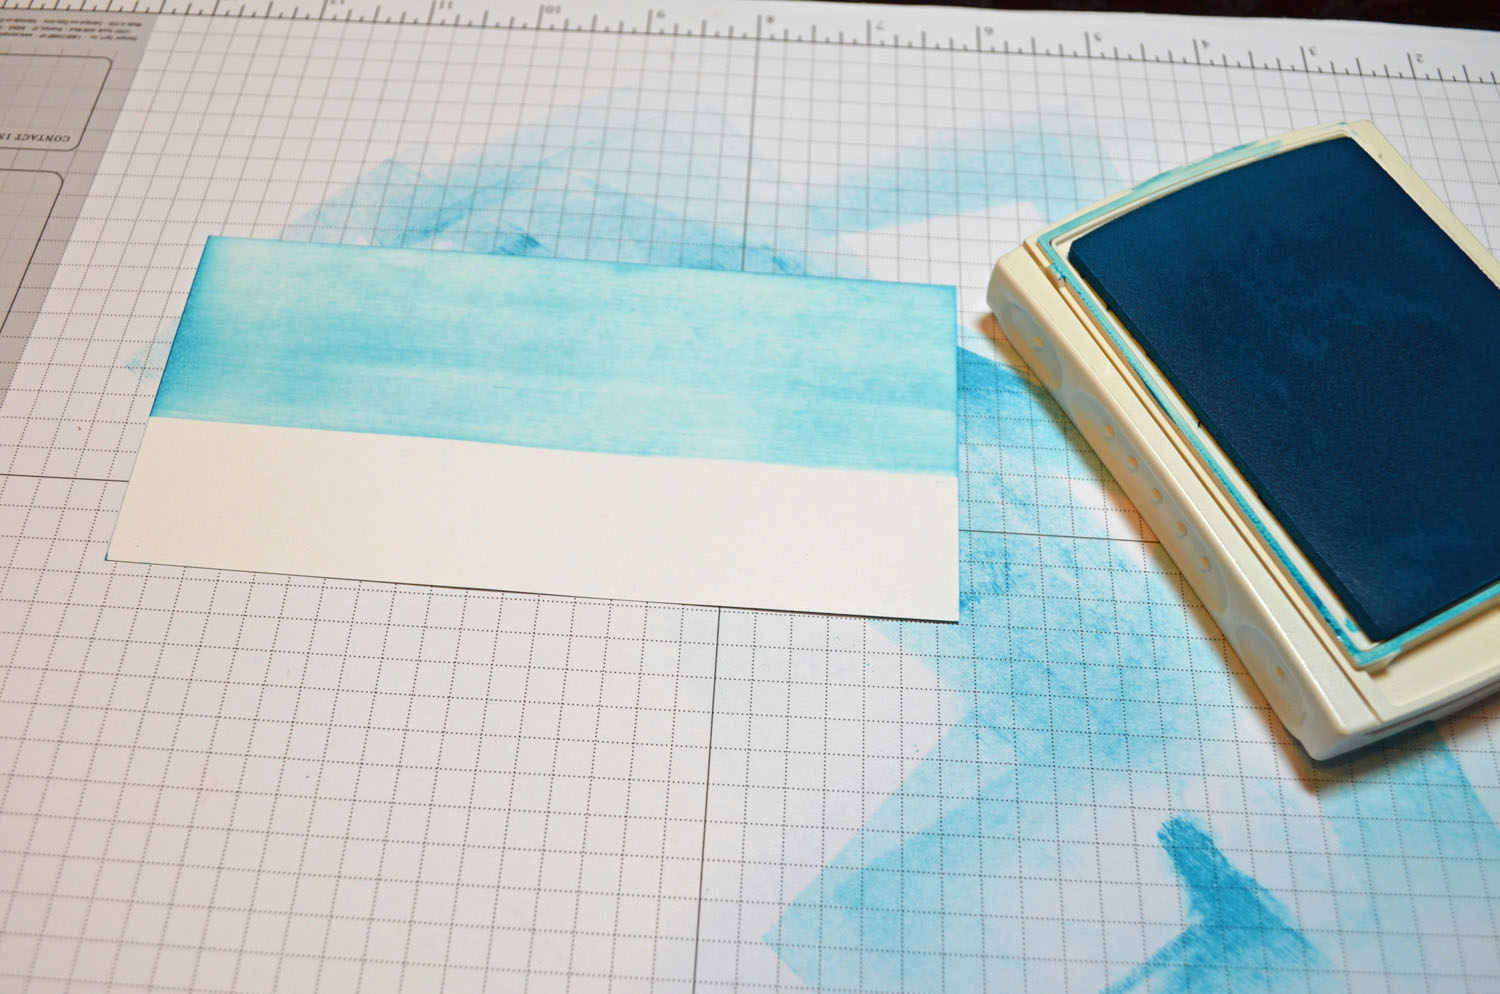
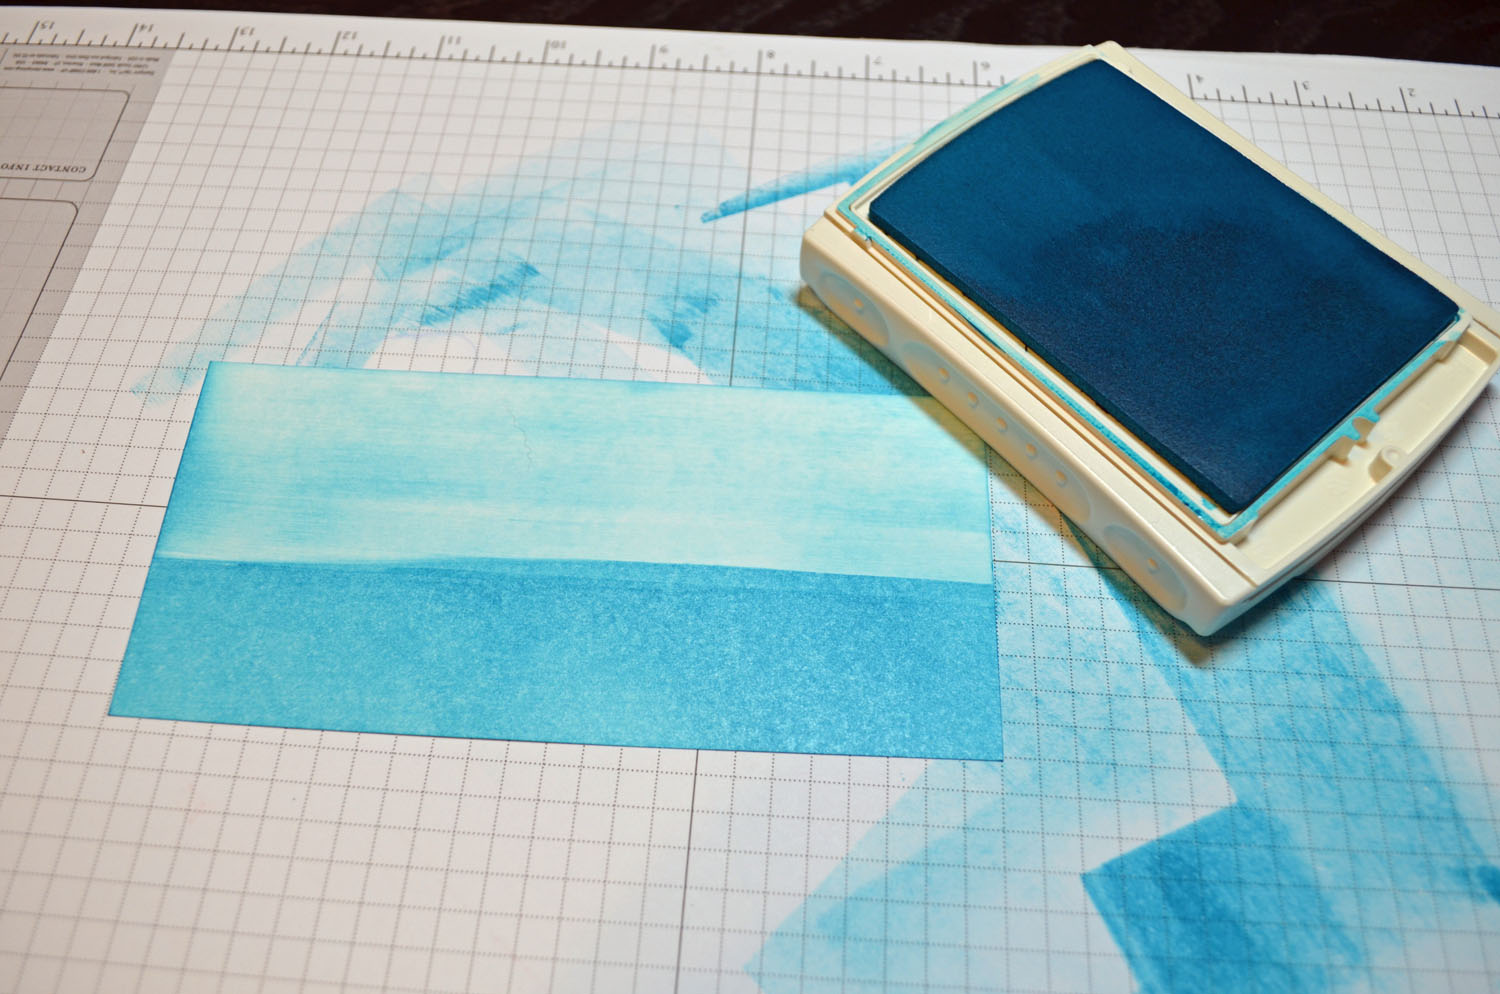
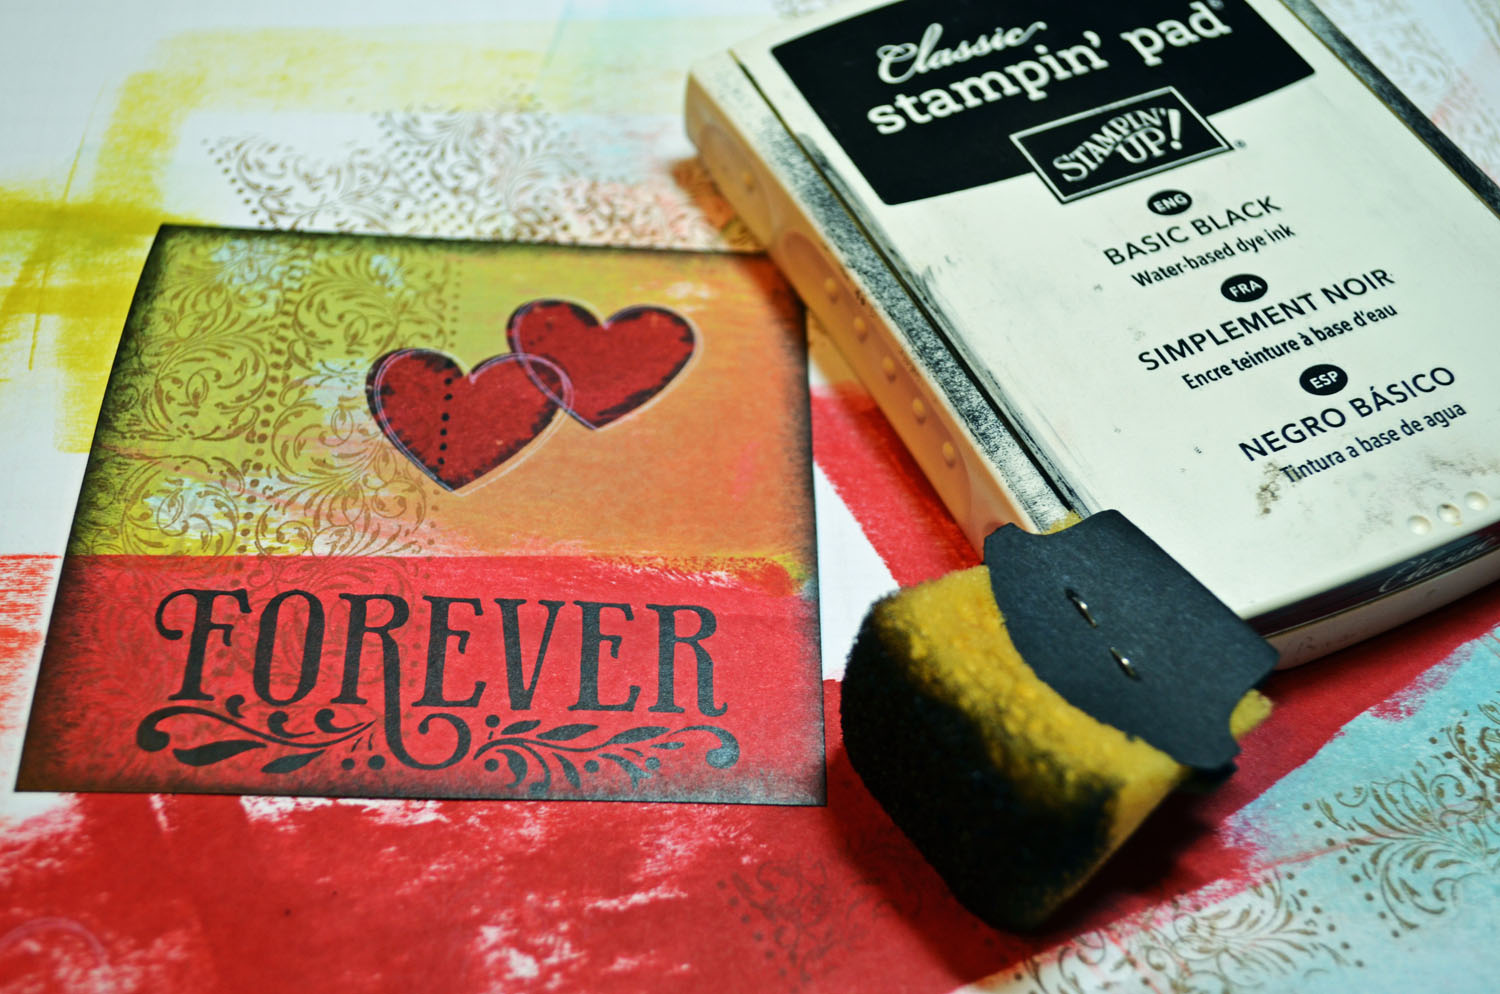
Punched a 2.5″ Circle from Whisper White card stock.
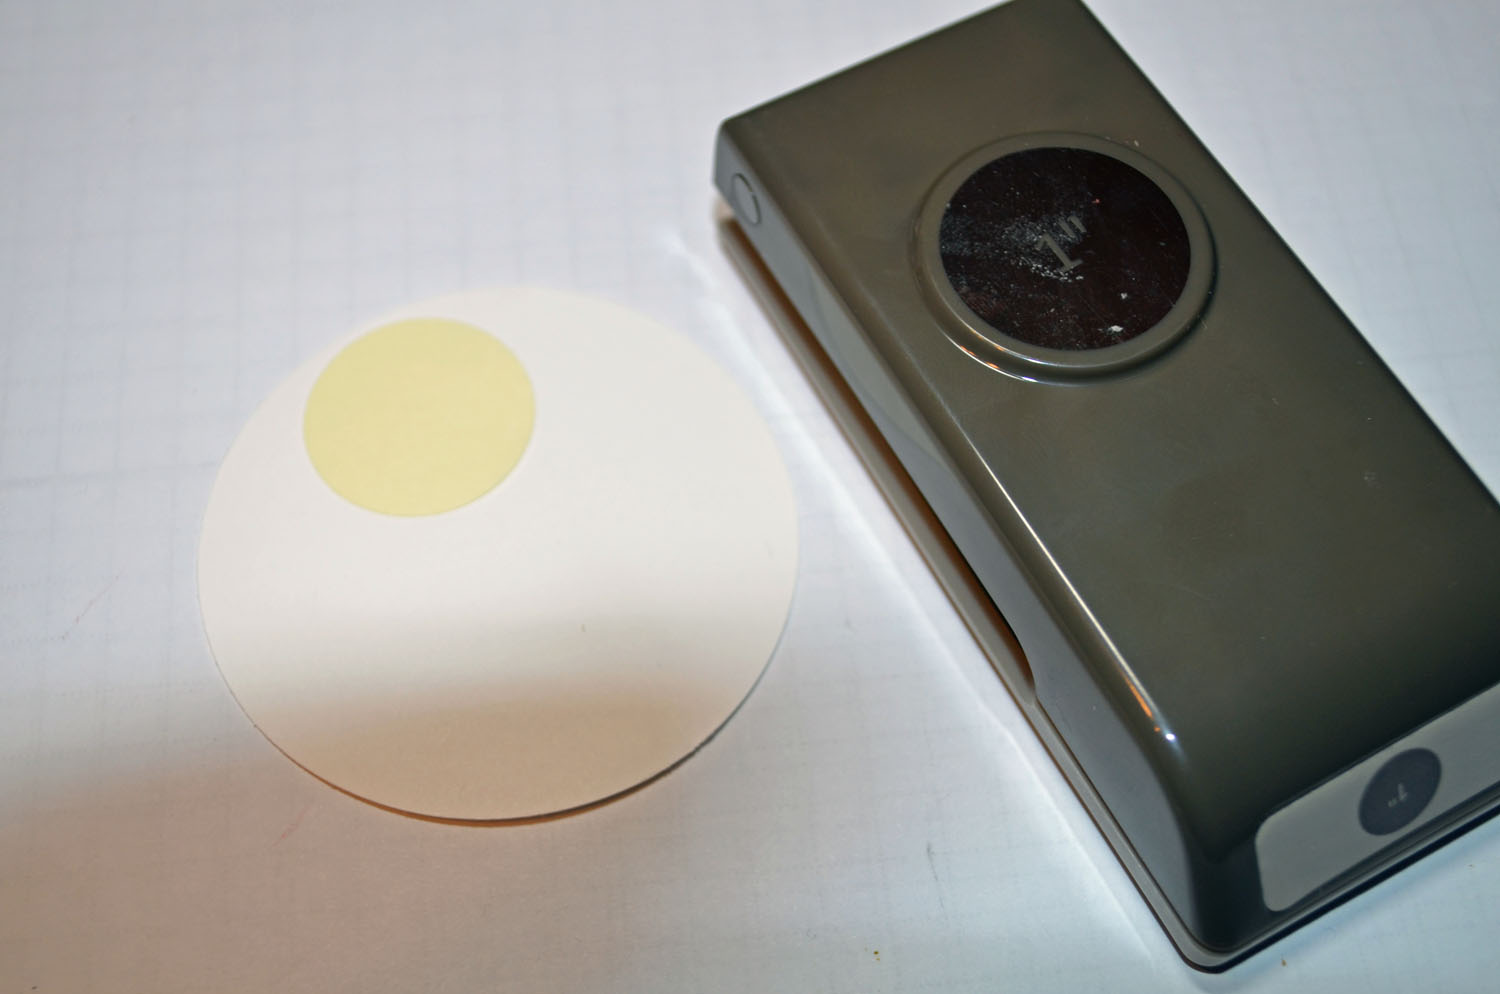
Punched a 1″ circle from the sticky part of a post it note and used it as a mask for the sun.
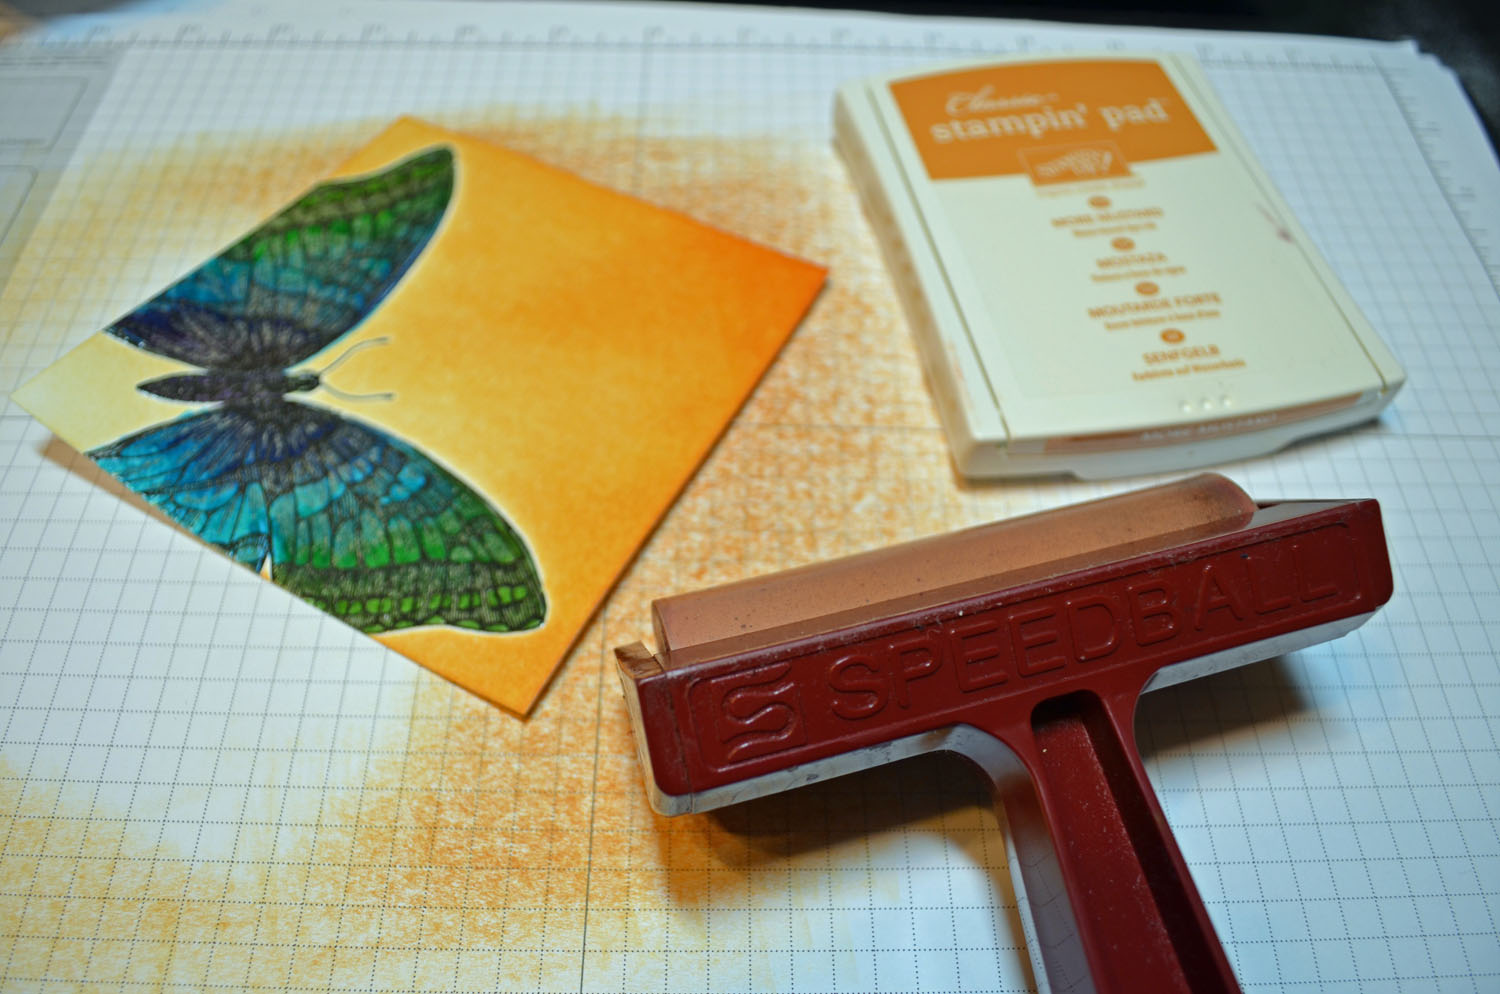
Sponged More Mustard ink all over the card stock.
Used a post it note to mask for the rays and sponged with Cajun Craze ink along the edge of the post it note to create them. Moved the post it note for each ray.
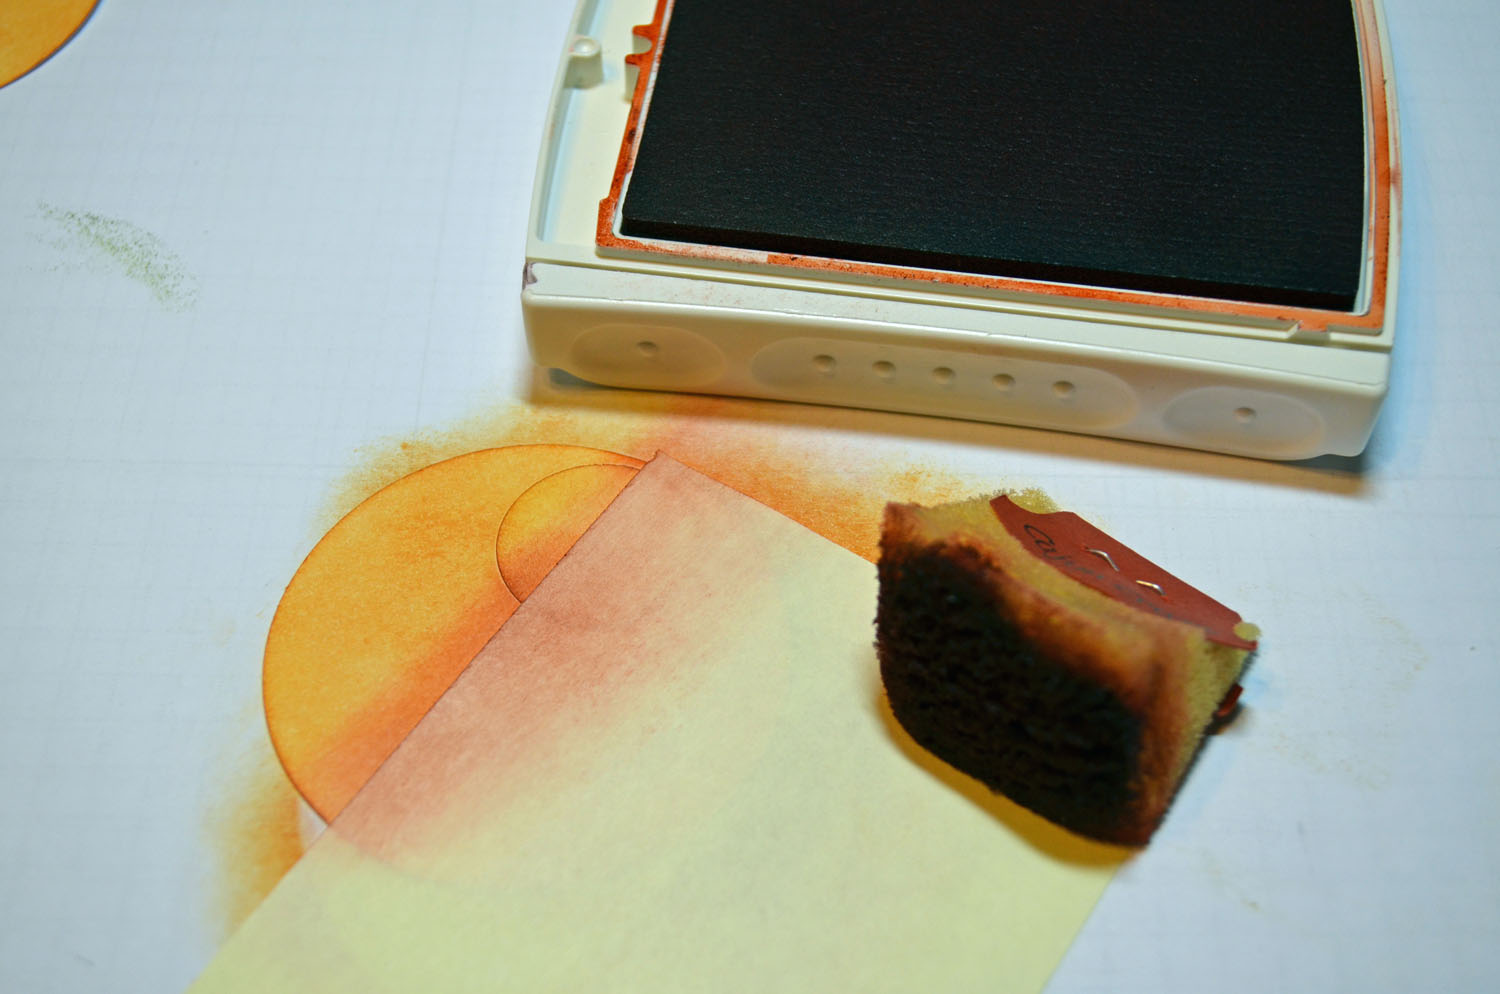
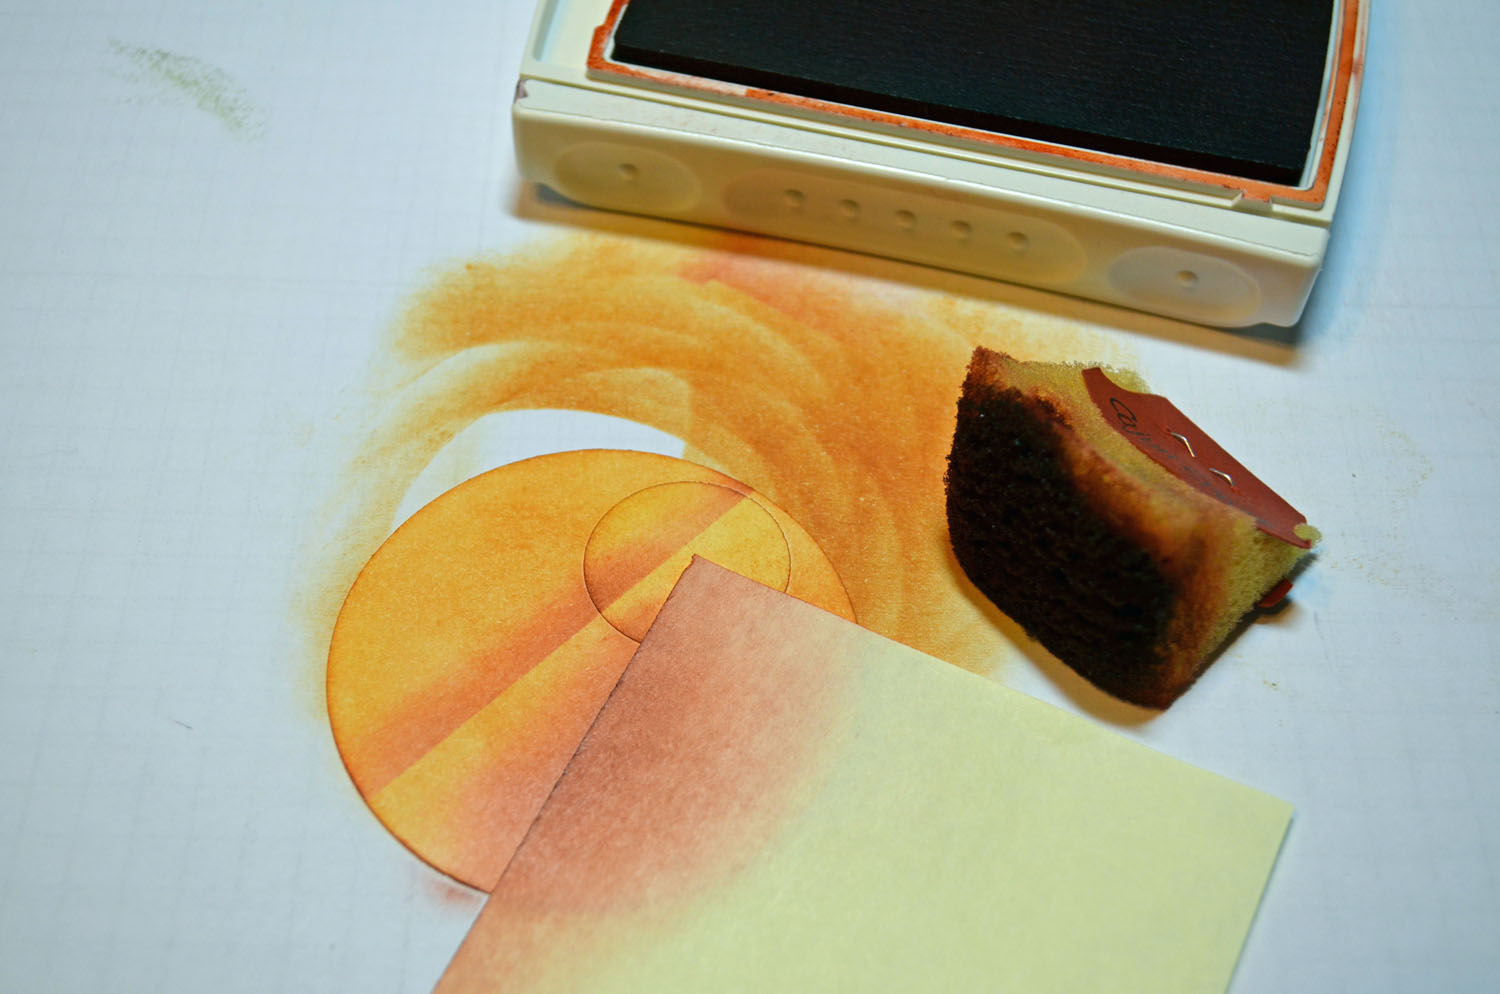
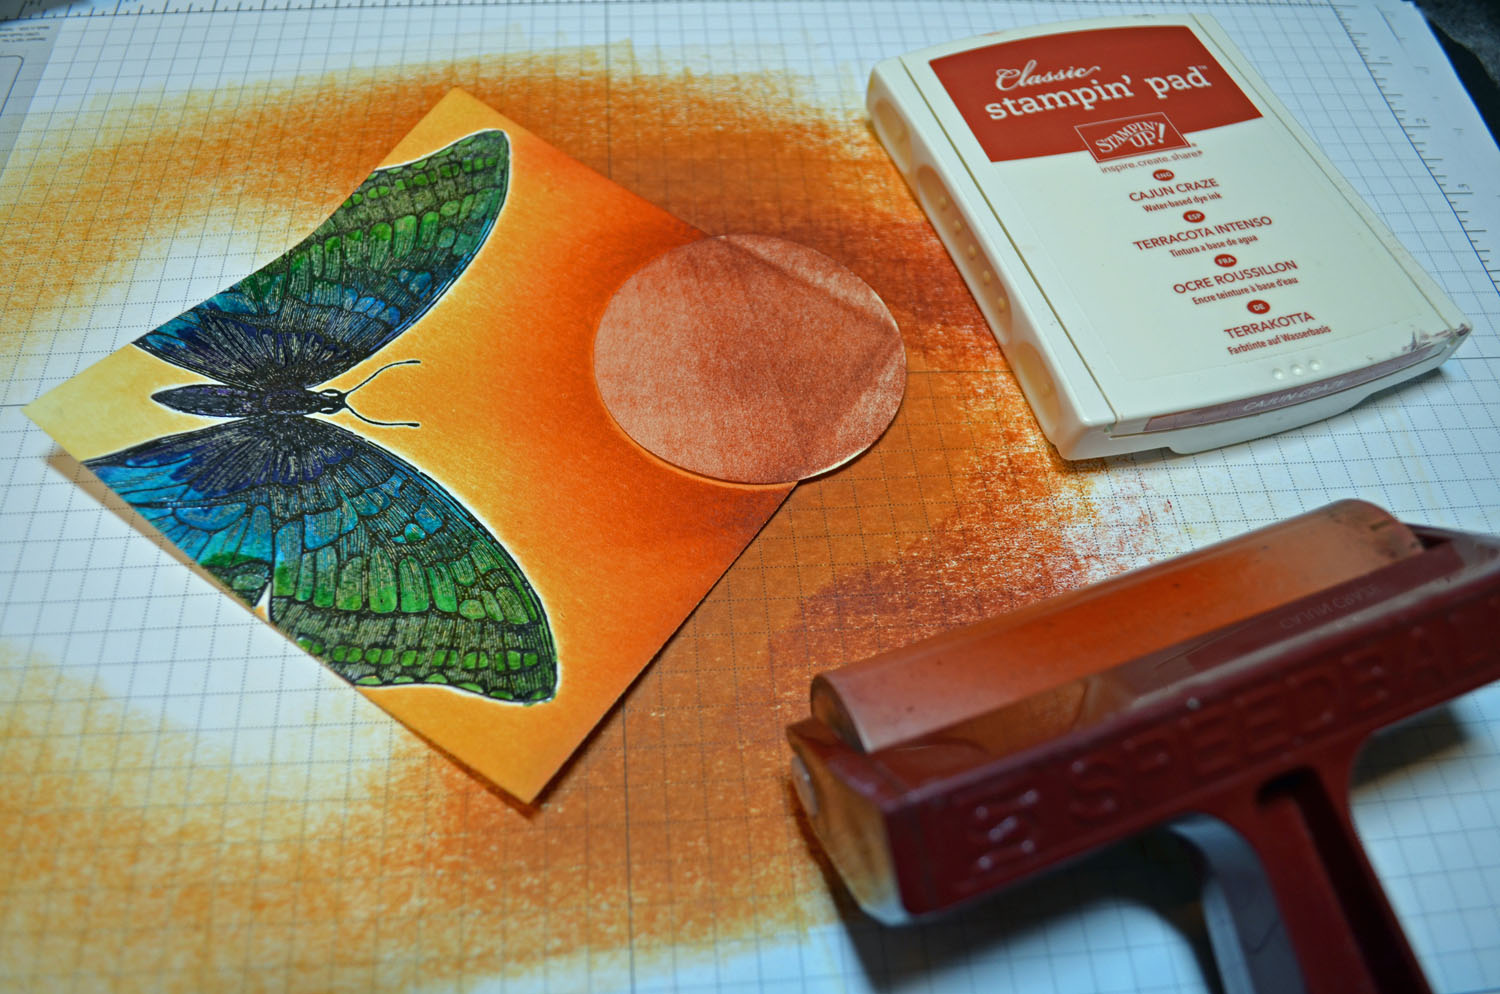
After all the rays were put in I sponged Cajun Craze ink around the edge of the 1″ circle mask.
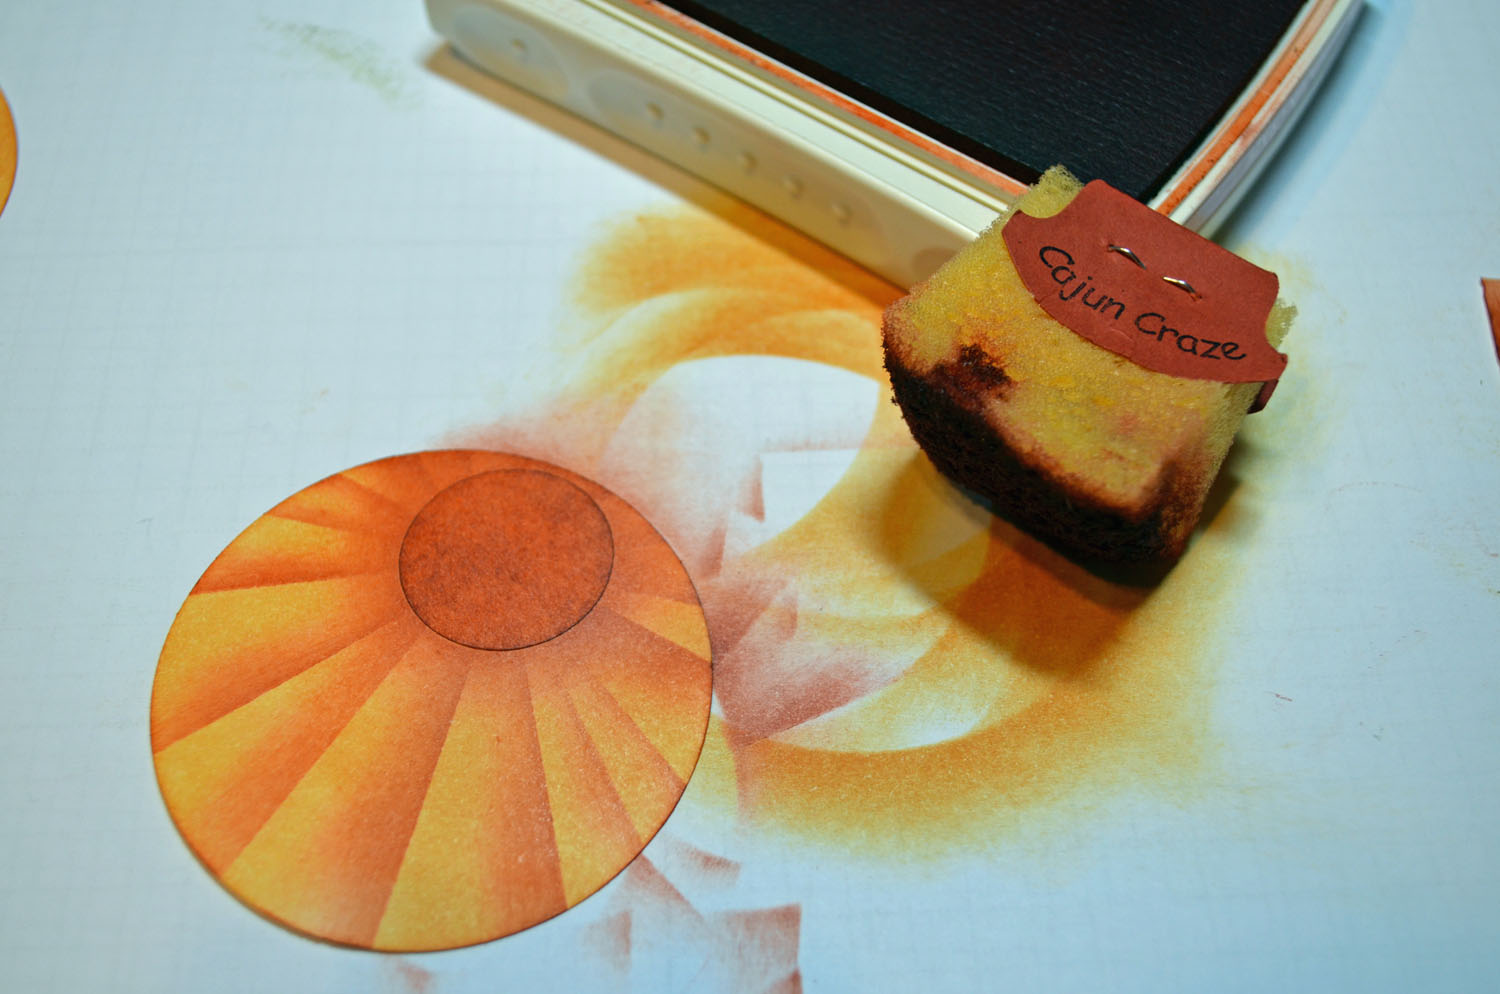
Removed the circle and sponged More Mustard ink in the sun.
Sponged Old Olive ink at the bottom of the circle to create a grassy area.
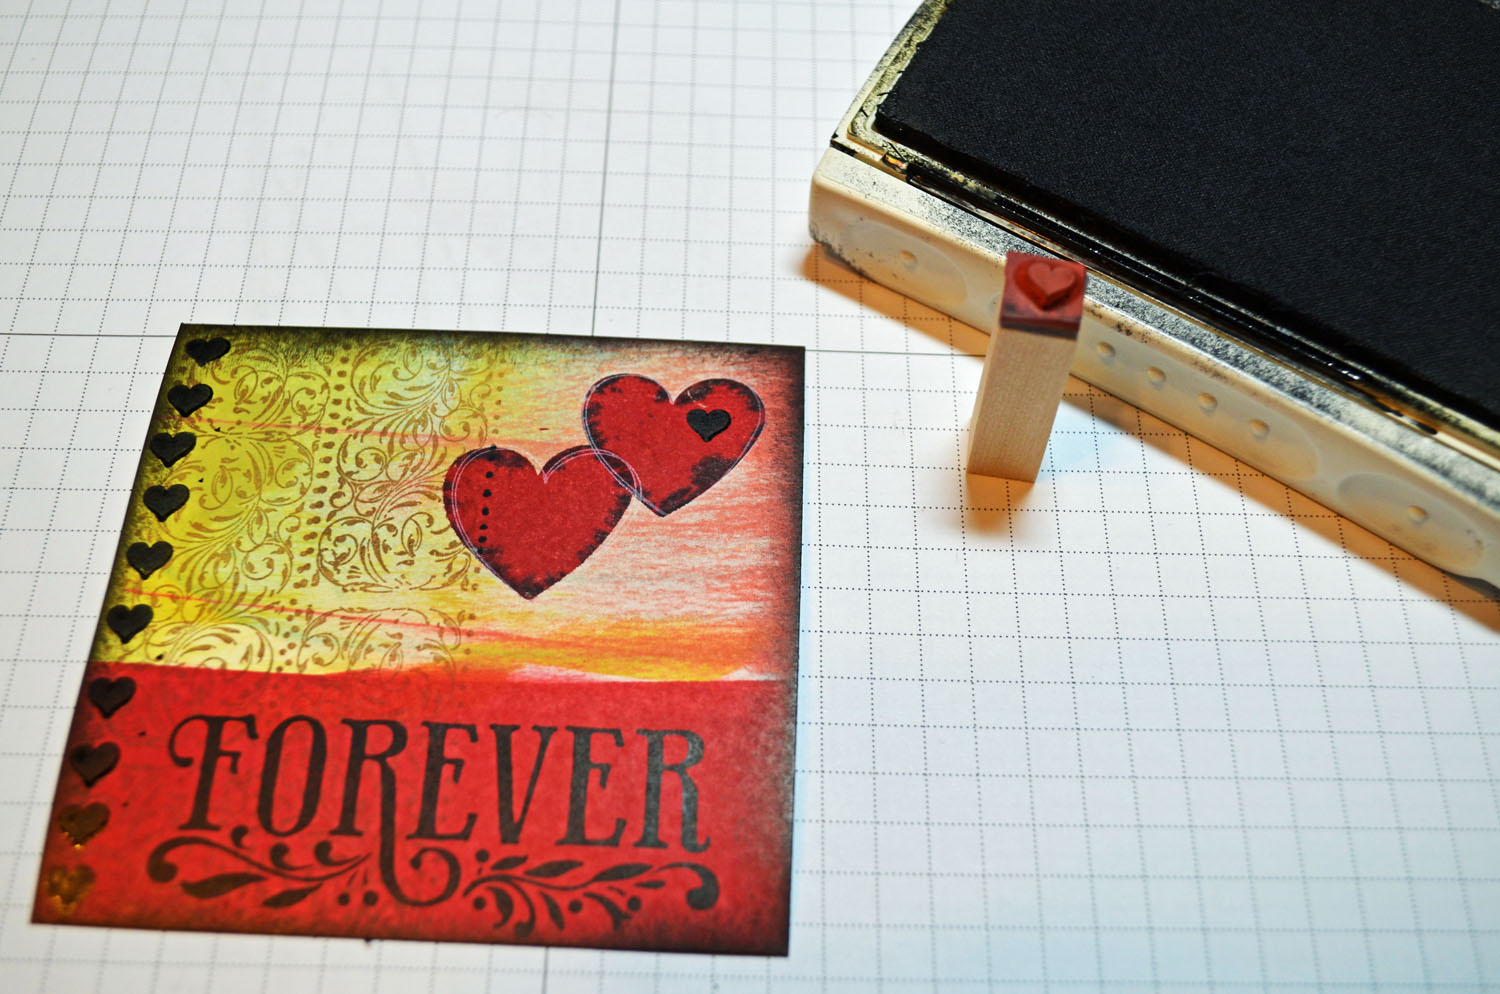
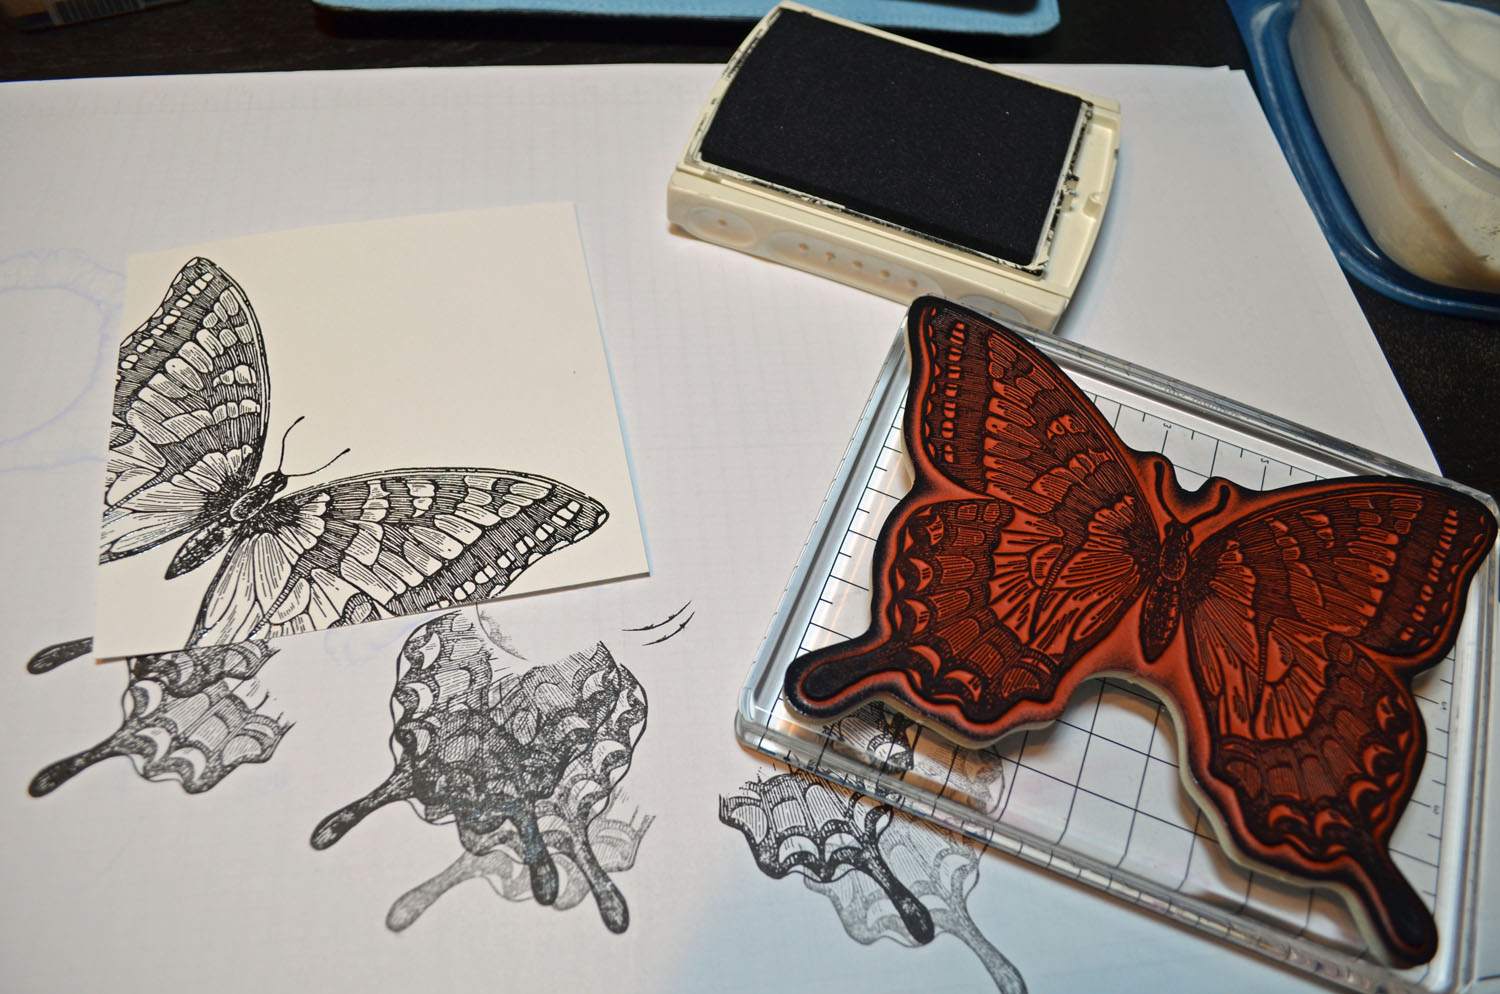
Stamped the rooster with Basic Black ink. It is easier to stamp the rooster before you put the fence in.
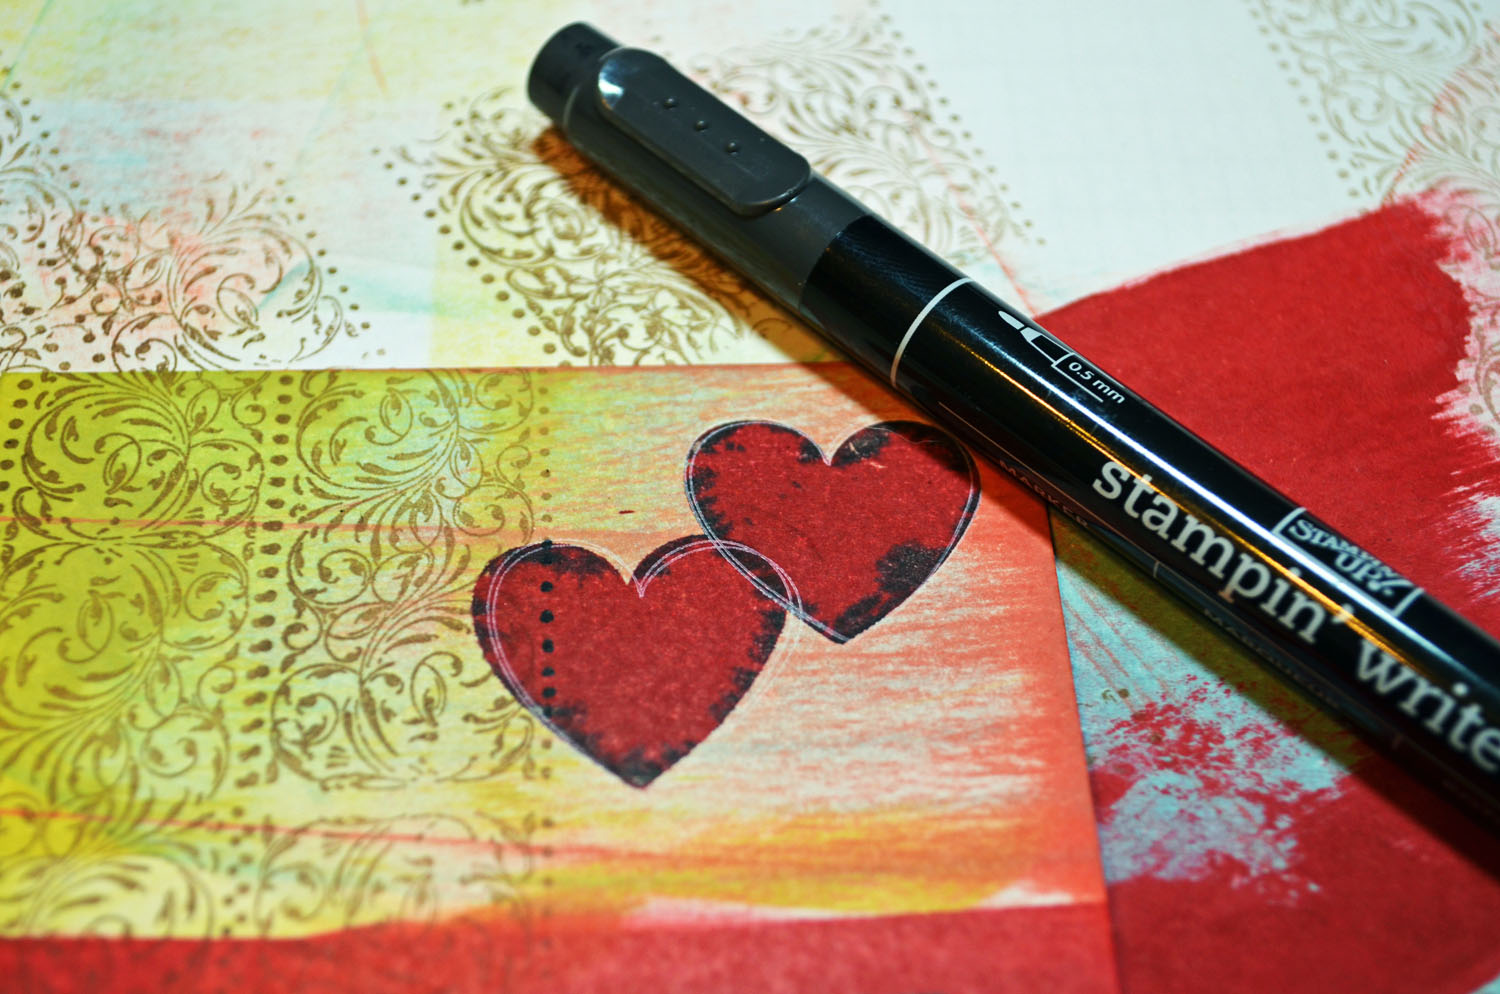
Add a crude fence using a Basic Black marker.
Sponged Basic Black ink around the edge of the card stock.
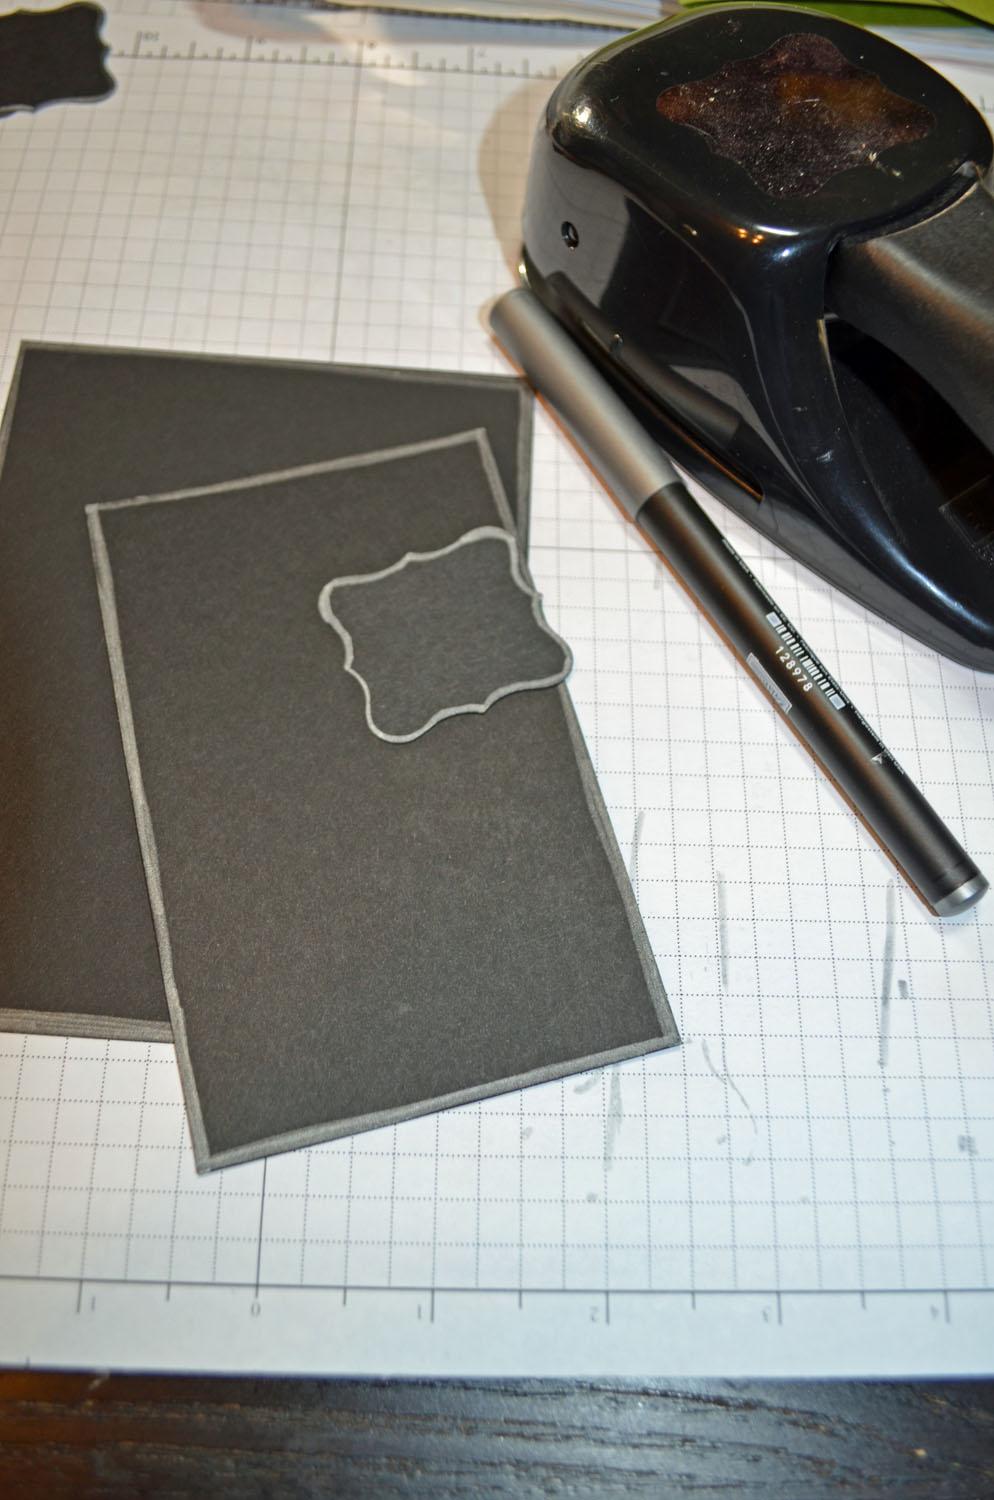
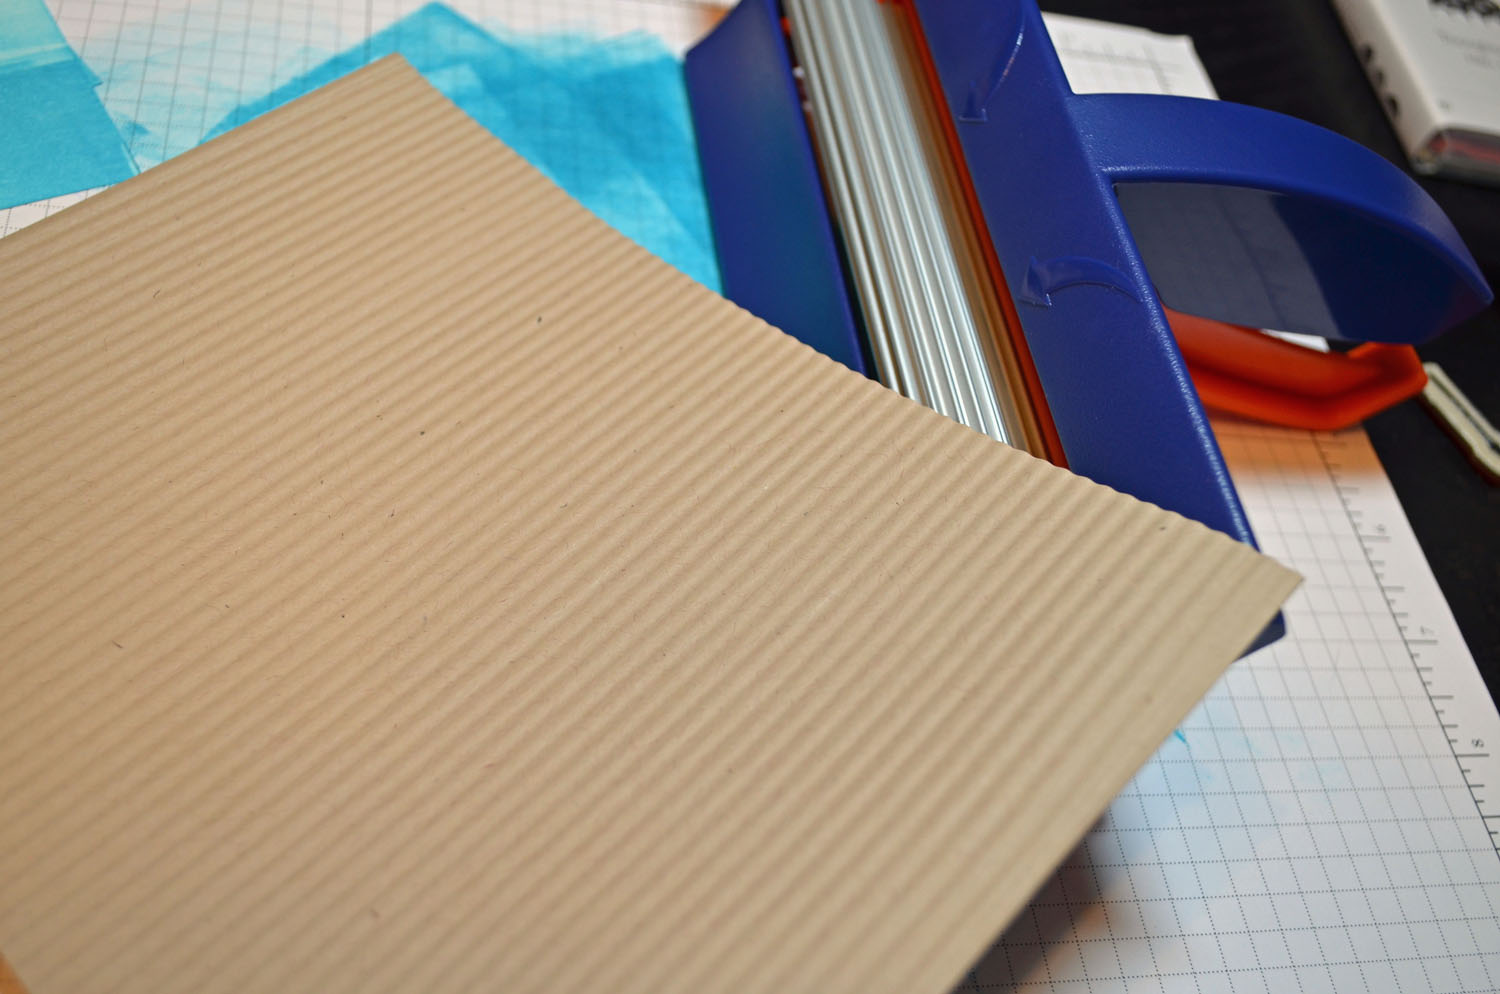
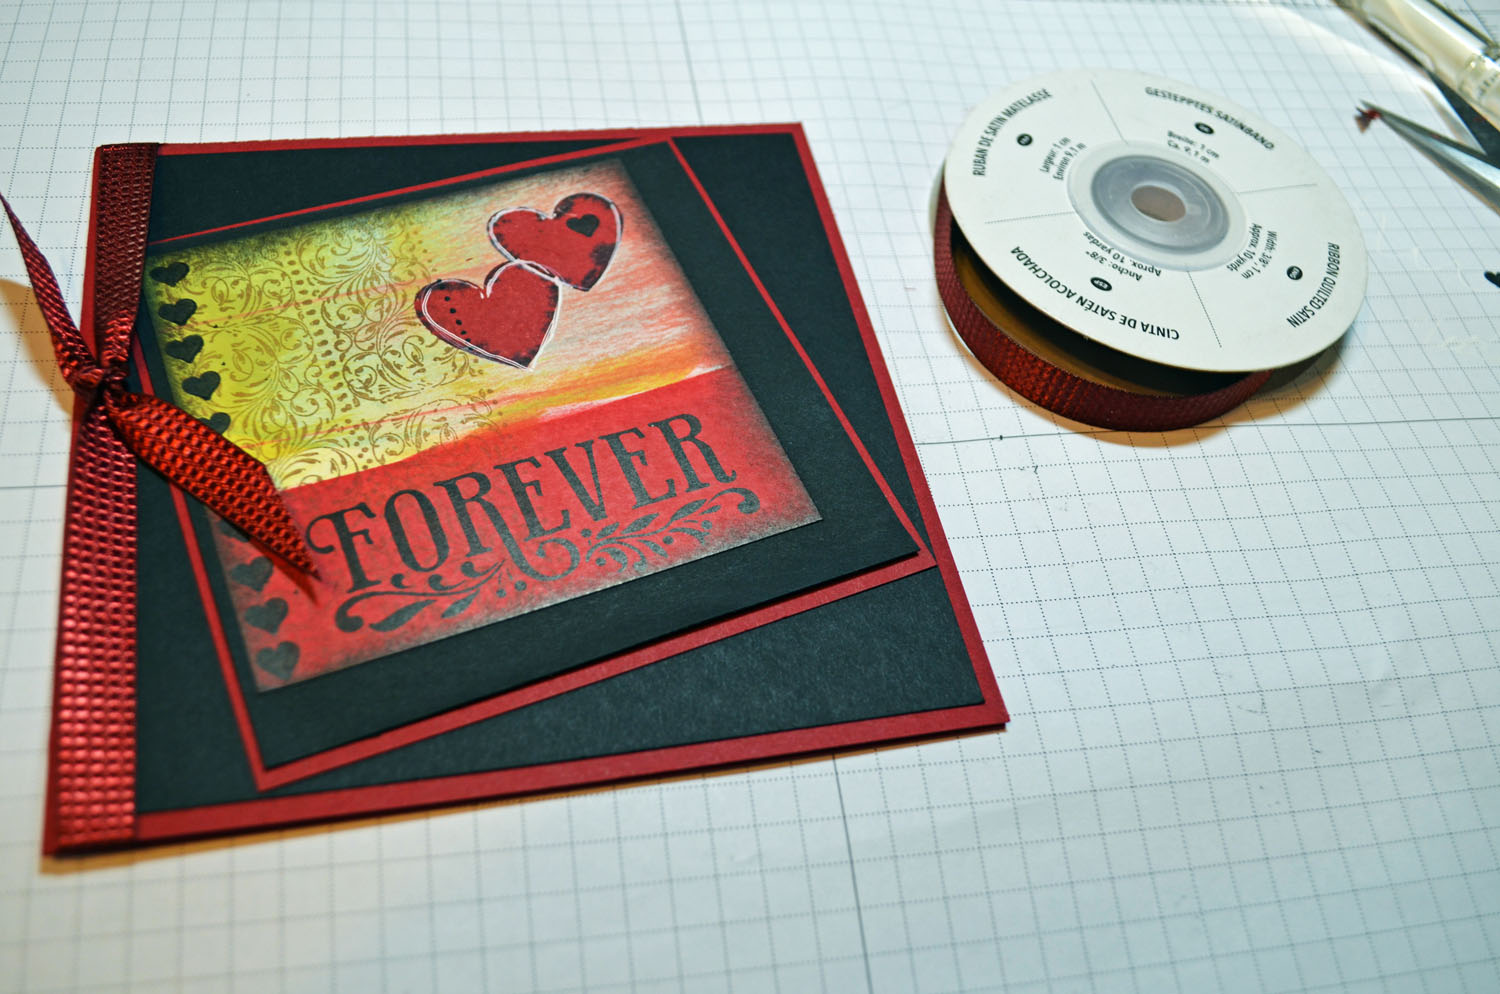
Cut a 4″ x 5.25″ and 3″ x 4.75″ Basic Black panels and punched a Basic Black Curly Label punch. Edge each one with the Stampin’ Up! Silver Marker. The silver makes the edges look like they are recessed.
Run the Panels through the Big Shot using the Honeycomb embossing Folder.
Added the main image panel, Old Olive ribbon, Curly Label Punch, Sentiment punched out with Petite Curly Label punch and Silver Brads.
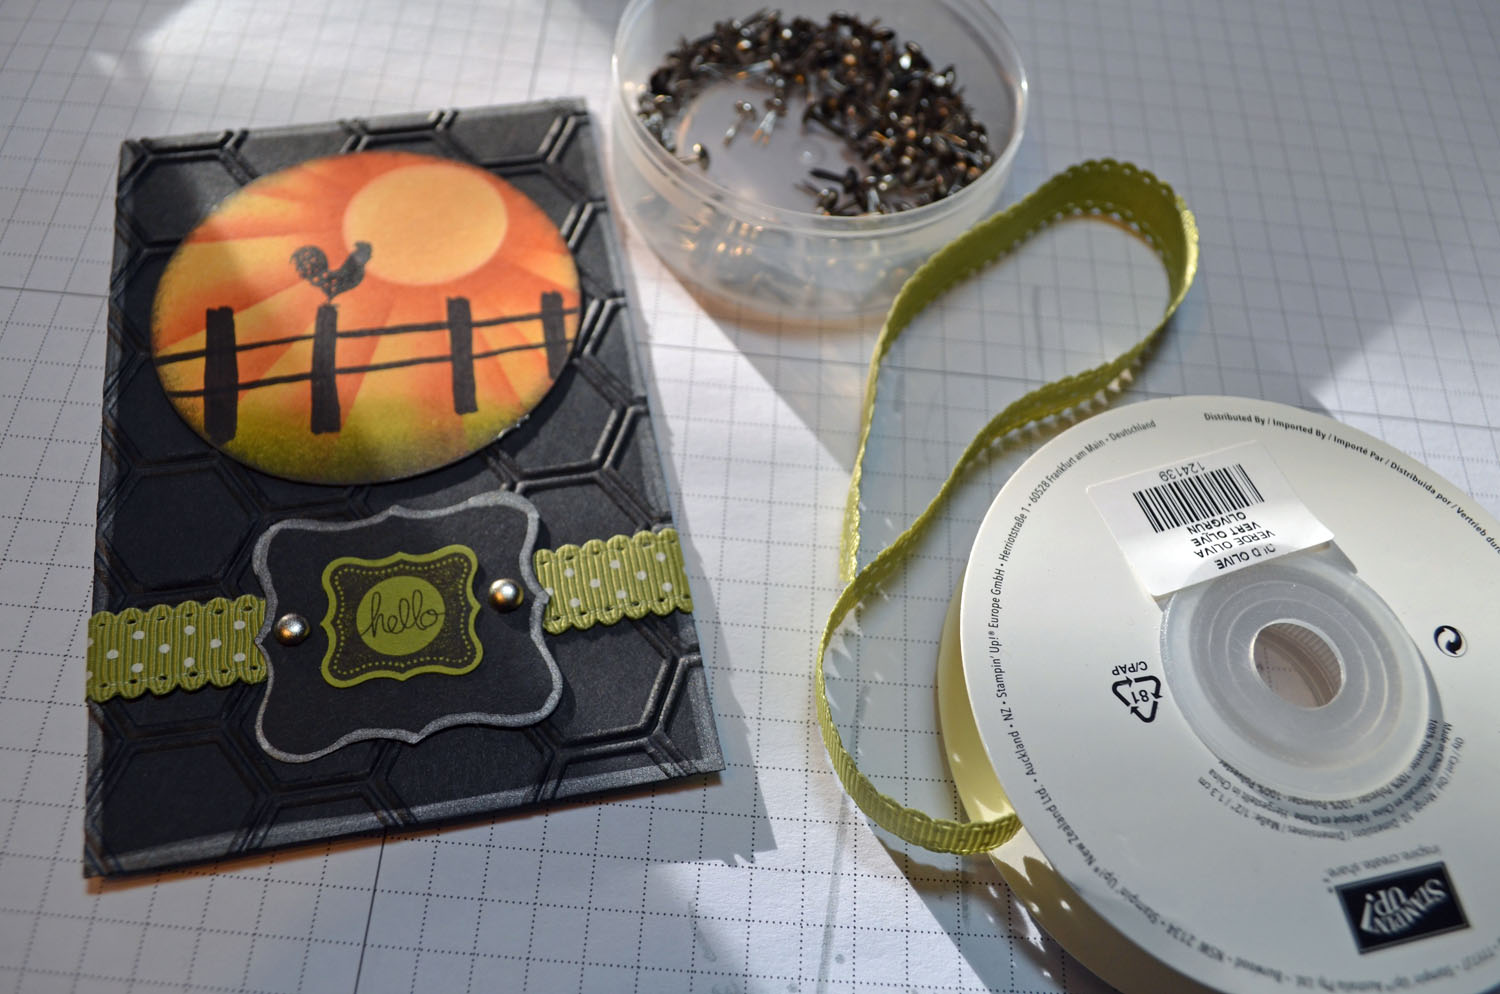
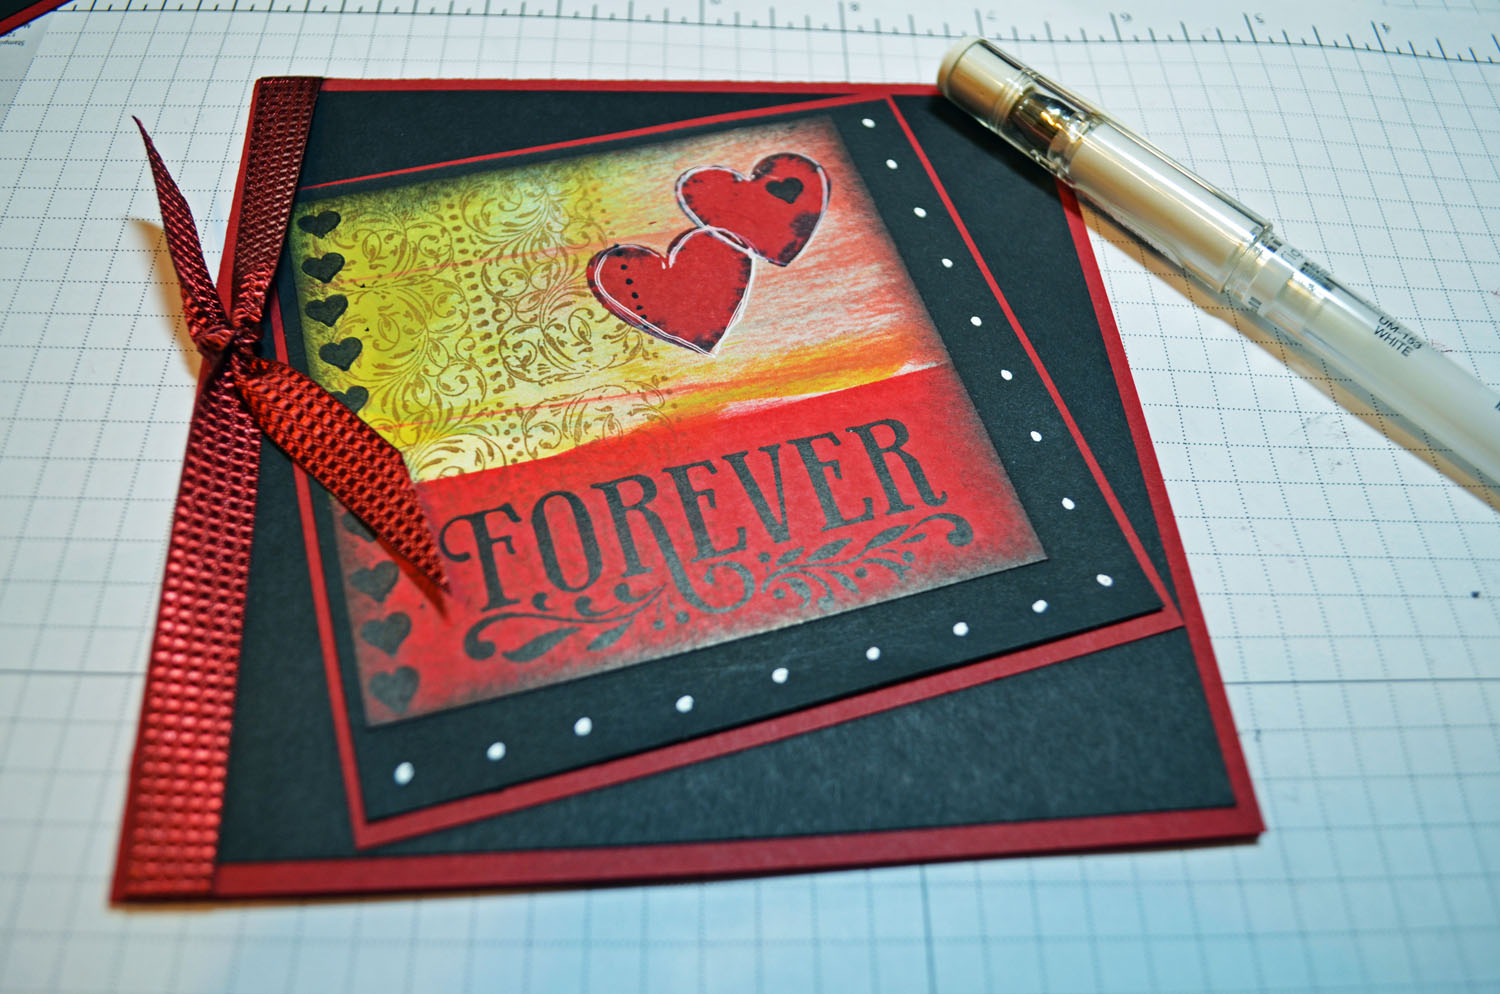
Added an Old Olive card base and popped the small panel up using Stampin’ Dimensionals.
Here is the finished card measuring 4.25″ x 5.5″.
May your day be something to crow about.
Check out the great deals at Stampin’ Up! below.
Until my next post. . . . . .
Hugs,

*******************************************
Weight loss in 2013: 2.9 lbs
*************************************************
CLICK HERE TO SEE THE LATEST STAMPIN’ UP! PROMOTION AND TO SHOP NOW!
************************************************************
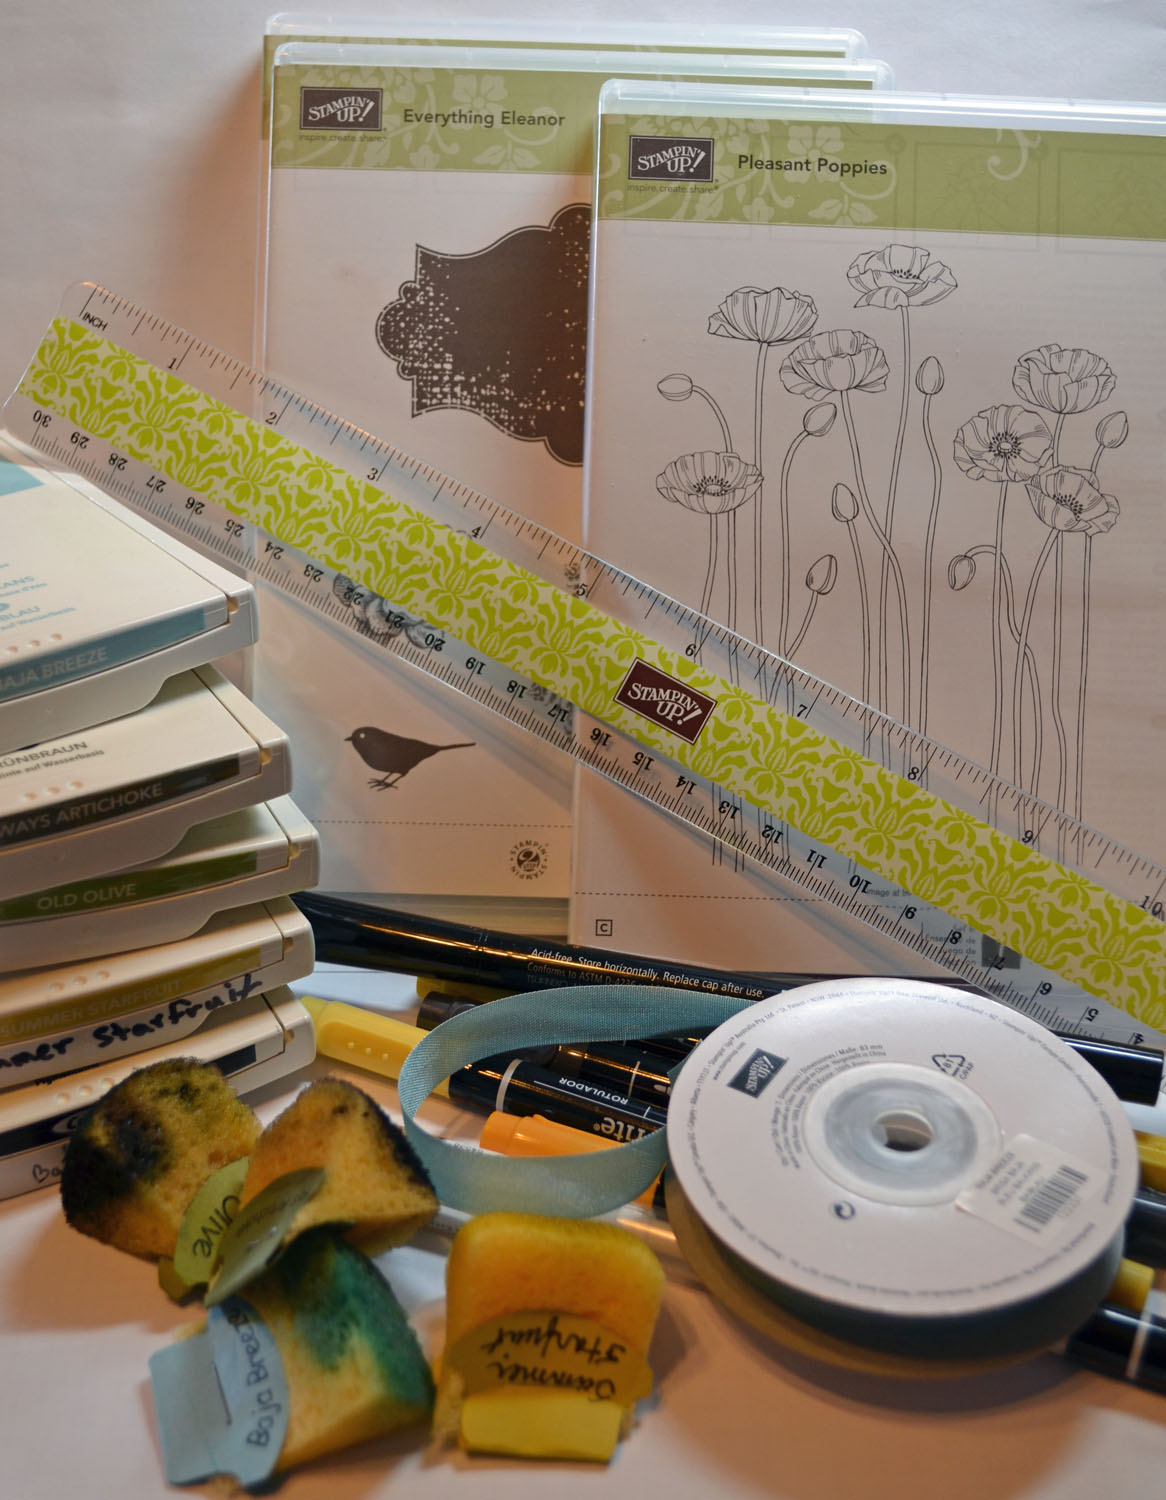
Check out the brand new Spring Catalog and get all those supplies you need for you up coming projects.
**********************************************************
![]()
Have you checked out the great clearance rack at Stampin’ Up! CLICK HERE
New items added!
***********************************************************
Michelle’s Free Stamp Program
Don’t miss out on my Customer free stamp set program. Check it out! Along with a handmade thank you card from me for your order you will receive a token for each $50 in product you ordered using me as your demonstrator. After you have collected 10 tokens you will receive a free current stamp set of your choosing, a value of $39 or less. Here is a link to my online shopping page that you can shop at 24/7 (from the comfort of your home, even in your pj’s) and the products will be shipped directly to your door step from Stampin’ Up: CLICK HERE TO SHOP. My free stamp set program will be an on going program. ![]()
***************************************************
CHECK OUT MY STAMPING EVENTS Click here to see my event calendar


