
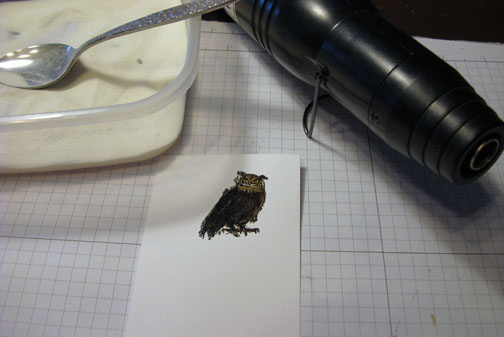
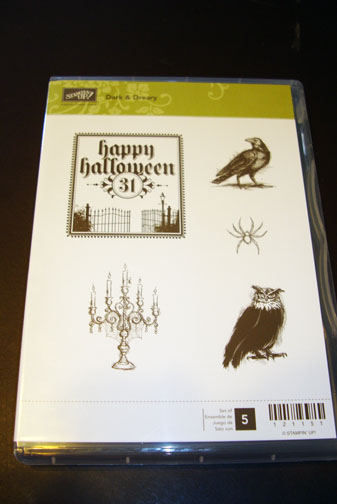
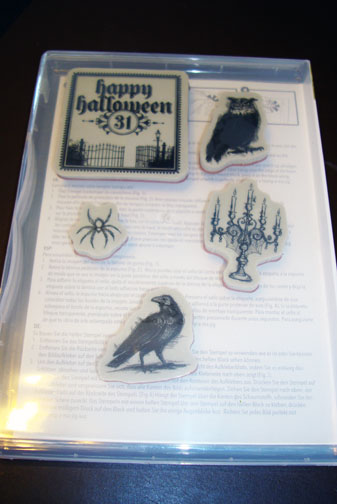
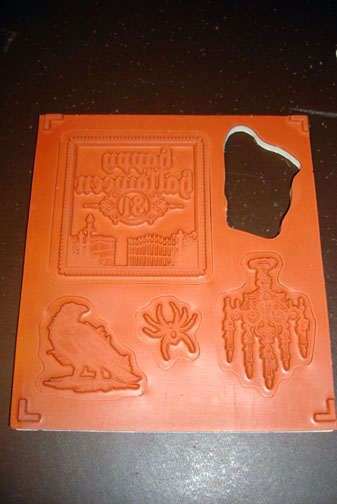
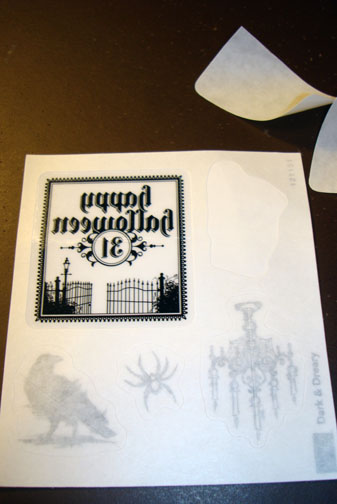
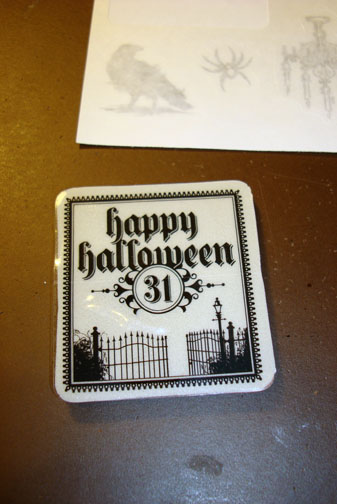
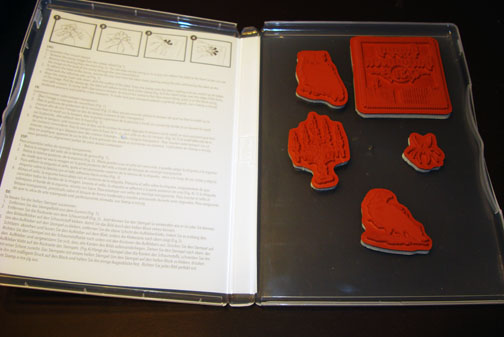
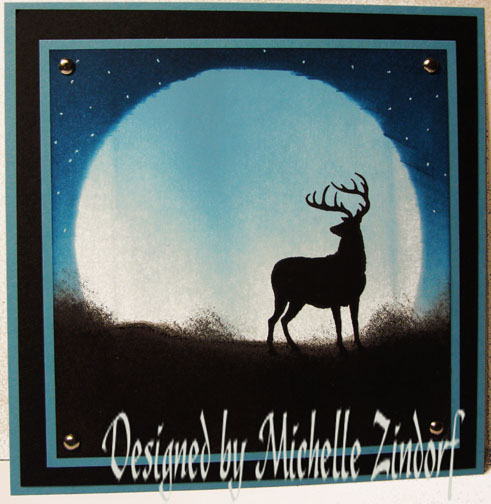
I’m featuring this new Owl stamp from Stampin’ Up’s set “Dark & Dreary”. This set will be in the up coming Holiday Mini Catalog that will be out September 1, 2010. So this is really a sneak peek. This is a great Halloween set, but I like using stamps in an unexpected way, grin.
If you are a Stampin’ Up Customer of mine, I will automatically mail you a Holiday Mini Catalog. If you would like to be a customer of mine, please e-mail your address to me at [email protected] and I will mail you a Holiday Mini Catalog. Sorry, this only applies to residence of the USA.
Let’s get started. . .
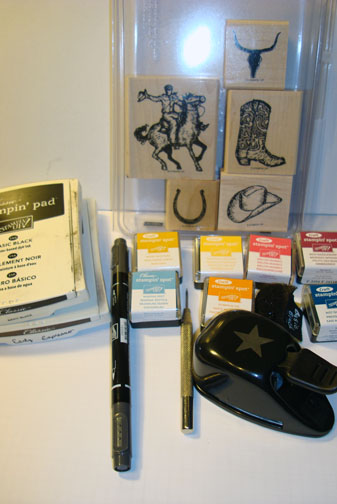
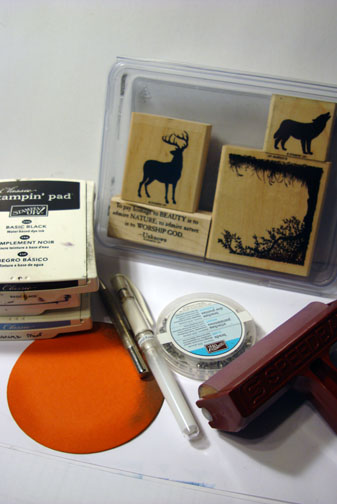
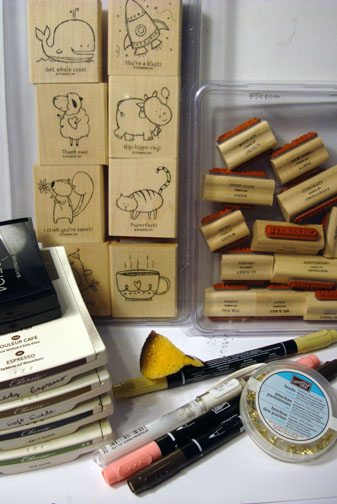
Supplies:
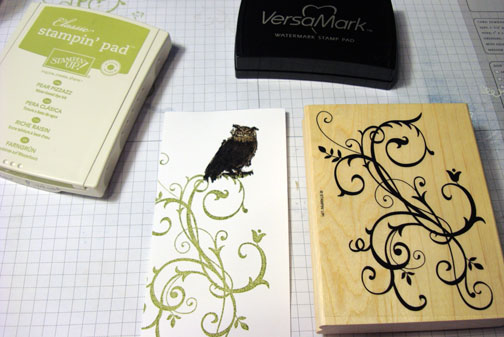
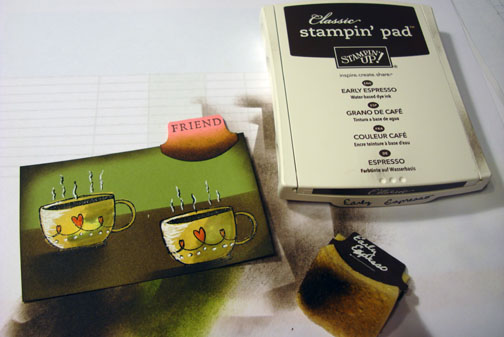
| Stamps: Stampin’ Up! Dark & Dreary and Baroque Motifs |
| Paper: Stampin’ Up! Whisper White, Basic Black, Pear Pizzazz, Rich Razzelberry and Peach Parfait |
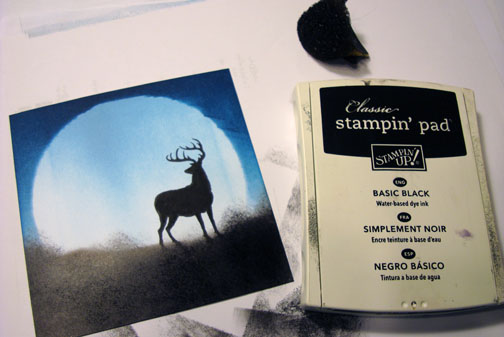
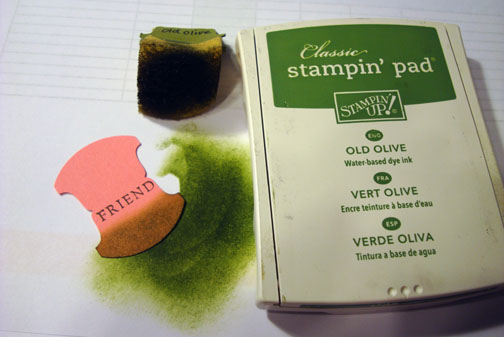
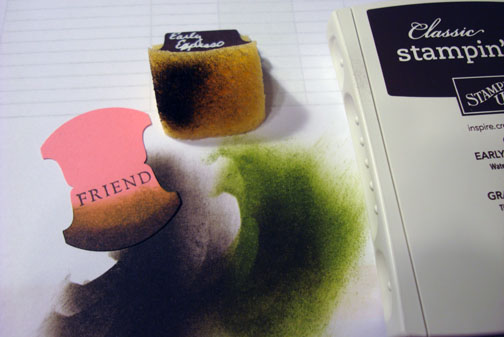
| Ink: Stampin’ Up Basic Black, Elegant Eggplant, Rich Razzelberry, Tangerine Tango, Daffodil Delight and Pear Pizzazz |
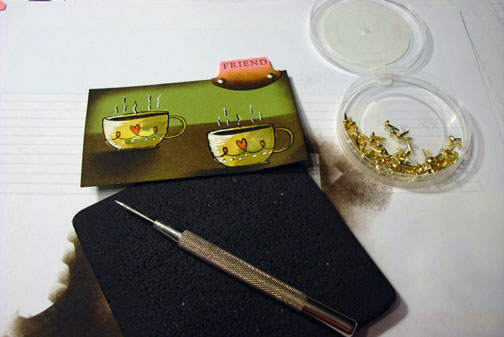
| Accessories: Stampin’ Up Sponges, White Gel Pen, More Mustard and Crumb Cake Markers, Versamark pad and Marker, Brayer, Clear embossing powder and heat gun, Piercing Tools, 1 3/8″ circle Punch, post it note, Big Shot Machine, Swirley Die Cut |
The brand new USA Idea book and Catalog is here. For your copy, please send a check for $9.95 to Michelle Zindorf, P.O. Box 116, West Alexandria, OH 45381 or send it via paypal to [email protected] USA only. Want a copy of the Summer Mini Catalog? E-mail your mailing address to [email protected] and I will get one in the mail to you. ![]() Are you getting inspiration from this blog? One way you can help support it is to order your Stampin’ Up products through me. Click HERE to place an order. Click HERE to check out the Stampin’ Up! catalogs. Want to become a Stampin’ Up Demonstrator , receive a 20% discount on product and earn instant income on orders? Consider being part of my Stampin’ Up Team and start your own business. Click HERE for more information.
Are you getting inspiration from this blog? One way you can help support it is to order your Stampin’ Up products through me. Click HERE to place an order. Click HERE to check out the Stampin’ Up! catalogs. Want to become a Stampin’ Up Demonstrator , receive a 20% discount on product and earn instant income on orders? Consider being part of my Stampin’ Up Team and start your own business. Click HERE for more information.

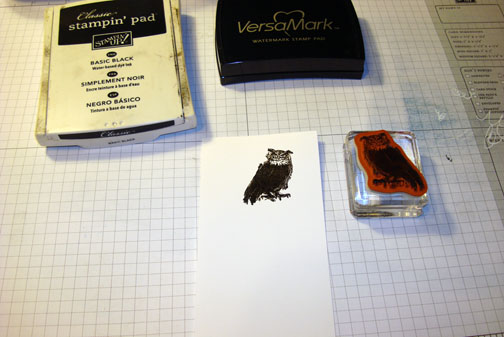
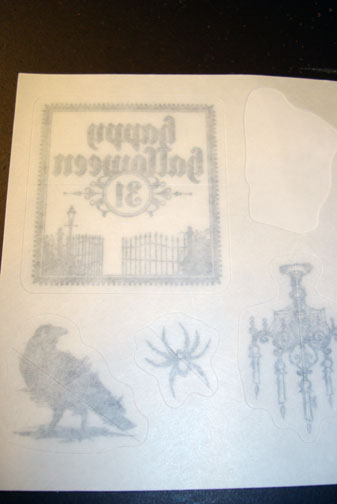
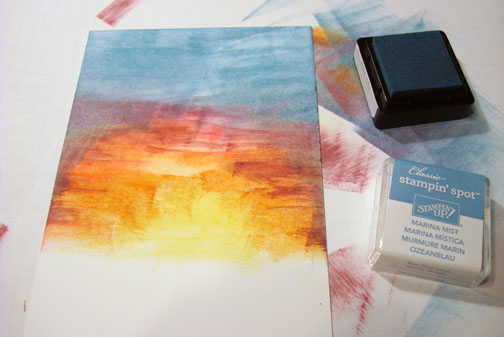
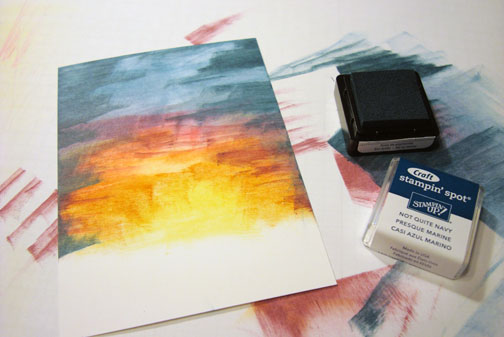
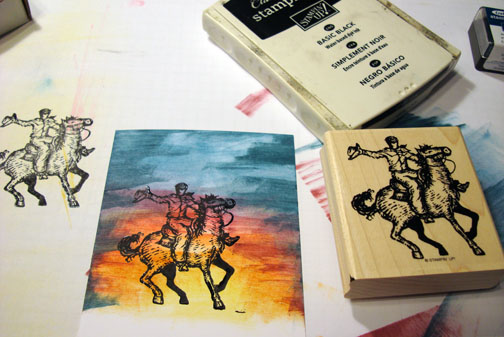
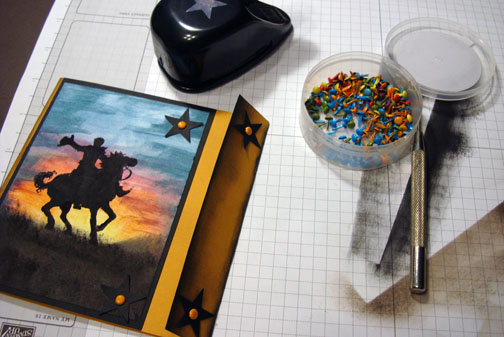
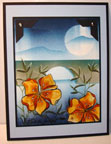
Stamped the Owl by first loading the stamp with Versamark and then with Basic Black ink before stamping it on a 2.75″ x 5″ piece of Whisper White card stock.
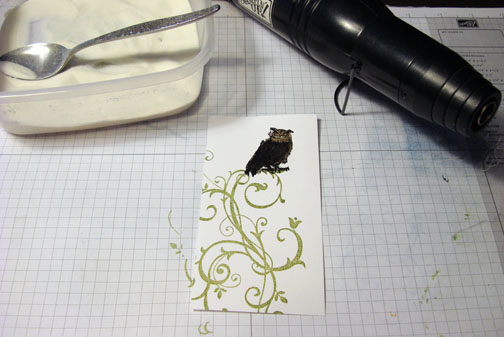
Colored the Owl’s eyes with a More Mustard marker and his neck and head with a Crumb Cake marker.
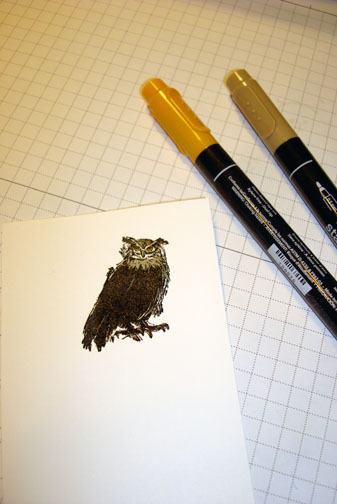
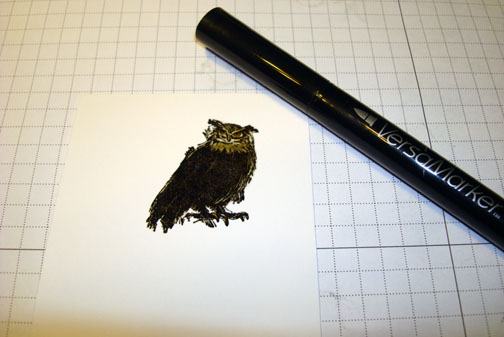
Colored over the Owl with a Versamark marker, being careful not to go out side of the image. Heat embossed the Owl using clear embossing powder and a heat gun.
Stamped the Baroque Motifs Flourish by first loading the stamp with Versamark and then Pear Pizzazz ink before stamping it. Heat embossed the flourish using clear embossing powder and a heat gun.
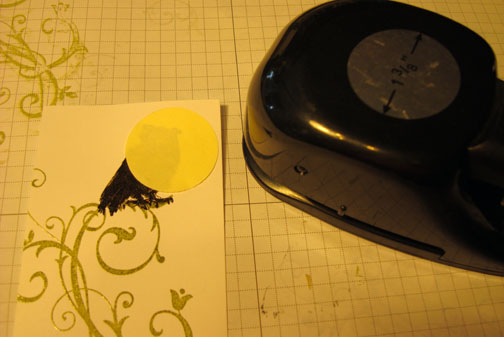
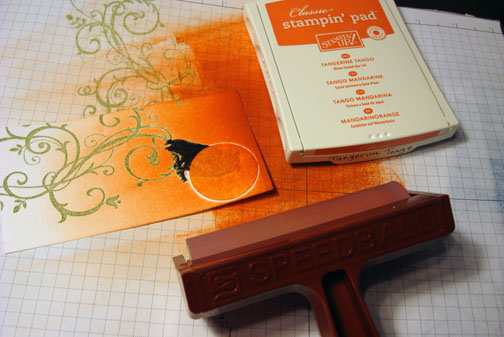
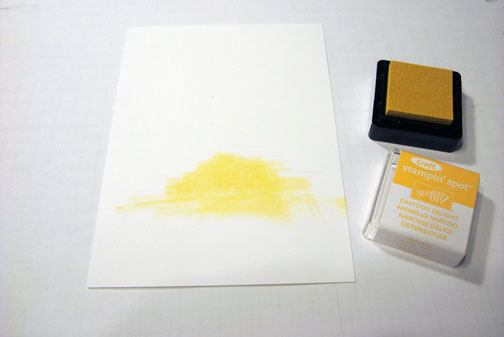
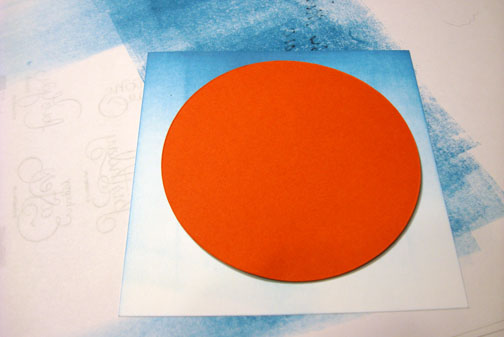
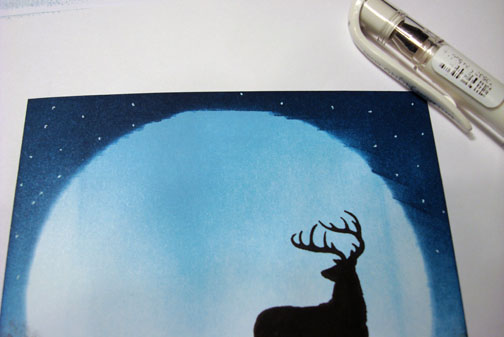
Punched a 1 3/8″ circle from a post it note to use as the sun mask.
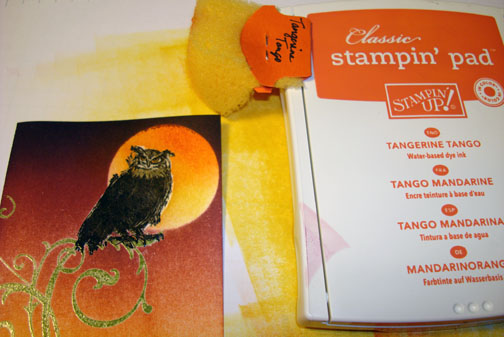
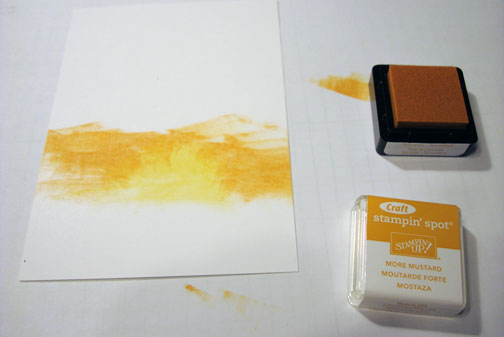
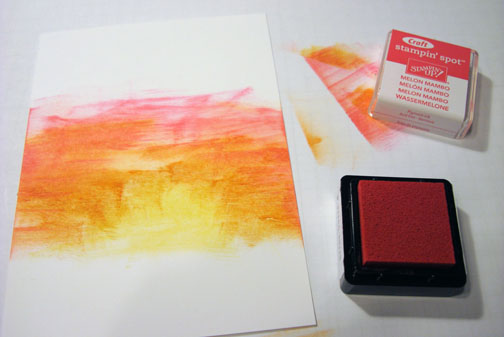
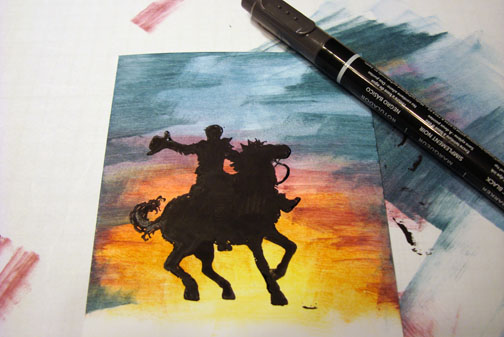
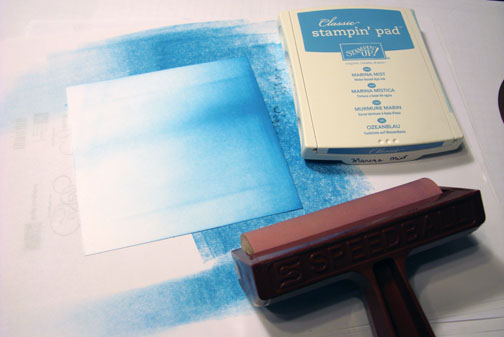
Added the mask to my main image panel and brayered Tangerine Tango ink at the top of the card stock.
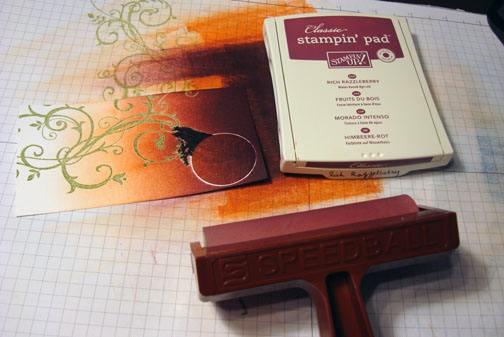
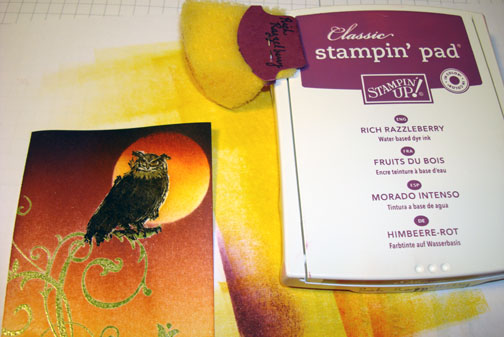
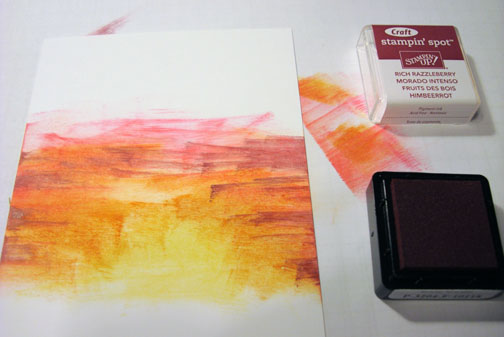
Brayered Rich Razzelberry ink at the top of the card stock, not covering the Tangerine Tango ink entirely.
Brayered Elegant Eggplant ink at the top of the card stock, not covering the Rich Razzelberry ink entirely.
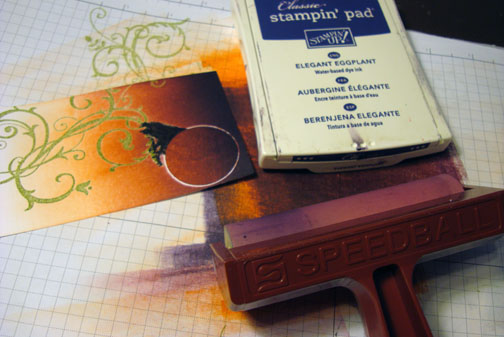
Brayered Daffodil Delight ink at the bottom of the card stock.
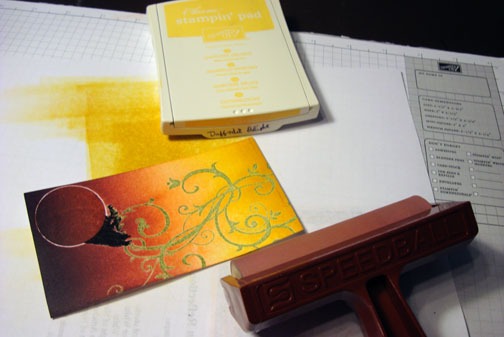
Removed the Sun mask and Sponged Daffodil Delight ink in the sun area.
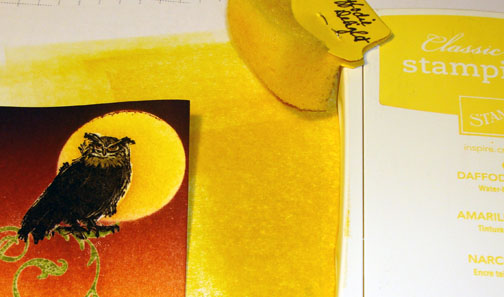
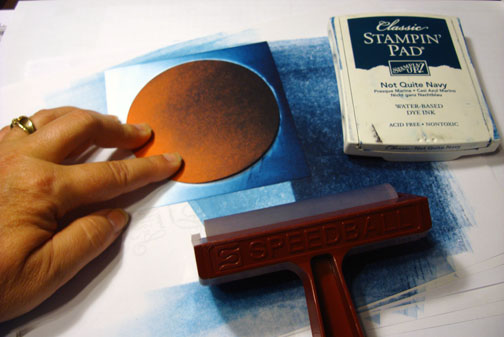
Sponged Tangerine Tango ink at the top of the sun.
Sponged just a bit of Rich Razzelberry ink at the very top of the sun.
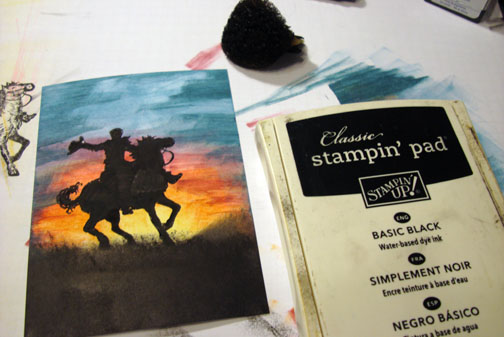
Using a Stamp-a-ma-jig for placement, stamped the flourish again, just slightly to the left of the original stamped image using Rich Razzelberry ink. This was done to create a bit of depth in the vine, giving it a shadowed underside.

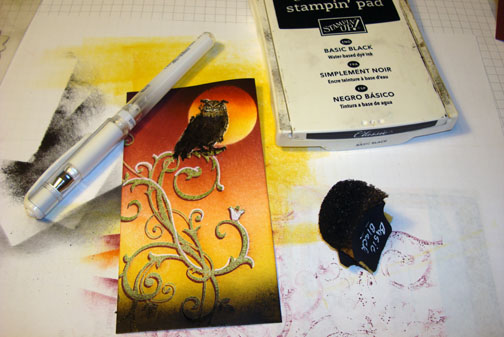
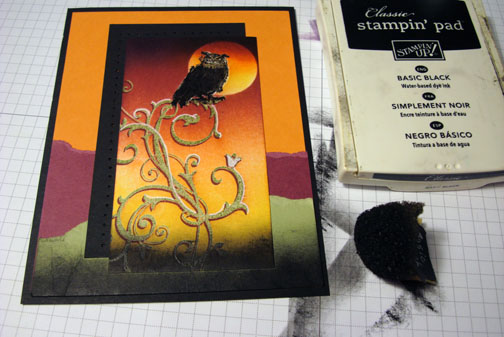
Sponged Basic Black ink at the bottom of the card stock and added highlights to the top of some of the flourish.
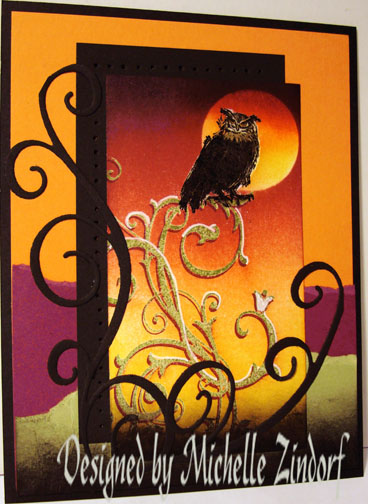
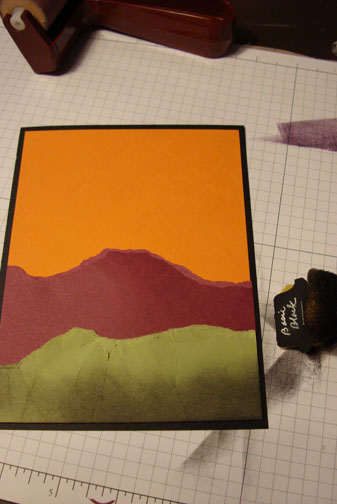
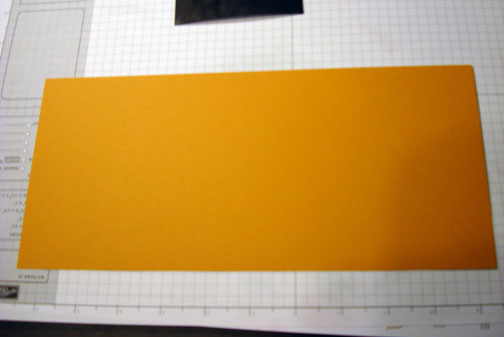
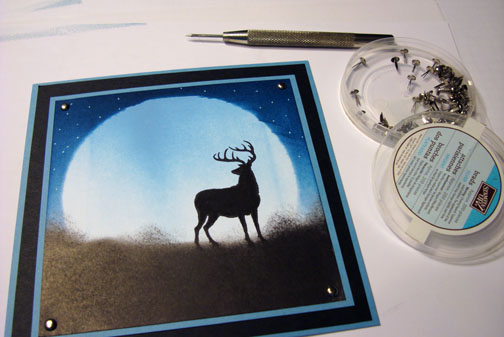
Put together a Basic Black Layer, Peach Parfait layer, ripped Rich Razzelberry Layer and a Ripped Pear Pizzazz Layer. Sponged Basic Black ink at the bottom of the Ripped Pear Pizzazz layer.
It’s hard to see, but I pierced holes in the Basic Black layer under the main image panel using piercing tools.
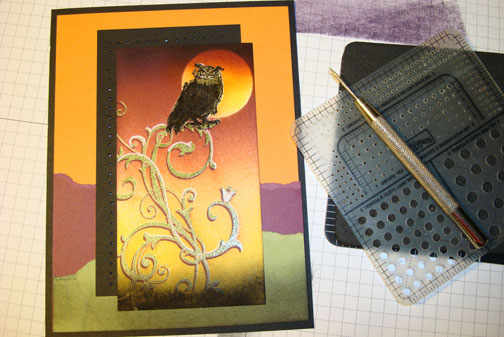
Added More Basic Black ink to the bottom of the card front.
Added a Swirley Die cut from Basic Black ink with the Big Shot Die Cutter.
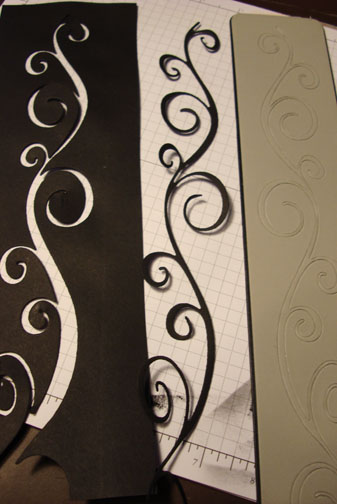
Cut the Swirley die into 2 pieces and adhered them to the card front.
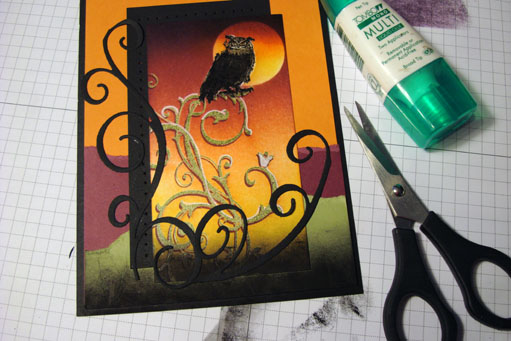
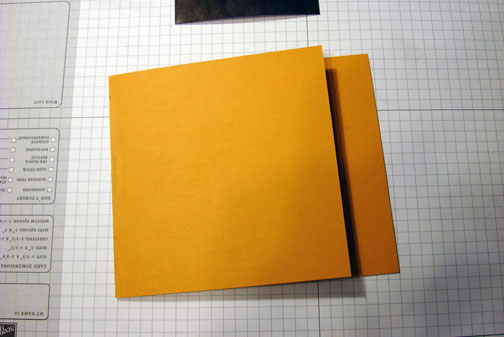
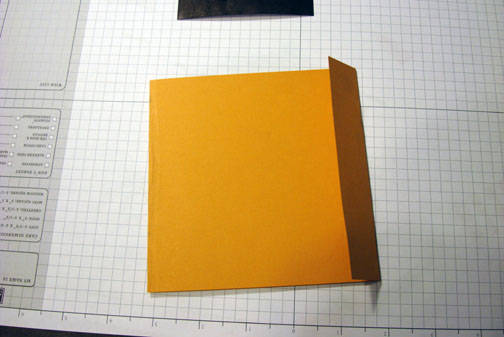
Here is the finished card measuring 5″ x 6.5″.
Well I am off tomorrow morning (Friday) to Venice, Florida where I will turn 30 ladies into Brayering Masters, OH YEA!
Have a super fun and safe weekend. Catch ya on Tuesday.
Until my next post. . . . . . .
Hugs,
Michelle
 Get ready for Brayer Workshops! I am coming to the following locations, click the location name for more information.
Piedmont, Alabama (Near GA border close to Cedartown)
Auburn, Washington (near Seattle)
Fayette, Tennessee near Nashville, TN & Huntsville, AL
Syracuse (Bridgeport), New York
Here is a link to my workshop calendar where you can see all of my travel schedule and to get info on beginner and advanced Brayer workshops: https://zindorf.splitcoaststampers.com/workshop-calendar
Link to my Stampin’ Up website where you can order all of your must have Stampin’ Up products from me 24-7: https://michellezindorf.stampinup.net
Frequently asked questions answers: https://zindorf.splitcoaststampers.com/frequently-asked-questions/


