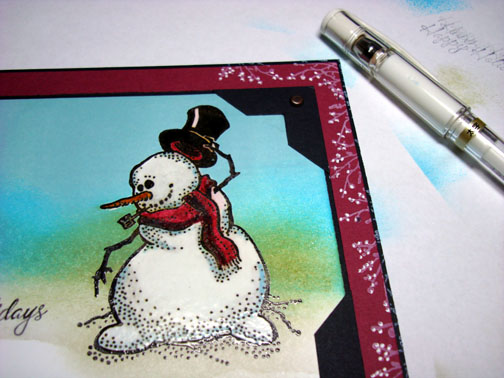
I feel so guilty, part of my weekend was spent Christmas Shopping and creating new Workshop projects for my Beginner Brayer works in February at Marco Paper. But that’s not where the guilty part comes in. It’s the new Wii game system I purchased for my husband and I. If you have never experienced a Wii before, you have to try it. It will definitely get you up off of the couch and moving. We spent hours last night bowling and golfing. It was way to much fun. If you do own a Wii you know what I’m talking about. 🙂 Dangerously addictive. . . . . . .. . . . . . Hmmm, I think I need to stop at the store and pick up yet another game. . . . who needs that retirement fund anyway, lol.
Anyway, let’s talk about stamping.
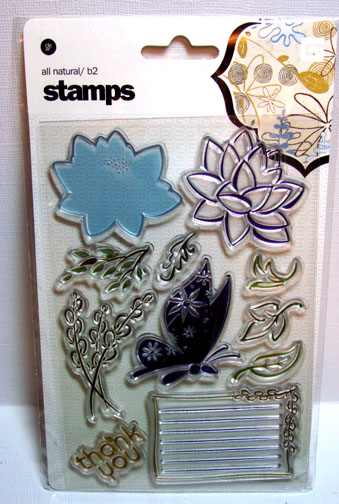
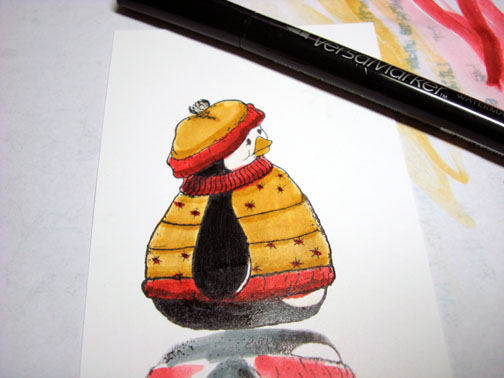
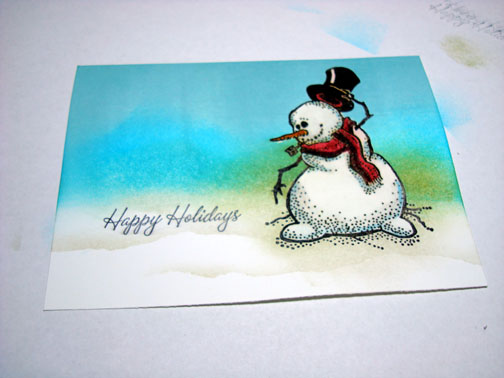
I showed a glimps of this great new stamp by Innovative Stamp Creations the other day and got flooded by e-mails asking where you can get it. Here is a link: https://www.innovativestampcreations.com/ischomepage.html
Don’t you just love trees! I can’t get enough of them. 🙂
Today’s tutorial shows how to get a great light effect by using your brayer at an angle. Check it out.
Let ‘s get started.
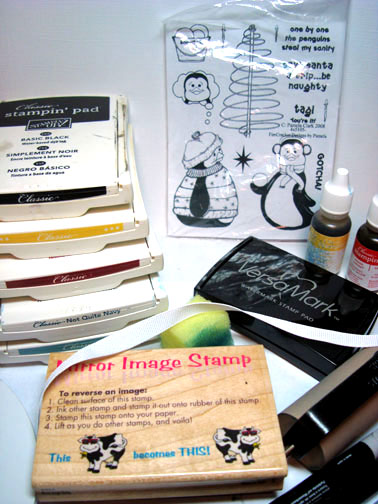
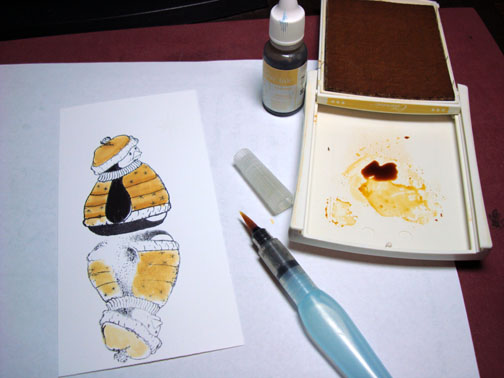
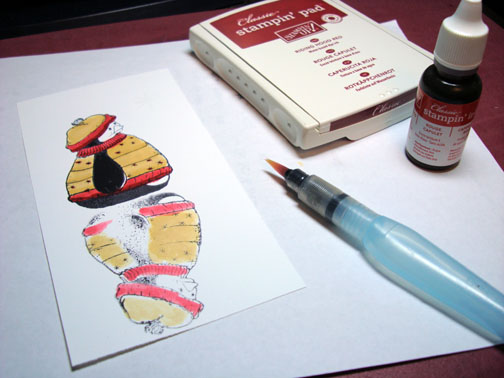
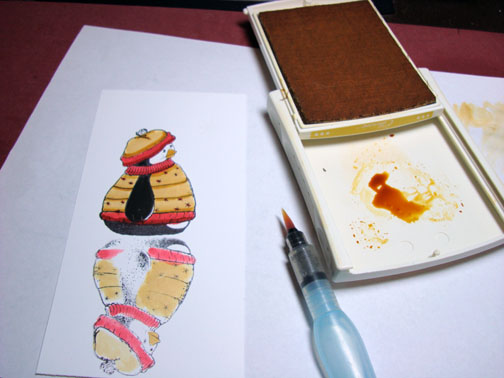
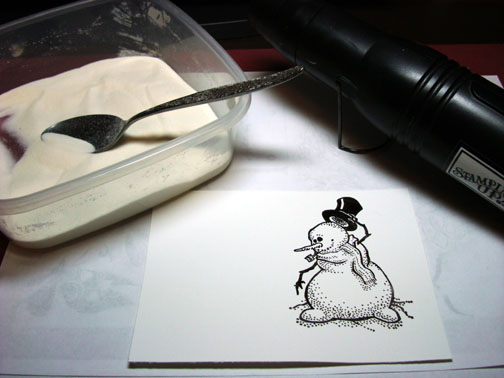
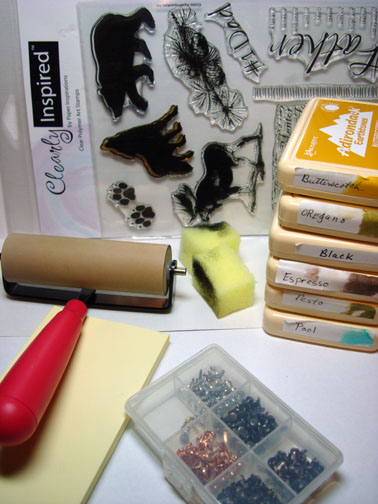
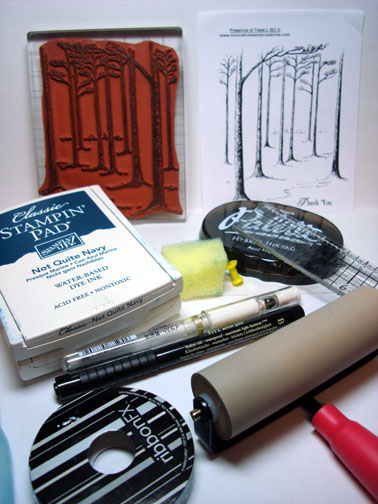
Supplies:
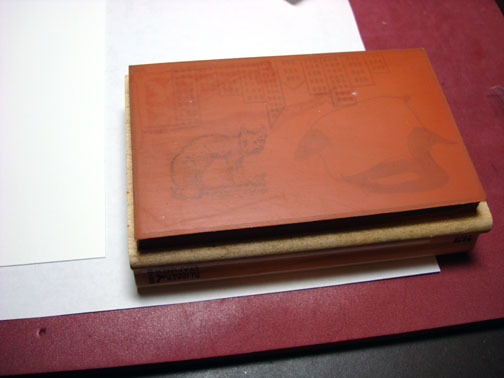
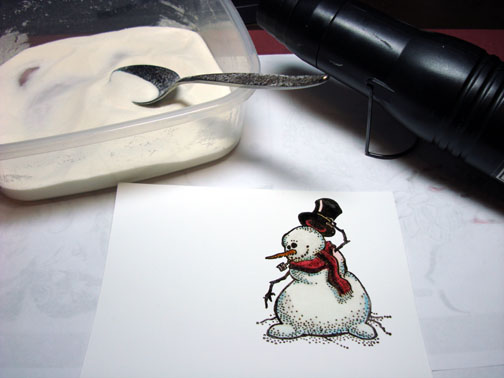
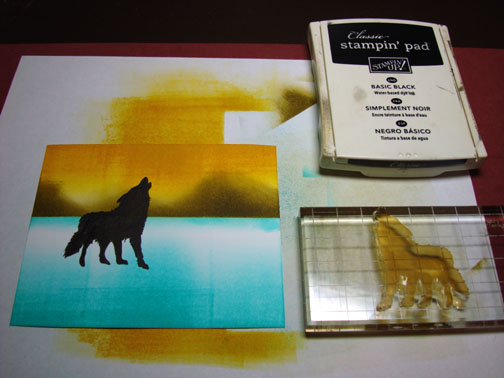
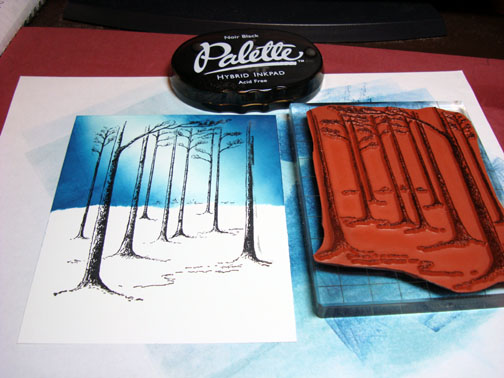
| Stamps: Innovative Stamp Creations “Presence of Trees” |
| Paper: Stampin’ Up Whisper White, Basic Black and Baja Breeze |
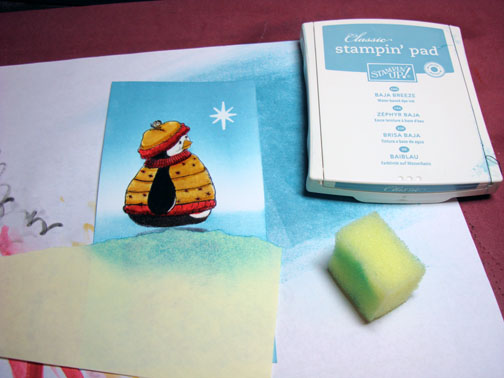
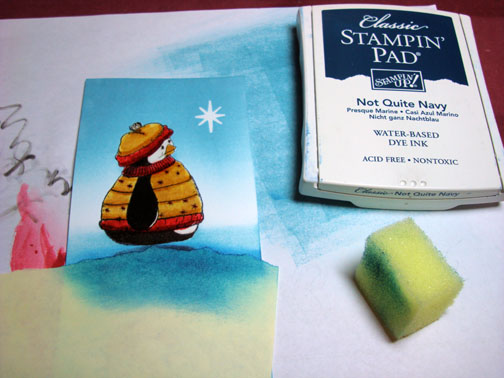
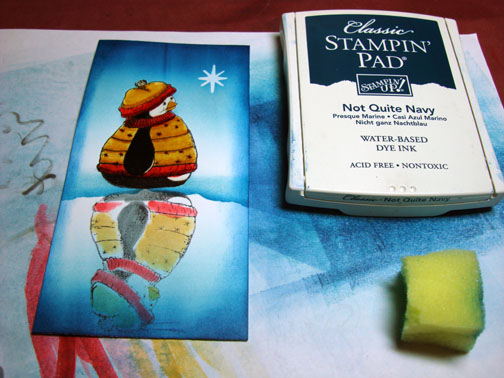
| Ink: Stampin’ Up Baja Breeze & Not Quite Navy, Palette Noir Black |
| Accessories: Ribbon, Post it Notes, Brayer, Aqua Pen, White Gel Pen, Black marker, Tim Holtz Ruler, Push Pin |
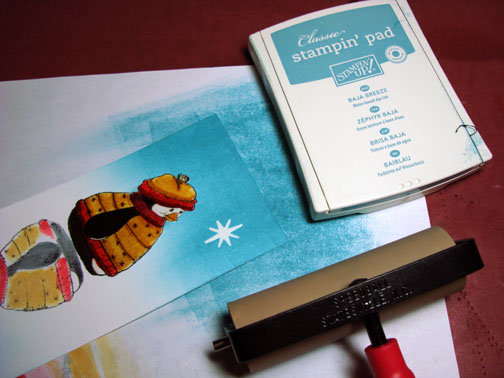
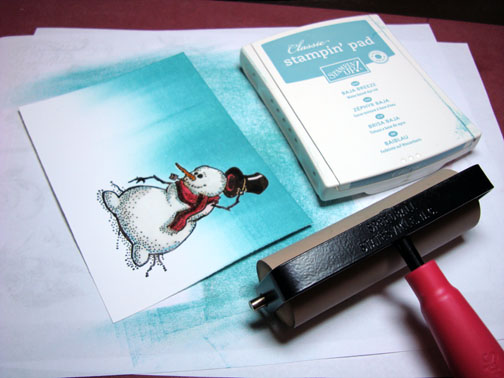
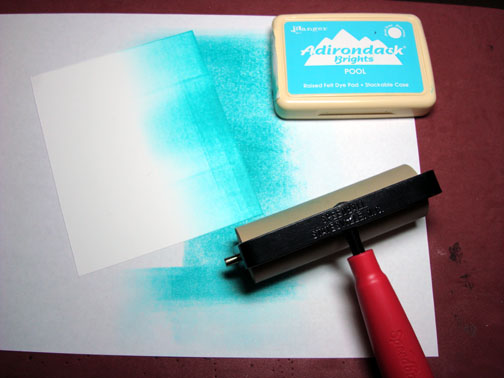
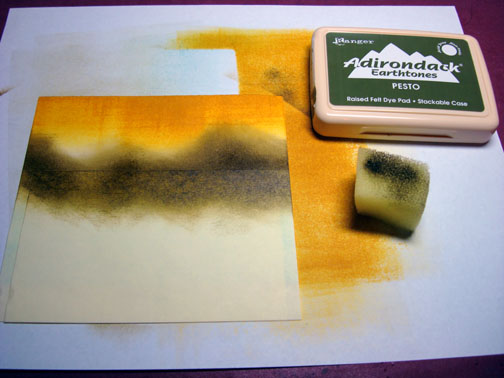
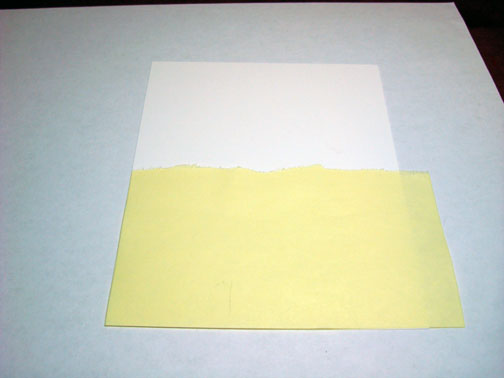
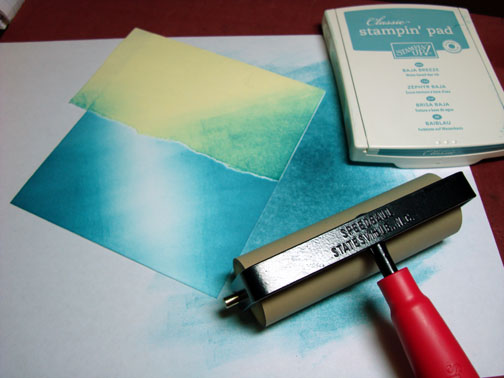
Started by tearing through the sticky edge of a post it note and used it as a mask. Masked the bottom portion of a 4.5″ x 5.5″ piece of Whisper White card stock.
Brayered Baja Breeze ink at an angle on the unmasked portion of the card stock.
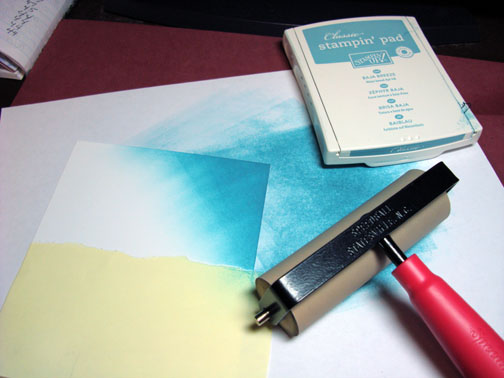
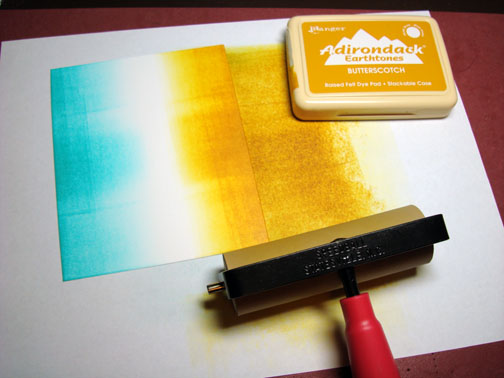
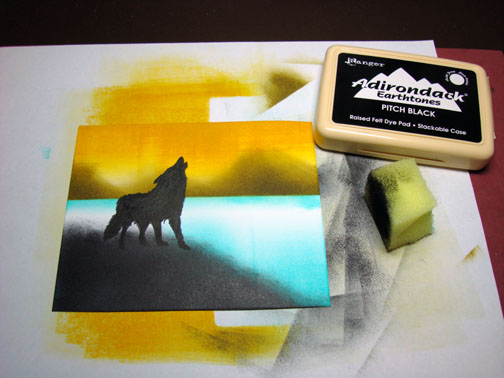
Turned the card stock upside down and brayered at an angle again leaving a light streak in the middle. 🙂
Brayered Not Quite Navy using the same angles, but did not cover the Baja Breeze ink entirely.
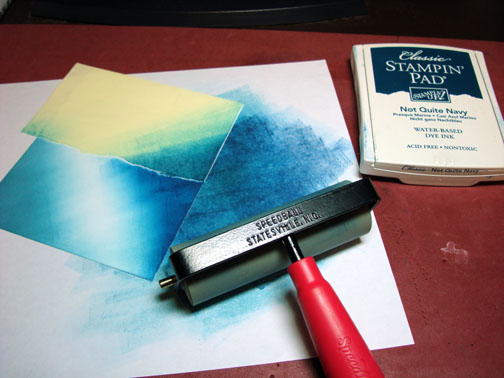
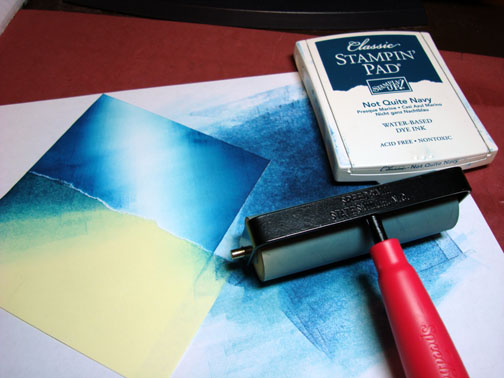
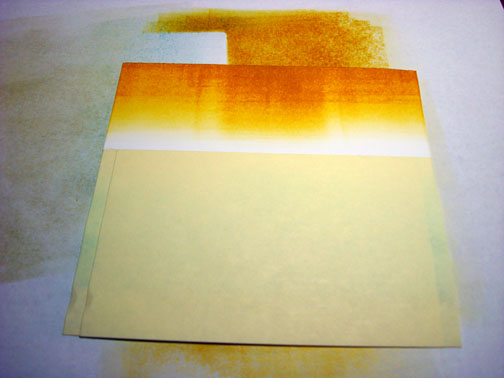
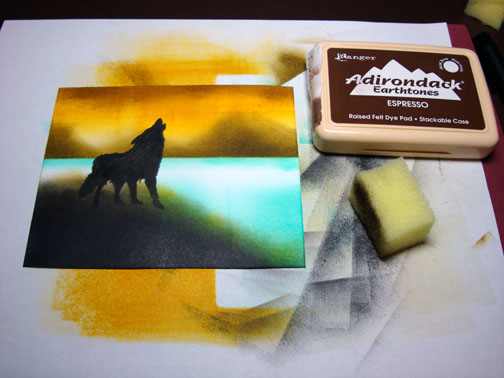
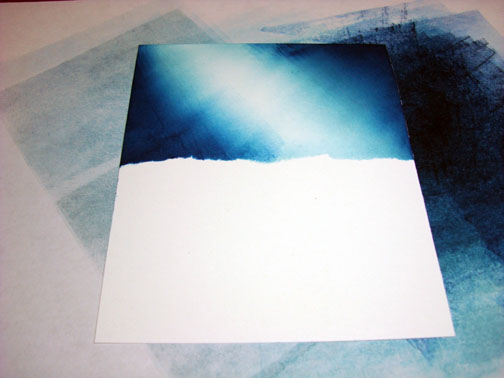
Removed the post it note mask.
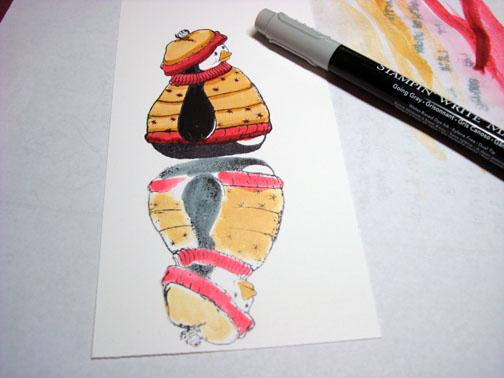
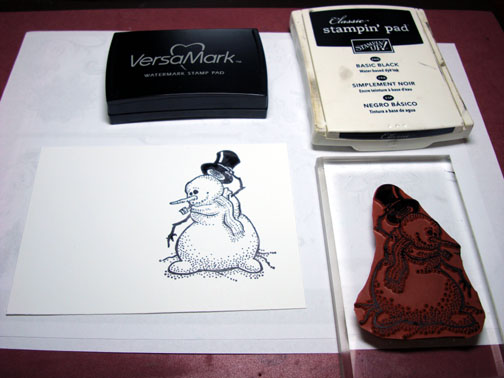
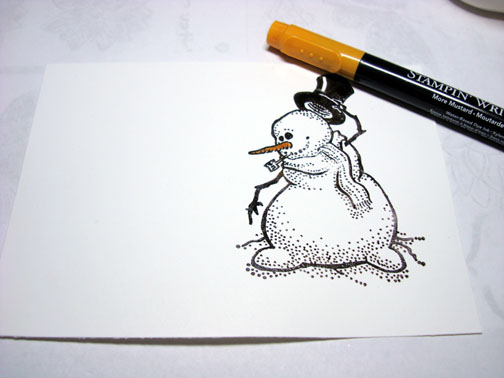
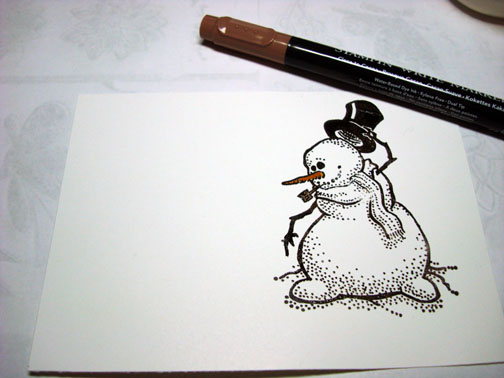
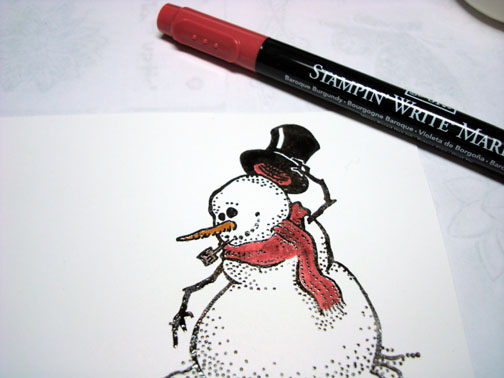
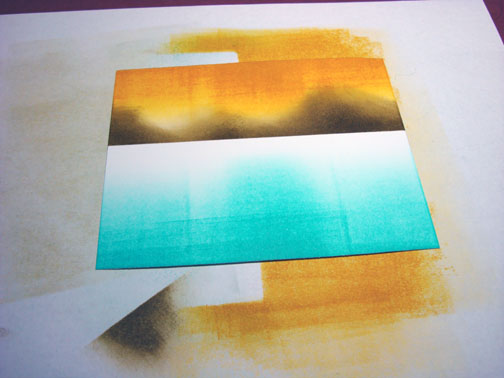
Stamped the trees using Palette Noir Black ink.
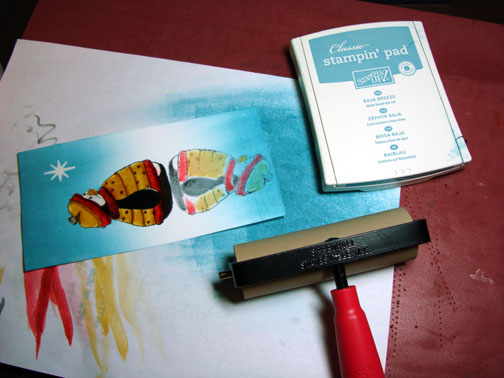
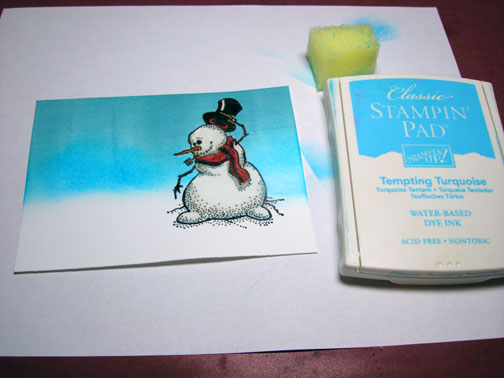
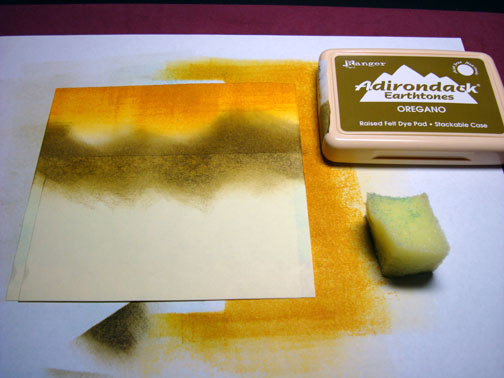
Used a marker to extend some of the trees to the top of the card stock.
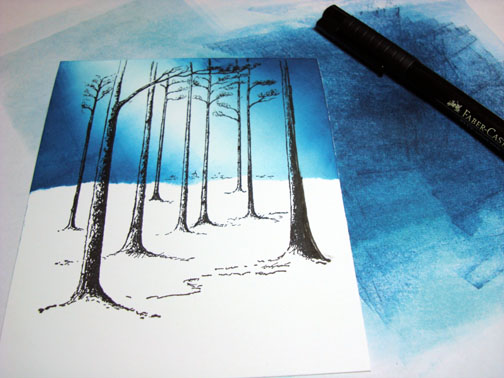
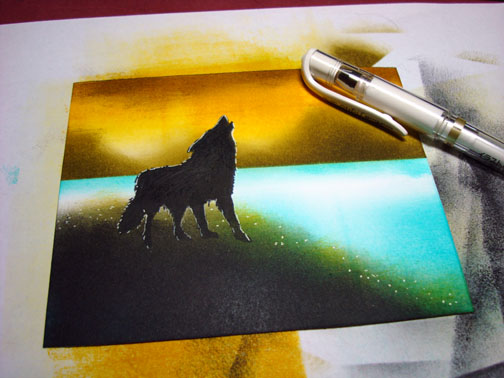
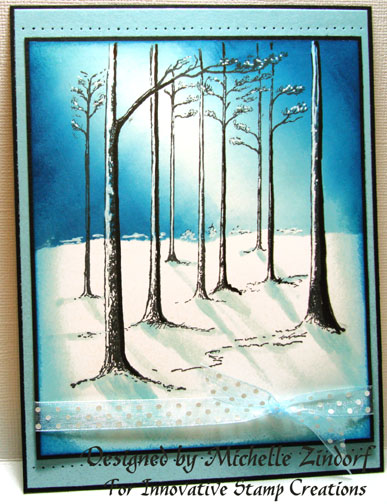
Colored the light side of the trees with a White Gel pen to make them look like they have snow stuck to them. Also added a few dots of white gel pen in the branches.

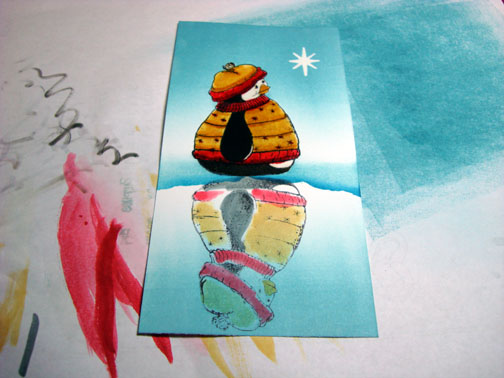
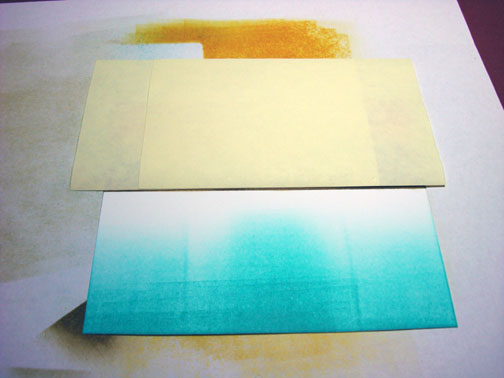
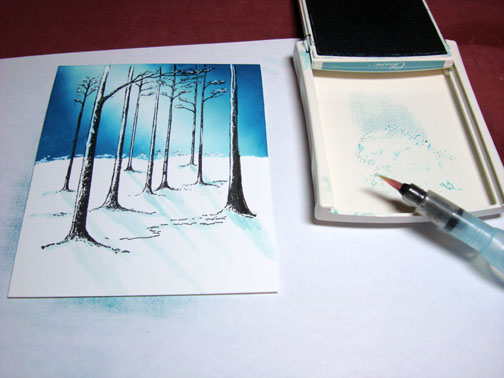
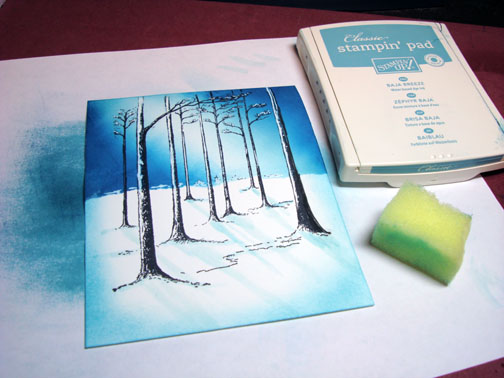
Squeezed the Baja Breeze ink pad to create a pool of ink on the lid of the stamp pad and used the ink along with an Aqua painter to create shadows of the trees on the snow area.
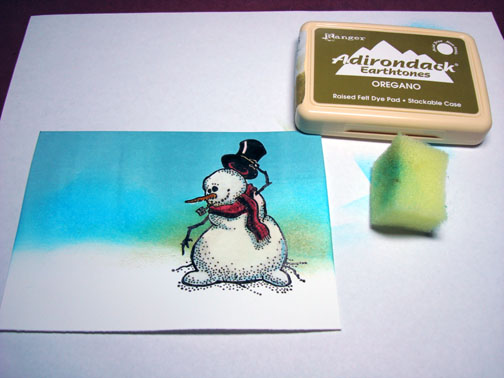
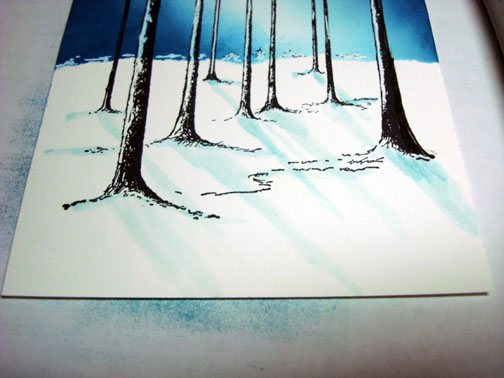
Closer look.
Note: your shadows should go in the same direction as your light source. 🙂
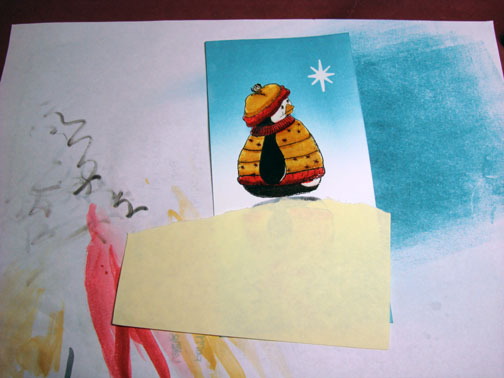
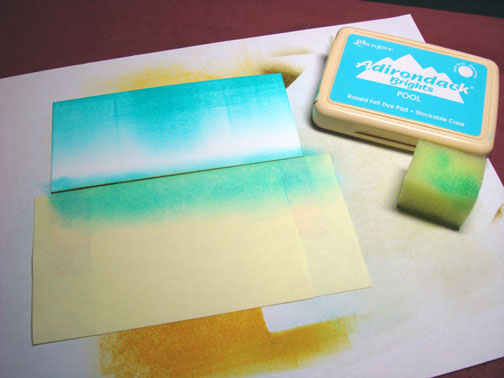
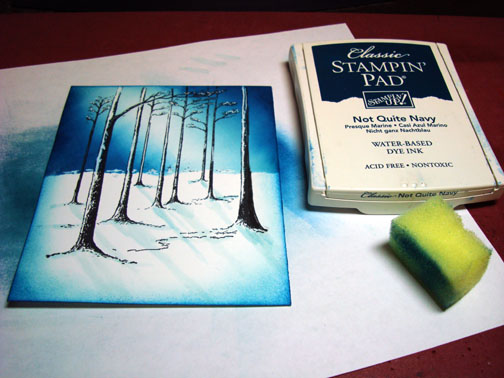
Sponged Baja Breeze ink around the entire edge of the card stock.
Sponged Not Quite Navy ink around the very outside edge of the card stock.
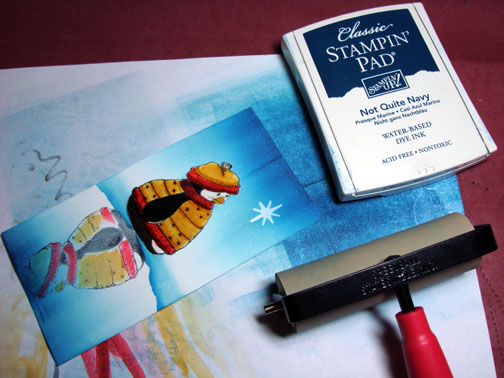
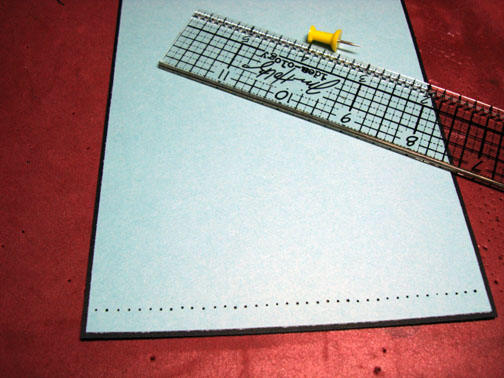
Attached a Baja Breeze panel to a black panel and pierced the bottom and top of them using the Tim Holtz ruler and a push pin. The ruler has little holes in it along one side to use for this purpose.
Decided to add some fun ribbon.
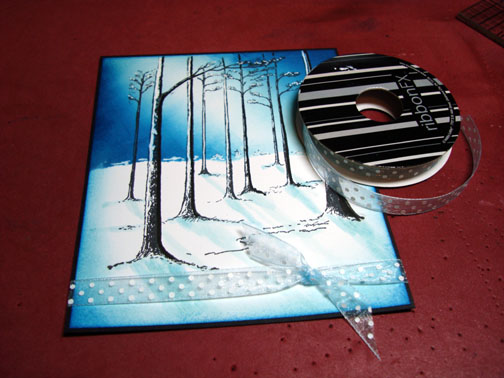
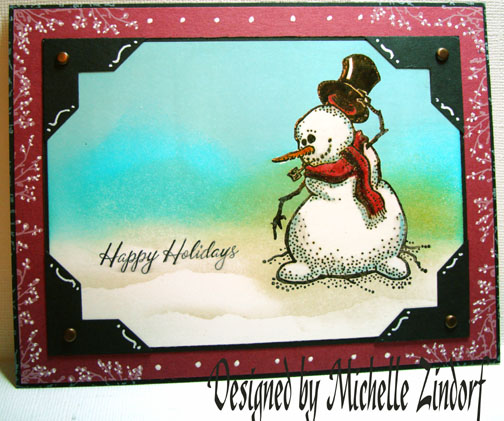
Here is the finished card measuring 5″ x 6.5″.
Well I hope this tutorial has inspired you to get that brayer out and use it to see what interesting light effects you can create with it.
May your day be filled with Peace and harmony.
Until my next post. . . . . . . . . . . . . .. . . . . .
Hugs,
Michelle
Links to all my tutorials can be found here: https://zindorf.splitcoaststampers.com/tutorials-ive-written/
Here is a link to my workshop calendar if you want to get info on beginner and advanced Brayer workshops: https://zindorf.splitcoaststampers.com/workshop-calendar
Frequently asked questions answers: https://zindorf.splitcoaststampers.com/frequently-asked-questions/