
When someone introduces a person to the great craft of Rubber Stamping they should scream, very loudly “Warning, Warning, Warning” just like the robot in the old TV show, Lost in Space (I’m showing my age here folks). Not only will you want every single stamp that you see and will tell yourself that you need it, yeah right, lol. But you will need, I mean want, every single tool that you are introduced to also, along with card stock, lots and lots of card stock.
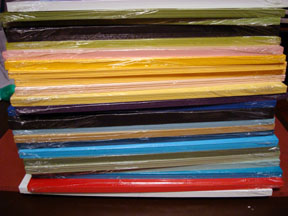 This is my personal order for Stampin’ Up paper that was conveniently left on my door step yesterday. 🙂 Folks, I am just restocking too, lol.
Today’s post will show you new stamps from Fire Cracker Designs by Pamela. Here is the link to her site, because you are going to want this Penguin set, lol. https://www.safesecurestore.com/stores/merchant.mvc?Screen=SFNT&Store_Code=firecrackerdesignsbypamela
Also, I will show you a Mirror Image Stamp by Rubber Stampede, you can do an Internet search and probably come up with a million places to get this stamp and I will show you how to paint with an Aqua Painter, which I got from Stampin’ Up.
WARNING! WARNING! WARNING!!!!!
Let’s get started. 🙂
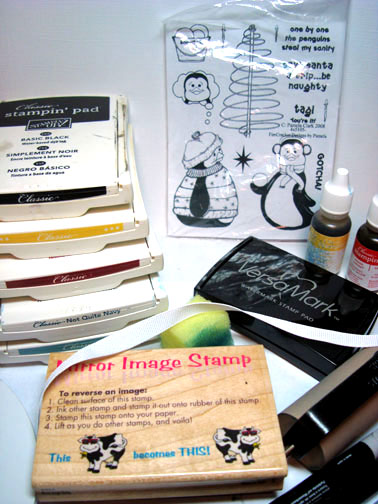
Supplies:
| Stamps: Fire Cracker Designs by Pamela |
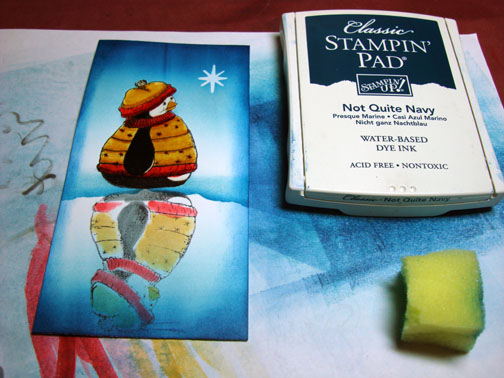
| Paper: Stampin’ Up Whisper White, Basic Black & Not Quite Navy |
| Ink: Stampin’ Up Basic Black, So Saffron, Riding Hood Red, Not Quite Navy & Baja Breeze |
| Accessories: Brayer, Versamark pad and marker, fine detail clear embossing powder, Aqua Painter, Going Grey Marker, White Ribbon, Silver Brads, Heat gun, reverse image stamp by Rubber Stampede |
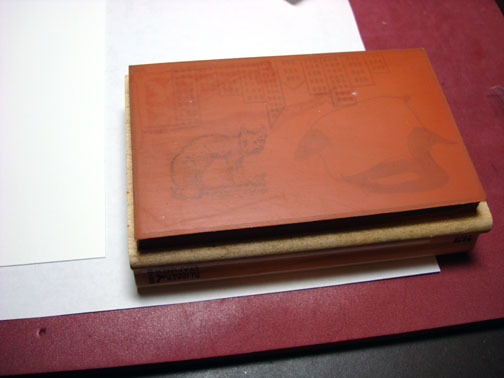
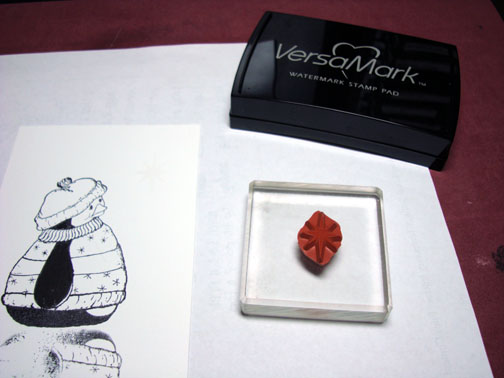
This is the rubber side of the mirror image stamp (ignore the stains from use). To use the mirror image stamp you will stamp your image on the mirror image stamp and then stamp the mirror image stamp on the card stock. This creates a mirror image of the original stamp. Clear as mud? lol
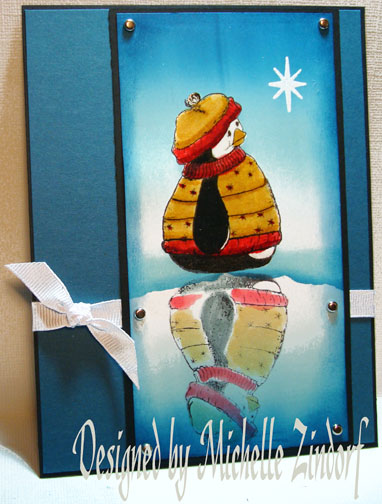
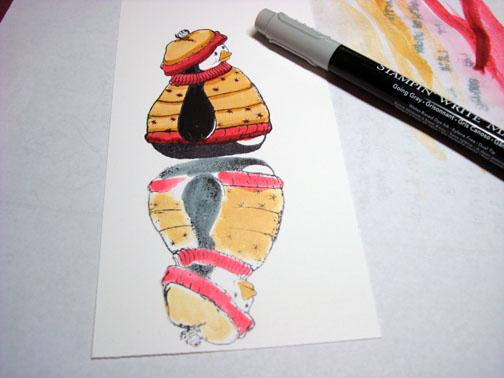
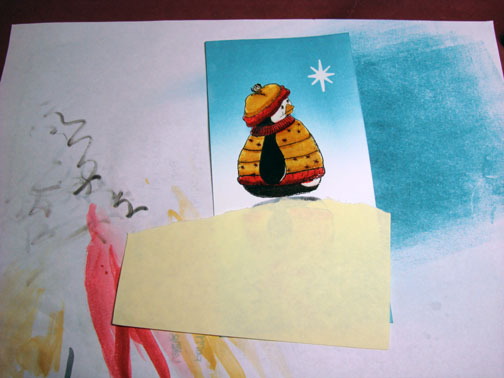
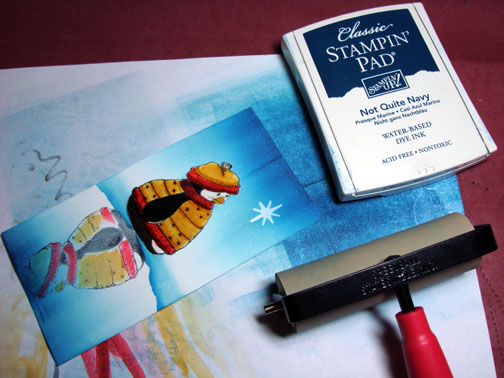
So, starting out I stamped a mirror image of the penguin using the mirror image stamp and Black ink upside down on my Whisper White card stock. I chose to not press really hard when stamping the mirror image to keep it light and broken looking.
I then stamped the original penguin stamp up right and above the mirror image using Black ink.
My Whisper White card stock measures 3.25″ x 6.25″.

Stamped the star in the sky using Versamark only.
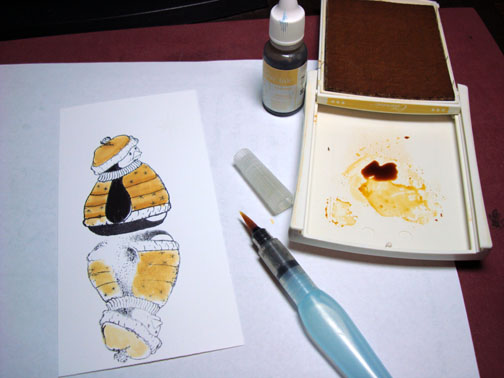
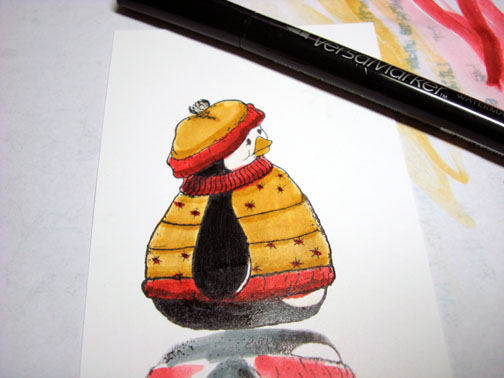
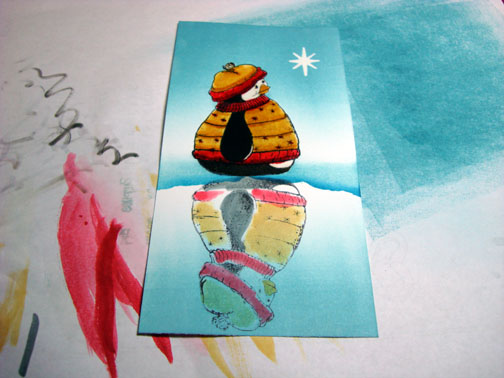
Using my Aqua Painter and So Saffron ink I painted the Penguin’s sweater and hat.
I use a re-inker and place a drop of ink in the lid of the ink pad, but you can squeeze the ink pad when it is closed and you will get a pool of ink on the lid that you can use to watercolor with.
When painting the mirror image I use water down ink so it is lighter than the original image.
To clean my Aqua Painter I brush it on my scrap paper until it doesn’t show any color on the paper any longer.

Next I painted the Riding Hood Red ink on using the same method.
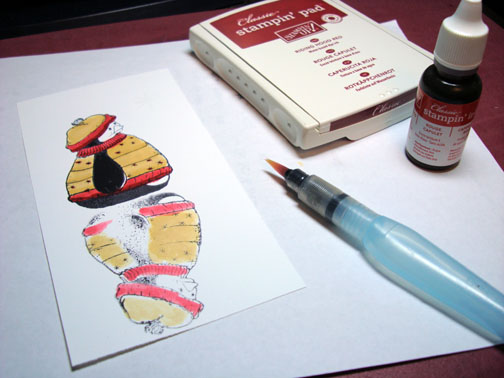
After the paper has dried all the way, you can go back in and paint your shadows (dark areas) in on the sweater and hat using the Aqua painter and the same colors of ink. Layering the same color will show darker, but you have to wait for the paper to dry.
I also painted his beak with So Saffron.
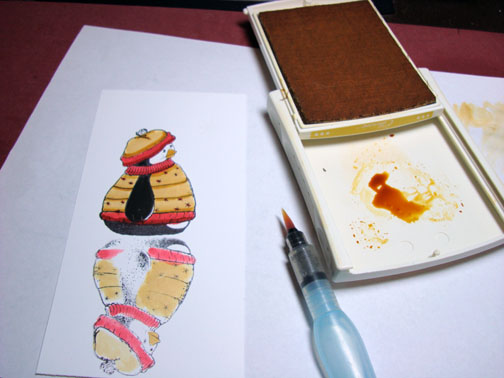
Colored the black areas of the mirror image with a Going Grey marker.
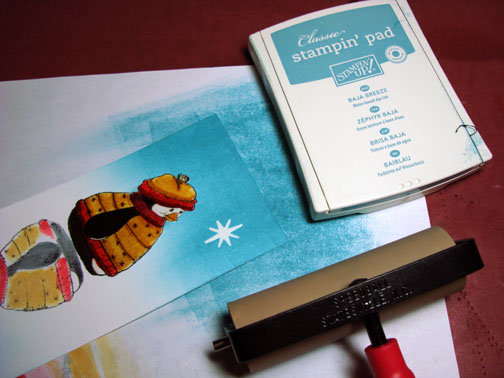
Colored over my Original image using a Versamark marker and then heat embossed the star and the original image using fine detail embossing powder and a heat gun.

Now that my original image and my star are heat embossed I can brayer over them and they will resist the ink.
Brayered Baja Breeze ink at the top and bottom of the card stock.
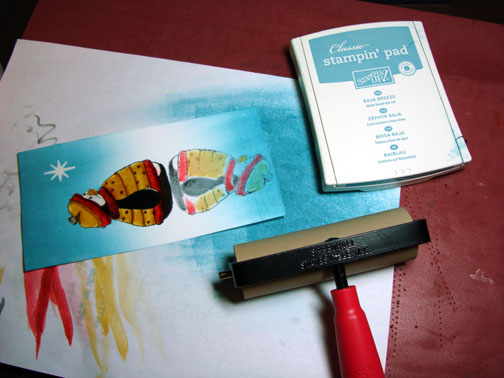
Tore a post it note and used it as a mask. Sponged Baja Breeze ink at the post it notes torn edge to create the ground.
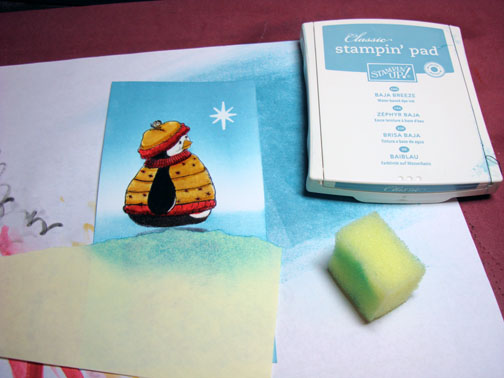
Sponge a little Not Quite Navy ink right at the post it note edge not covering the sponged Baja Breeze ink entirely.
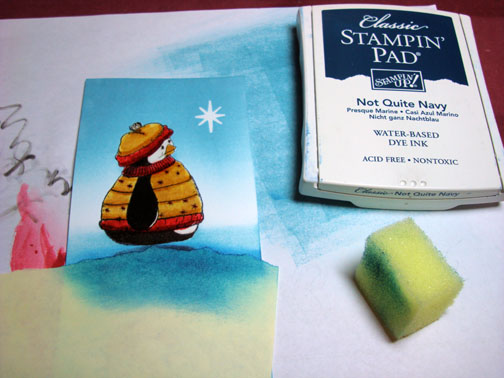
Removed the post it note mask.
Brayered Not Quite Navy at the top and bottom of the card stock, not covering the Baja Breeze ink entirely.
Sponged Not Quite Navy around the edge of the card stock.
Assembled the card, adding silver brads and white ribbon. Here it is finished measuring 5″ x 6.5″. Oh yeah! This is tutorial number 150!!!!
May your skies be full of bright shining stars.
Until my next post. . . . . . .. . . . . . . . .
Hugs,
Michelle
Links to all my tutorials can be found here: https://zindorf.splitcoaststampers.com/tutorials-ive-written/
Here is a link to my workshop calendar if you want to get info on beginner and advanced Brayer workshops: https://zindorf.splitcoaststampers.com/workshop-calendar
Frequently asked questions answers: https://zindorf.splitcoaststampers.com/frequently-asked-questions/
62 responses to “Thinking of You Penguin – Tutorial #150!!!!!”