
Felt like playing around with a snow scene today so I pulled out some old sets from Stampin’ Up. Before we get into the tutorial though I have an announcement to make. 🙂
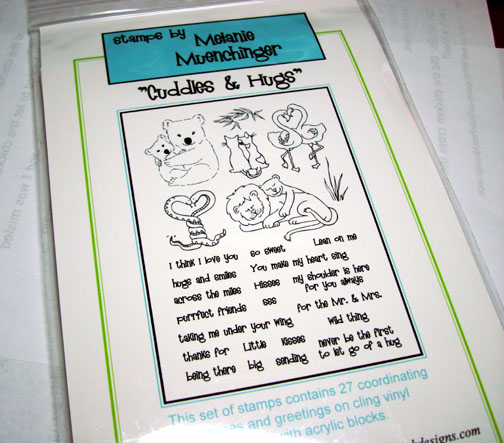 The winner out of 320 entries for the Cuddles & Hugs Stamp set is. . . . . . . .. . . . . . . .
Christina Francowho wrote “Your eye for color and placement is always mind boggling! Thanks for the generous blog candy (love Gina K!!) and also for your generous sharing of your time to make these tutorials!! It must be very time consuming to stop and photograph and write up all of the explanations. We appreciate YOU!!”
Congratulations Christina, please e-mail your address to [email protected] and I will pop this set in the mail to you.
Thanks everyone for playing along!
Now on with today’s tutorial. . . .
Supplies:
| Stamps: Stampin’ Up Snow Angels & Lovely as a Tree |
| Paper: Stampin’ Up Whisper White, Not Quite Navy & Baja Breeze |
| Ink: Stampin’ Up Not Quite Navy & Baja Breeze, Palette Noir Black |
| Accessories: Prismacolor Markers, Silver Brads, Red Silk Ribbon, Sponge, White Gel Pen, Brayer, Tim Holtz Ruler, Push Pin |

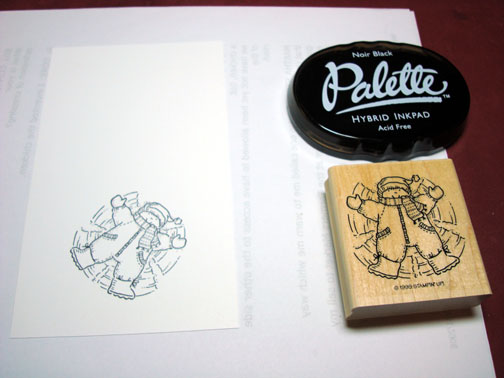
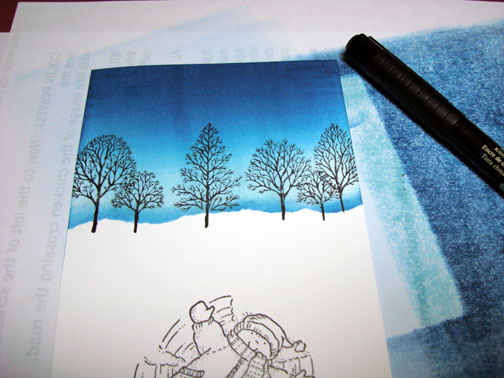
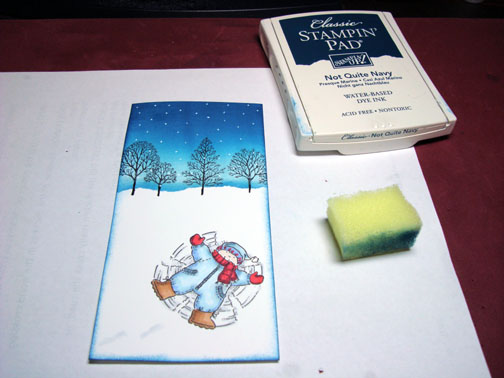
Stamped Boy on a 4″ x 6.25″ of Whisper White card stock using Palette Noir Black ink.
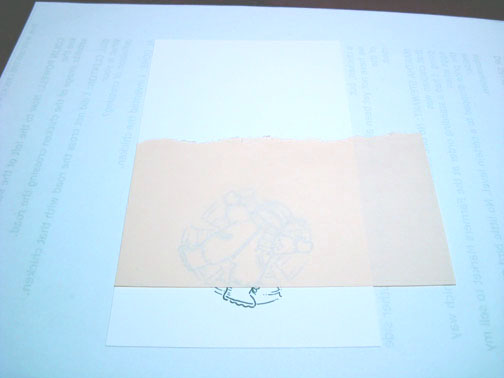
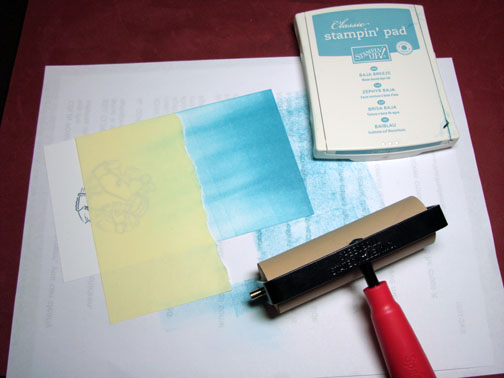
Masked the snow area with a torn post it note.
Brayered on Baja Breeze ink.
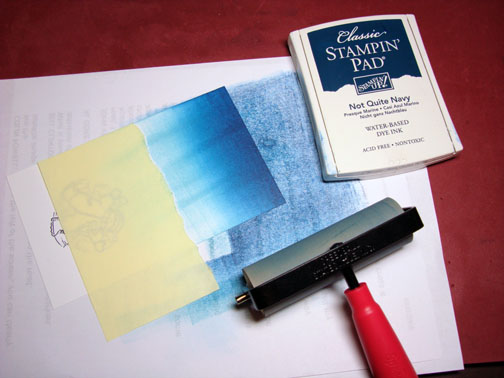
Brayered on Not Quite Navy ink, not covering the Baja Breeze ink entirely.
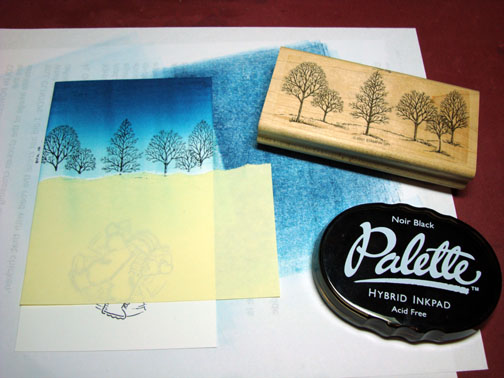
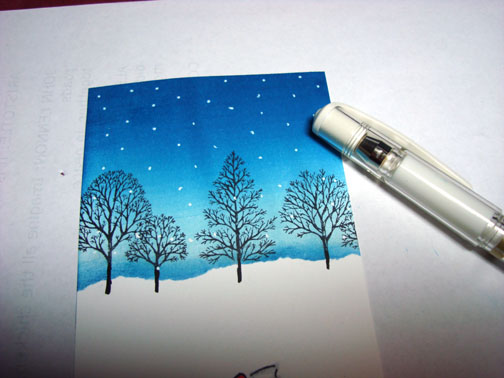
Inked the tops of the trees only on this tree stamp with Palette Noir Black ink. I did this in order to omit the ground area of the stamp.
Sponged Not Quite Navy ink right at the post it note edge.
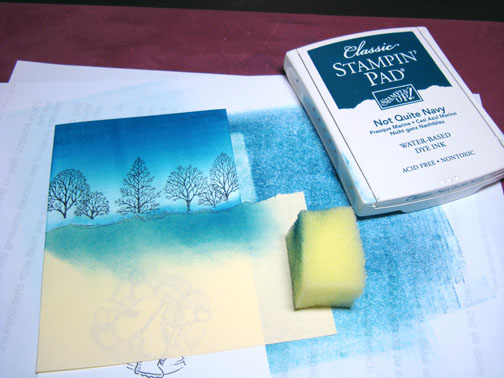
Removed the post it note and extended the tree trunks with a Black marker.
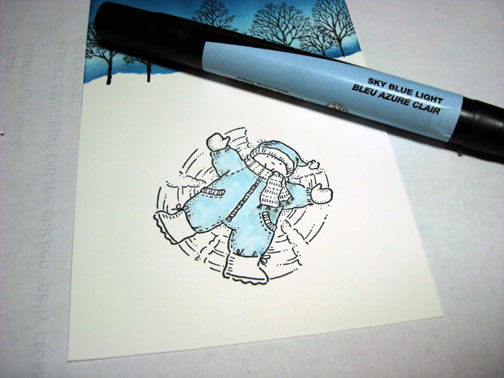
Colored the boy’s coat with a Prismacolor Sky Blue Light marker.
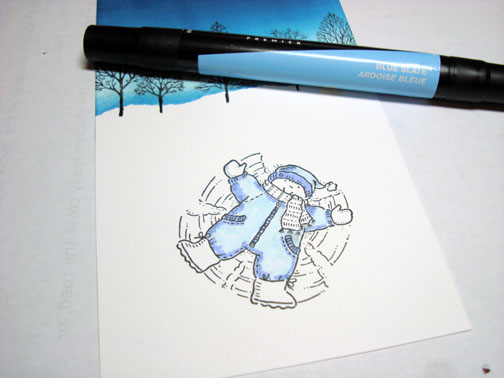
Added Blue Slate marker to his hat and coat.
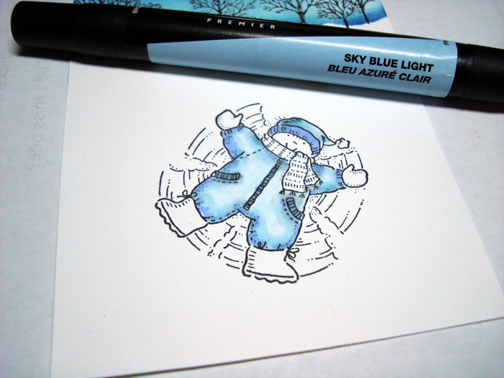
Went over the coat and hat again with the Sky Blue Light marker to blend the two colors together.
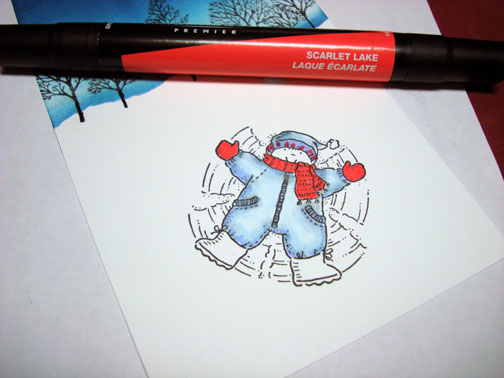
Colored the mittens, gloves and a bit on the hat with a Scarlet Lake marker.
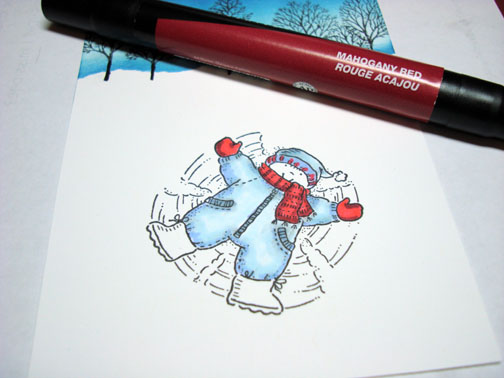
Added Mahogany Red marker to the scarf and mittens.
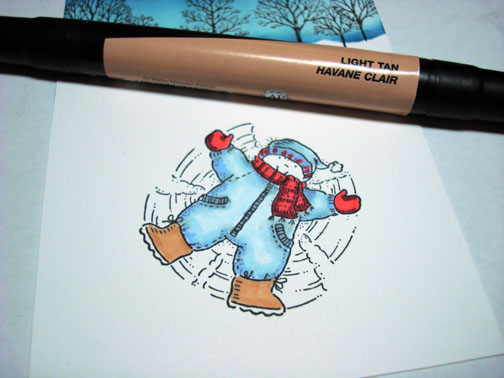
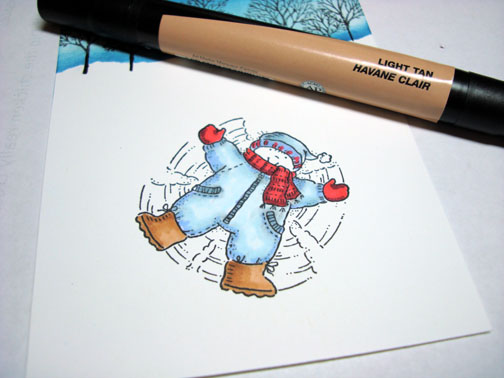
Colored the boots with a Light tan marker.
Added Walnut marker to the boots.
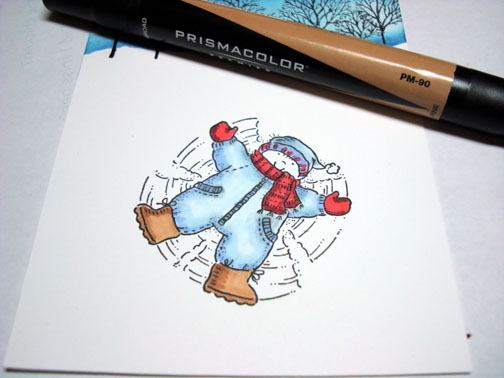
Went over the boots again with the light tan marker to blend the colors together.
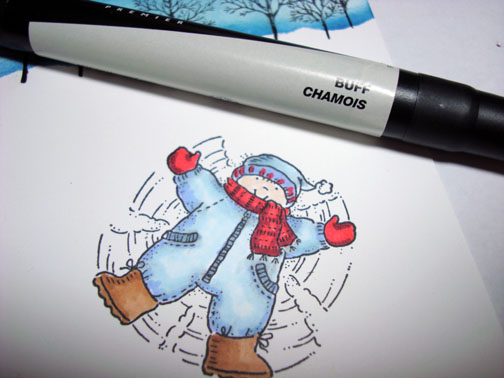
Added Buff marker to his face.
Went over the snow angel lines in the snow with a Cool Grey 10% marker.
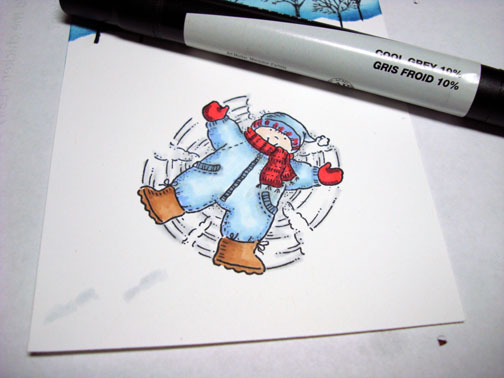
Added foot prints in the snow with the Cool Grey 10% marker.
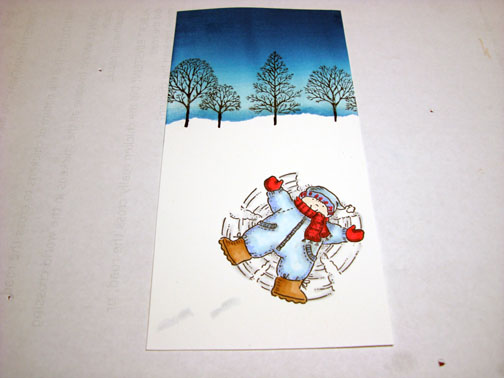
Made dots in the sky for snow with a White Gel pen.
Sponged Not Quite Navy ink around the edge of the main image panel.
Pierced lines on each side of the main image panel using the Tim Holtz Ruler and a push pin.
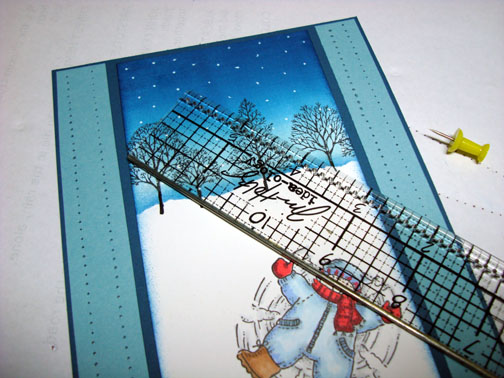
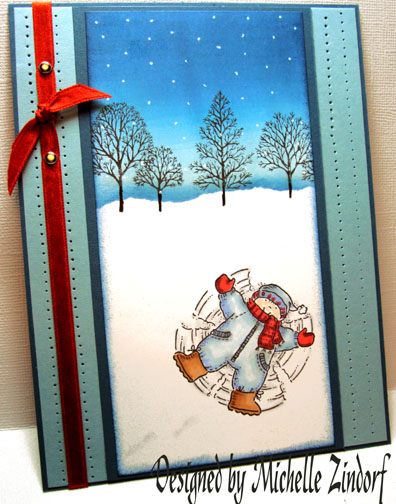
Added Ribbon and brads and here is the complete card measuring 5″ x 6.5″.
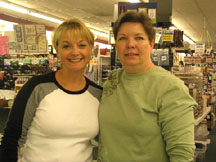
Before I end this post I wanted to share a few photos from one of yesterday’s Beginner Brayer workshops from Marco Paper in Dayton, Ohio. Some of the ladies in yesterday’s workshops drove very long distances to attend. Ladies it was such a pleasure meeting and sharing with you, each and everyone of you are brayer masters now!


Have a fantastic Sunday!!!!
Until my next post. . . . . . . . . . . . .
Hugs,
Michelle
Links to all my tutorials can be found here: https://zindorf.splitcoaststampers.com/tutorials-ive-written/
Frequently asked questions answers: https://zindorf.splitcoaststampers.com/frequently-asked-questions/
33 responses to “Wonderful Snow Day – Tutorial #145”