
I’m usually not a 3D project type person, but I’ve seen ornaments made out of squares before and thought I would give it a try with this great new image from Innovative Stamp Creations – Artsy Victorian Sheet that is being released today. Here is the link to their online store: https://www.innovativestampcreations.com/ischomepage.html
I have to say I’m very happy with the results of this project although the Beaders out there that read this blog will probably cringe when they see my beading. Anyway, I did it my way, having no beading knowledge, lol.
Let’s get started with the tutorial. 🙂
Supplies:
| Stamps: Innovative Stamp Creations – Artsy Victorian |
| Paper: Stampin’ Up Whisper White |
| Ink: Tim Holtz Distress Ink Brushed Corduroy |
| Accessories: Beads, Wire, Stampin’ Up Markers Tempting Turquoise & More Mustard, Clear Embossing Powder, Heat gun, Versamark Pad, Wire Cutter, Muse Token embellishment |
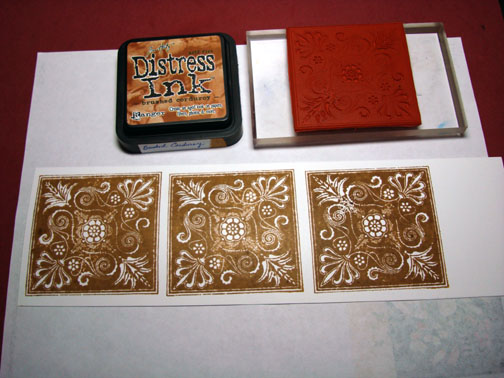
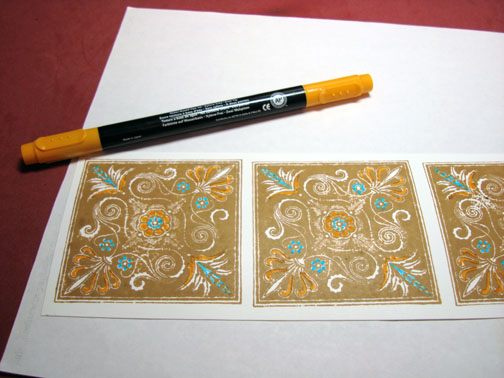
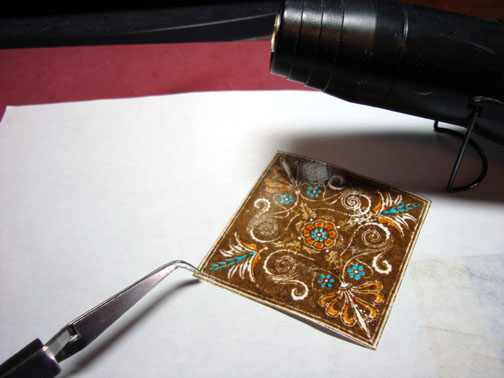
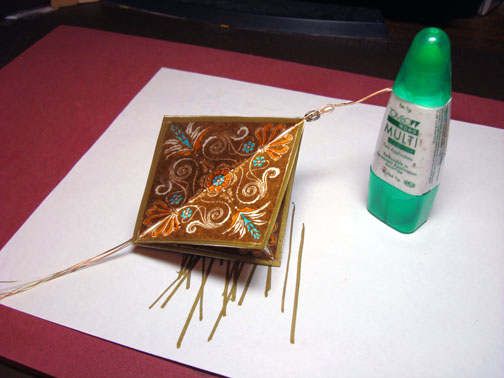
Started out by stamping 5 images on Whisper White card stock using Brushed Corduroy Distress ink. Note: I used the distress ink because I like the color. 🙂
Colored part of the images with a Tempting Turquoise marker.
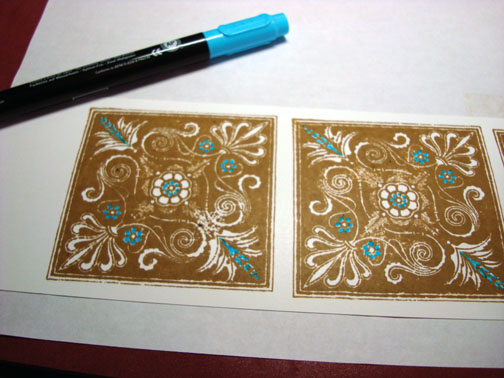
Colored part of the images with a More Mustard marker.
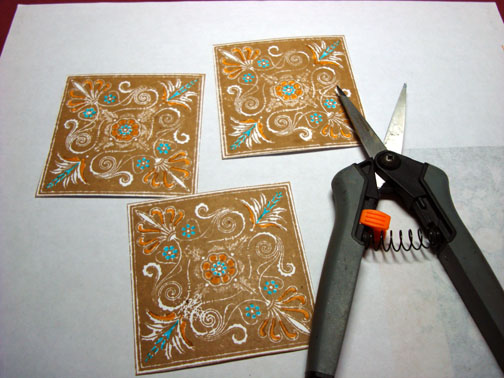
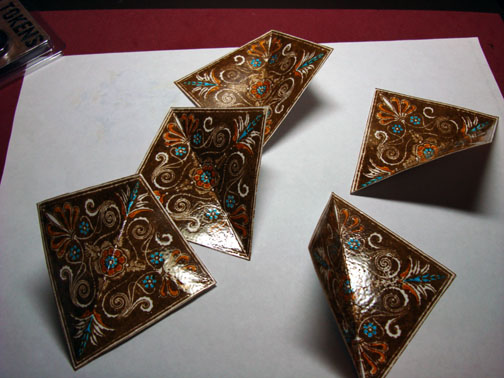
Cut the images out.
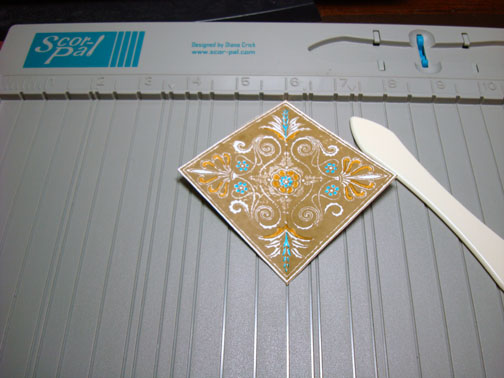
Made a score line from one corner to the other on all 5 of my squares using a Scorepal.
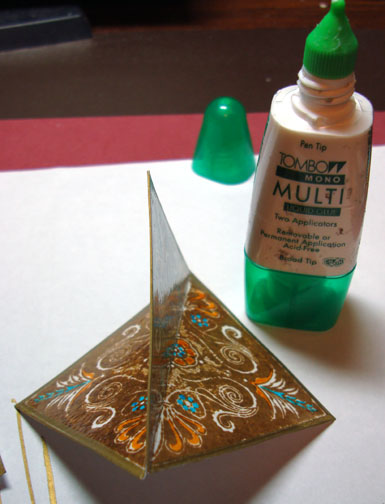
Rubbed my Versamark pad directly on top of my squares to cover them.
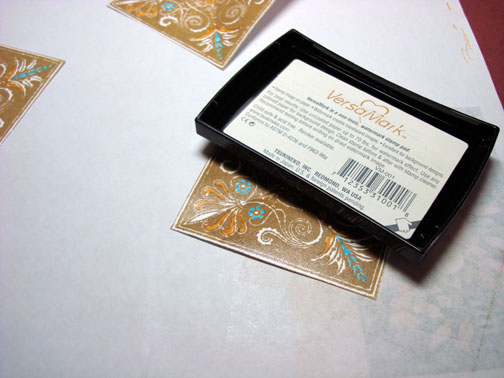
Covered the squares with Clear embossing powder and heat embossed them using a heat gun.

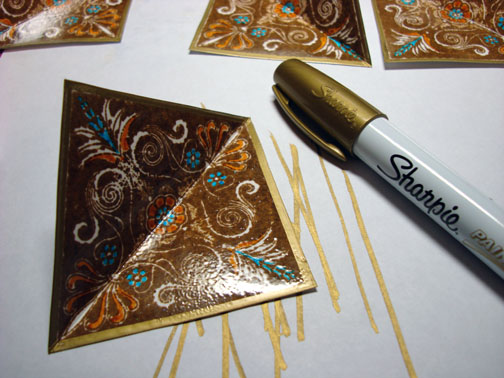
Used a Sharpie Gold Paint Marker and edged each piece all the way around.
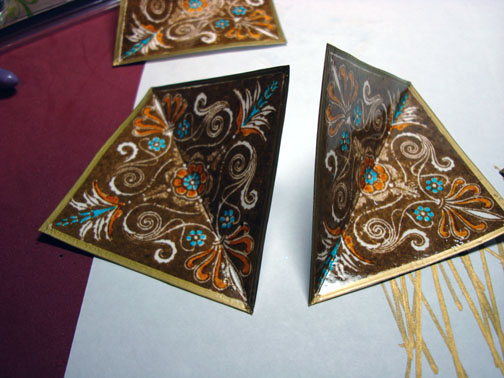
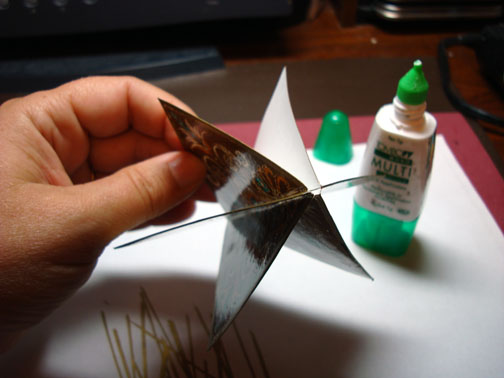
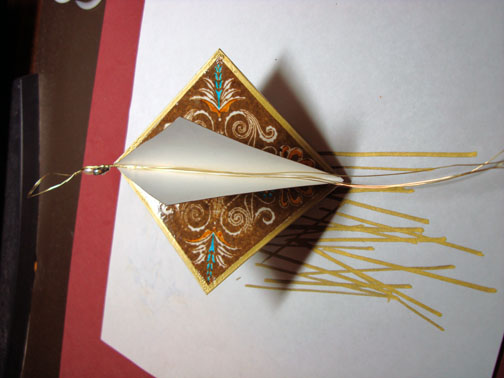
Glued one half of the square to another until all where glue together, except for the last two. Leave this open so you can put your wire.
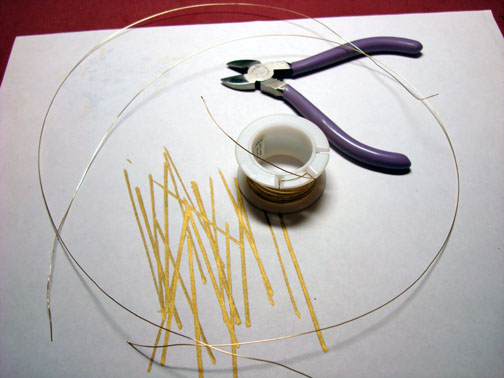
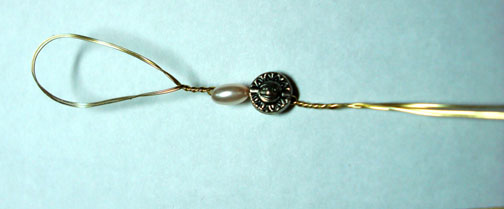
Cut two lengths of wire and folded them in half together. Twisted the top to create a loop.
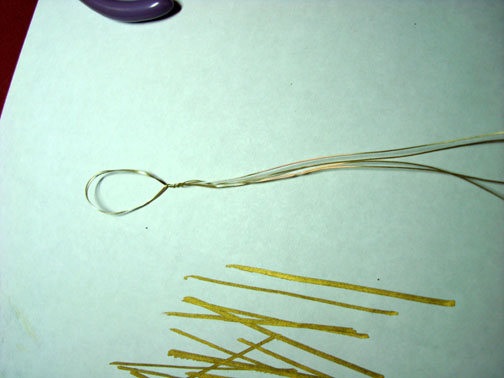
Added a couple of beads to the top so the wire wouldn’t slide through my ornament.
I just slide a bead on, twisted the wire, slide another bead on, twisted the wire.
Put my wire in the un-glued opening and then glued it shut.
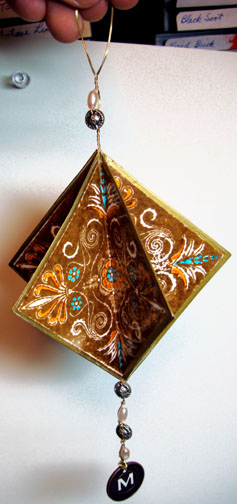
Added beads to the wire at the bottom. Put a bead on twisted one strand of wire around the bottom of it, put another bead on and twisted a strand of wire around the bottom of it and so forth. Ended with one of the new Tim Holtz idea-ology Muse Tokens embellishments. This one says “Moments” on it.
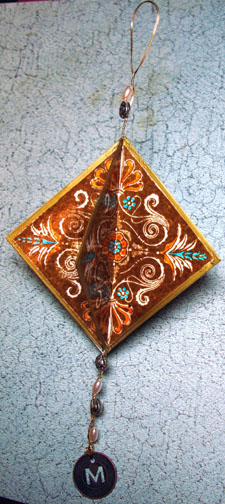
Here is the finished ornament.
I hope you enjoyed this 3D project tutorial and will give it a try.
May your day be one of happiness and joy.
Until my next post. . . . . .
Michelle
25 responses to “ISC Ornament – Tutorial”