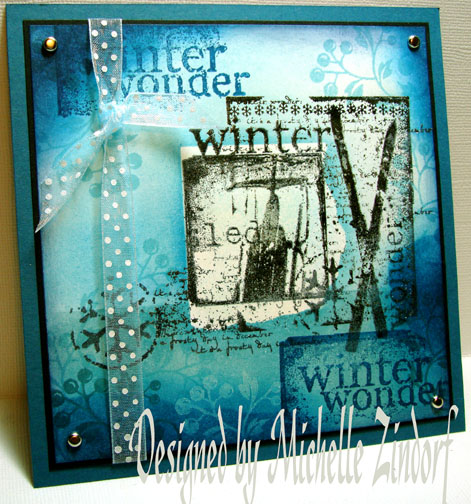
Today I thought I would try my hand at a collage type card. Collage cards are wonderful for young adults. This one is for my future daughter-n-law for Christmas. I’m safe showing this on the blog because no one in my family actually visits this blog to read my babblings, lol. They just think I’m a stamp fanatic who spends way to much time and money on my hobby. 🙂 They are probably right, but I’m happy here in my little stamping room and blog world. I have a feeling I’m not the only stamp fanatic out there!
I wanted to keep this card mellow so I selected all blue shades of ink to use. This project would have a complete different feel if I added even one color from a different color family, for instance red. Come to think of it, I would like to try this again with all shades of red.
Let’s get started on today’s tutorial shall we. 🙂
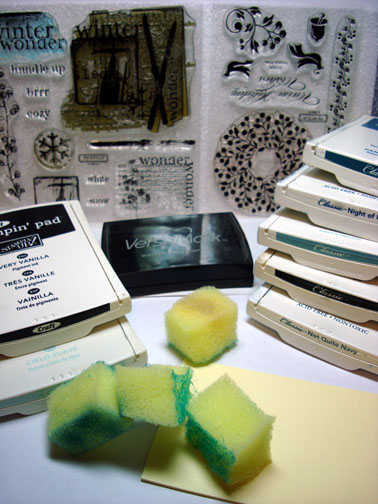
Supplies:
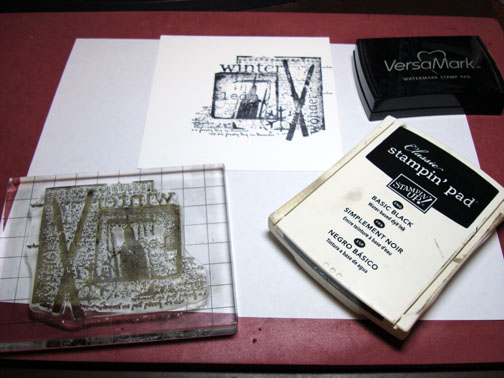
| Stamps: Close to My Heart “Winter Wonder” and “Festive Frills” |
| Paper: Stampin’ Up Not Quite Navy, Whisper White, Basic Black |
| Ink: Stampin’ Up Very Vanilla, Soft Sky, Blue Bayou, Night of Navy, Baja Breeze, Basic Black & Not Quite Navy |
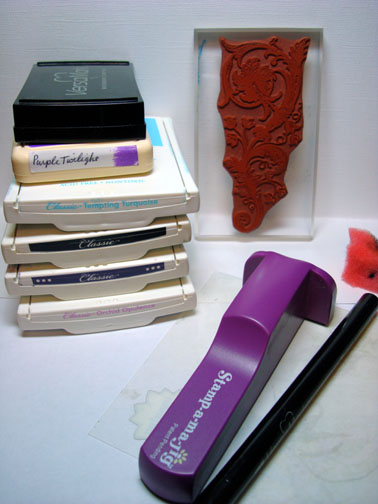
| Accessories: Versamark pad, Fine Detail Clear embossing powder, heat gun, Sponges, Post it notes, Ribbon, Silver Brads |
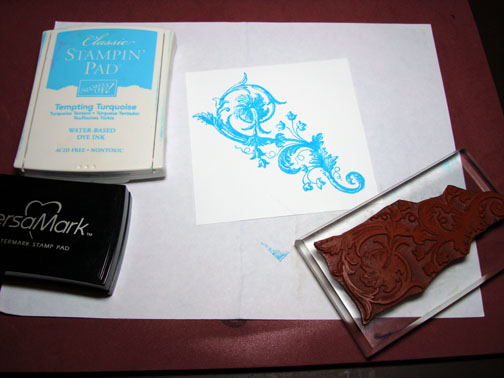
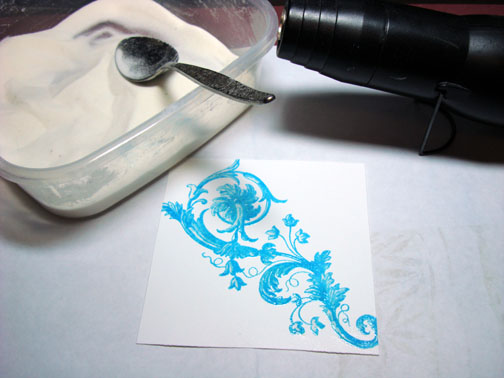
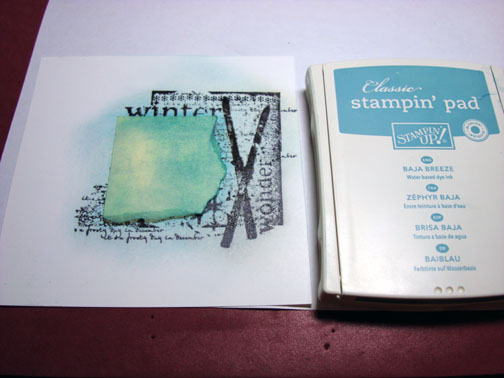
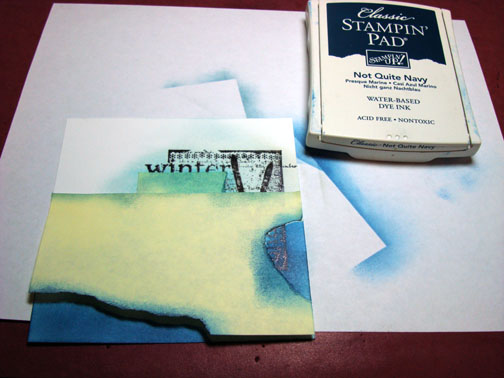
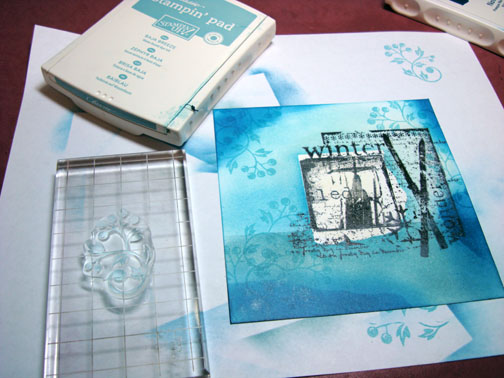
Stamped the main image on a 5″ square piece of Whisper White card stock by first loading the stamp with Versamark and then loading it with Black ink before stamping it.
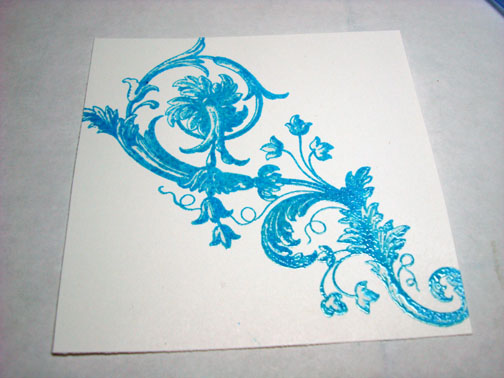
Heat embossed the image using clear embossing powder and a heat gun.
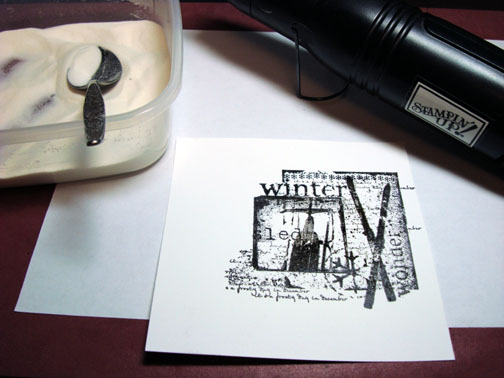
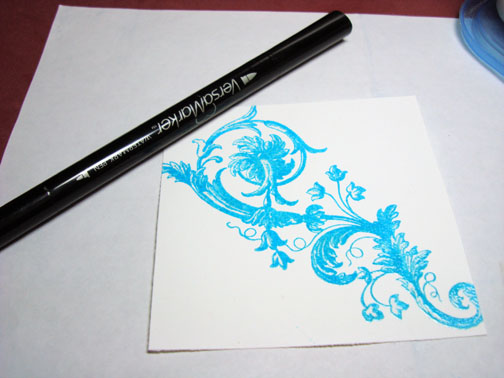
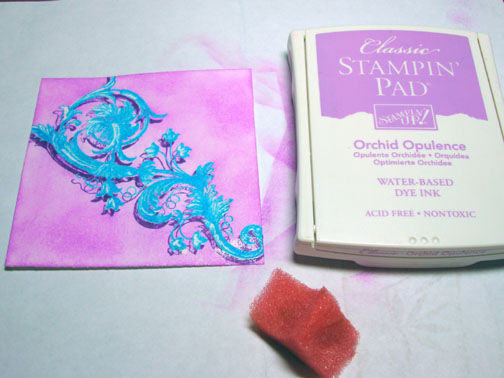
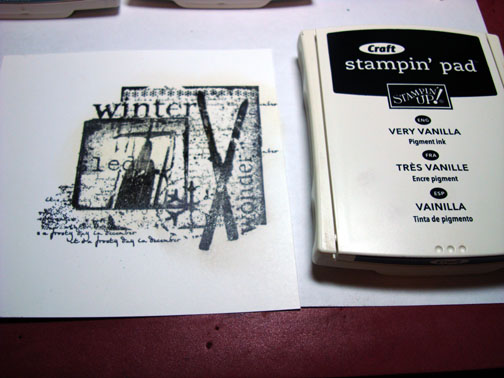
Sponged some Very Vanilla ink over the embossed image.
Ripped a post it note leaving the sticky part at the top and used it as a mask.
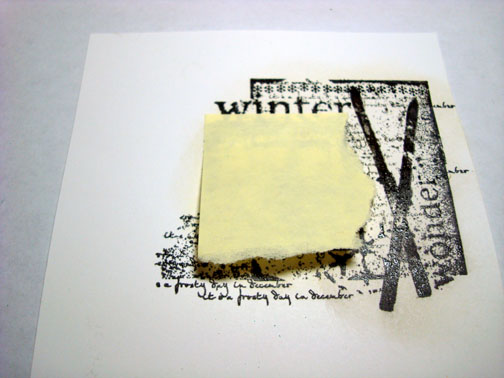
Sponged Soft Sky ink around the post it note mask.

Added Some Baja Breeze ink right at the post it note edges to really define the mask shape.
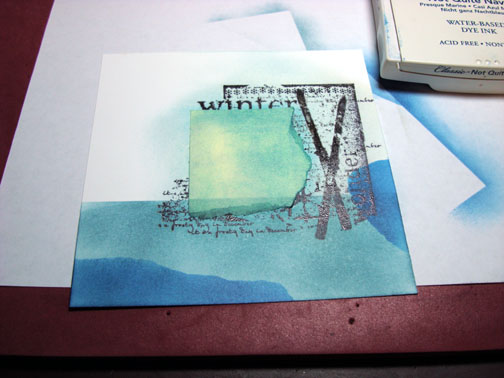
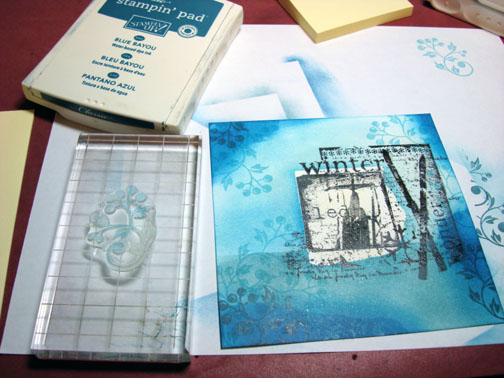
Masked the top of the card stock with a post it note.
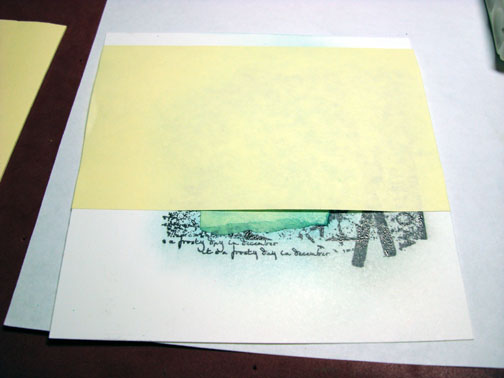
Sponged Blue Bayou ink at the bottom of the card stock.
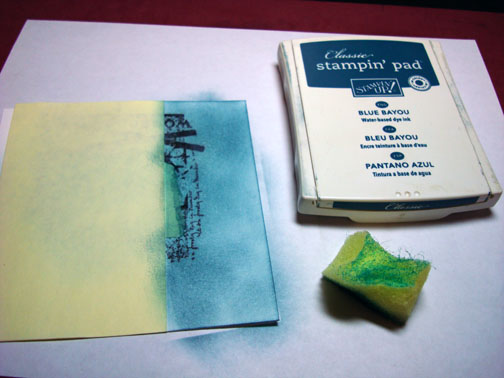
Removed the mask and turned it around to mask the bottom portion of the card stock. I ripped pieces out of the post it note.
Sponged Not Quite Navy ink in the open areas.
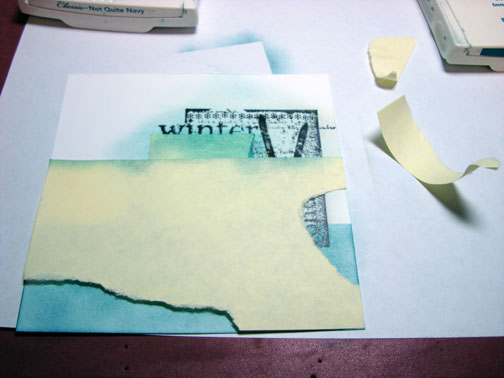
Removed the large post it note mask.
Sponged Baja Breeze ink on the top of the card stock leaving some light areas.
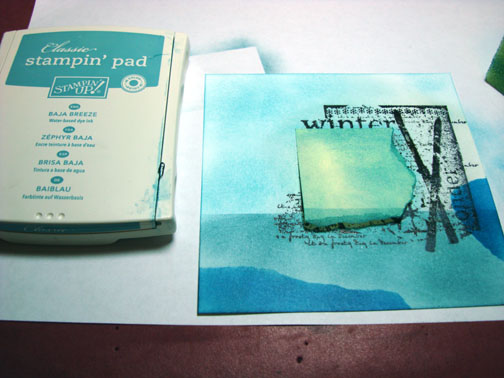
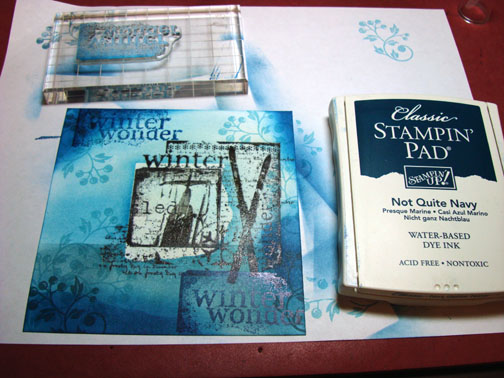
I decided I didn’t like the hard lines made at the bottom with the Not Quite Navy ink so I added more Not Quite Navy ink around those areas to soften the hard lines and I also added some Not Quite Navy ink at the top of the card stock.
Randomly stamped the Berry Flourish using Baja Breeze ink.
Added some more Berry Flourishes with Blue Bayou ink.
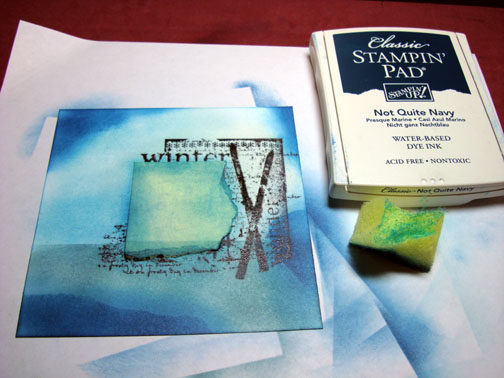
Stamped the Winter Wonder stamp twice using Not Quite Navy ink.
Stamped the Snowflake using Black ink.
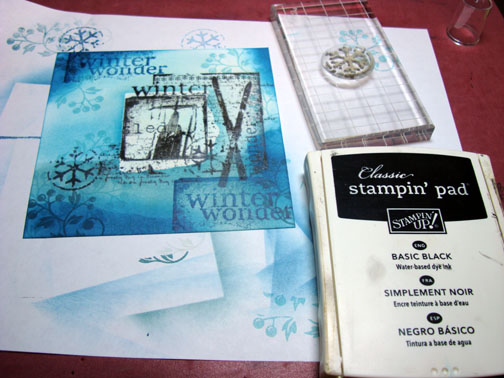
Sponged some Night of Navy ink around the out side edges of the card stock.
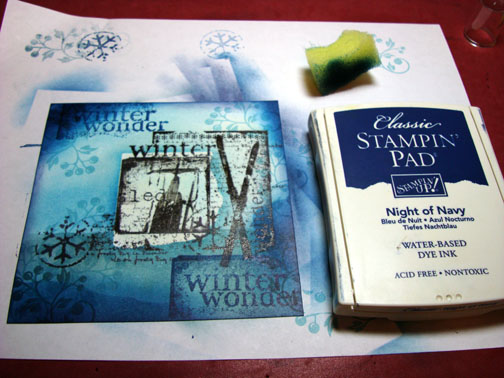
Assembled the card. Here it is finished measuring 5.5″ square.
I hope this tutorial has inspired you to get out those stamps and try a collage card today. They are fun and simple.
May your day be filled with Crisp images and inks to blend.
Until my next post. . . . . . . .. . . . . . .
Hugs,
Michelle
Links to all my tutorials can be found here: https://zindorf.splitcoaststampers.com/tutorials-ive-written/
Here is a link to my workshop calendar if you want to get info on beginner and advanced Brayer workshops: https://zindorf.splitcoaststampers.com/workshop-calendar
Frequently asked questions answers: https://zindorf.splitcoaststampers.com/frequently-asked-questions/