Hey There,
I hope you had the best Labor Day weekend ever. I took some time off to go fishing and time just to relax and recharge. Now I have my battery all reved up again and I’m ready to create. So today I picked one of the brand new Stampin’ Up! sets out of the New Holiday Mini Catalog “Always Thankful”. Beautiful, beautiful images in this new set.
You can check out the totally wonderful holiday stamps and accessories from Stampin’ Up! by CLICKING HERE. Want a free copy of the Holiday Mini Catalog? E-mail me at [email protected] (include your mailing address in your e-mail, please) and I will get one out to you. Please remember, you can order from me 24/7 by CLICKING HERE and your order will be shipped directly to your doorstep straight from Stampin’ Up!
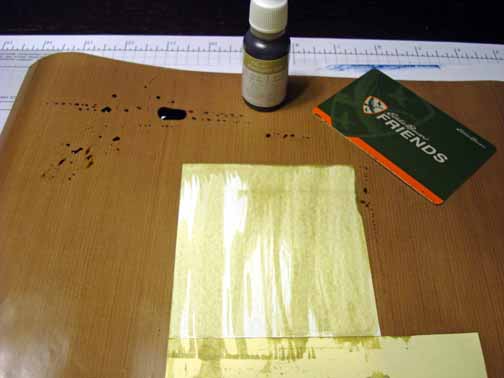
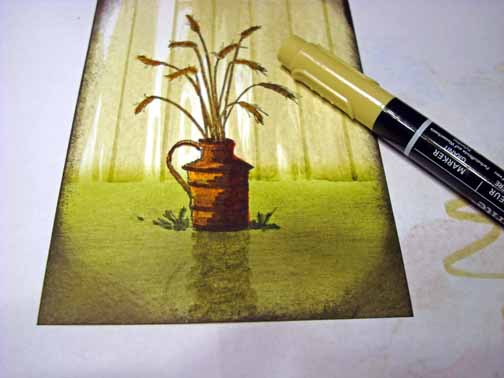
I pulled out a technique I haven’t used in a very long time, I used a credit card and a reinker to smear on the wood looking background. Hang out a moment and check it out.
Let’s get started. . . . .
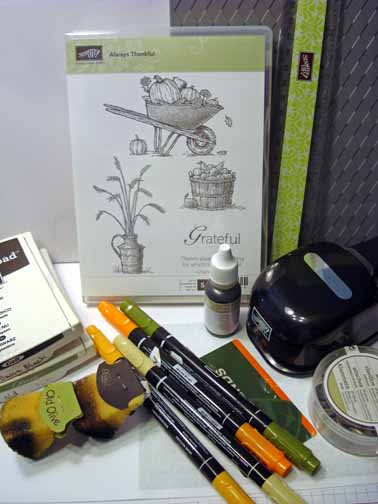
Supplies:
| Stamps: Stampin’ Up! Always Thankful |
| Paper: Stampin’ Up! Whisper White, Early Espresso, River Rock and Cajun Craze |
| Ink: Stampin’ UP! Basic Black, Old Olive and a River Rock re-inker |
| Accessories: Stampin’ UP! sponges, ruler, Harlequin Texture Plate, Big Shot Machine, Antique Brads, Markers (River Rock, Pumpkin Pie, More Mustard and Old Olive), word window punch, post it notes |
| Techniques: Faux Woodgrain |
Get your copy of the new 2011-2012 Stampin’ Up! Idea Book & Catalog by sending $9.95 to me at P.O. box 116, West Alexandria, Ohio 45381 or via paypal to [email protected], shipping is free. ![]() Are you getting inspiration from this blog? One way you can help support it is to order your Stampin’ Up products through me. Click HEREto place an order and have your ordered delivered directly to your door step from Stampin’ Up! Want to become a Stampin’ Up Demonstrator , receive a 20% discount on product and earn instant income on orders? Consider being part of my Stampin’ Up Team and start your own business or become a Hobby Demo just for the discount. Click HERE for more information.
Are you getting inspiration from this blog? One way you can help support it is to order your Stampin’ Up products through me. Click HEREto place an order and have your ordered delivered directly to your door step from Stampin’ Up! Want to become a Stampin’ Up Demonstrator , receive a 20% discount on product and earn instant income on orders? Consider being part of my Stampin’ Up Team and start your own business or become a Hobby Demo just for the discount. Click HERE for more information.
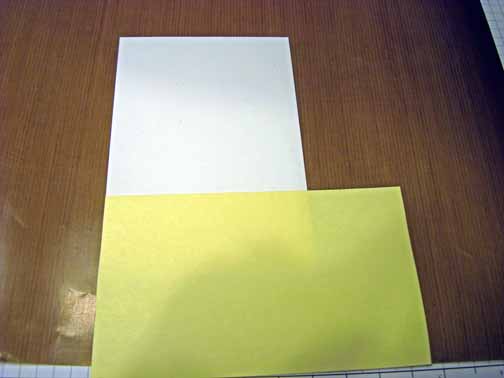
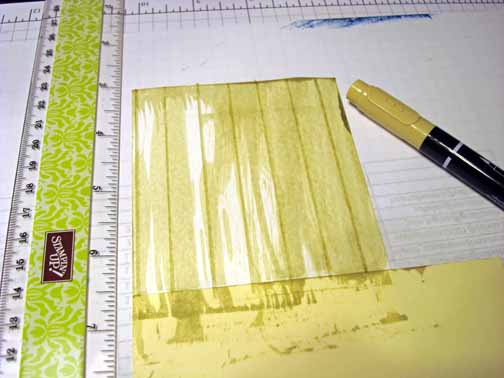
Cut a 3.5″ x 5″ piece of Whisper White card stock and masked the bottom of the card stock with a post it note (masked the ground area).
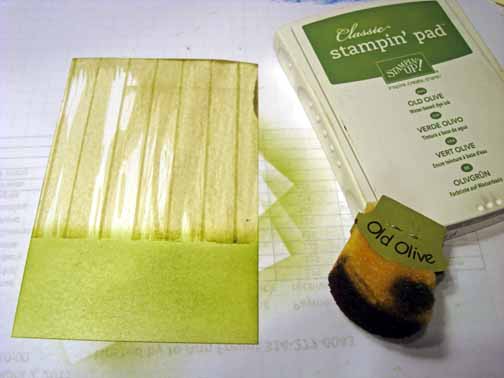
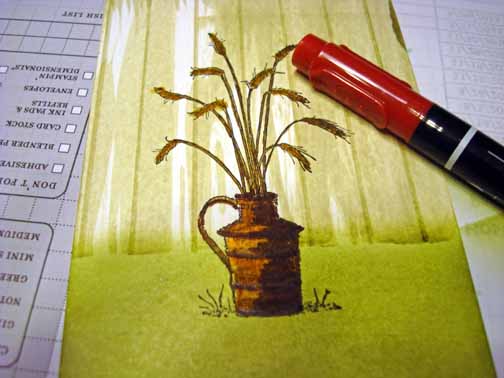
Put some River Rock re-inker on a non-stick sheet and dipped the edge of a credit card and swiped the edge of the credit card down the card stock, starting at the top. Did this lightly in order to leave some white card stock showing through.
Using a ruler and a River Rock marker, made lines for the boards.
Removed the ground mask and sponged Old Olive ink in the ground area.
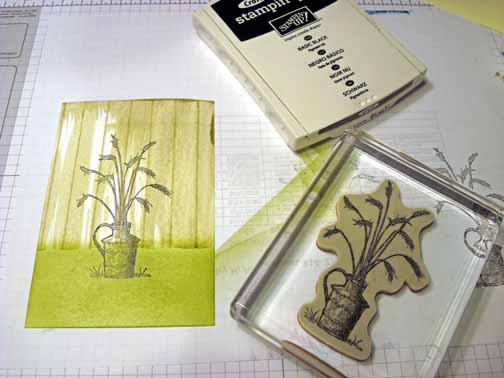
Stamped the Always Thankful image using Basic Black ink.
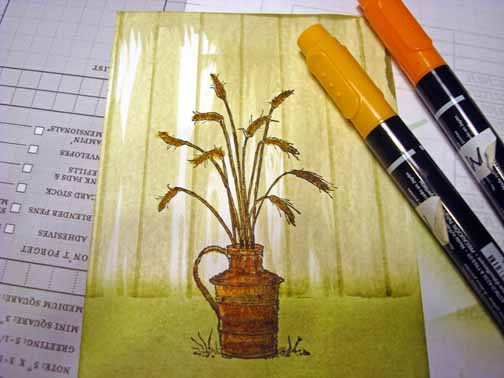
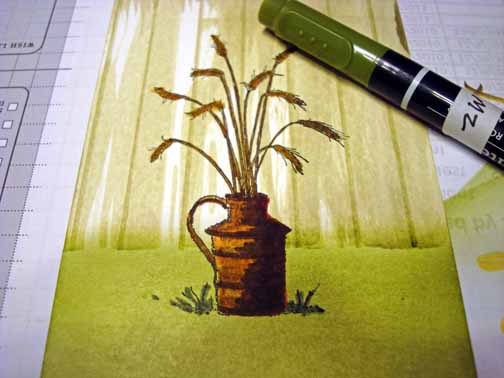
Colored the wheat More Mustard marker the jug Pumpkin Pie marker.
Colored the shadow side of the jug (right side) using a Cajun Craze marker.
Colored the grasses around the base of the jug using an Old Olive marker.
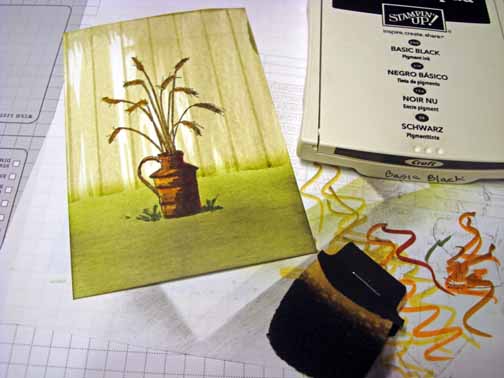
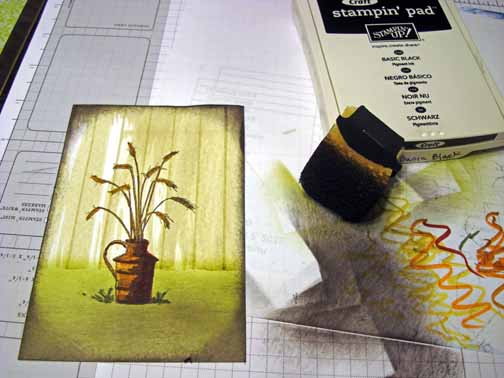
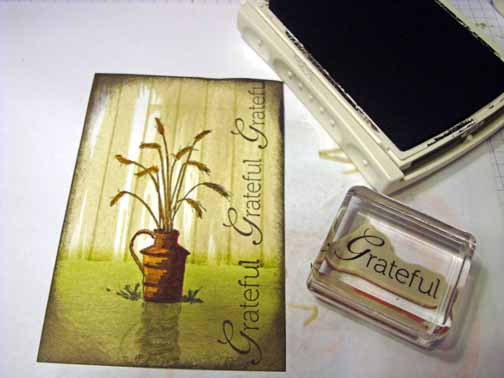
Lightly sponged a bit of Basic Black ink at the bottom of the card stock.
Sponged Basic Black ink around the edges of the card stock.
Added a shadow under the stamp image using a River Rock marker.
Stamped the Always Thankful sentiment “Grateful” 3 times using Basic Black ink.
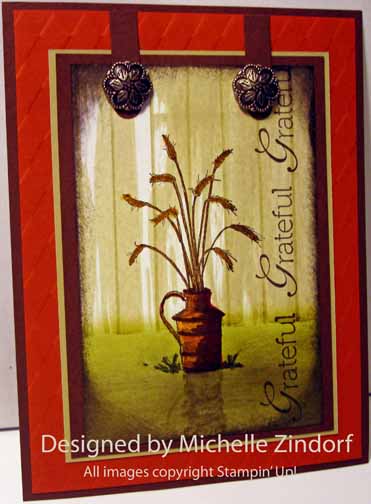
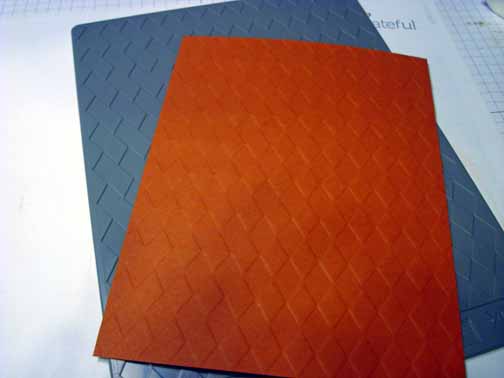
Used a Big Shot Texture plate “Harlequin” on a 4.75″ x 6.25″ piece of Cajun Craze card stock.
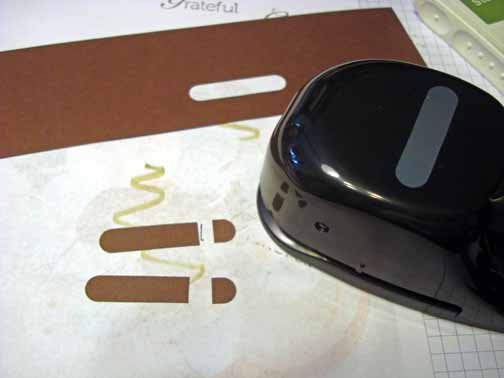
Punched two Word Window Punches from Early Espresso card stock and then held them together and cut the end off of the punches.
Assembled the card adding 2 Early Espresso panels and 1 River Rock panel. Also added two Antique brads.
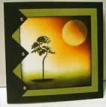
Here is the finished card measuring 5″ x 6.5″.
May you have a day filled with things you are grateful for.
Until my next post. . . . . .
Hugs,
 Get ready for Brayer Workshops! I am coming to the following locations, click the location name for more information.
Leesburg, Florida Sold Out
Sand Lake, Michigan (just North of Grand Rapids)
Longmont (Gunbarrel), Colorado
Here is a link to my workshop calendar where you can see all of my travel schedule and to get info on beginner and advanced Brayer workshops, along with the newly added Direct to Paper Workshop: https://zindorf.splitcoaststampers.com/workshop-calendar
Don’t see a workshop in your State? Interested in hosting the workshops in your area Click HERE to get hostess information.
Link to my Stampin’ Up website where you can order all of your must have Stampin’ Up products from me 24-7: https://michellezindorf.stampinup.net

