

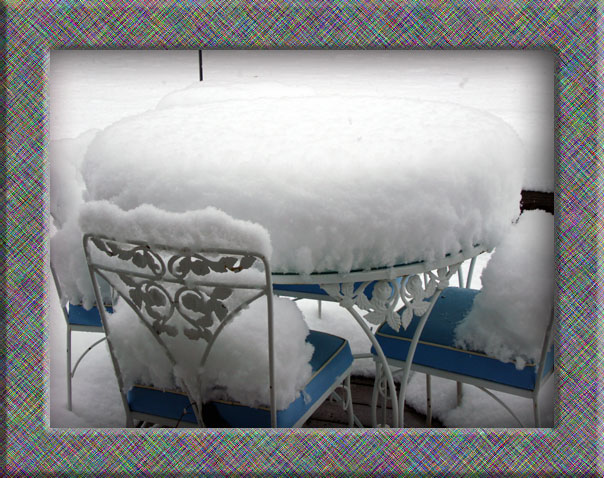
Good morning 🙂 I am kinda snowed in, not really, but there is a whole heck of a lot of snow out there, lol. We probably got a 1 1/2 feet, but with the drifting we get out here in the country it seems like 15 feet. I’m not complaining because I have a wonderful husband that clears the driveway and walks so I can teeter out to my van if I want to go some where. Since I just drove for 14 hours to get home from Louisiana on Monday, I’m just not inclined to venture out.
Instead, I decided to get caught up on some paper work and then stamp a little. This is what I came up with this morning. Hope you enjoy it as much as I enjoyed staying snug and warm in my stamp room making it.
Let’s get started. . . . . . . . .
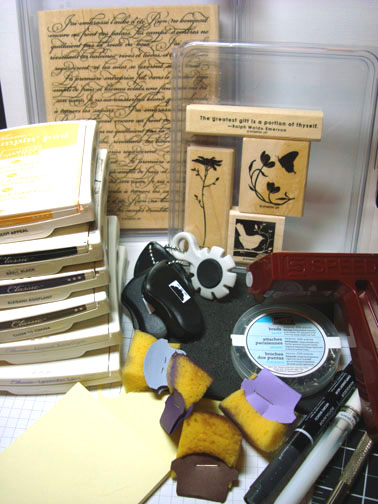
Supplies:
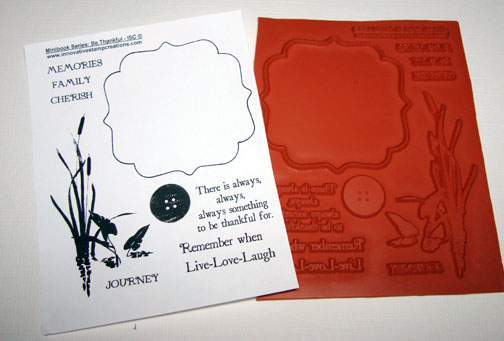
| Stamps: Stampin’ Up! Of the Earth (Hostess Set) and En Francais Background Stamp |
| Paper: Stampin’ Up! Basic Black, Whisper White, Apricot Appeal and Almost Amethyst |
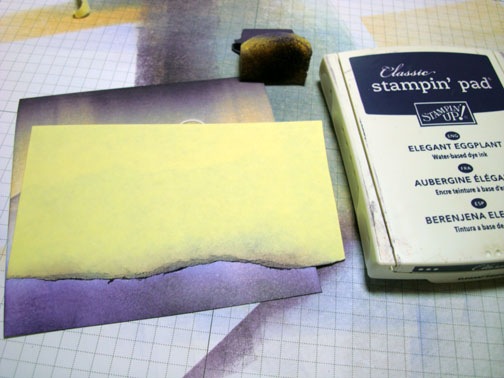
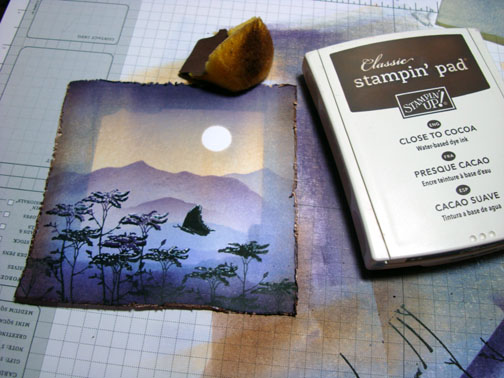
| Ink: Stampin’ Up! Apricot Appeal, Basic Black, Elegant Eggplant, Close to Cocoa, Almost Amethyst and Lavender Lace |
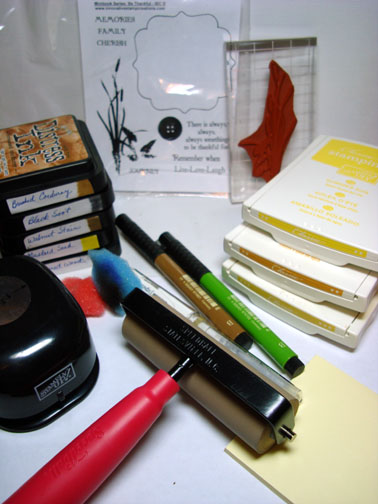
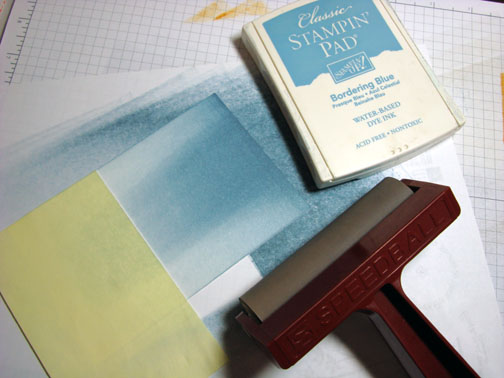
| Accessories: Stampin’ Up! Cutter Kit, 1/2″ circle Punch, Brayer, Sponges, Silver Brads, White Gel Pen, Basic Black marker, Piercing Tools and Post it Notes |
Don’t forget to request your copy of the new Stampin’ Up Occasions mini catalog and Sale-a-bration mini. Just e-mail me your address and I will be glad to send you a set for free.
The new Occasions mini catalog can also be viewed on-line here: https://204.228.150.61/catalogs/20091231/OccasionsMini10_US.pdf
The New Sale-a-Bration Mini Catalog can also be viewed on-line here:https://204.228.150.61/catalogs/20091231/SAB_10_US.pdf
Are you getting inspired and enjoying this blog. One way you can help support it is to order your Stampin’ Up products through me. You can order from me 24-7 from this link: https://michellezindorf.stampinup.net or e-mail me at [email protected].
Want to become a Stampin’ Up Demonstrator and earn instant income? Consider being part of my Stampin’ Up Team and start your own business.
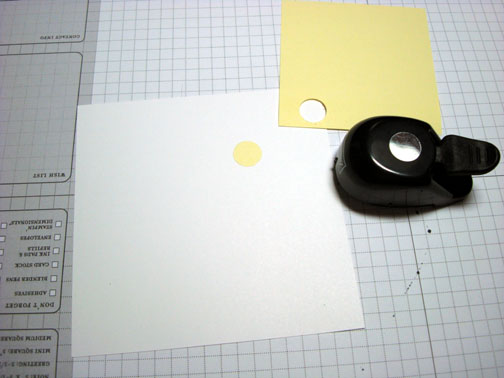
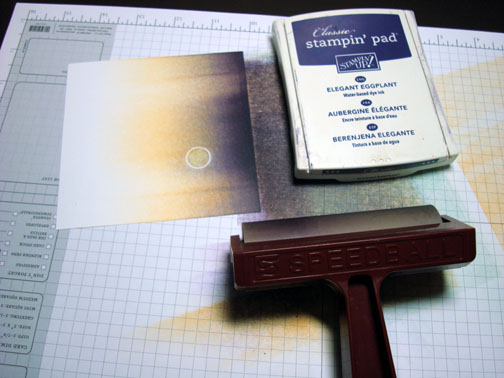
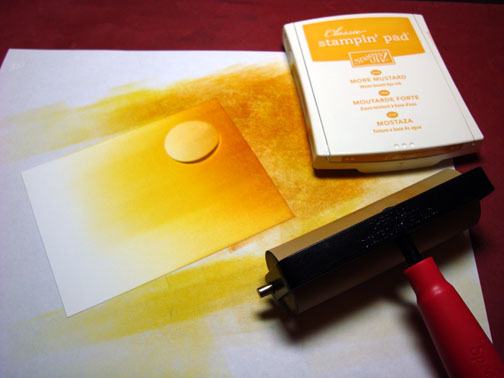
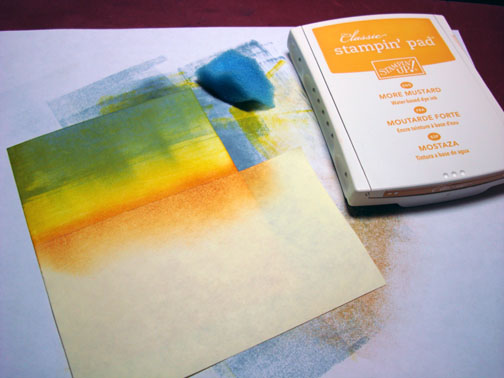
Punched from a 1/2″ circle from the sticky part of a post it note and used it as a mask for the moon. Put the mask on a 4.5″ square piece of Whisper White card stock.
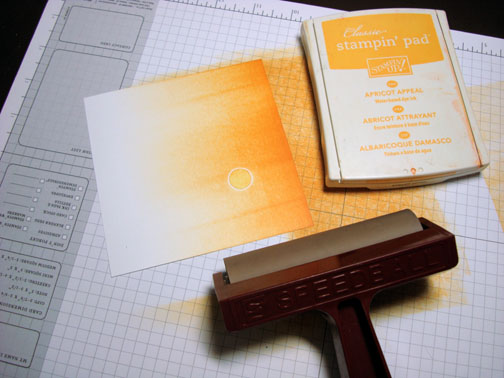
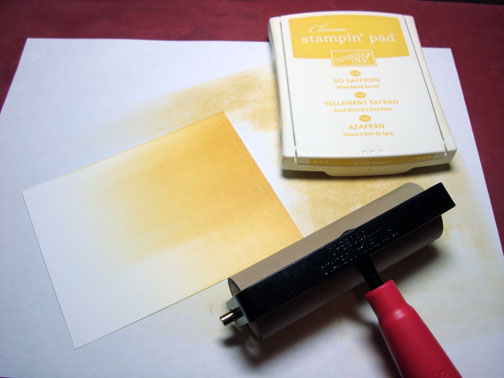
Brayered Apricot Appeal ink at the top of the card stock.
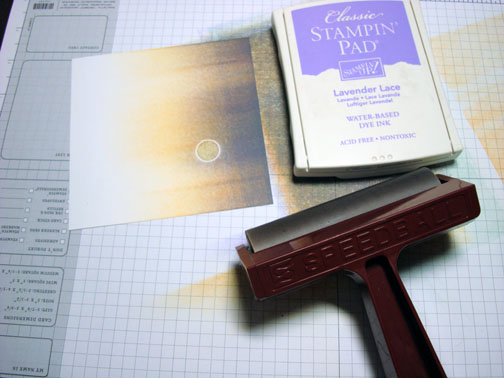
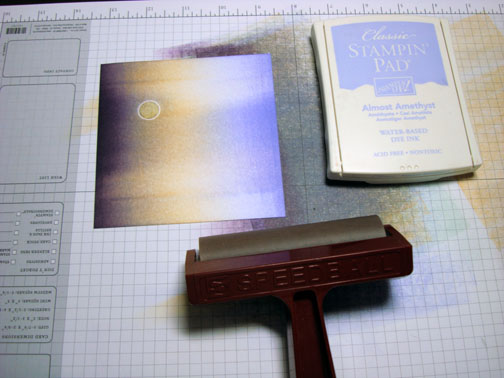
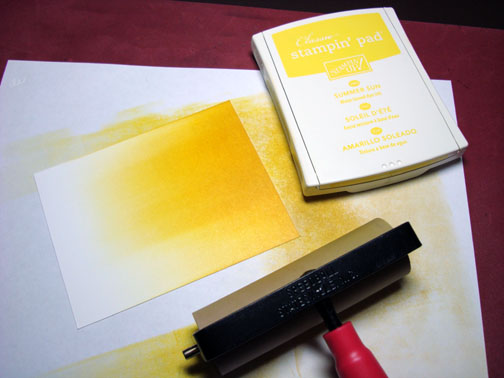
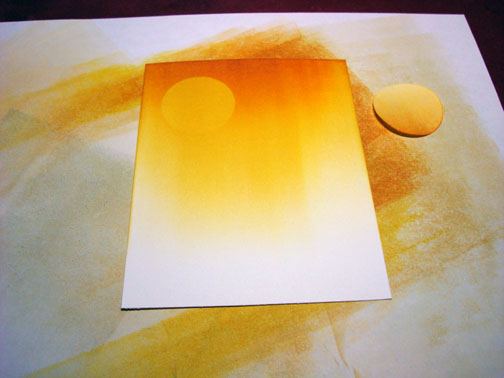
Brayered Lavender Lace ink at the top of the card stock, not covering the Apricot Appeal ink entirely.
Brayered a little bit of Elegant Eggplant ink at the top of the card stock.
Brayered Almost Amethyst ink at the bottom of the card stock.
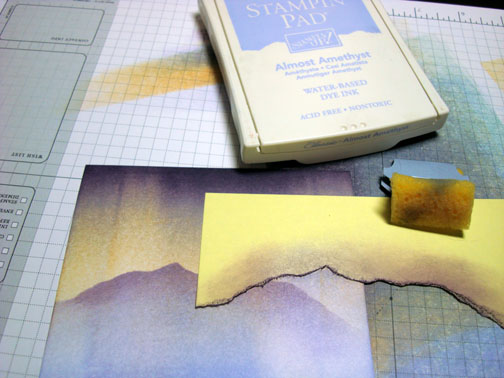
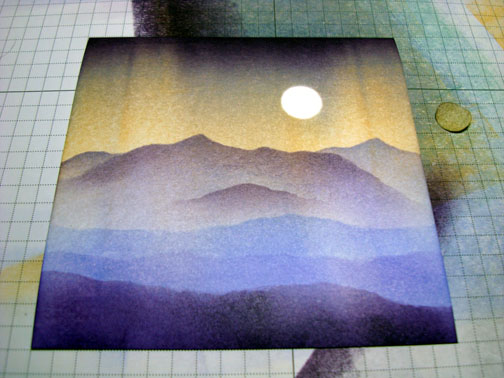
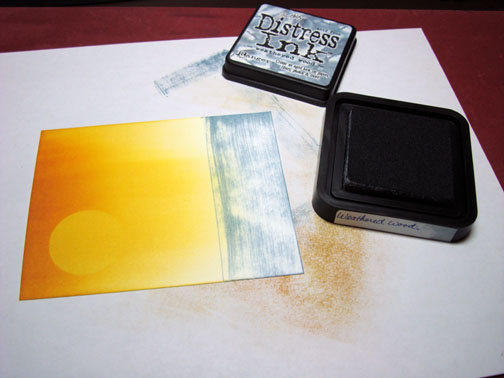
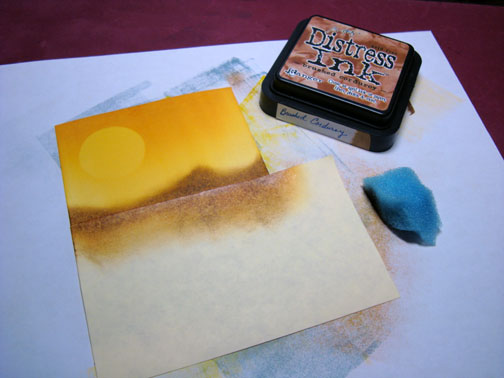
Tore a mountain shape in a post it note and sponged on some Lavender Lace ink to create a mountain.
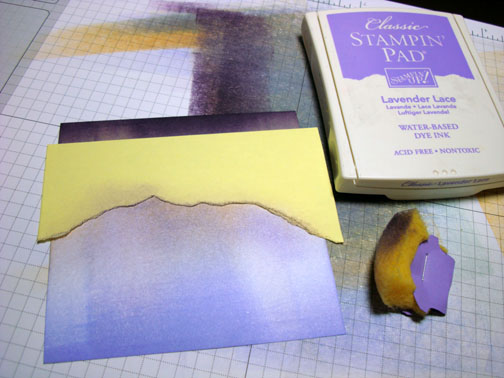
Sponged some Elegant Eggplant ink right at the post it note edge to darken the top of the mountain.
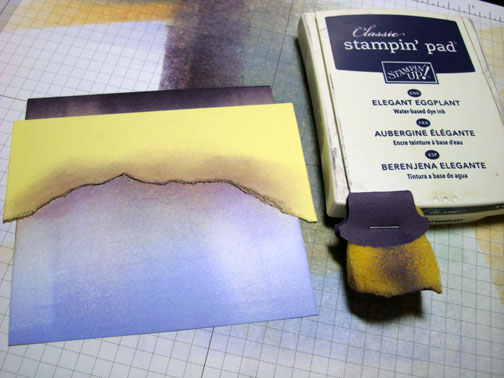
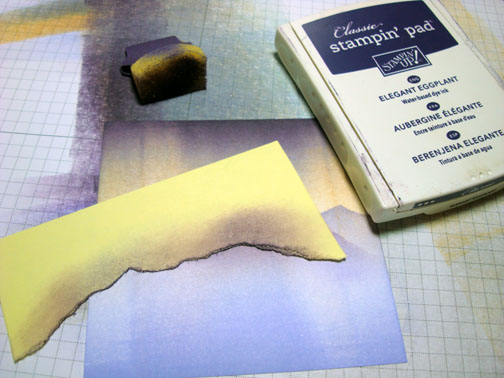
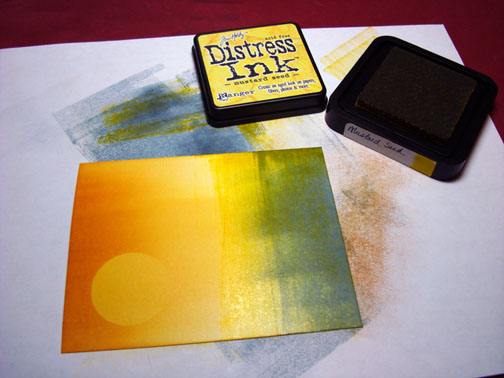
Moved the post it note and sponged on some Almost Amethyst ink to create some mountains in the background.
Moved the Post it note again and sponged on Elegant Eggplant to create another mountain.
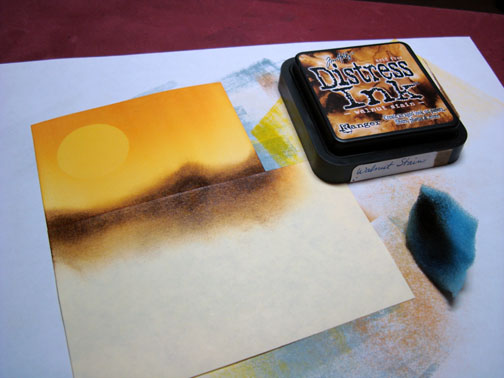
Tore the edge of another post it note and used it to put some slight hills in the middle ground with Almost Amethyst ink.
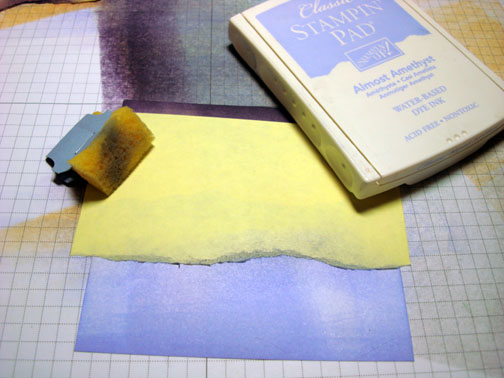
Moved the post it note again and sponge Lavender Lace ink.
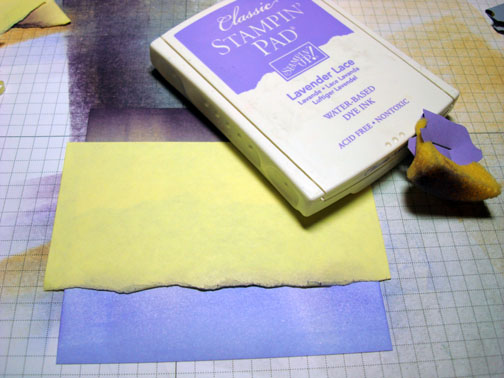
Moved the post it note down again and sponged on Elegant Eggplant ink.
Removed the post it note masks.
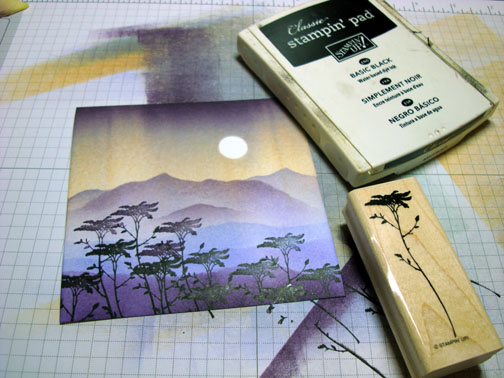
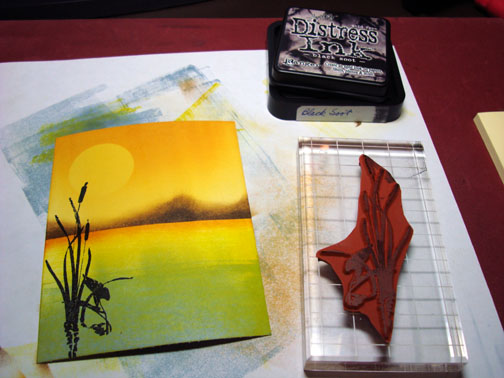
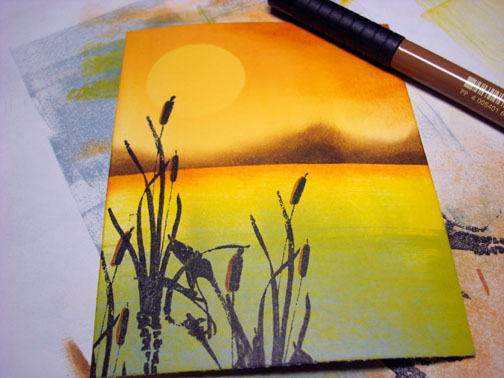
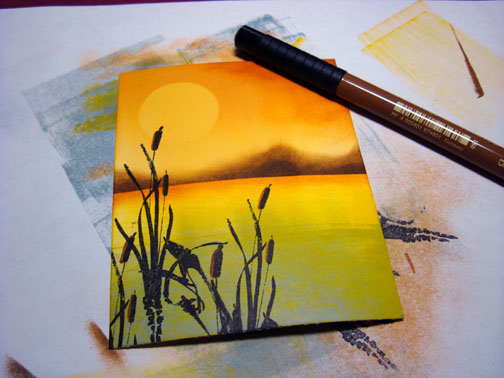
Stamped the Flower stamp from the Stampin’ Up! set Of the Earth 4 times loading the flower head of the stamp with Elegant Eggplant and the stem of the stamp with Basic Black ink before stamping it each time.

Stamped some more of the flowers using Basic Black ink only.
Colored the Butterfly on the stamp with a Basic Black marker and then huffed on the stamp and stamped it.
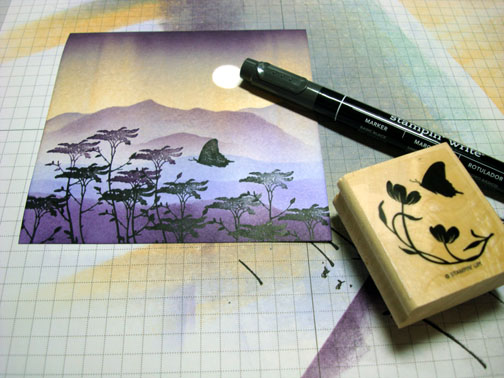
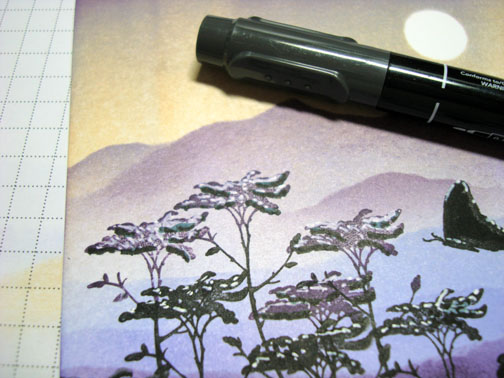
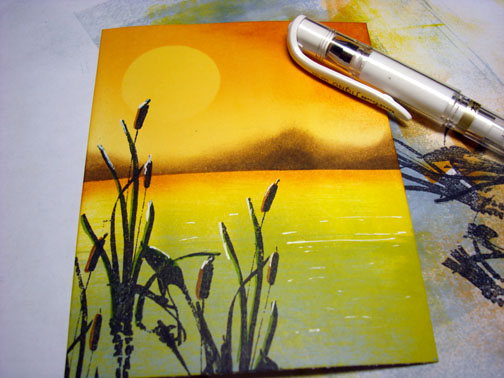
Added some highlights on the flower heads and butterfly with a White Gel Pen.
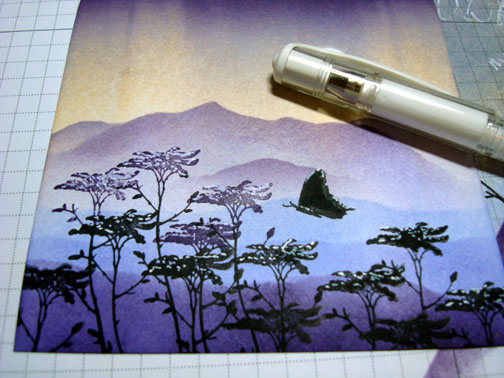
Underlined the Eggplant Flower heads with a Basic Black marker to create some depth in the flowers.
Tore a couple of chunks out of the corners of a post it note and masked the middle of the main image panel. Brayered Almost Amethyst ink over the entire card stock.
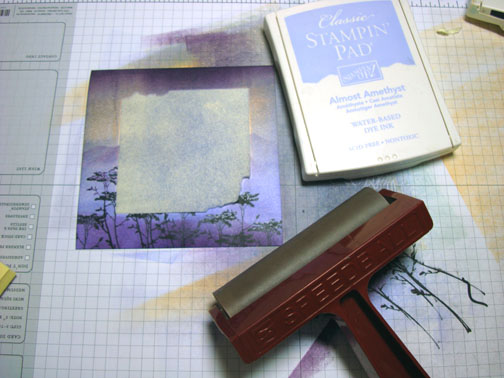
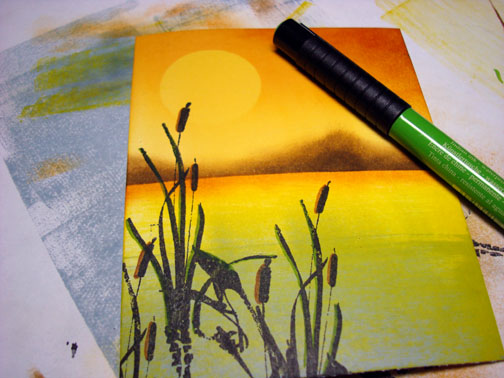
Removed the post it note mask and distressed the edges with the Stampin’ Up Cutter kit.
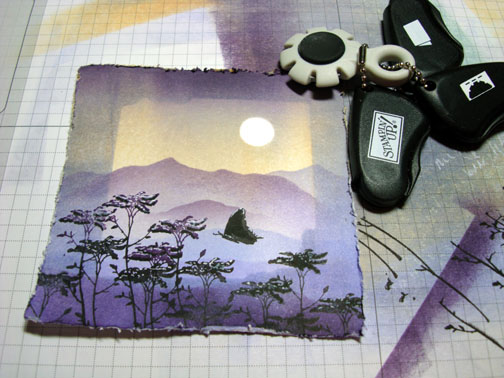
Sponged Close to Cocoa ink on the distress edges.
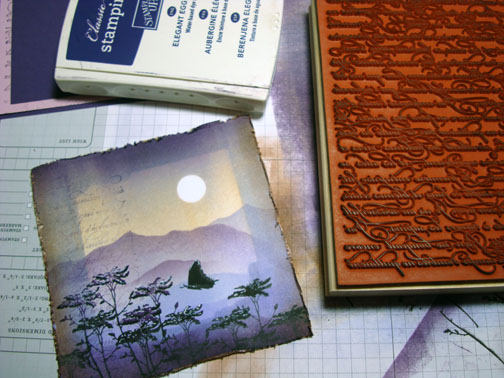
Stamped the Stampin’ Up! Stamp En Francais on the left side of the main image panel lightly using Elegant Eggplant ink.
Added Basic Black, Apricot Appeal and Almost Amethyst panels, Silver Brads and Basic Black large photo corner punches.
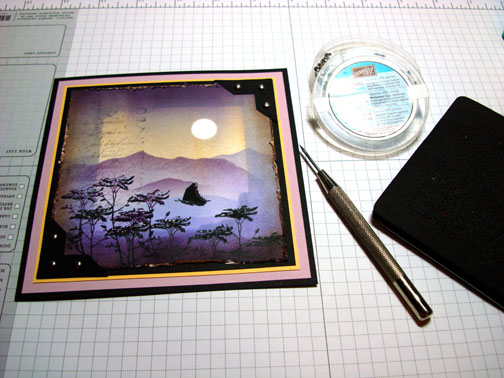
Assembled the card and here it is completed measuring 5.5″ square.
May you experience only love and joy today.
Until my next post. . . . . . . .
Hugs,
Michelle
 Get ready for Brayer Workshops! I am coming to:
Jacksonville, Florida (Sold Out)
St. Louis, Missouri (Sold Out)
Mechanicsville, Virginia
Raleigh, North Carolina (Sold Out)
Colleyville, Texas
Colorado Springs, Colorado
Boise area of Meridian, Idaho
Riverside, California (Southern California)
Salem, Oregon
Wheaton, Illinois
St. Cloud, Minnesota
Rockville, Maryland
North Chili, New York (near Rochester)
New Johnsonville, Tennessee
Kenova (Huntington), West Virginia
Helena, Montana
Middleburg Heights, Ohio
Venice, Florida
Grinnell, Iowa
Piedmont, Alabama (Near GA border close to Cedartown)
Auburn, Washington (near Seattle)
Elk Grove Village, Illinois
Savannah, Georgia
Atlanta, Georgia
North Liberty, Indiana
Saledad, California
Here is a link to my workshop calendar where you can see all of my travel schedule and to get info on beginner and advanced Brayer workshops: https://zindorf.splitcoaststampers.com/workshop-calendar
Link to my Stampin’ Up website where you can order all of your must have Stampin’ Up products from me 24-7: https://michellezindorf.stampinup.net
Frequently asked questions answers: https://zindorf.splitcoaststampers.com/frequently-asked-questions/


