Tag Archives: Spring

Hello Chickie – Stampin’ Up! Card

DSC_0034

Hello there,

Upon a glance at the calendar this morning I realized Easter Sunday comes very early this year, March 27th.  Wow, it is right around the corner!

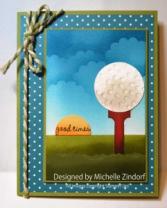
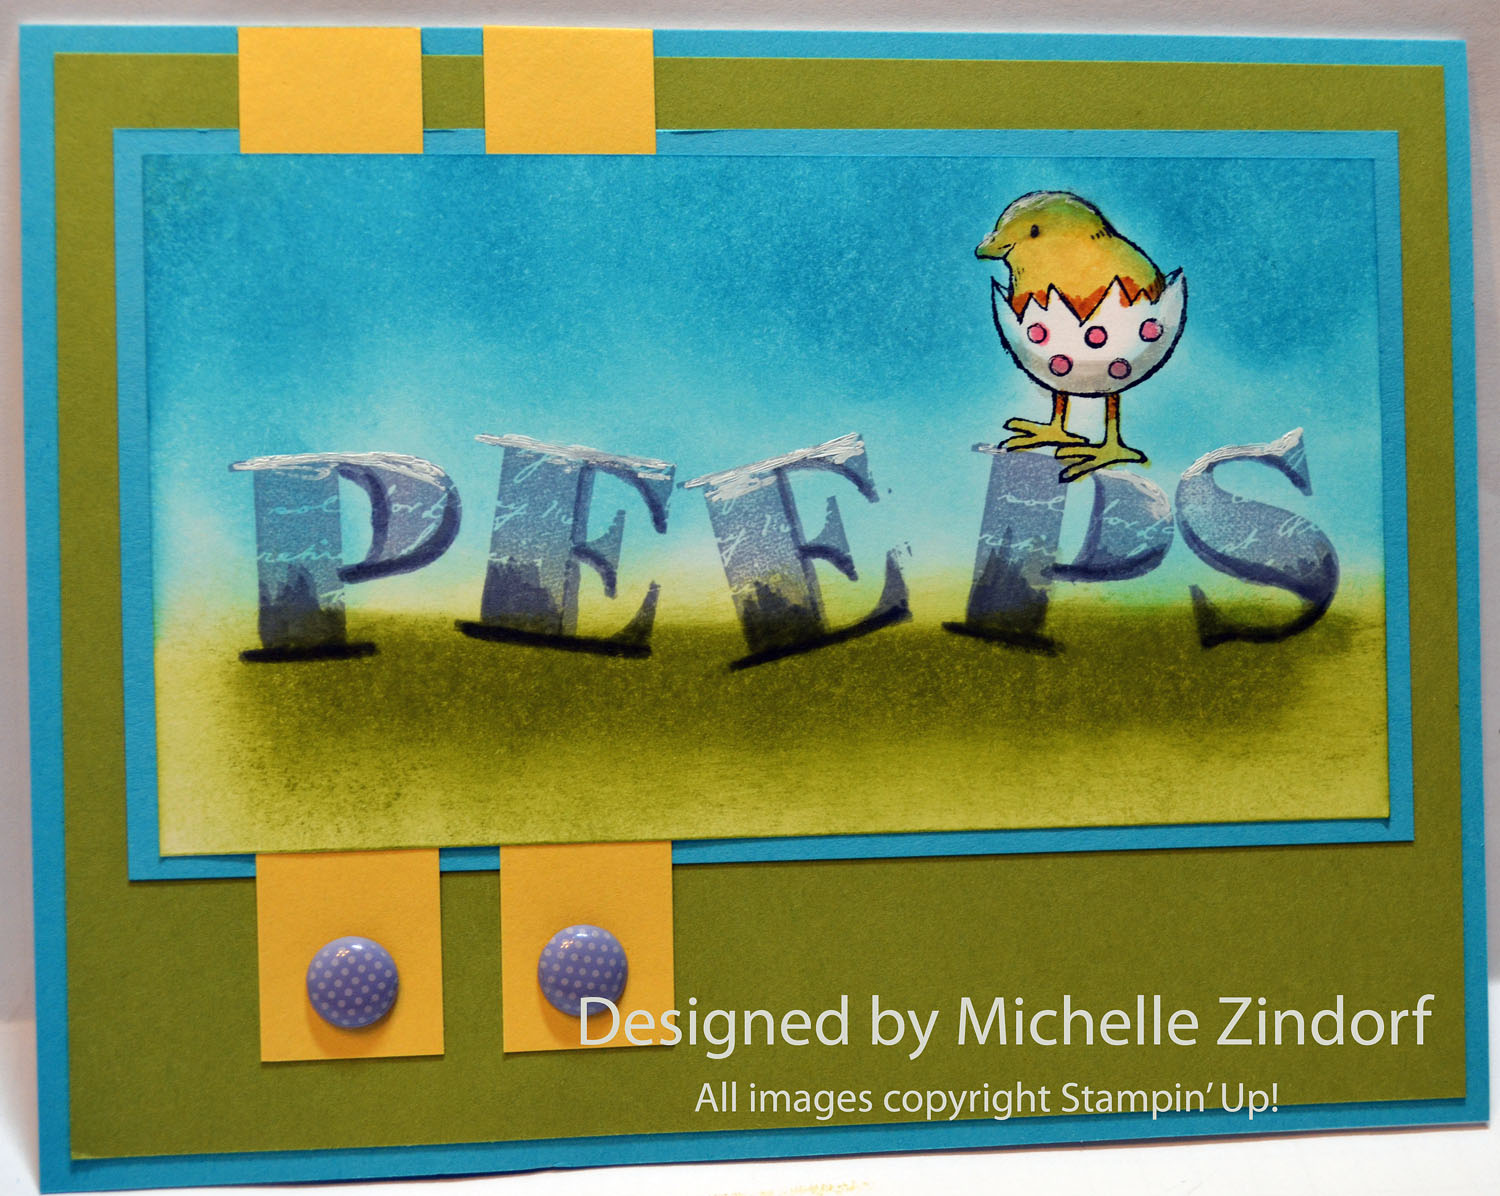
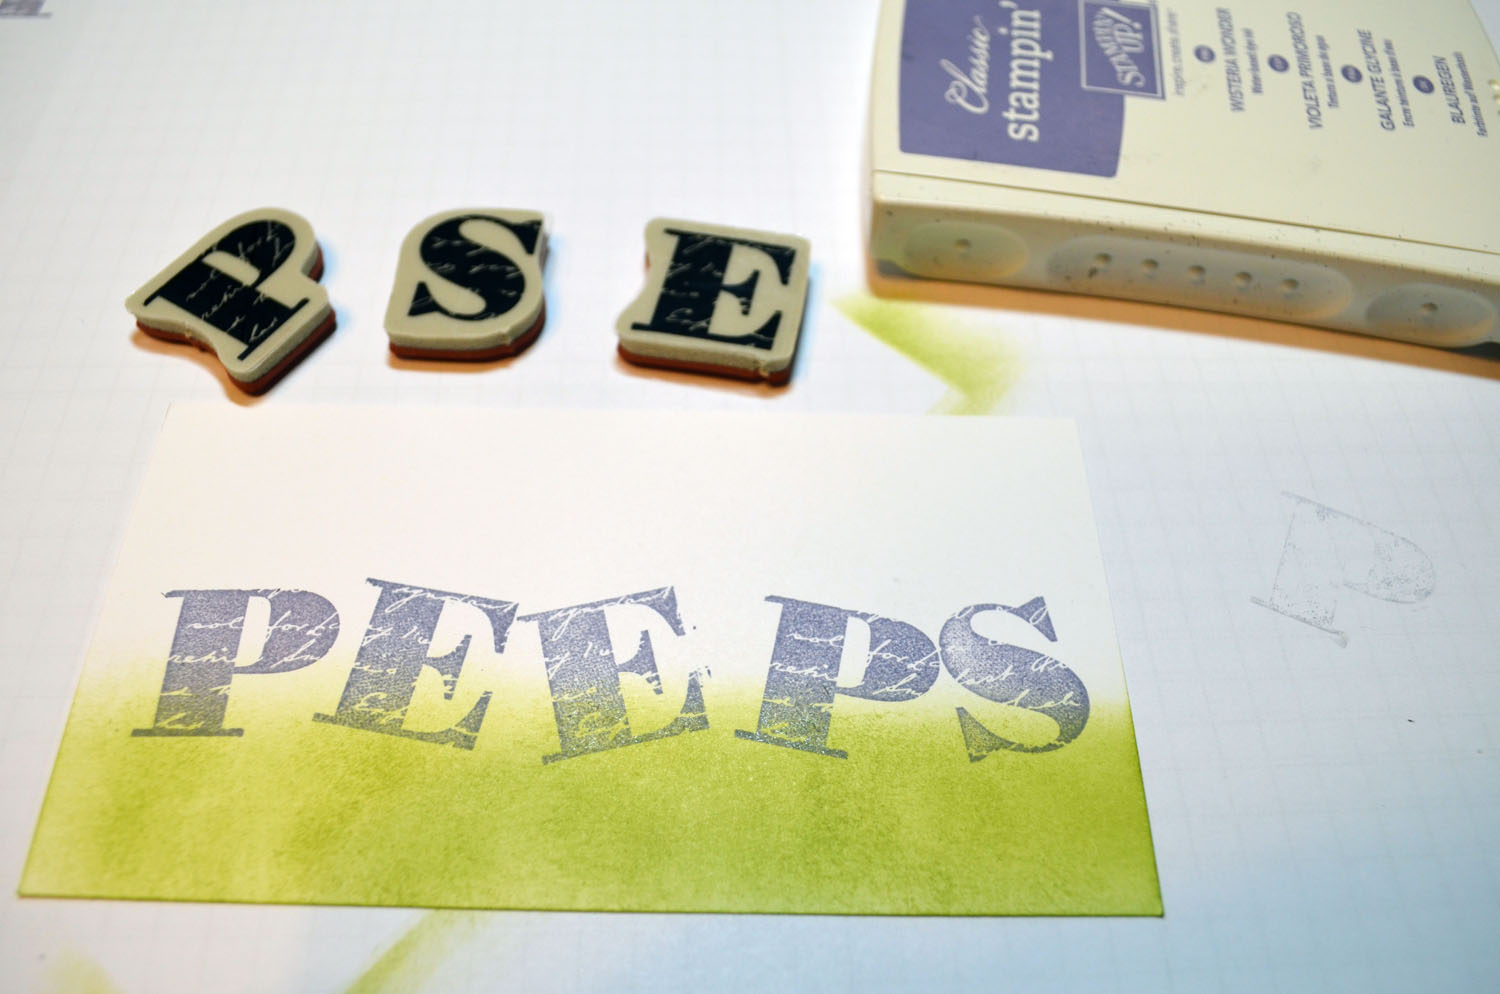
It’s my job to bring you projects in a timely manner so you have time to prepare and get the supplies you need.  So, here is my first Spring card for 2016.

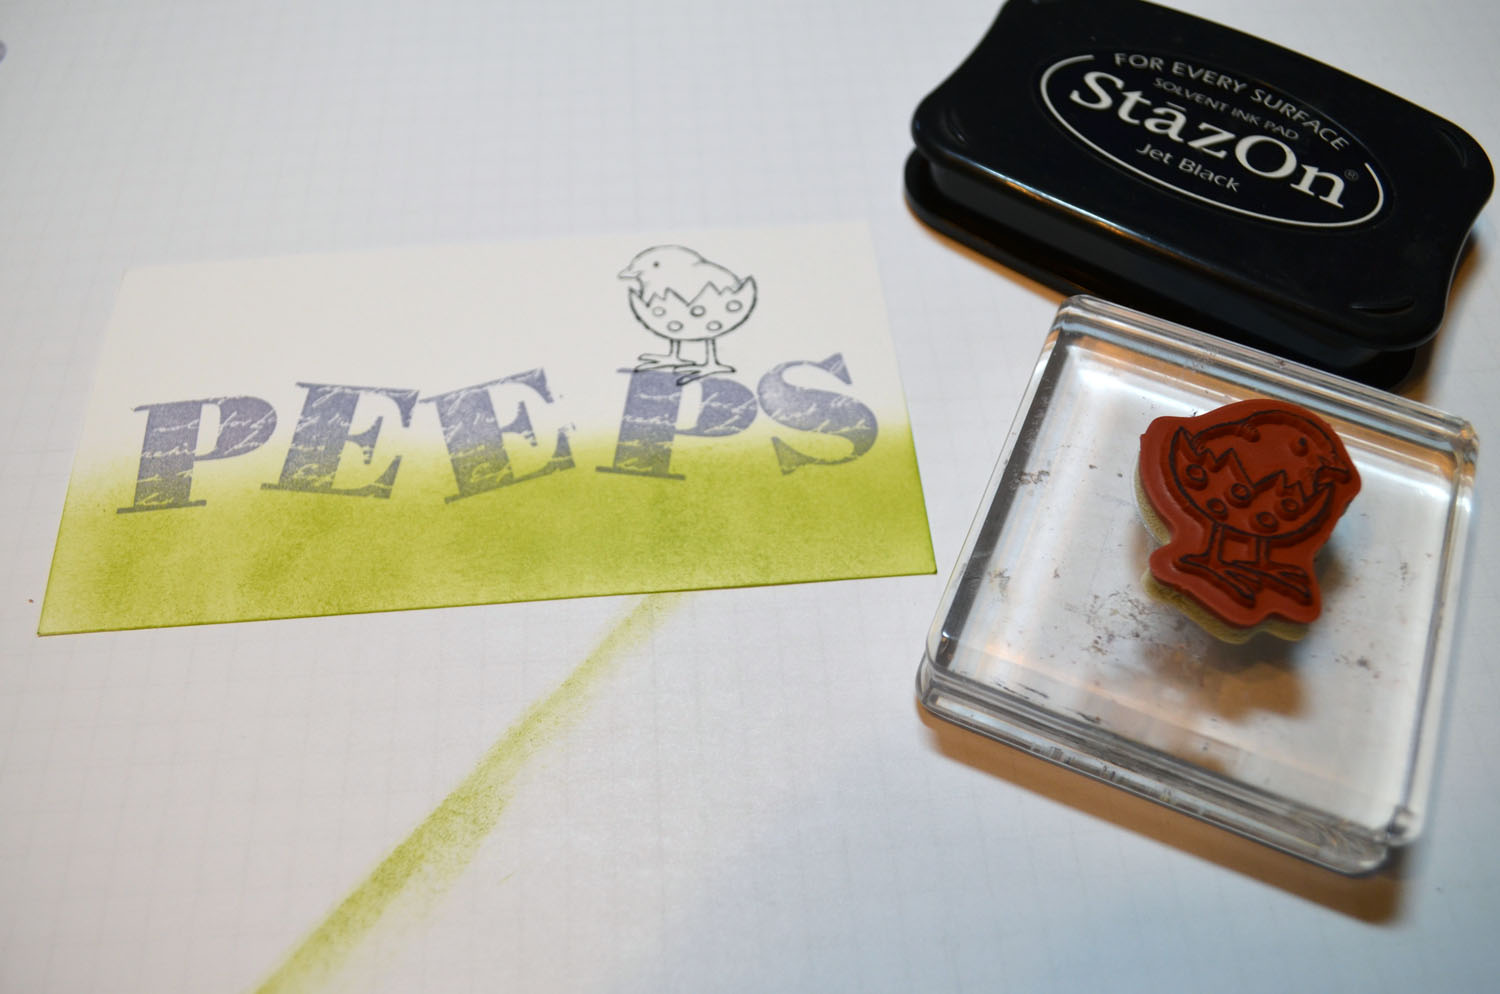
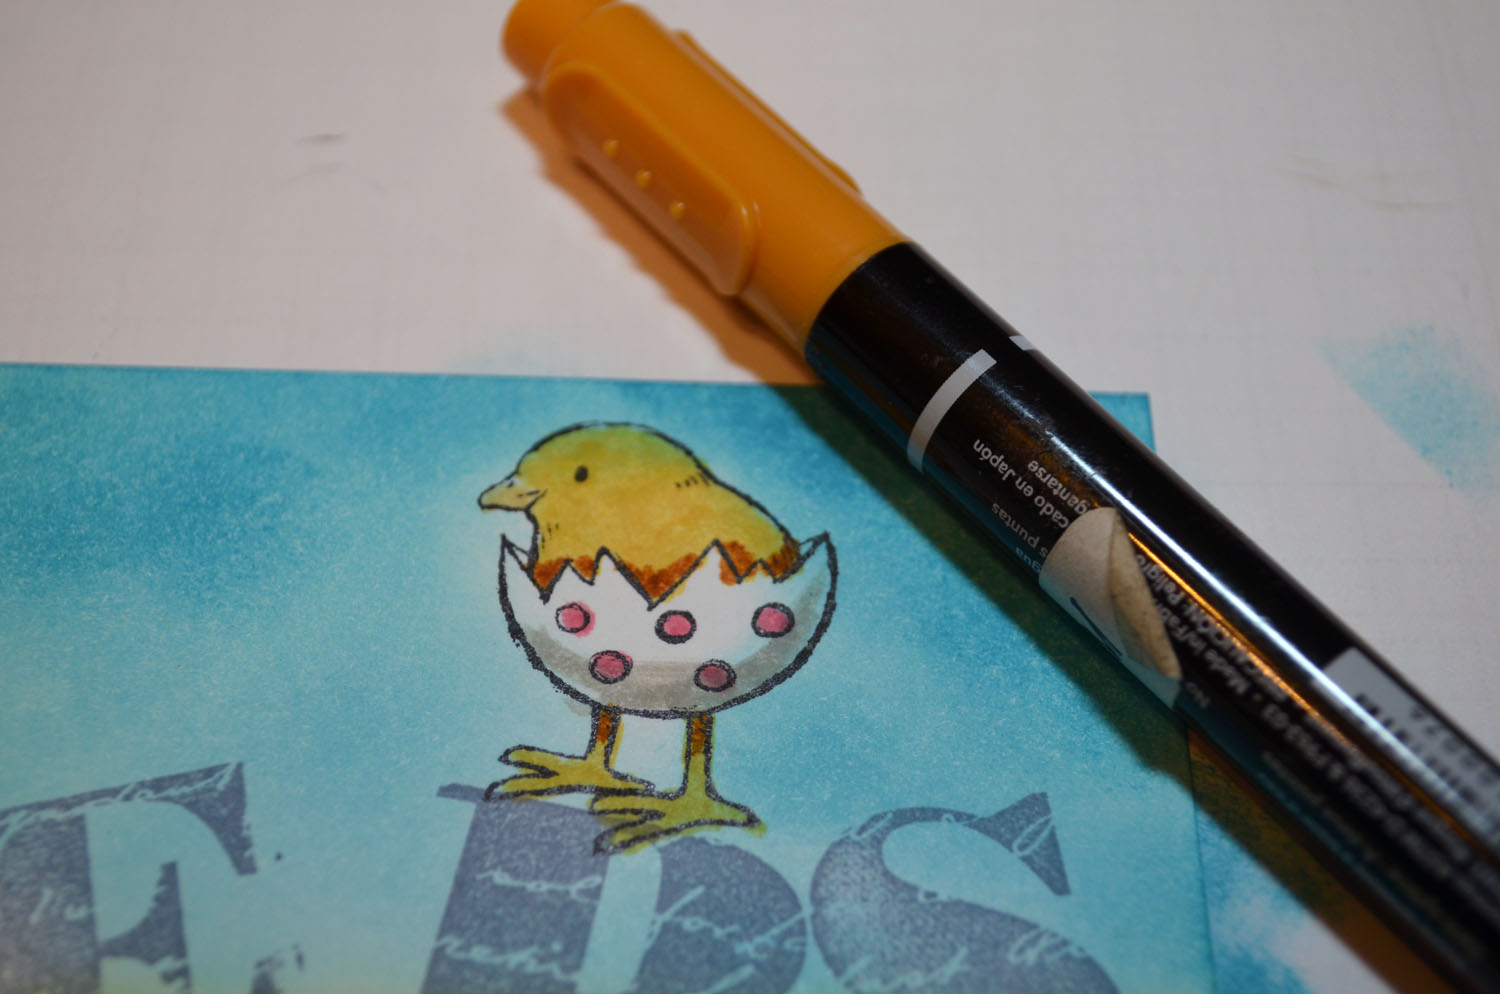
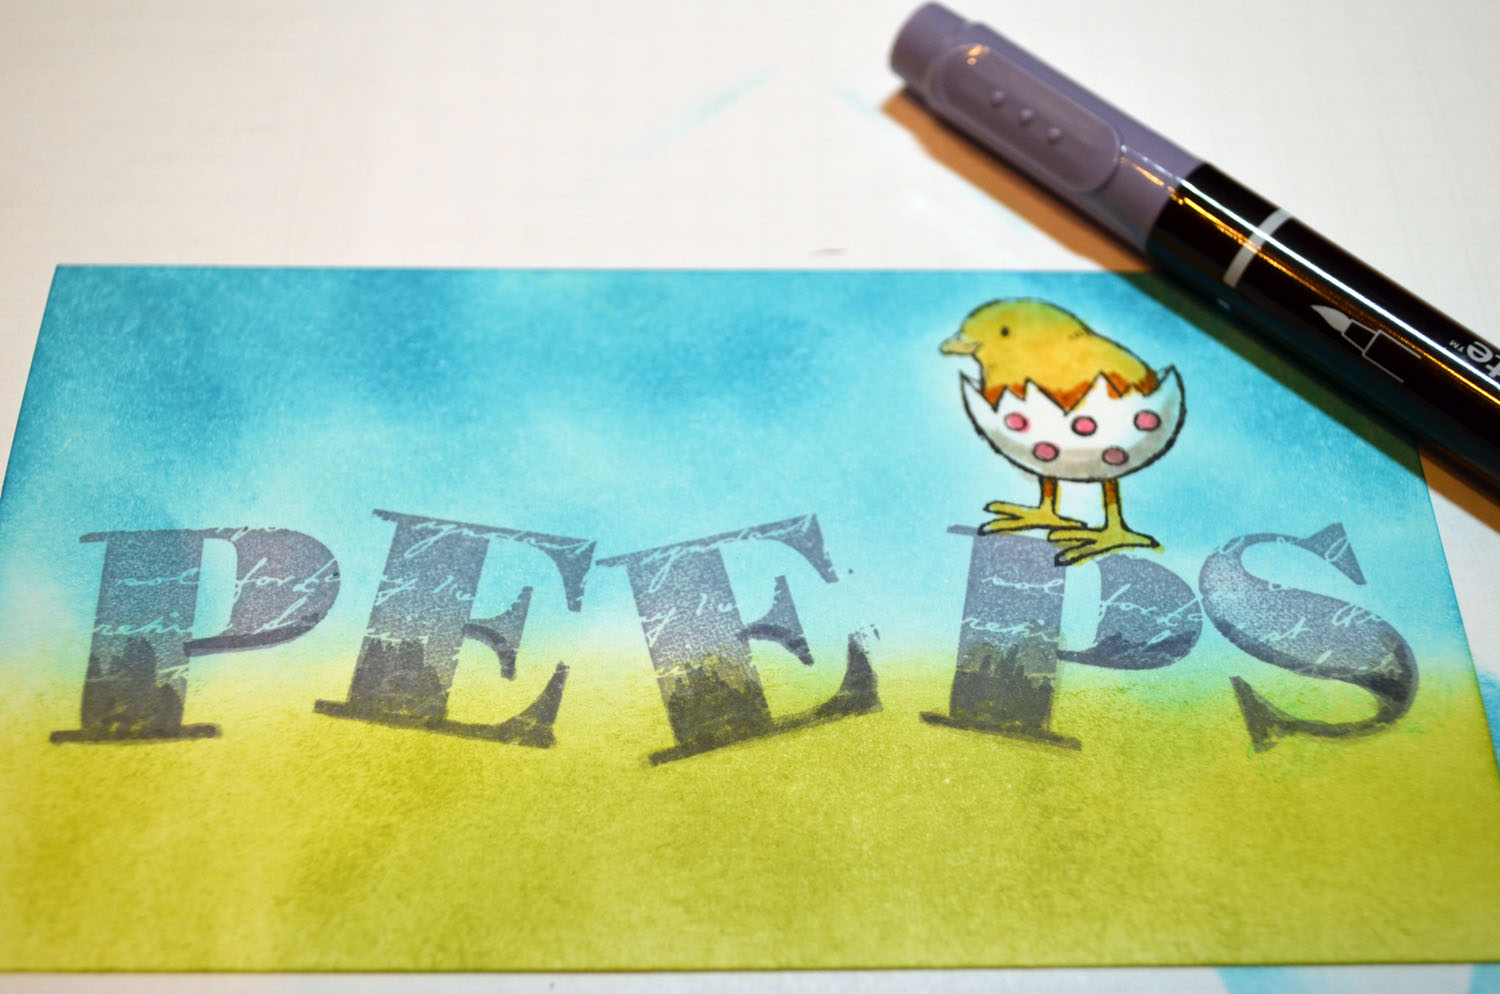
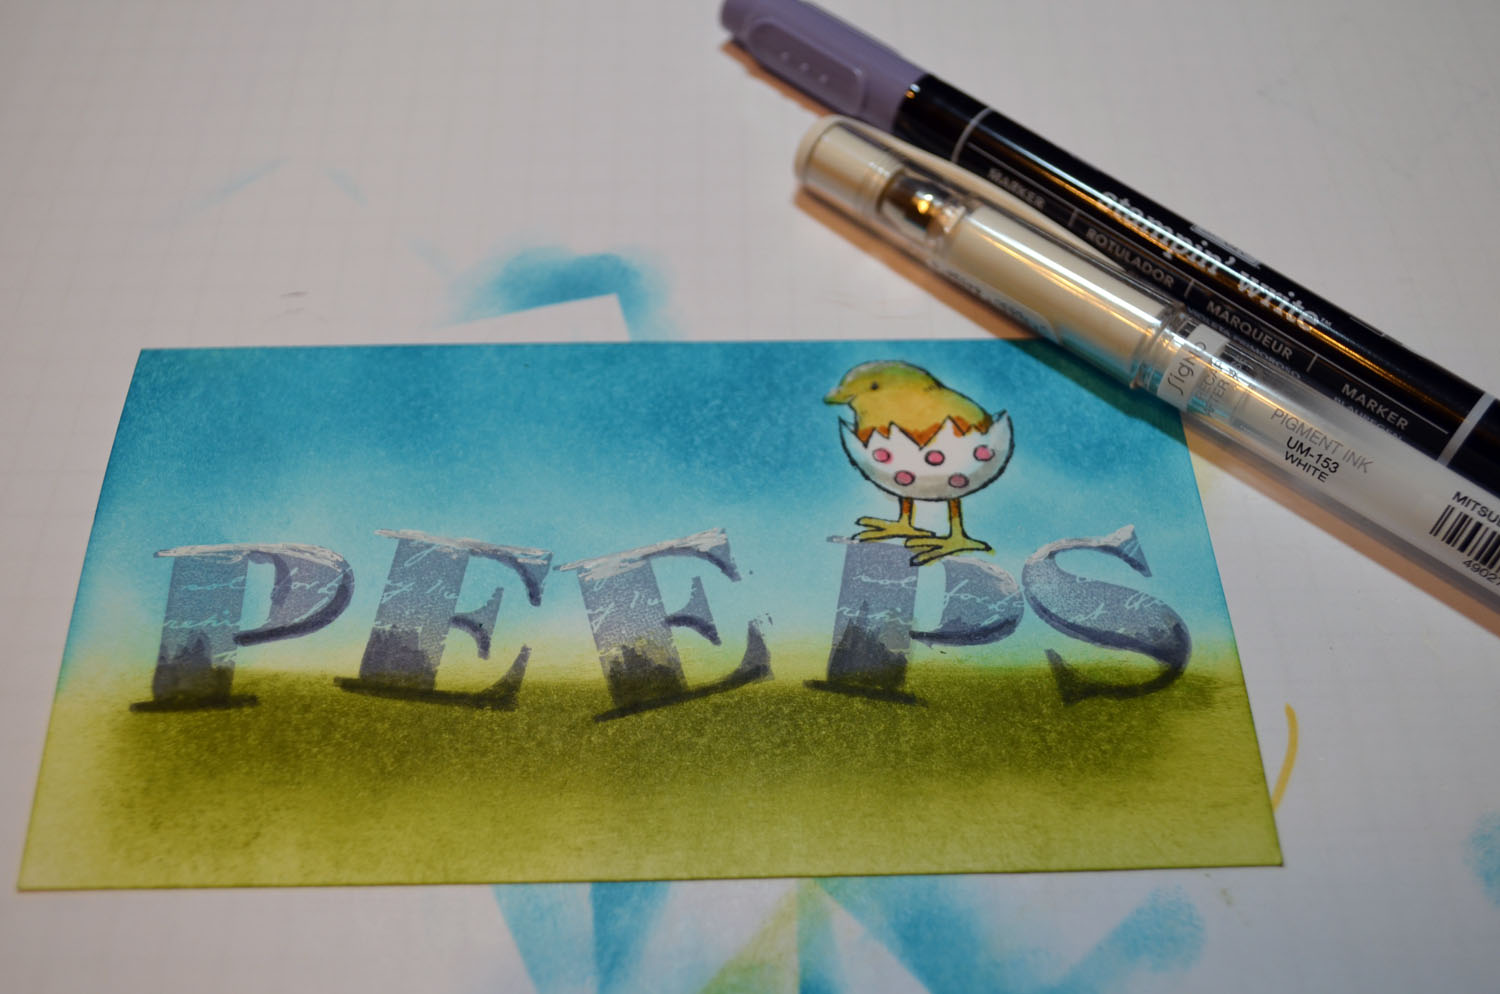
That chick image from the Honeycomb Happiness stamp set is adorable, right?  It is in one of the stamp sets you can get free, right now, during sale-a-bration with a $50 merchandise order.  Gotta love free stuff.  🙂  You can get the details for Sale-a-bration below.

YOU CAN SEE JUST HOW TODAY’S PROJECT WAS CREATED IN TODAY’S TUTORIAL.  SEE HOW TO GET IT AND 11 OTHER TUTORIALS FROM THIS MONTH FREE BELOW.  LEARN TECHNIQUES YOU CAN APPLY TO YOUR OTHER STAMPING PROJECTS AS WELL.

***********************************************************

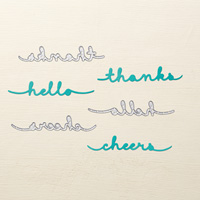
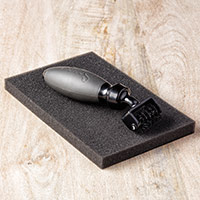
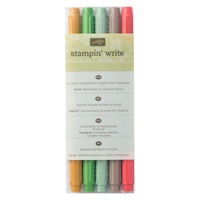
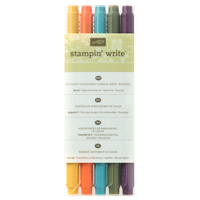
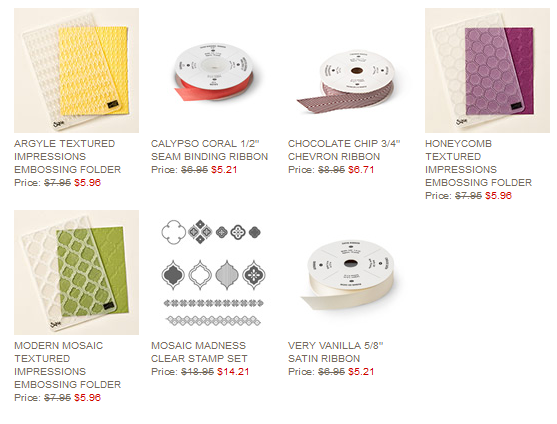
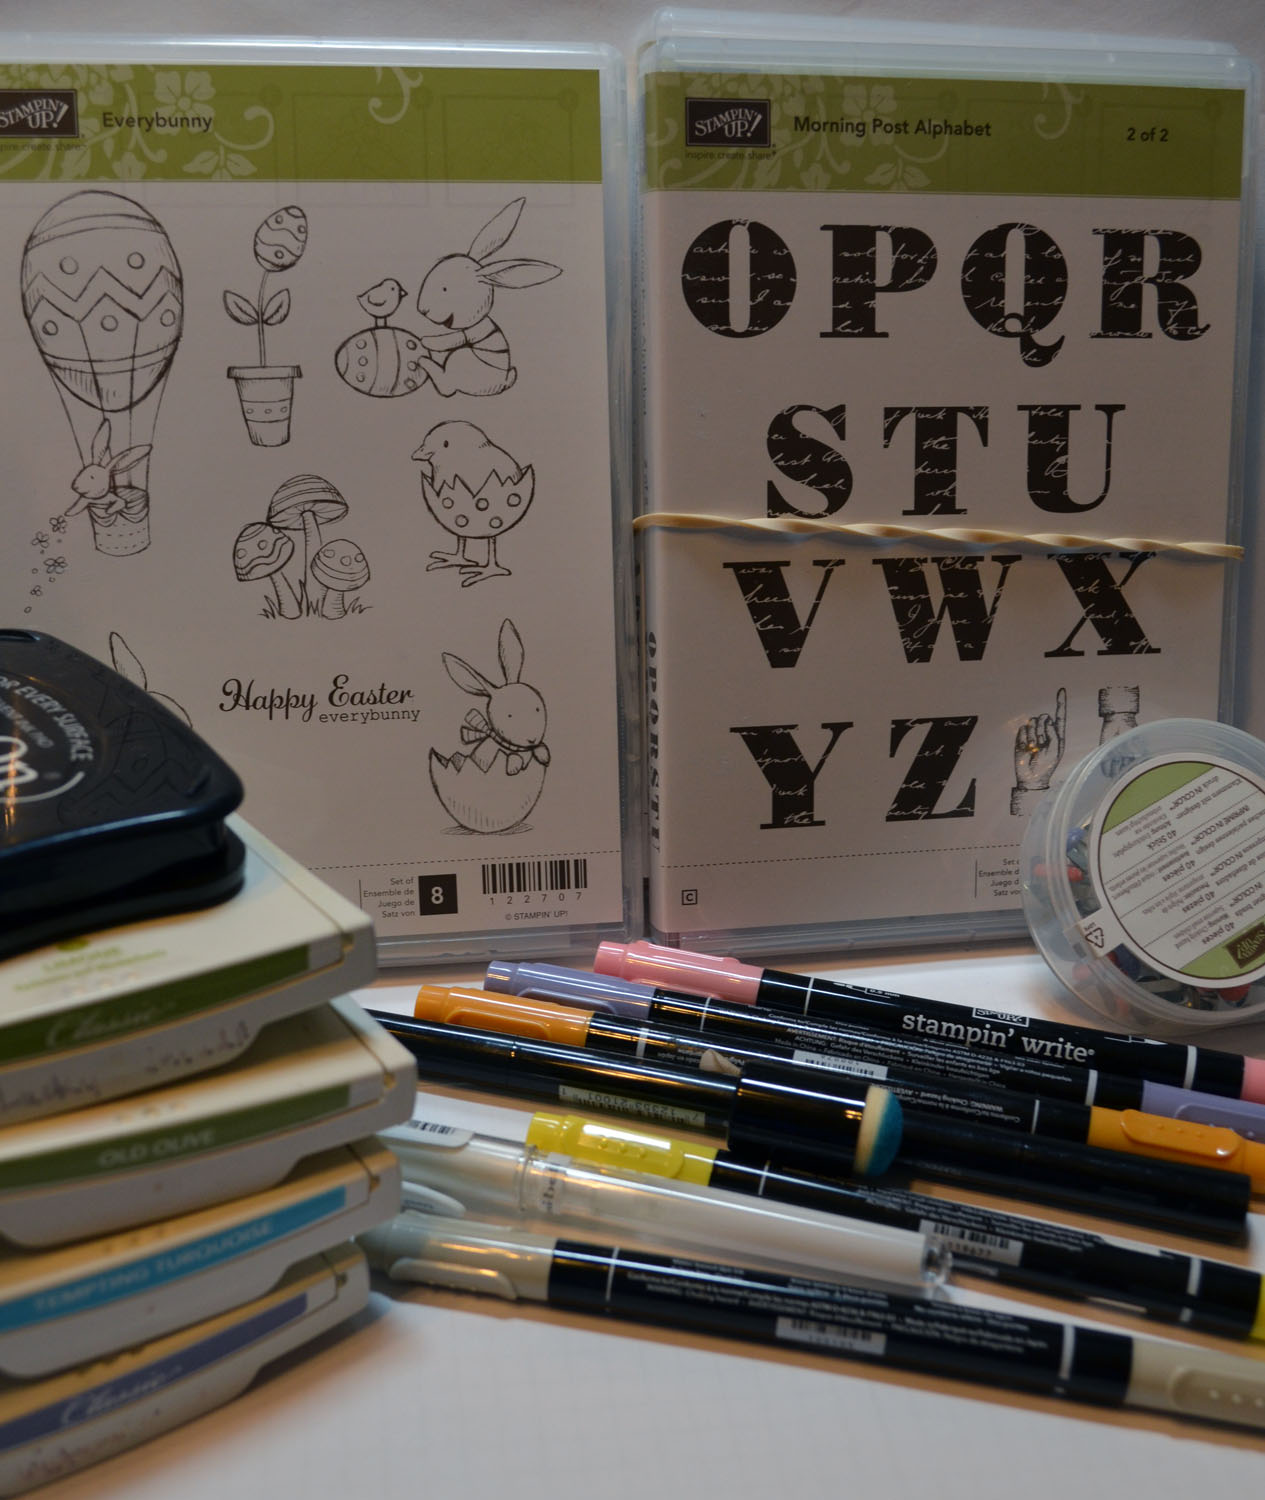
Complete Supply List

***************************************************************

May your Winter day be filled with warmth and love.  🙂

UNTIL MY NEXT POST. . . . . . .  .

Huge Hugs!

*****************************************************************

Get the Whole Month Worth of Tutorials Free, 12 in all!  Plus, earn tokens towards a free stamp set.

Place a $50 merchandise order between January 1, 2016 and January 31, 2016 and receive the entire month of tutorials (at least 12) free of charge via e-mail.

You will receive all of the project tutorials for the month of January as they are created.  You will also receive free a Sale-a-bration item for each $50 of merchandise you purchase and 1 virtual token from me for each $50 in merchandise purchased with your order.  Collect 10 tokens and receive a free stamp set of your choice up to a $30 value.   Now, that’s the way to get some bang for your buck!  So stack those savings!

Free tutorials are an exclusive perk for my valued Stampin’ Up! customers and down line.

DSC_0053  DSC_0060  DSC_0057  DSC_0055  DSC_0051  DSC_0026  DSC_0034

First 7 tutorials, 5 more to come this month.

PLEASE USE HOSTESS CODE:    GXES44BQ  When placing your order.   (PLEASE DO NOT USE IF MERCHANDISE ORDERED IS OVER $150)

Screen Shot 2015-10-02 at 9.11.19 AM copyIf you wish to receive the free tutorials please do not click the “no contact” box when placing your order. 

*****************************************************************

TO PURCHASE THIS MONTH’S SINGLE TUTORIALS OR THIS MONTH’S TUTORIAL PACKAGE CLICK HERE FOR DETAILS.

******************************************************************

Screen Shot 2016-01-15 at 10.09.34 AM
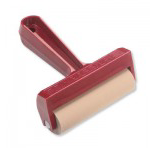
WANT TO LEARN HOW TO BRAYER?  CLICK HERE

*******************************************************************

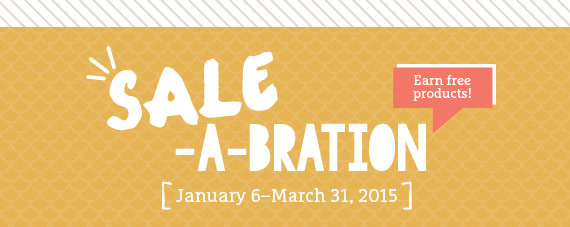
Earn Free Stamps and get the latest new products

You can now shop from the new Occasions Catalog and earn a free Sale-a-bration item, a fantastic bonus, for every $50 of merchandise that you order and the Sale-a-bration free items are spectacular this year!

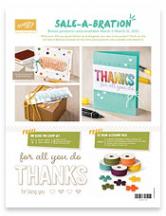
Click the catalog or brochure below to see a PDF of them.

Screen Shot 2016-01-05 at 7.04.03 AM
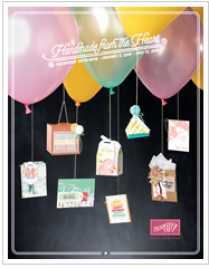
Occasions Catalog (click here to view)

 Screen Shot 2016-01-05 at 7.04.13 AM

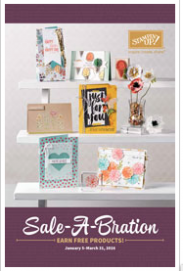
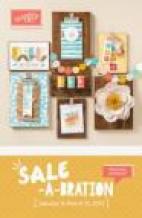
Sale-A-Bration Brochure (click here to view)

************************************************************

Screen Shot 2016-01-11 at 10.16.05 AM

HAVE A LARGE WISH LIST.  CLICK HERE  TO SEE HOW YOU CAN SAVE ON THOSE ITEMS.

Two in the Spring Bush Stampin’ Up! Card

DSC_0001

Hello there,

I love using coral and green colors together to get that  Spring feeling.  This card was just the ticket.  I hope it gives you that Spring feeling too.  🙂

You can find the complete supply list below for today’s project and also how to the get the complete tutorial for this project free or by purchase below.

*******************************************************

Supply List

**************************************************

FREE TUTORIALS

**************************************************

Want the entire month worth of tutorials free (at least 12)?

Place a $50 merchandise order between March 1, 2015 and March 31, 2015 and receive the entire month of tutorials (at least 12) free of charge via e-mail.
You will receive all of the projects pictured below and they will keep coming until March 31st.  You will also receive 1 virtual token from me for each $50 in merchandise purchased with your order.  Collect 10 tokens and receive a free stamp set of your choice up to a $30 value.  On top of that receive a free Sale-a-bration stamp set or accessory!   Now, that’s the way to get some bang for your buck!
Free tutorials are an exclusive perk for my valued Stampin’ Up! customers and down line.
DSC_0040  DSC_0045  DSC_0024  DSC_0026  DSC_0016a  DSC_0039g  DSC_0035  DSC_0022  DSC_0001
Plus 3 more tutorials to come this month.
************************************************************

Note:  Please do not select the option for no contact  when placing your order if you wish to receive the tutorials.

Shop my online store now CLICK HERE *

Please use Hostess Code:  N4GETMWU     (Do not use if merchandise order is over $150)

***************************************************

If you wish to purchase tutorials or check out the monthly Tutorial subscription option.

CLICK HERE FOR DETAILS.

*******************************************************

May your soul be filled with the renewal that Spring brings.  🙂

Until my next post. . . . . . .  .

Huge Hugs!

*************************************************************


Do you have a big wish list? You can join my team for only $99.00 plus tax and you can choose $125.00 worth of amazing stuff…plus…you can either choose a free project kit from the Occasions catalog OR 2 Sale-A-Bration sets.  It is an awesome time to join.

Another perk, my team members get my current tutorials for free!

********************************************************header_SAB_demo_Feb2215_USCA

I just wanted to give you a heads up, there are only 8 days left to a get free Sale-a-bration product with every $50 in merchandise purchased.  This is the best time to stock up or tackle that long wish list.

  Screen Shot 2015-03-17 at 6.23.50 AM 

Click on each of these 3 brochures to check out the items offered.

***Sale-a-bration items are only while supplies last so place your order as soon so you can before they are gone.  Note:  some items may be sold out.

Don’t forget, with a $50 merchandise order, with me as your demo, you also get my 12 tutorials from March, 2015 FREE and a virtual token towards a free stamp.  Combine that with your free Sale-a-bration item, WOW!  Check out the Weekly Deals below for even more savings.

*********************************************************

deals

 Check out the latest batch of Stampin’ Up! Weekly Deals in my on-line store.  Discounted prices on this week’s deals end March 23rd.

********************************************************

Current catalogs

2014-15 Catalog     

Peeps – Stampin’ Up! Card Tutorial #589


HAPPY SPRING!

Don’t you just love the first day of Spring?  A time for renewal, Robins, Spring green grass.  After a long Winter, I say “Whoooohoooooo!!!!

It’s with a Spring frame of mind that I came up with today’s card turtorial using the Stampin’ Up! sets Everybunny and Morning Post Alphabet.  Check out the tutorial below.

********************************************

I’ve added this card to my sales page where you will also find some great deals on retired stamp sets.  CLICK HERE TO CHECK IT OUT

********************************************

Now on with today’s tutorial. . . . .  . .

Project Supplies:

Stamps: Stampin’ Up!  Everybunny and Morning Post Alphabet

Card Stock: Stampin’ Up! Whisper White, Tempting Turquoise, Daffodil Delight and Lucky Limeade

Ink: Stampin’ Up! Lucky Limeade, Old Olive, Tempting Turquoise, Wisteria Wonder and Stazon Jet Black

Accessories: Stampin’ Up! Sponges, Printed Designer Brads, Markers (Daffodil Delight, More Mustard, Wisteria Wonder, Regal Rose and Sahara Sand), White Gel Pen

Sponged Lucky Limeade ink at the bottom of a 3″ x 5″ piece of Whisper White card stock.

Stamped the word Peeps using Wisteria Wonder ink and the Morning Post Alphabet.

Stamped the chick using Stazon ink.

Sponged Tempting Turquoise ink in the sky area using a sponge dauber.

Colored the chick using a Daffodil Delight marker and the dots on the egg using a Regal Rose marker.

Added Sahara Sand marker to the bottom of the egg to create a bit of roundness to the shell.

Added More Mustard marker to the tops of the chicks legs and right above the shell.

Added Wisteria Wonder marker to the bottom of the letters.

Sponged Old Olive below the lettering to create a shadow.

Added Whisper White pen to the tops of the letters and went over the bottom of the letters again using a Wisteria Wonder marker.


Added a Whisper White card base, 2 Tempting Turquoise panels, Old Olive panel and Daffodil Delight card stock strips.

Added the main image panel and Wisteria Wonder Printed Designer Brads.

Here is the finished card measuring 5″ x 6.5″.

May your Spring be off to an awesome start.

Until my next post. . . . . .

Check out the awesome things happening at Stampin’ Up! below.  There are only 2 days left to take advantage of the free Sale-a-bration products.  Hurry, don’t  miss out!

Hugs,

Weight loss in 2013:  18 lbs

********************************

Introducing Photopolymer by Stampin’ Up!

Always wanted to be a graphic designer?  My favorite part about design is typography. I adore type. There’s just something inherently beautiful about letterforms and what happens when you stack them to create different shapes and combine them to say different things.  So without further adieu, let me introduce you to the Designer Typeset Stamp Set. It’s based around a really great san serif font that will work well on just about any project. And then there are embellishments and shapes to take whatever you want to say to the next level. The possibilities are seriously endless.

I’ll admit, once you start playing around with the stamp set, you will have a hard time stopping!

But before we get too carried away, let’s get to talking about the benefits of photopolymer stamps. For those who are unfamiliar, let me point out a couple of things that are really cool.

First, they’re completely clear, making it oh-so-easy to stamp exactly where you want. They come unmounted, on an acetate sheet, and temporarily adhere to our clear blocks. Awesome!

Second, they are pliable. Want your arrow to shoot a certain way? No problem! Want your banner to have the perfect sag? Easy peasy! Being able to play with the shape gives you even more creative freedom.

So let’s get down to the nitty gritty. The Designer Typeset Stamp Sets in the online store starting now. So just click HERE to order yours today!

************************************************************************

NEW!  STAMPIN’ UP! ON-LINE VIDEO CLASSES. Videos, supplies lists and pdfs for 30+ simple and pretty projects.

PERFECT FOR THE BUSY STAMPER! Learn  innovative ways to get the most out of your Stampin’ Up! supplies (from stamps to the Big Shot) with clever tips and all the techniques you need to start creating with success.           Divided into six sections focused on a variety of topics, Stampin’ Up! on-line classes include videos, pdfs, and supply lists for 30+ projects. Join the fun!

BIG THUMBS UP–WAY UP! I  purchased “The Basics” class and am knocked out by the details, tips and new ideas.  Wonderful for seasoned as well as new stampers.  I just watched a video that’s part of the class on the Stamp-a-ma-jig and learned how to easily line up stamped letters once and for all–woo hoo!

CLICK  HERE TO ORDER ‘THE BASICS” CLASS $14.95

THESE ARE DOWNLOADABLE ZIP FILES.  YOU DO NOT NEED MY  DIGITAL STUDIO TO TAKE ADVANTAGE OF THE CLASS! After purchasing and downloading the class, open “Stampin’  Class–The Basics” folder and there will be six folders inside.  Click on each and enjoy!

PC Instructions
The files will be downloaded as archive files that you can then extract and save on your computer. When you click on the download link, an extraction program will automatically  launch. Choose the location where you would like to save the  files (be sure to note where you save them). Follow the  prompts on the extraction program, then navigate to the location where you saved the files. Click on the file and open.

Mac Instructions
When you click on the download link, the file will be mounted  as a drive. Once it is mounted, open the drive and drag and  drop the files to the location of your choice on your hard drive. The files can then be opened.

**************************************************

Stampin’ Up’s fabulous Spring Catalog Get your supplies to rock those Spring projects.