
Well, well, well, you never ever know which way the wind will blow me in the morning when I sit down to stamp. I’ve kicked this idea around for a little while and decided to put it on paper before I forgot it.
My Sister, Sonja is flying in from Colorado today to stay with me for a few days and I really should be cleaning up the house for her visit, but what the heck she is family after all, lol. I would rather be stamping and blogging. 🙂
Let’s get started.
Supplies:
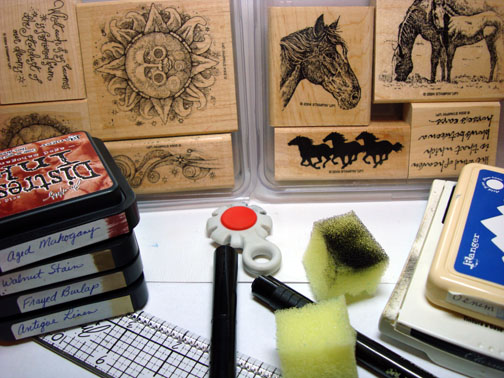
| Stamps: Stampin’ Up Bareback & Stardust |
| Paper: Stampin’ Up Whisper White, Creamy Caramel & Bravo Burgundy |
| Ink: Distress Inks Aged Mahogany, Walnut Stain, Frayed Burlap & Antique Linen, Adirondack Denium and Stampin’ Up Basic Black |
| Accessories: Tim Holtz Ruler and Distressing Tool, Sponges, Clear embossing powder, heat gun, Versmark marker, Fine tip black marker, Push Pin |
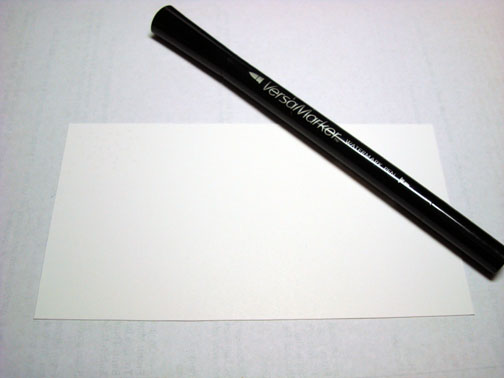
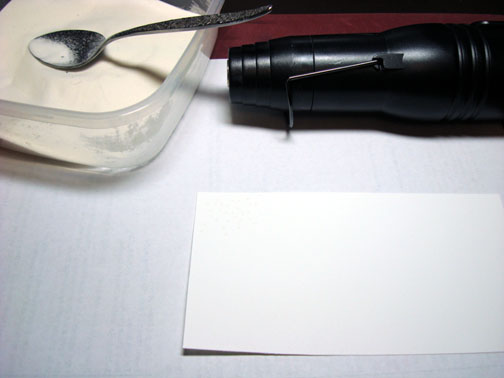
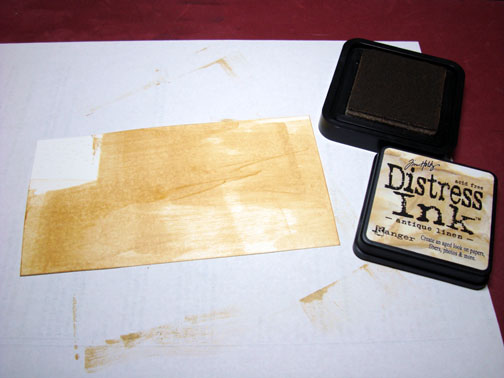
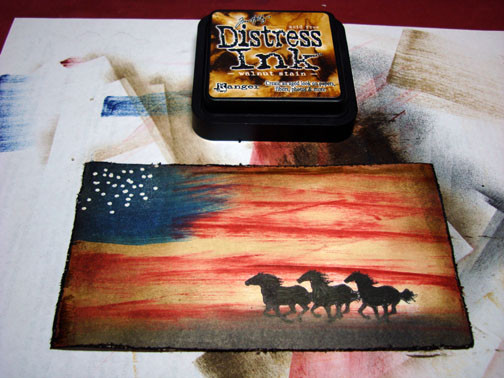
Dotted the left hand corner of a 3.25″ x 6″ piece of Whisper White card stock with a Versamark marker and heat embossed the dots with clear embossing powder and a heat gun.
Smeared Antique Linen ink directly on the card stock.
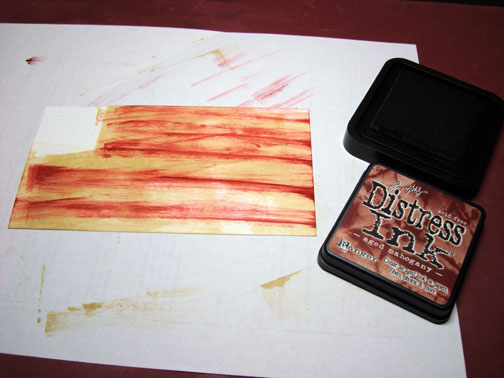
Used the corner of the Aged Mahogany ink pad and added the stripes.
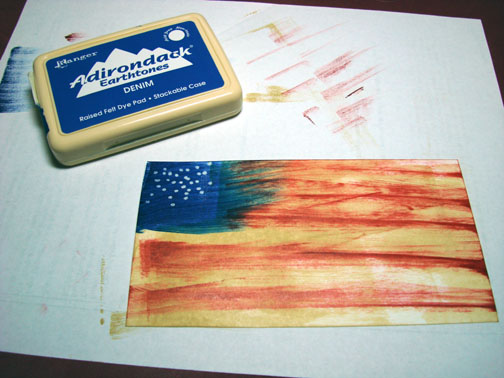
Smeared Denim ink directly on the left hand corner of the card stock. Now you can see the dots.
Stamped the horses using Basic Black ink.
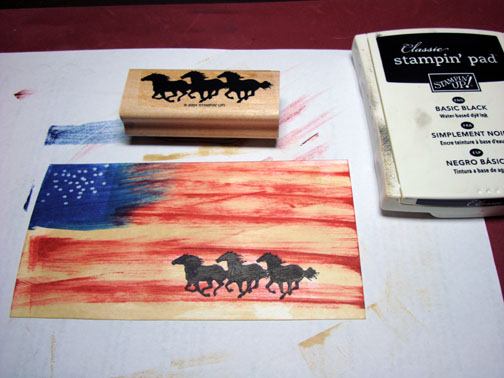
Sponged in the ground with Basic Black ink.
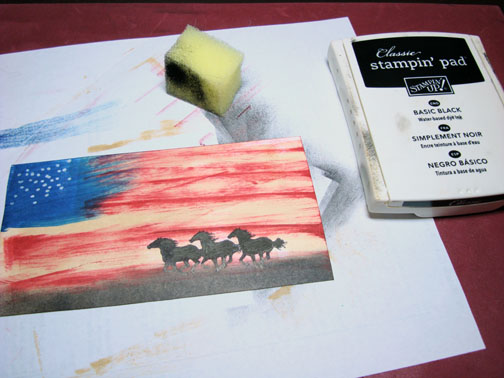
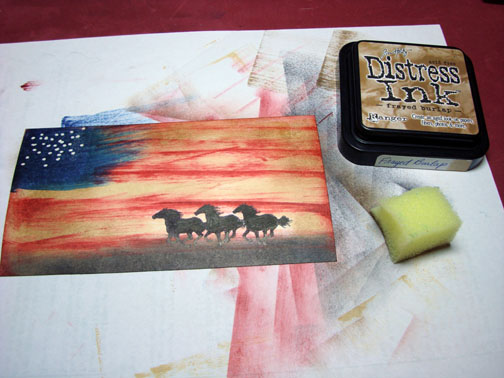
This whole panel is way to bright so I sponged on Brayed Burlap ink over the entire card stock with the except for the middle.
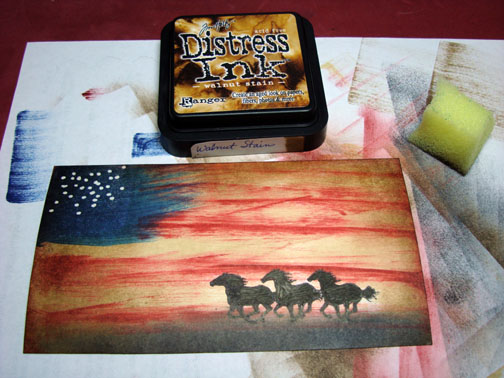
Sponged Walnut stain around the outer edges of the card stock.
Distress the edges of the card stock using the Tim Holtz distressing tool.
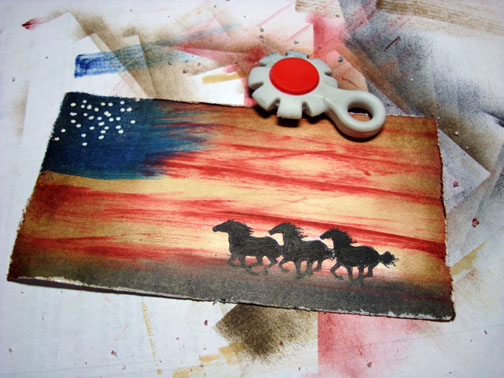
Dragged the distressed edges over the Walnut Stain ink pad to darken them.
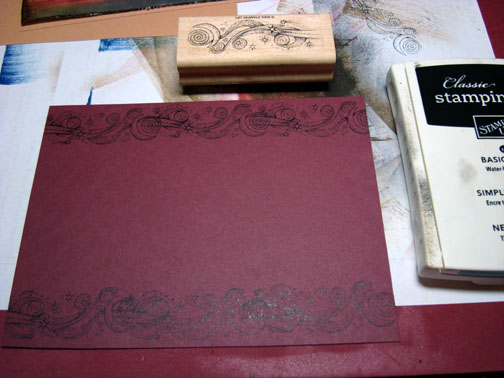
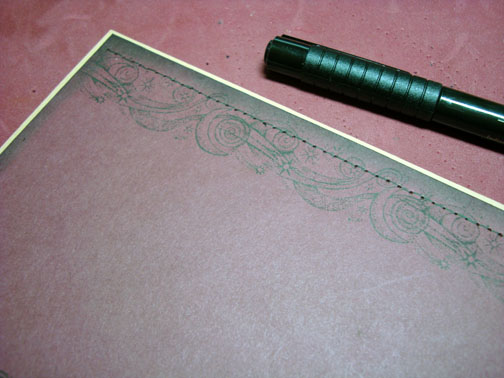
Stamped the Stardust stamp along the top and bottom of a 5 1/8″ x 6 3/8″ panel of Bravo Burgundy card stock with Basic Black ink.
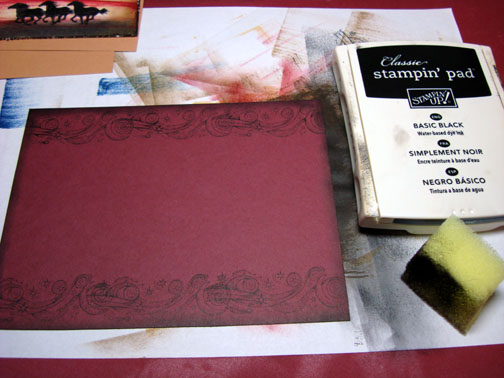
Sponged Basic Black ink around the edges of the card stock.
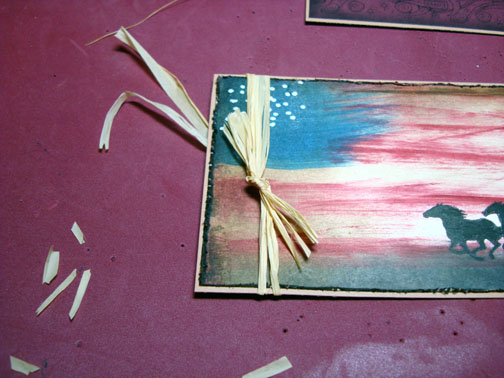
Adhered the main image panel to a panel of Creamy Caramel card stock and tied a piece of Raffia around it.
Adhered the Bravo Burgundy panel to a 5″ x 6.5″ piece of Creamy Carmel panel and pierced the top and bottom of the Bravo Burgundy Panel using a the Tim Holtz ruler and a push pin.
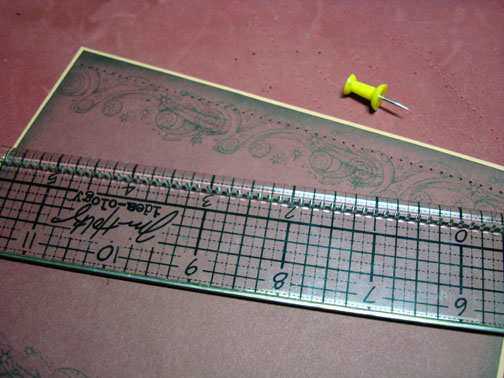
Finished creating my faux stitching by running a fine tip black marker from pierced hole to pierced hole.
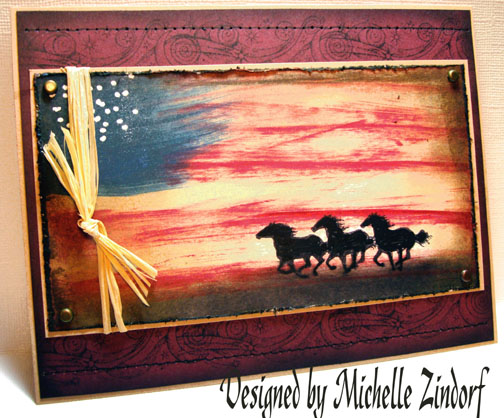
Finished assembling card front and added brads to the corners of the main image panel. Here is the completed card measuring 5″ x 6.5″.
I hope this inspires you to get your ideas down on paper before they are wisked away. . . . .
Until my next post. . . . .. . . . .
Hugs,
Michelle
Links to all my tutorials can be found here: https://zindorf.splitcoaststampers.com/tutorials-ive-written/
Here is a link to my workshop calendar if you want to get info on beginner and advanced Brayer workshops: https://zindorf.splitcoaststampers.com/workshop-calendar
Frequently asked questions answers: https://zindorf.splitcoaststampers.com/frequently-asked-questions/