
Hey Everyone! I hope you are having a terrific Saturday. I love Saturdays because I get to slow down and take a bit more time playing with stamps and ink.
Before we get started I wanted to say a big hello to you readers in Illinois who have already signed up for my beginner and advanced brayer workshops in March. I can’t wait to get there!
I have updated my Brayer Workshop calendar so check it out if you are interested in attending one. Here is the link: https://zindorf.splitcoaststampers.com/workshop-calendar/
Now on with the tutorial. 🙂
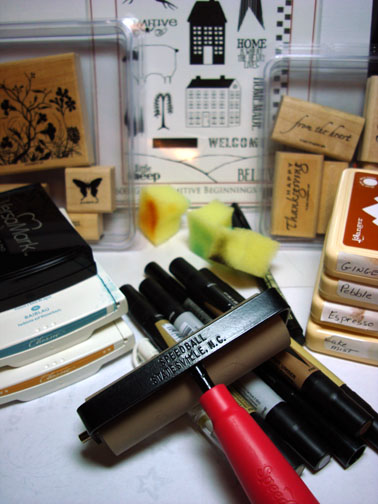
Supplies:
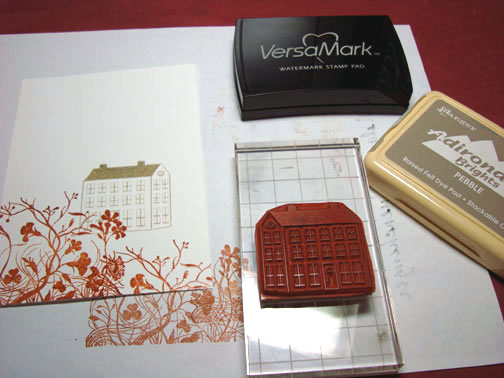
| Stamps: Stampin’ Up Essence of Love and Holidays & Wishes, and Cornish Hertiage Farms Primitive Beginnings |
| Paper: Stampin’ Up Whisper White, Really Rust, More Mustard and Baja Breeze |
| Ink: Stampin’ Up Baja Breeze & More Mustard, Adirondack Ginger, Pebble, Espresso & Lake Mist |
| Accessories: Versamark Pad and Marker, Brayer, Clear embossing Powder, White Gel Pen, Heat Gun, Black Marker, Prismacolor Markers |
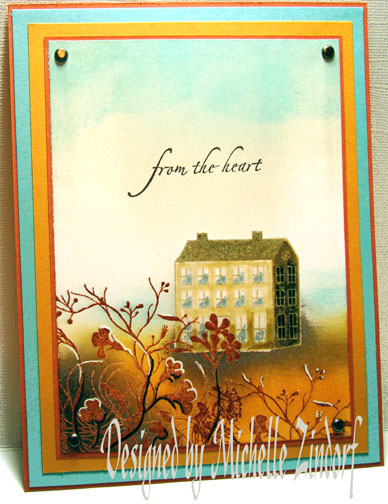
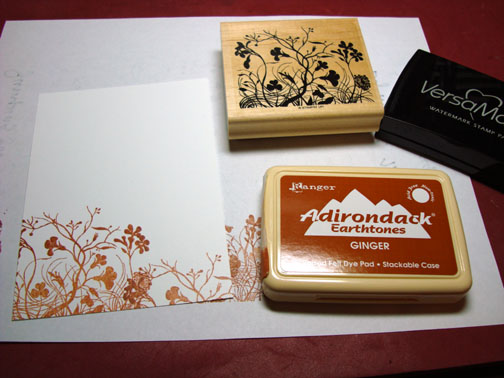
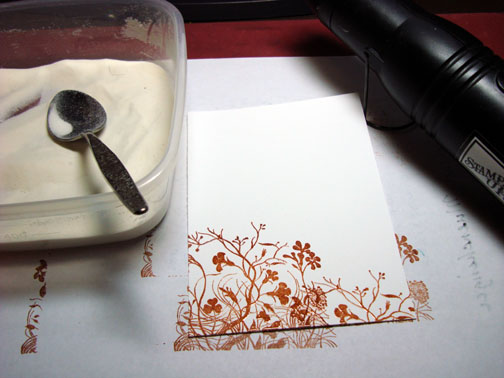
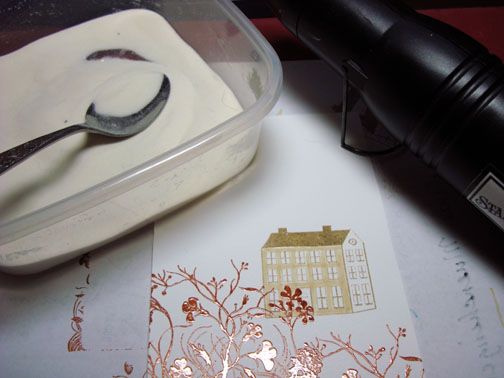
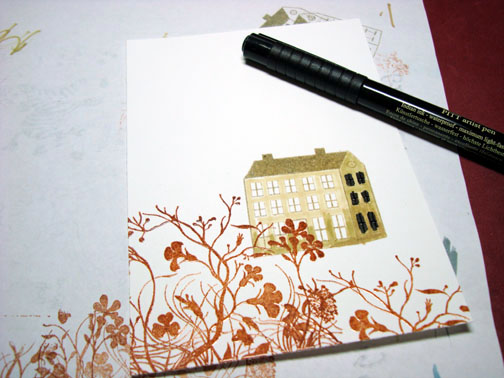
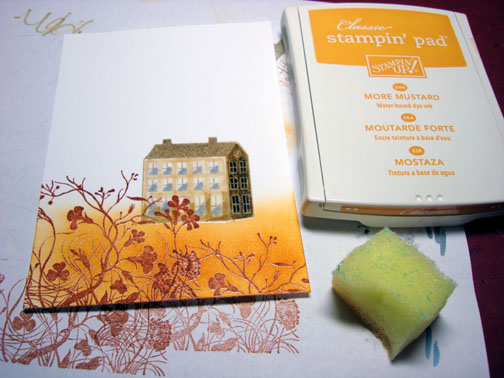
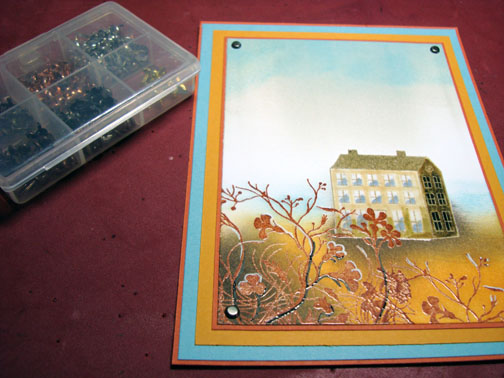
Stamped weeds twice by first loading the stamp with Versamark and then Ginger ink before stamping it. Heat embossed the images using clear embossing powder and a heat gun.
Note: When building a scene using emboss resist, remember to start with your foreground images then the middle images and then put in your back ground etc. In other words work front to back. 🙂
Stamped house by first loading the stamp with Versamark and then Pebble ink before stamping it. Heat embossed the image using clear embossing powder and a heat gun.
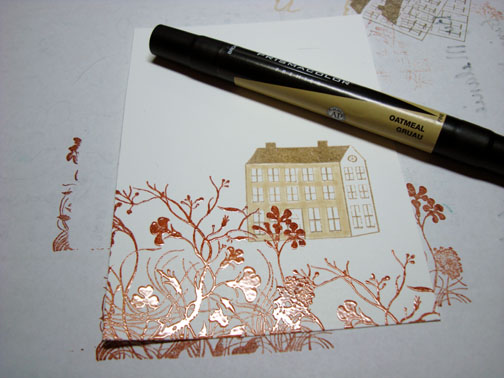
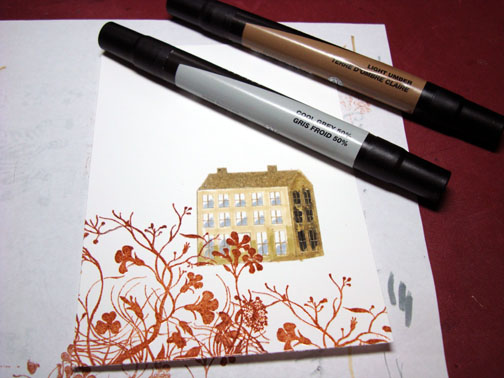
Colored the front of the house using an Oatmeal Prismacolor marker.
Colored the right side and the bottom of the house with a Khaki colored Prismacolor Marker.
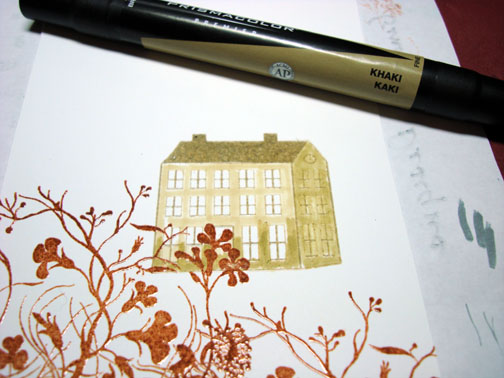
Added Light Umber marker to the bottom right side of the house.

Colored the windows on the right side of the house with a black marker.
Added Cool Grey 50% marker to the windows at the front of the house and decided to color the right side of the house entirely with Light Umber Marker to make it much darker.
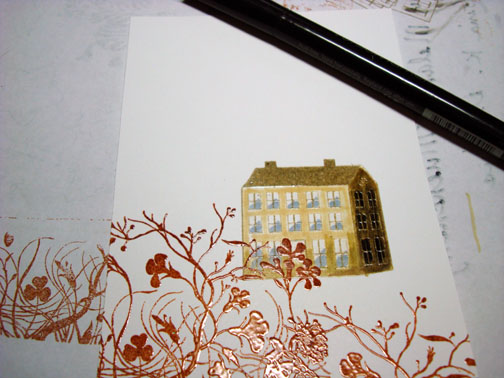
Colored over the entire house with a Versamark marker and heat embossed it using clear embossing powder and a heat gun.
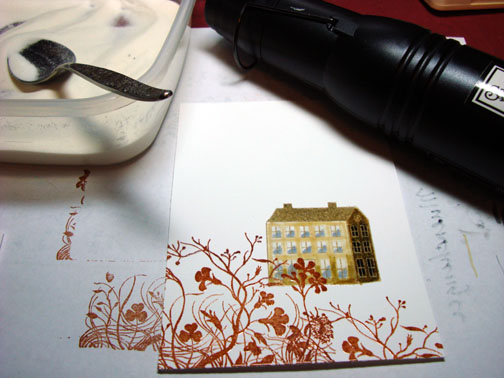
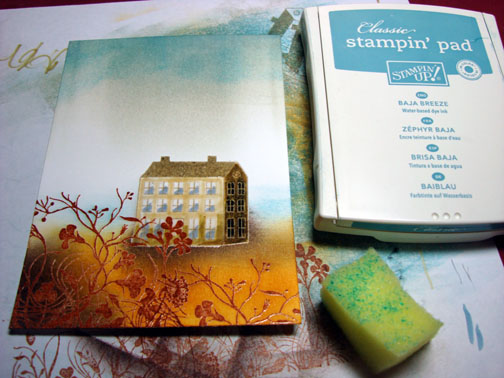
Sponged More Mustard using a circular motion at the bottom of the card stock.
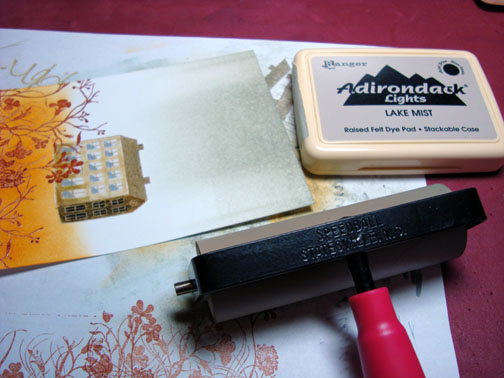
Brayered Lake Mist ink at the top of the card stock.
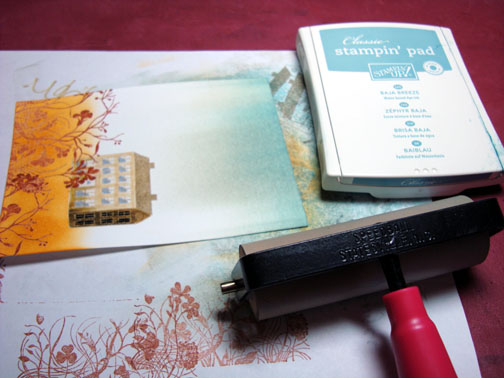
Brayered Baja Breeze ink at the very top of the card stock not covering the Lake Mist ink entirely.
Sponged some lake mist ink at the top of the More Mustard ink.
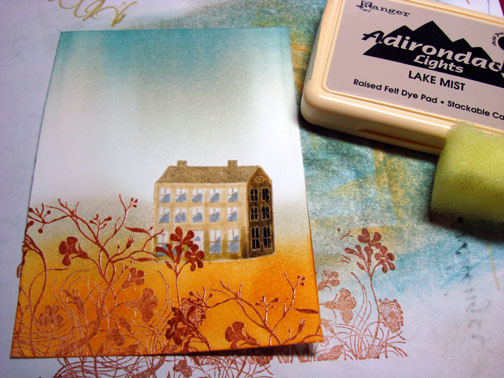
Sponged Espresso ink under the house and in the bottom left corner of the card stock.
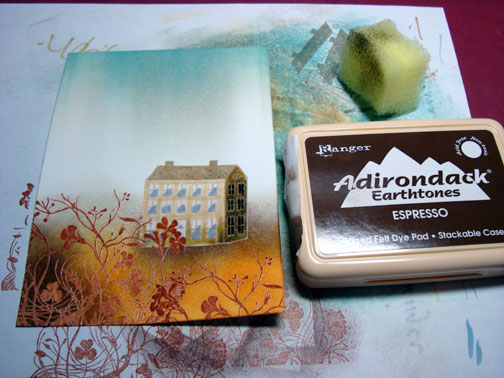
Sponged some Baja Breeze ink at the top of the sky area to give it some interest and a bit above the gray around the house.
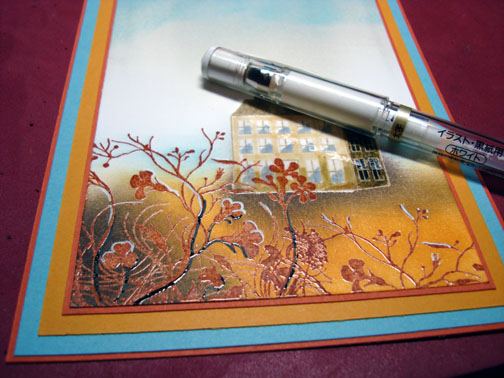
Added some black outlining to just a few of the weeds to bring them forward in the picture.
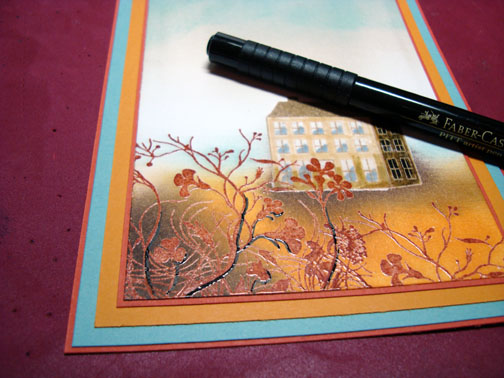
Added some white highlights to the weeds with a White Gel Pen.
Added some simple card stock layers and some brads in each corner.
Decided to add a sentiment which I hardly ever do. I stamped it with Espresso ink and I used a Stamp A Ma Jig to make sure I stamped it straight.
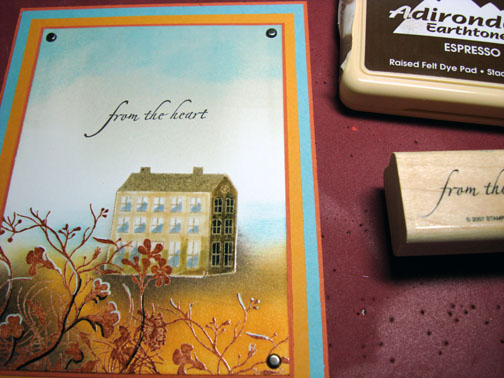
Here is the finished card measuring 5″ x 6.5″.
Well I hope this tutorial has inspired you to try doing a scene using the emboss resist technique and layering the embossed images.
May your day be filled with tranquility.
Until my next post. . . . . . . . . . .
Hugs,
Michelle
Links to all my tutorials can be found here: https://zindorf.splitcoaststampers.com/tutorials-ive-written/
Here is a link to my workshop calendar if you want to get info on beginner and advanced Brayer workshops: https://zindorf.splitcoaststampers.com/workshop-calendar
Frequently asked questions answers: https://zindorf.splitcoaststampers.com/frequently-asked-questions/
23 responses to “Country Home – Tutorial #168”