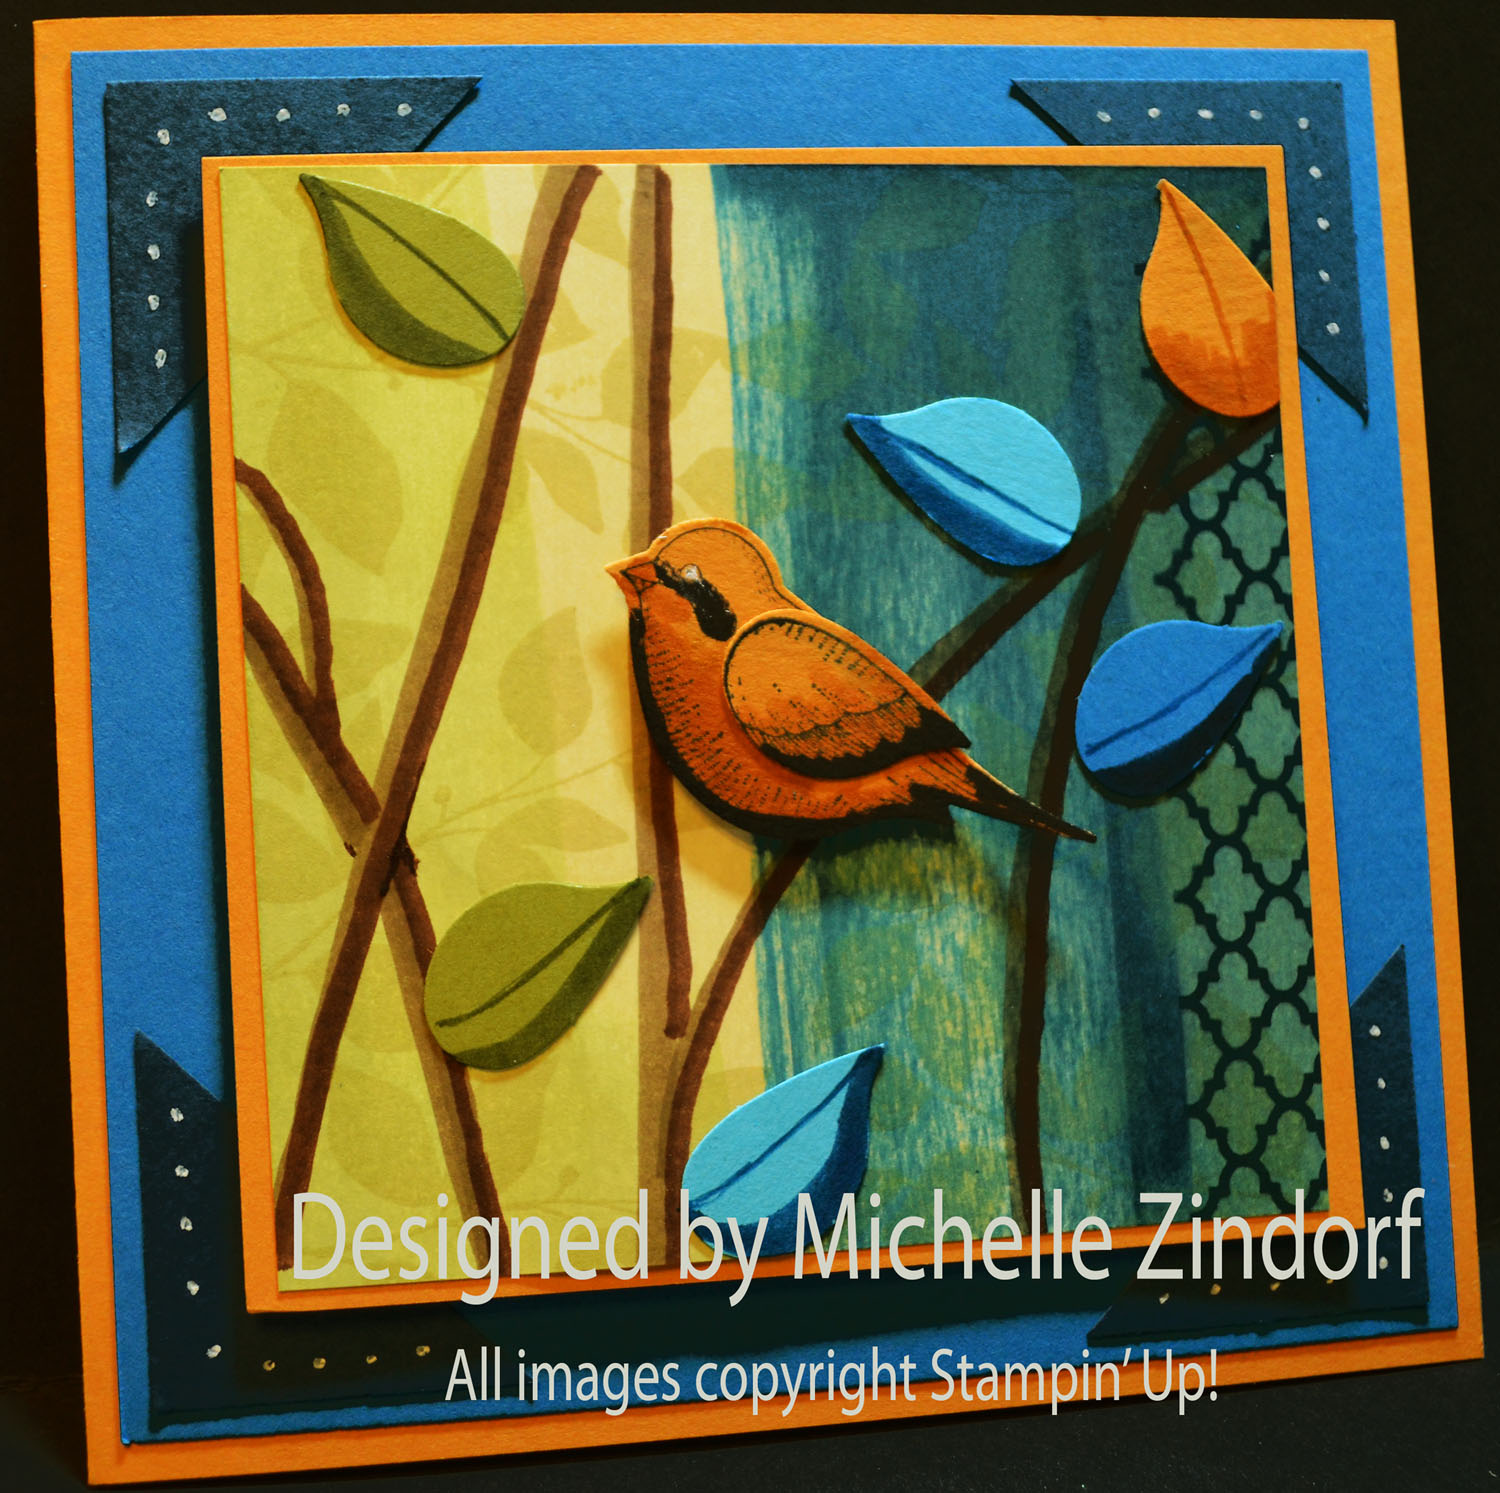
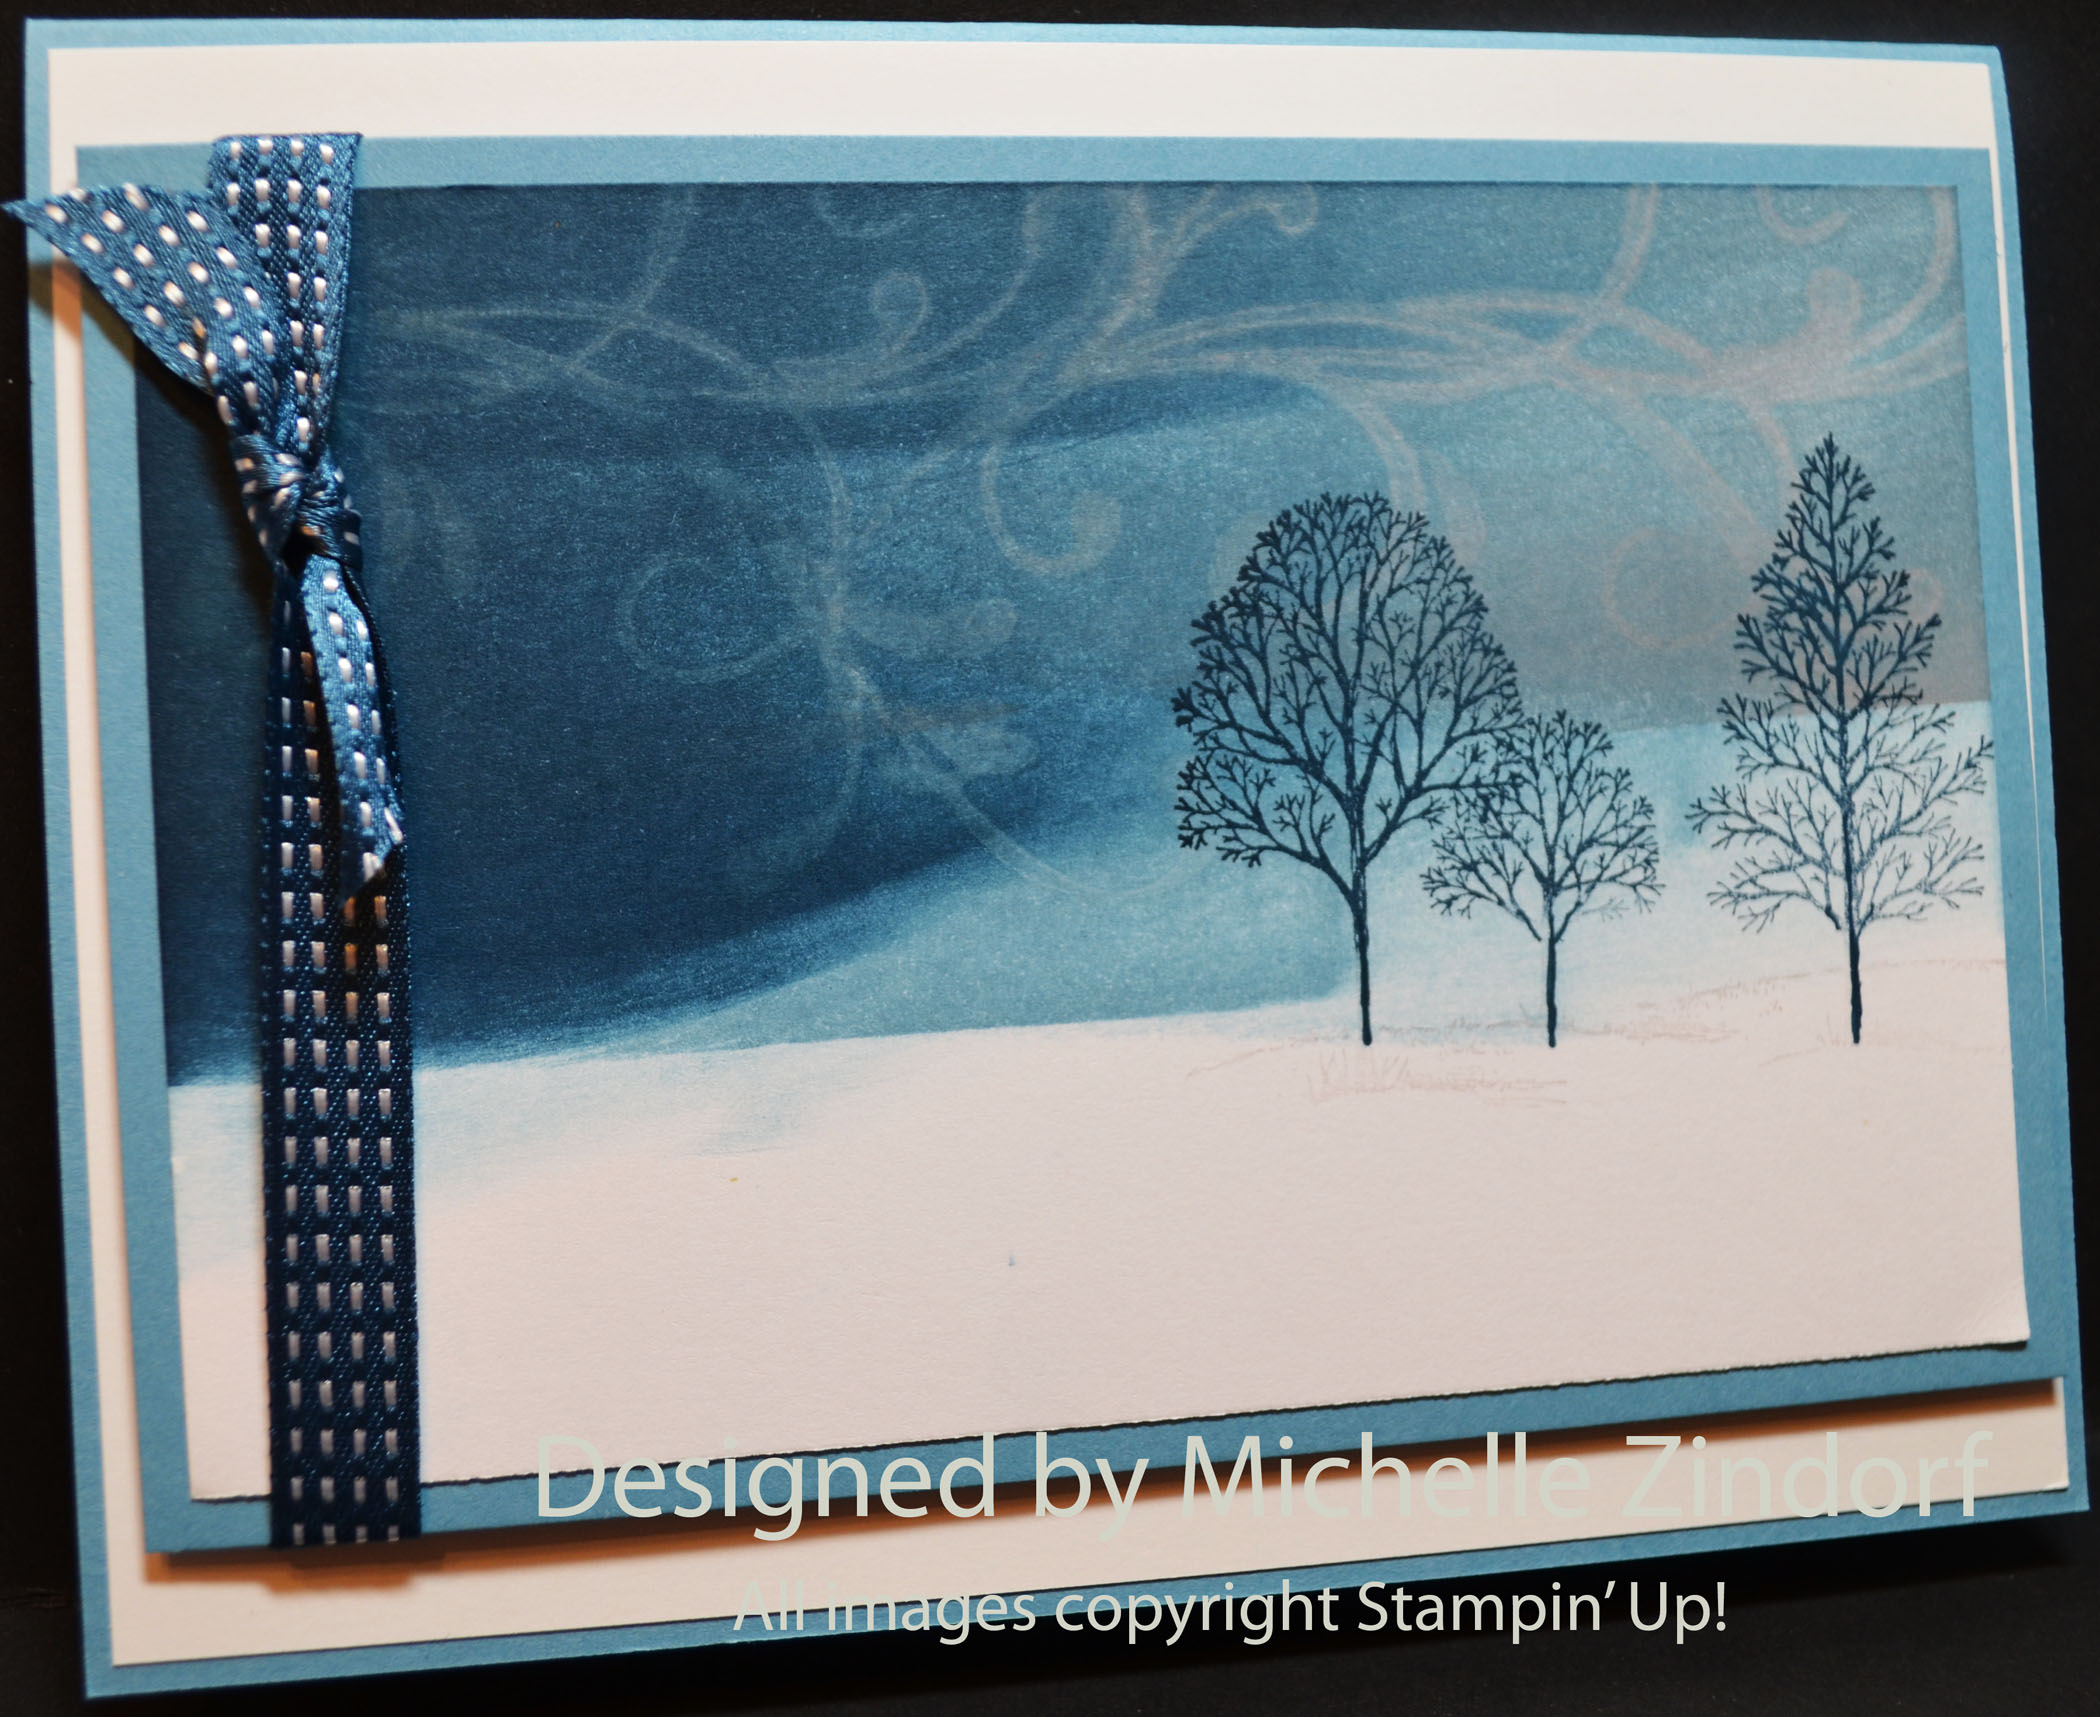
Hey There,
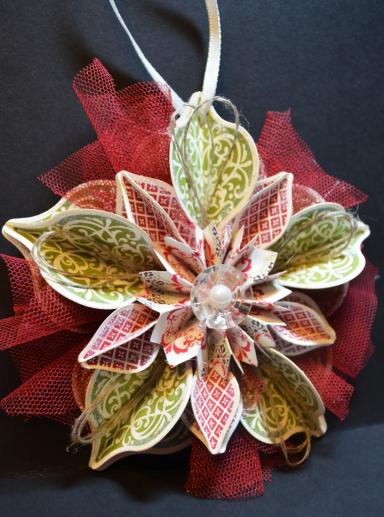
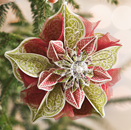
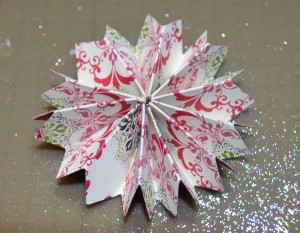
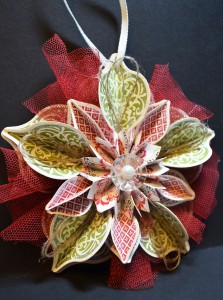
Ever since the Stampin’ Up! Holiday Catalog came out, I have been dying to create the ornament that is on the front cover. Well since I was making some today, I’ve decided to share the process with you. Believe me, this ornament is so beautiful in real life. My picture does not capture the sparkle and wonderful layering. This ornament is a must have!
I made 3 this morning and will be putting some more together as soon as I can. They will be beautiful on the Zindorf family tree this year.
This ornament would also make such a great gift. You can put a tag on the backside. You will definitely get some ohhhs and ahhhs from the recipient.
Check out the tutorial below.
***********************************************************************
CLICK HERE TO SEE THE LATEST STAMPIN’ UP! PROMOTION AND TO SHOP NOW!

********************************************************
Joining Stampin’ Up!
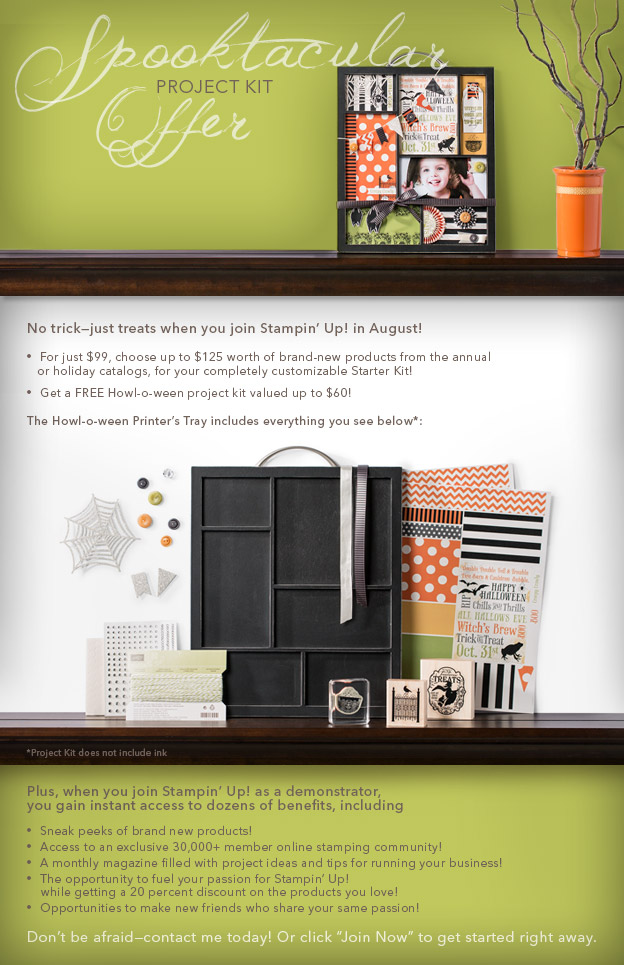
You can join my Stampin’ Up! team and become a Stampin’ Up! Demonstrator now for the great new price of $99, and you can create your own kit, CLICK HERE TO CHECK IT OUT. Contact me whether you want to start your own business or just enjoy the 20% discount on products.
*************************************************************
Stampin’ Up! is selling single stamps from 3 stamp sets on a trial bases until January 2, 2013. Check out the flyers at the links below.
WORD PLAY
PERFECTLY PENNED
SEASONAL SAYINGS
*************************************************************
Have you checked out the great clearance rack at Stampin’ Up! CLICK HERE
***********************************************************
Get Free Stamps
Don’t miss out on my Customer free stamp set program. Check it out! Along with a handmade thank you card from me for your order you will receive a token for each $50 in product you ordered using me as your demonstrator. After you have collected 10 tokens you will receive a free current stamp set of your choosing, a value of $39 or less. Here is a link to my online shopping page that you can shop at 24/7 (from the comfort of your home, even in your pj’s) and the products will be shipped directly to your door step from Stampin’ Up: CLICK HERE TO SHOP. My free stamp set program will be an on going program. 
************************************************************
 The new Stampin’ Up! Holiday Catalog is now in effect. I love all of Stampin’ Up’s products, but the new catalog just blew me away (CLICK HERE TO VIEW THE HOLIDAY CATALOG). I especially love the coordinating products that you can get as a bundle at a discount. Gotta love a discount, right? Especially for those products to make your holiday gifts and cards.
Want a new annual catalog shipped to you? I will be happy to send you one. The catalog is free, but there is a $5 shipping charge. Note, I will only sell or ship within the United States do to Stampin’ Up! policies. Please contact me at [email protected]. Payment can be sent via Paypal or check.
**********************************************************
Now on with today’s tutorial. . . . . . .
Project Supplies:
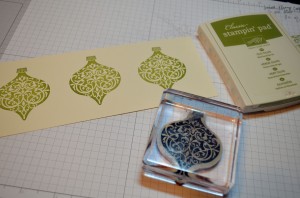
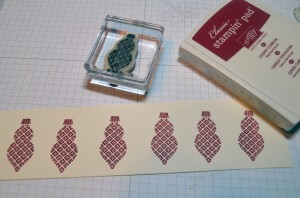
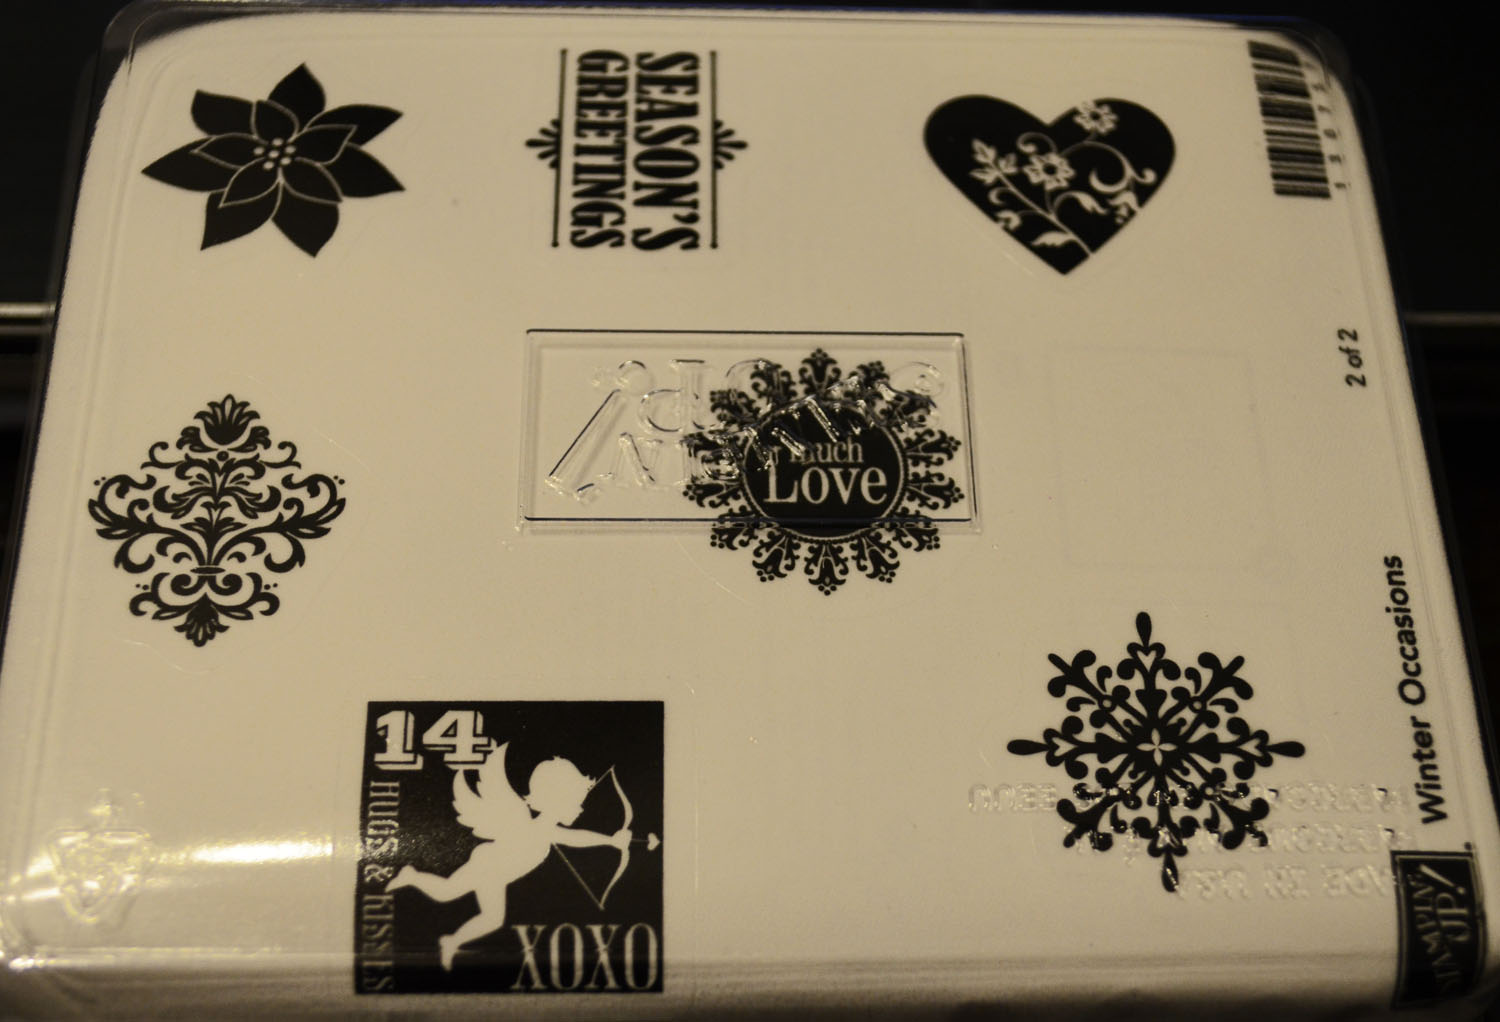
Stampin’ Up! Stamps: Ornament Keepsakes (128051)
Card Stock: Stampin’ Up! Very Vanilla
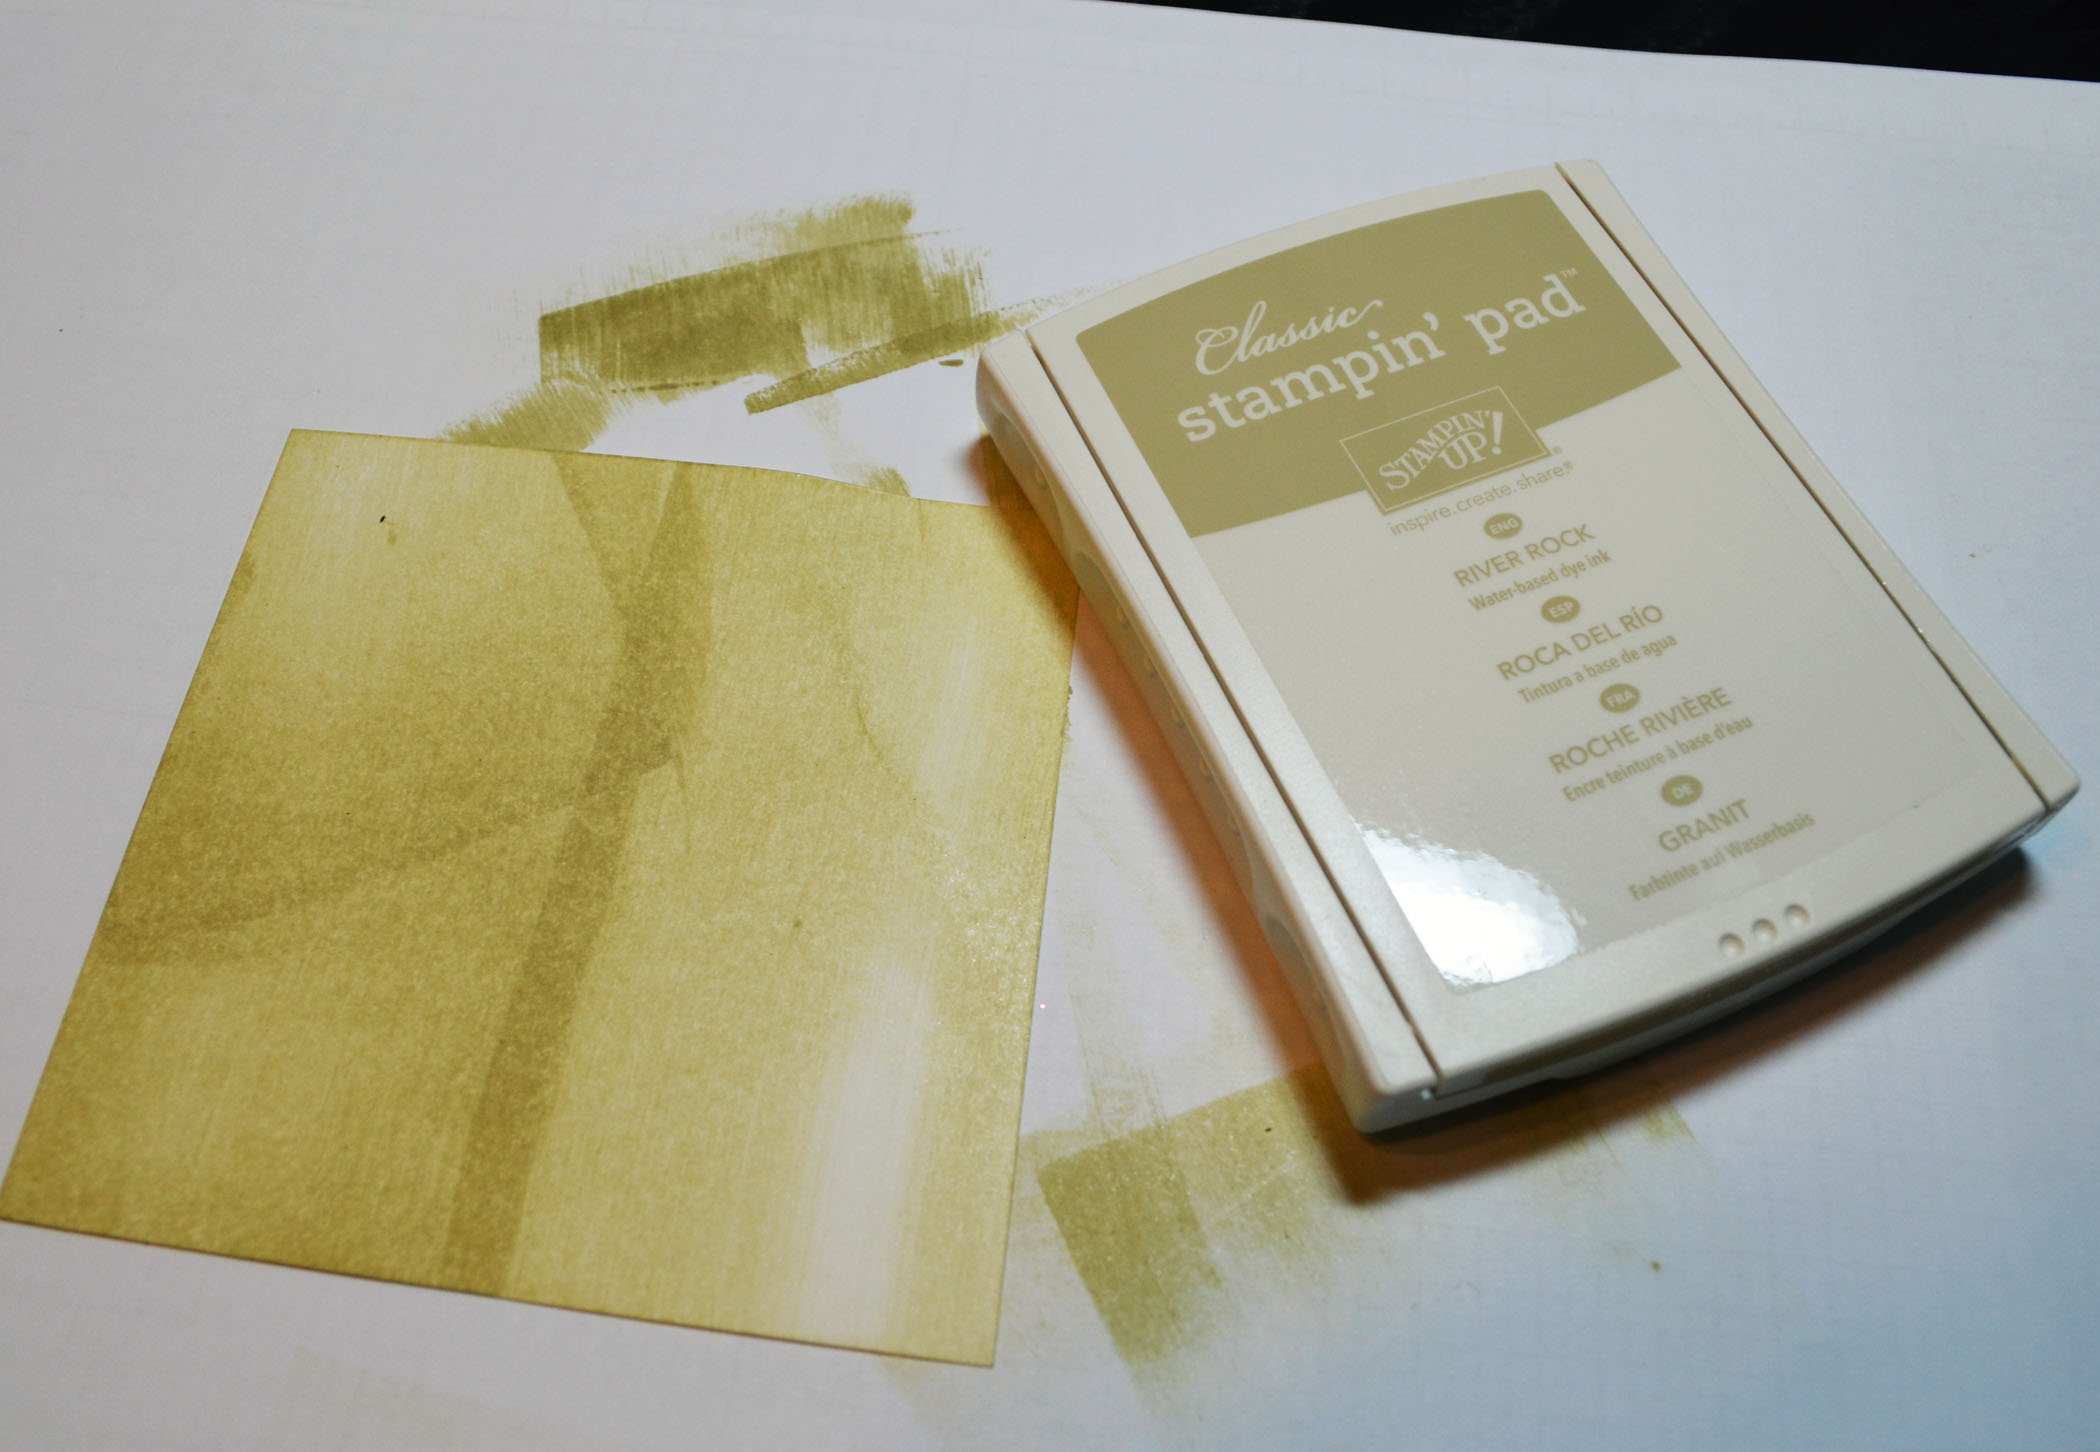
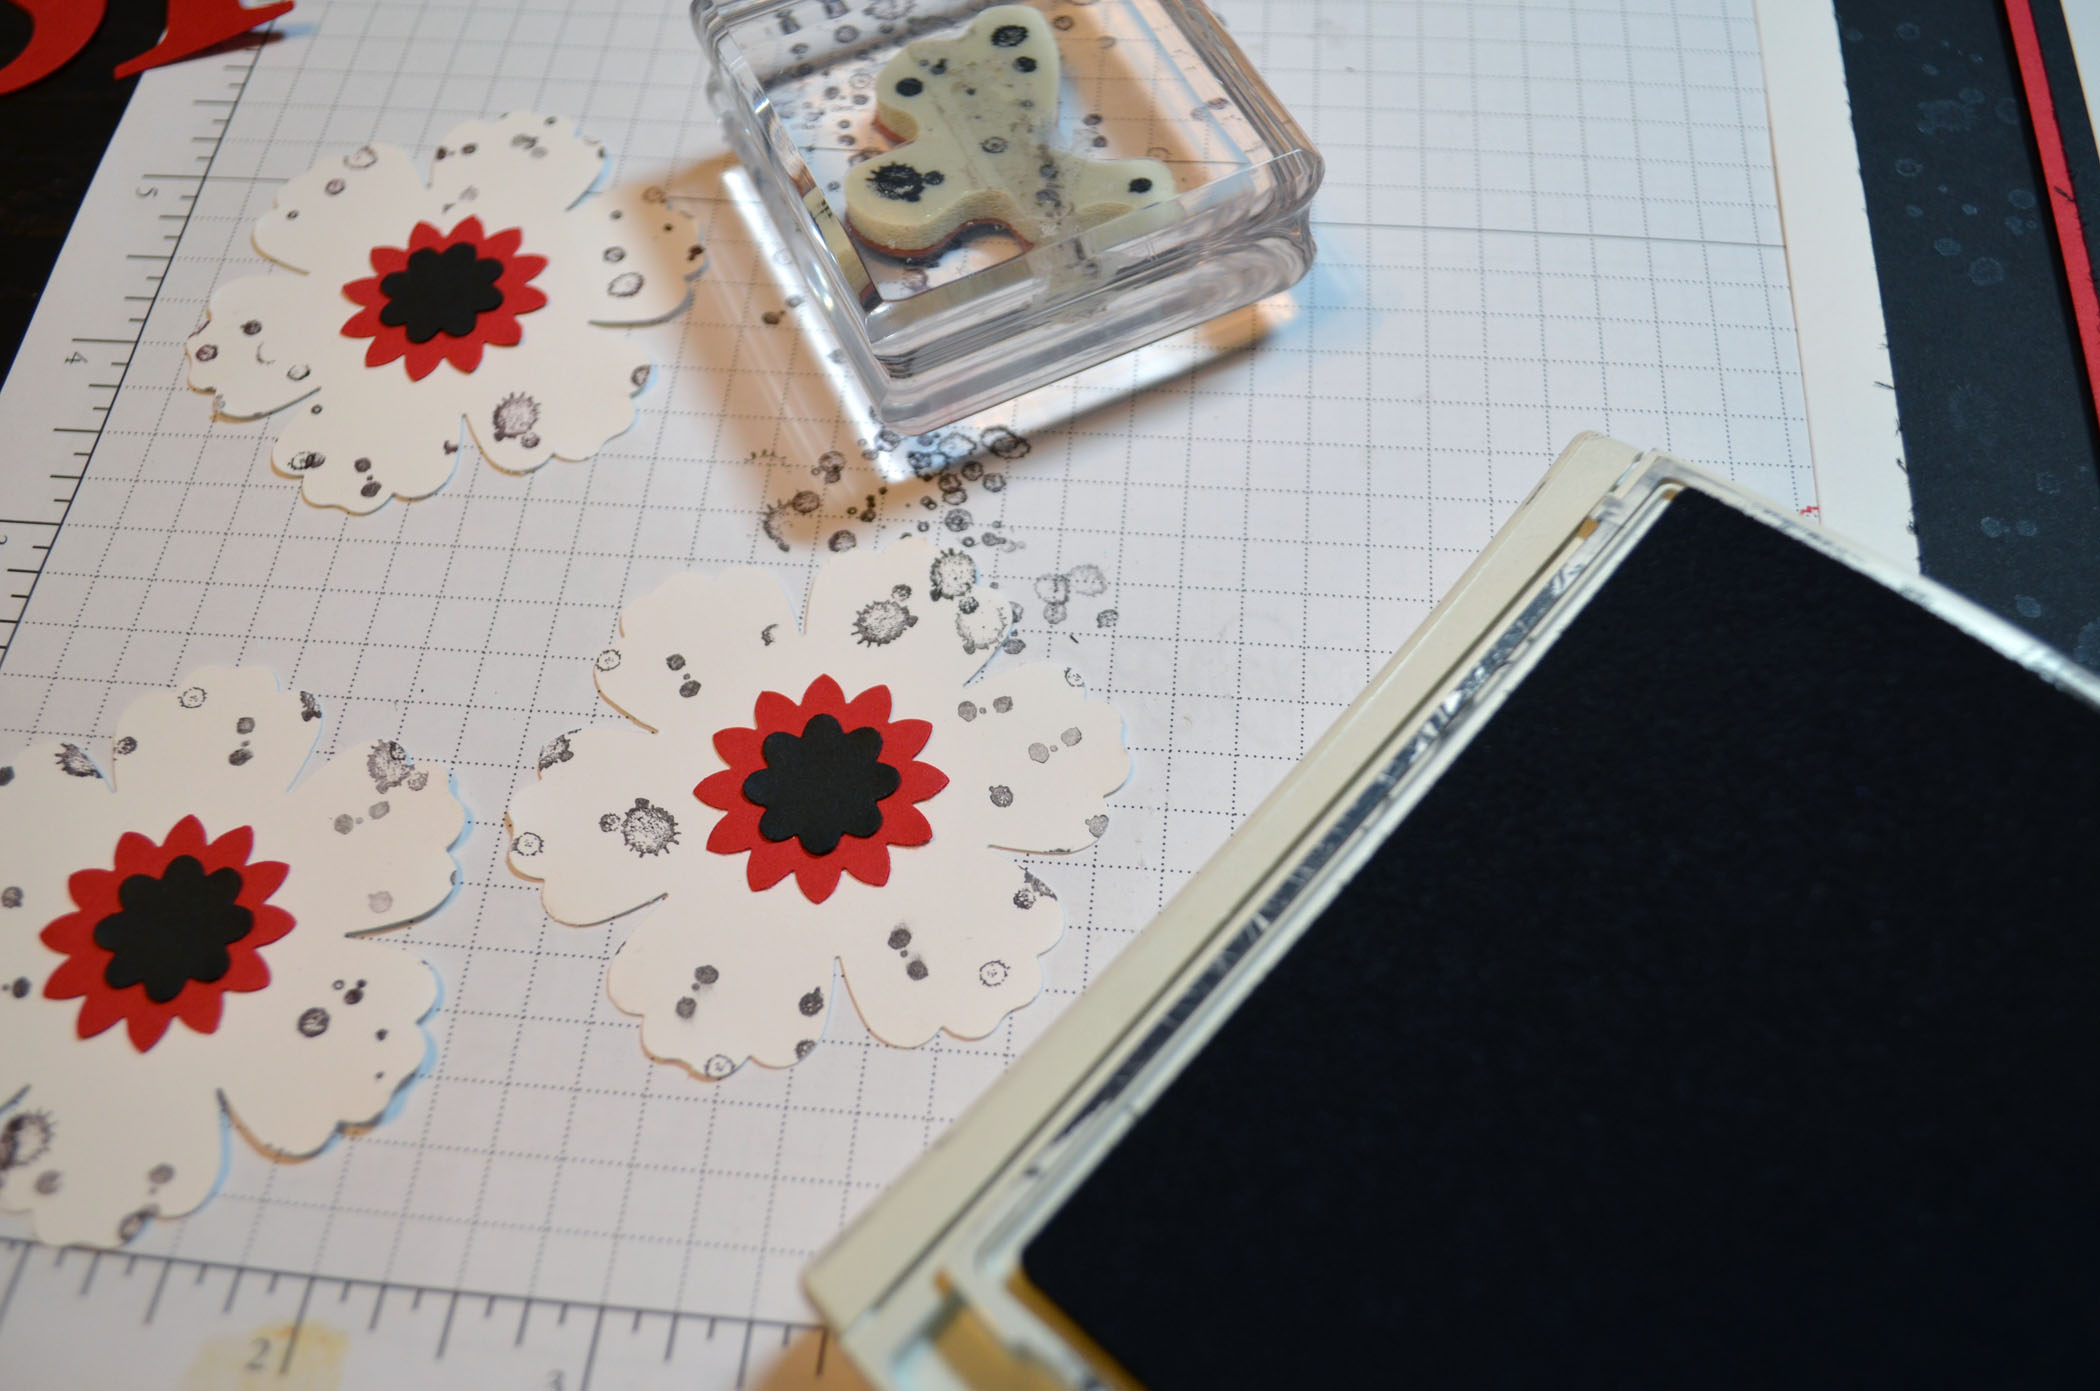
Ink: Stampin’ Up! Cherry Cobbler and Old Olive
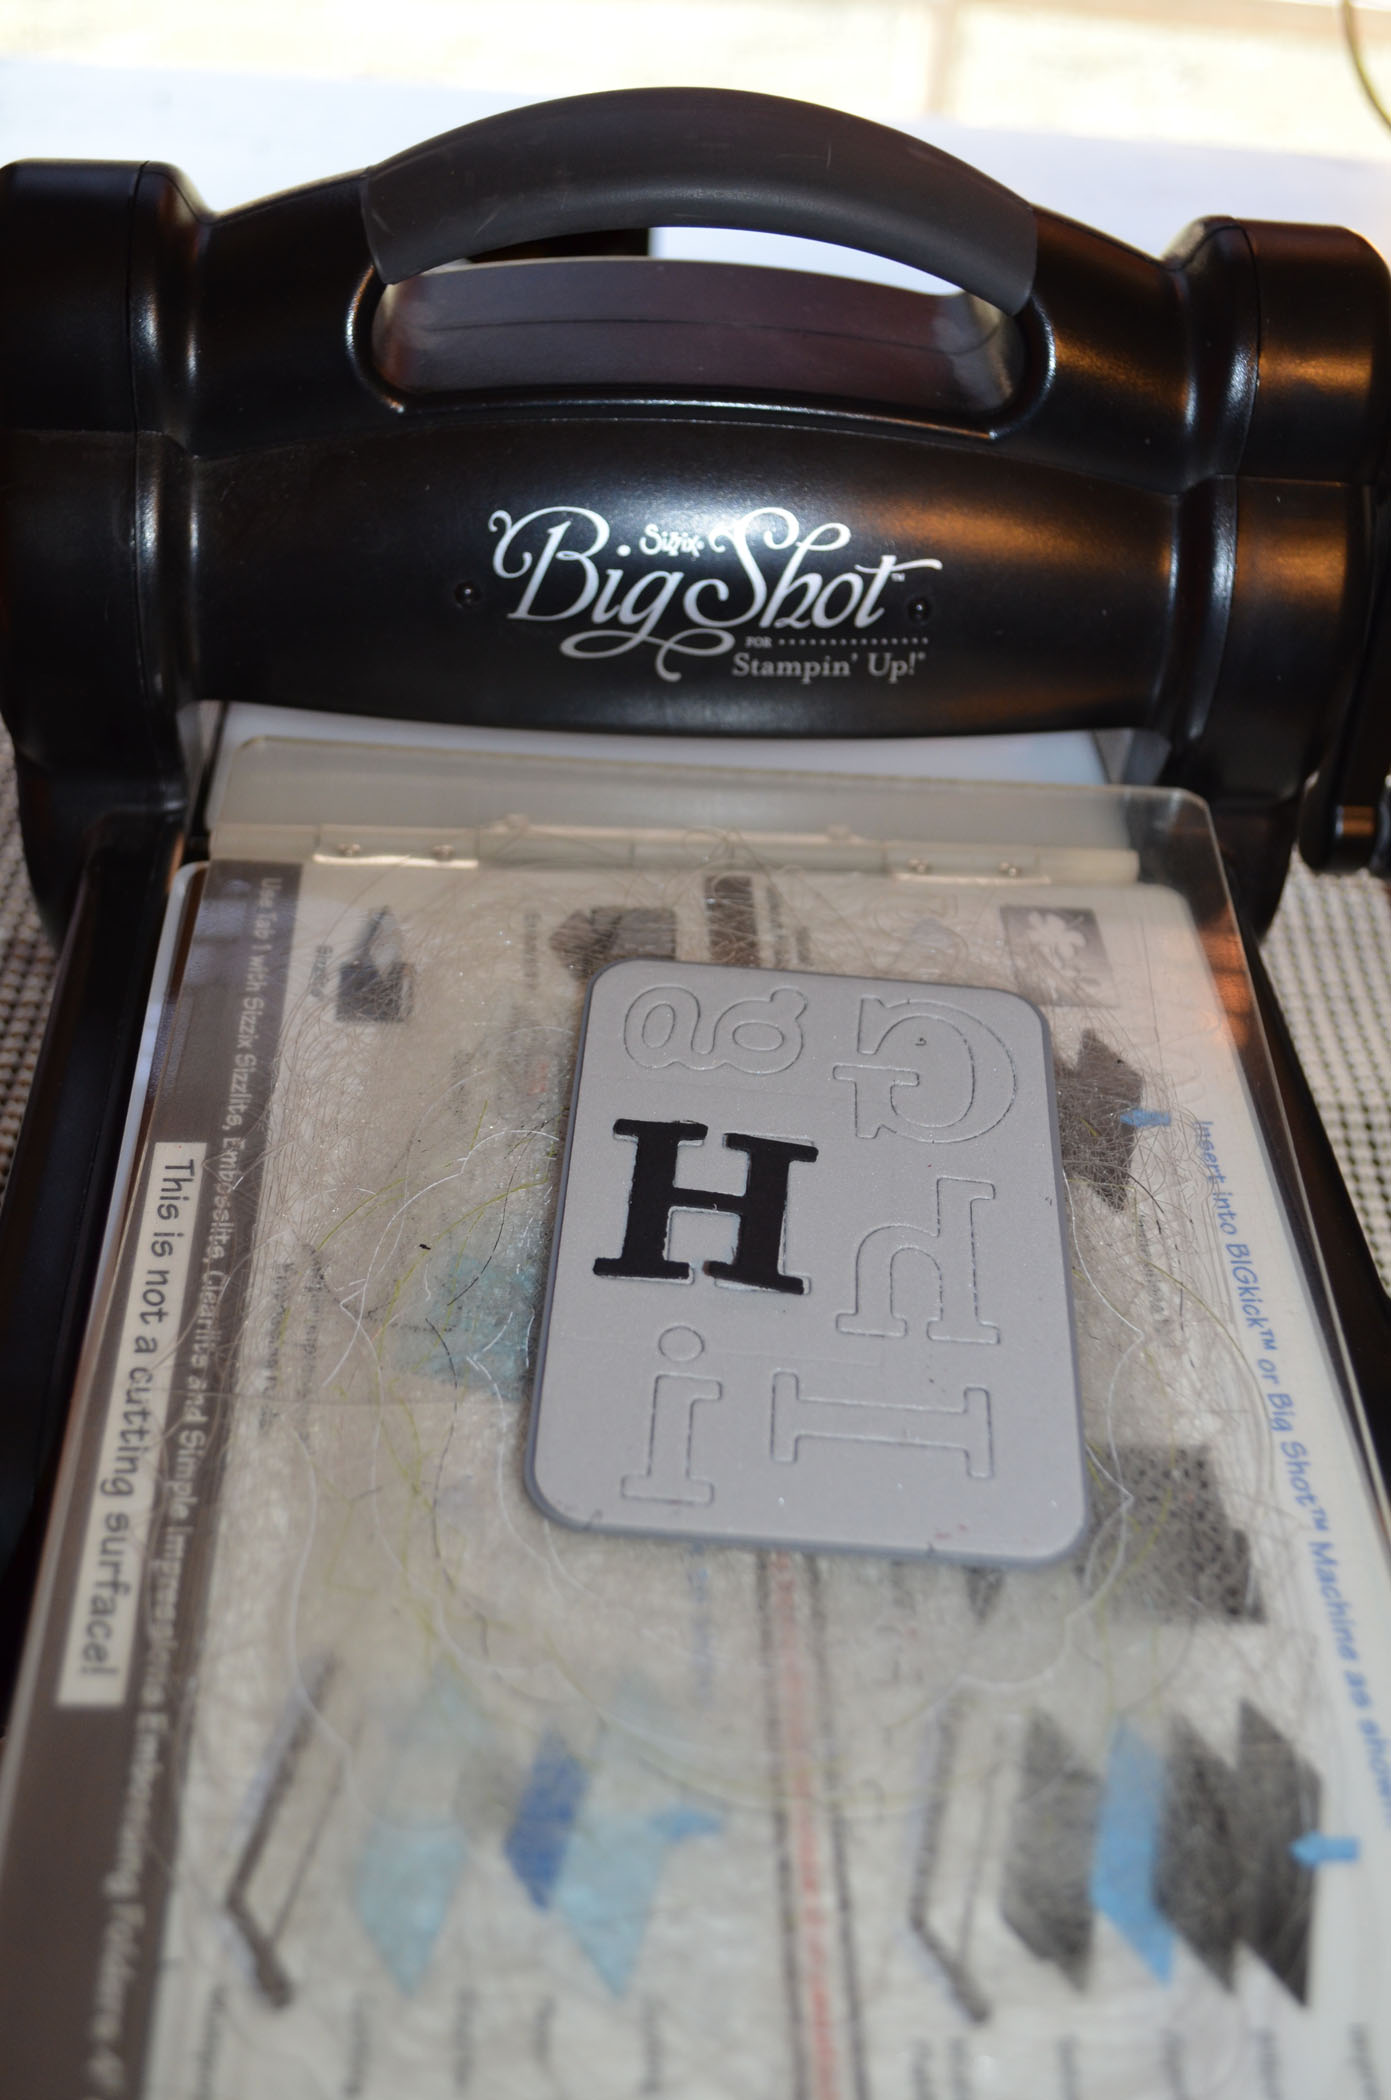
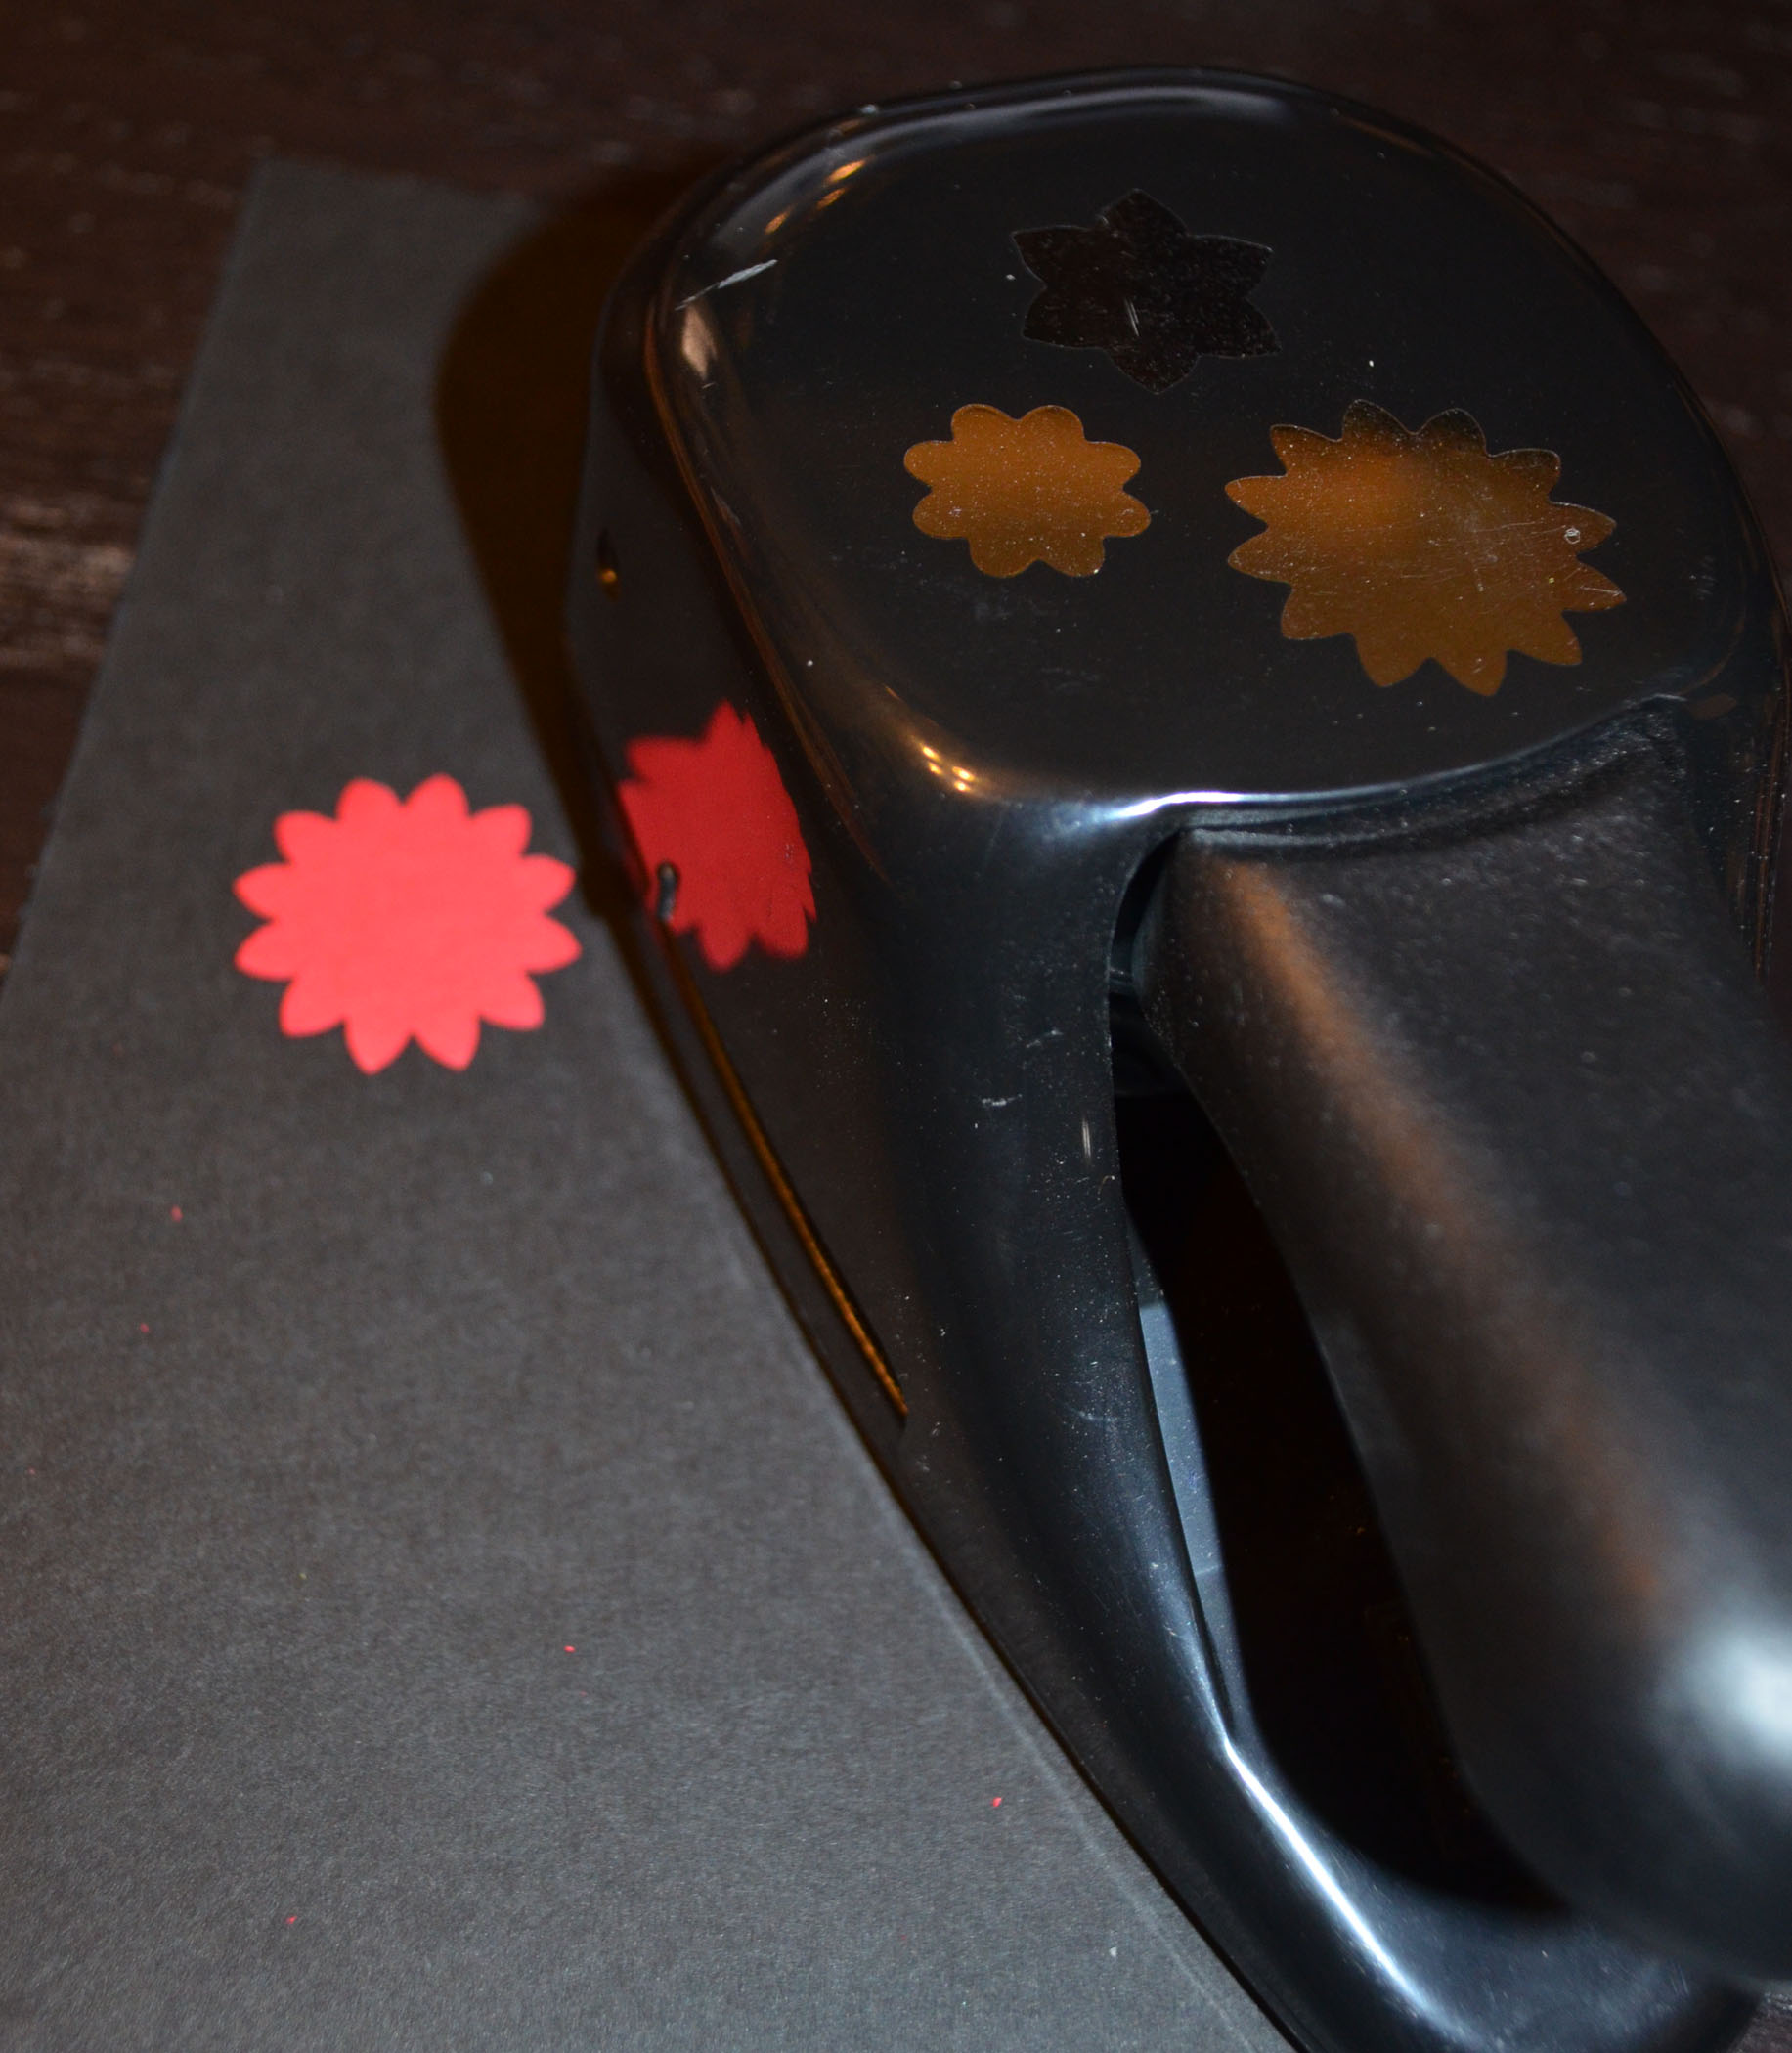
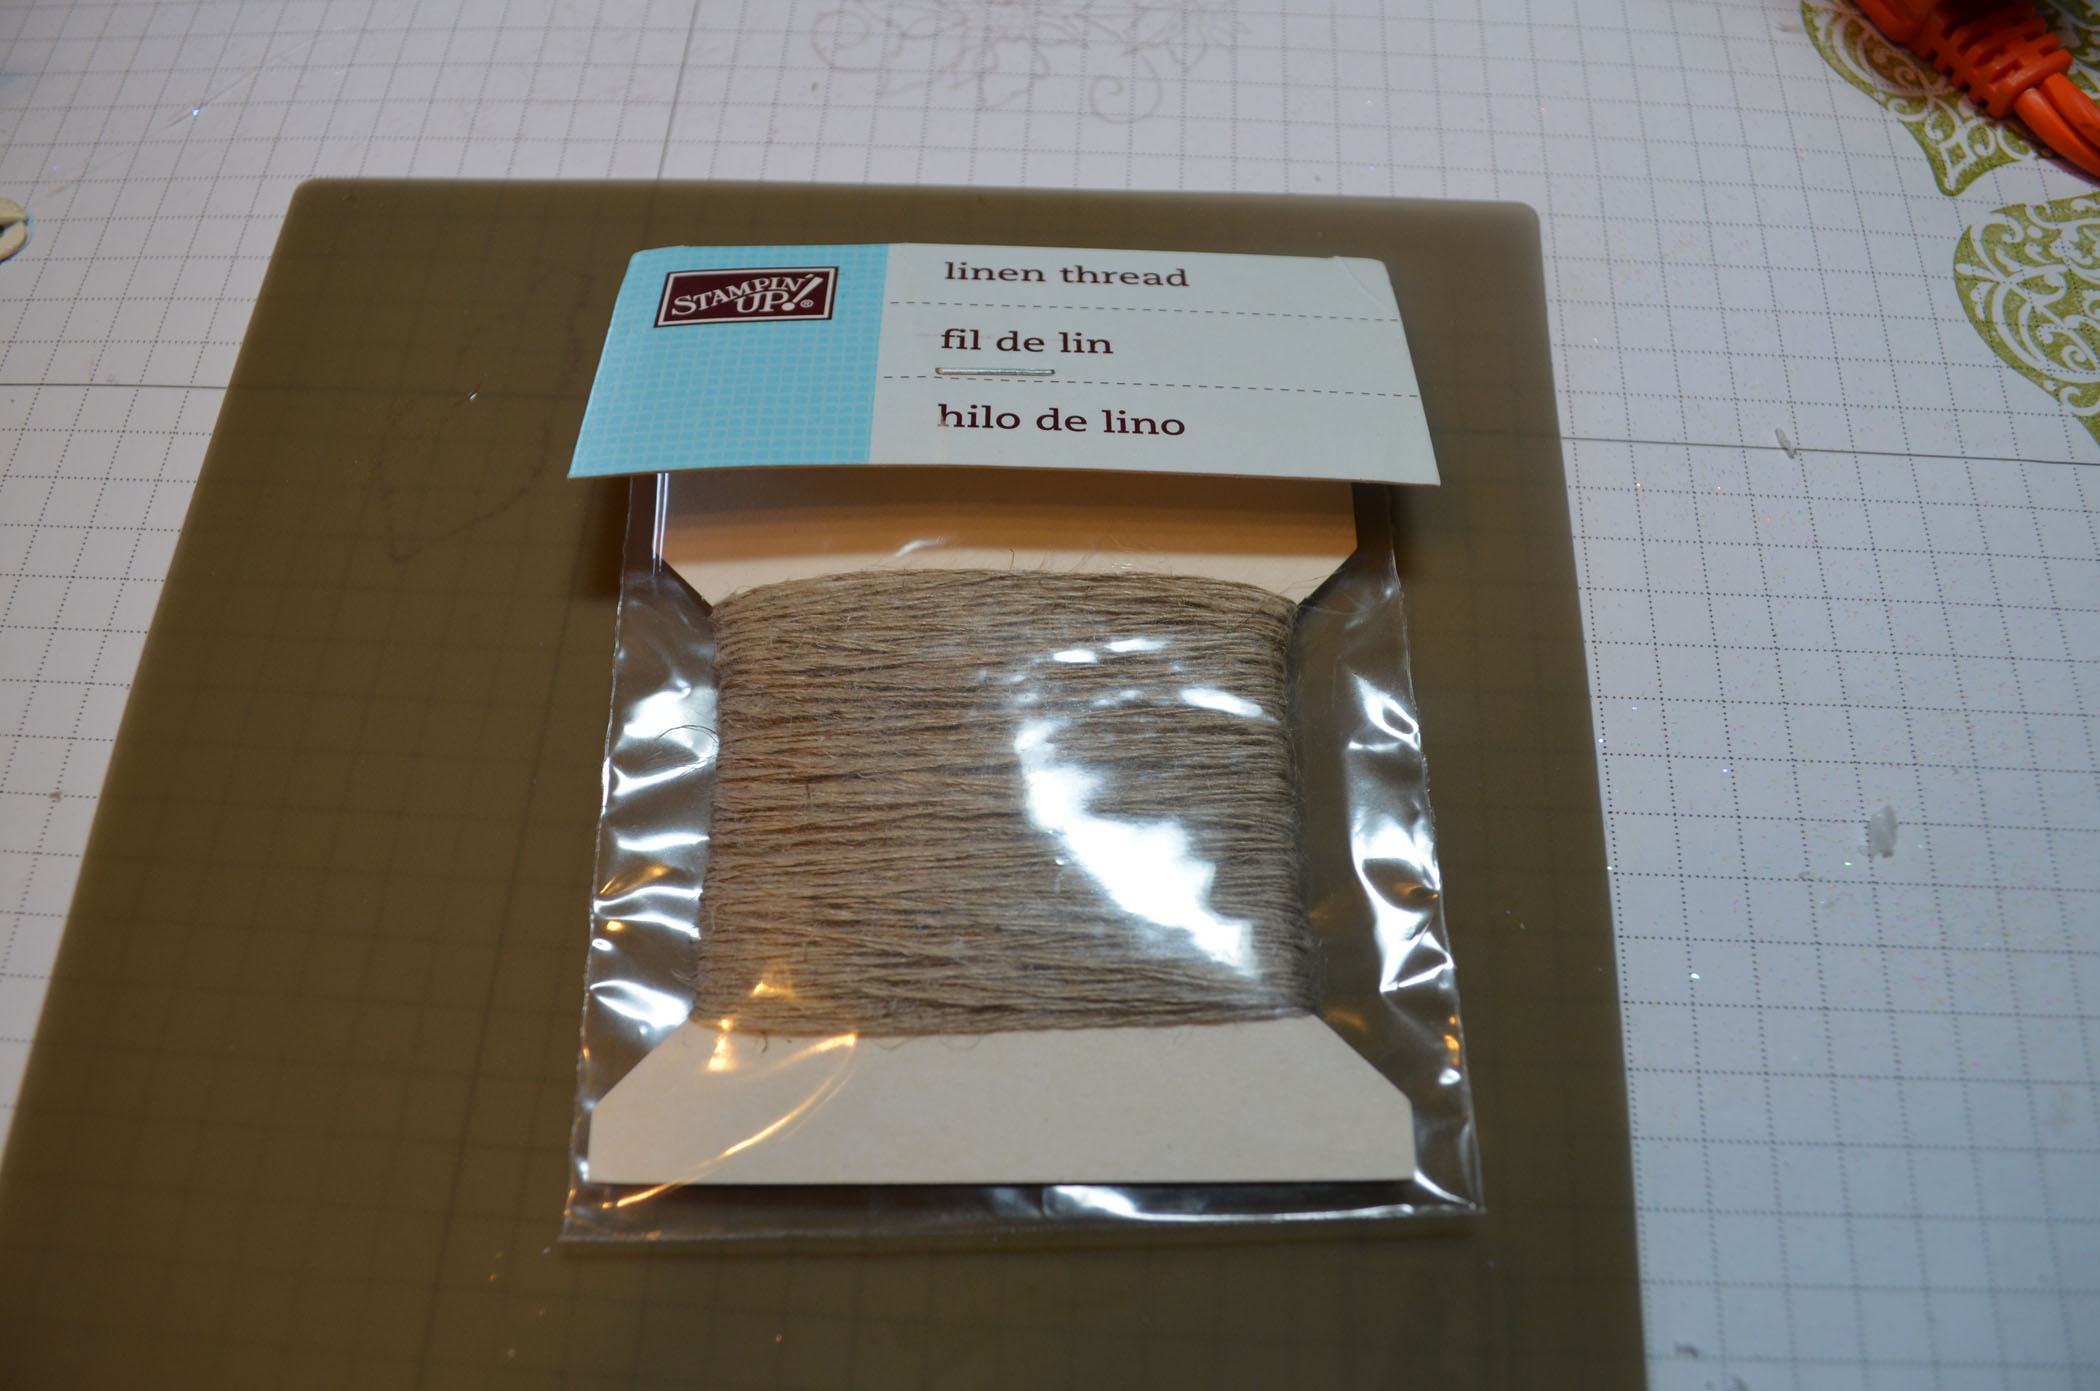
Accessories: Stampin’ Up! Big Shot, Holiday Ornaments Framelits (127816), Candlelight Christmas DSP (126901), Dazzling Diamonds, two way glue, 1/8″ Very Vanilla Taffeta Ribbon (119960), Vintage Faceted Designer Buttons (127555), Glue Gun, Bone Folder, 1/4″ circle punch, Linen Thread (104199), Cherry Cobbler Scalloped Tulle Ribbon (127841), Rosette Die, hole punch or piercing tool.
Are you getting inspiration from this blog? One way you can help support it is to order your Stampin’ Up products through me. Click HERE to place an order and have your order delivered directly to your door step from Stampin’ Up!
*************************************************
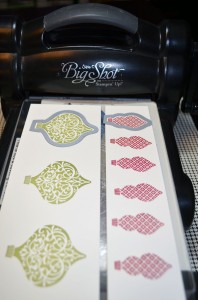
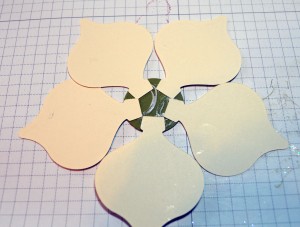
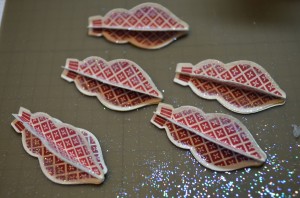
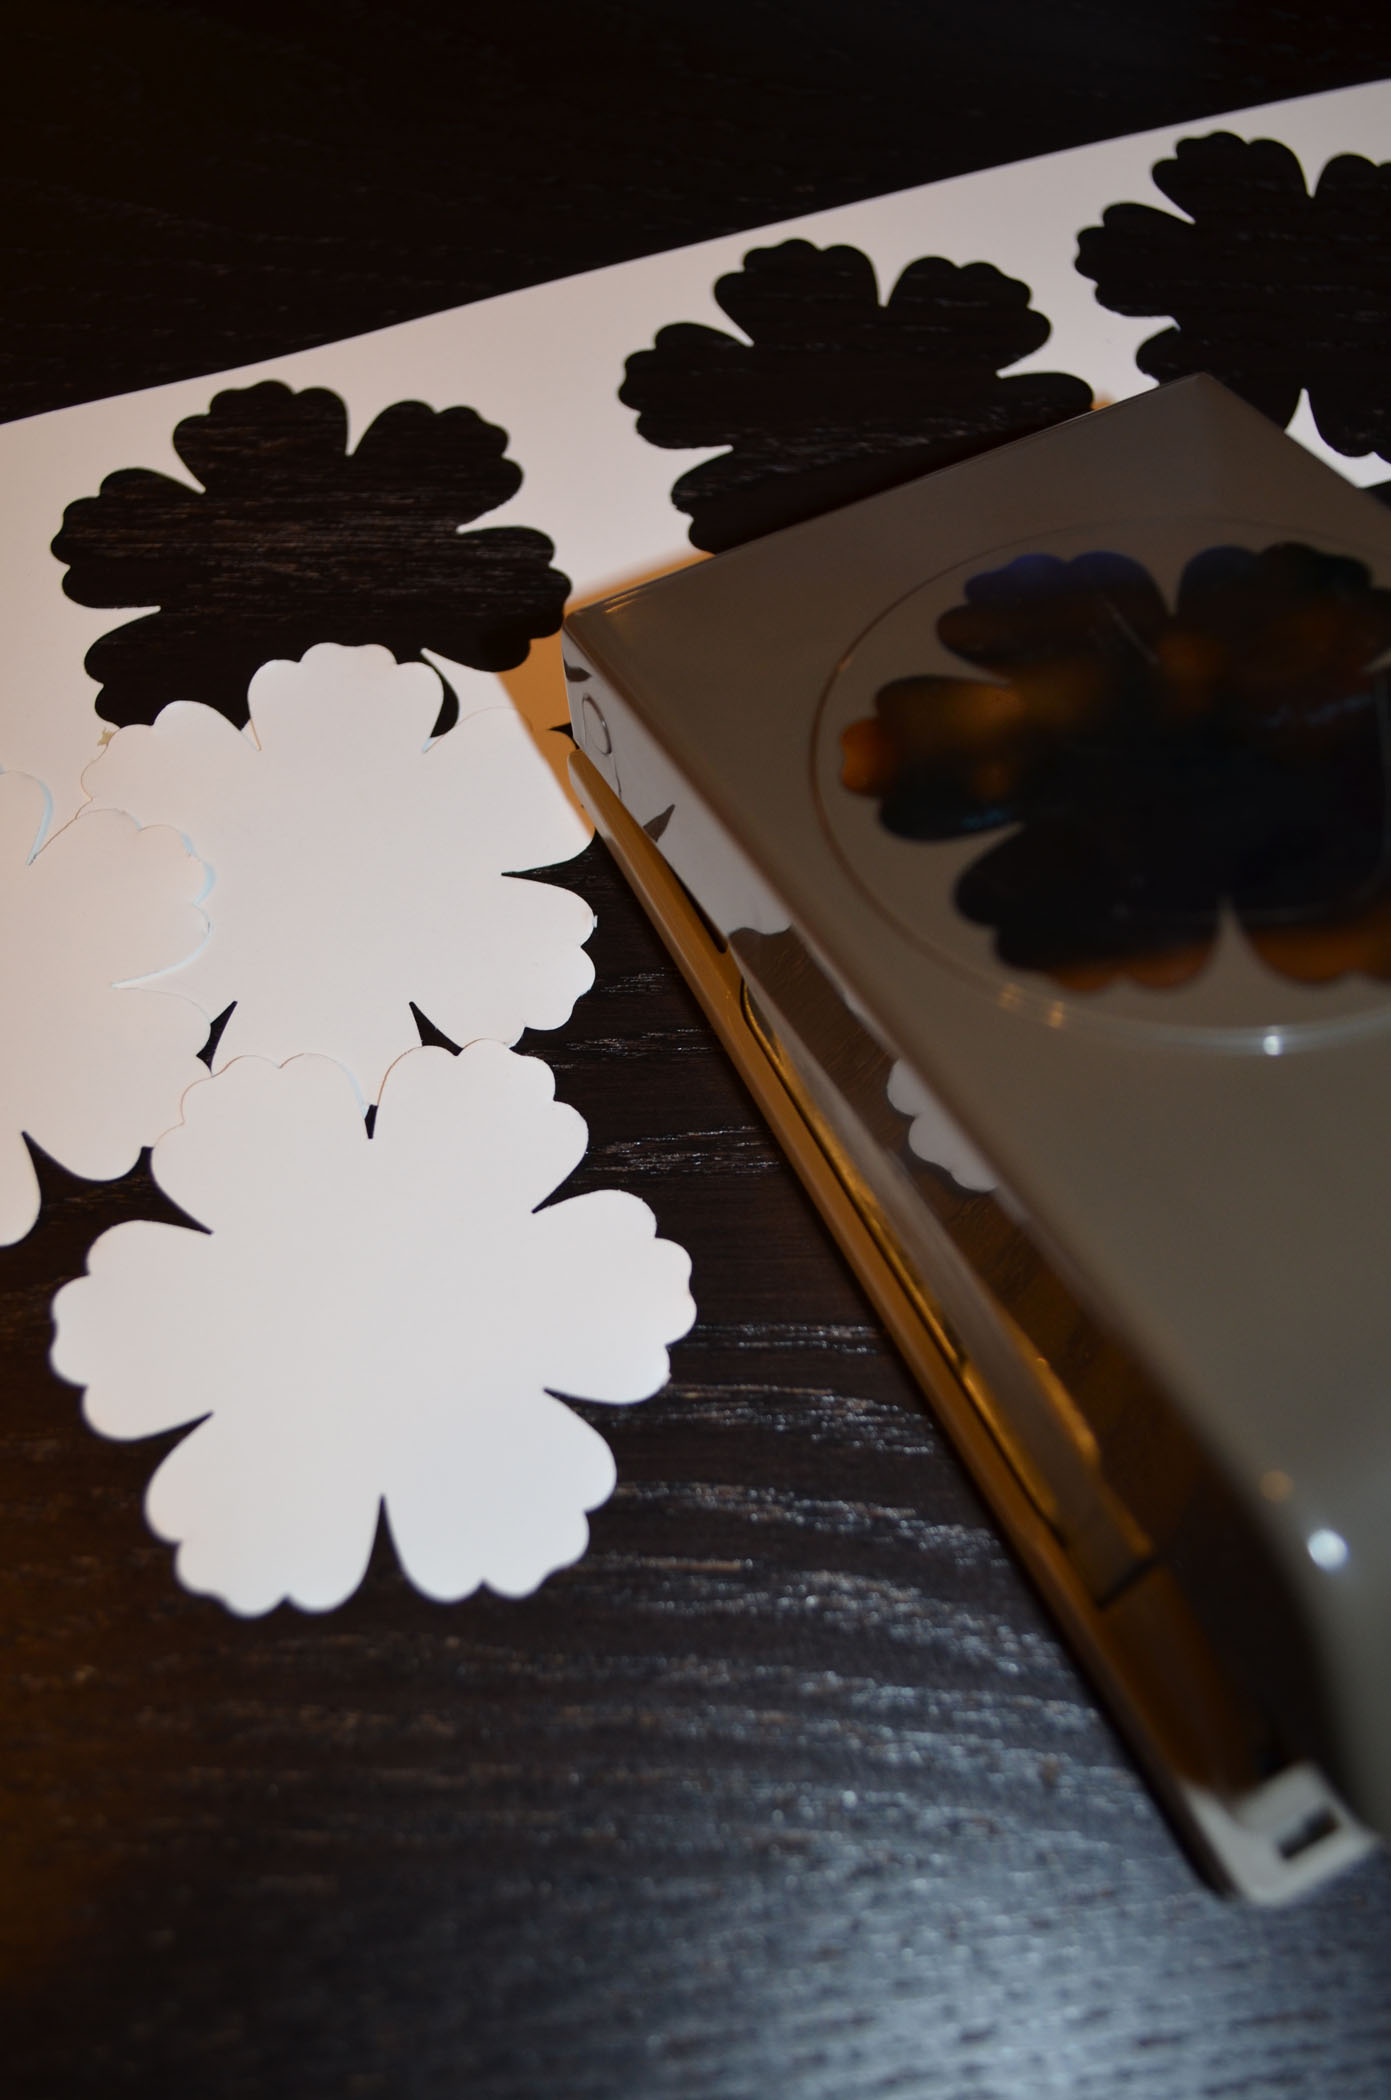
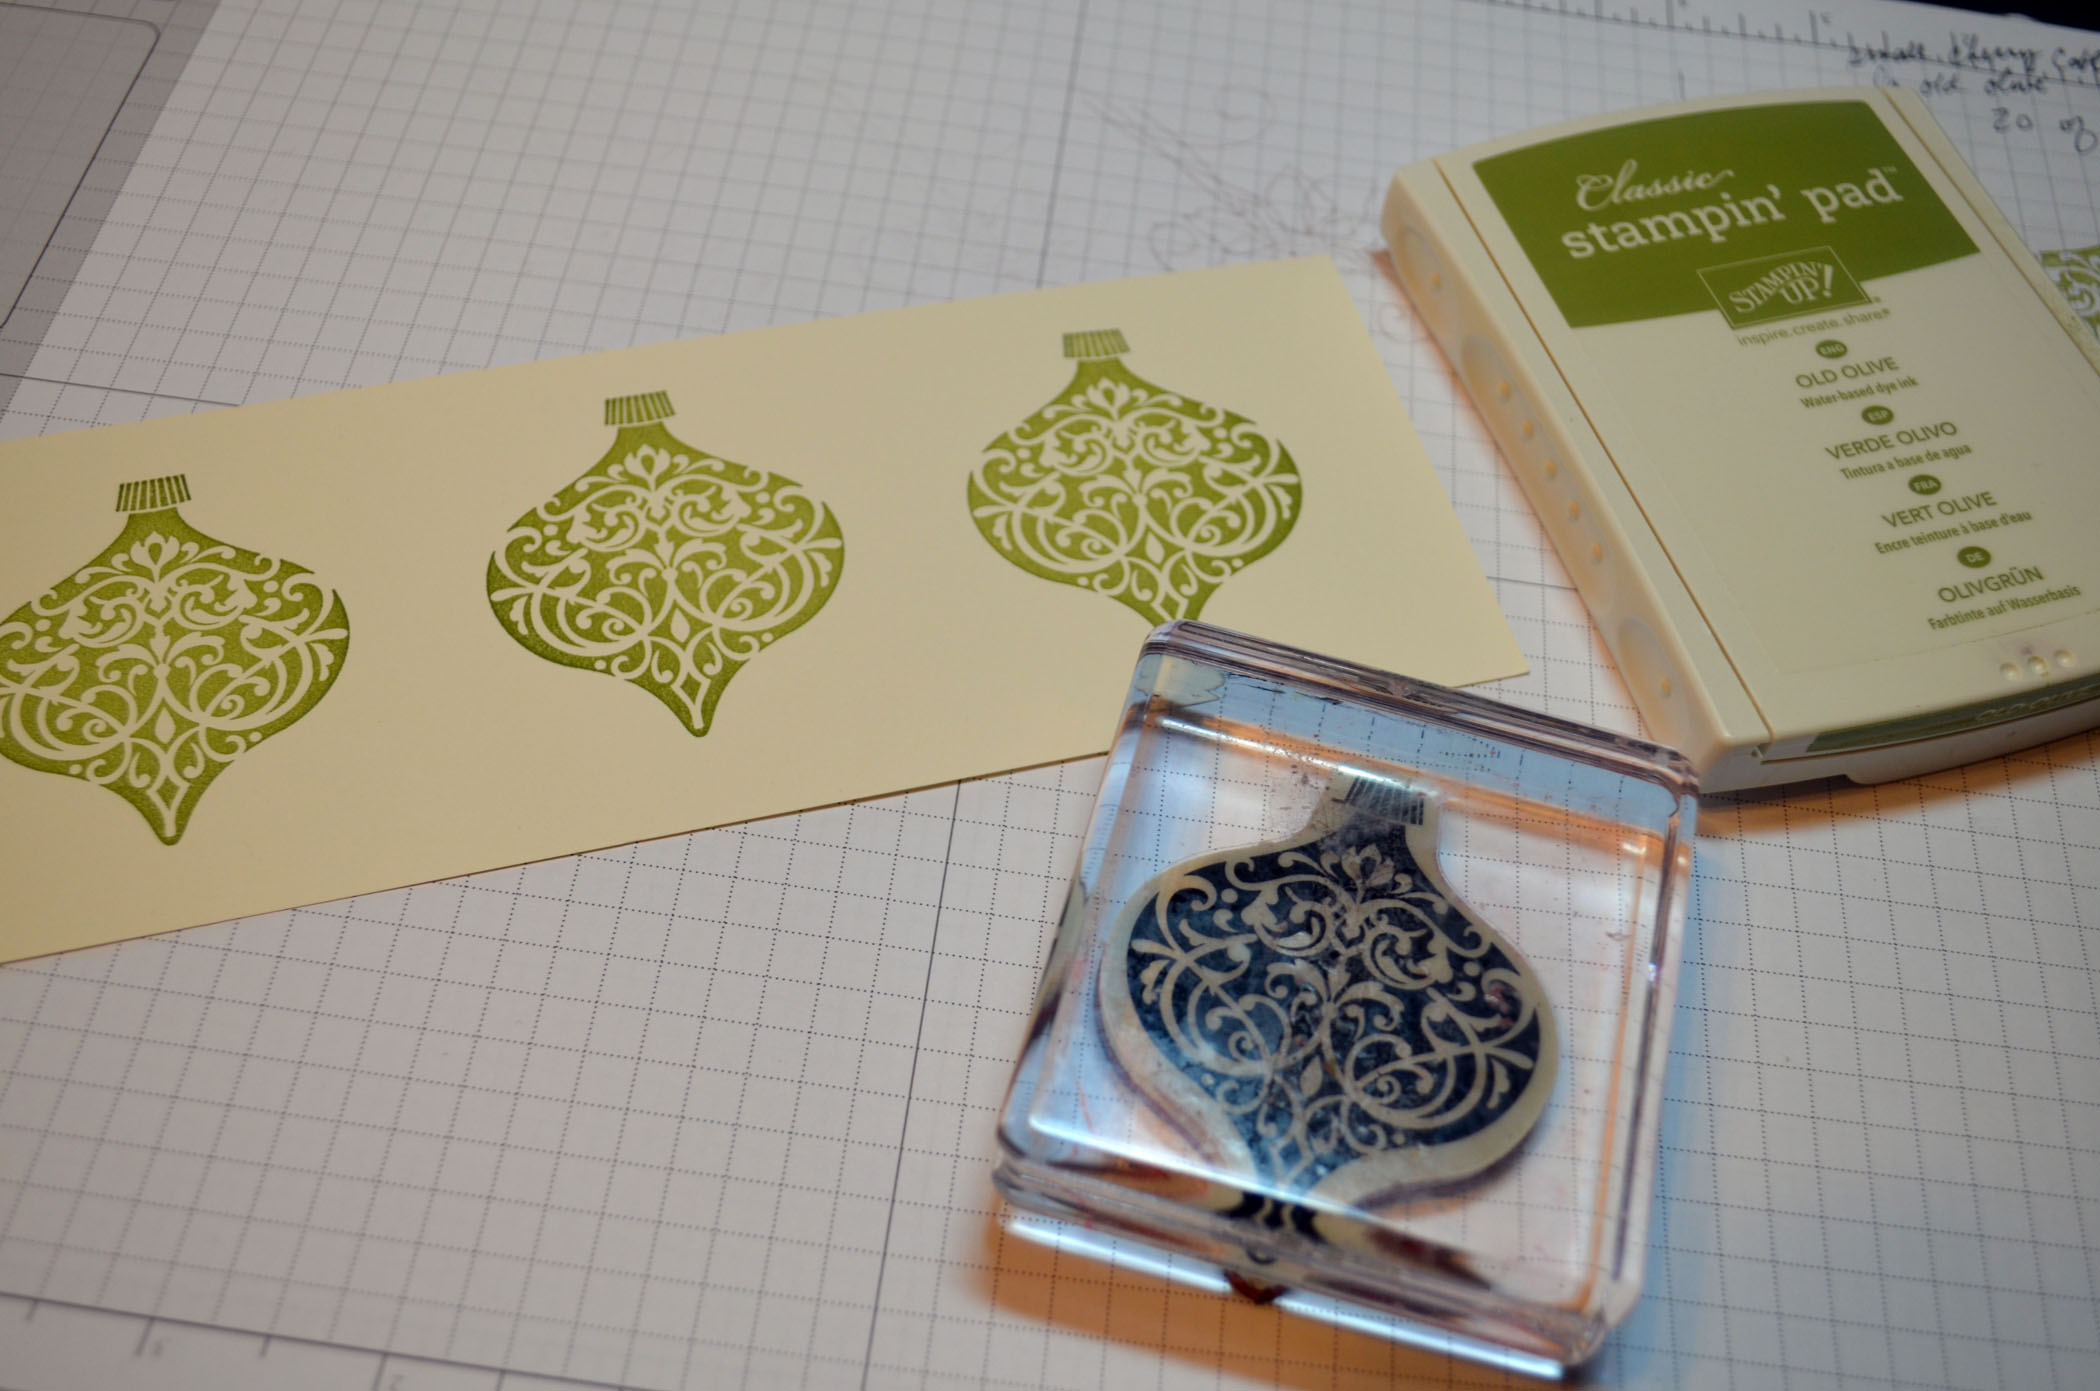
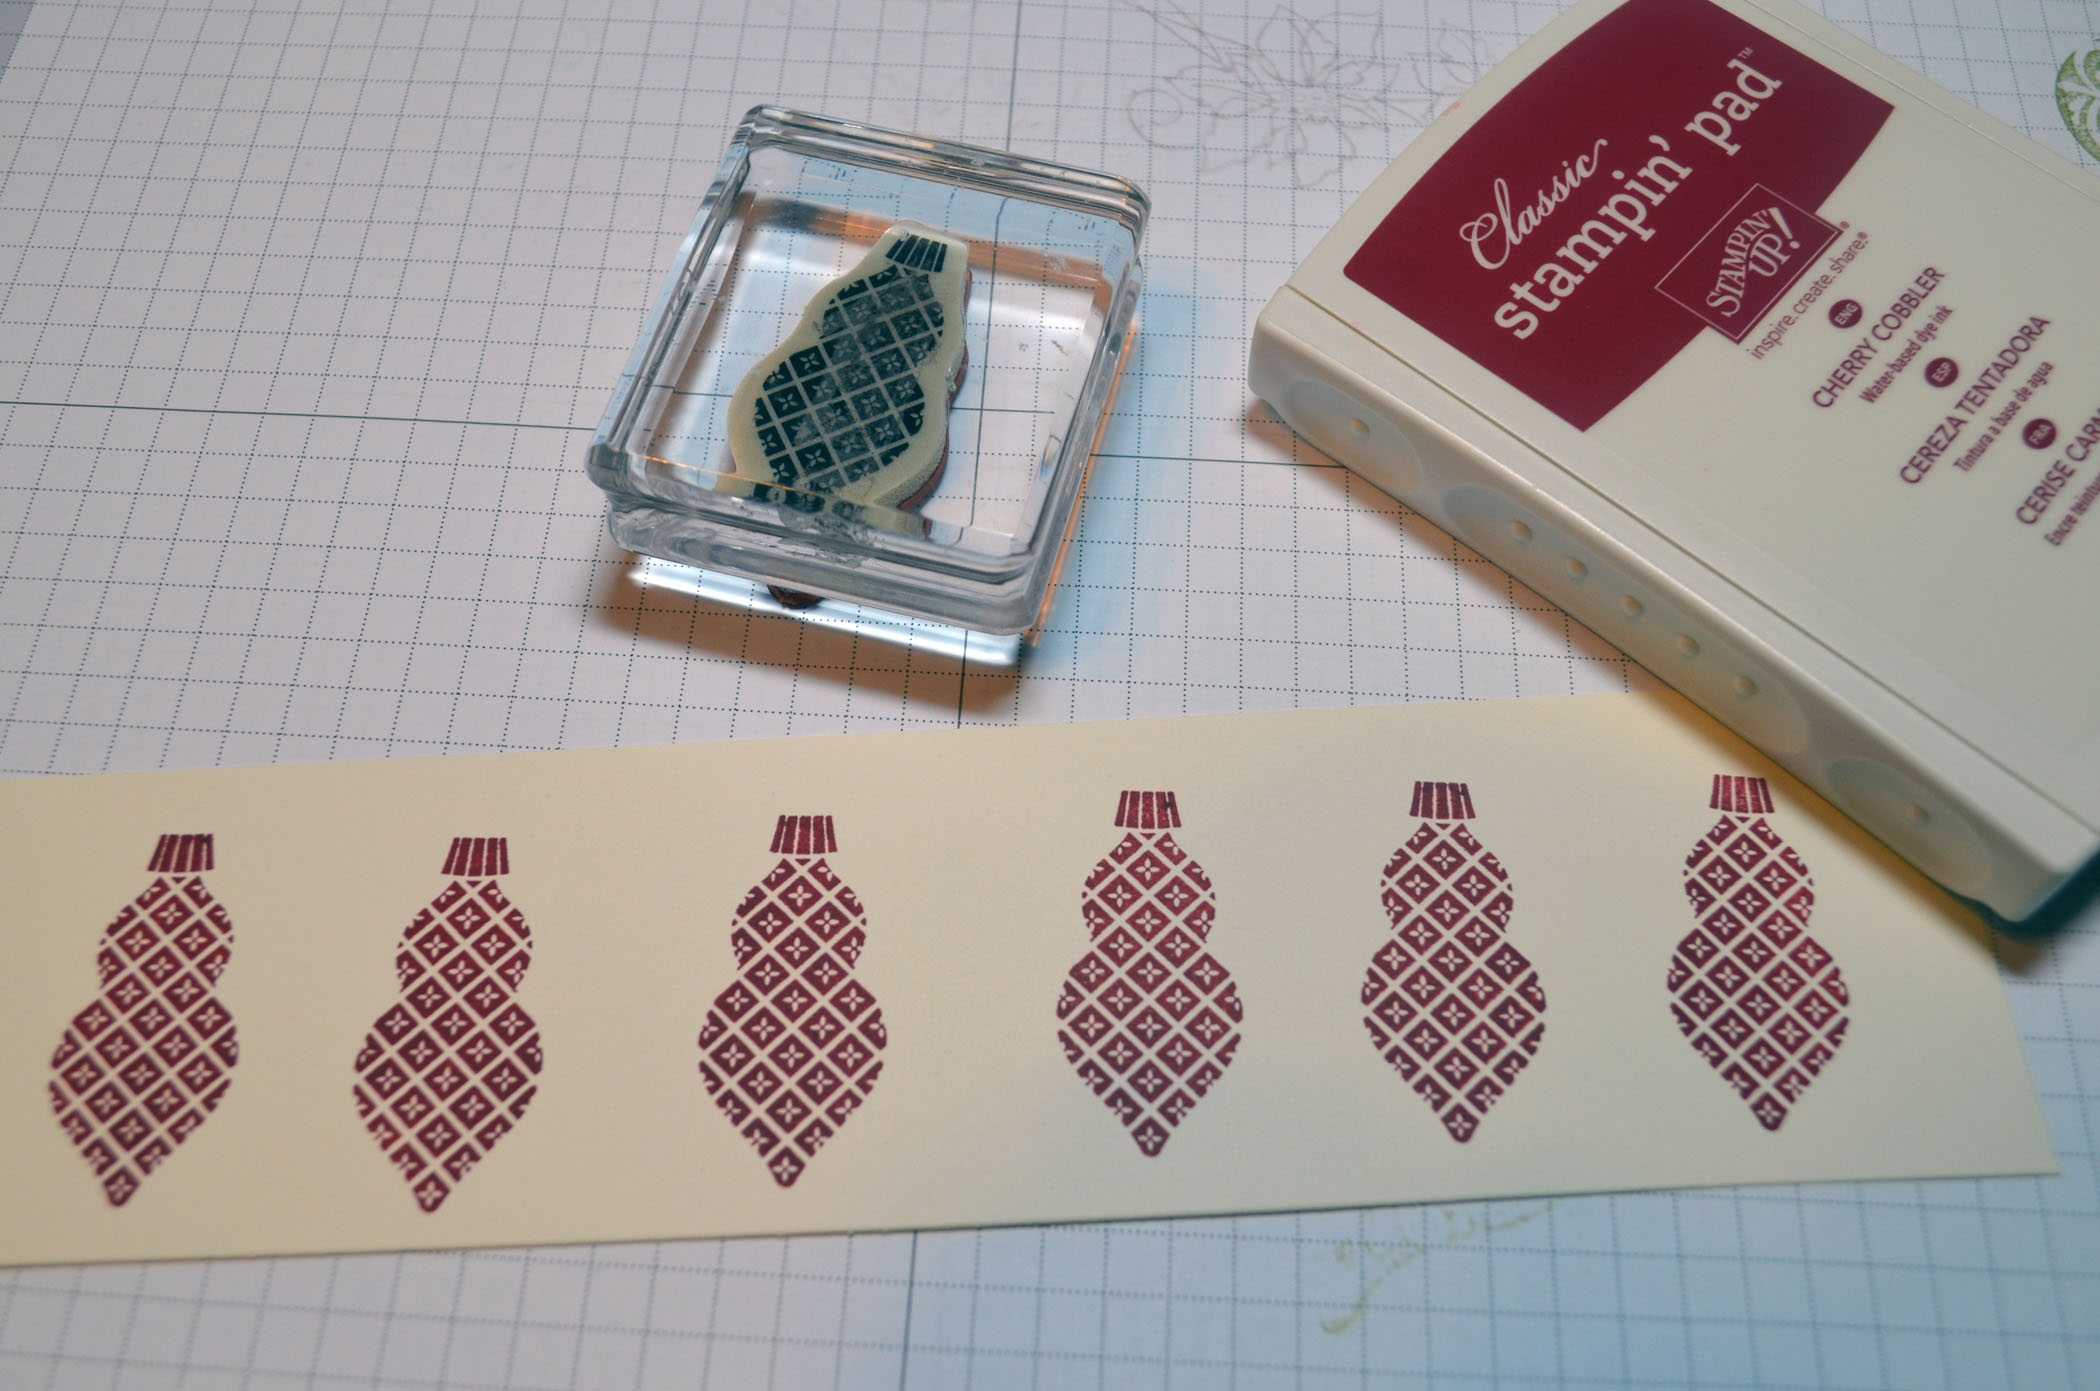
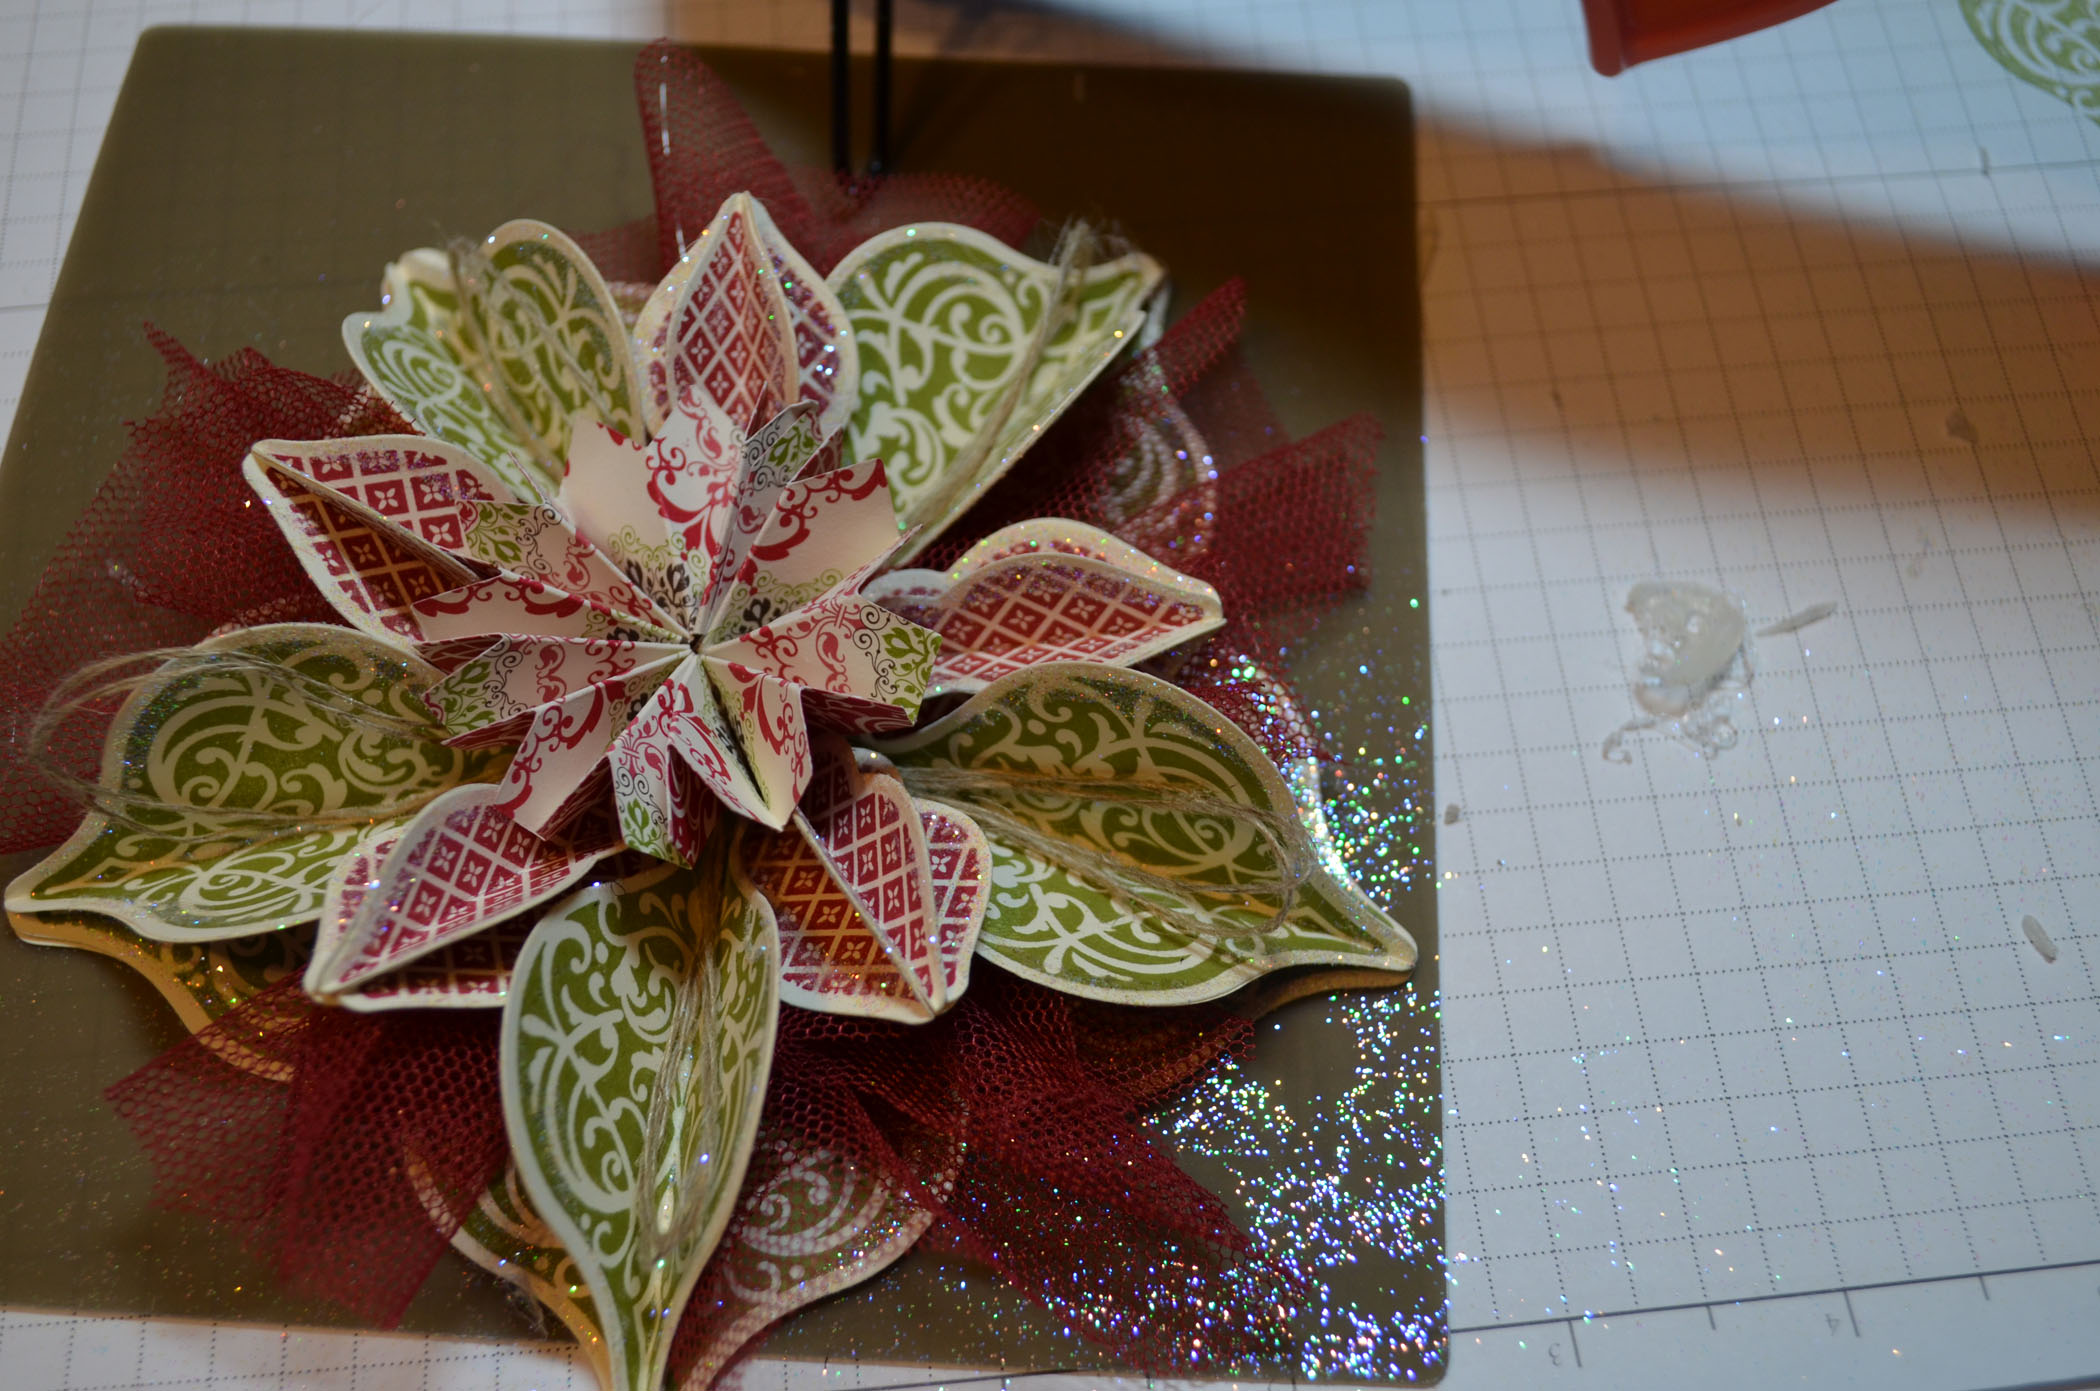
Stamped the large ornament with Cherry Cobbler and the small ornament with Old Olive on Very Vanilla card stock 20 times for each design.
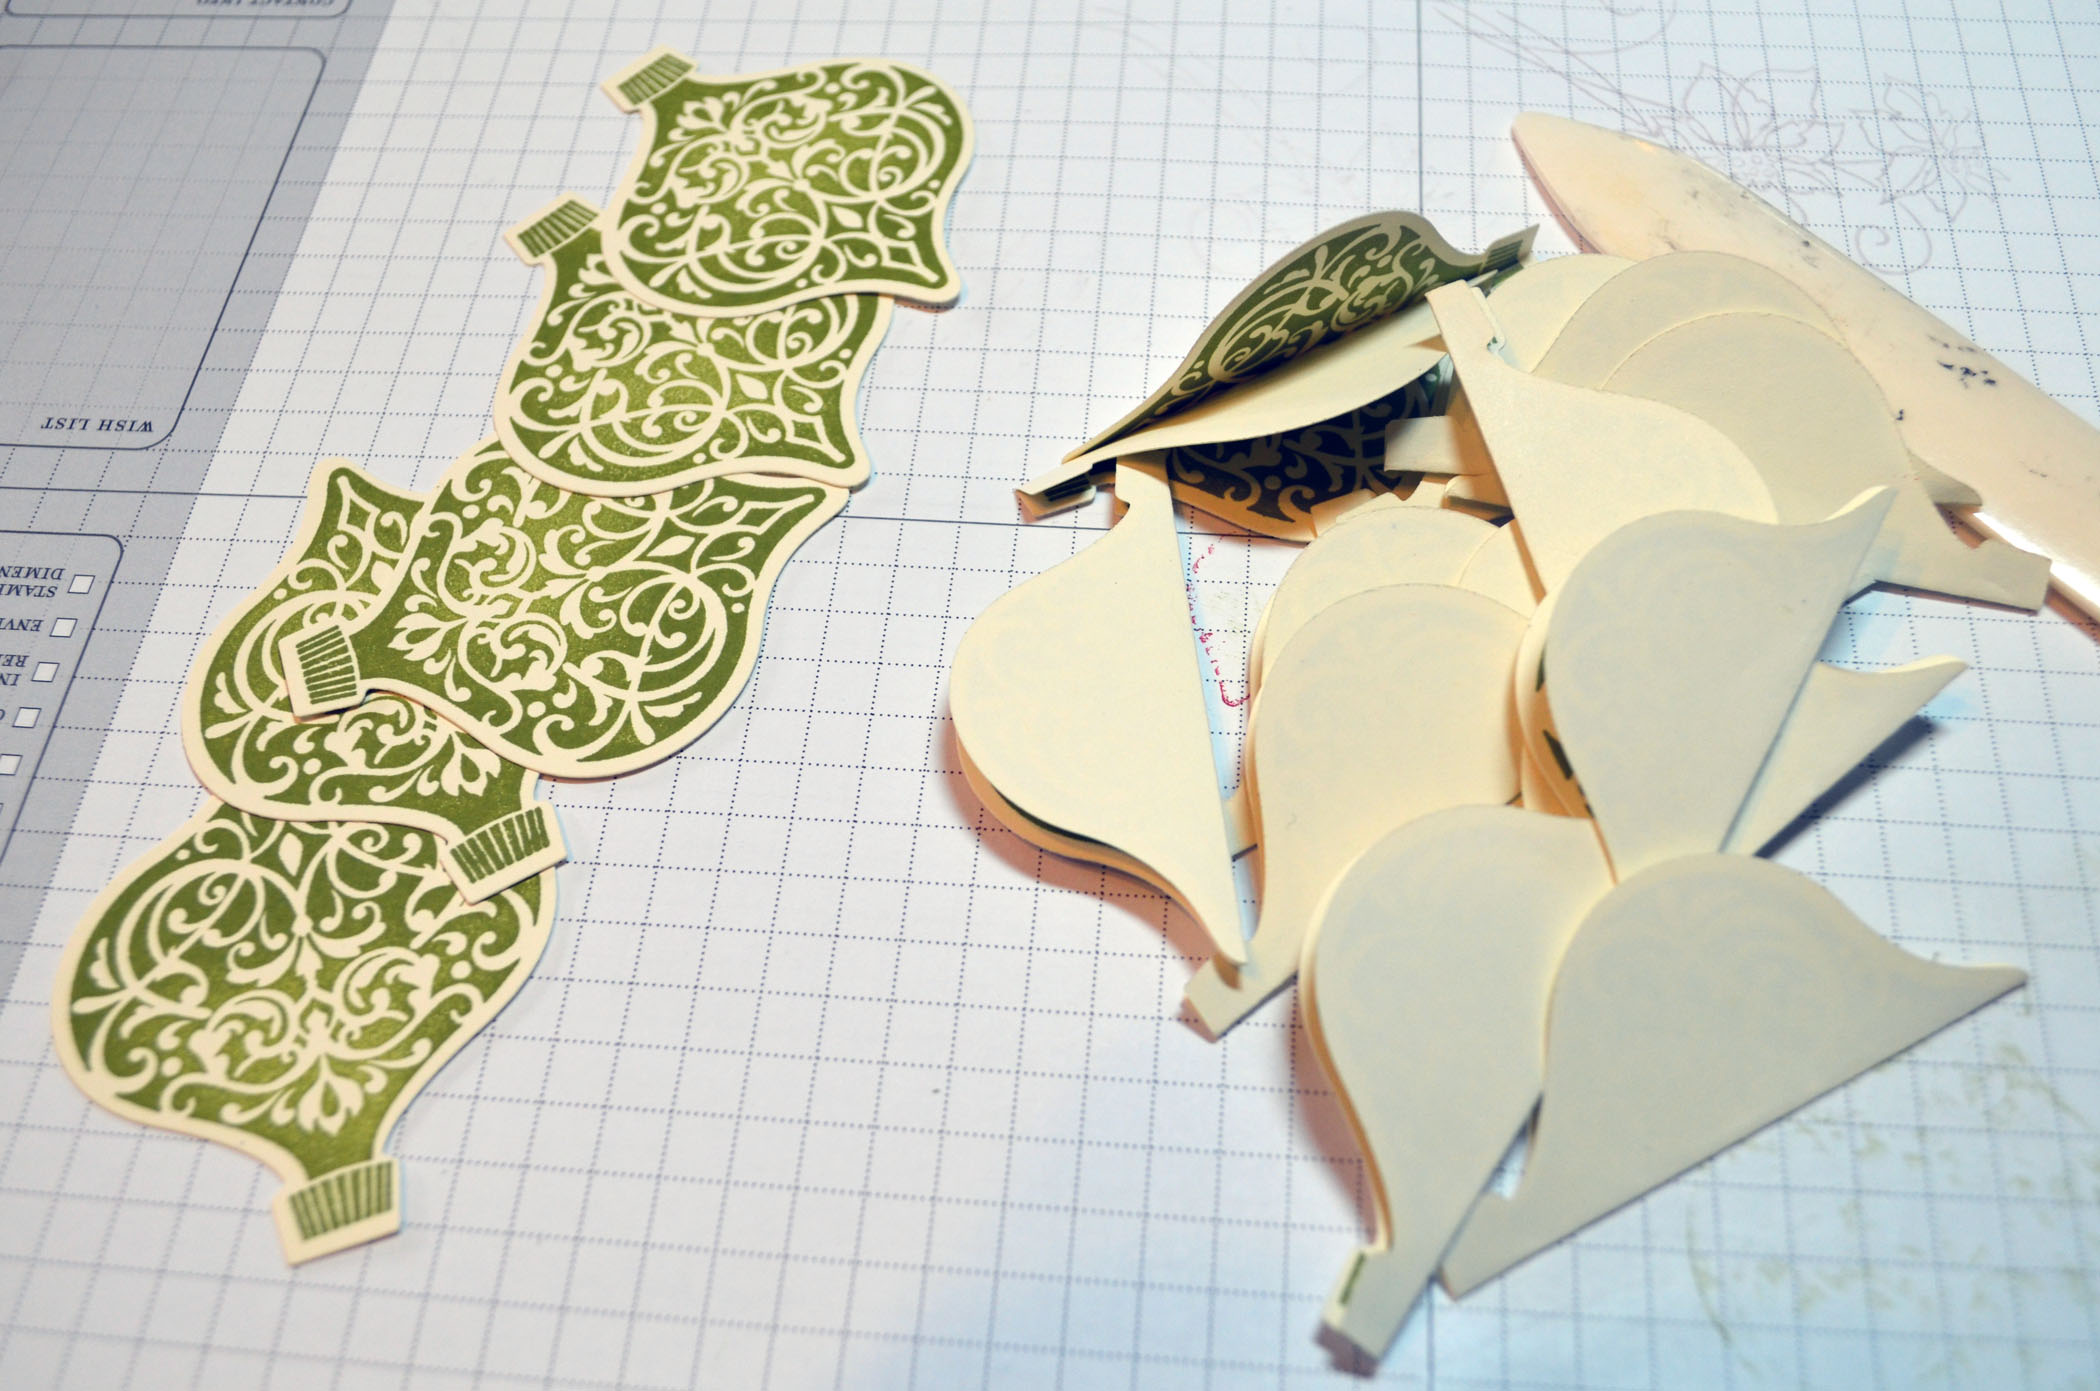
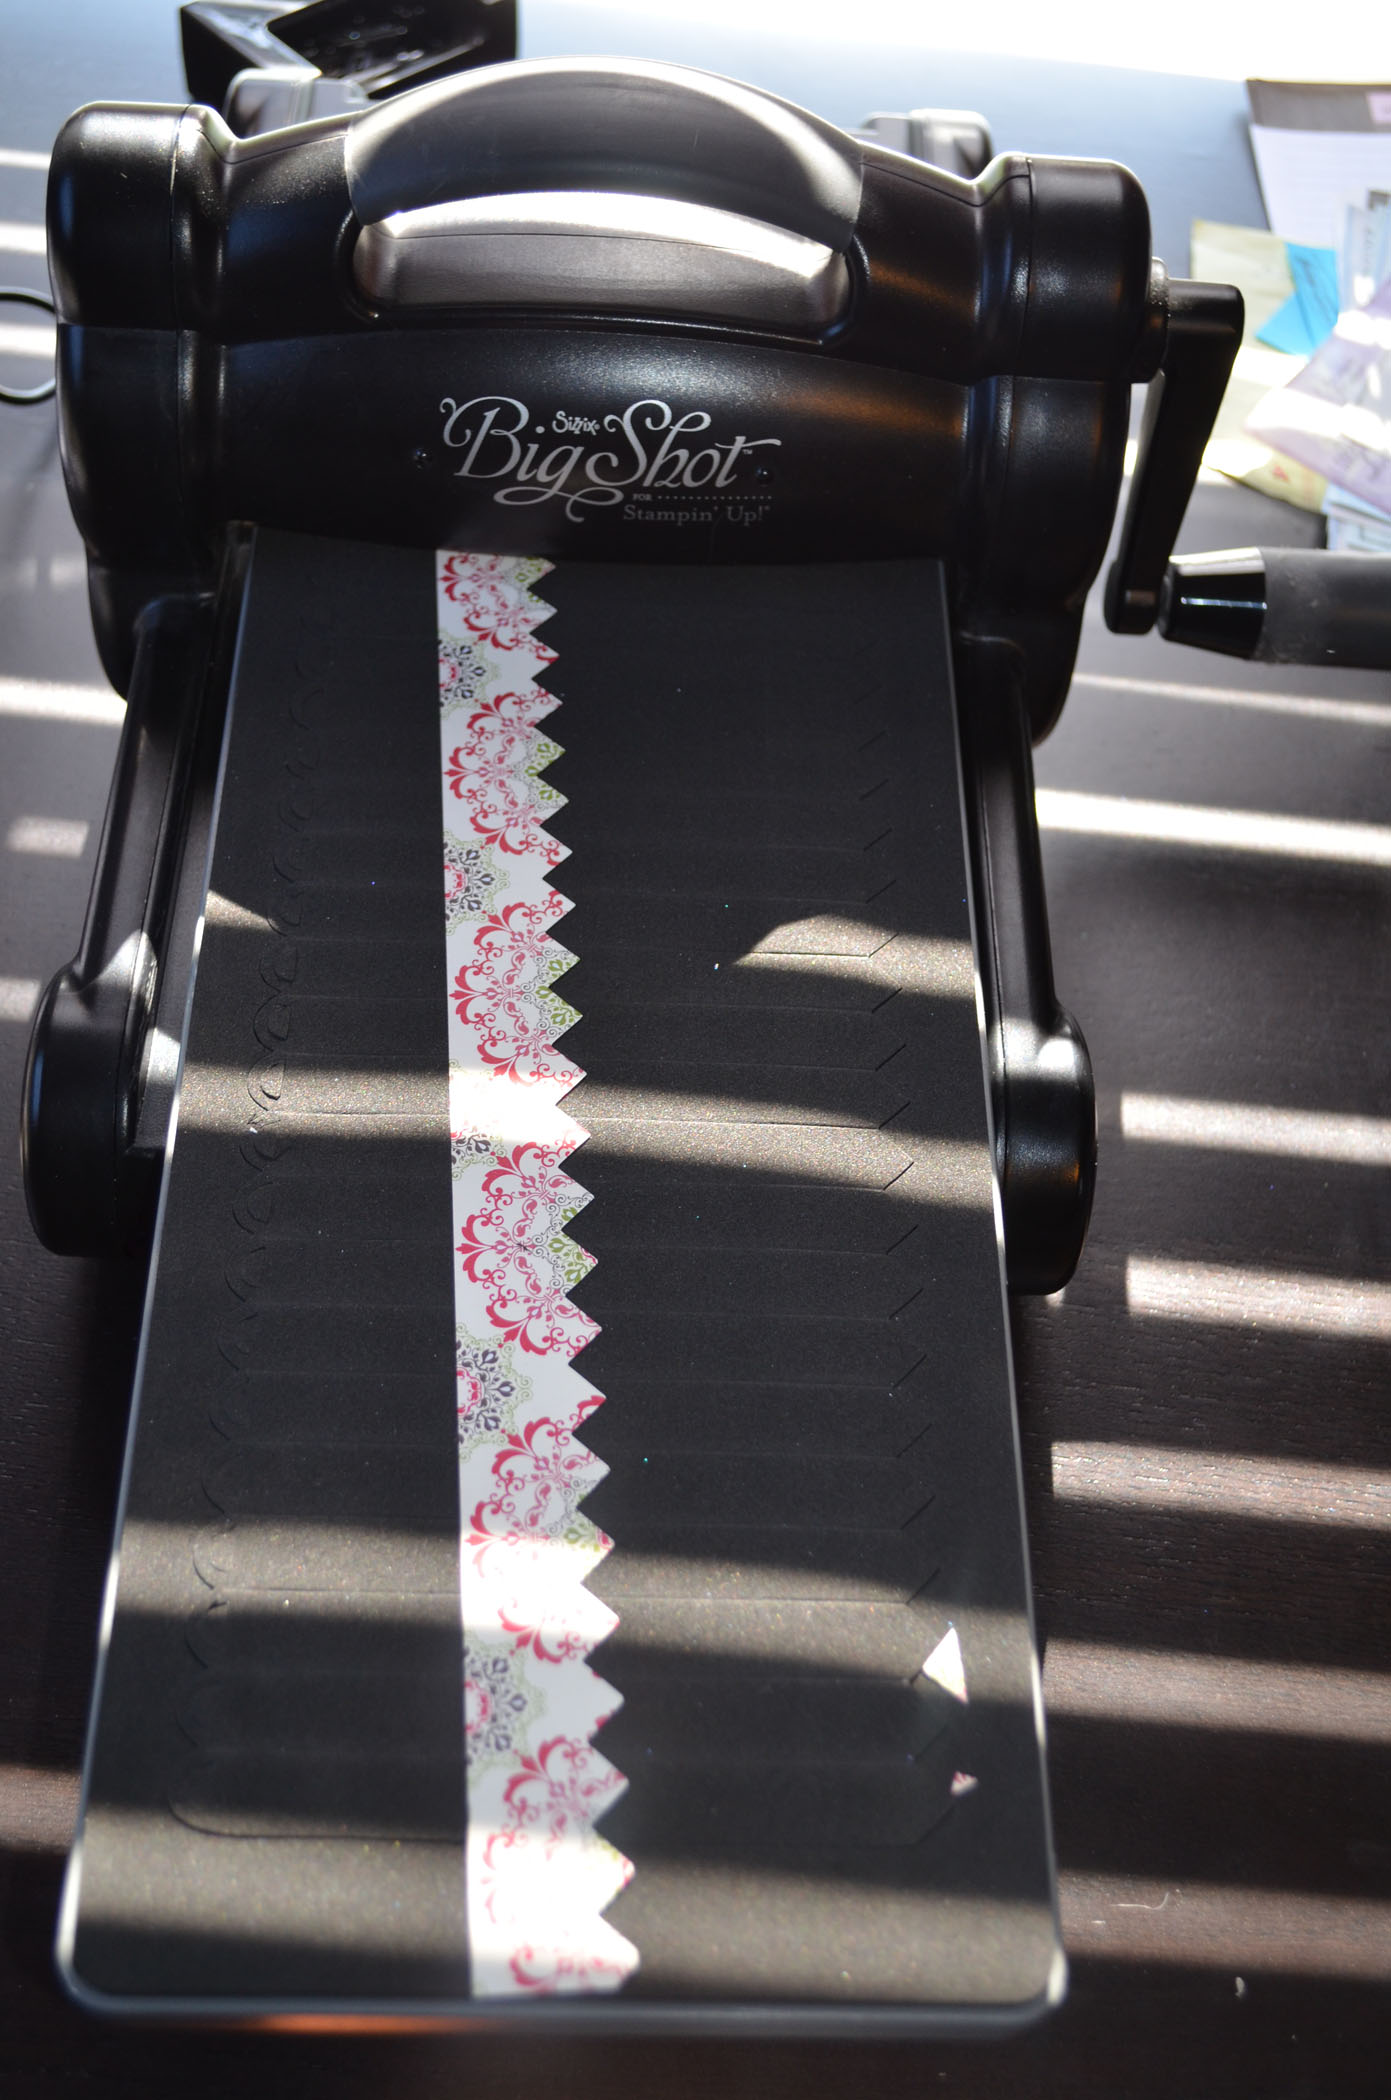
Die cut the ornaments using the Big Shot Machine and Holiday Ornament Framelits. I ran the small and large ones through at the same time to cut my Die cutting time in half.
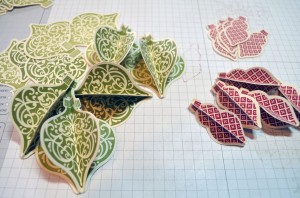
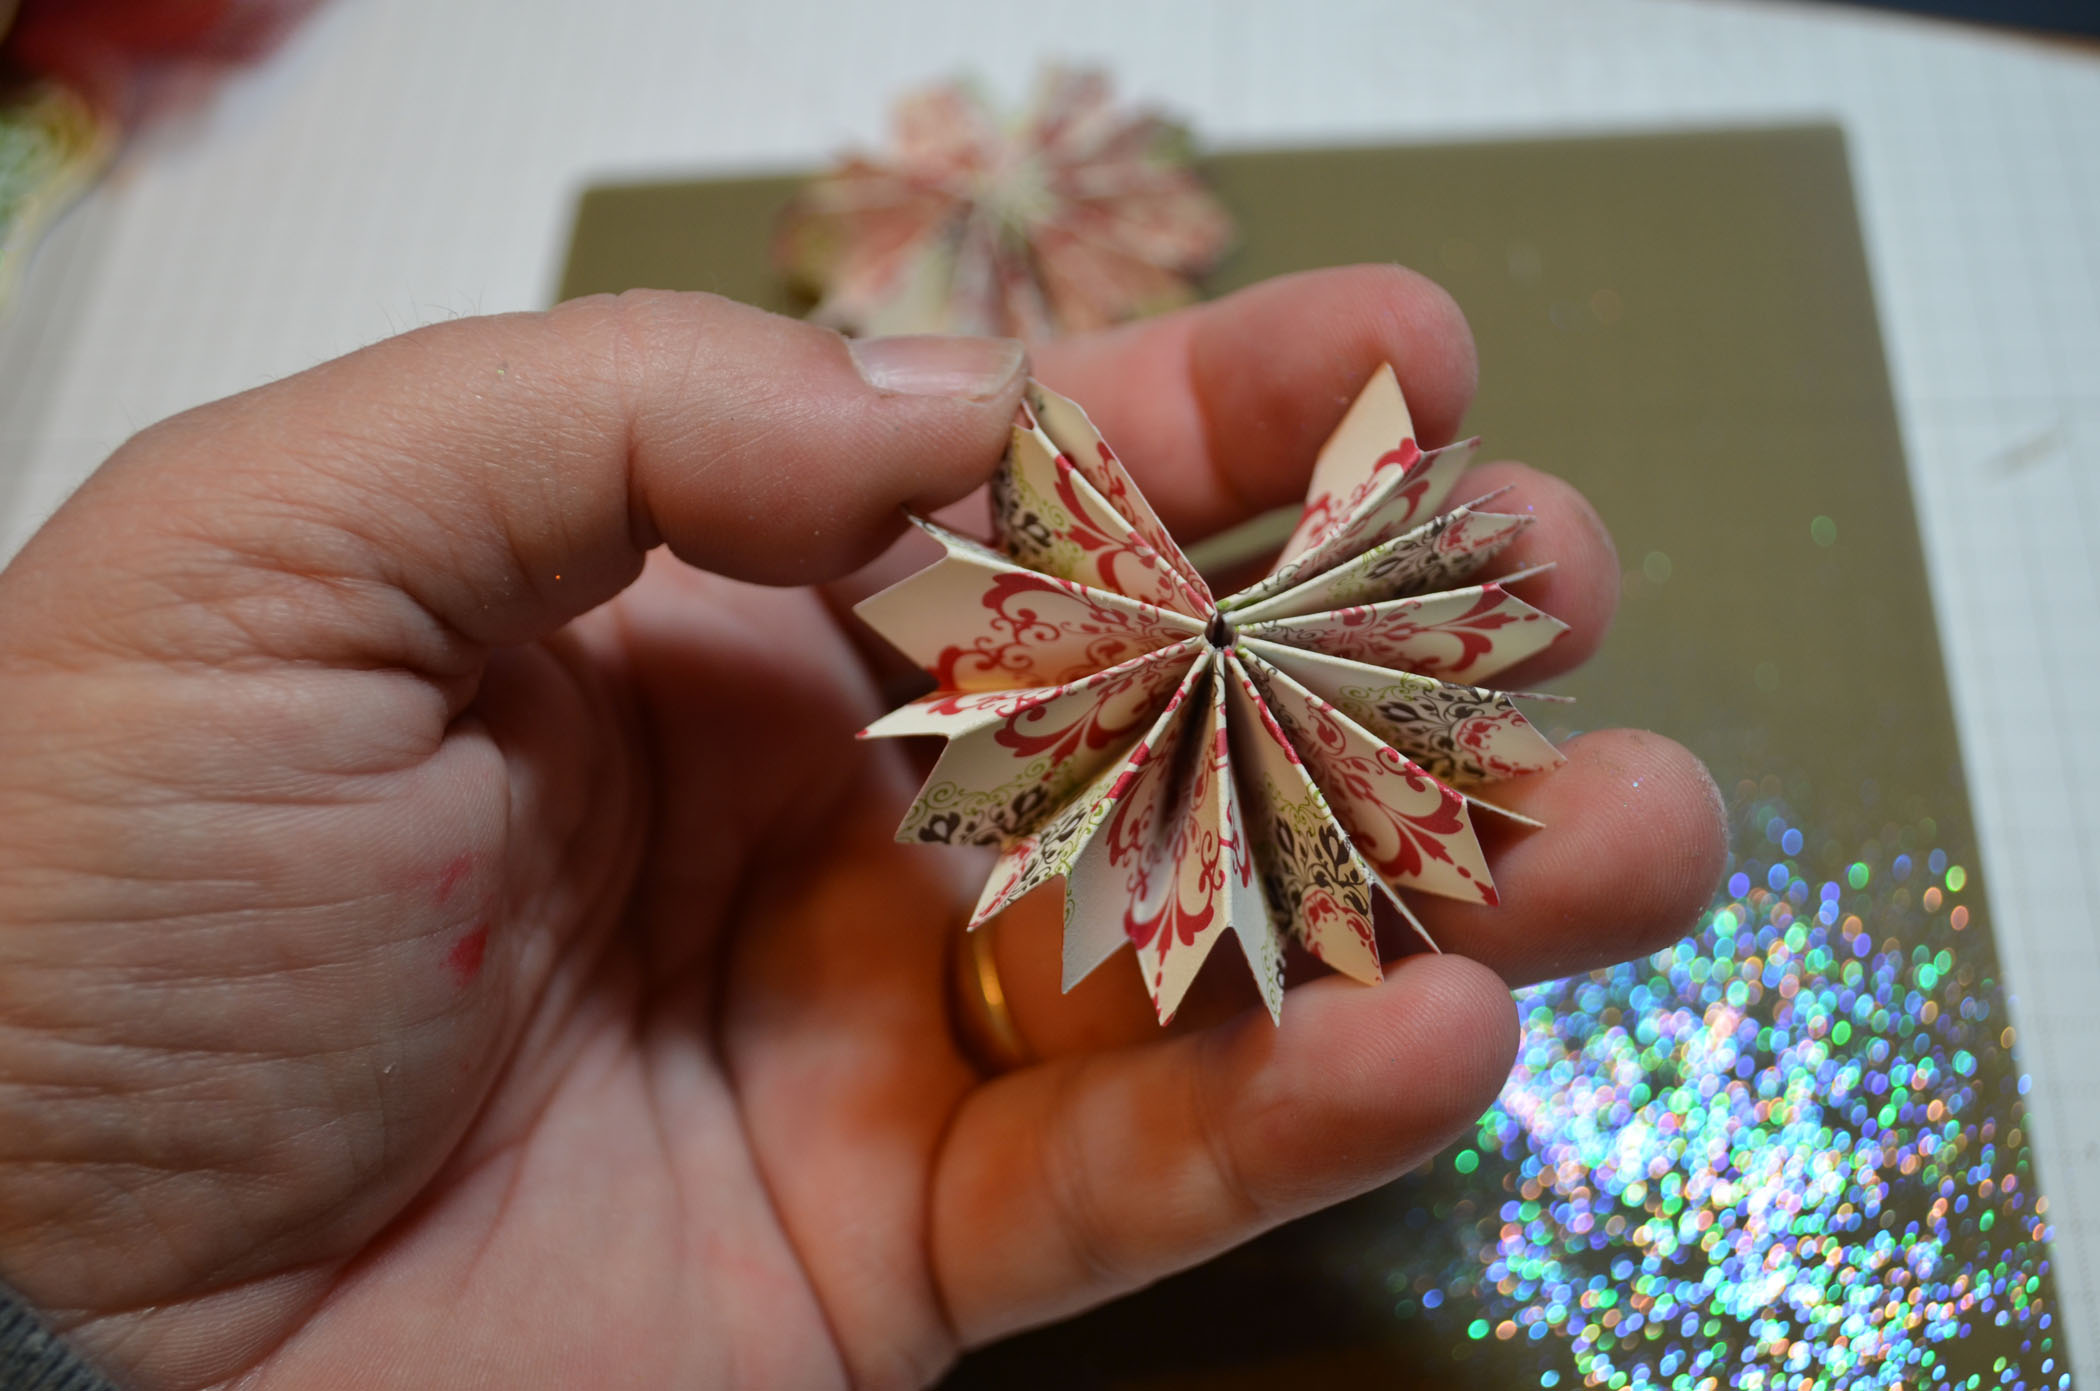
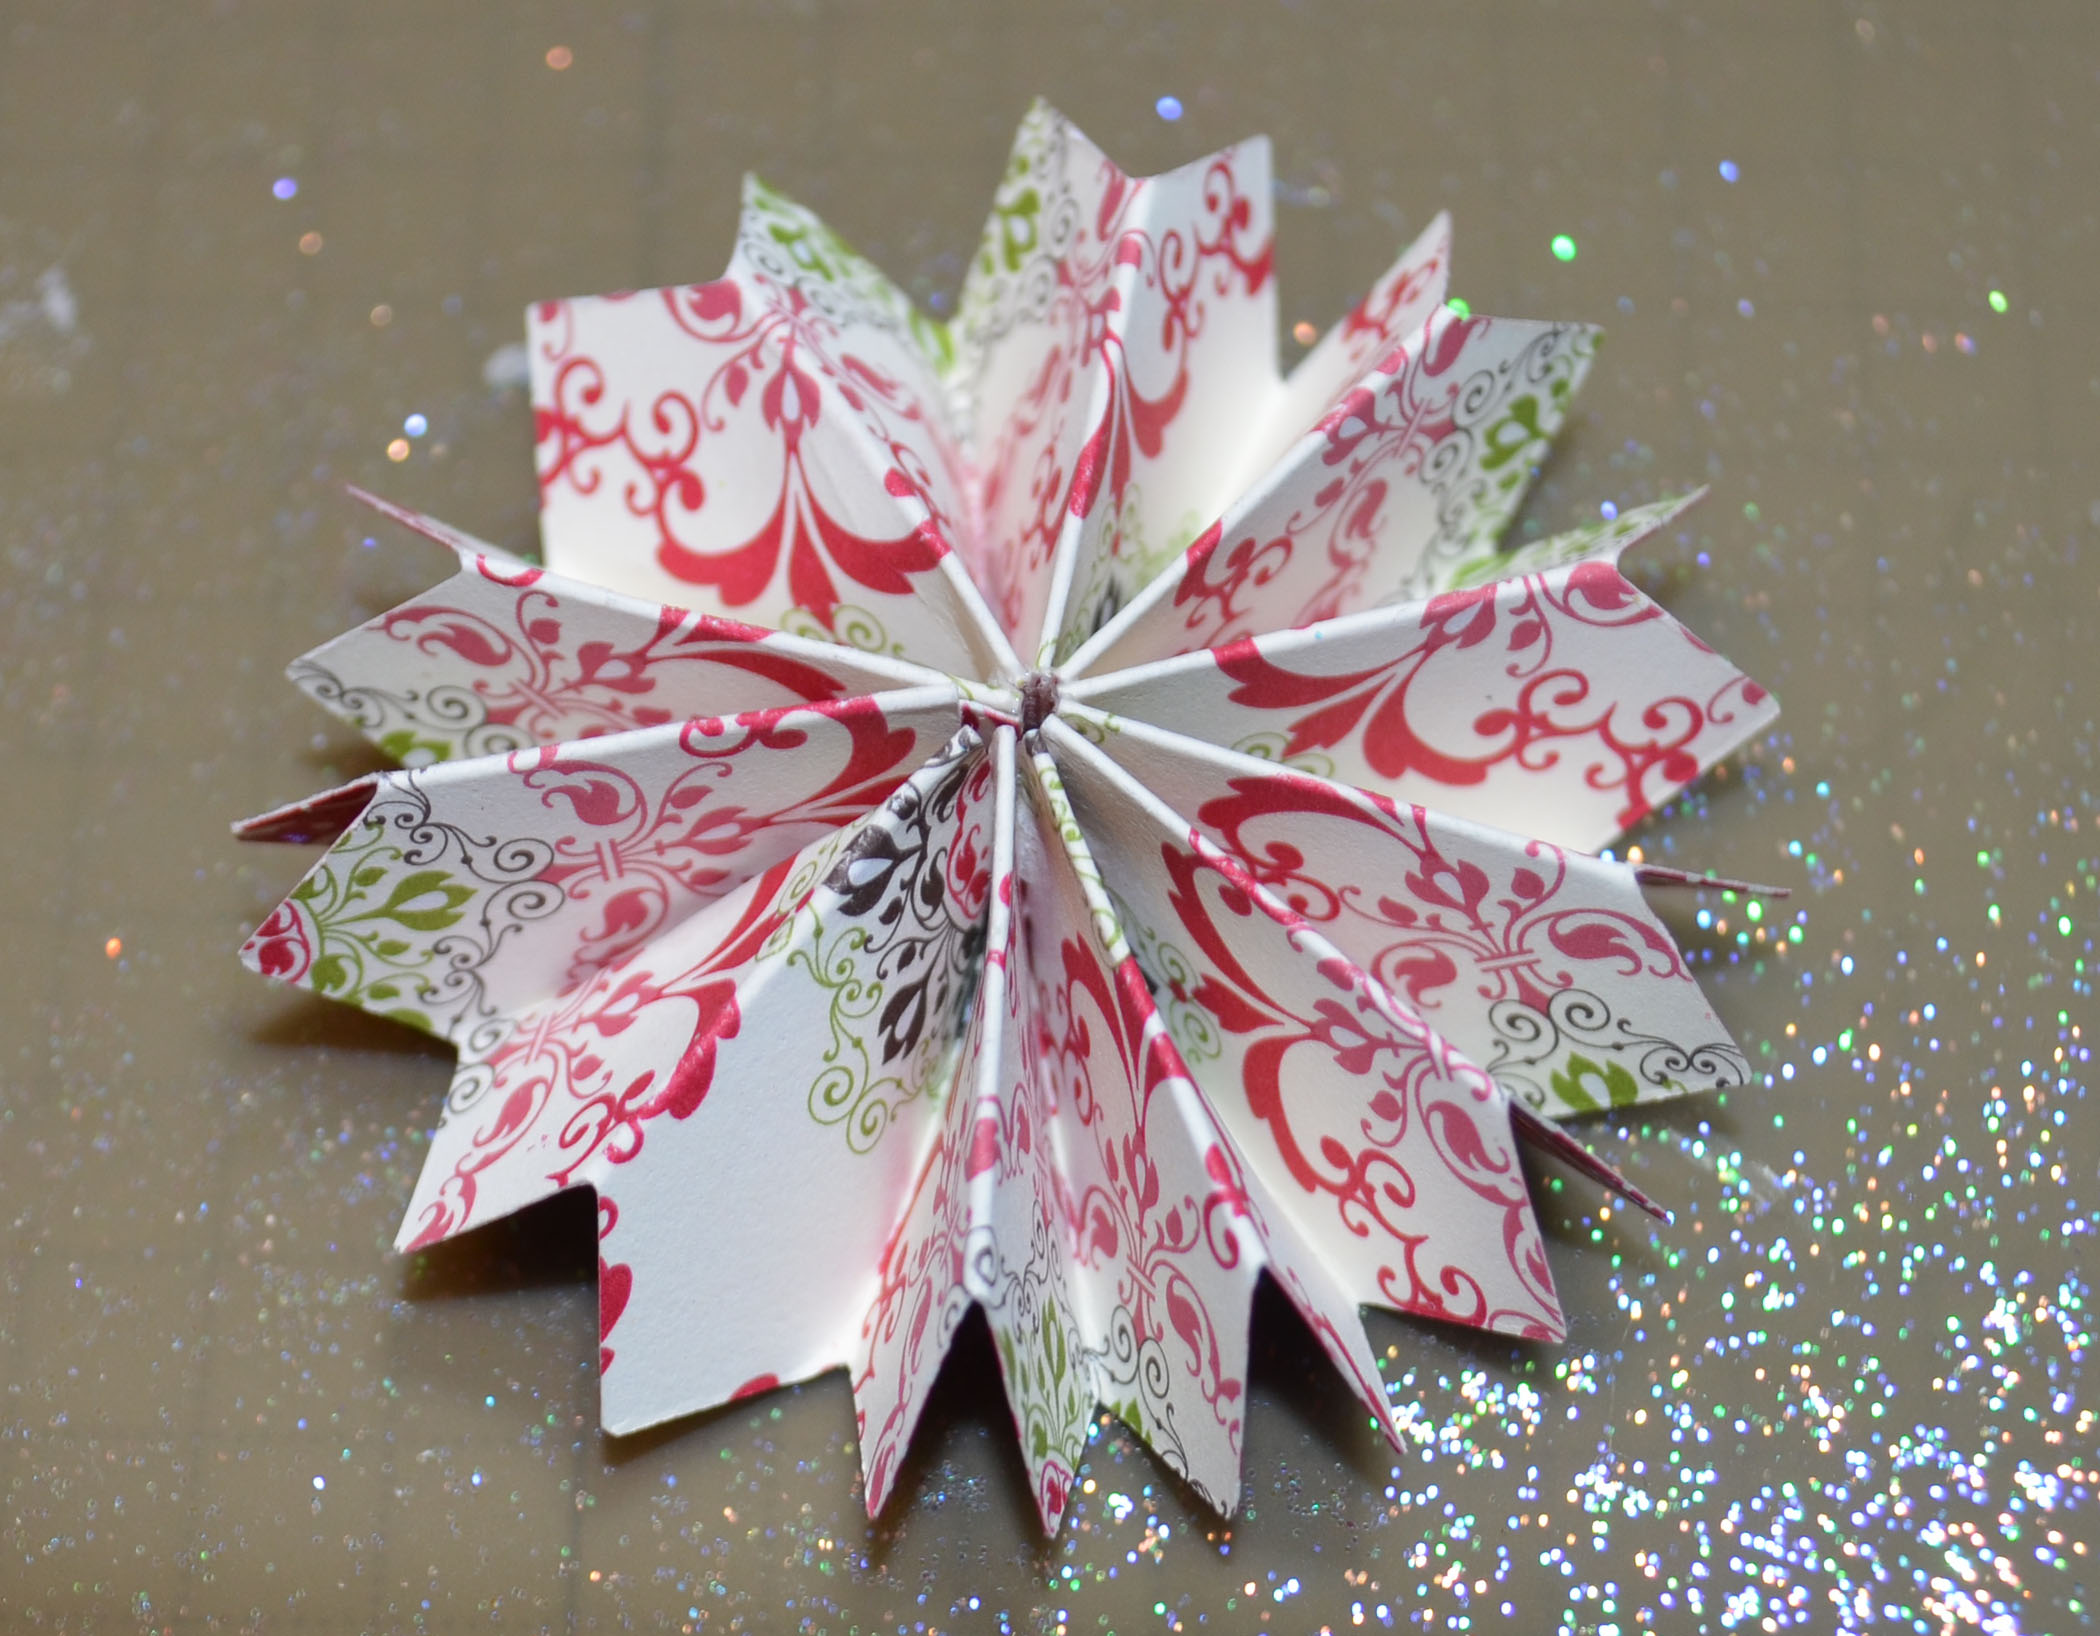
Folded 15 of the large ornaments and 15 of the small ornaments in half. Used a bone folder to make the fold crisp. Left 5 of each size unfolded.

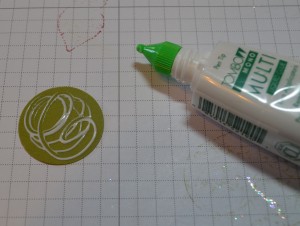
Glued 3 of the large ornaments together using Tombo Mono-multi glue. Repeated 4 times.
Glued 3 of the small ornaments together using Tombo Mono – multi glue. Repeated 4 times.
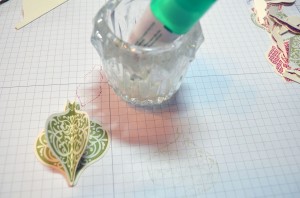
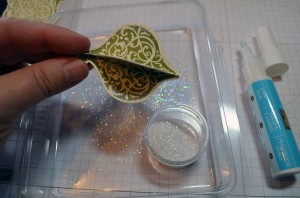
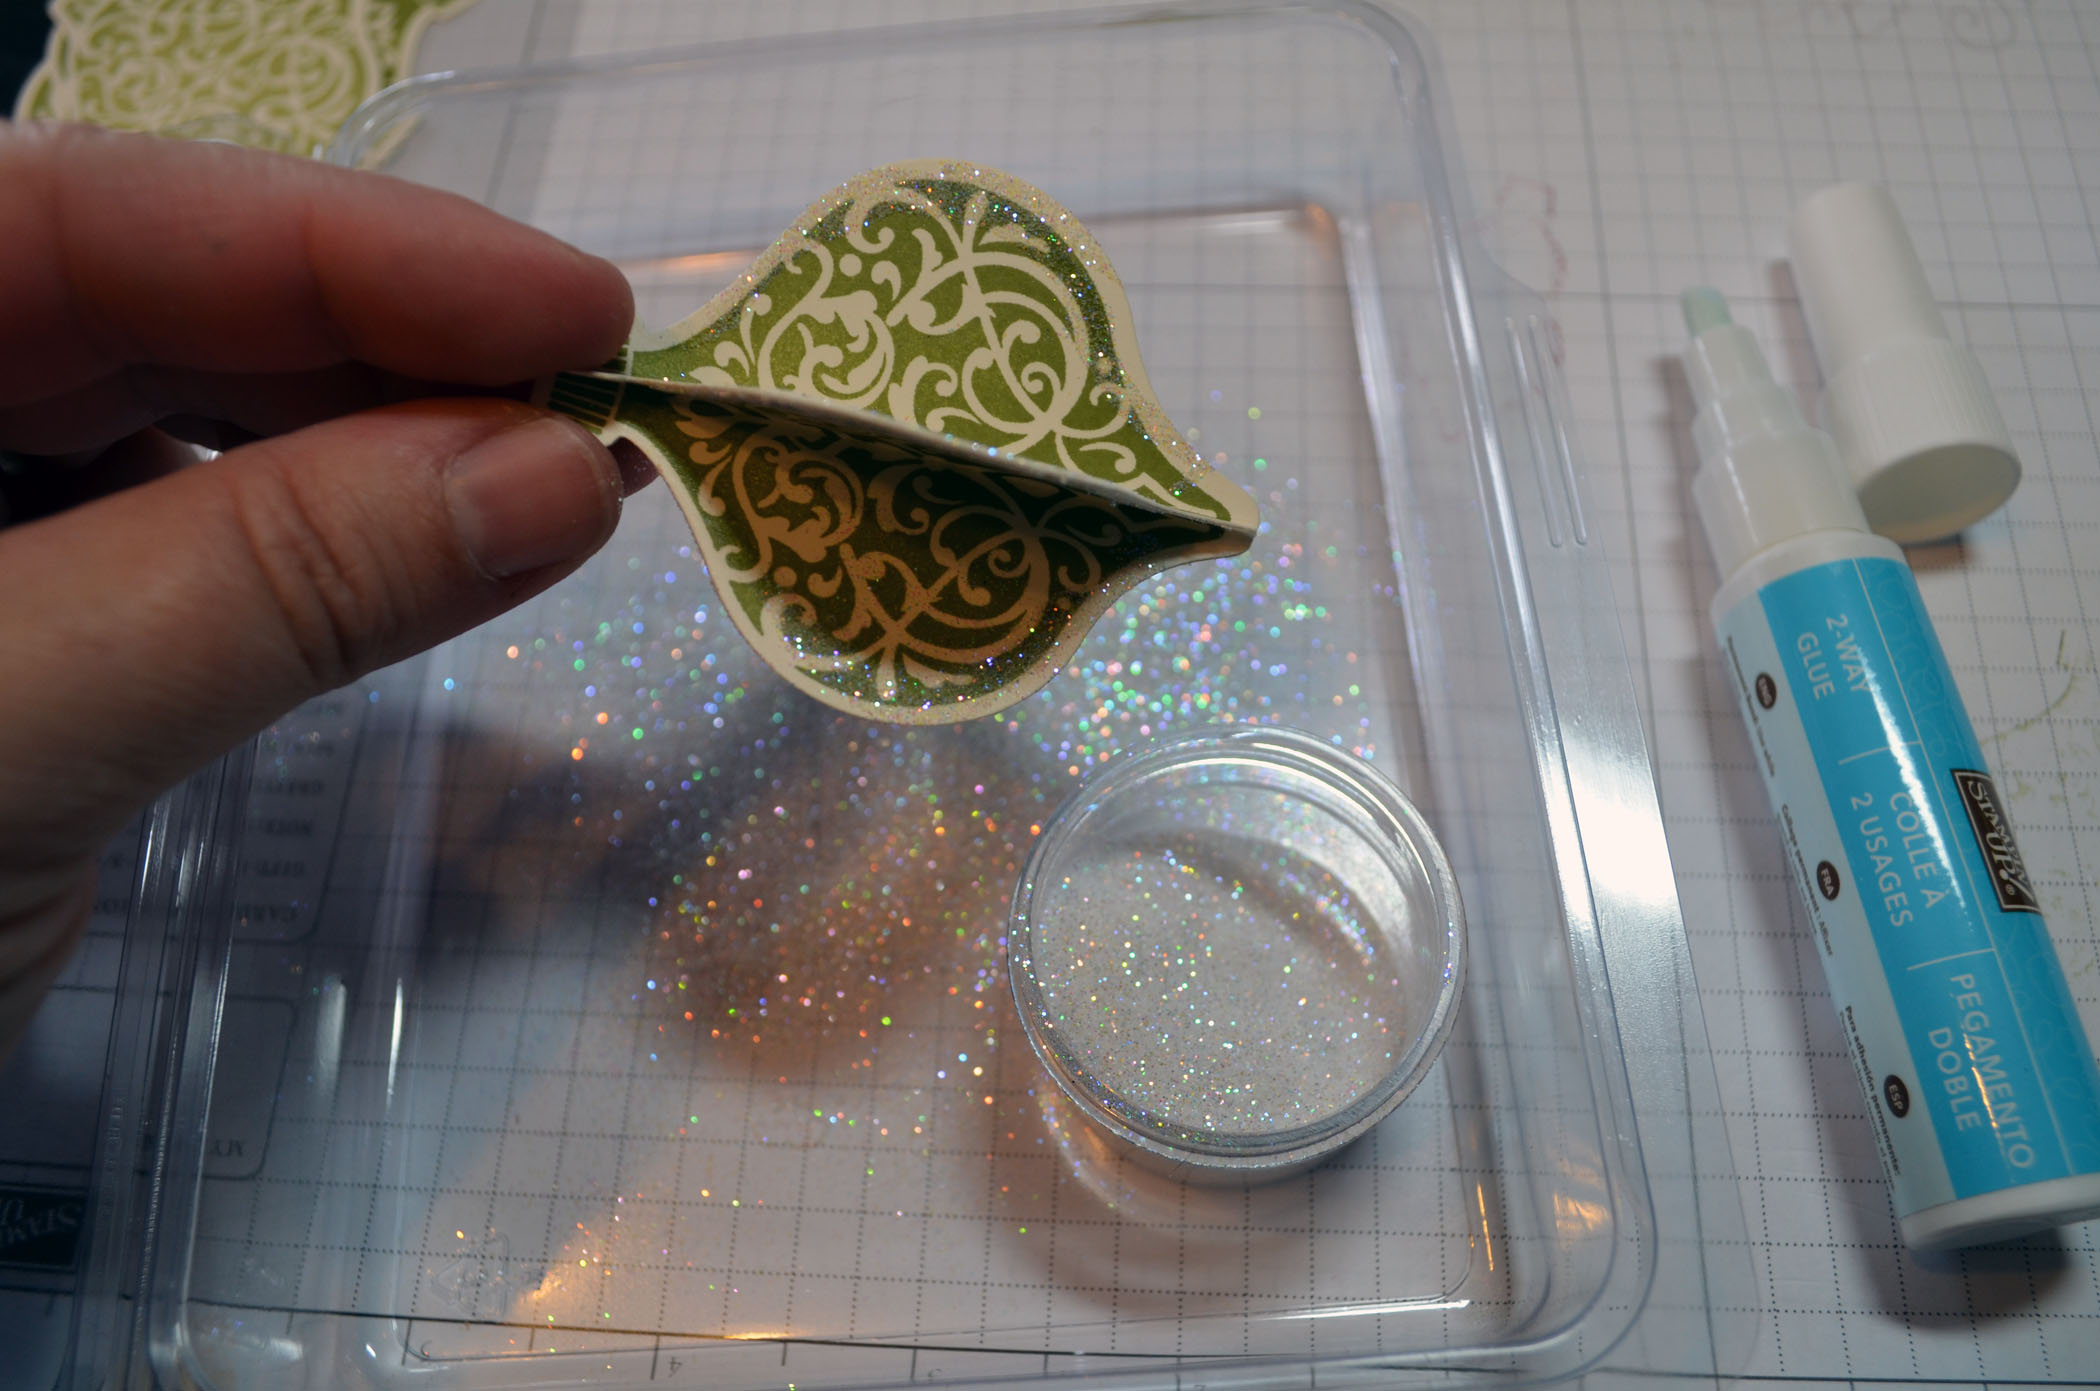
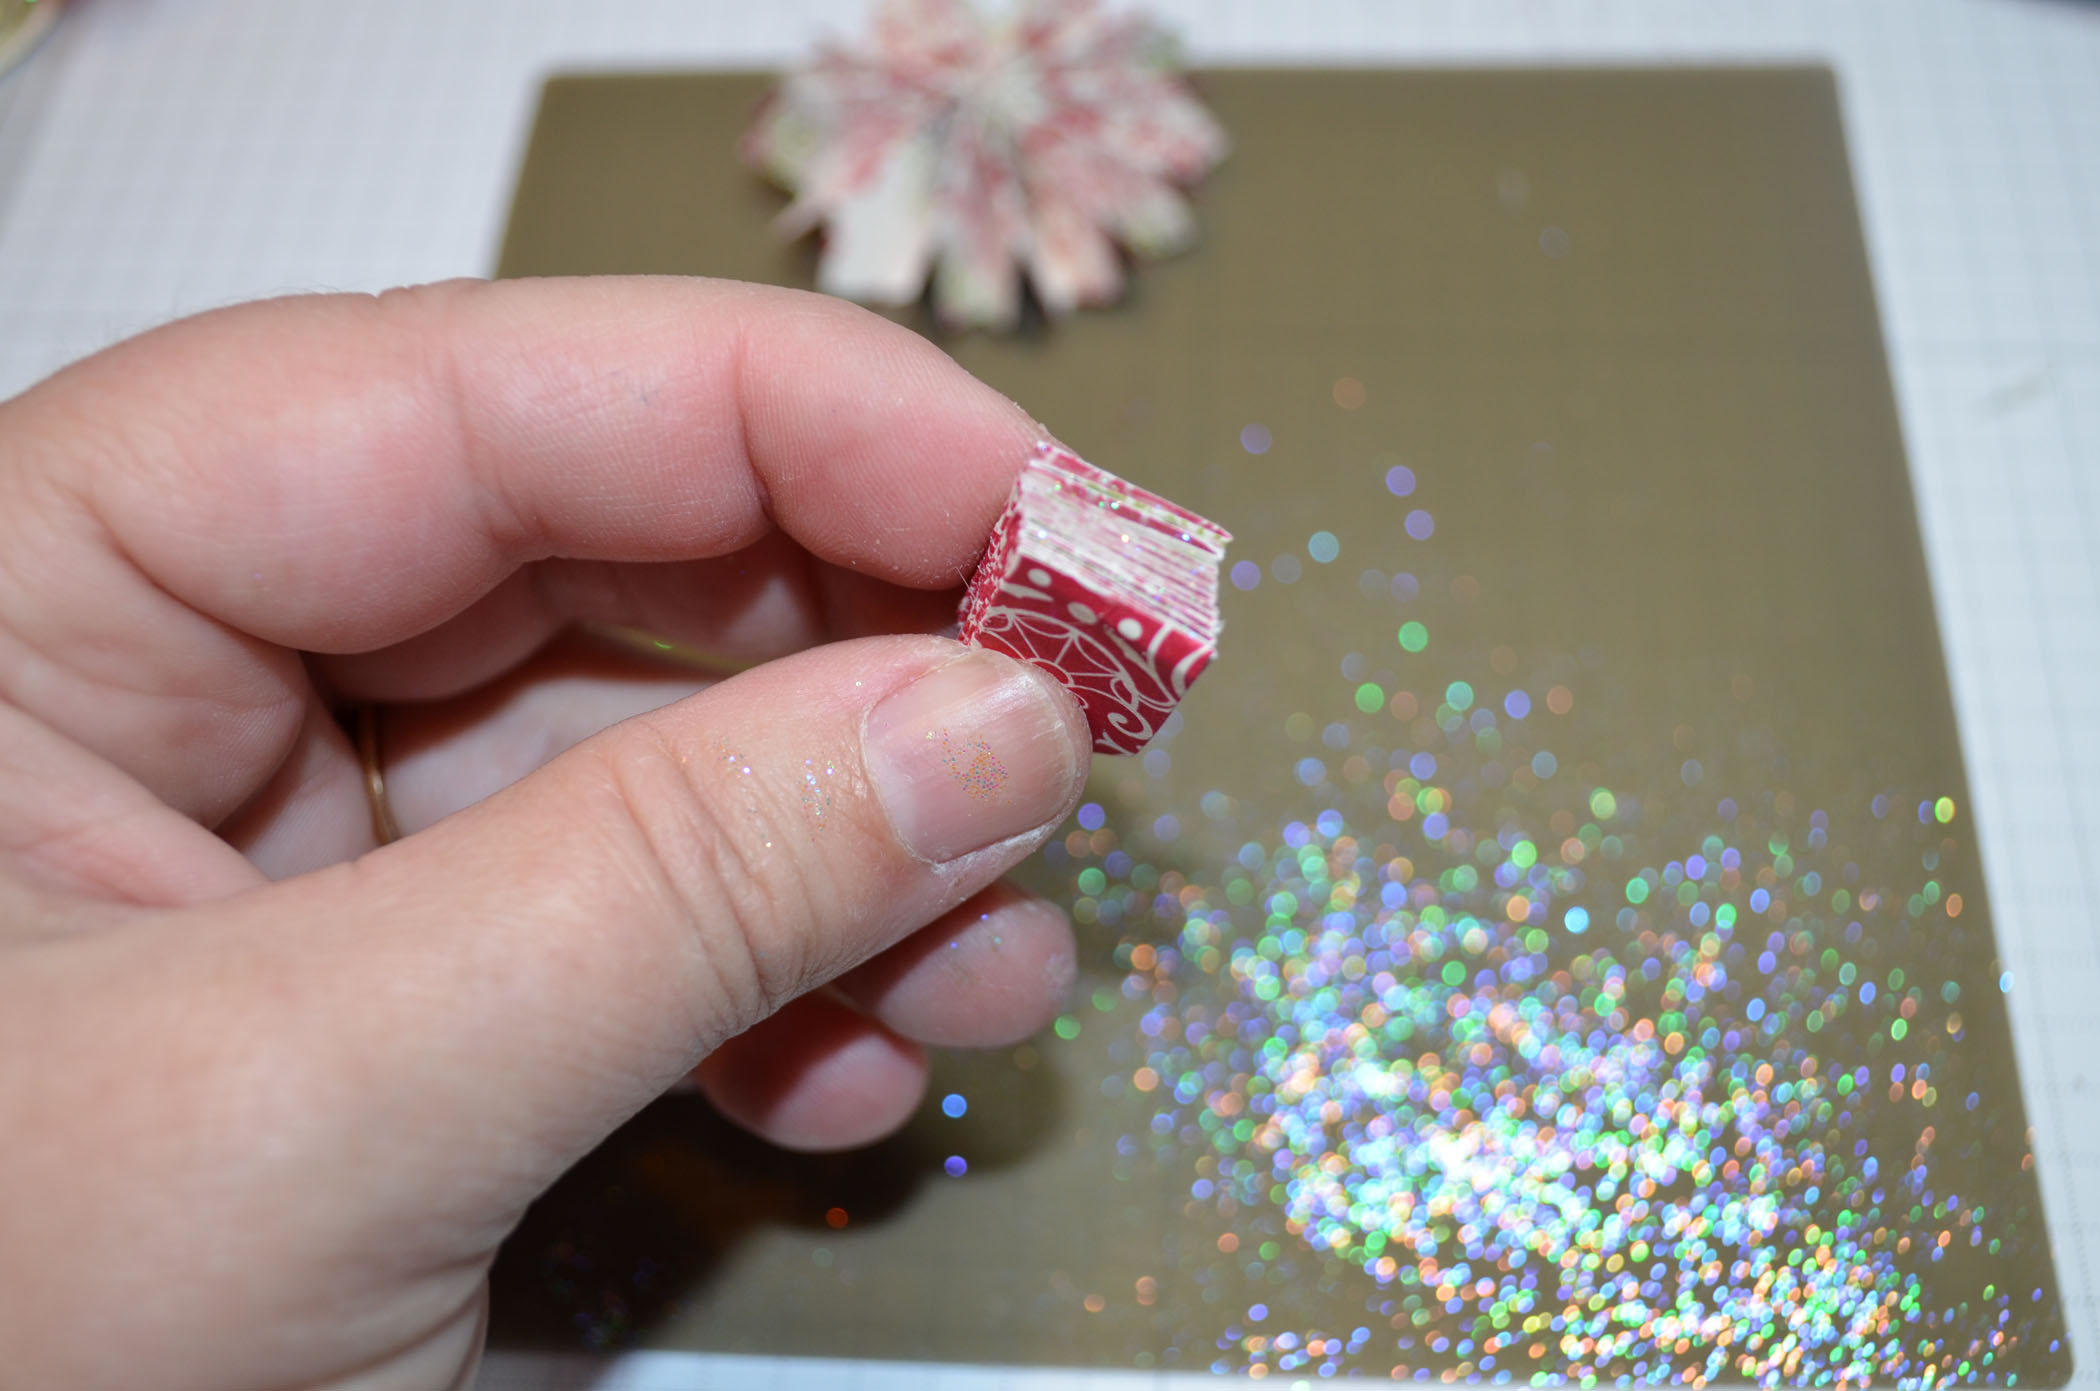
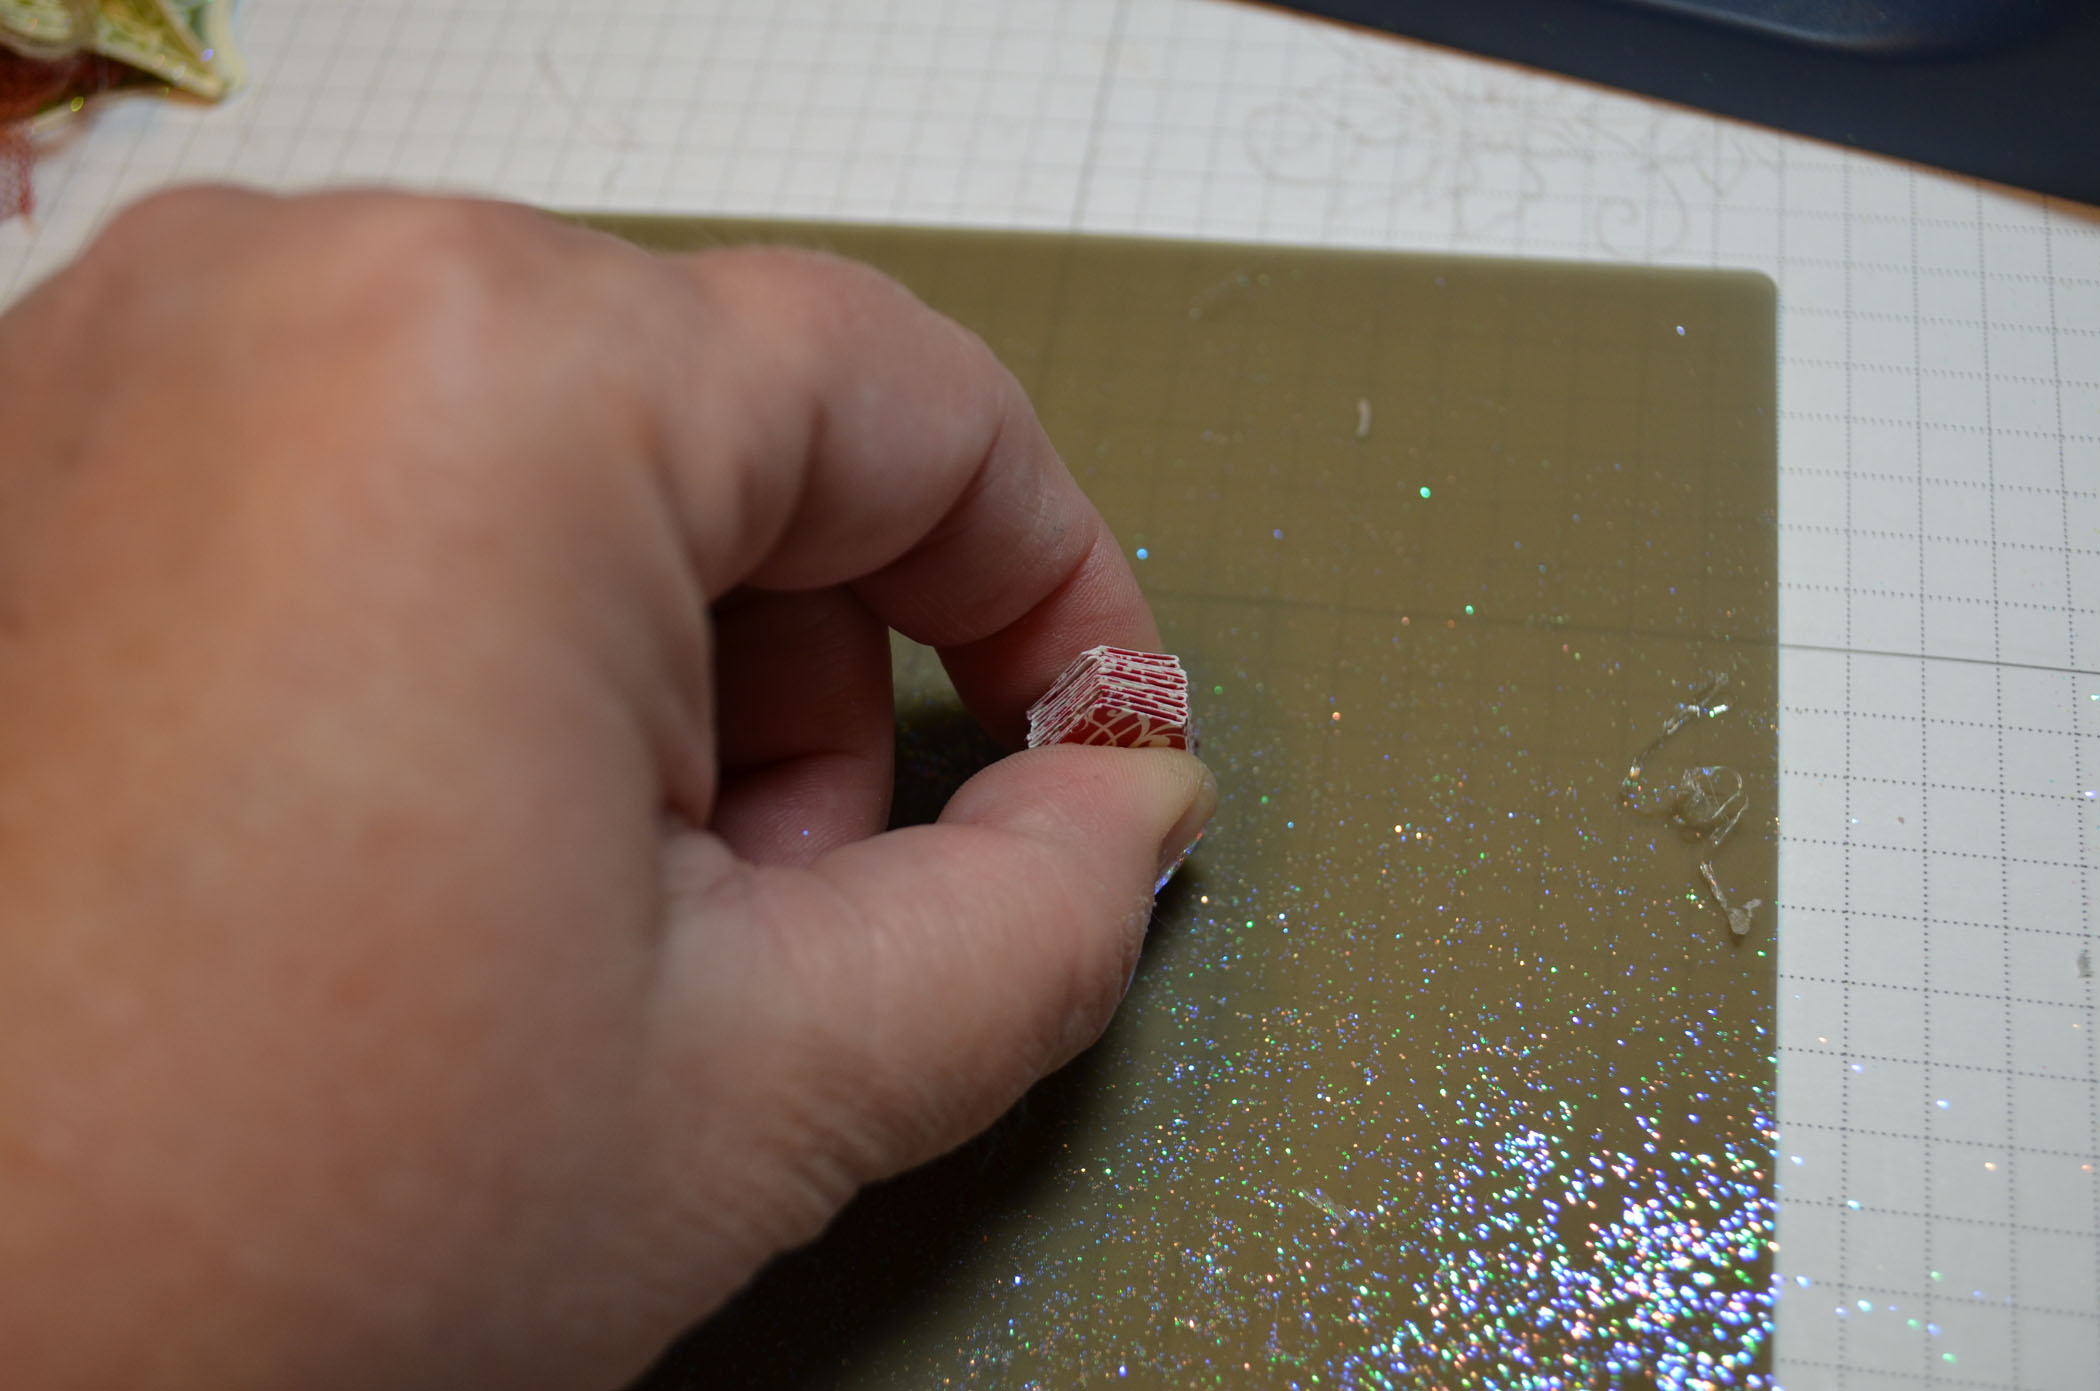
Put two way glue on the edges of the small and large ornaments and put Dazzling Diamonds on the glue. Talk about sparkle!
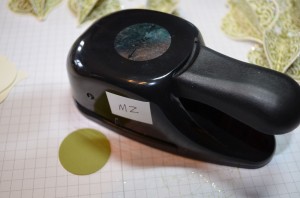
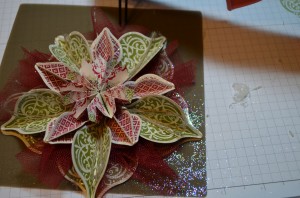
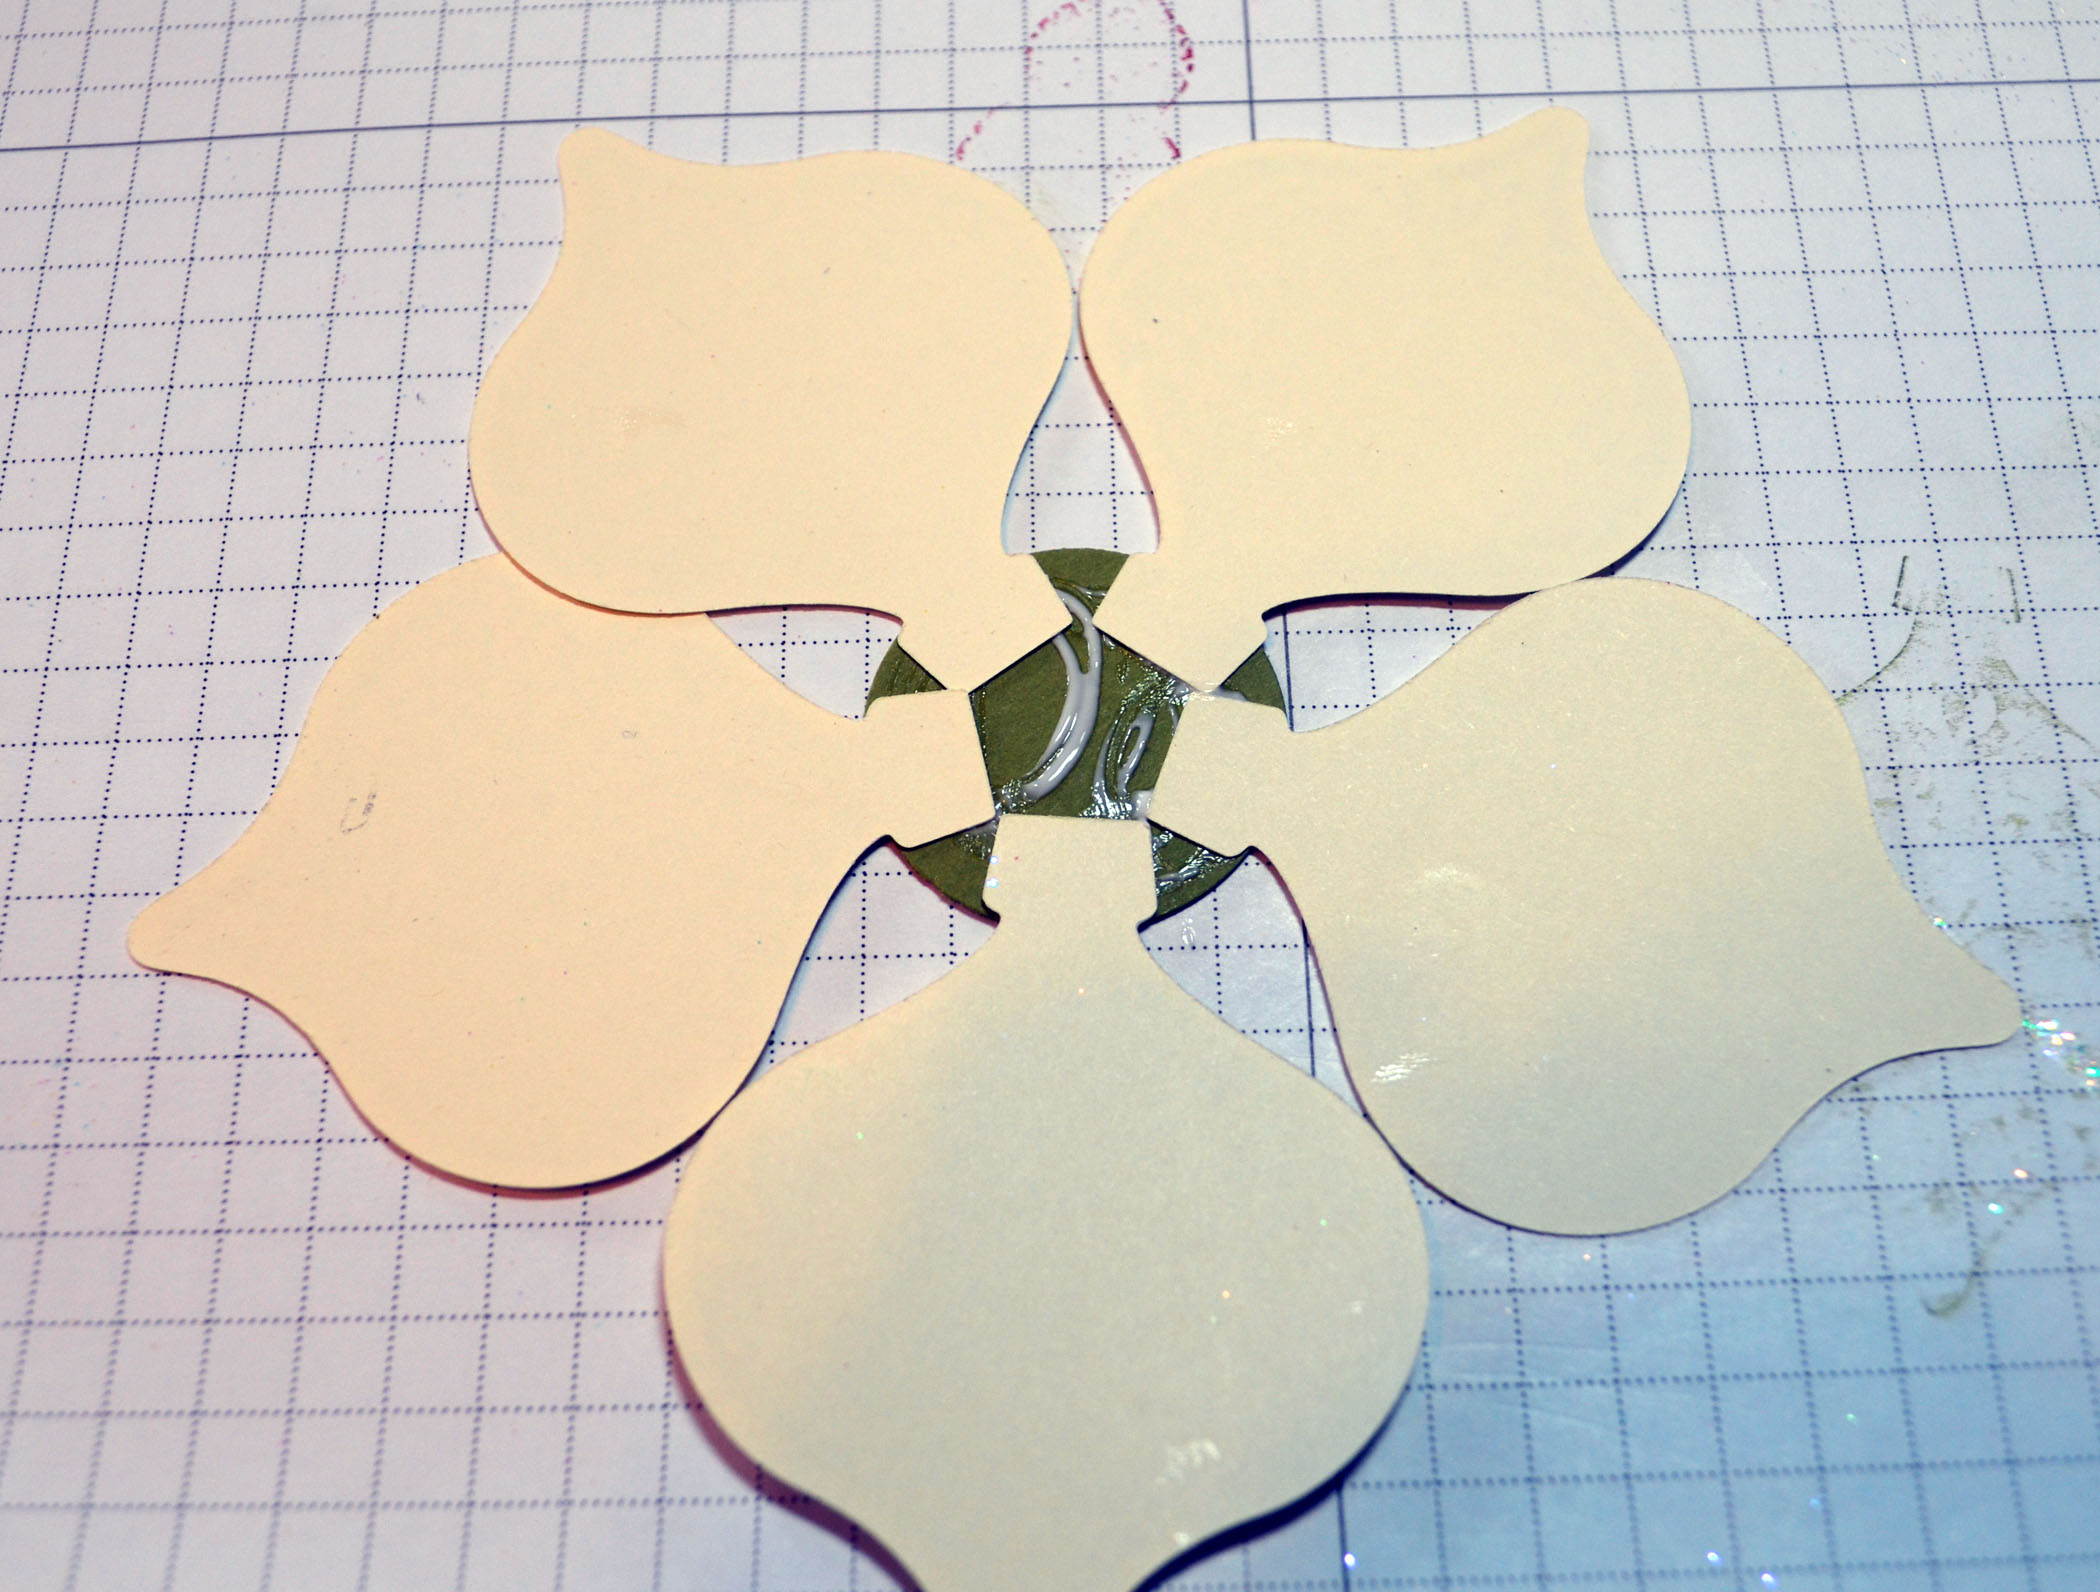
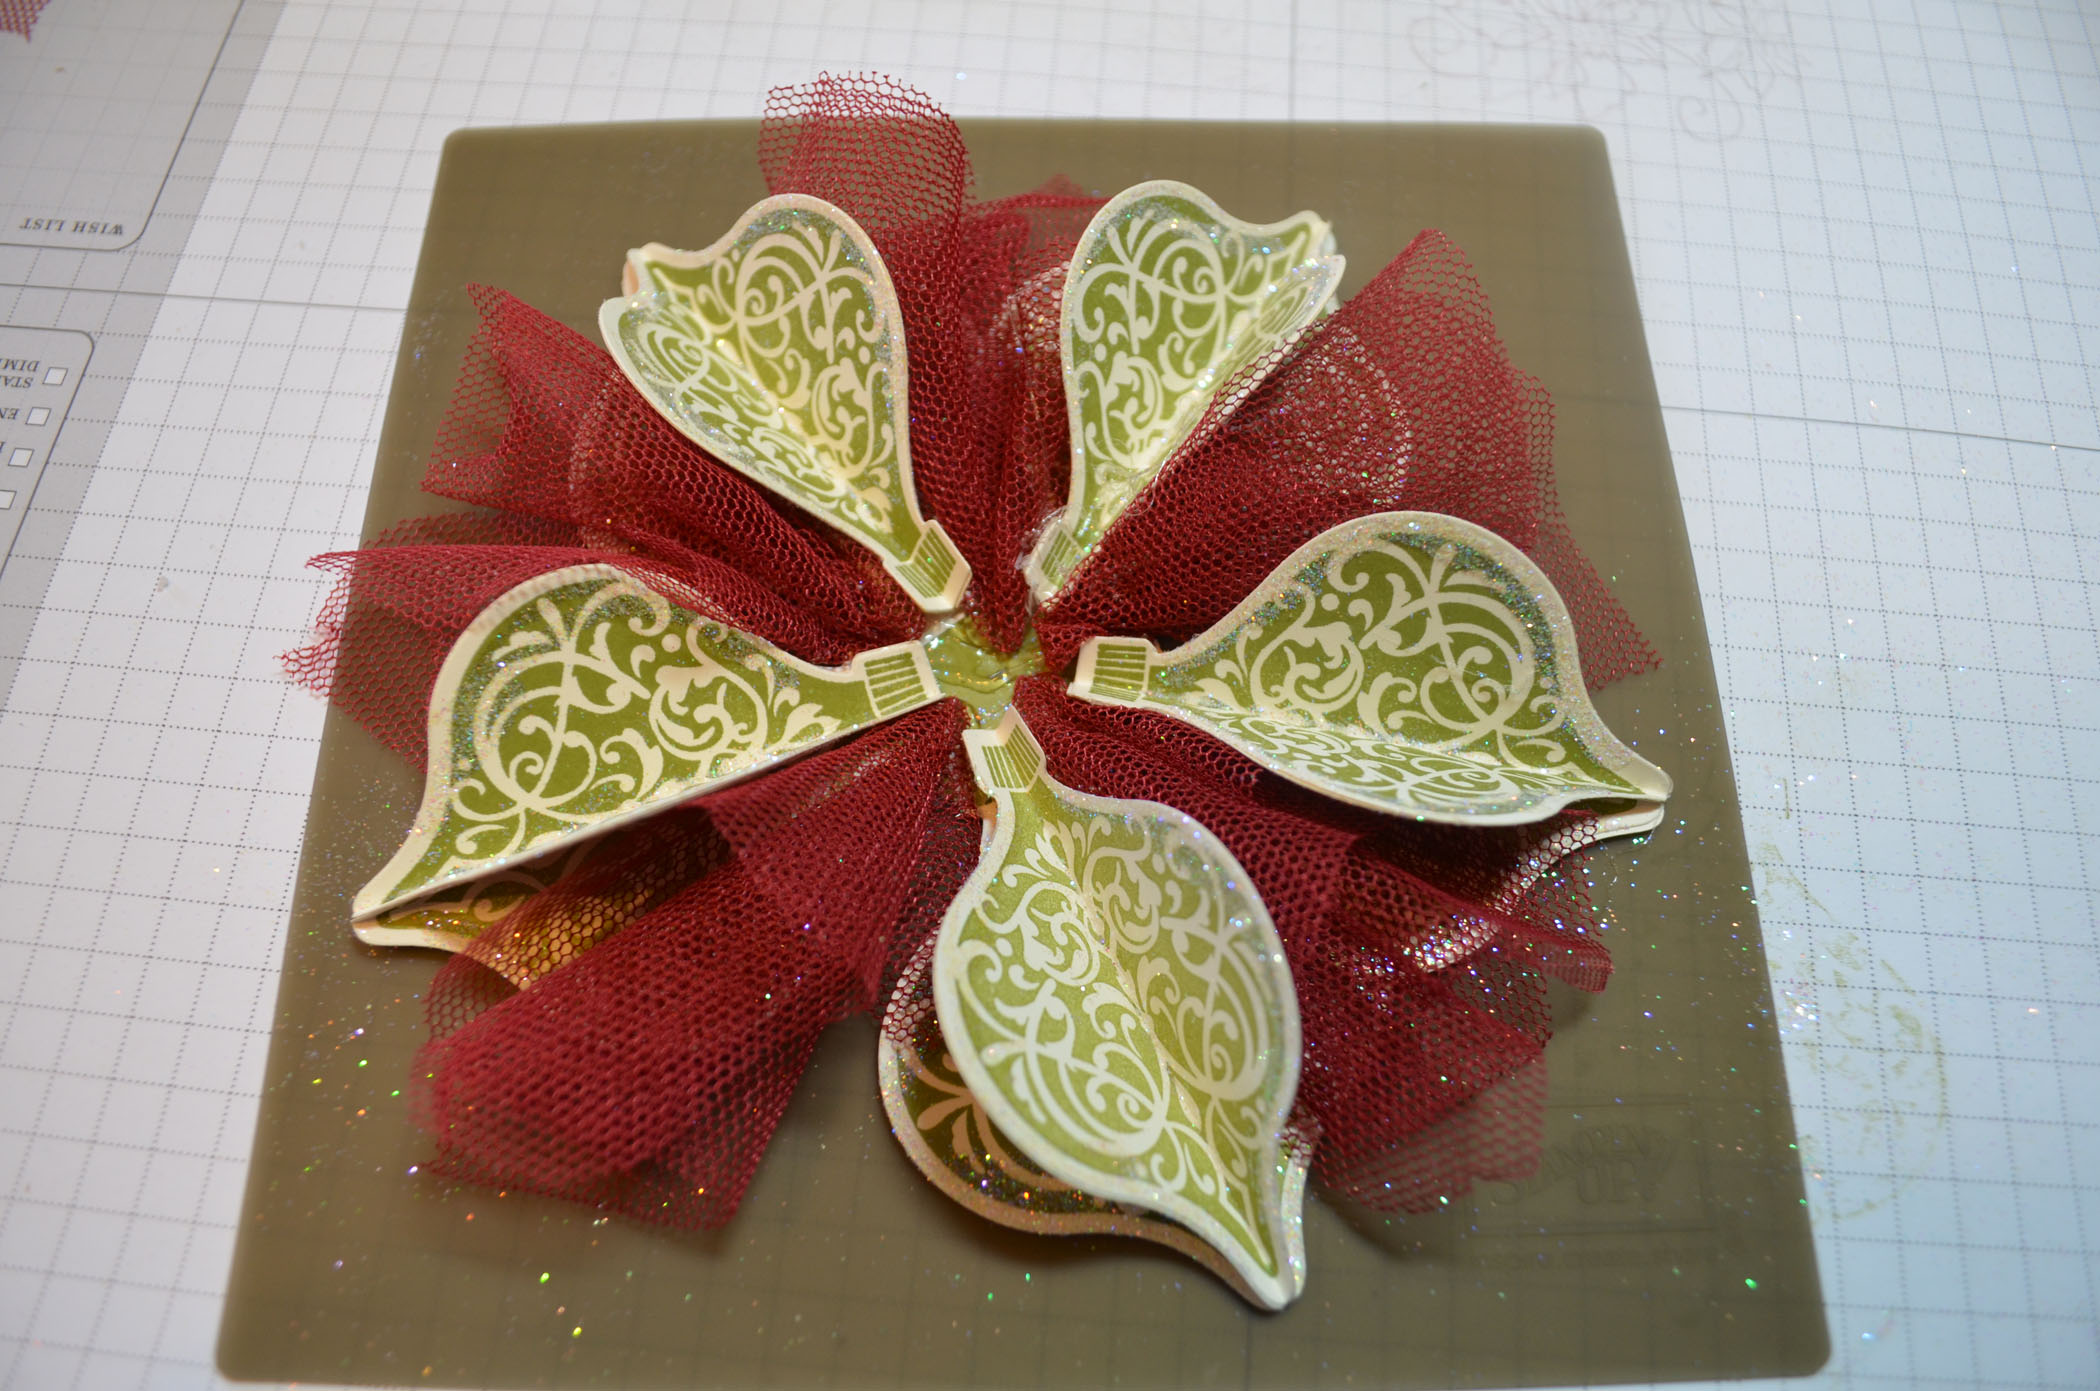
Punched a 1 1/4″ circle punch from Old Olive card stock. Put glue on one side of the circle and added the five unfolded ornaments face down, making them evenly spaced.
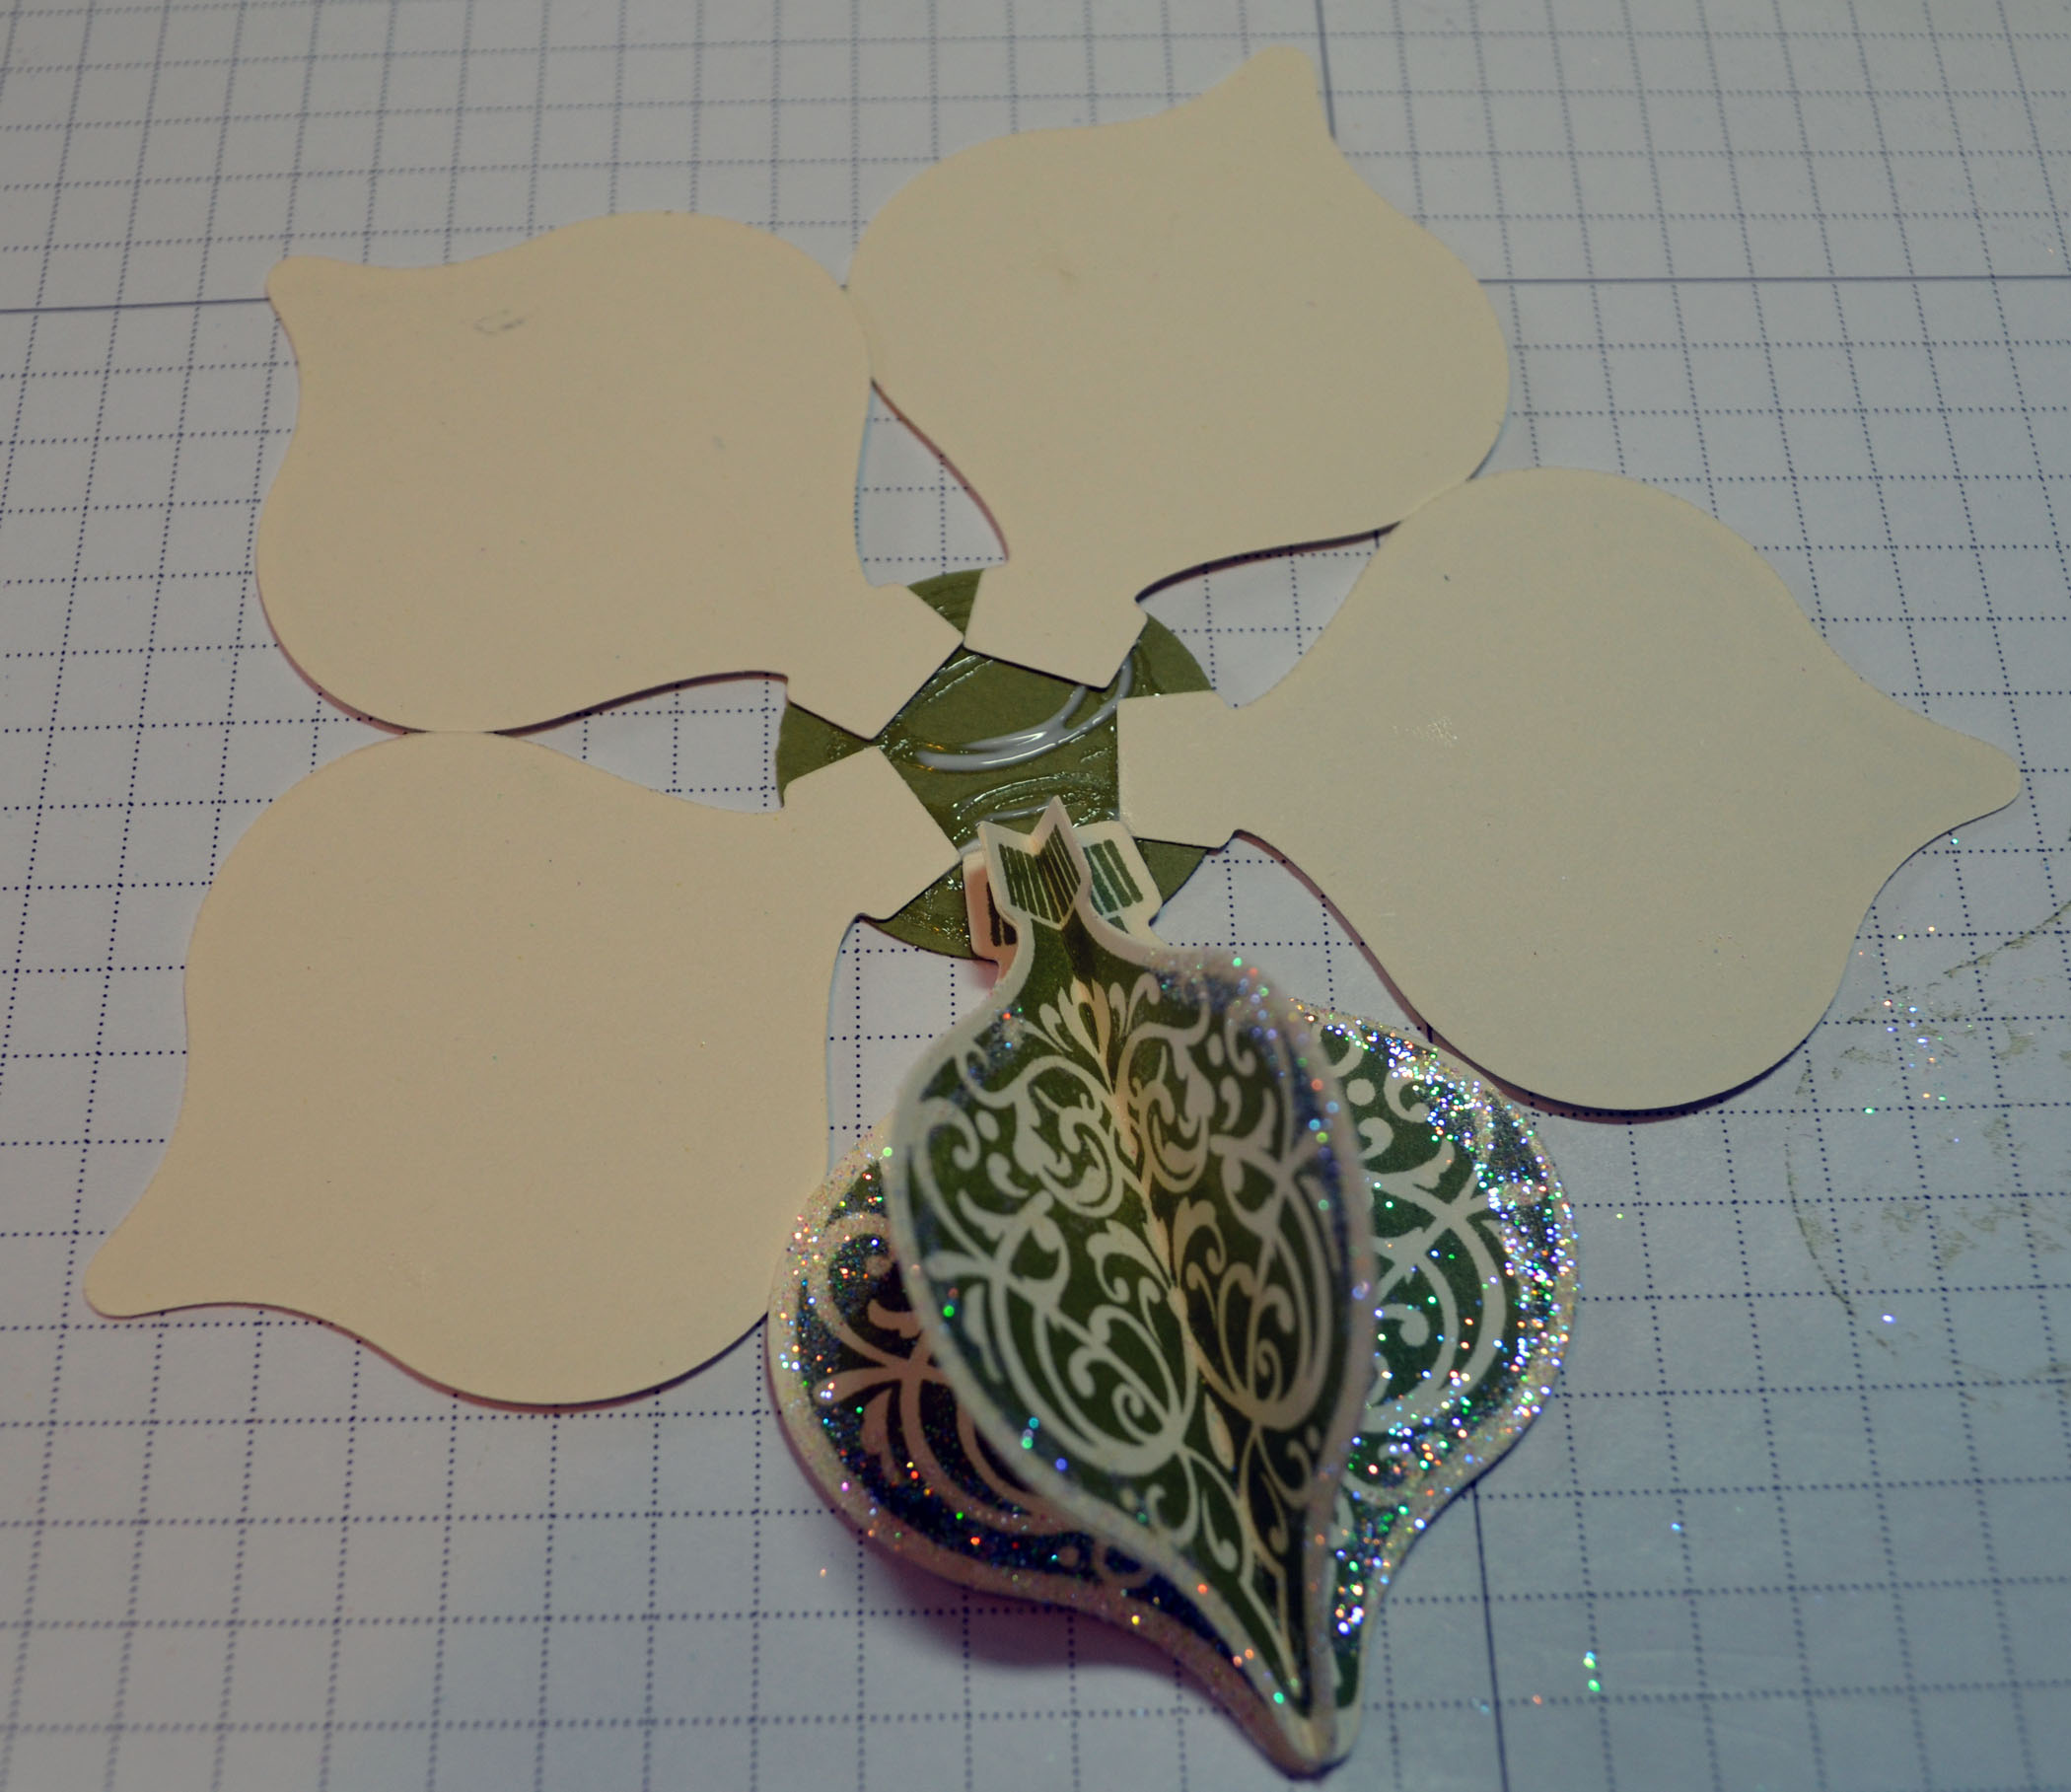
Glued the large folded ornaments on.


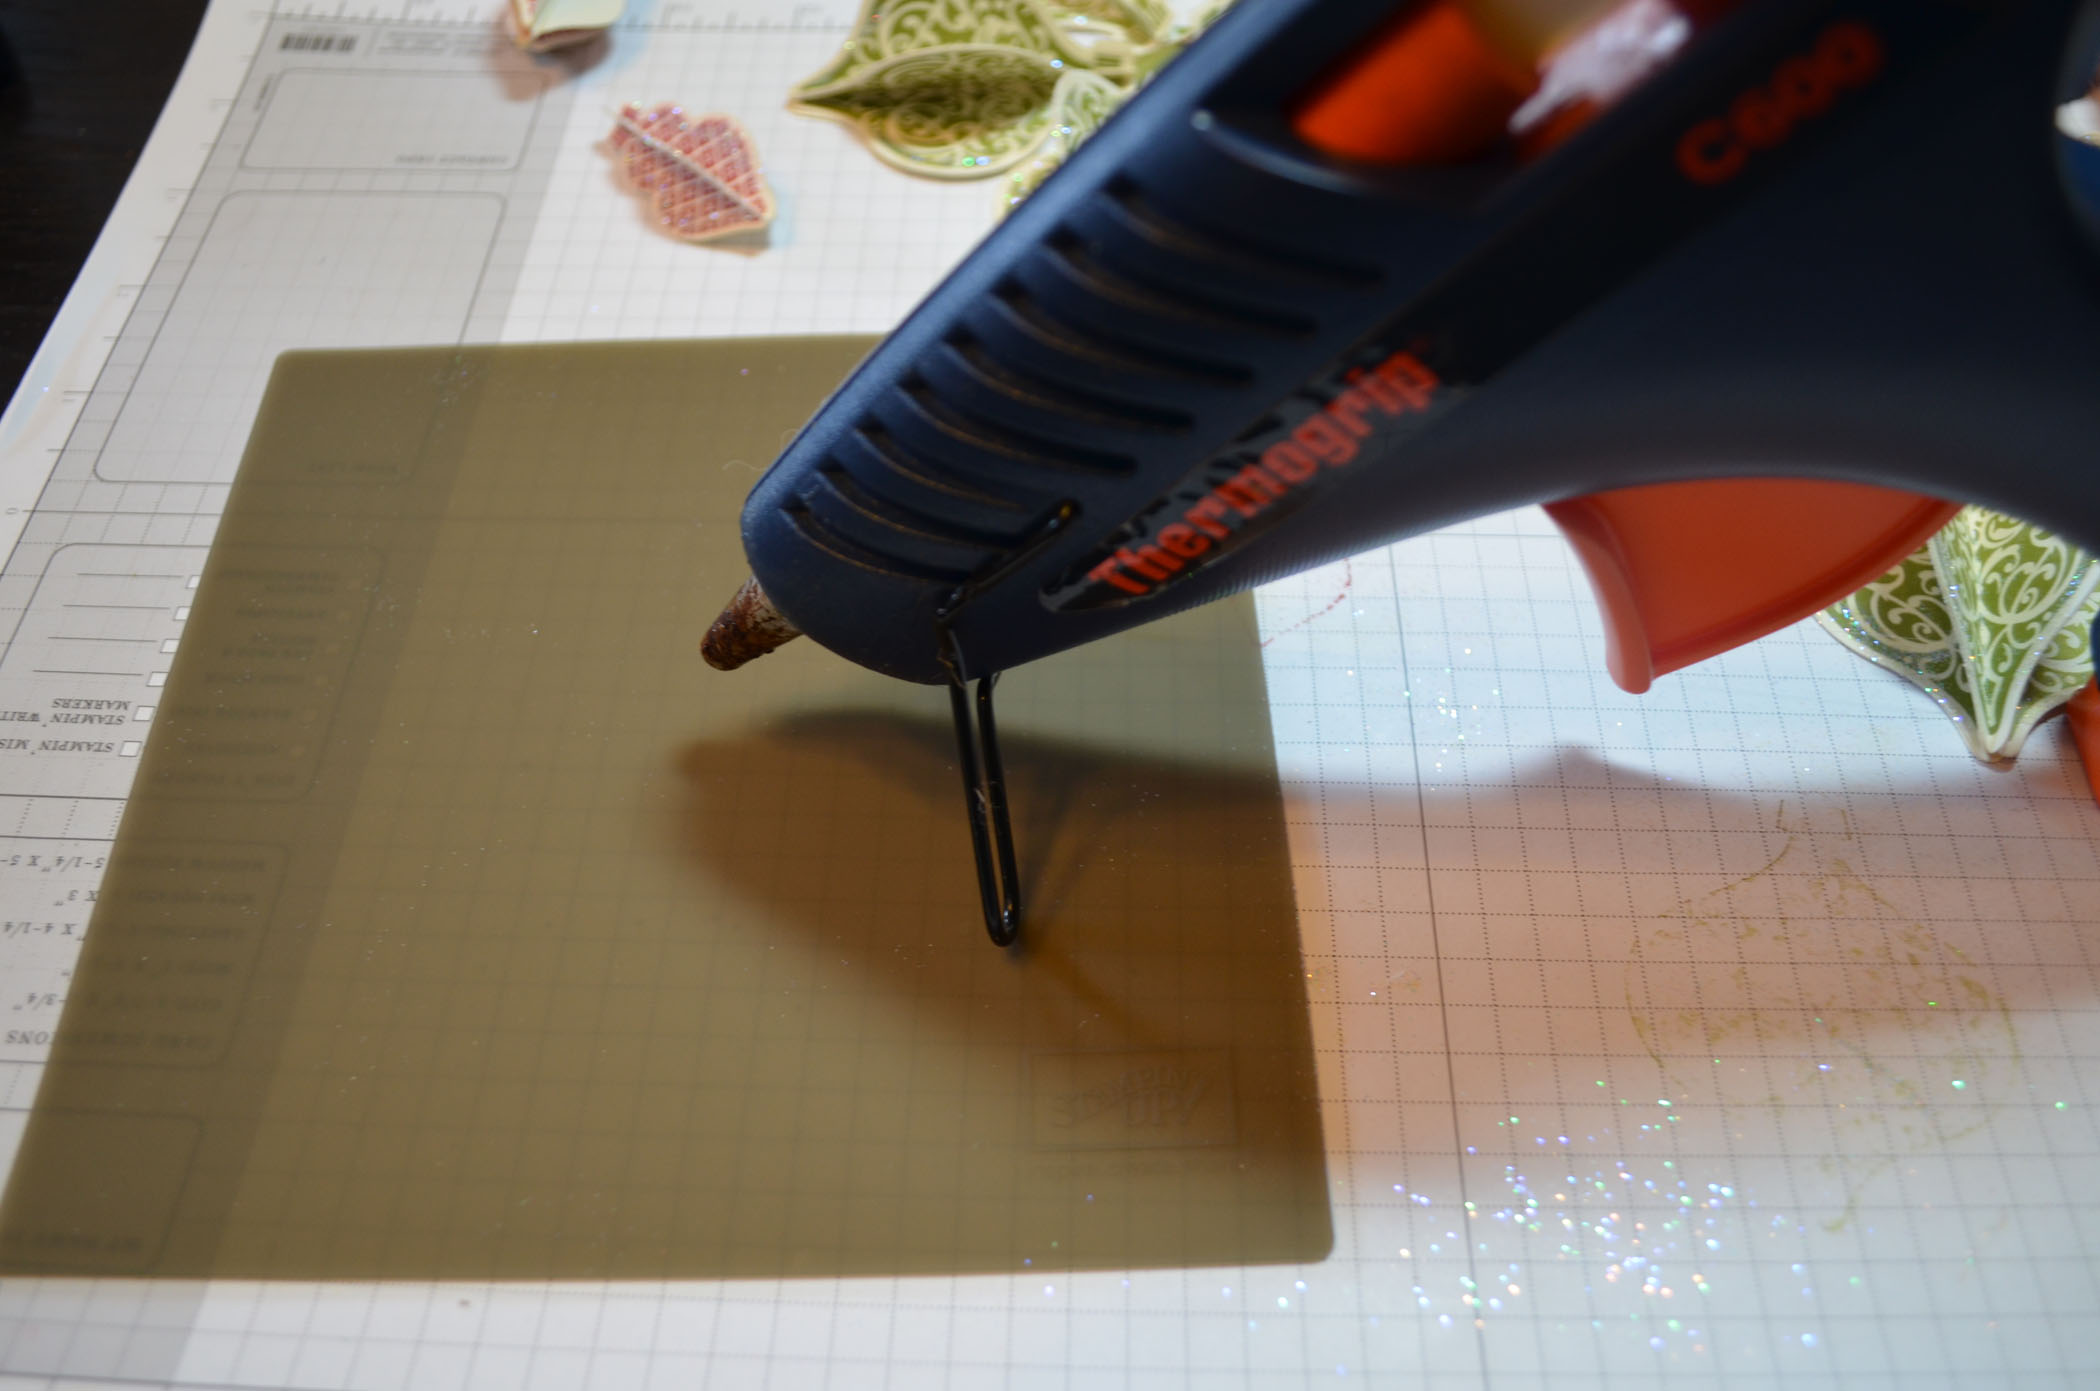
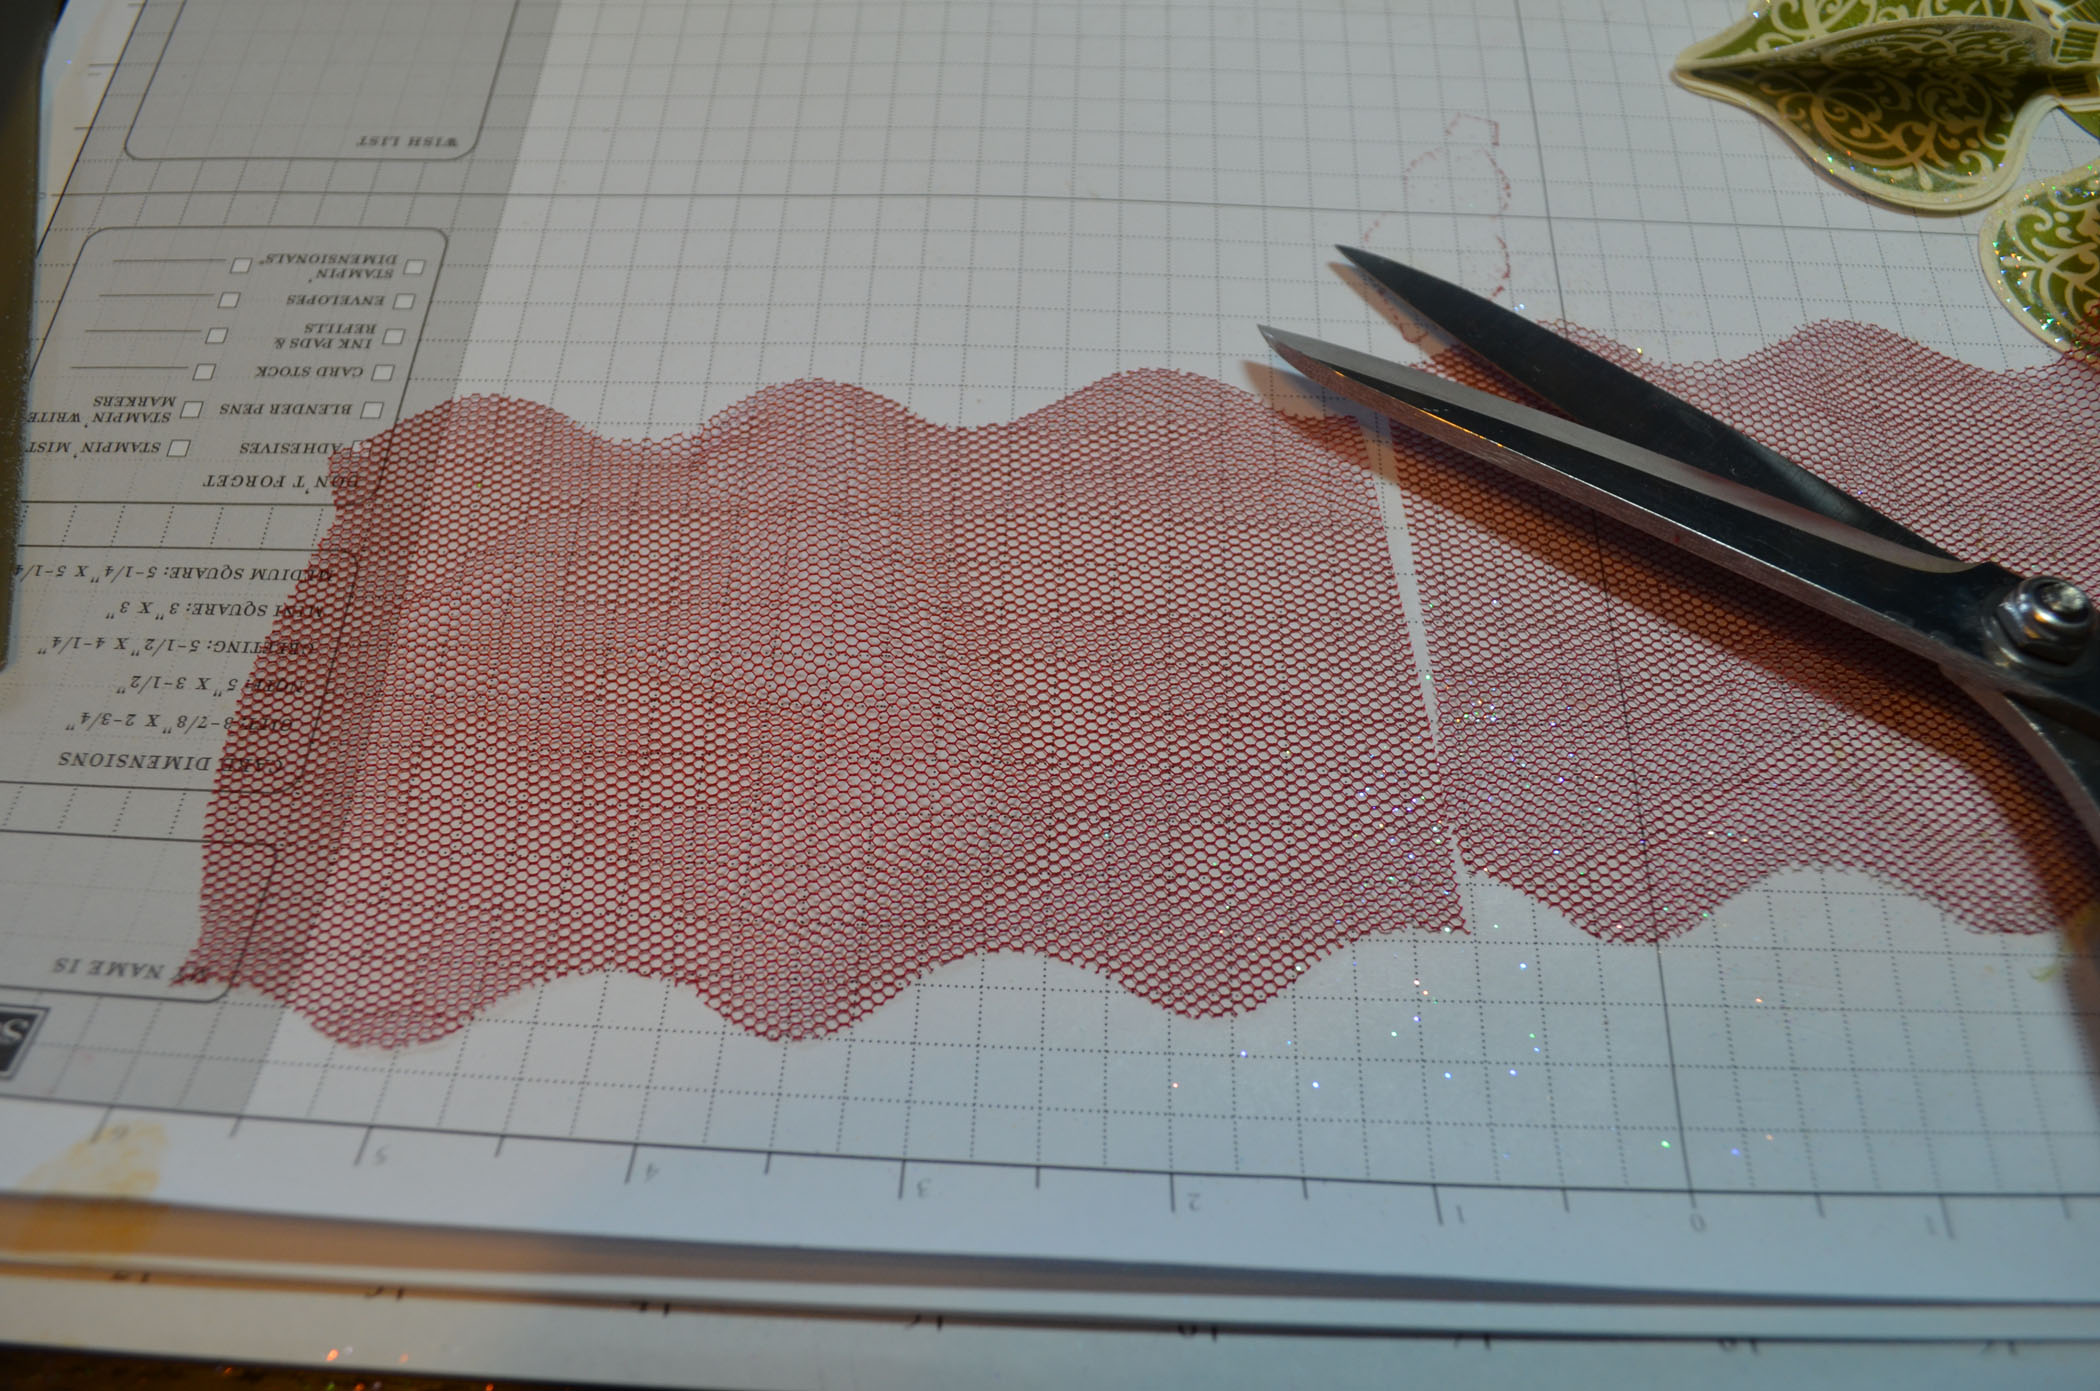
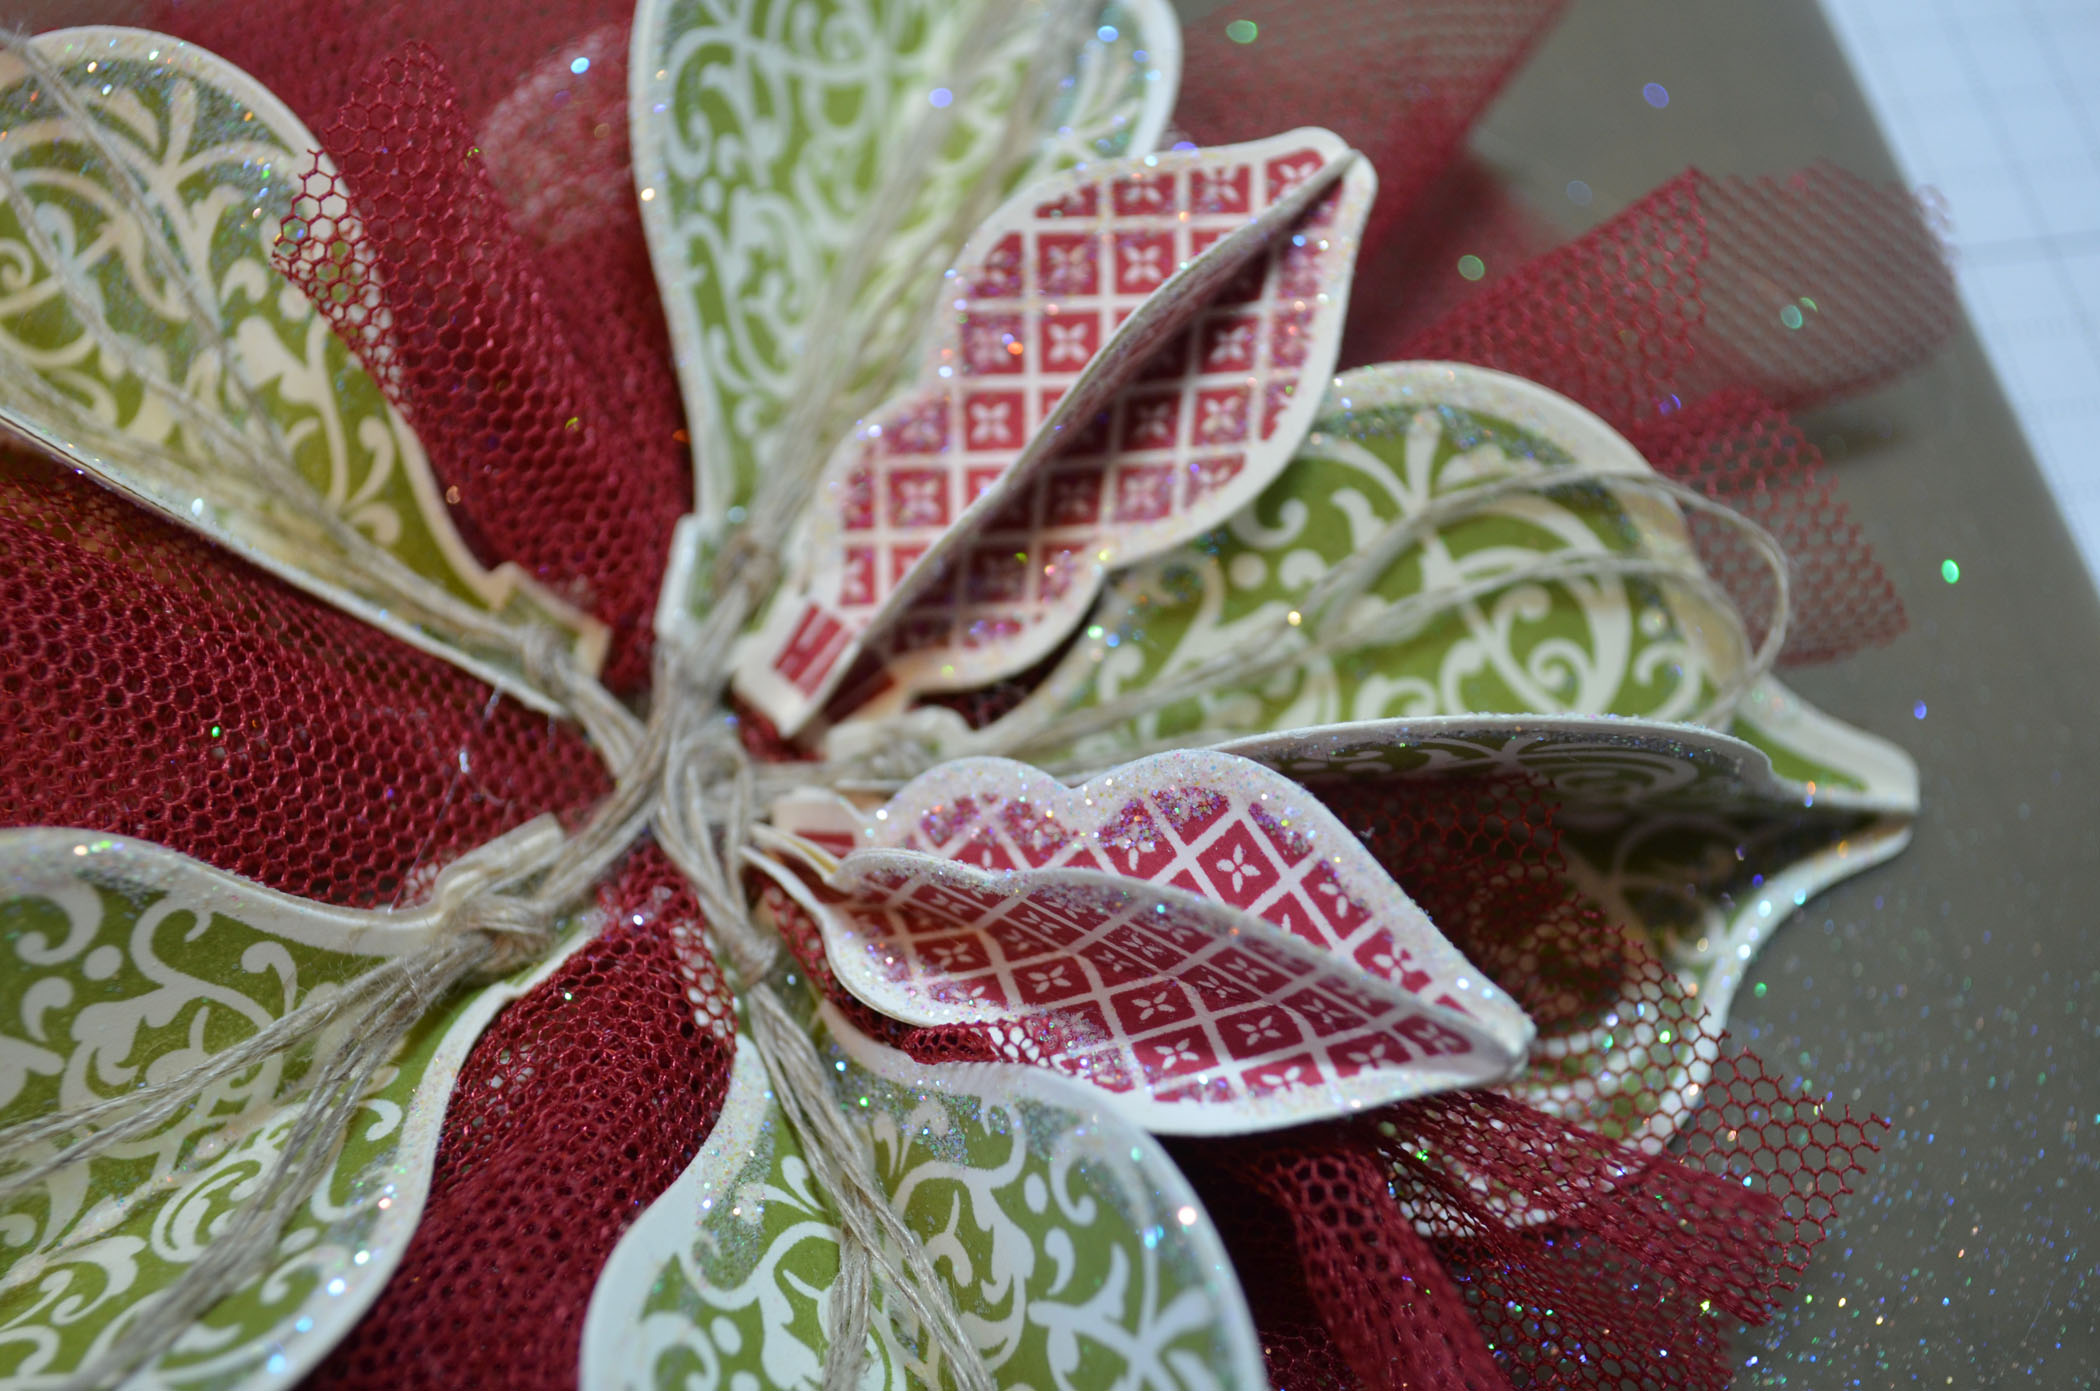
Now it’s time to get out your glue gun. Also cut 5 pieces of Tulle. Each piece should have 3 humps as shown.


Put my finger in the middle of the tulle and then pinched it and put a dollop of hot glue in between the ornaments and added the tulle between each ornament.

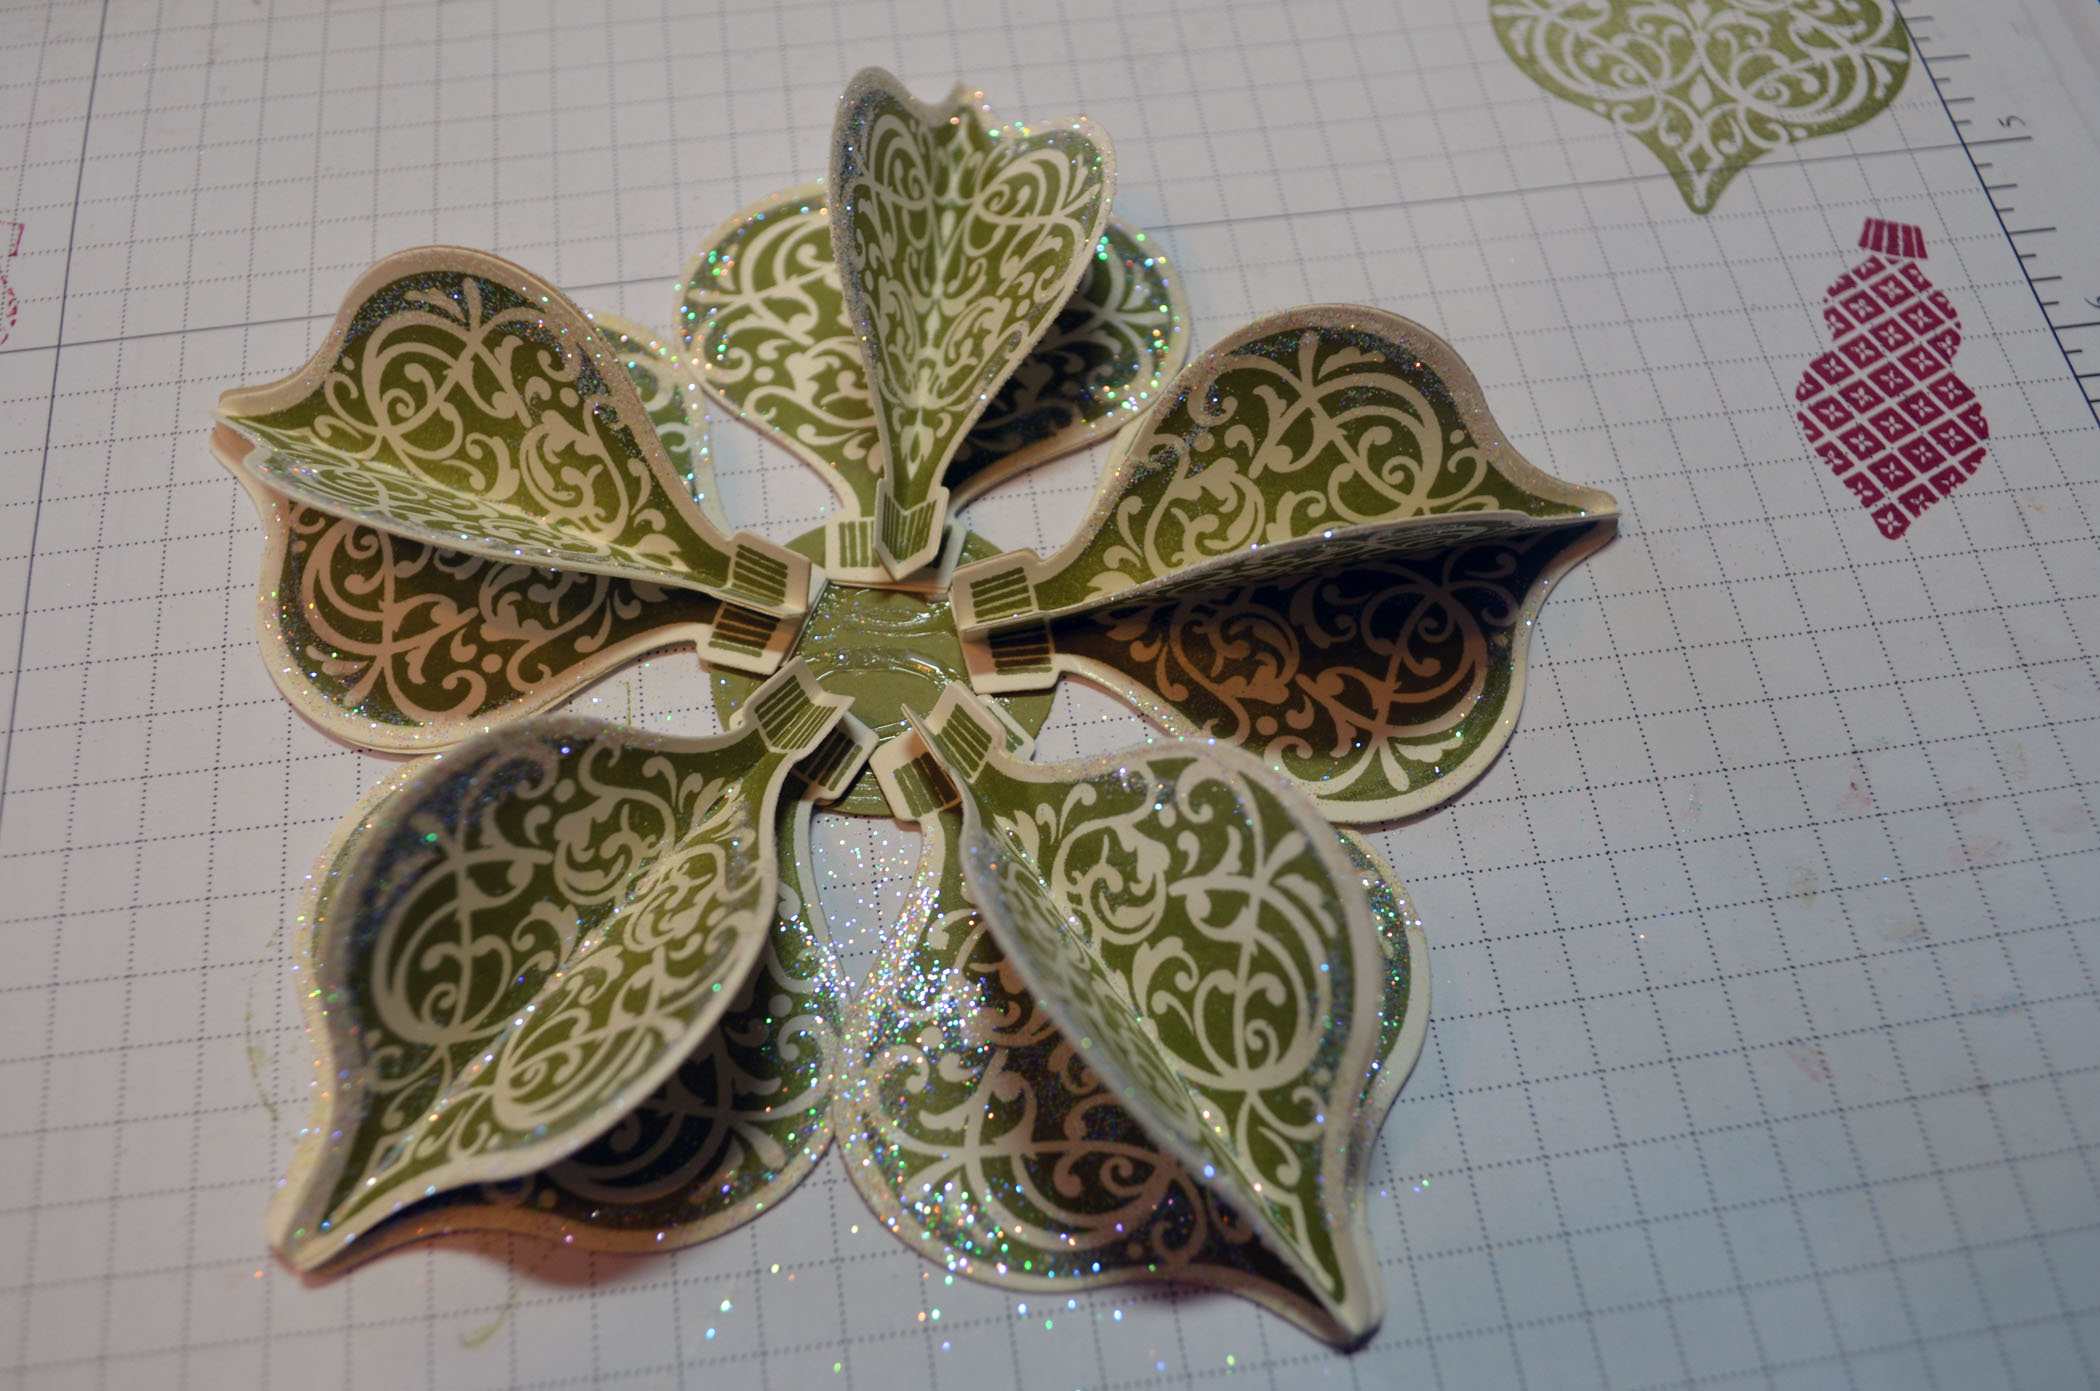
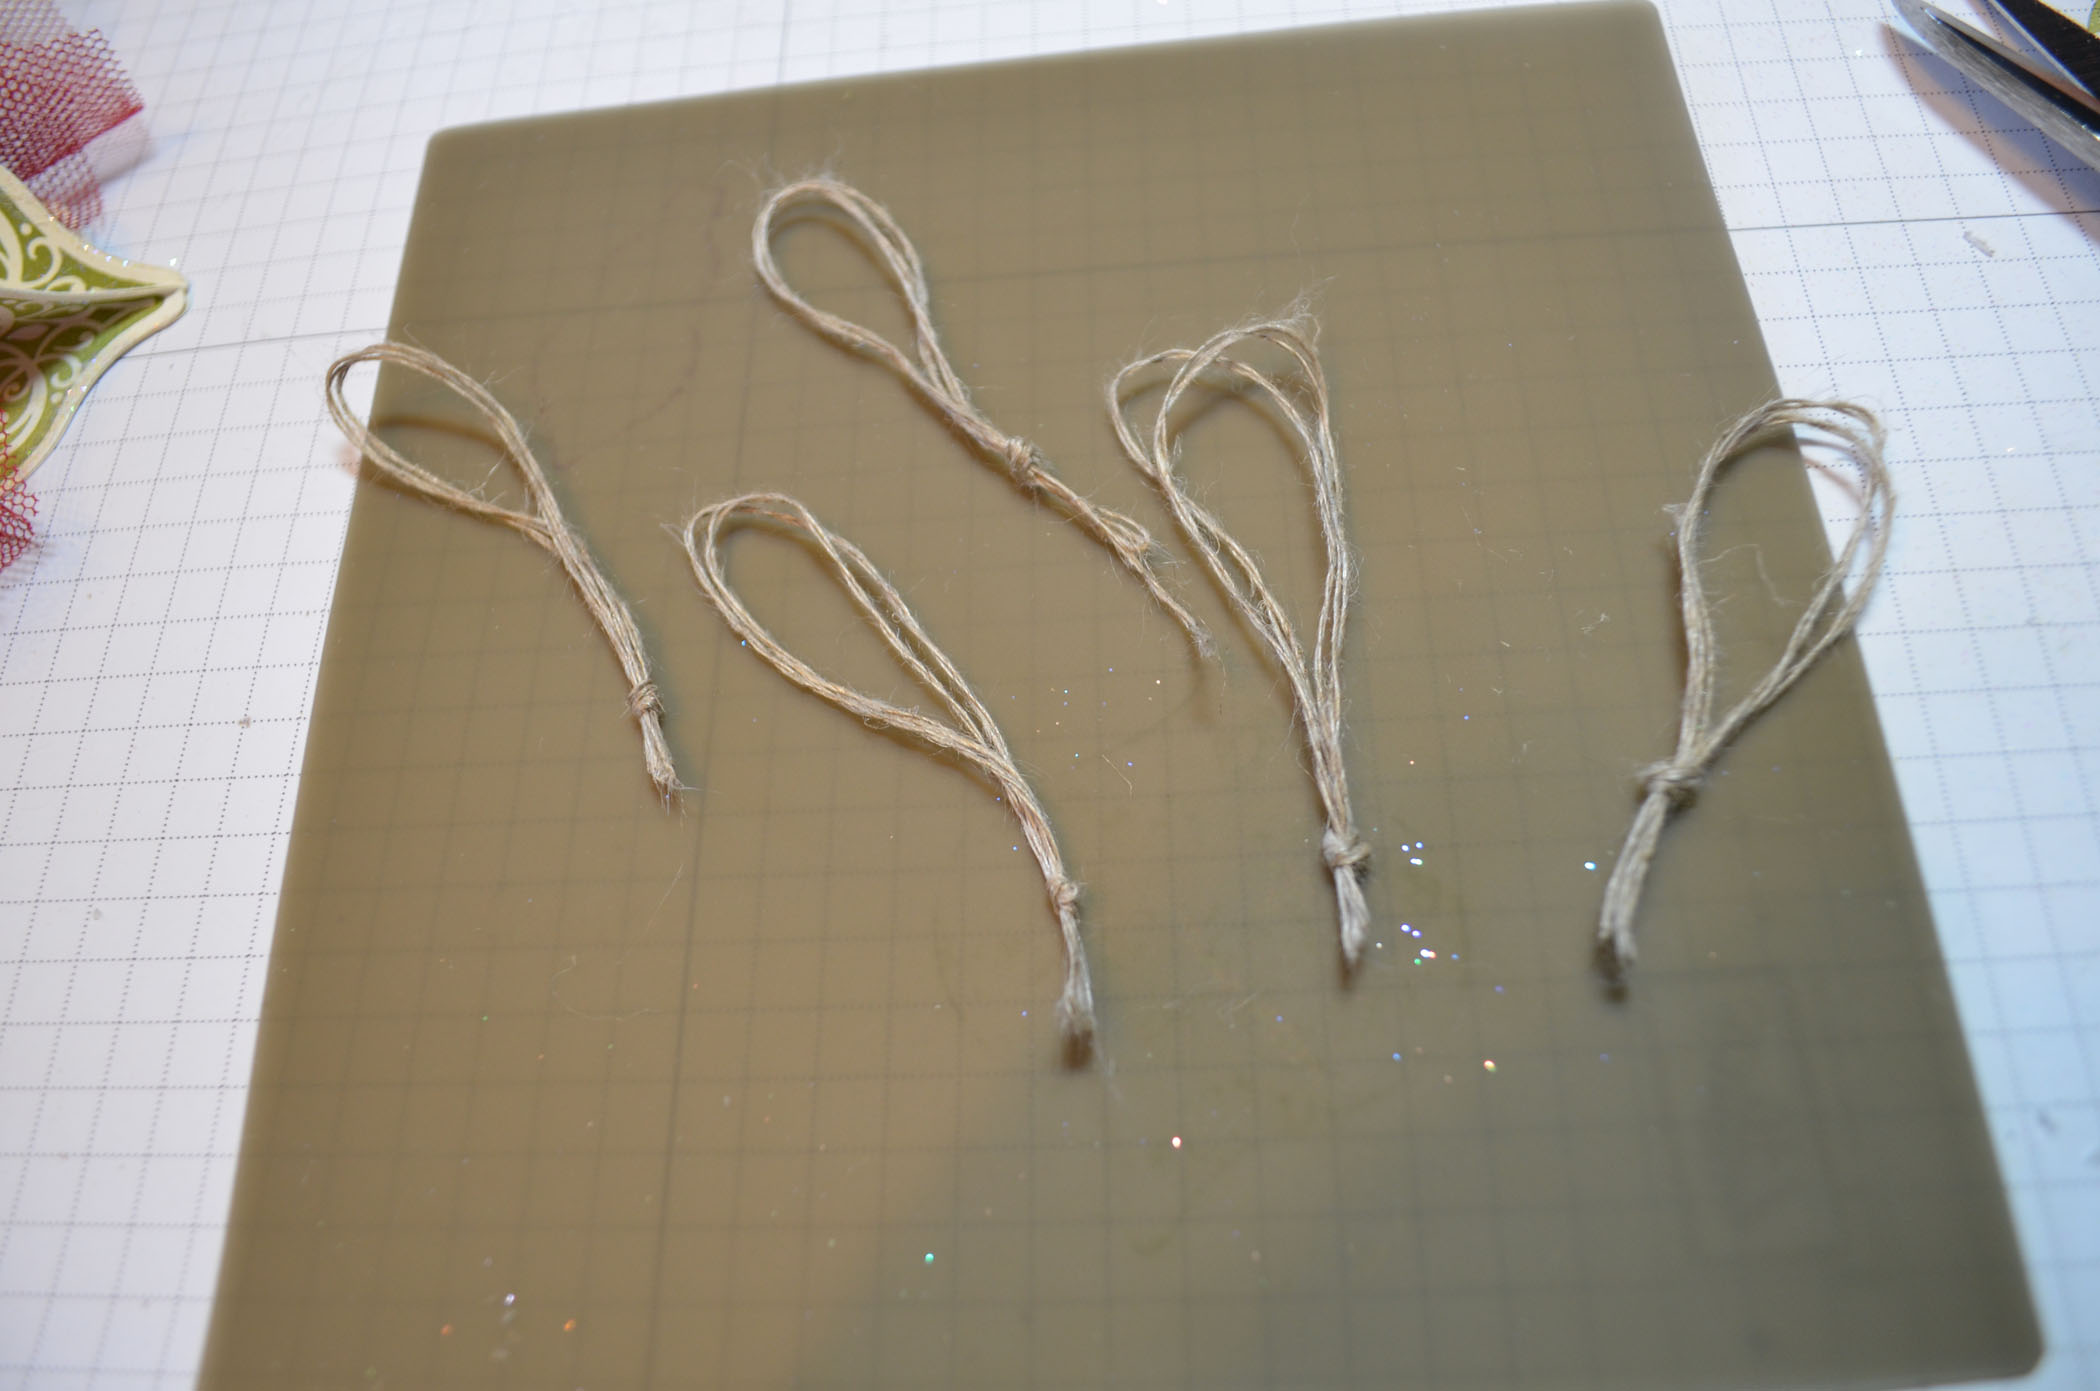
Cut 5 twelve inch pieces of Linen thread. Folded each piece in half and then half again. Tied a knot in the end.
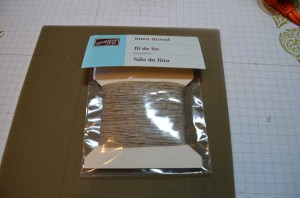
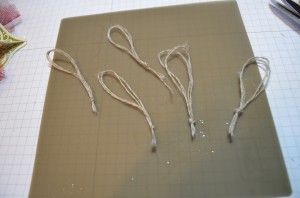
Hot glued the threads knot in the center of the Old Olive ornaments.

Glued the unfolded small ornaments on the back of the folded ornaments. Put a dollop of hot glue on the backside tip of each small ornament bundle and glued them over the tulle, in between the Old Olive ornaments.

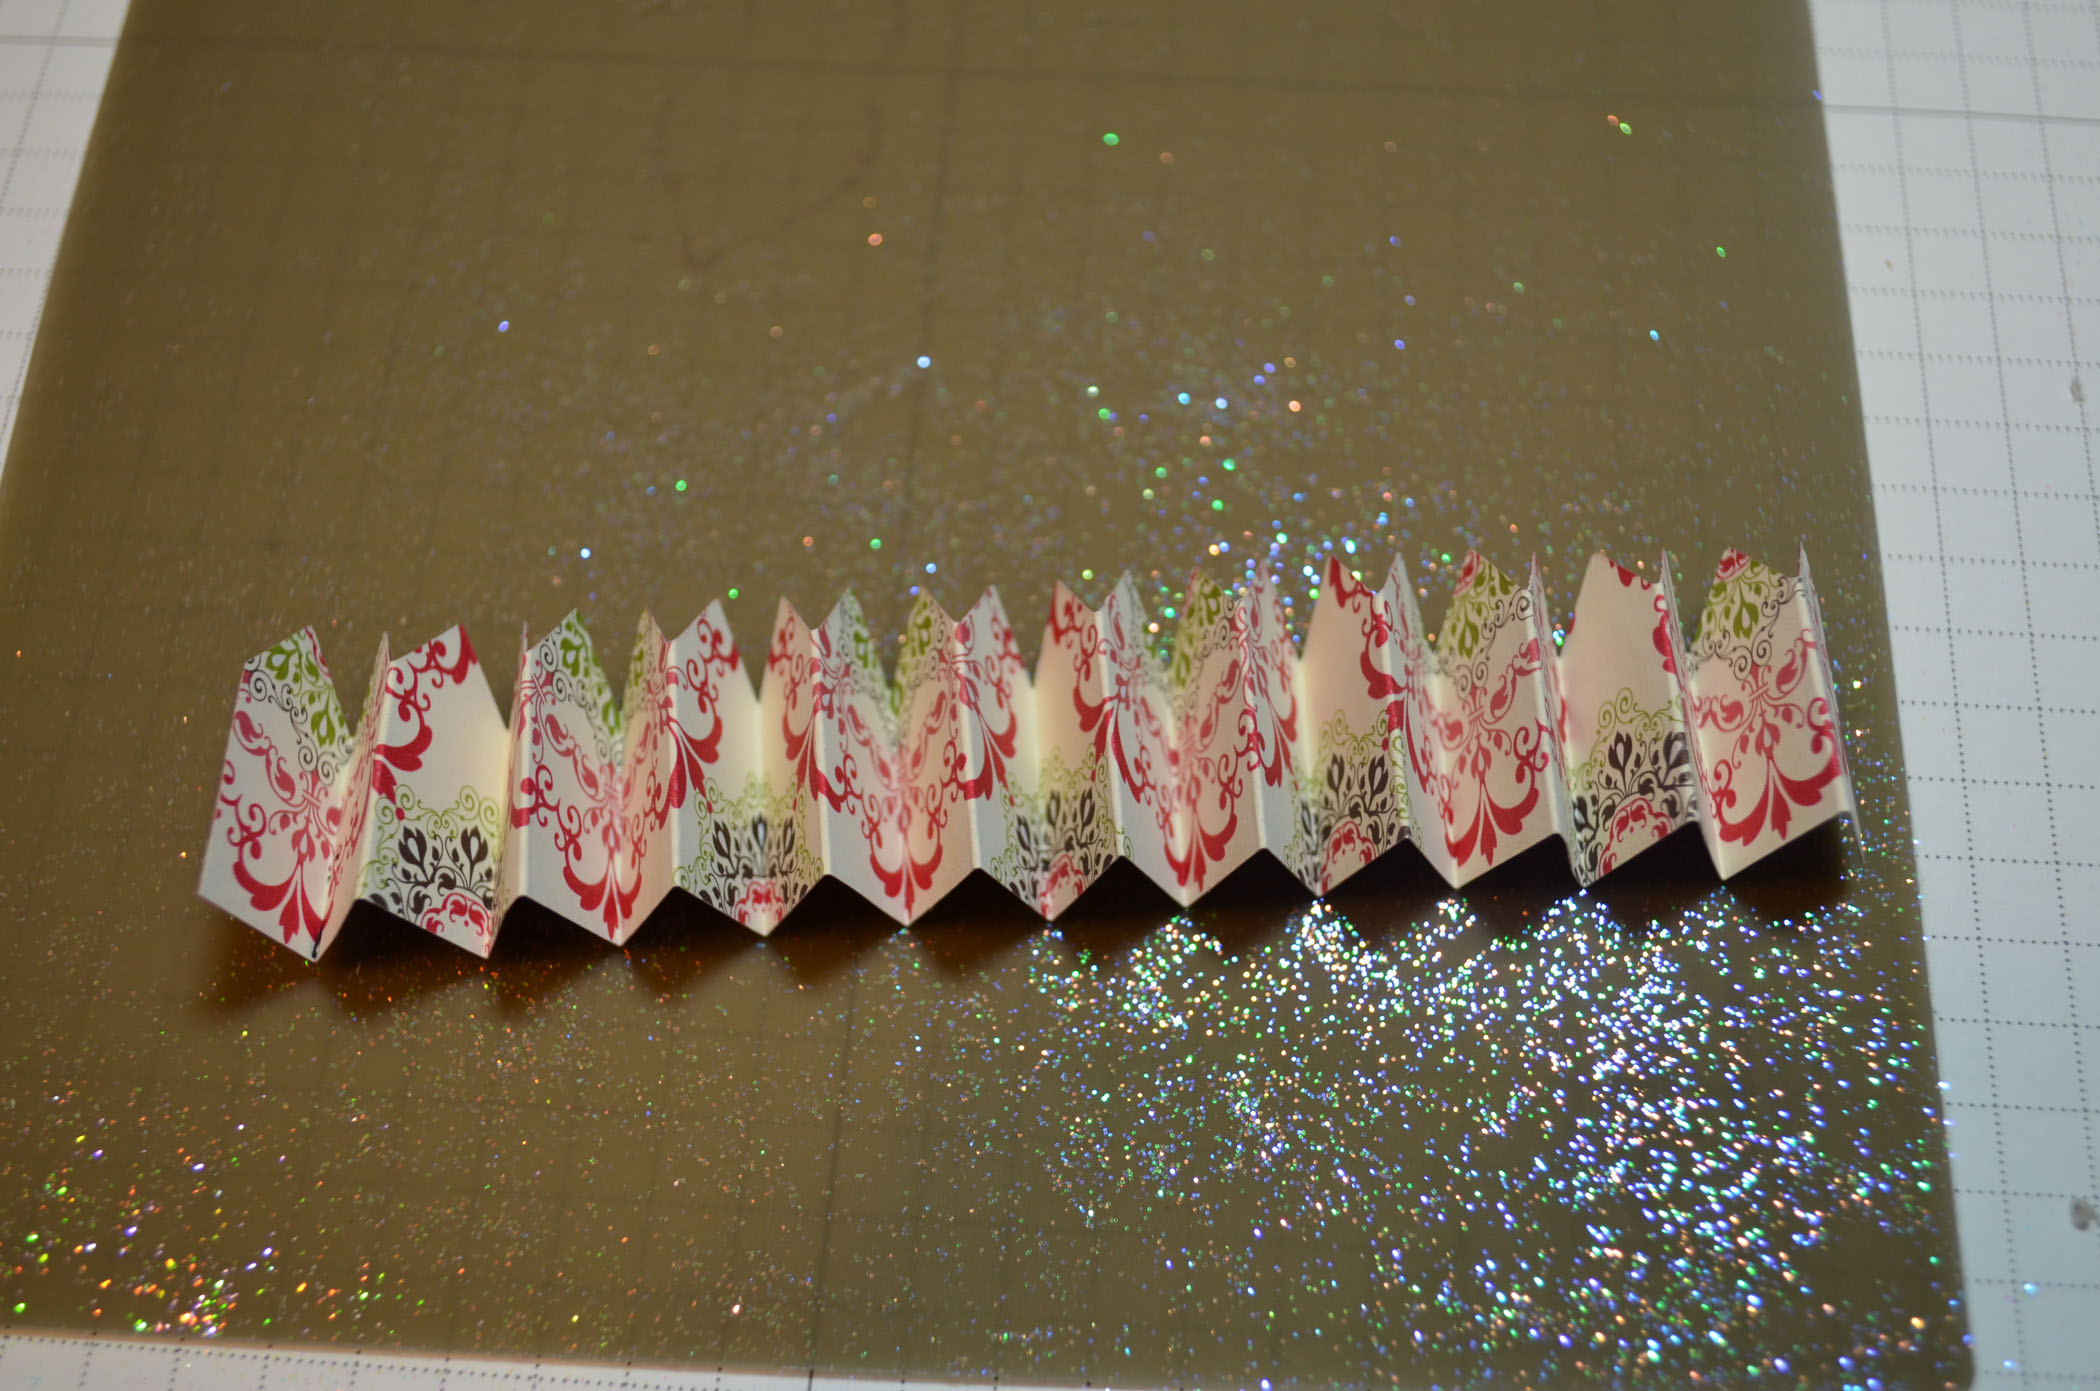
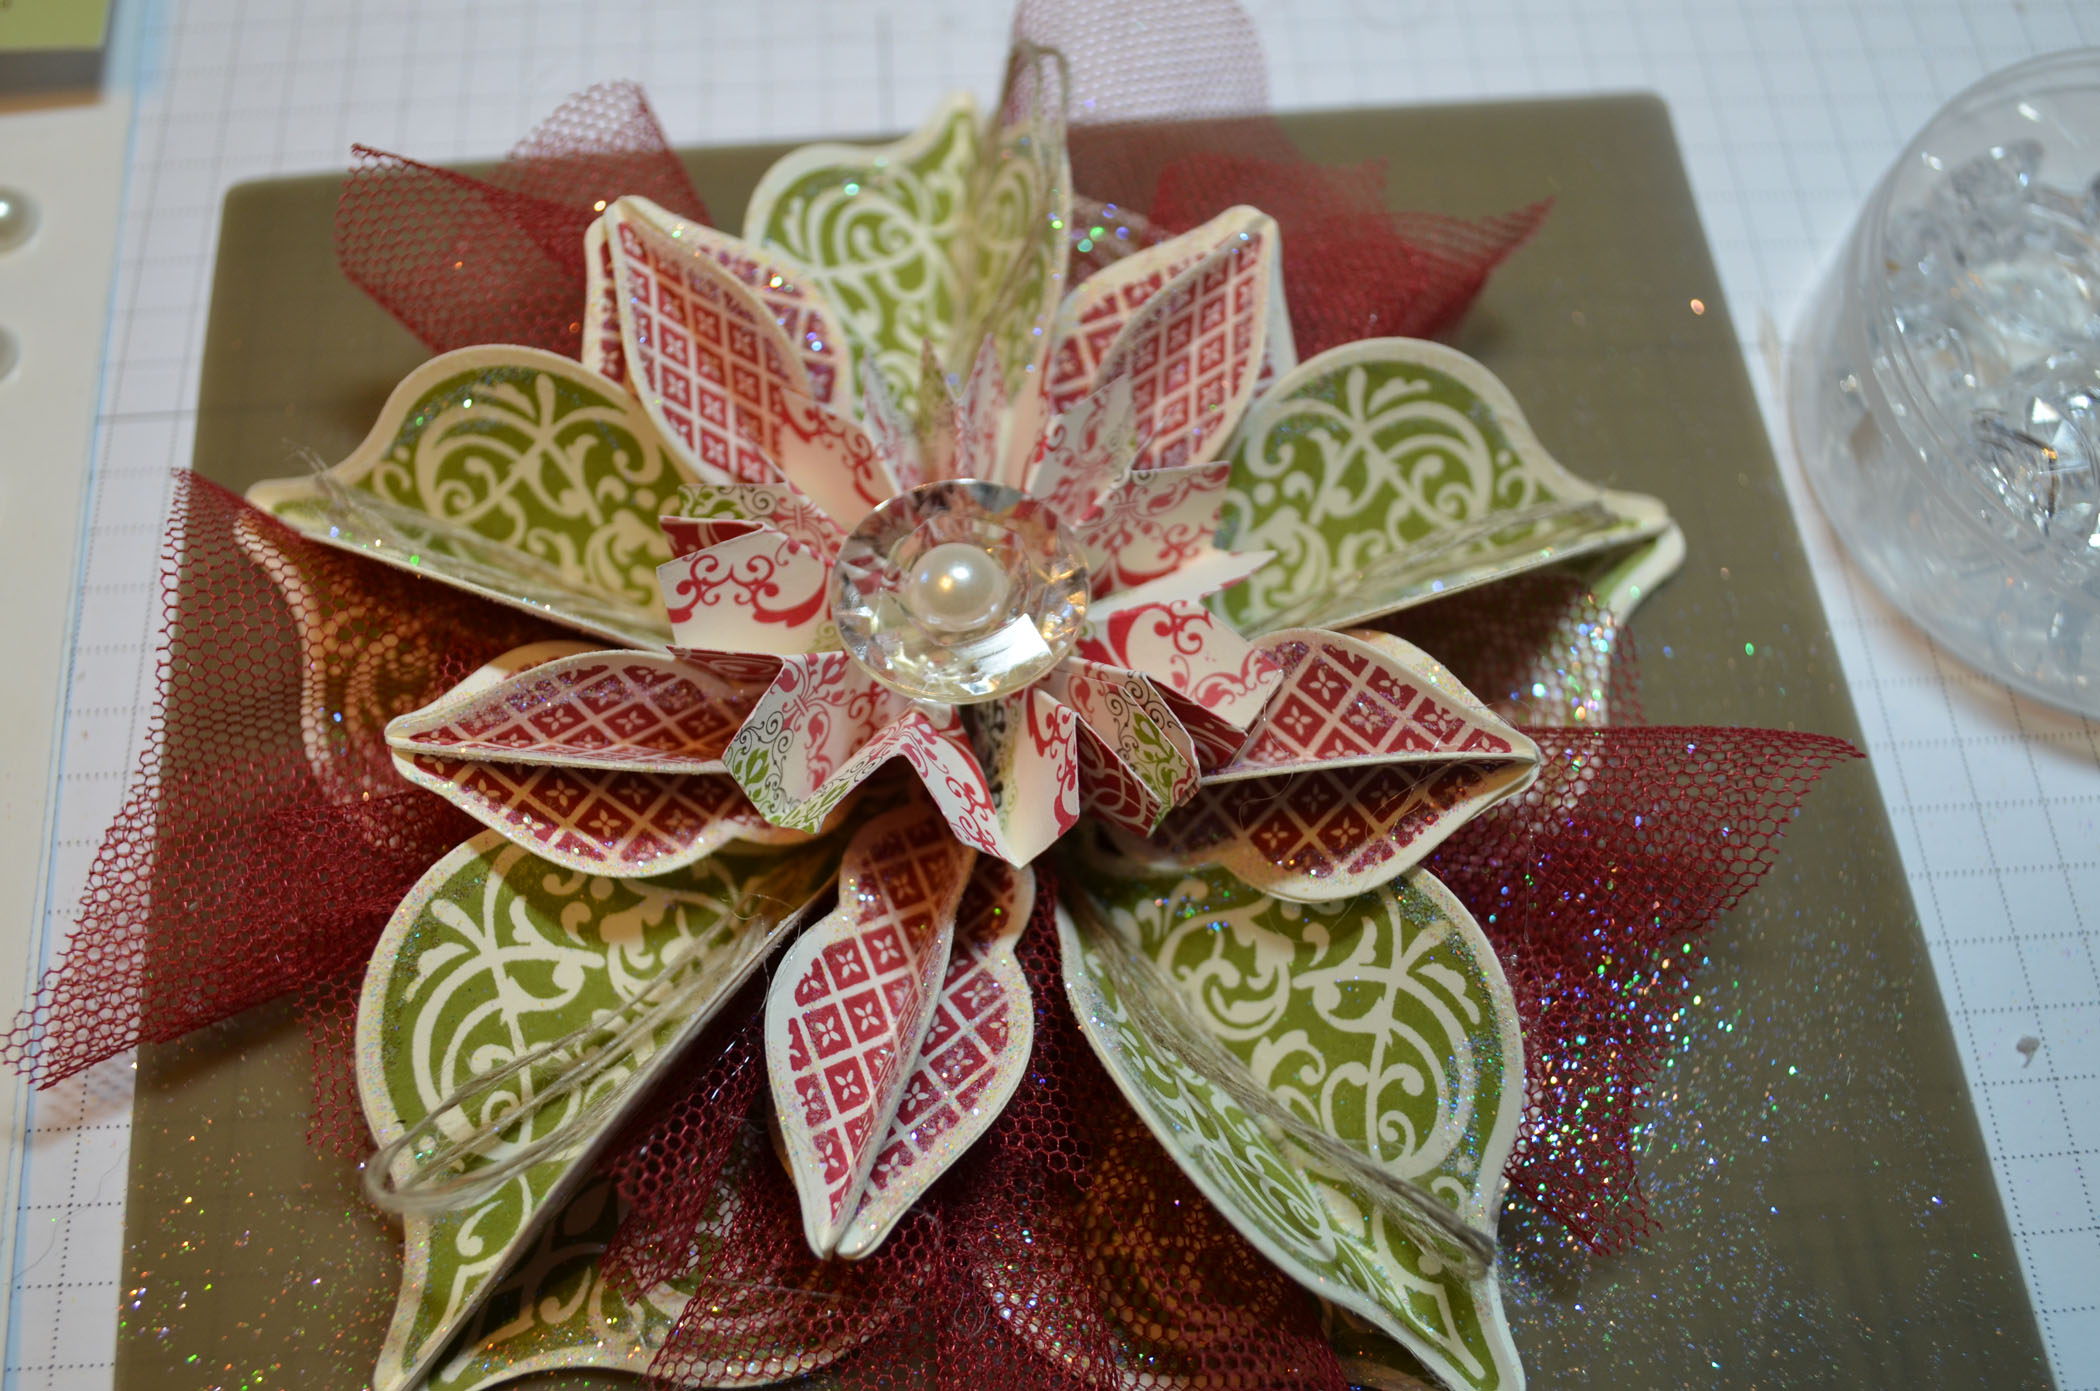
Cut a 1″ x 12″ piece of Candle Light Christmas DSP and fun it through the big shot using the Rosette Die. Folded the die cut paper on the fold lines (accordion style).

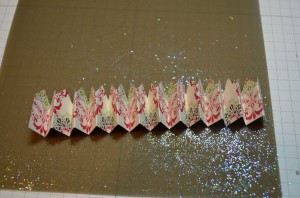
Gathered the card stock together and put a dollop of hot glue on the end. Put the hot glued end on my silicone mat and let it cool. Now the end is stuck together.


Opened up the rosette and hot glued the two ends together.
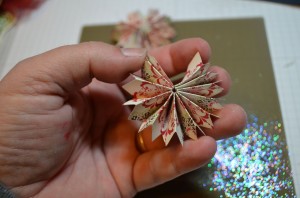
Put a large dollop of hot glue on the back side of the rosette and pushed it down in the middle of the ornament. Hold until cooled.
Put a large pearl in the center of an antique faceted button. Put a large dollop of hot glue on the back and put it in the center of the rosette. Held it firmly until cooled.

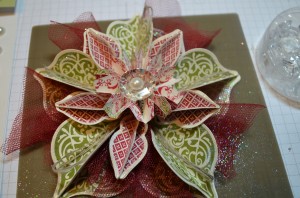
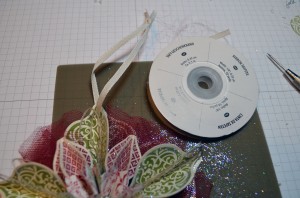
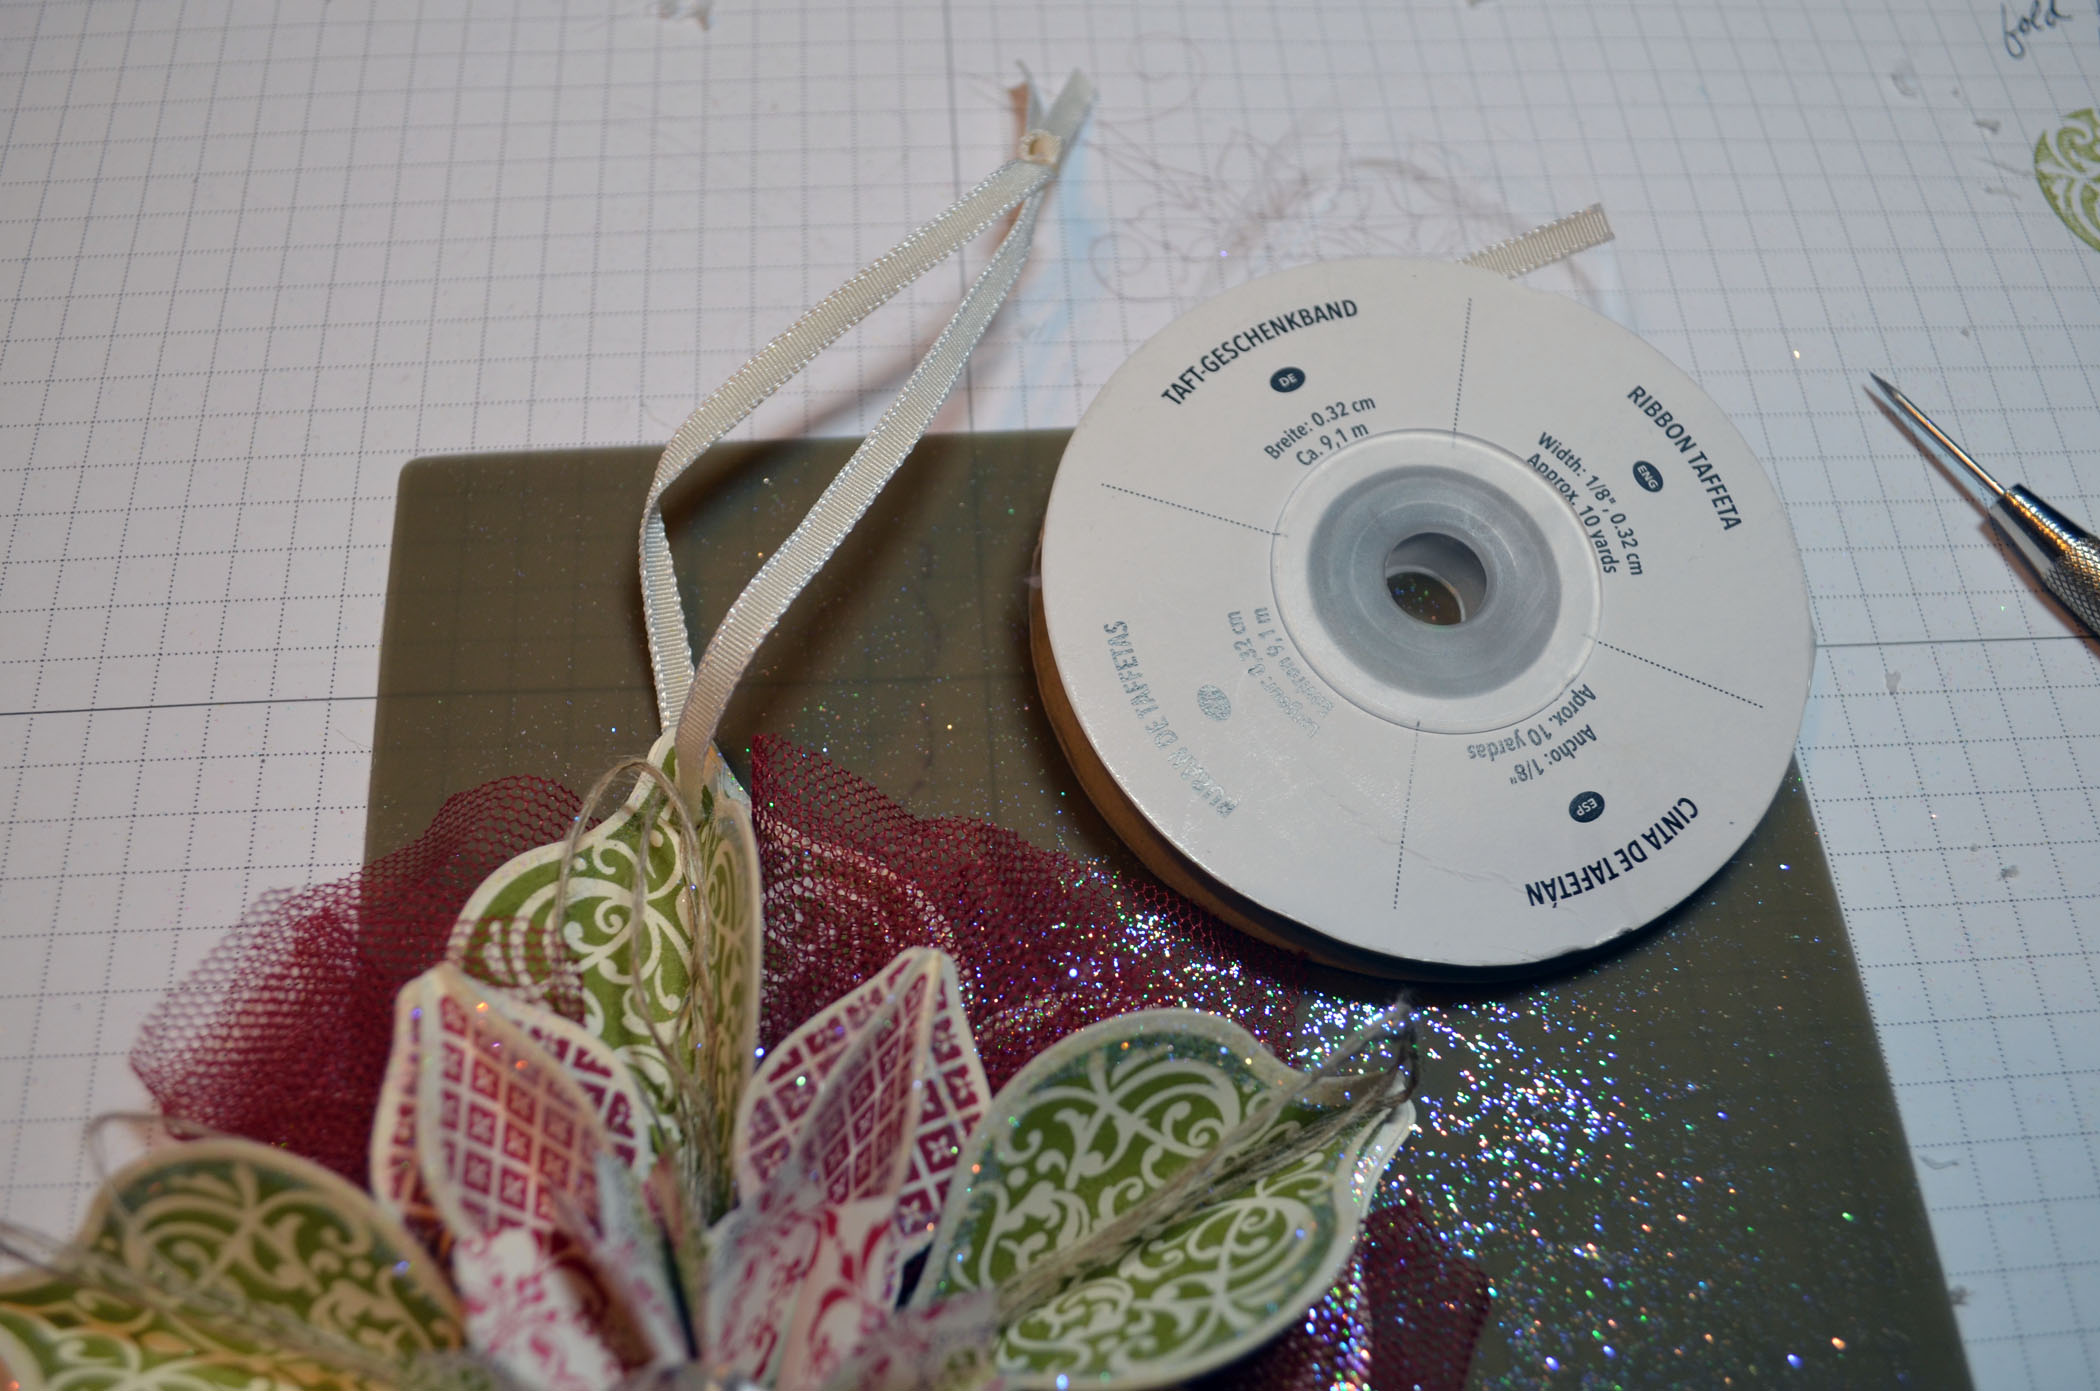
Pierced a hole in the middle top of one of the Old Olive ornaments and thread a Very Vanilla ribbon through it and then tied a know in the top of the ribbon. You can use a hole punch to make the hole also.
Here is the finished ornament. Love it!!
*********************************************************
May your day be filled with delightful happenings!
Until my next post.. . . . .
Hugs,


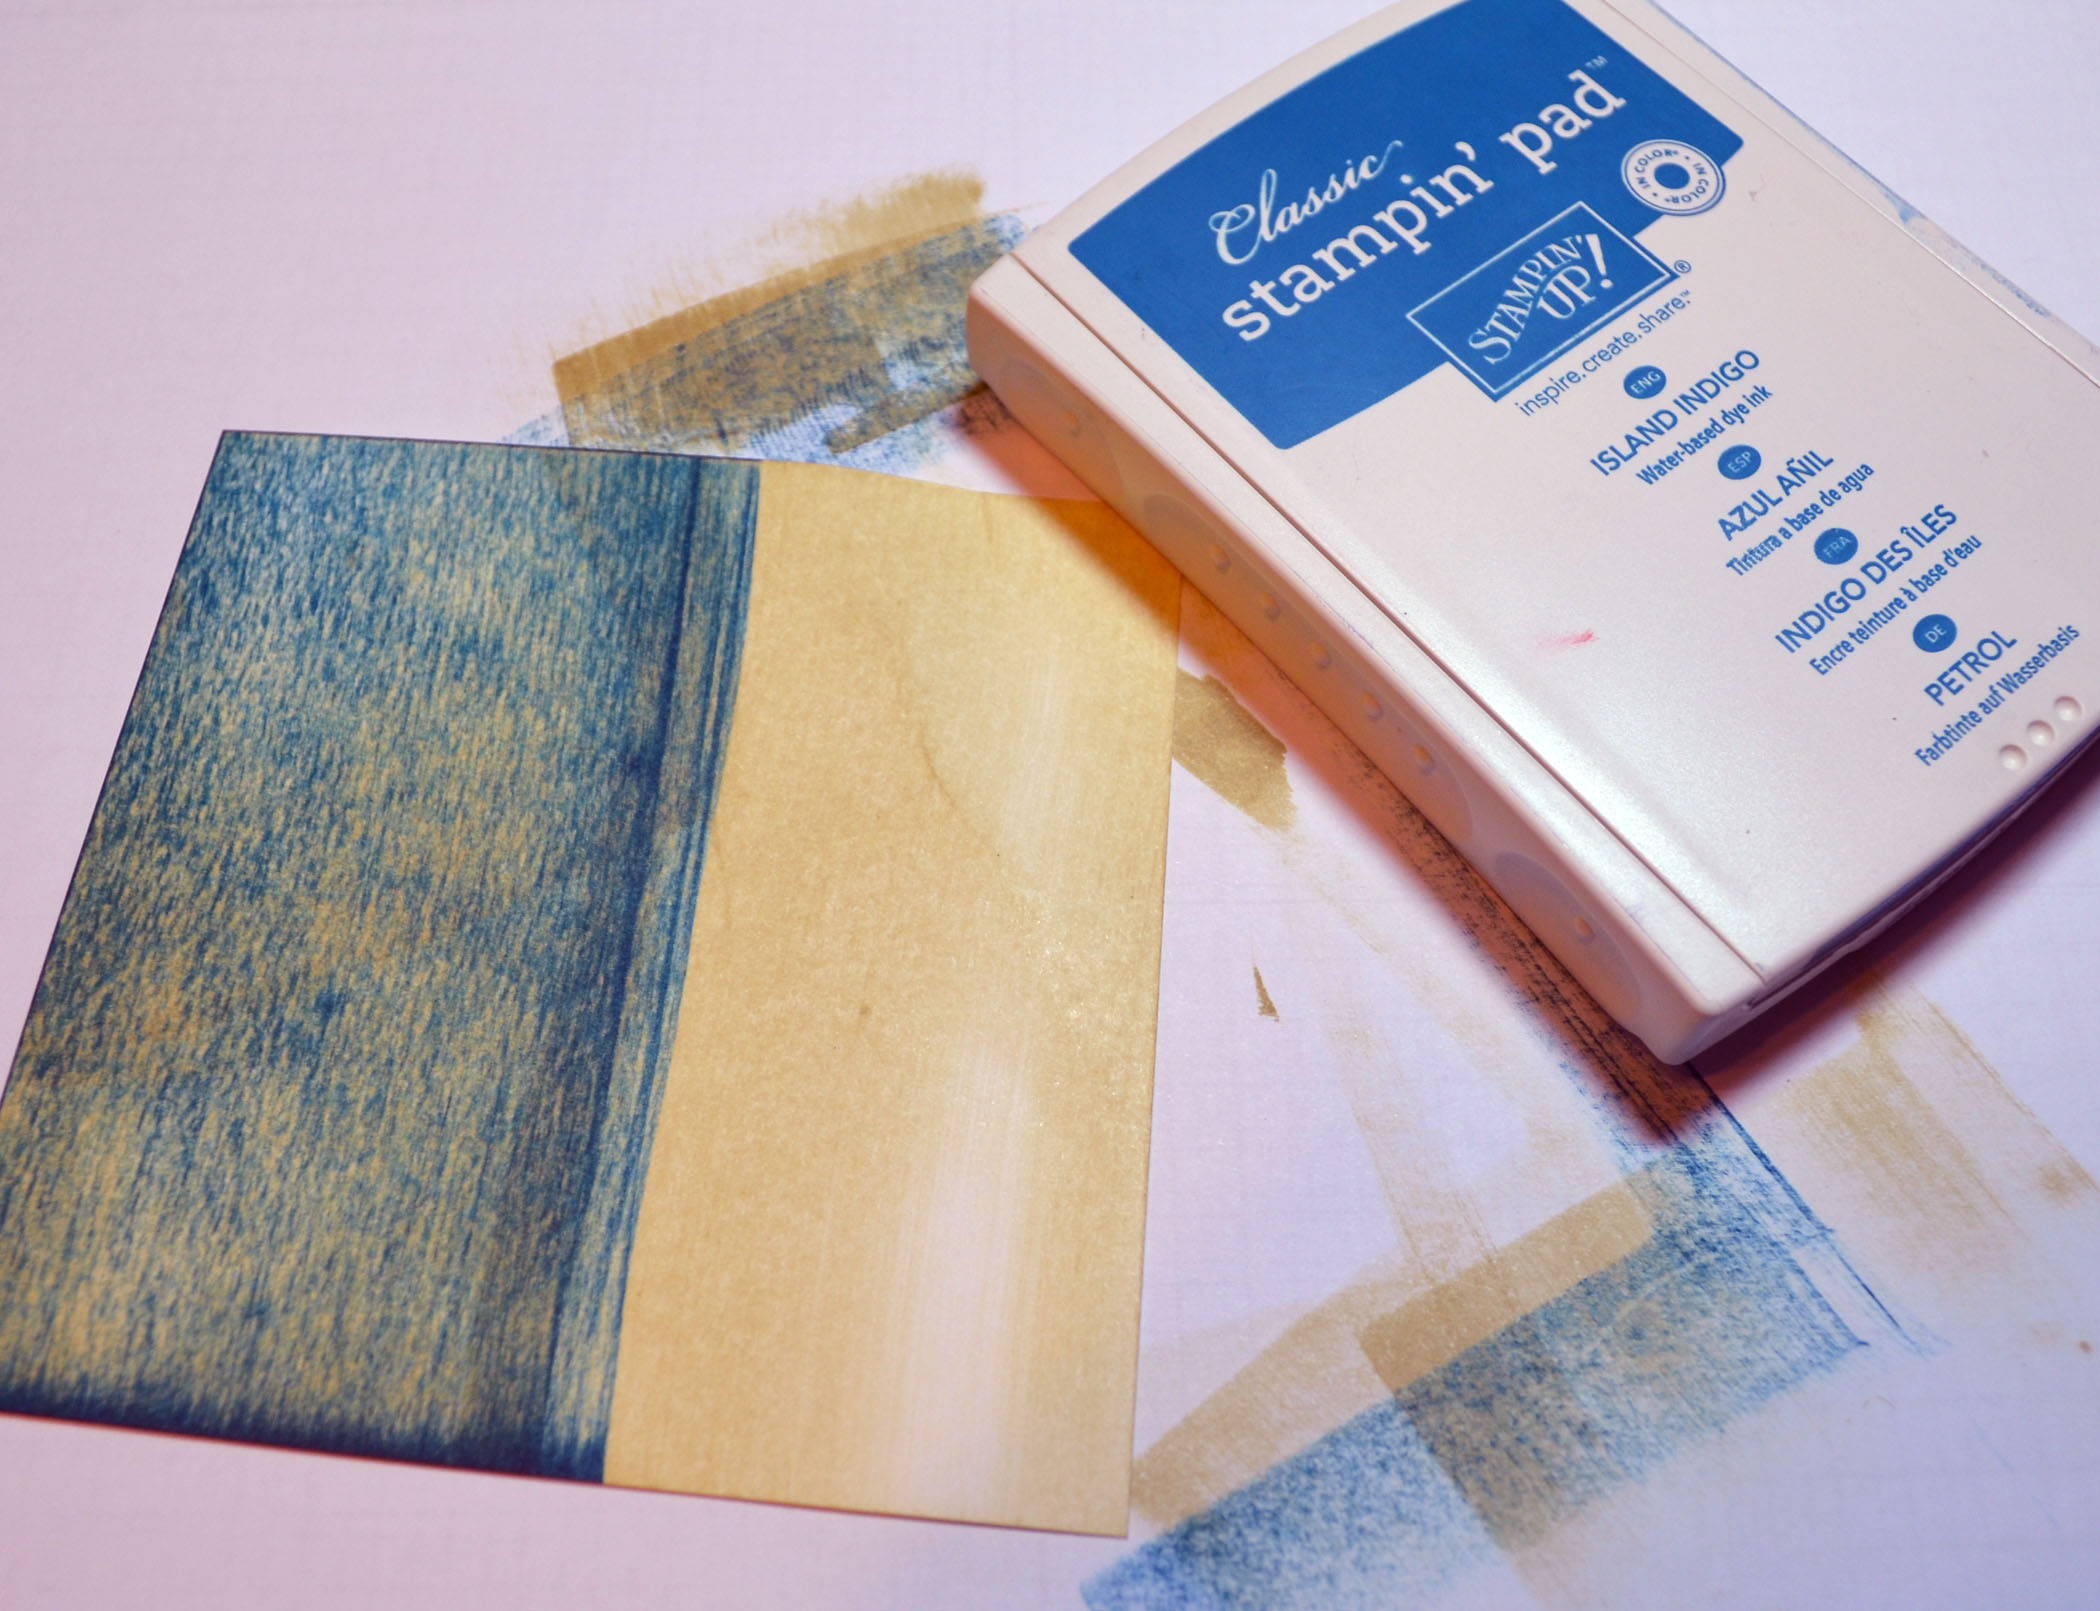
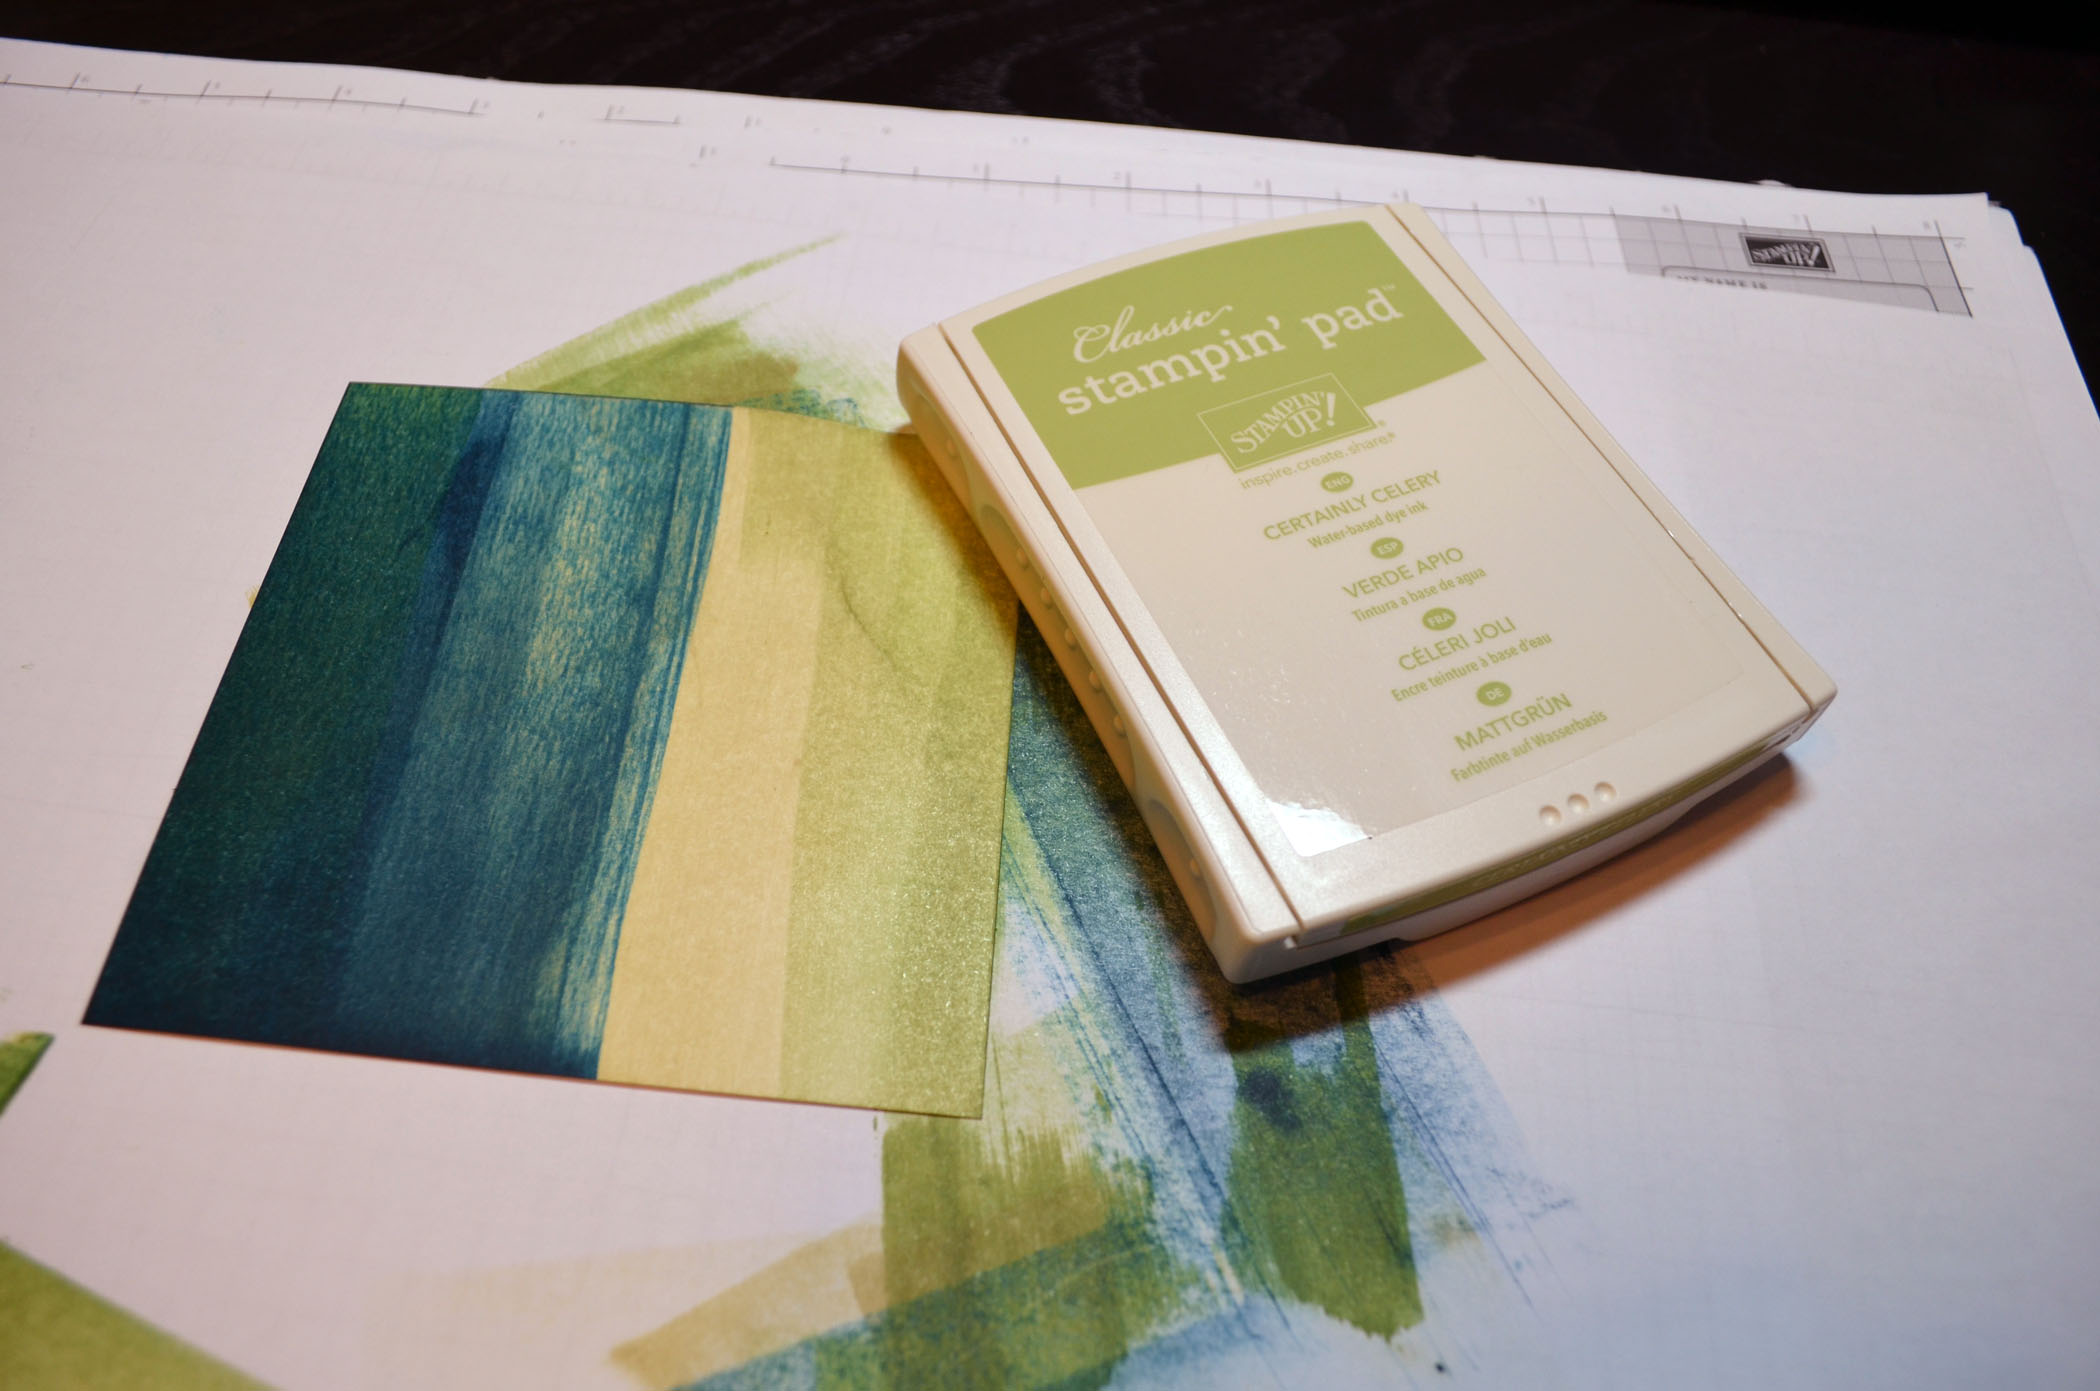
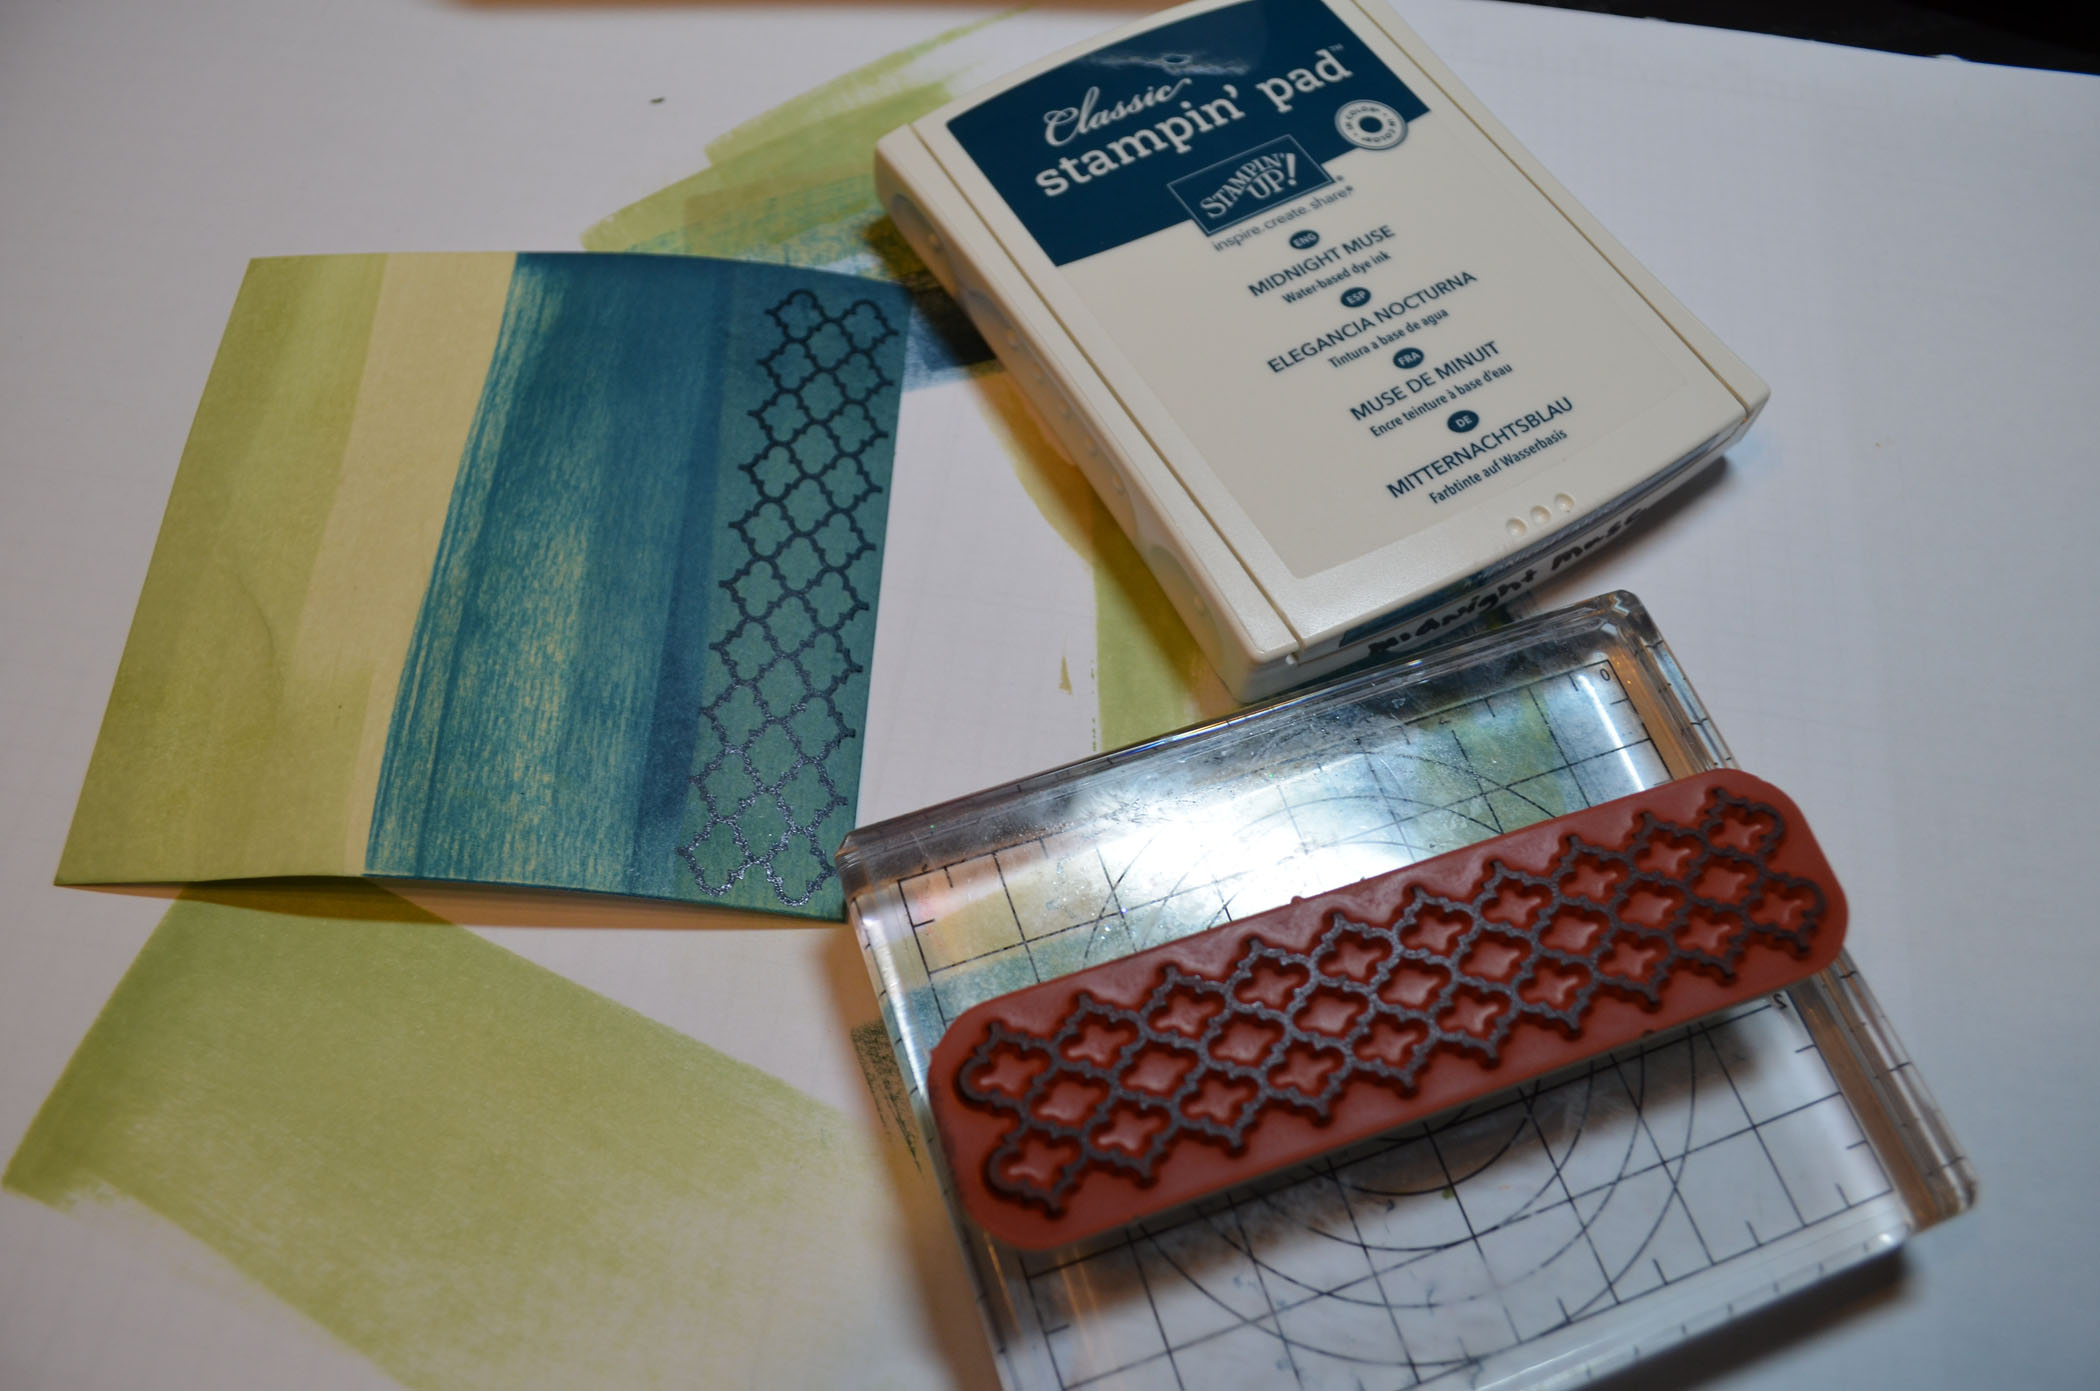
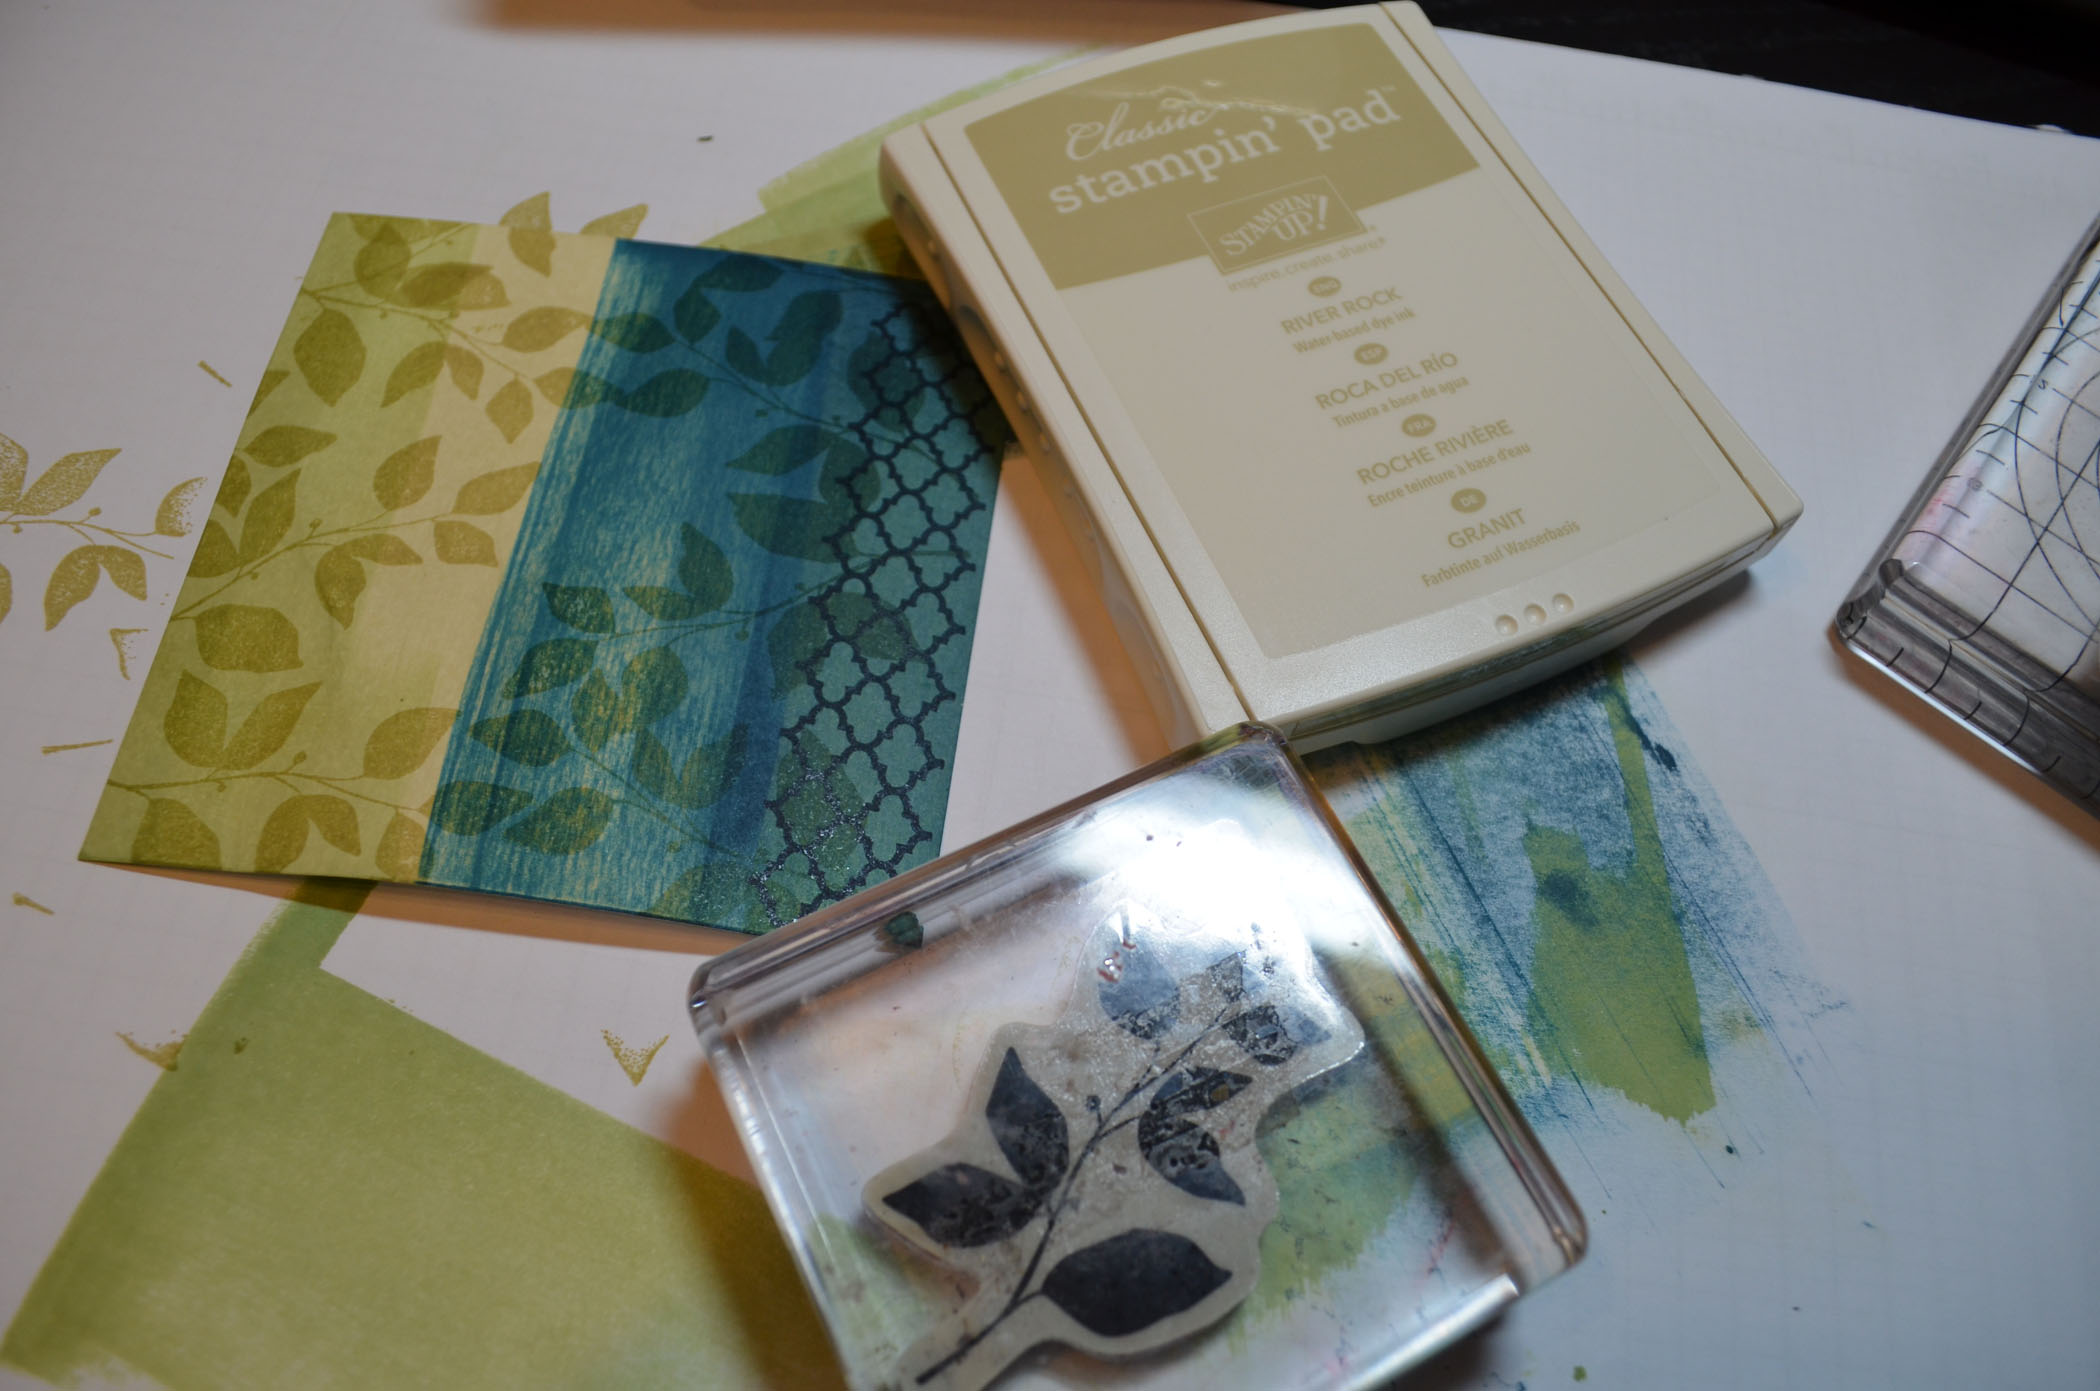
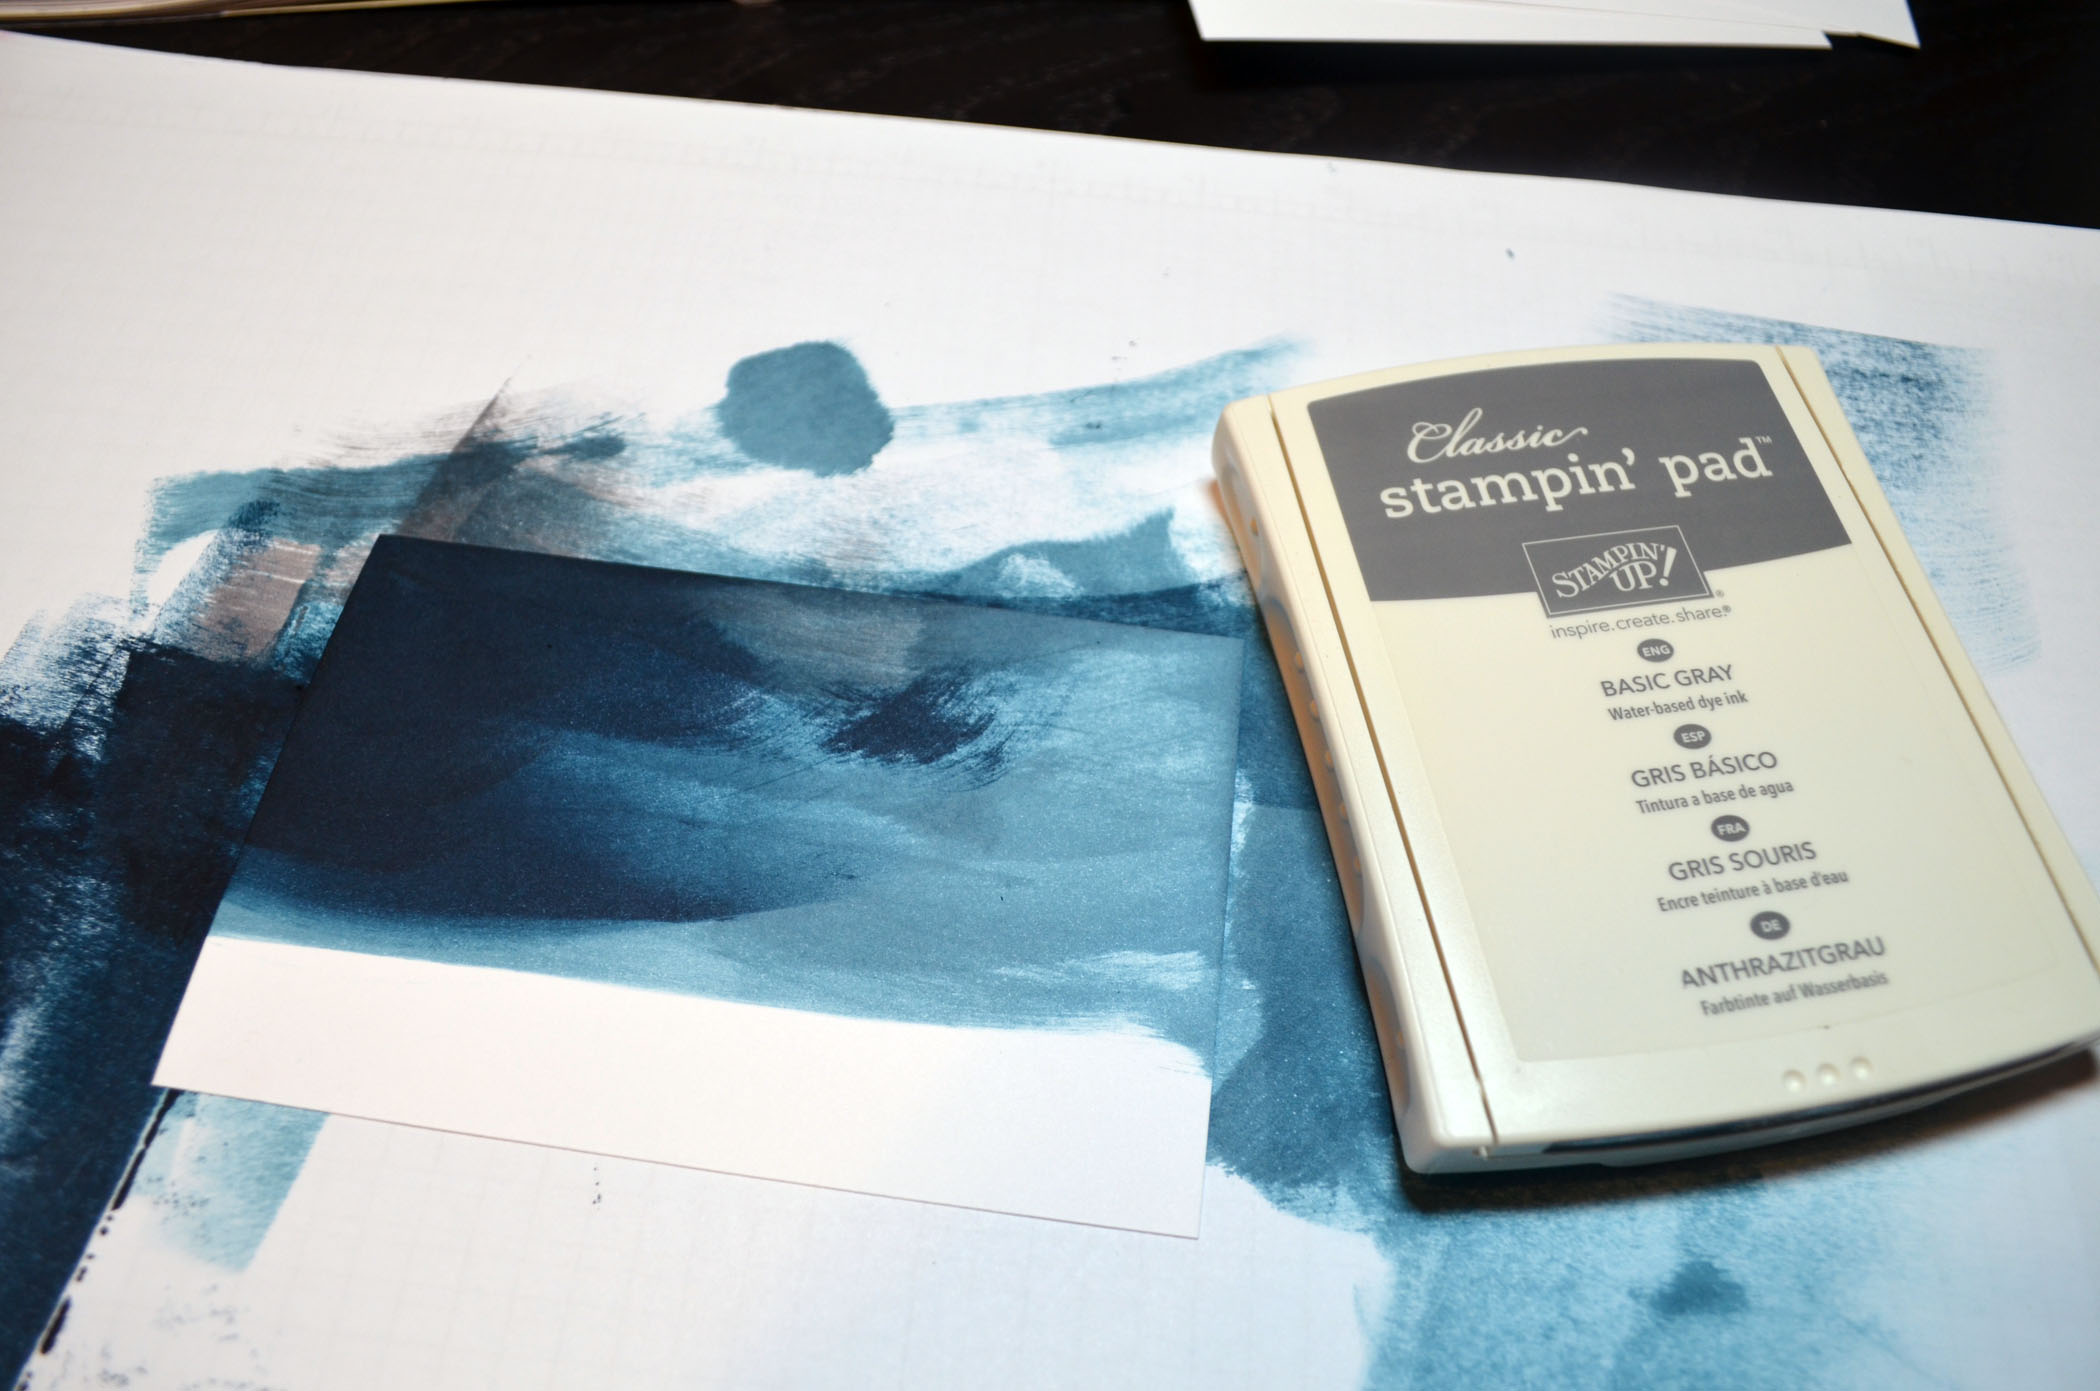
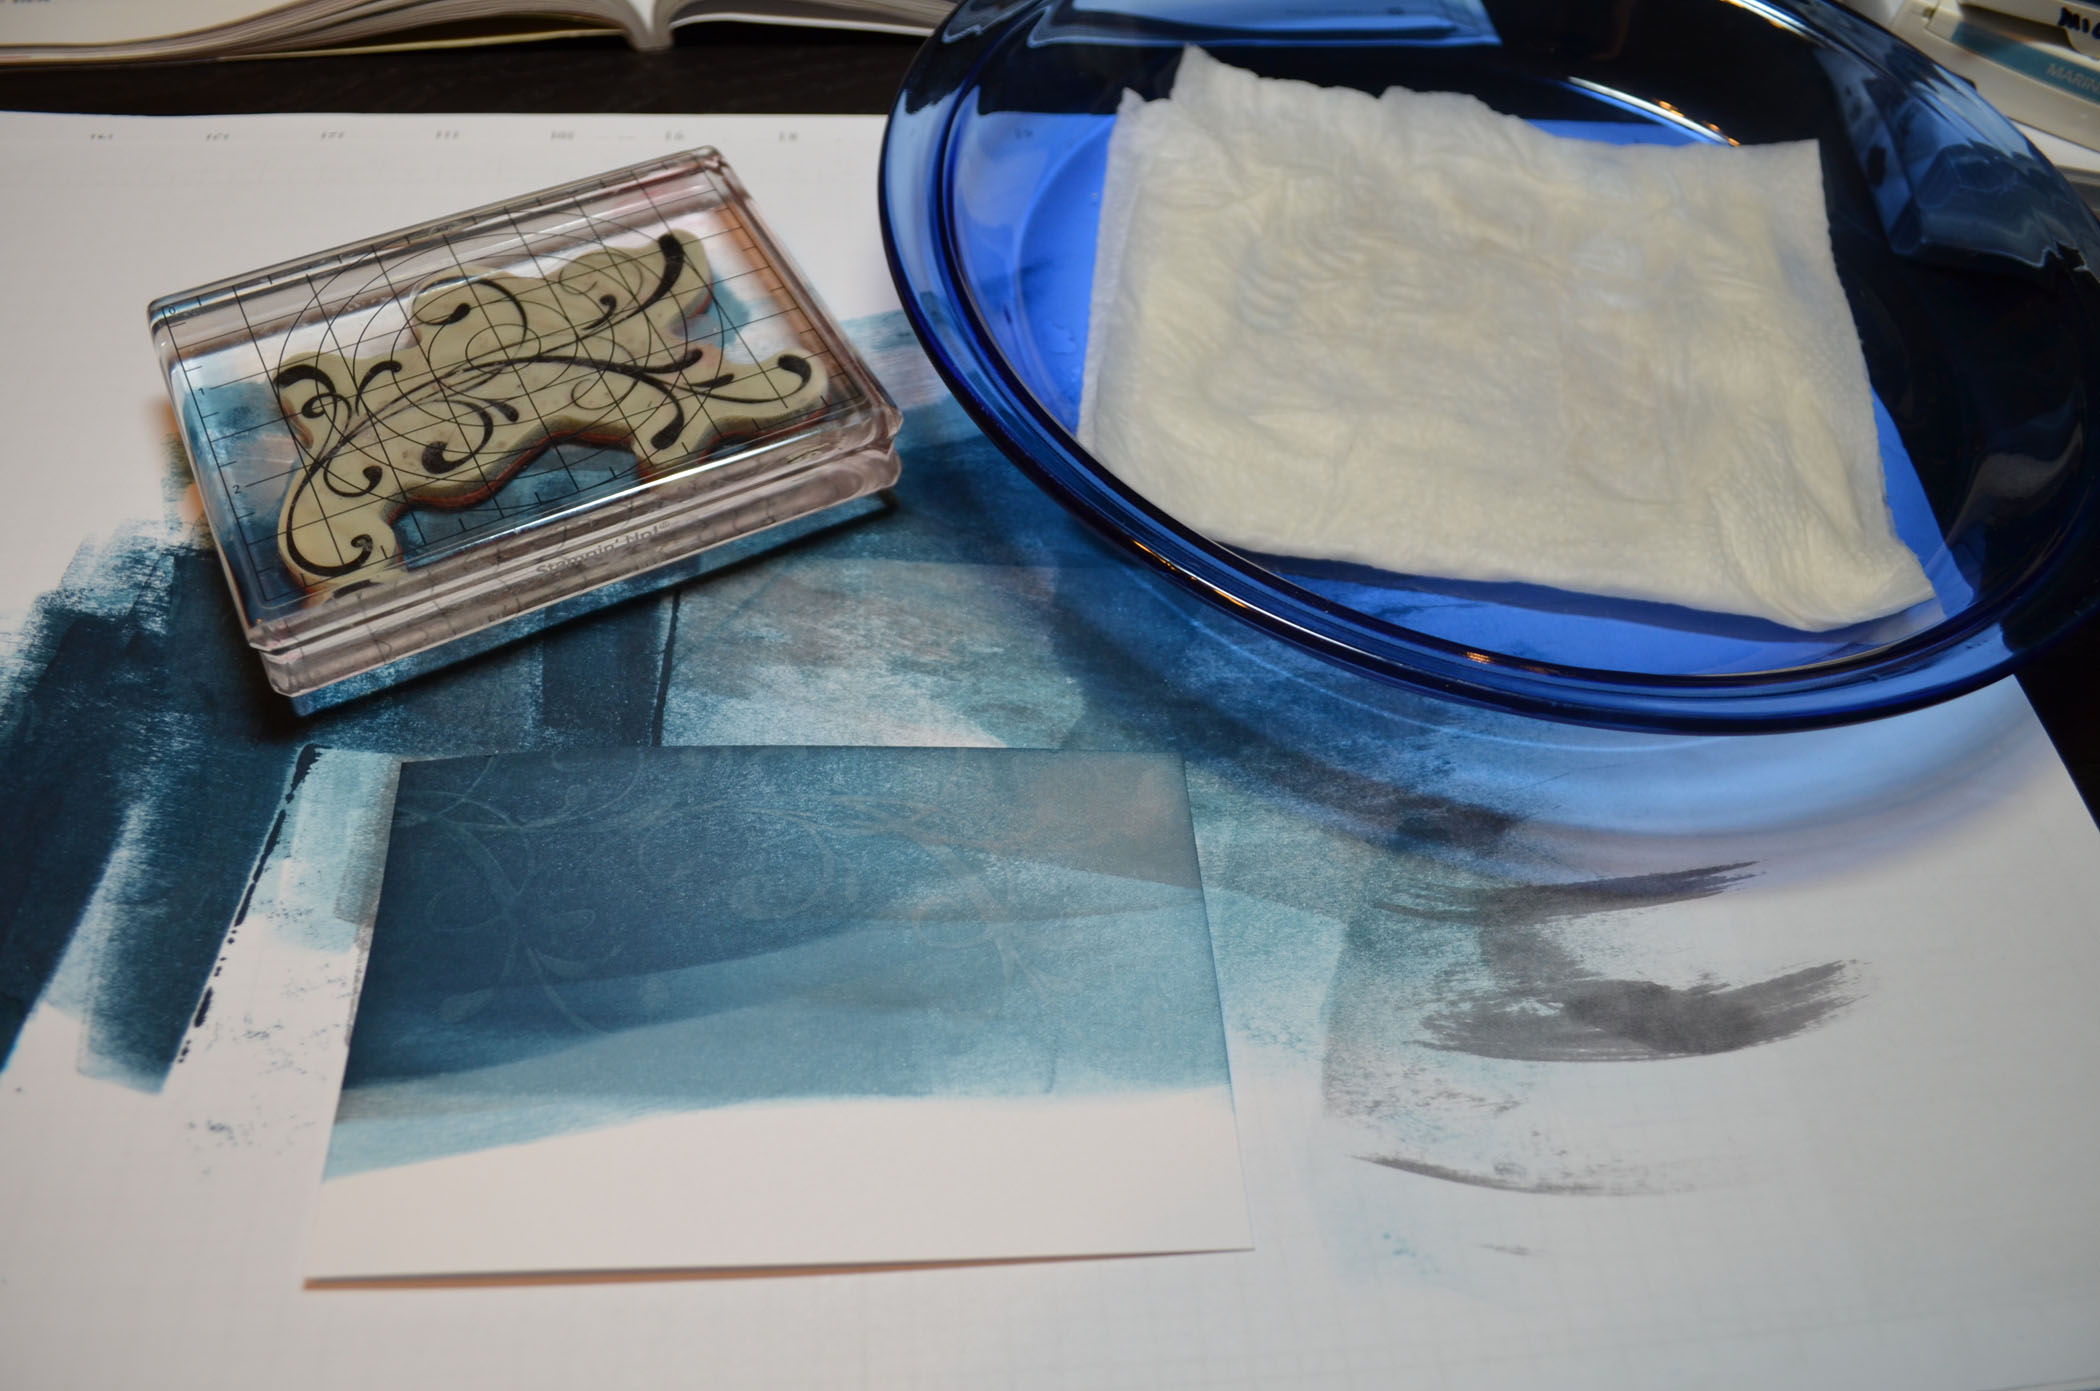
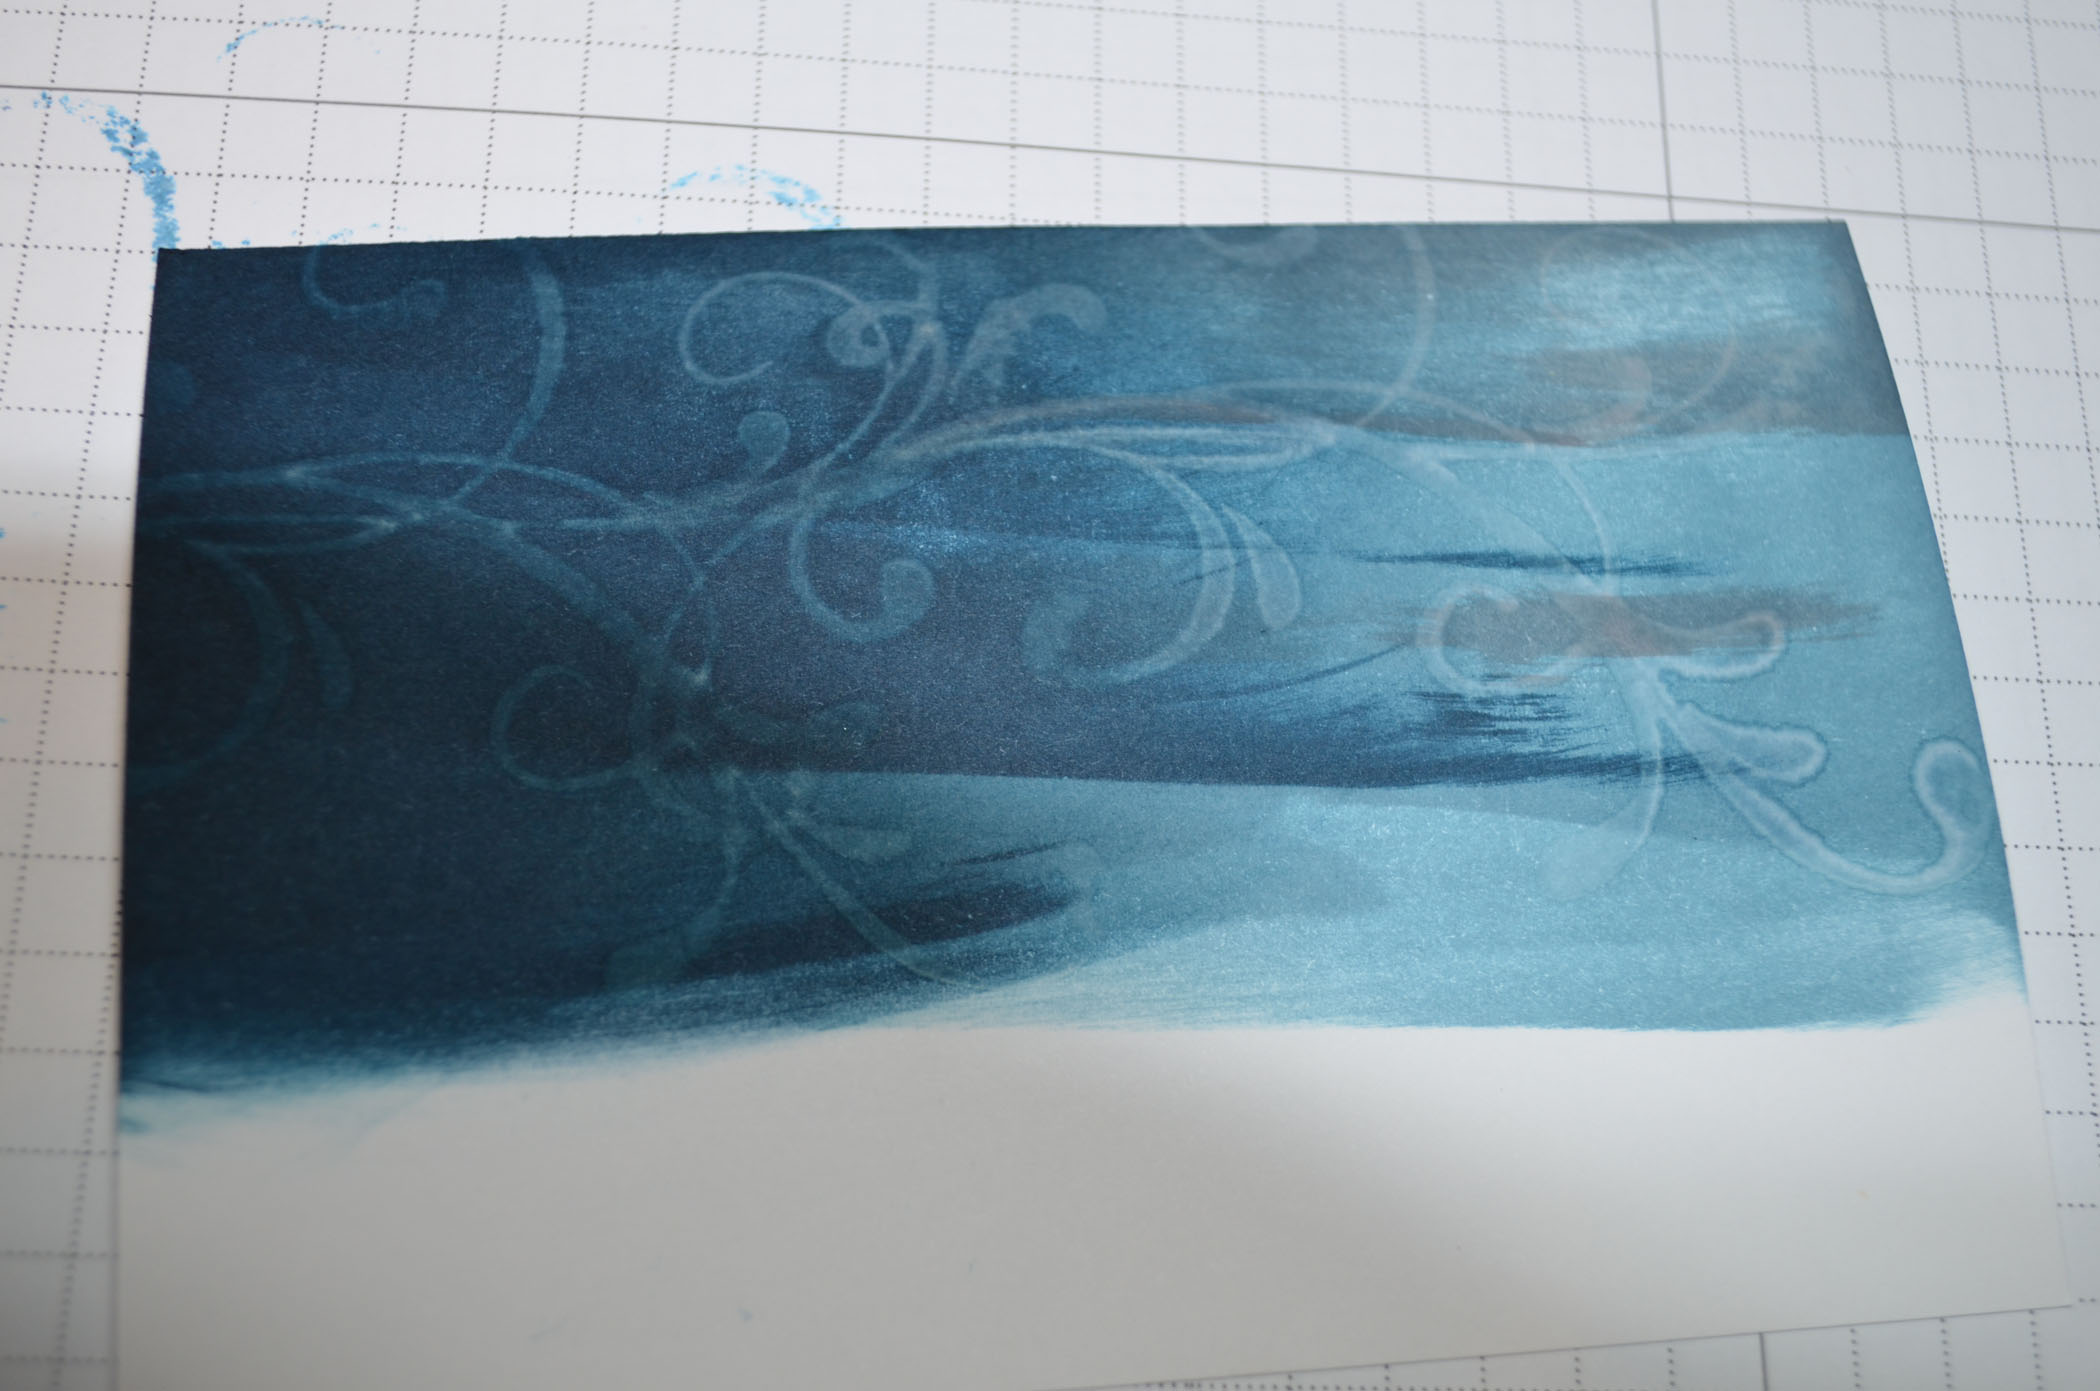
 Get ready for Brayer and Direct to Paper Workshops! I am coming to the following locations, click the location name for more information.
St. Petersburg, Florida
Newburge, Indiana
I hope you can make it to one of my workshops in 2012. I have decided not to travel full time after this year, so be sure to catch one now!
Link to my Stampin’ Up website where you can order all of your must have Stampin’ Up products from me 24-7: https://michellezindorf.stampinup.net

 Get ready for Brayer and Direct to Paper Workshops! I am coming to the following locations, click the location name for more information.


