
Hey There,
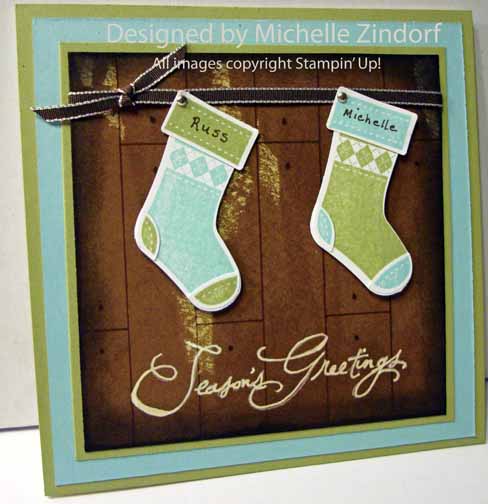
If you are like me you are scrambling trying to get those holiday cards all made. Today’s tutorial below shows you how to put a faux wood wall in your Christmas scene. This tutorial also highlights the cute Stampin’ Up! set Stitched Stockings and the matching punch (Click here to see them in the Stampin’ Up! Holiday Mini Catalog). Love it when I don’t have to do any tedious cutting out of images. The punch really mades quick work of it. Check it out.
************************************************************
Reminders:
Click here to check out the stamp set give away. The drawing is tomorrow, Saturday, December 3, 2011.
**********************************************************************
Also, here is the details for my Stampin’ Up! monthly Customer Giveaway. Don’t miss out!
My drawing for December 2011 is a full set of Stampin’ Up! Clear Mount Acrylic Blocks and a rockin’ Stampin’ Up! Clear Block Storage Caddy to store them in. The block set includes 9 different block sizes. Total prize package is an $86.90 value. How do you enter? For the month of December, 2o11, when you place a Stampin’ Up! order using me as your Demonstrator, you will receive one entry toward this months prize for each $25 increment in merchandise purchased. Place an order for $50 and get two chances and so on and so on. CLICK HERE TO PLACE AN ORDER OR TO BROWSE. Your order will be shipped directly to you from Stampin’ Up!.
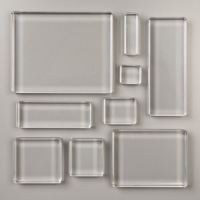
If you stamp with clear-mount stamps, you’ll need a clear block to adhere your stamps to. Stampin’ Up’s blocks are a clear choice. Made from high-quality, sturdy acrylic, these blocks can hold one stamp or multiple stamps if you want to create a collage of images.
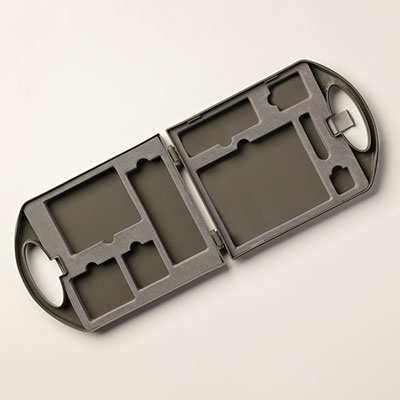
This compact storage caddy holds one of each size of our clear-mount blocks. The foam insert securely holds the blocks in place; an additional foam insert sits between the blocks to protect them when the caddy is closed.
■ Opens flat for easy access
■ Locks shut
■ Built-in handle makes it easy to carry
■ 8-1/16″ x 10-5/8″ x 1-13/16″
I will use a random number generator to determine the winner on January 1, 2012.
*****************************************************************************
Now on with the tutorial. . . . .
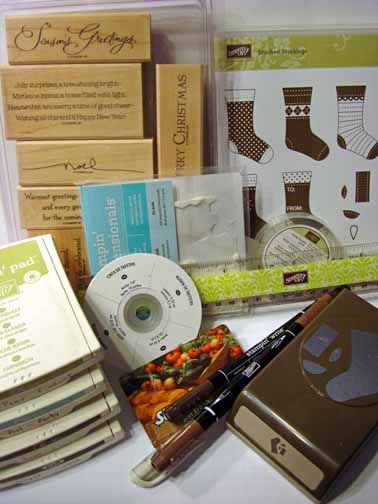
Supplies:
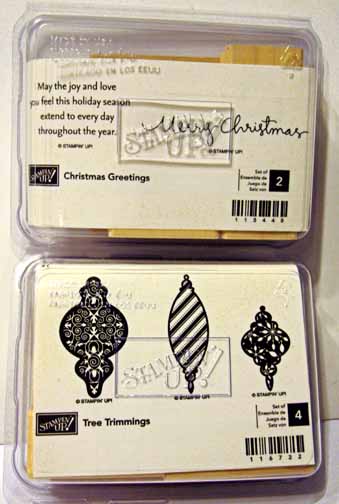
Stamps: Stampin’ Up! Stitched Stockings and Many Merry Messages
Card Stock: Stampin’ Up! Pear Pizzazz, Pool Party, Whisper White and River Rock
Ink: Stampin’ Up! Basic Black, Pear Pizzazz, Pool Party, Whisper White and Soft Suede
Accessories: Stampin’ Up! Mini Brads, Early Espresso Taffeta Ribbon, Stampin’ Dimensional, White Gel Pen, Chocolate Chip Marker, Ruler, credit card, Stockings Punch.
Want a free copy of the brand new Stampin’ Up! Holiday Mini Catalog? Just e-mail your address and I will get one right out to you. Get your copy of the new 2011-2012 Stampin’ Up! Idea Book & Catalog by sending $9.95 to me at P.O. box 116, West Alexandria, Ohio 45381 or via paypal to [email protected], shipping is free. ![]() Are you getting inspiration from this blog? One way you can help support it is to order your Stampin’ Up products through me. Click HEREto place an order and have your ordered delivered directly to your door step from Stampin’ Up! Want to become a Stampin’ Up Demonstrator , receive a 20% discount on product and earn instant income on orders? Consider being part of my Stampin’ Up Team and start your own business or become a Hobby Demo just for the discount. Click HERE for more information.
Are you getting inspiration from this blog? One way you can help support it is to order your Stampin’ Up products through me. Click HEREto place an order and have your ordered delivered directly to your door step from Stampin’ Up! Want to become a Stampin’ Up Demonstrator , receive a 20% discount on product and earn instant income on orders? Consider being part of my Stampin’ Up Team and start your own business or become a Hobby Demo just for the discount. Click HERE for more information.
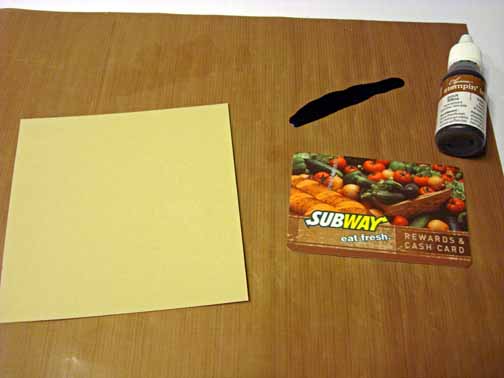
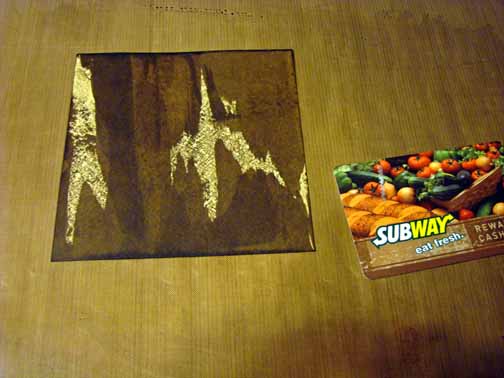
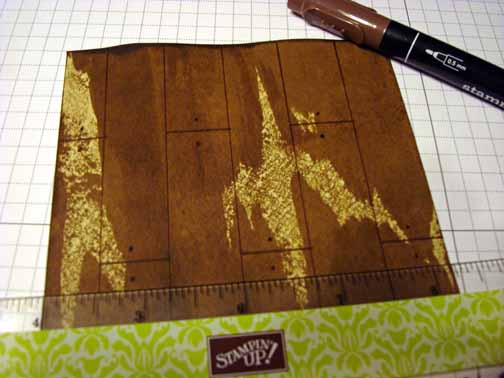
Working on a non porous surface, put a little Soft Suede Re-inker on in a line, dip the edge of a credit card, or in my case my Subway card, lol, in the ink and then drag it from the top down the card stock. Keep applying the ink until you get the look you want. I like to leave a bit of my card stock showing through. (You can also turn the card stock and work from the bottom edge up to fill the card stock in).
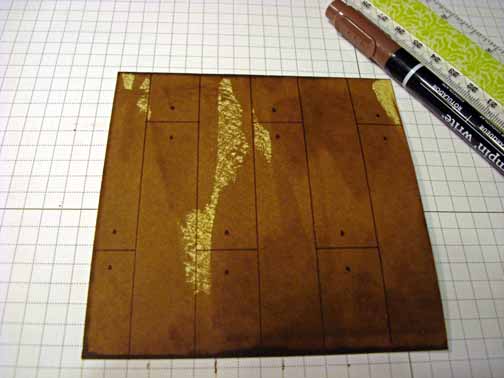
Using a ruler and lining things up with my grid pad below my card stock, made lines from the top of the card stock to the bottom every 3/4″. Next made lines about 2″ from the top across every other section. Moved the ruler down and and made a line across the sections I did not do above.
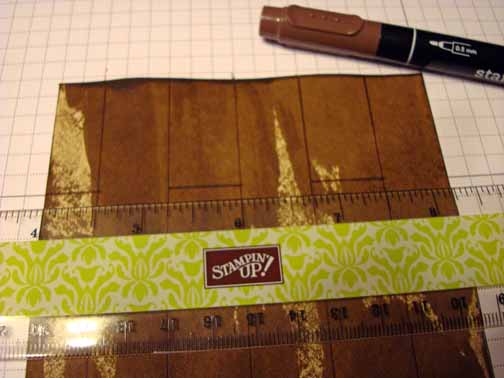
Added dots to simulate nail holes.
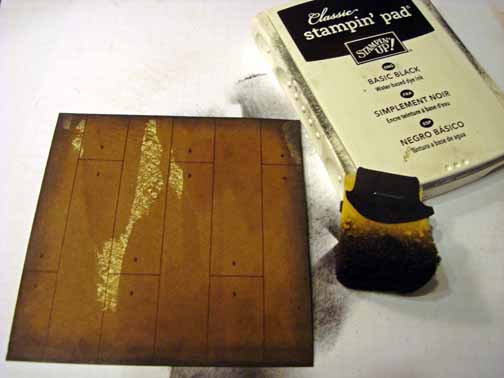
Sponged Basic Black ink around the edges to distress it.
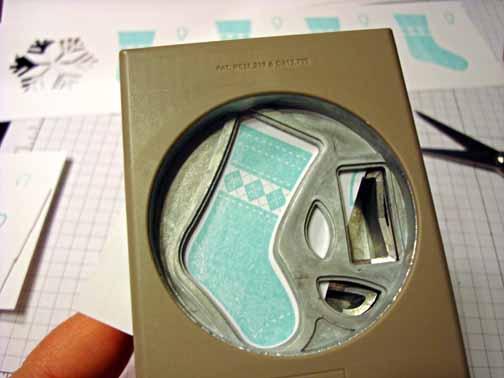
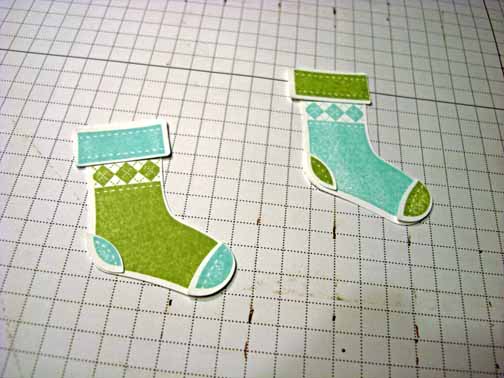
Stamped the stocking with Pool Party and with Pear Pizzazz on a scrap piece of Whisper White card stock.

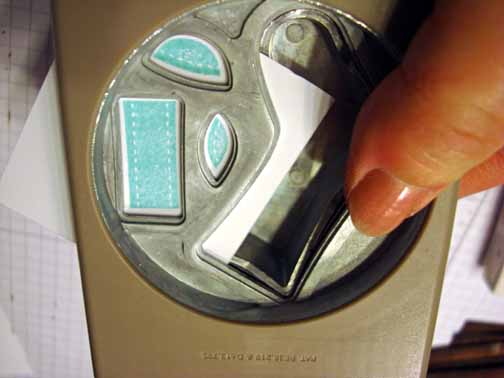
Punched the stockings out. If you look from the bottom of the punch it is super easy to line things up. 🙂
Stamped the toe, heel and band using Pear Pizzazz and Pool Party on Whisper White card stock. Punch the images out.
Assembled my stockings.
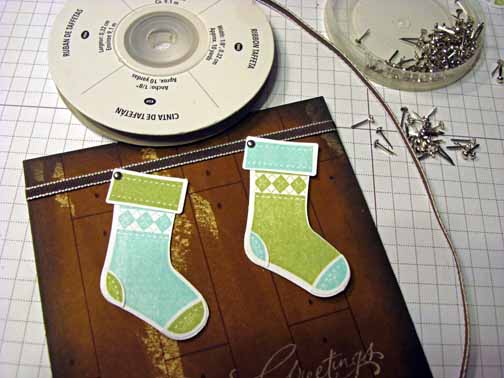
Stamped the Stampin’ Up! Many Merry Messages using Whisper White ink.

Added mini brads, Ribbon and a Stampin’ Dimensional under the toe of the stockings for some lift.
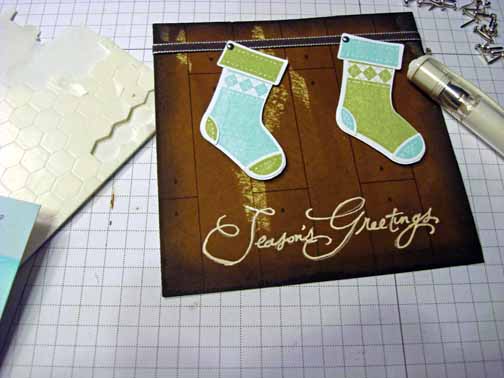
My sentiment wasn’t popping enough so I traced it using a White Gel pen. Yep, now it pops!
Added 2 Pear Pizzazz layers and a Pool Party layer. Also added Russ and my name using an Early Espresso marker.
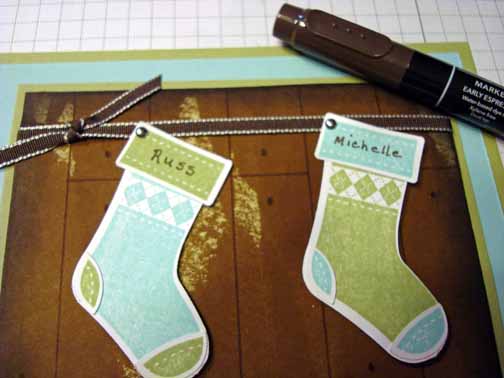
Here is the finished card measuring 5.25″ square.
May your day be filled with the spirit of the holidays.
Until my next post. . . . .
Hugs,

 Get ready for Brayer and Direct to Paper Workshops! I am coming to the following locations, click the location name for more information.
Dayton, Ohio – Direct to Paper Workshops
Post Falls, Idaho (outside of Coeurd’Alene)
Sand Lake, Michigan (just North of Grand Rapids)
Longmont (Gunbarrel), Colorado
Here is a link to my workshop calendar where you can see all of my travel schedule and to get info on beginner and advanced Brayer workshops, along with the newly added Direct to Paper Workshop: https://zindorf.splitcoaststampers.com/workshop-calendar
Don’t see a workshop in your State? Interested in hosting the workshops in your area Click HERE to get hostess information.
Link to my Stampin’ Up website where you can order all of your must have Stampin’ Up products from me 24-7: https://michellezindorf.stampinup.net
7 responses to “Christmas Faux Wood Wall – Tutortial #472”