

Today’s tutorial shows how to make a panel look like it is receding with a quick outline using two markers. Let’s get right into it.
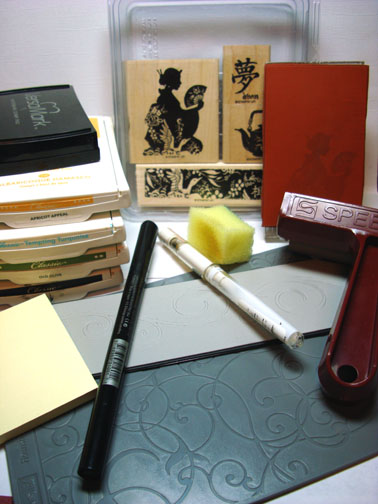
Supplies:
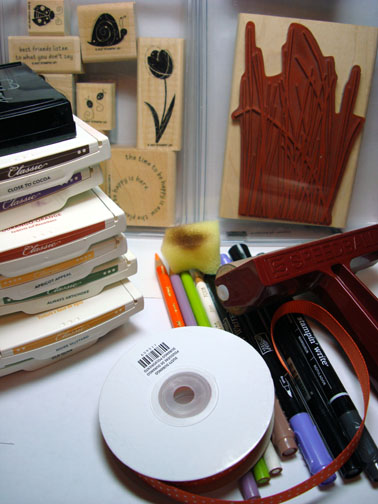
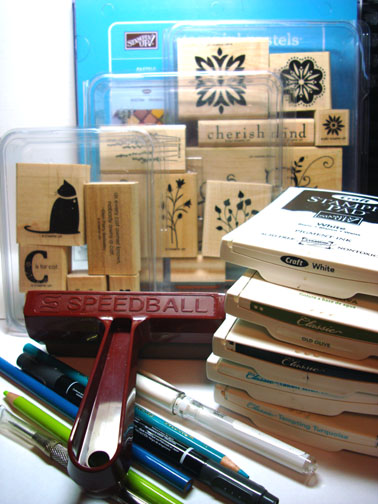
| Stamps: Stampin’ Up Nature’s Nest, Lovely Letters Alphabet, Forever Flowers Wheel |
| Paper: Stampin’ Up Designer Paper, Whisper White, Chocolate Chip |
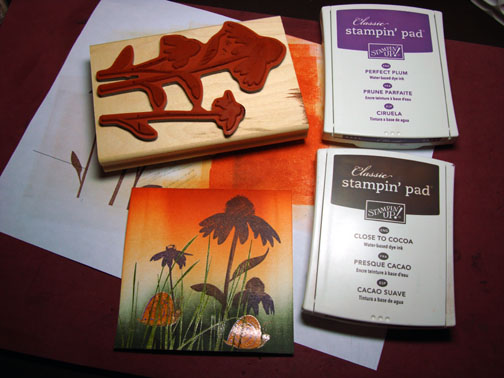
| Ink: Stampin’ Up So Saffron, Chocolate Chip and More Mustard |
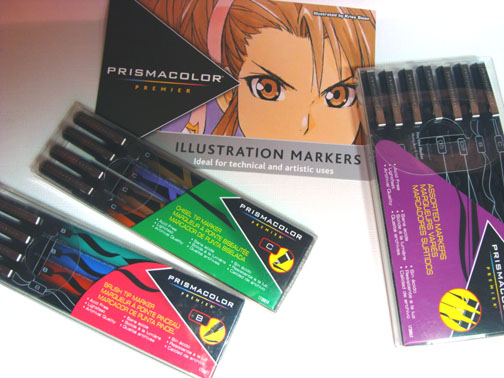
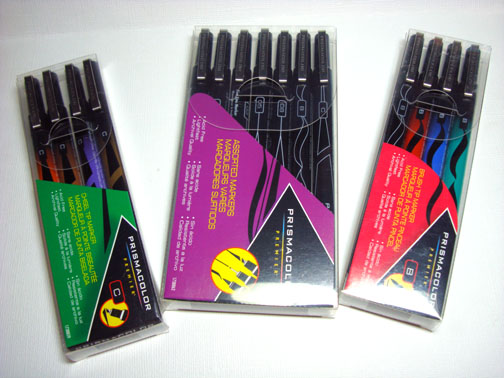
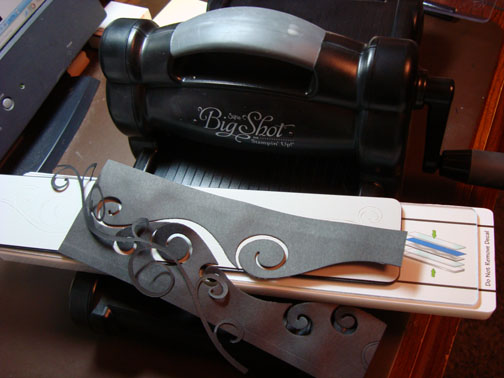
| Accessories: Stampin’ Up Markers, Prismacolor Markers, Versamark Pad & Marker, Clear embossing powder, heat gun, Sponge, post it notes, White Gel Pen, Ribbon, Gold Brads, Brayer |
Are you inspired by this Blog? One way you can help support this blog is by ordering your Stampin’ Up products through me. You can order from me 24-7 from this link: https://michellezindorf.stampinup.net or e-mail me at [email protected] If you are within the United States. Want a copy of the brand new 2009-2010 Stampin’ Up Catalog for $9.95, just e-mail me at [email protected] and I will get one in the mail to you. Want to become a Stampin’ Up Demonstrator and earn instant income? Consider being part of my Stampin’ Up Team. Through August 31 you can become a Stampin’ Up Demonstrator for as little as $85 with the mini kit. Also check out the Stampin’ Up specials, click this link to check it out: https://www.stampinup.net/esuite/home/michellezindorf/promotions

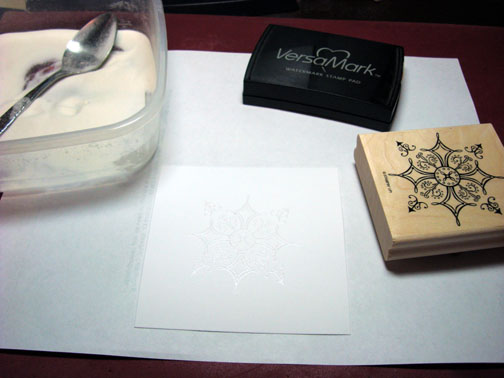
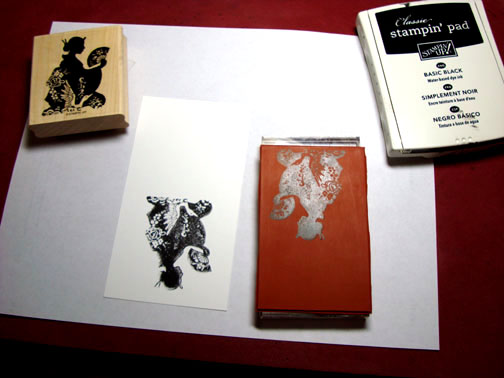
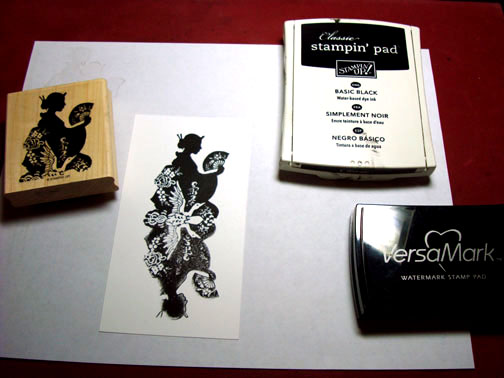
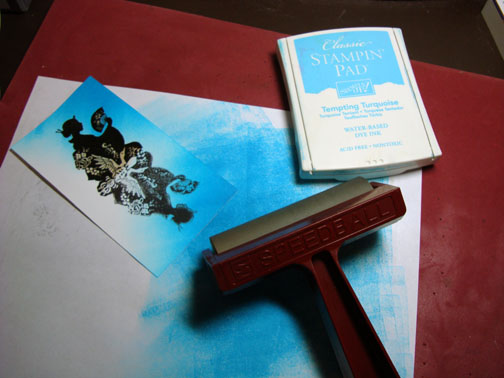
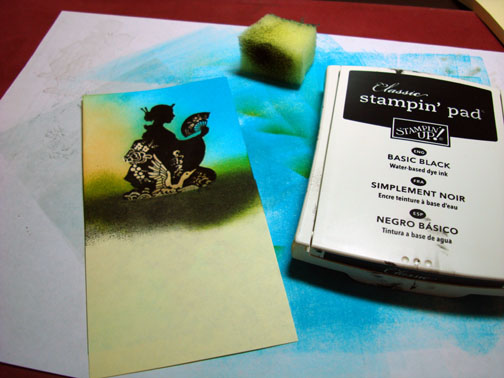
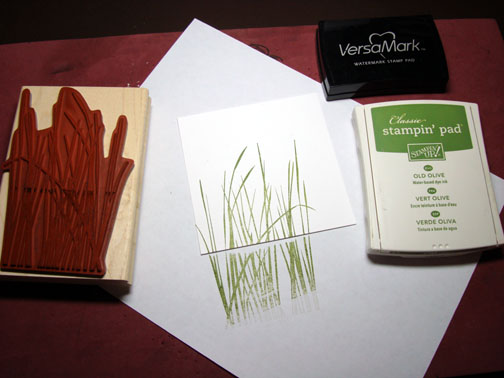
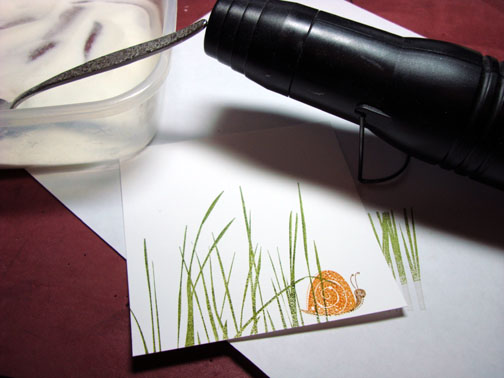
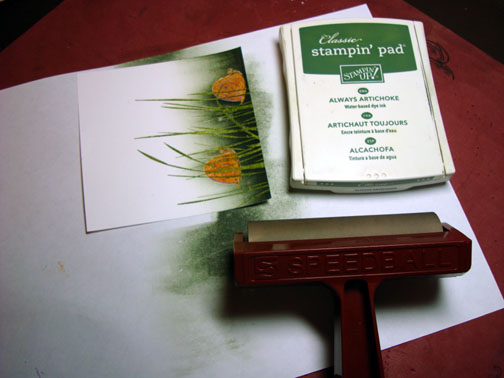
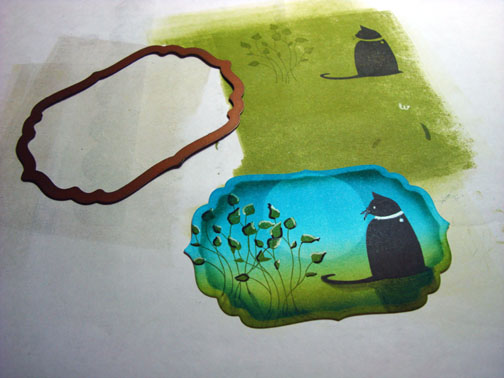
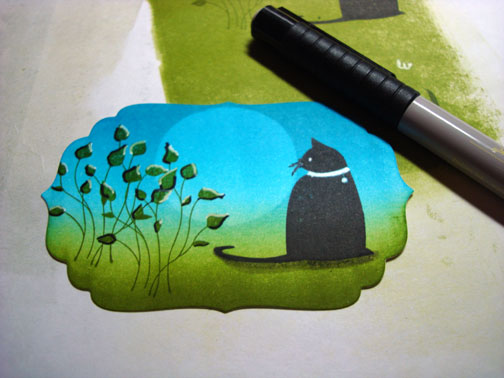
Stamped Nest on a piece of Whisper White by first loading my stamp with Versamark and then loading it with Chocolate Chip ink before stamping it. I started out with a larger piece of whisper white and cut it down after stamping to 2.5″ x 3.75″.

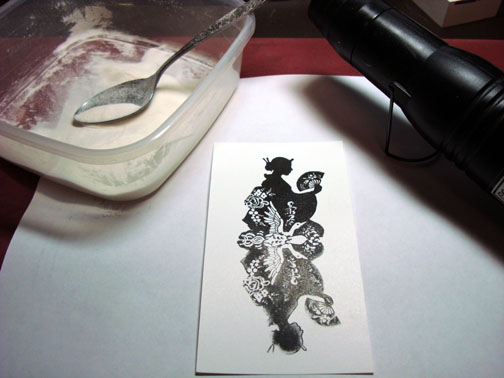
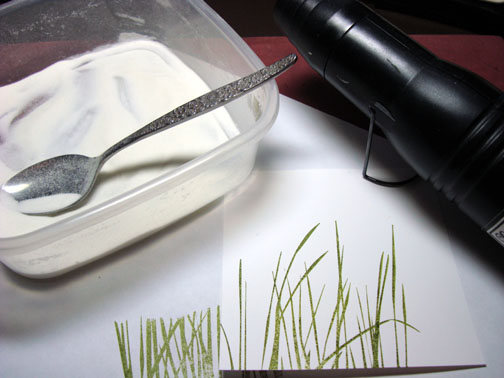
Heat embossed the image using clear embossing powder and a heat gun.

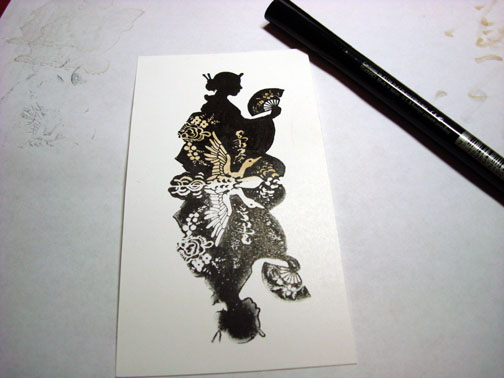
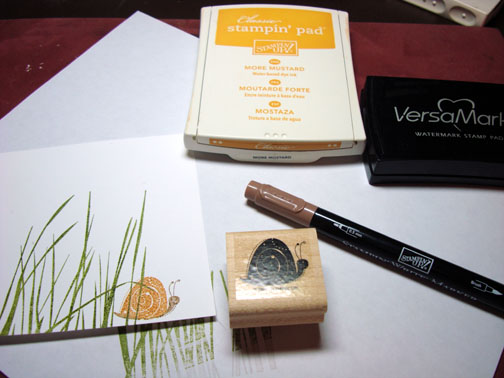
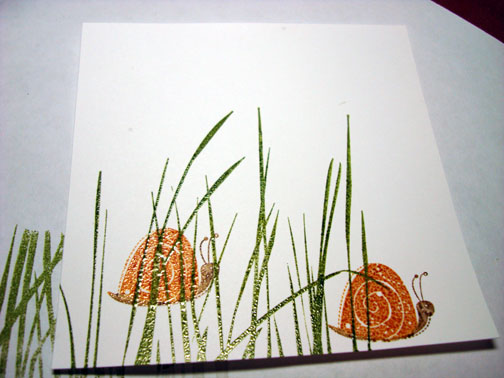
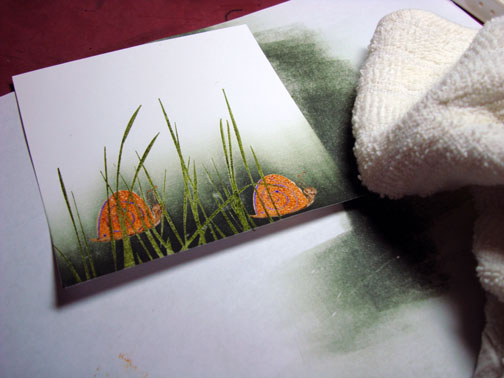
Colored the image in with a Wheat Prismacolor marker.

Colored the leaves using a Light Olive Green Prismacolor Marker.

Added Mocha Dark Prismacolor marker to the bottom of the eggs and the bottom of the nest.

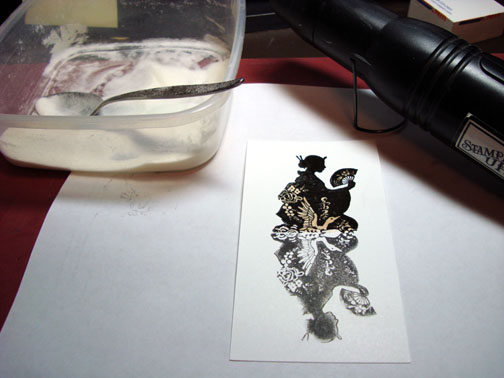
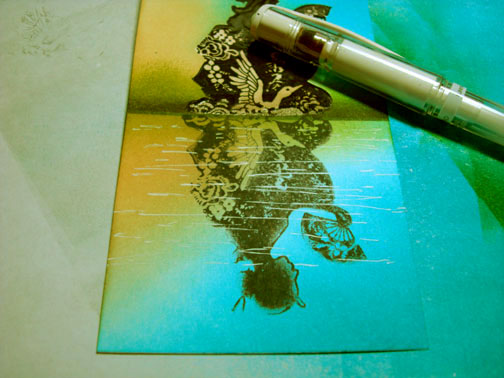
Colored over the image being careful to not go outside the embossed image with a Versamark marker and heat embossed the entire image using clear embossing powder and a heat gun.


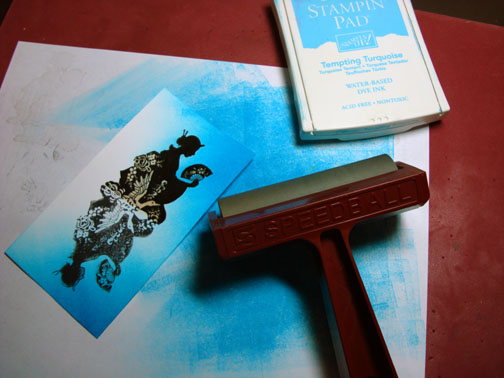
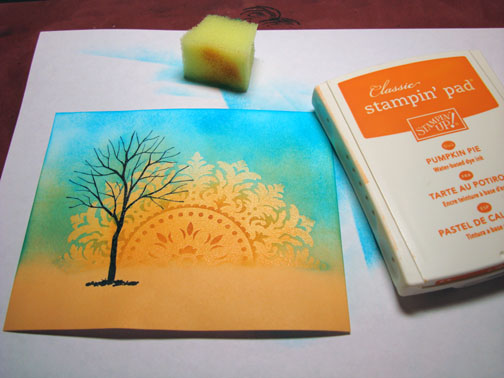
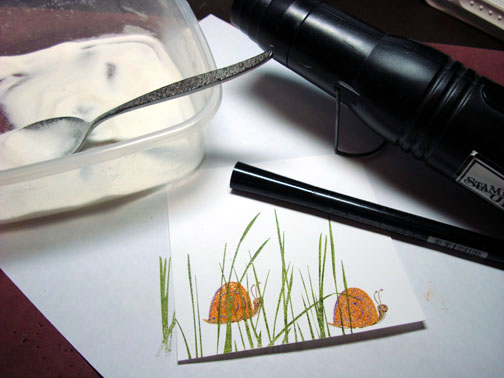
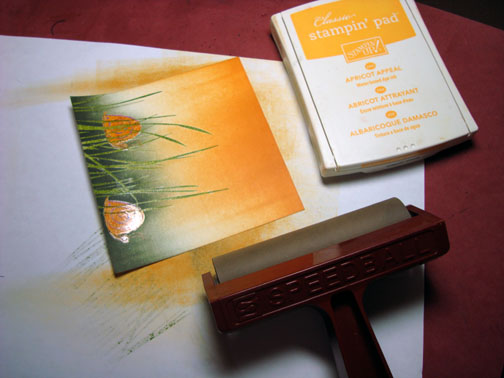
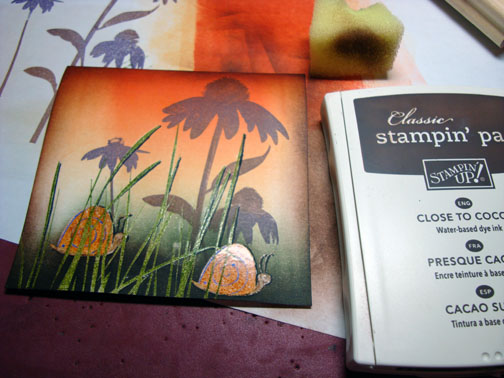
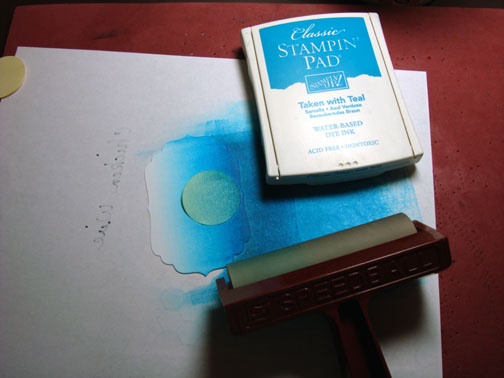
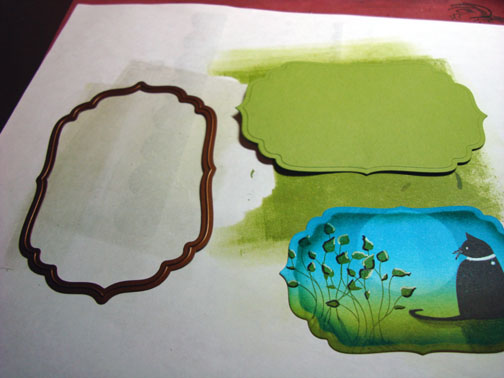
Brayered the top of the card stock using So Saffon ink.

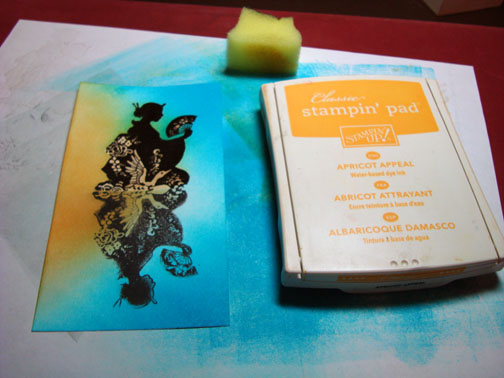
Created a Shadow under the nest with a Sand Prismacolor Marker.

Added Light Tan Prismacolor Marker to the shadow under the nest.

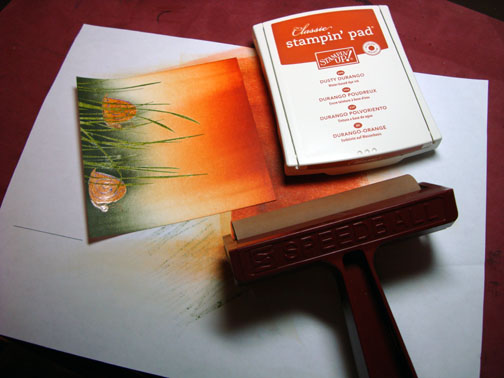
Added a bit of Mocha Dark Prismacolor Marker right under the nest.

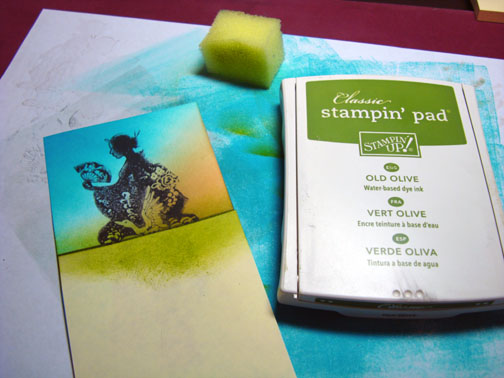
Brayered a bit of More Mustard ink at the very top of the card stock.

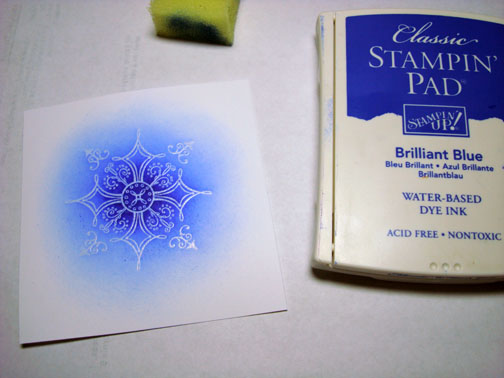
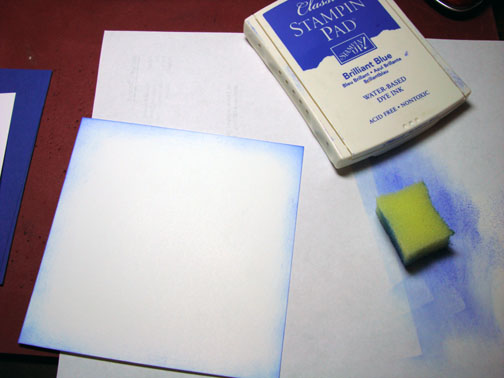
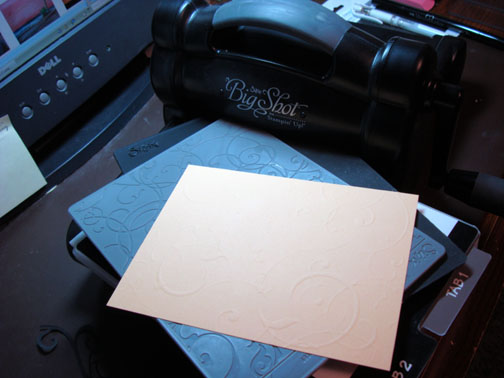
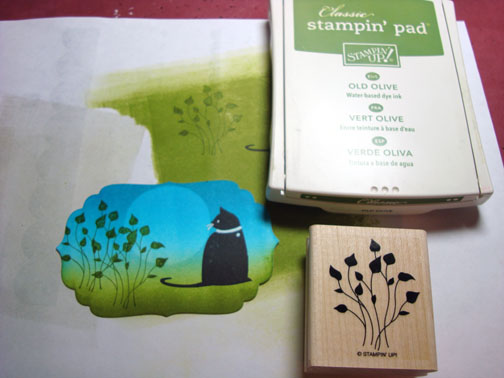
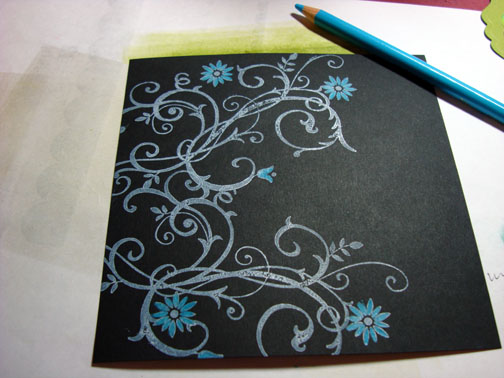
Sponged More Mustard around the edges of a Designer Paper Panel that measures 4″ x 5.5″.

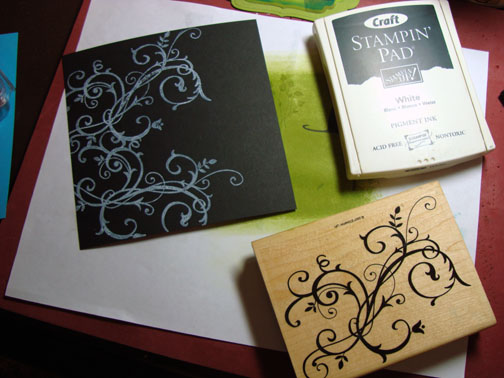
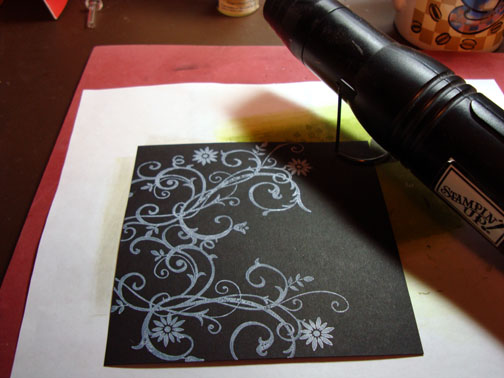
Added a 4 7/8″ x 5 7/8″ Whisper White Panel. Stamped my unmounted Forever Flowers Wheel Stamp with More Mustard on each side of the card stock. I masked the corners with post it notes at a diagonal each time I stamped a side so my images at the corners would have a mitered look.
Note: Press hard when stamping since you are stamping over multiple layers of paper. This helps give you a better image.

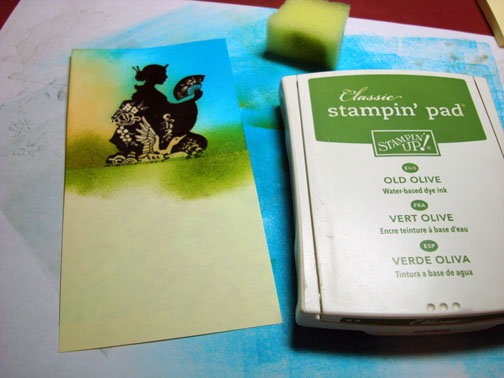
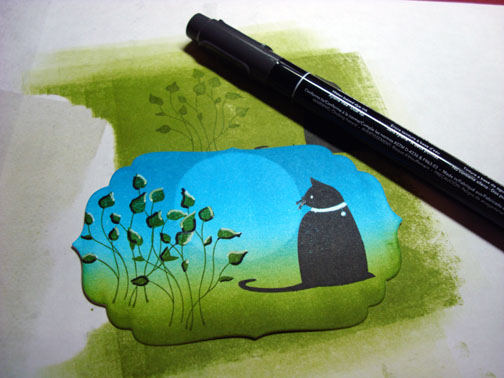
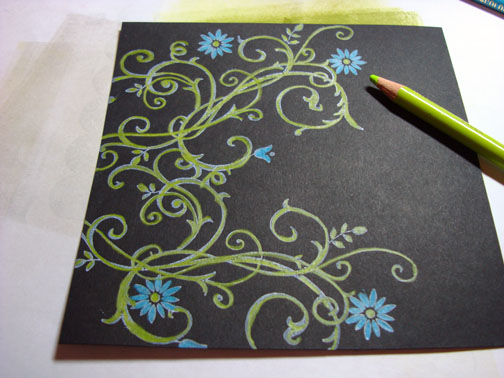
Colored the leaves in with a Certainly Celery marker and Sponged More Mustard around the edges of the card stock.

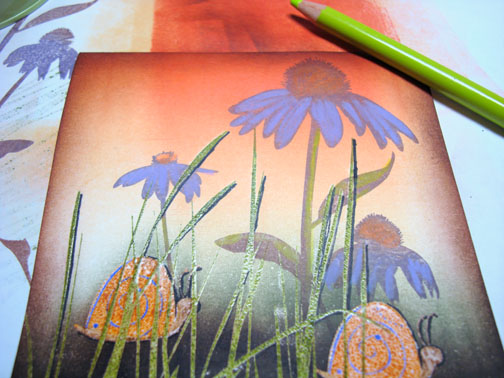
Sponged Chocolate Chip ink around the edges of both the large panel and the main image panel.

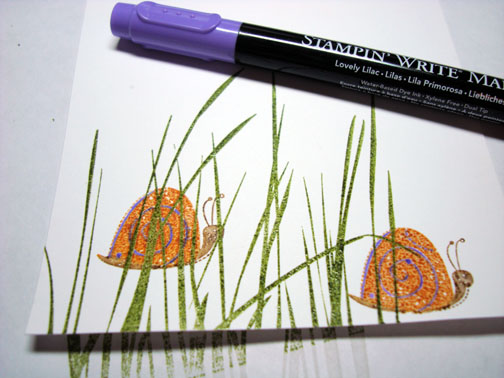
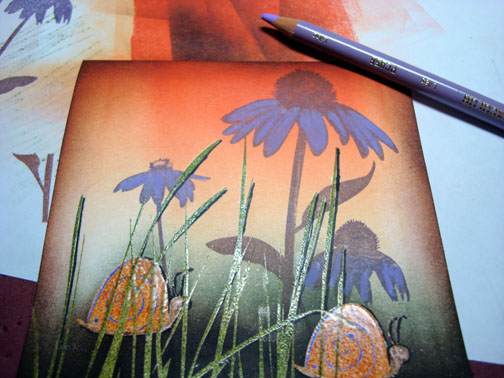
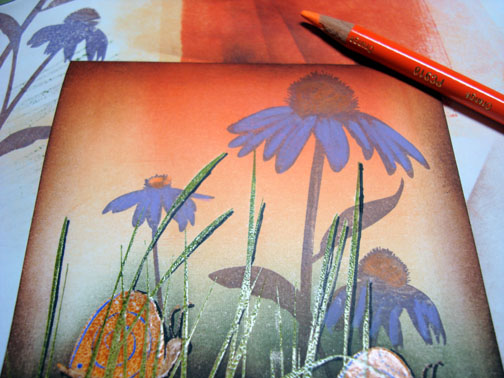
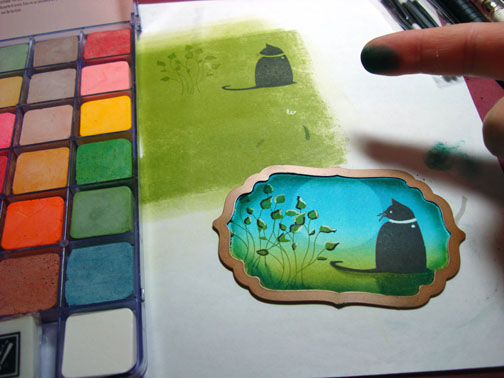
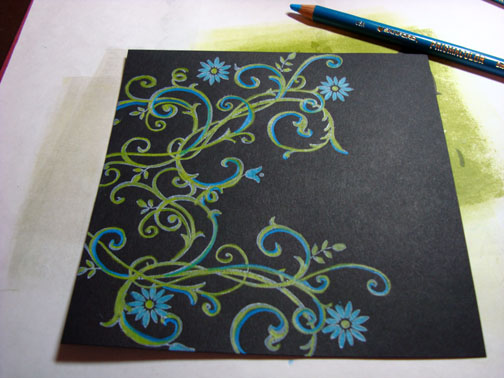
Colored the flowers in with a Bashful Blue marker, added Brocade Blue marker to the petals and then colored the Center of the flowers and the dots in the design in with a White Gel Pen. Also added white Gel pen highlights to the top edges of the eggs in the nest.

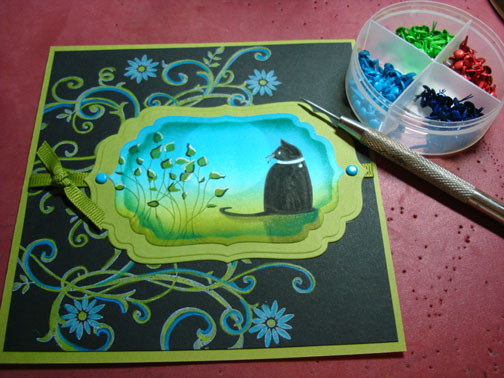
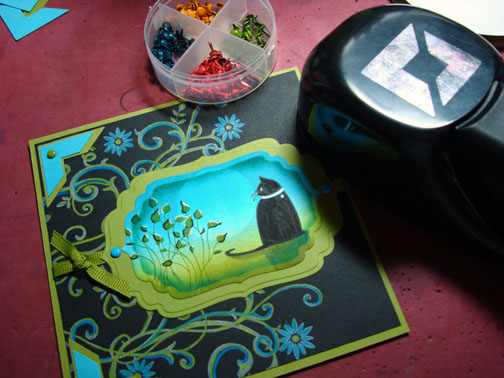
Assembled the card adding a Chocolate Chip panel under the main image panel and a 5″ x 6.5″ chocolate Chip panel at the very back.
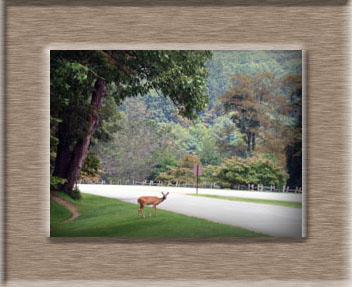
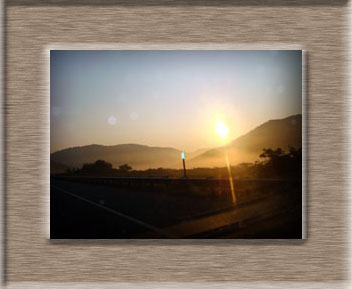
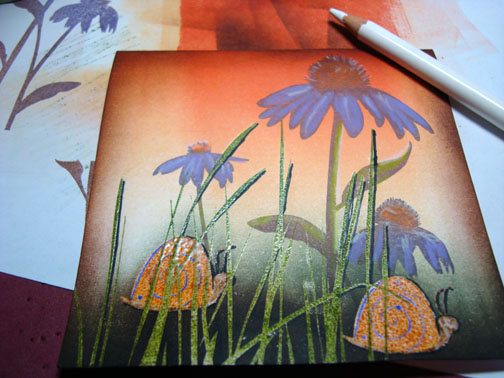
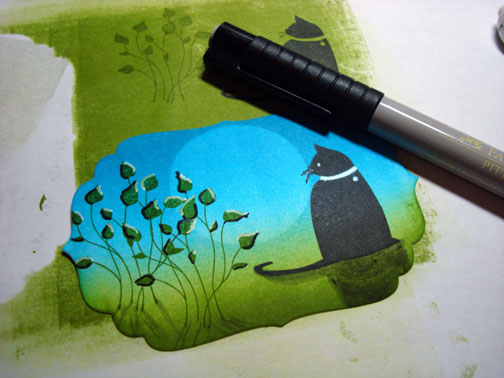
Decided to make the Design paper panel look like it was receded so I outlined it with a Chocolate Chip marker and then used the Wide Chiseled end of a French Grey 30% Prismacolor marker to outline it again. This creates the illusion by looking like a shadow.
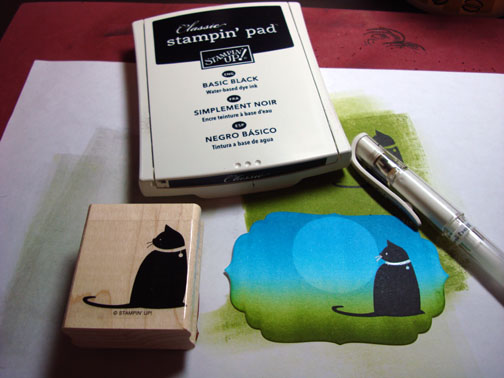
Stamped the Lovely Lettes Alphabet “Z” with Chocolate Chip ink.

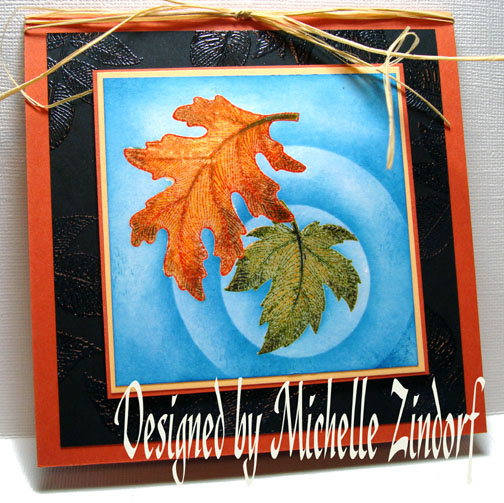
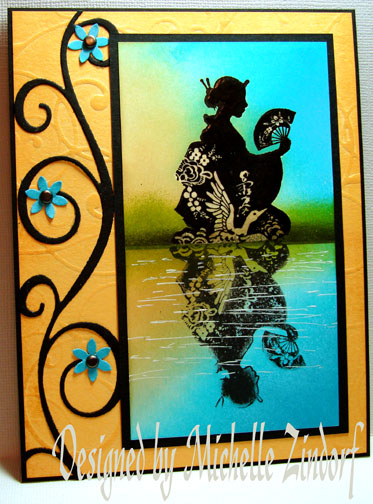
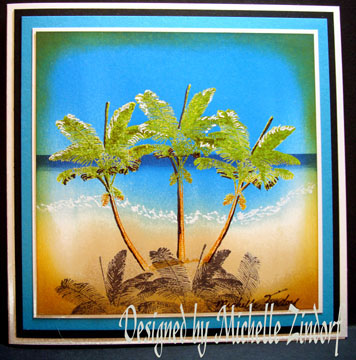
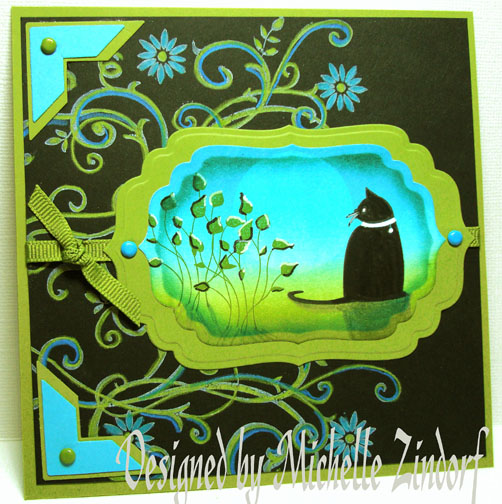
Here is the finished card measuring 5″ x 6.5″.
I hope this tutorial has inspired you to add a shadow on one of your card panels to create a little depth. 🙂
Let me close today with a quote for you.
Whatever you give a woman, she will make greater. If you give her a house, she’ll give you a home. If you give her groceries, she’ll give you a meal. If you give her a smile, she’ll give you her heart. She multiplies and enlarges what is given to her.
So, if you give her any crap, be ready to receive a ton of sh**.
Until my next post. . . . . . . . . . . . . . . . . . .. Huge Hugs,Michelle
 Get ready for Brayer Workshops! I am coming to:
Greenwood, Indiana
Castro Valley, California
Yardley, Pennsylvania (near Philadelphia)
Knox, Maine
Akron, Ohio
Broomfield, Colorado
Moore, Oklahoma
Nashville, Indiana
Portland, Michigan
2010
Phoenix, Arizona
Monroe, Louisiana
Jacksonville, Florida
St. Louis, Missouri
Mechanicsville, Virginia
Raleigh, North Carolina
Colleyville, Texas
Colorado Springs, Colorado
Boise area of Meridian, Idaho
Riverside, California (Southern California)
Salem, Oregon
Wheaton, Illinois
St. Cloud, Minnesota
Rockville, Maryland
North Chili, New York (near Rochester)
New Johnsonville, Tennessee
Helena, Montana
Middleburg Heights, Ohio
Venice, Florida
Here is a link to my workshop calendar where you can see all of my travel schedule and to get info on beginner and advanced Brayer workshops: https://zindorf.splitcoaststampers.com/workshop-calendar
Link to my Stampin’ Up website were you can order all of your must have Stampin’ Up products from me 24-7: https://michellezindorf.stampinup.net
Frequently asked questions answers: https://zindorf.splitcoaststampers.com/frequently-asked-questions/


