
Hey There,
I’m back from St. George, Utah and the Stampin’ Up! Founder’s Circle Retreat. Just want to say “I had an awesome time”!
Founder’s Circle Retreat is a get away for the top Stampin’ Up! Demonstrators in the company. They fly us out to Utah and treat us to the most wonderful decorations, food, activities, gifts on our pillow every night and good times spent together with each other. Fabulous!
Did I mention we had the entire hotel to ourselves. Breakfast could be had in our PJ’s, grin.
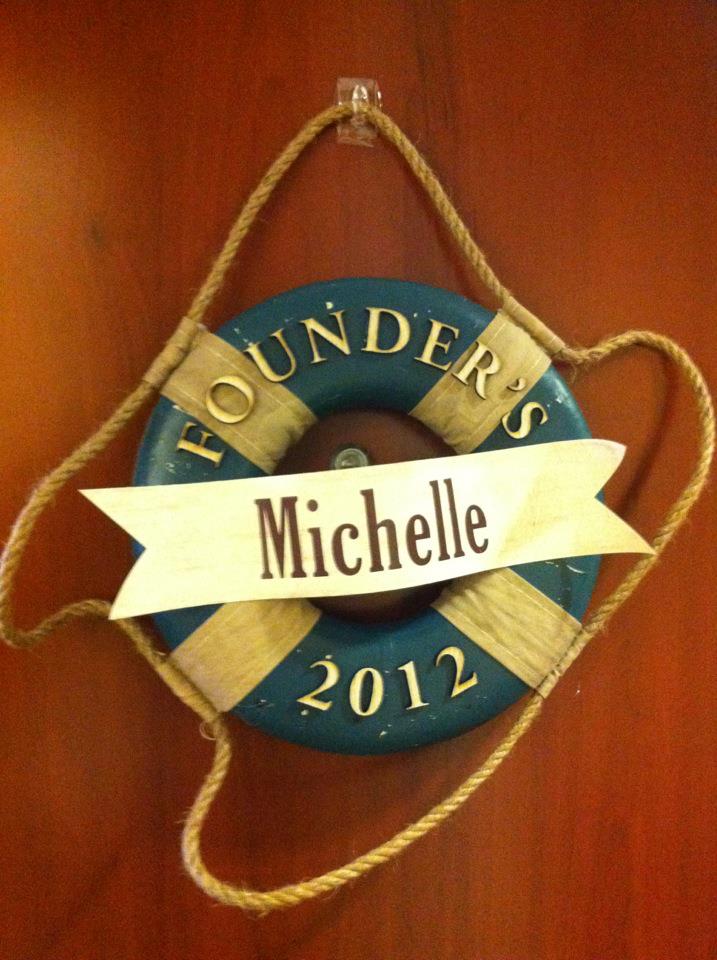
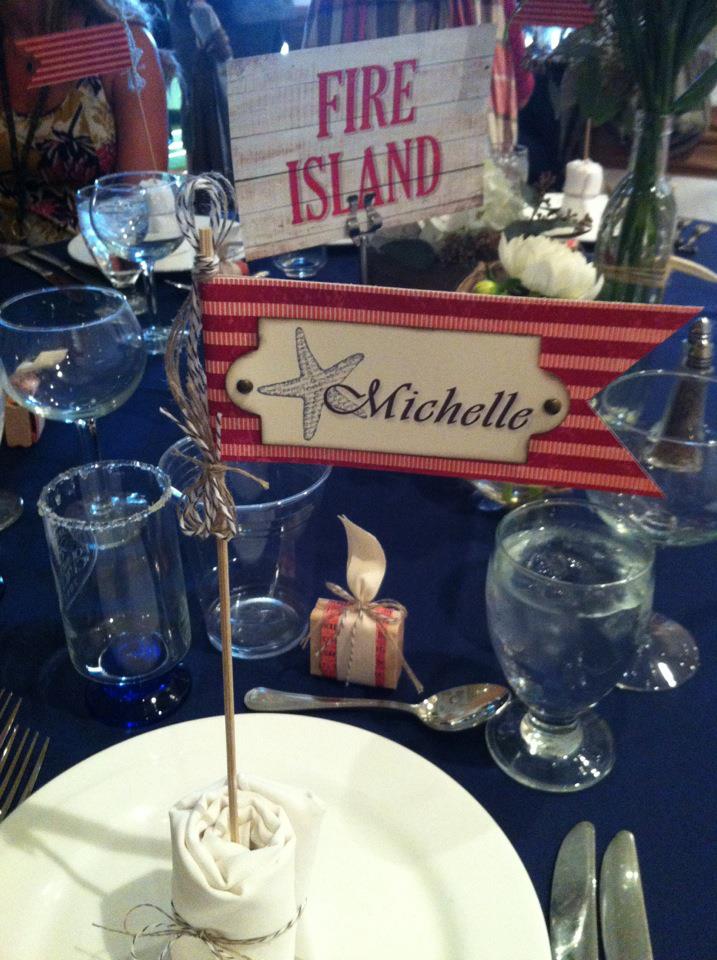
This year’s retreat had a nautical theme. Check out the decorations that I found on my hotel room door and at the dinner table.
I got to spend some time shopping, laughing and having a good time.
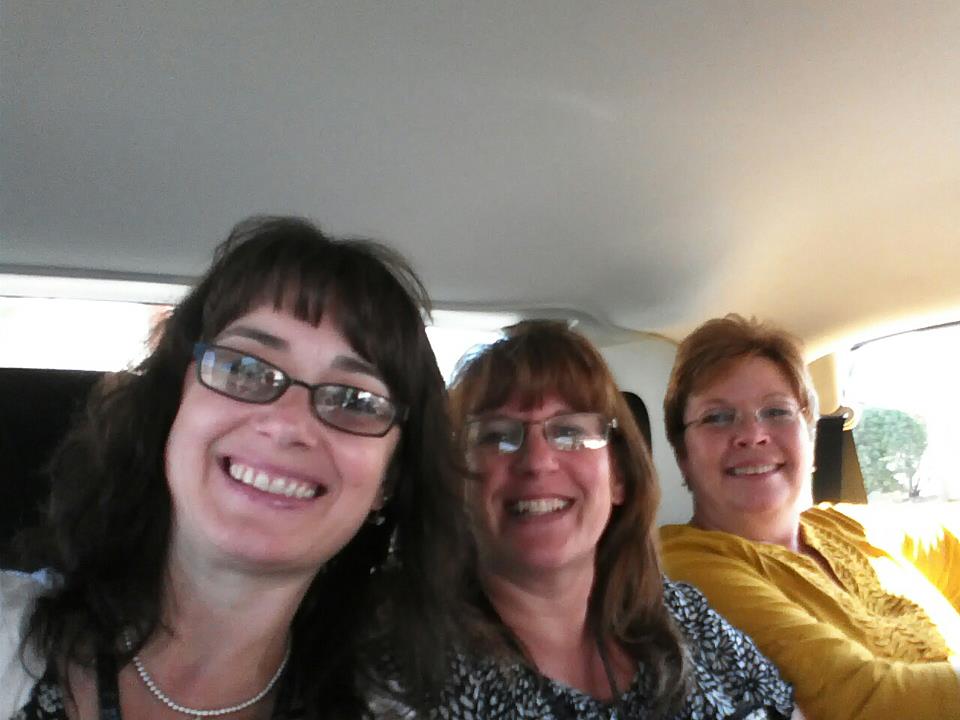
Diana Gibbs, Sherri Thiessen Peters and myself in the back of the hotel shuttle van.
I got to tour the Stampin’ Up! Manufacturing site. Watch the stamps and other products being made, packaged etc. Even got free stuff right off the press, woohoo!
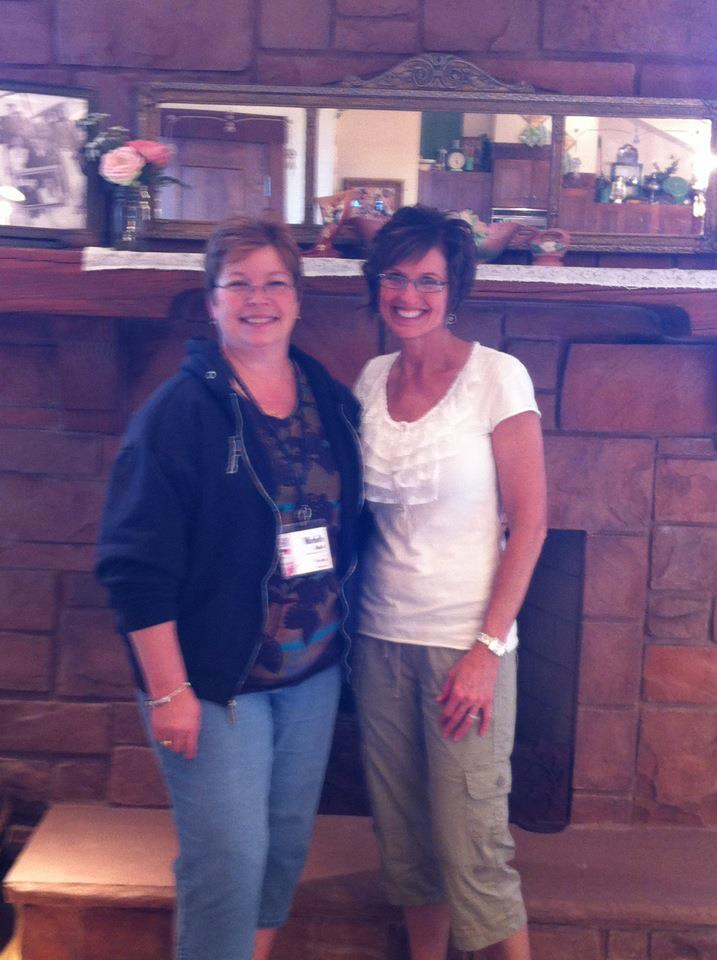
Here I am with Shelli Gardner in her private quarters where she stays when at the Manufacturing site.
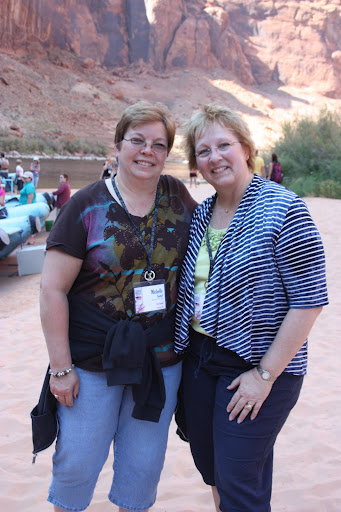
Stampin’ Up! then put us in the buses and took us for a surprise trip down the Colorado River in Rafts. The scenery was breathtakingly beautiful.


Myself and Judy Garza. Also here I am with Lorri Heiling and Sherri Thiessen Peters on the raft.

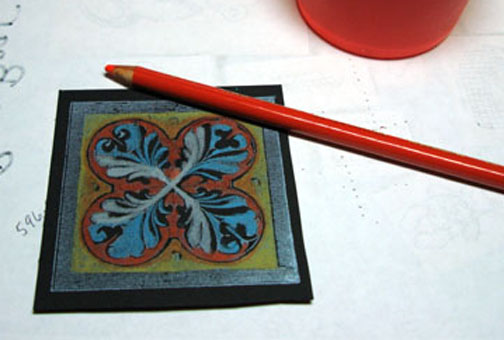
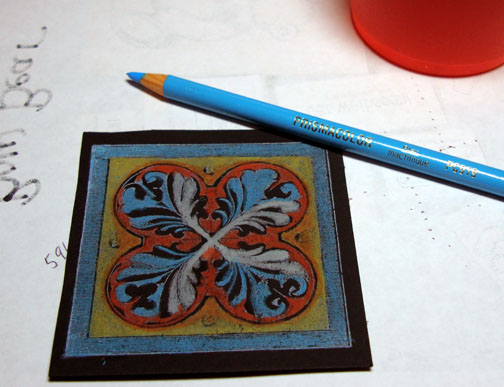
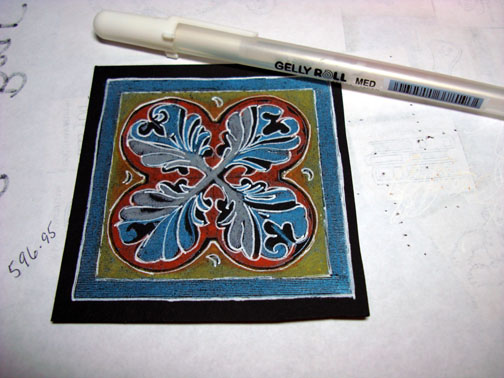
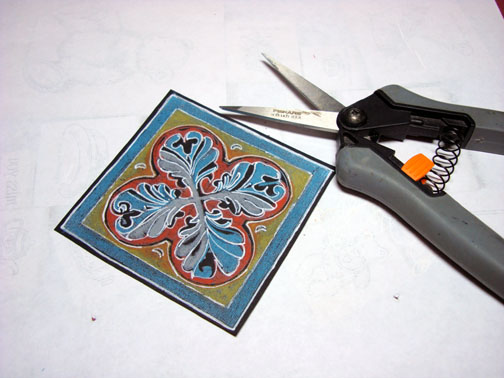
Well I could go on an on about the fun I had over the past week, but I have a project for you today.
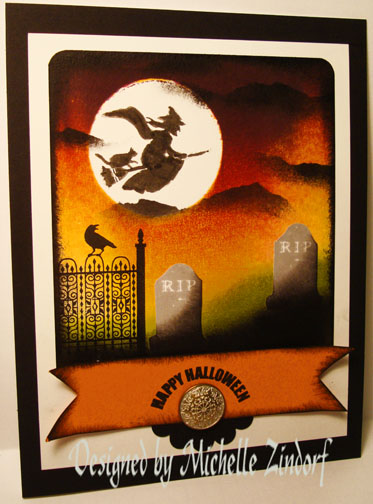
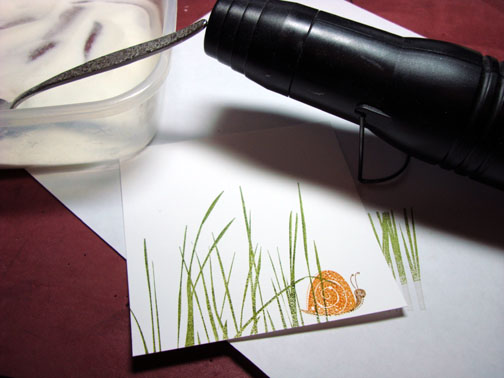
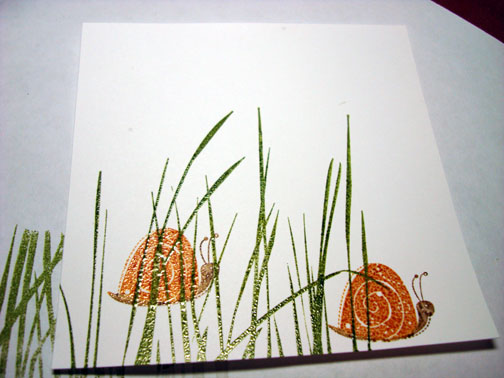
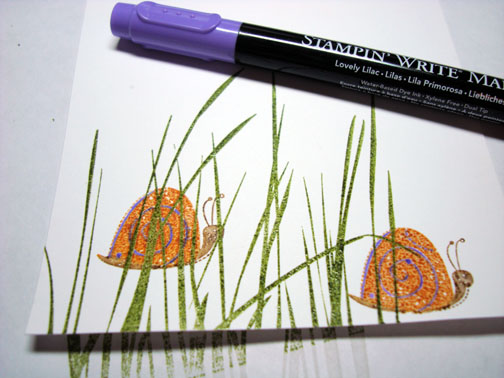
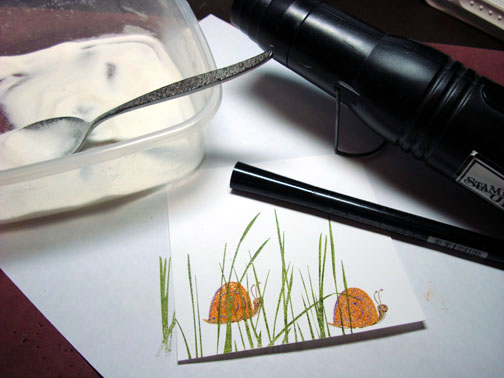
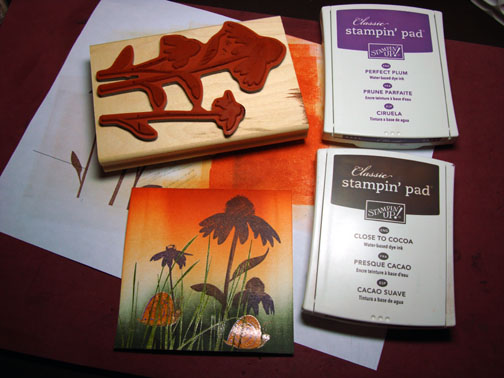
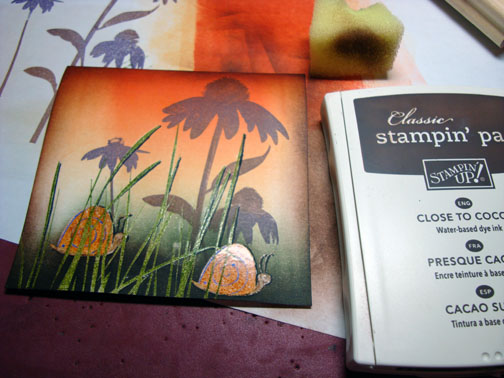
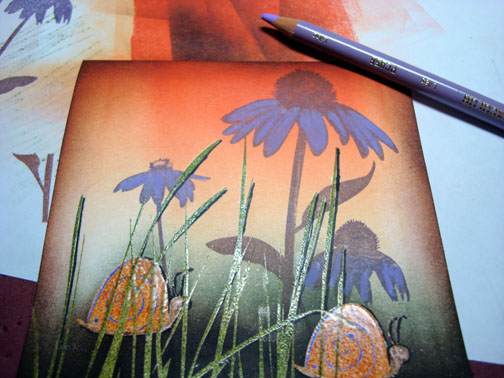
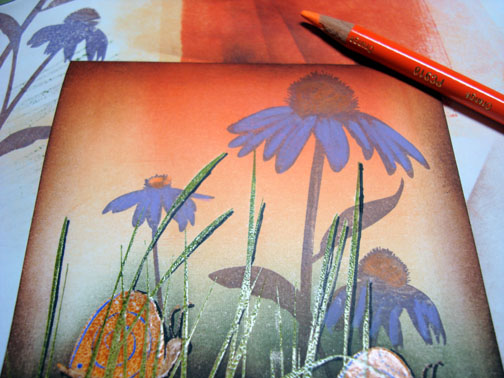
Today’s project highlights the Stampin’ Up! stamp set Toxic Treats (item number 127901). I pulled some images out of the stamps to give you an idea on how to get more use out of them. I can’t get enough of this set. It’s super cute.
Check out the tutorial below.
Here are a few Stampin’ Up Reminders before I start the project:


 The new Stampin’ Up! Holiday Mini catalog is now in effect. I love all of Stampin’ Up’s products, but the new mini catalog just blew me away (CLICK HERE TO VIEW THE HOLIDAY MINI CATALOG). I especially love the coordinating products that you can get as a bundle at a discount. Gotta love a discount, right? Especially for those products to make your holiday gifts and cards.
Don’t miss out on my Customer free stamp set program. Check it out! Along with a handmade thank you card from me for your order you will receive a token for each $50 in product you ordered using me as your demonstrator. After you have collected 10 tokens you will receive a free current stamp set of your choosing, a value of $39 or less. Here is a link to my online shopping page that you can shop at 24/7 (from the comfort of your home, even in your pj’s) and the products will be shipped directly to your door step from Stampin’ Up: CLICK HERE TO SHOP. My free stamp set program will be an on going program. ![]()
Want a new annual catalog shipped to you? I will be happy to send you one. The catalog is free, but there is a $5 shipping charge. Note, I will only sell or ship within the United States do to Stampin’ Up! policies. Please contact me at [email protected]. Payment can be sent via Paypal or check.
You can join my Stampin’ Up! team and become a Stampin’ Up! Demonstrator now for the great new price of $99, CLICK HERE TO CHECK IT OUT. Contact me whether you want to start your own business or just enjoy the 20% discount on products.
Want to purchase one of my original cards or some Stampin’ Up! retired sets CLICK HERE.
*****************************************************************************
Now on with today’s tutorial. . . . . . .
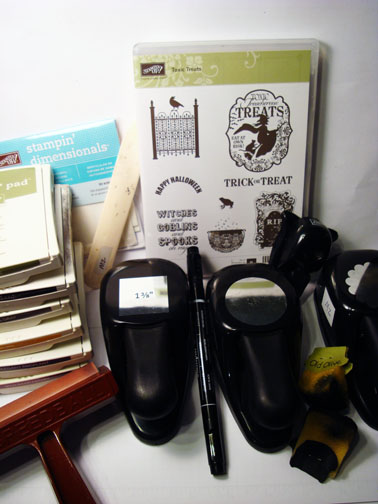
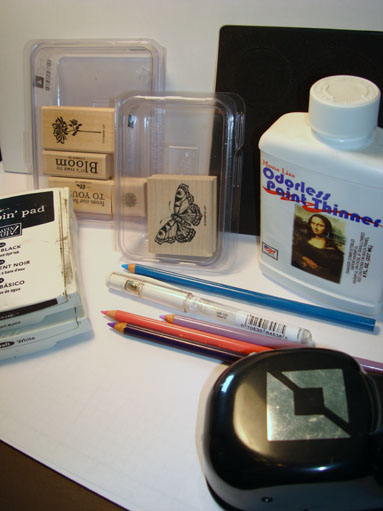
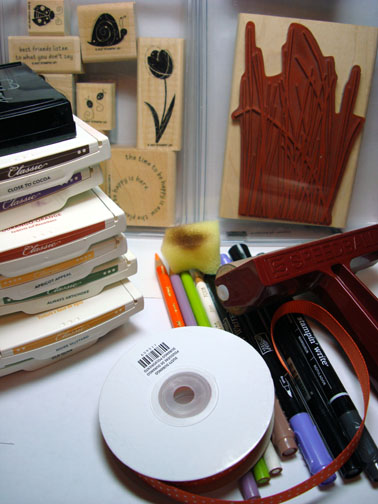
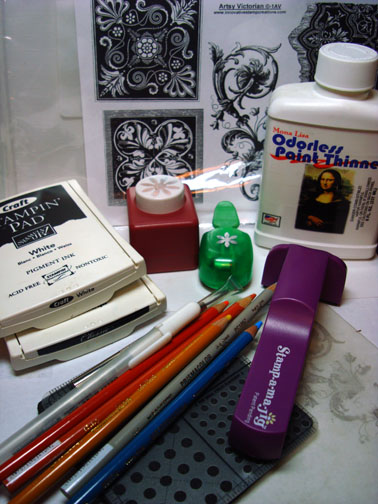
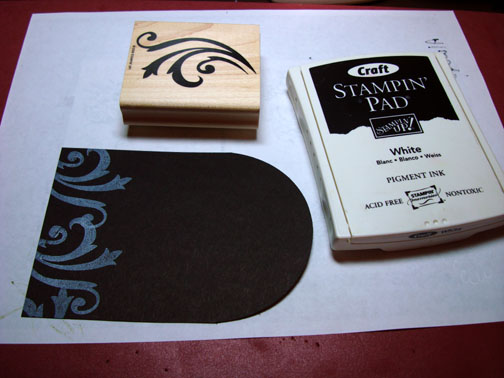
Card Supplies:
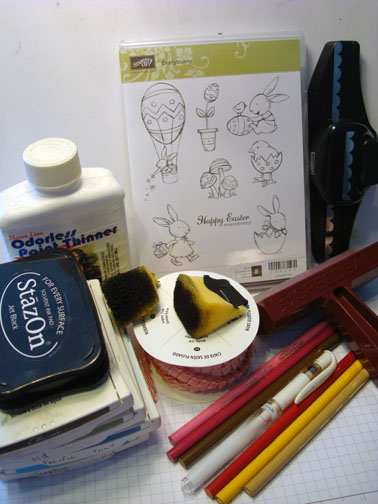
Stamps: Stampin’ Up! Toxic Treats (item number 127901)
Card Stock: Stampin’ Up! Whisper White, Basic Black and Pumpkin Pie
Ink: Stampin’ Up! Rich Razzelberry, Elegant Eggplant, Daffodil Delight, Basic Black, Old Olive and Basic Gray
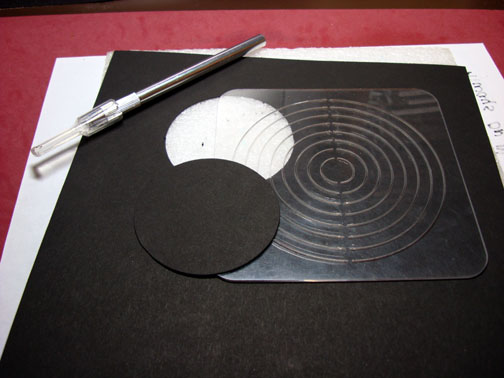
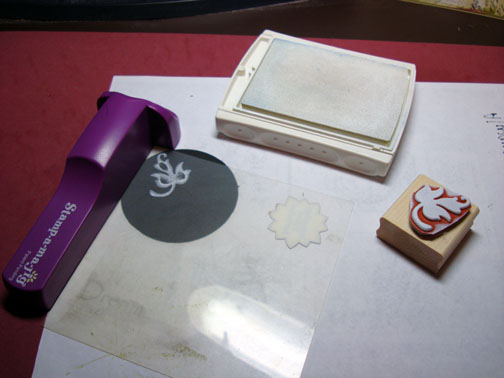
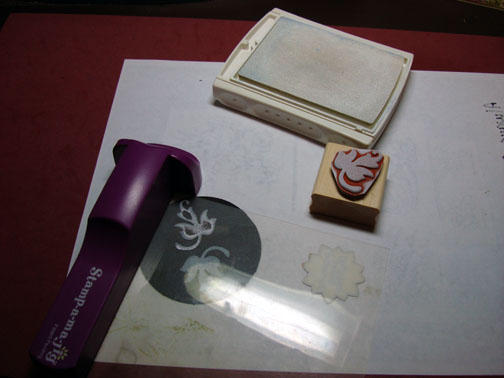
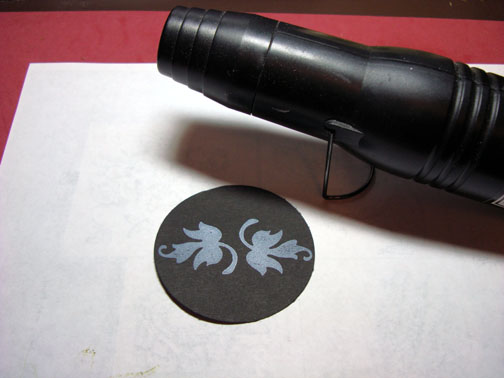
Accessories: Stampin’ Up! Sponges, brayer, post it note, Stampin’ Dimensionals, Basic Black marker, Punches (1 3/4 Circle, Scallop Circle, 1 3/8″ Square, corner round) and antique brad.
![]() Are you getting inspiration from this blog? One way you can help support it is to order your Stampin’ Up products through me. Click HERE to place an order and have your order delivered directly to your door step from Stampin’ Up!
Are you getting inspiration from this blog? One way you can help support it is to order your Stampin’ Up products through me. Click HERE to place an order and have your order delivered directly to your door step from Stampin’ Up!
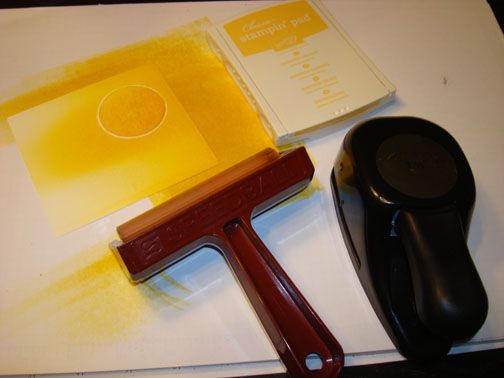
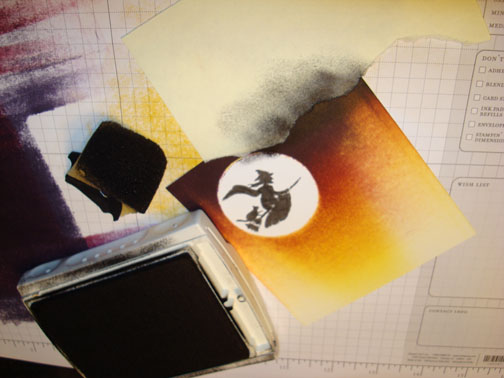
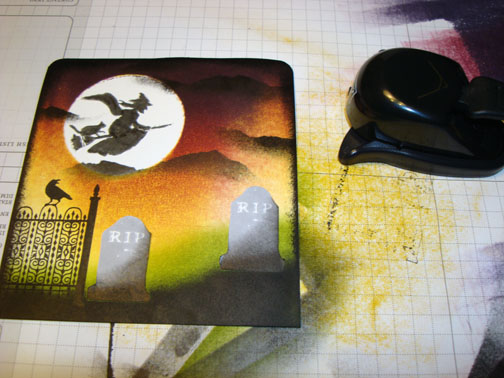
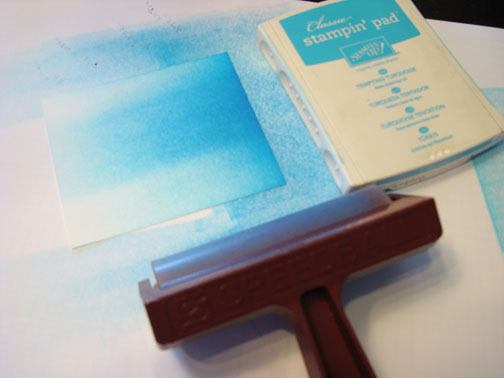
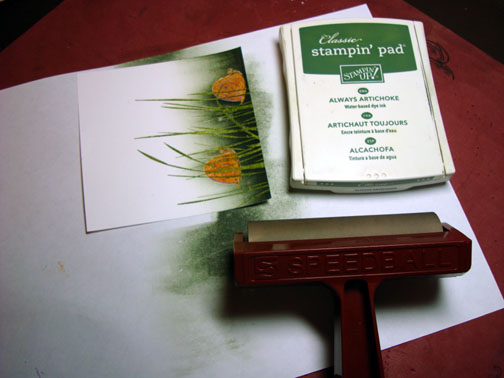
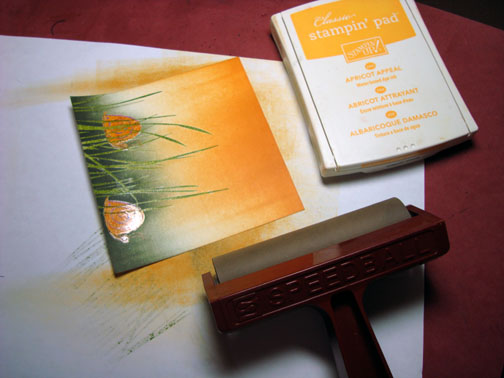
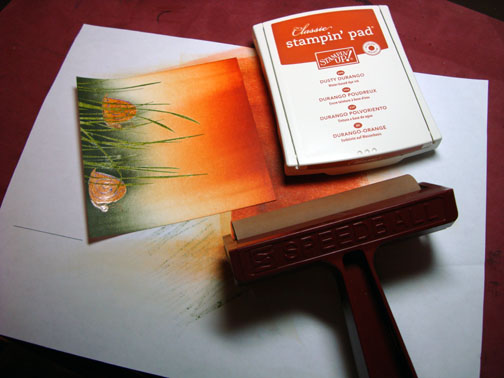
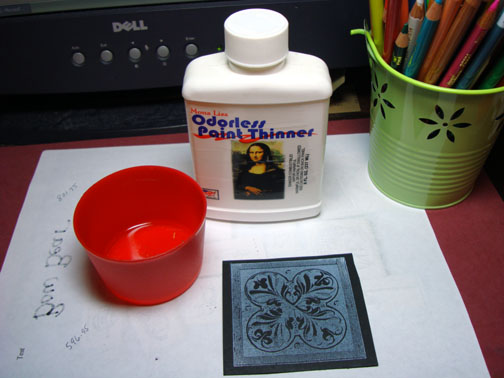
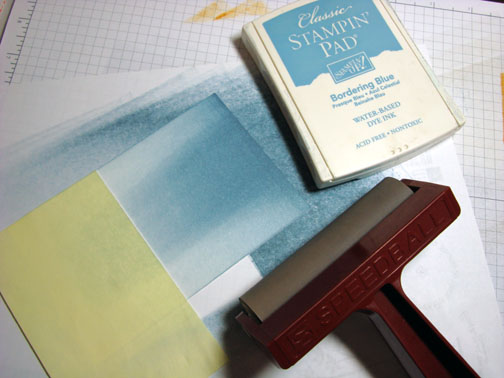
Started with a piece of Whisper White card stock. Punched a 1 3/4″ circle from the sticky part of a post it note to use as my sun mask. Brayered Daffodil Delight, Rich Razzelberry and then Elegant Eggplant at the top of the card stock.
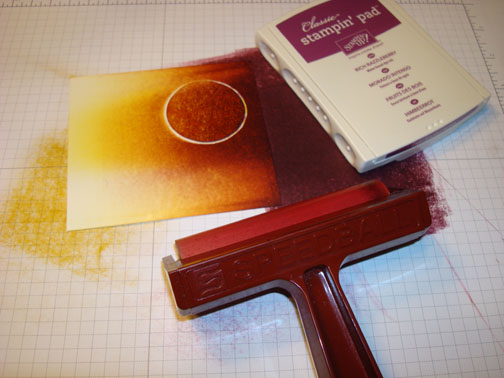
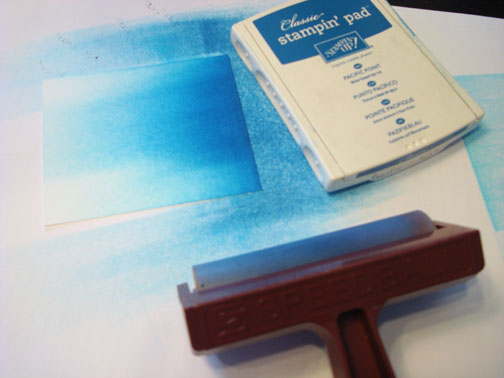
Removed the sun mask.
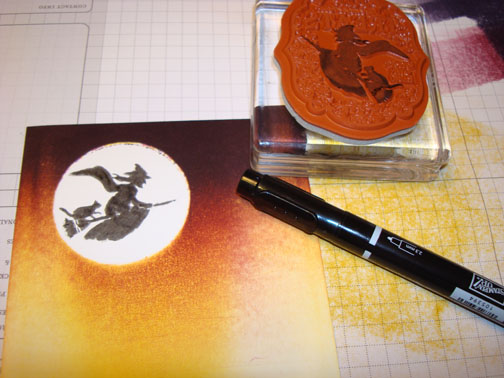
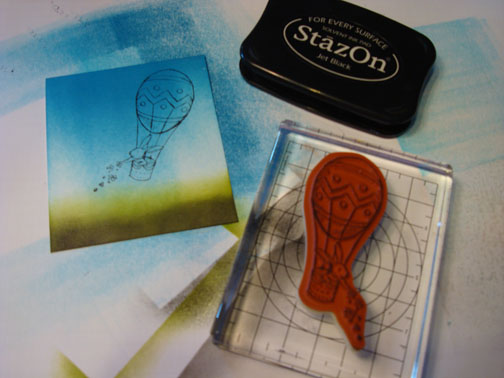
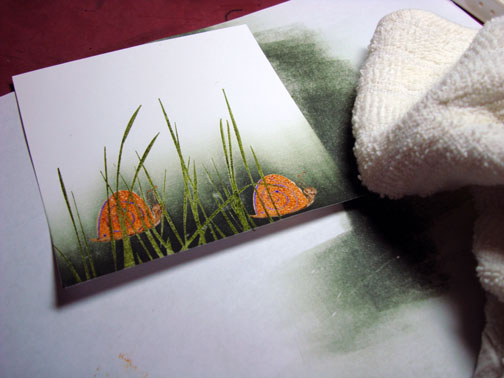
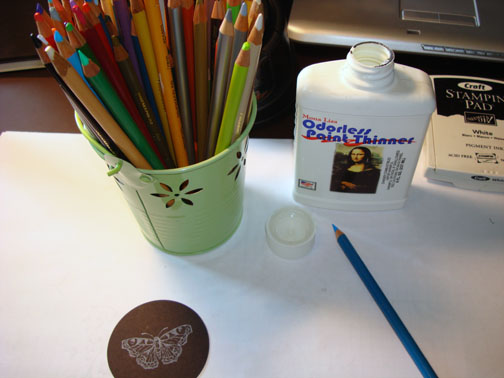
Colored the witch in on the stamp using a Basic Black marker, huffed my breath on the stamp to moisten and then stamped it over the sun. My image came out a bit lighter than I wanted so I colored over it using the Basic Black marker.
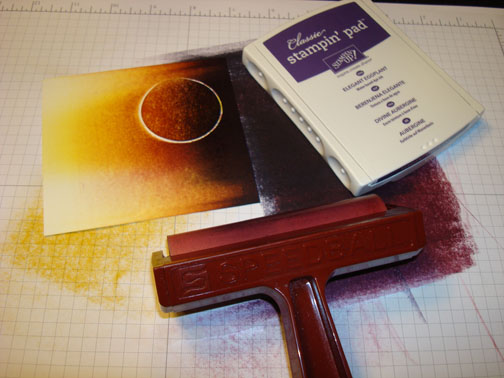
Ripped a jagged edge in a post it note and used it to create my black clouds using a sponge and Basic Black ink.
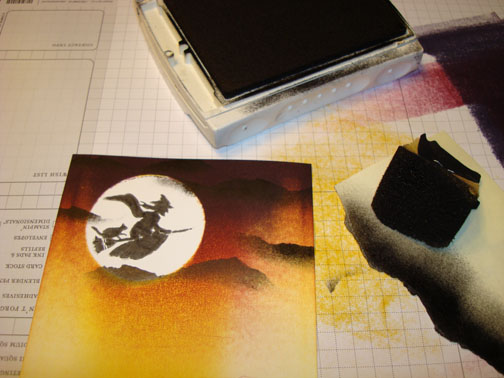
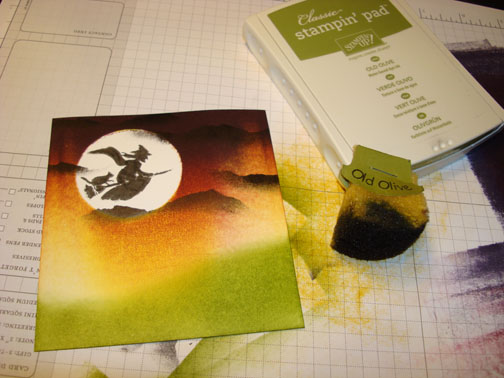
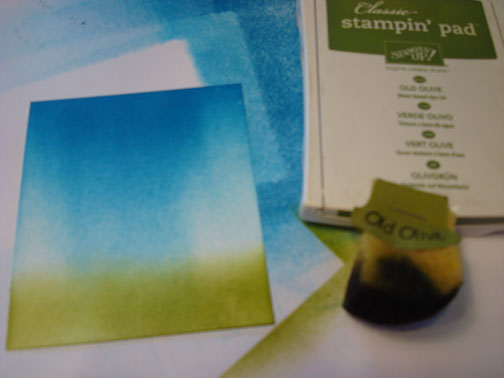
Sponged Old Olive ink at the bottom of the card stock.
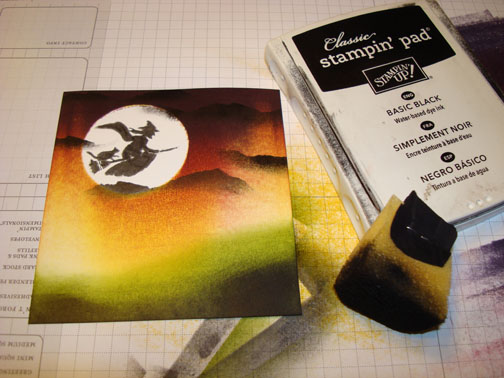
Sponged Basic Black ink at the very bottom of the card stock.
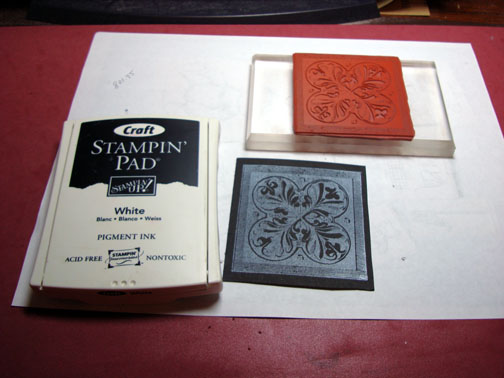
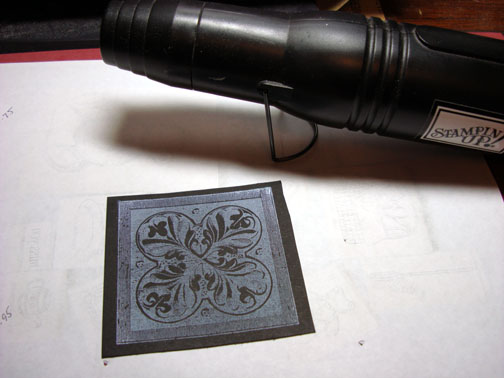
Stamped the tombstone stamp twice on Whisper white card stock using Basic Gray ink.
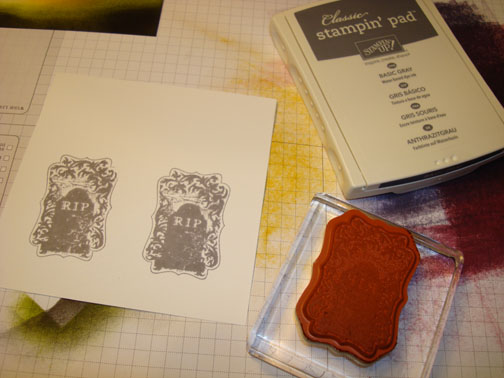
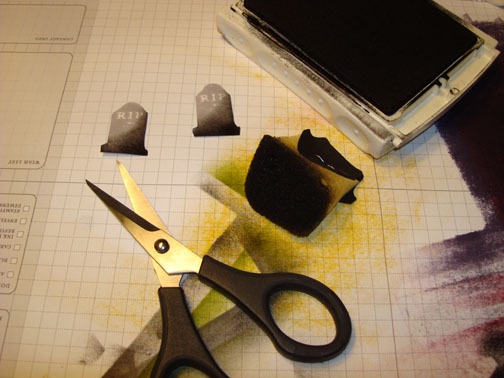
Cut the tombstones out and sponged Basic Black ink on the bottom and right sides of the them.
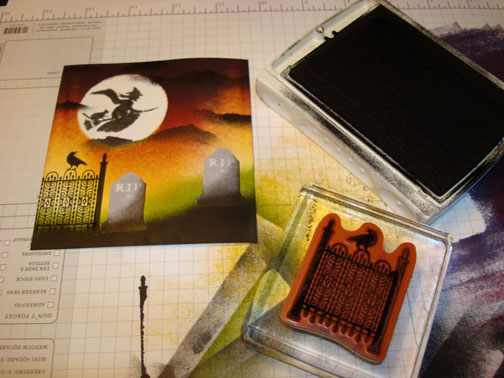
Adhered the tombstones to the main image panel and then stamped the fence using Basic Black ink.
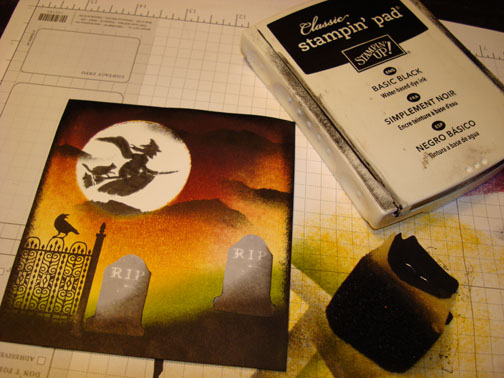
Sponged Basic Black ink around the card stock edges.
Used the corner round punch on the top corners.
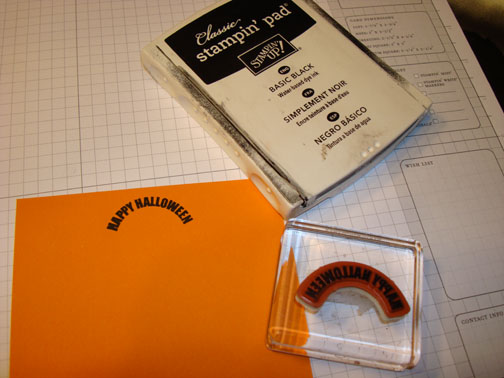
Stamped the sentiment on a piece of Pumpkin Pie card stock using Basic Black ink.
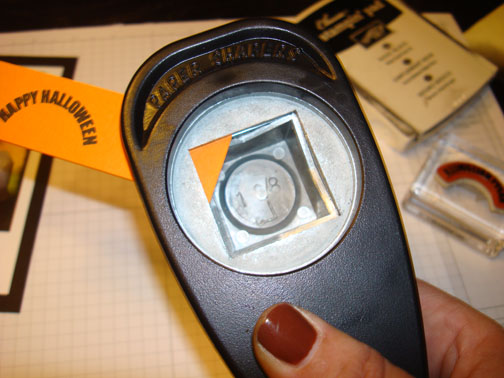
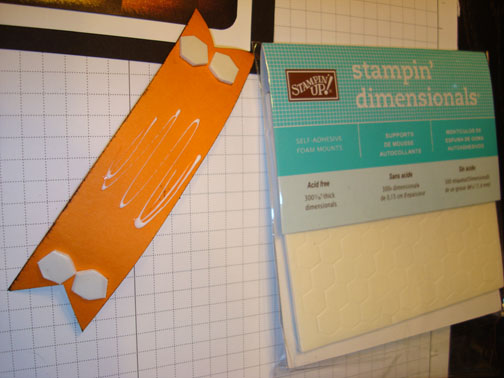
Cut the card stock into a strip and then used the square punch to snip out the triangle in both ends of the piece.
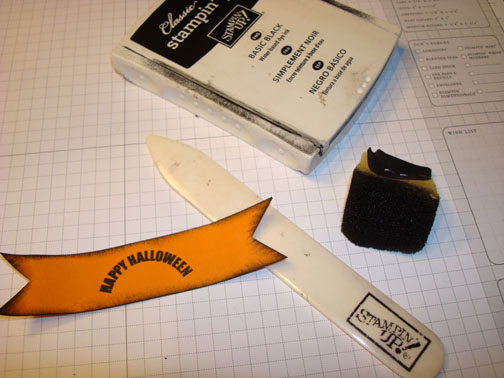
Sponged Basic Black ink around the edges and then curled the ends using a bone folder.
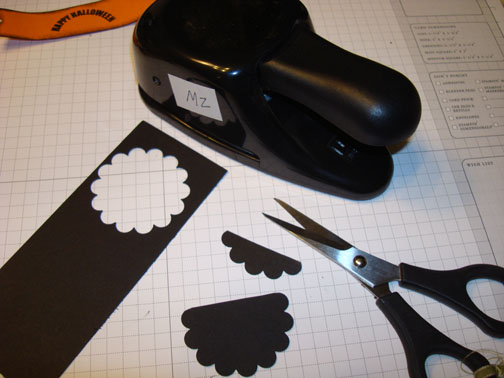
Punched a scallop circle out of Basic Black card stock and then cut a piece of it off. I used the smaller piece on my card front.
Added a 5″ x 6.5″ Basic Black panel and a 4.75″ x 6.25″ Whisper White panel. Adhered the banner to the front of the card stock using Stampin’ Dimensionals and glue in the middle.
Added a 10″ x 6.5″ piece of Whisper White folded in half as my card base.
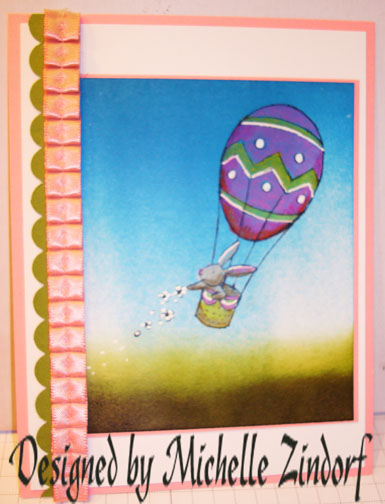
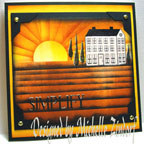
Here is the finished card measuring 5″ x 6.5″
May your day be one of pure delight.
Until my next post. . . . .
Hugs,


 Get ready for Brayer and Direct to Paper Workshops! I am coming to the following locations, click the location name for more information.
I hope you can make it to one of my workshops in 2012. I have decided not to travel after this year, so be sure to catch one now!
Link to my Stampin’ Up website where you can order all of your must have Stampin’ Up products from me 24-7: https://michellezindorf.stampinup.net


