

I’m a coffee drinker. I drink about a pot each morning and I drink it black. No fancy coffee for me.
This morning I decided to do a whimsical card using some old retired Stampin’ Up sets. I will never ever part with these sets.
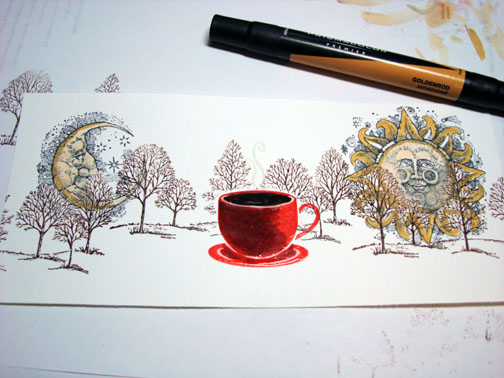
This card is done in the emboss resist technique, building the scene from front (foreground) to back (background).
Let’s get started.
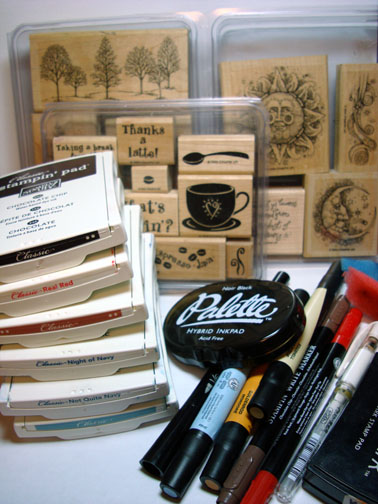
Supplies:
| Stamps: Stampin’ Up Stardust, What’s Brewin’? and Levely as a Tree |
| Paper: Stampin’ Up Whisper White, Basic Black & Baja Breeze |
| Ink: Stampin’ Up Chocolate Chip, Real Red, Really Rust, Night of Navy, Not Quite Navy, Baja Breeze and Palette Noir Black |
| Accessories: Prismacolor Markers, Stampin’ Up markers, White Gel Pen, Sponges, Versamark Pad and Marker, Fine Detail Clear embossing powder and a Heat Gun, Copper Brads |
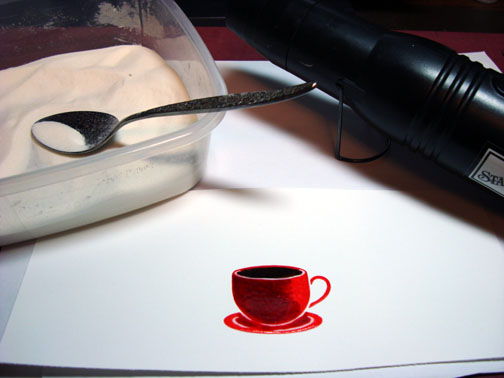
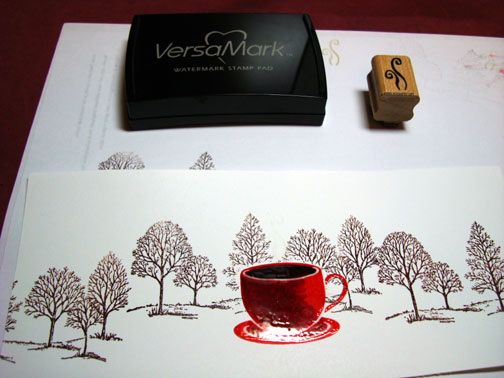
Stamped coffee cup with Real Red on a 3.5″ x 8″ piece of Whisper White card stock.

Colored over the coffee cup with a Real Red marker to create a shadow on the left side and to omit the heart design.

Colored the coffee in the cup with a Chocolate Chip marker.

Colored over the entire image with a Versamark marker and heat embossed it using fine detail embossing powder and a heat gun.

Stamped the trees by first loading the stamp with Versamark and then loading it with Chocolate Chip ink before stamping.
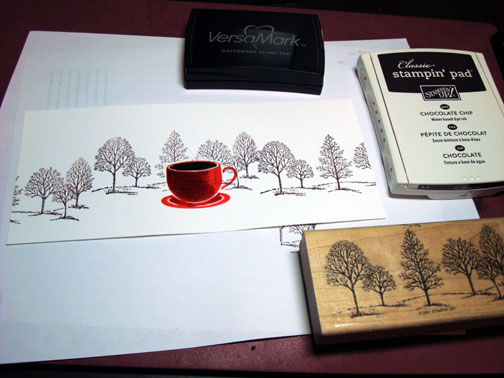
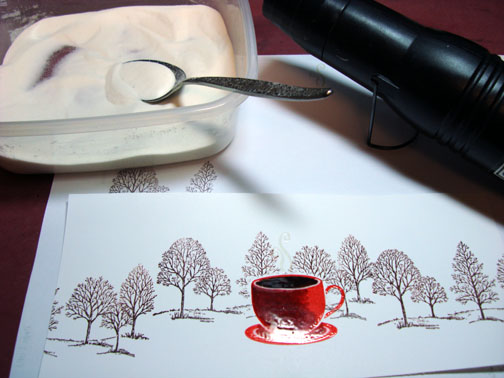
Heat embossed the trees using clear embossing powder and a heat gun.
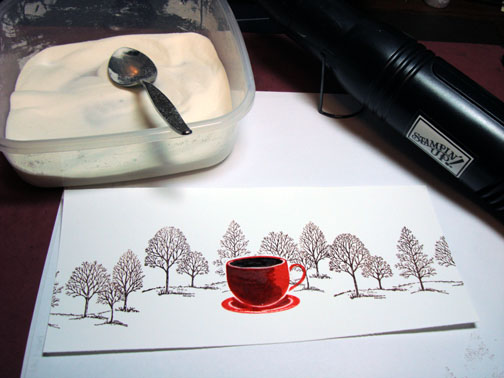
Stamped the steam using Versamark only and then heat embossed the steam image using clear embossing powder and a heat gun.
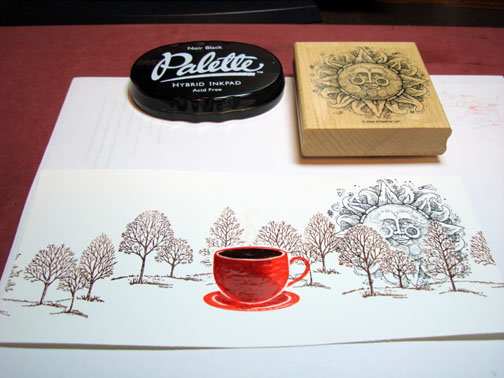
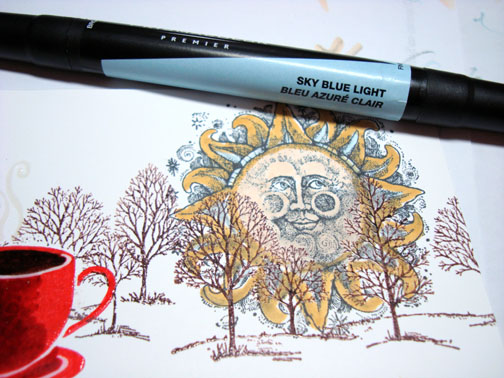
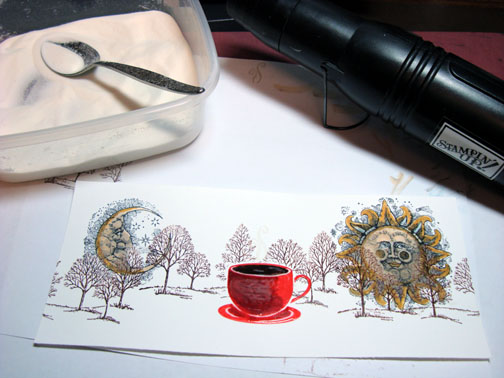
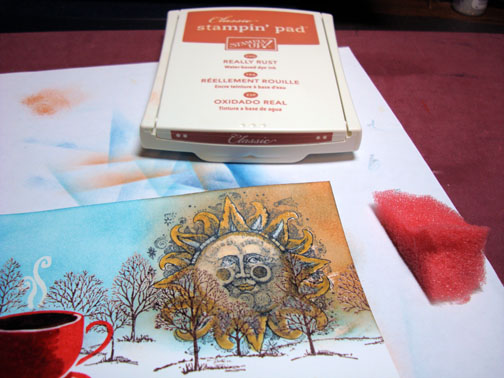
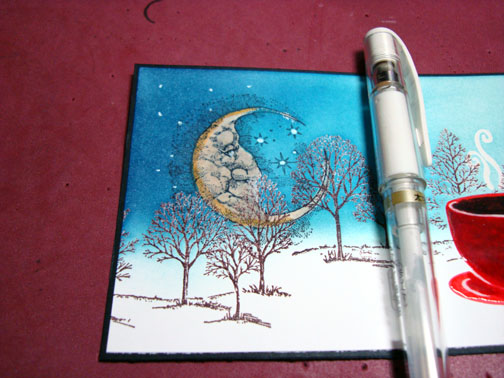
Stamp the Moon and the sun using Palette Noir Black ink.

Colored the moon and the sun with an Eggshell Prismacolor Marker.
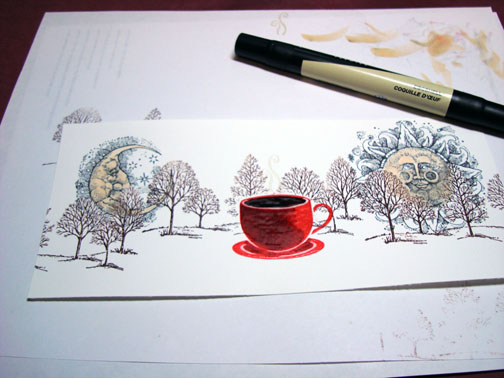
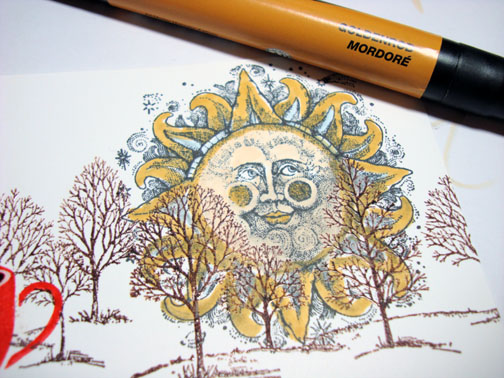
Added Goldenrod Prismacolor Marker to both the moon and the sun.
I wanted a mellow card so I chose warm colors that were not bright in nature.
Added Sky Blue to the Sun image.
Added Goldenrod marker to the sun’s face.
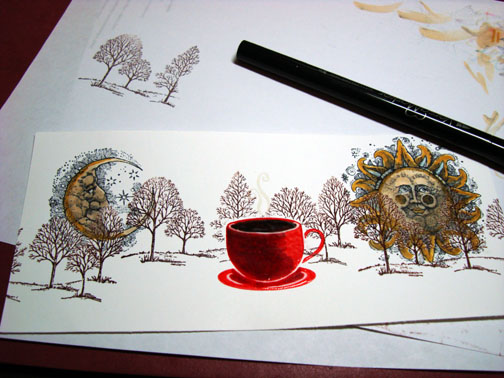
Colored over both the sun and the moon with a Versamark Marker and heat embossed the images using clear embossing powder and a heat gun.
Sponge Baja Breeze ink in the sky area of the scene.
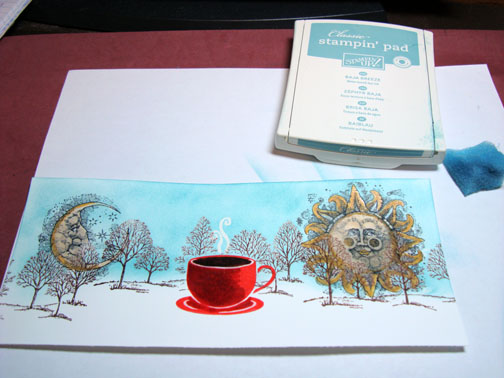
Sponged Not Quite Navy on the left side of the sky.
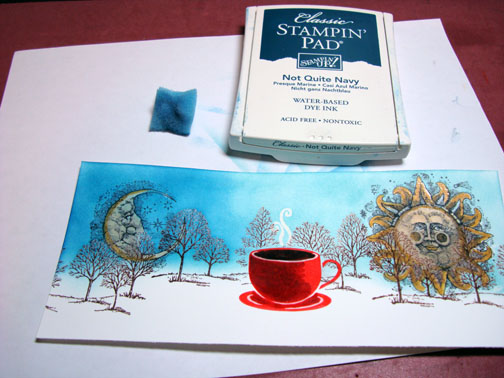
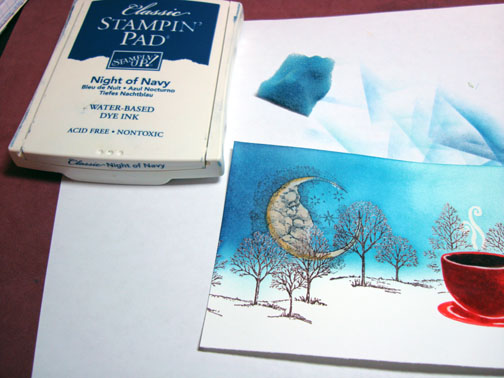
Sponged Night of Navy on the left side of the sky not covering the Not Quite Navy ink entirely.
Sponge Really Rust ink on the Right side of the sky.
Added White Gel pen dots for stars on around the moon.
Assembled card and here it is finished measuring 4″ x 9″.
I hope this tutorial has inspired you to get out some of those old stamps and make new exciting scenes with them.
May your day be filled with things that give you pleasure.
Until my next post. . . . . . . . . .. .
Hugs,
Michelle
Links to all my tutorials can be found here: https://zindorf.splitcoaststampers.com/tutorials-ive-written/
Here is a link to my workshop calendar if you want to get info on beginner and advanced Brayer workshops: https://zindorf.splitcoaststampers.com/workshop-calendar
Frequently asked questions answers: https://zindorf.splitcoaststampers.com/frequently-asked-questions/
34 responses to “Morning to Night Coffee – Tutorial #154”