
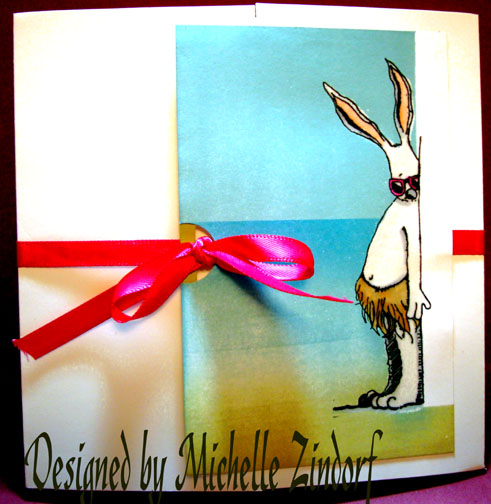
This card is for a good friend of mine. Claire if you are looking, STOP!!!
I used one of Stamp La Jolla’s Hula Bunnies. You can find their web site here: www.stamplajolla.com.
One thing before I get started, I’m trying to reach the people that have signed up for my Advanced Brayer Workshop for this Saturday, November 1st. Please e-mail me at [email protected]. It was unclear as to whether you were told what to bring to the workshop in way of supplies so I want to be able to communicate that to you. Thanks!
Now on with the tutorial for this trifold Birthday Card. 🙂
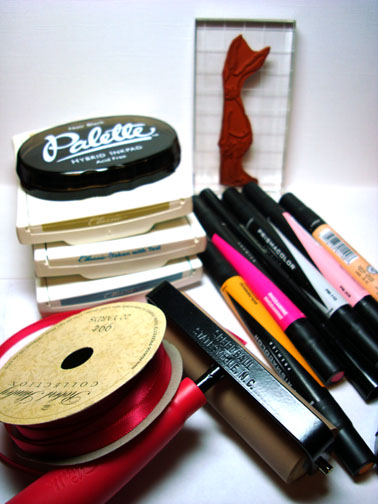
Supplies:
| Stamps: Stamp La Jolla “Hula Bunny” |
| Paper: Stampin Up Whisper White |
| Ink: Stampin’ Up River Rock, Taken with Teal, Baja Breeze, Palette Noir Black |
| Accessories: Prismacolor Markers, Versamark Marker, Fine Detail Clear embossing Powder, Brayer, Hot Pink Ribbon |
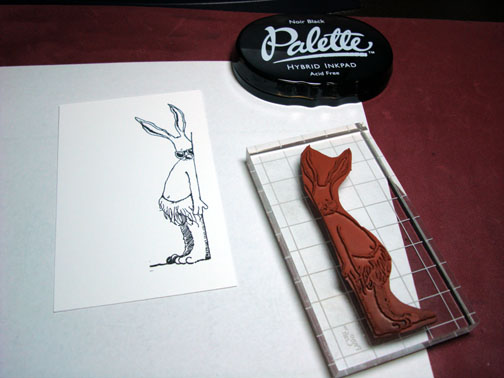
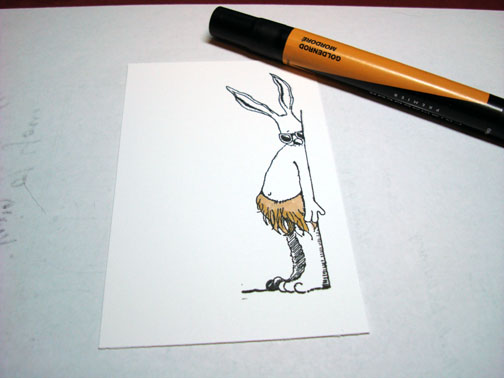
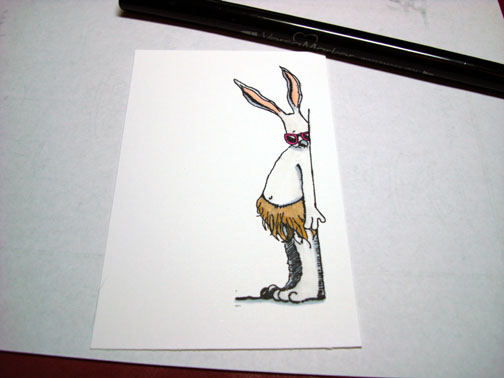
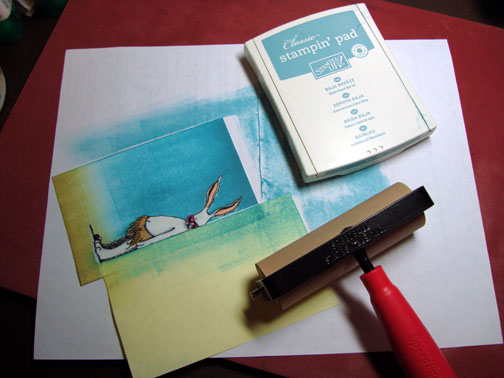
Stamped the rabbit with Palette Nior Black ink on a 3″ x 4.75″ of Whisper White card stock.
Colored the rabbit’s grass skirt with a Prismacolor Sand marker.
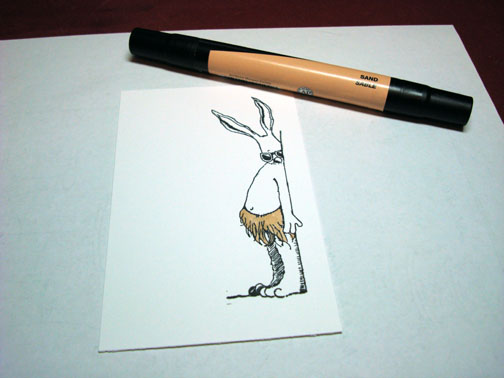
Added some Goldenrod marker to the bottom of the skirt.
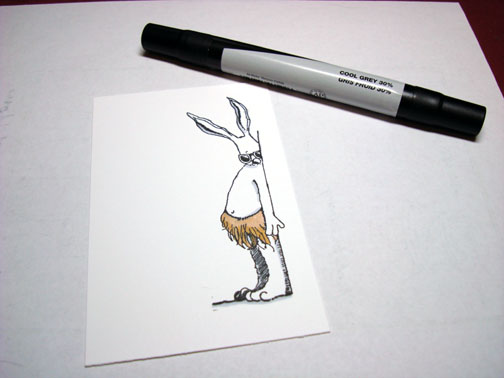
Colored the shaded areas of the rabbit with a Cool Grey 30% marker.
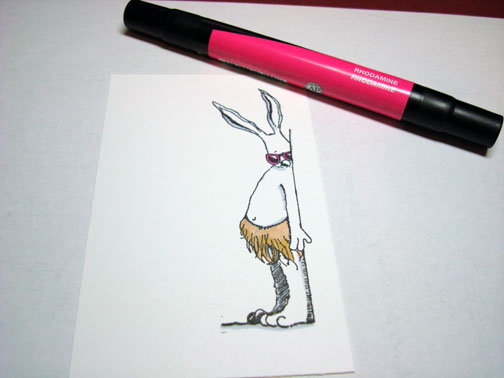
Colored the rim of the sunglasses with a Rhodamine Marker.
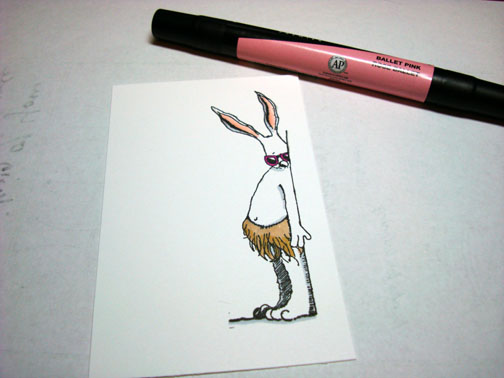
Colored the inner ears with a Ballet Pink marker.
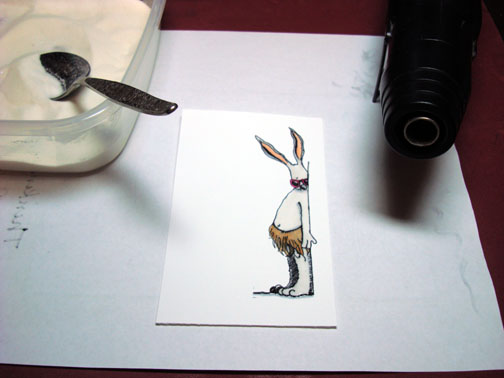
Colored over the entire image with a Versamark marker and heat embossed the image using clear embossing powder and a heat gun.
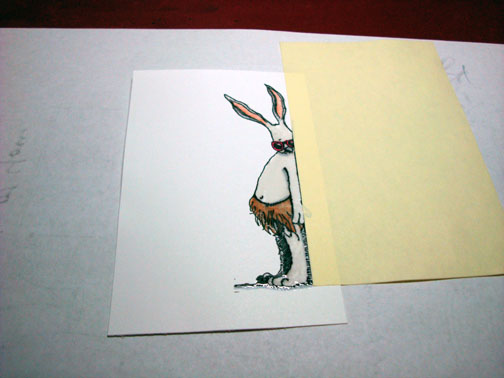
Masked the wall behind the rabbit with a post it note.
Brayered River Rock ink at the bottom of the card stock.
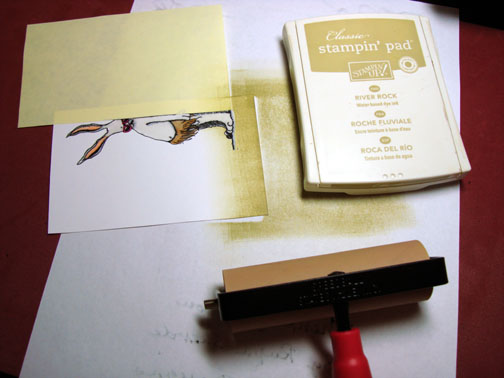
Brayered Baja Breeze ink at the top 2/3rds of the card stock.
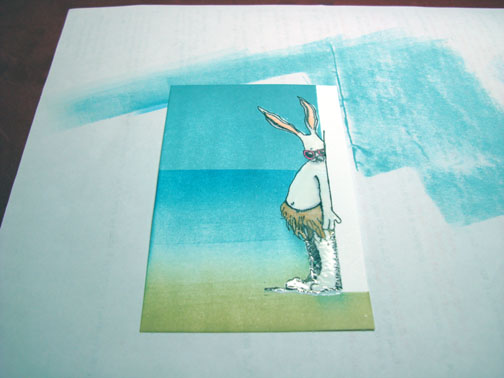
Masked the sky area with a post it note.
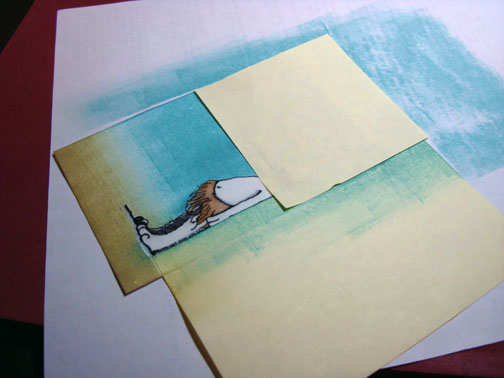
Sponged Taken with Teal ink at the post it note edge to create the horizon line.

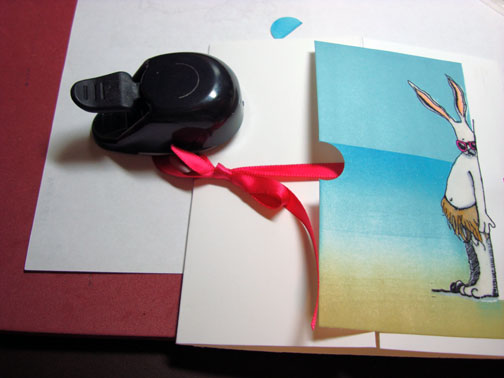
Adhered hot pink ribbon to the back side of a 5.25″ x 10.5″ trifold white card.
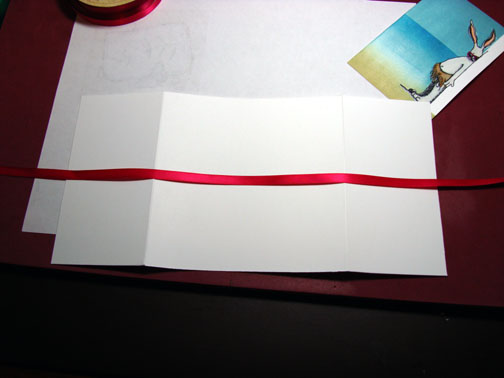
Adhered the ribbon to the right side of the front of the card stock. Adhered the main image panel over the ribbon on the right side panel.
Oops! I wanted to use this slit punch to make a slit for my ribbon to come through but I apparently didn’t have my punch far enough on my card stock, so I just took a big chunk out of it.
Fixed my problem by cutting a thin strip of Kiwi Kiss card stock and adhering it to the left under side of the main image panel. I kinda like this look. 🙂
Happy mistake!
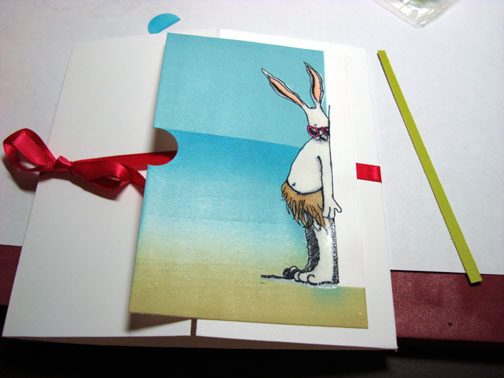
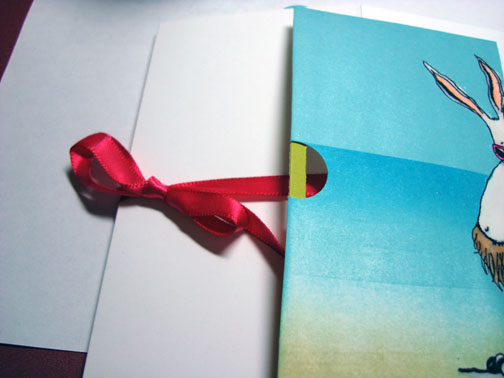
Tied the ribbon through the opening I made. Here you have it, a trifold card that measures 5.25″ x 5.25″. Sorry for the horrible picture this morning. Satin ribbon always gives me fits when I photograph it.
May your day be filled with fun surprises around every corner!
Until my next post. . . . .. . . . . . .
Hugs,
Michelle
Links to all my tutorials can be found here: https://zindorf.splitcoaststampers.com/tutorials-ive-written/
Here is a link to my workshop calendar if you want to get info on beginner and advanced Brayer workshops: https://zindorf.splitcoaststampers.com/workshop-calendar
Frequently asked questions answers: https://zindorf.splitcoaststampers.com/frequently-asked-questions/
26 responses to “Birthday Sneeking Up on You – Tutorial #140”