
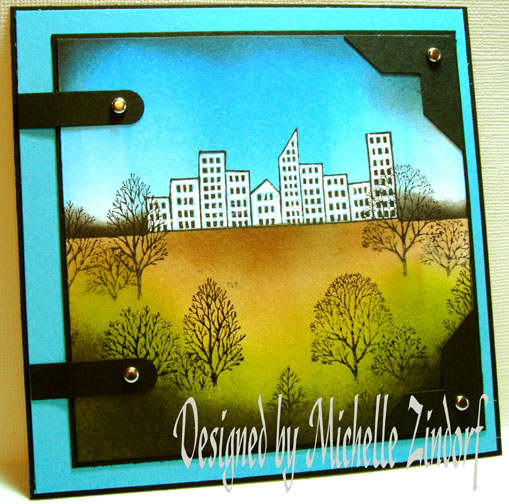
We’re off to the City for today’s tutorial.
Let’s get started:
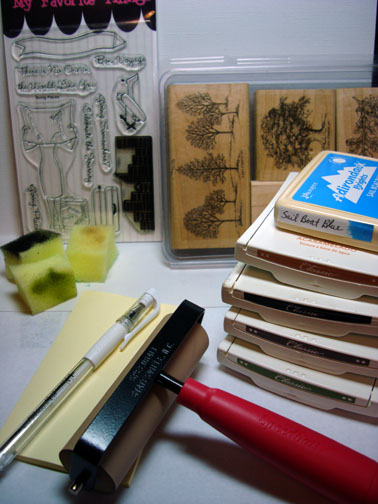
Supplies:
| Stamps: MFT “Going Places”, Stampin’ Up “Lovely As a Tree” |
| Paper: Stampin’ Up Whisper White, Basic Black & Tempting Turquoise |
| Ink: Stampin’ Up Old Olive, Close to Cocoa, Basic Black, Creamy Caramel & Adirondack Sail Boat Blue |
| Accessories: Sponges, Brayer, Post it notes, White Gel Pen |
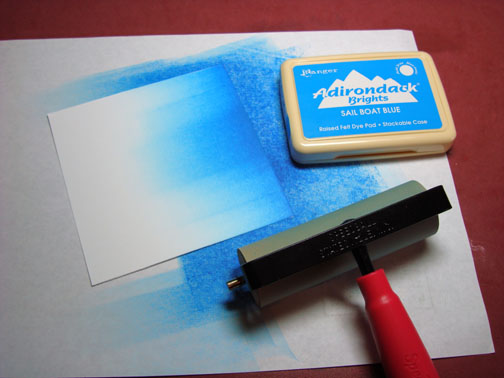
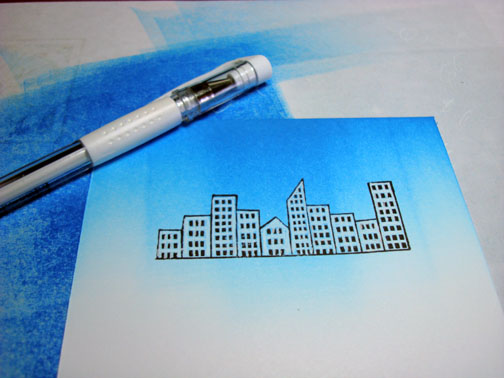
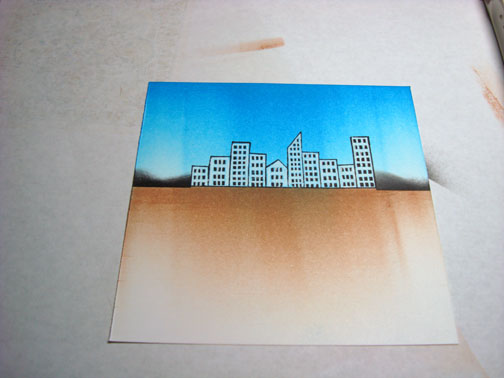
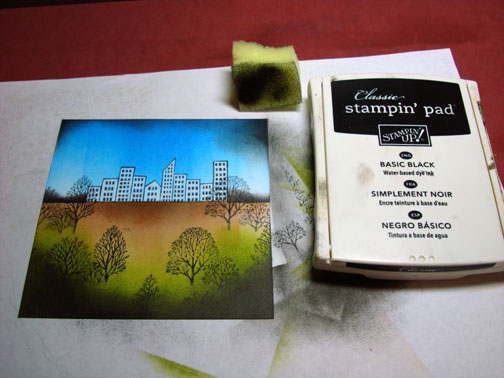
Brayered Sail Boat Blue on a 4.5″ x 4.5″ piece of Whisper White Card stock.
Stamped buildings with Basic Black ink.
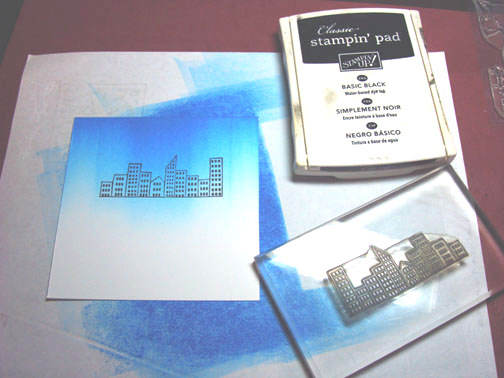
Colored the buildings with a White Gel Pen.
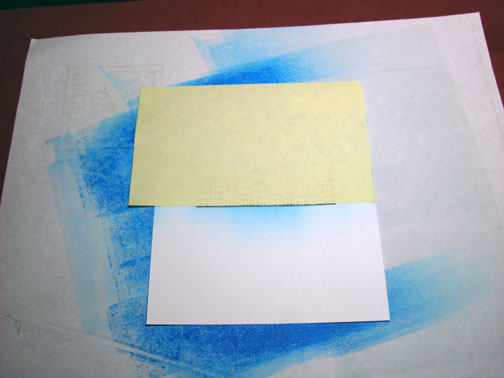
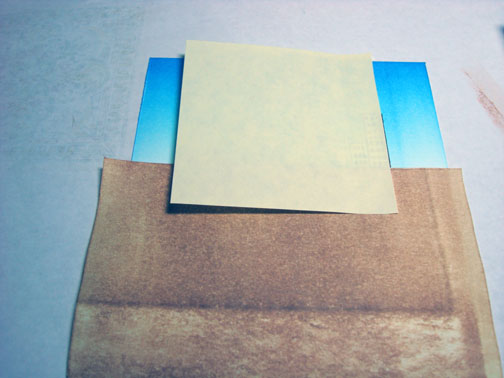
Masked Sky and Buildings with a post it note.
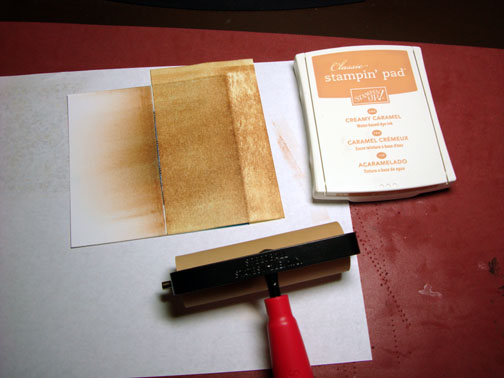
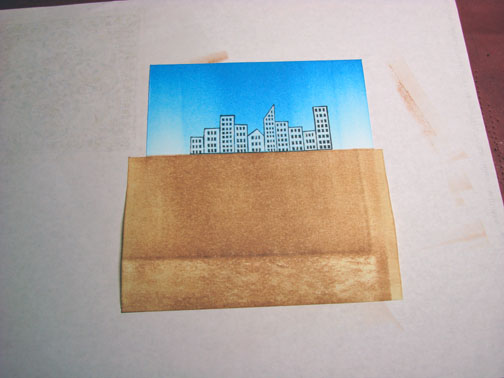
Brayered on Creamy Caramel ink for the ground.
Moved the post it note so it masked the ground.
Added another post it note to cover the buildings.
Sponged on Basic Black ink to create a hill.
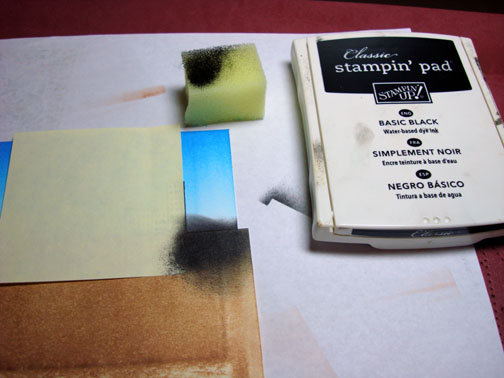
Switch the small post it note to the left side of the buildings and sponged on Basic Black ink again to create the hill on the right side of the buildings.
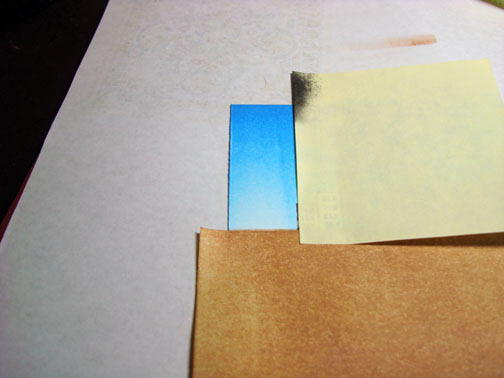
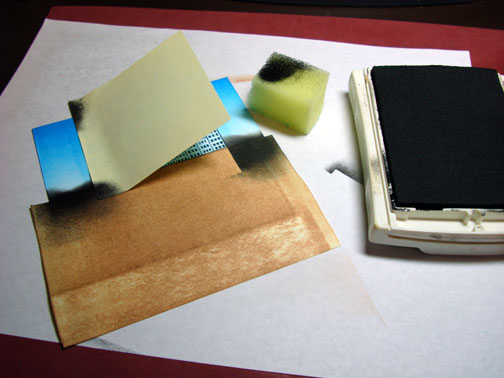
Removed post it notes.
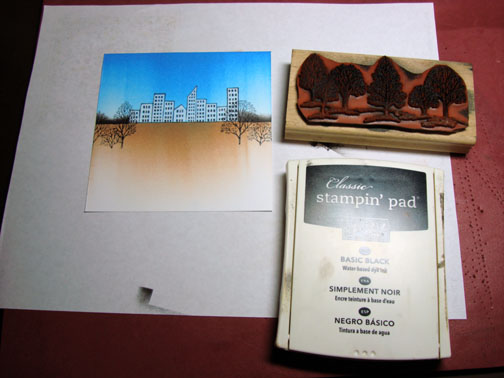
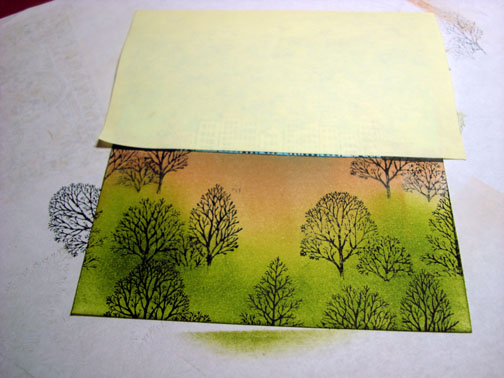
Stamped the trees only by loading basic black ink only on the tree part of the stamp. This let me omit the ground portion of the stamp image.
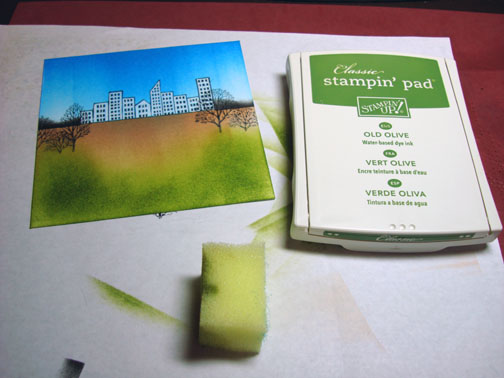
Sponged on Old Olive ink.
Stamped more trees with Basic Black ink.
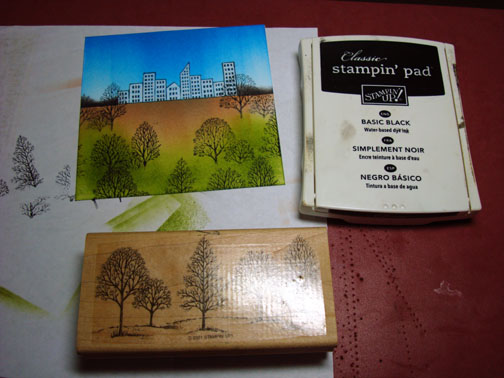
Masked the sky and buildings again and sponged on Close to Cocoa ink.
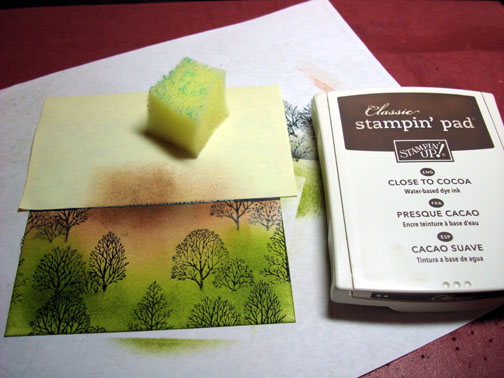
Sponge Basic Black ink around the egdes of the card stock.
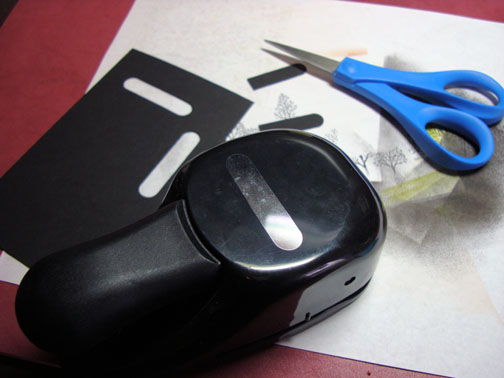
Punched to word window punches out of black card stock and cut one end of them off so they would look like hinges.
Assembled card and here it is finished measuring 5.25″ x 5.25″.
Hope you enjoyed this trip to the City. 🙂
May your day be filled with the lively sounds of the city and all of it’s treasures.
Until my next post. . . . . . . . . . .
Hugs,
Michelle
Note: Links to all my tutorials can be found here: https://zindorf.splitcoaststampers.com/tutorials-ive-written/
Here is a link to my workshop calendar if you want to get info on beginner and advanced Brayer workshops: https://zindorf.splitcoaststampers.com/workshop-calendar/
15 responses to “To the City – Tutorial #118”