

Well we have already been to the beach in a tutorial, so let’s go to the lake. 🙂
Supplies:
| Stamps: Stampin’ Up Embrace Life and Holidays & Wishes (sentiment), Water stamp by A Stamp in the Hand |
| Paper: Stampin’ Up Whisper White, Going Gray and Blush Blossom |
| Ink: Adirondack Aqua, Stonewashed, Lake Mist & Pesto, Stampin’ Up Basic Black, Going Gray & Bordering Blue |
| Accessories: Stampin’ Up markers Blush Blossom, Mellow Moss, Bordering Blue & Always Artichoke, Versamark Pad & Marker, White Gel Pen, Brads, Brayer, Clear Embossing Powder, Heat Gun, Sponges |

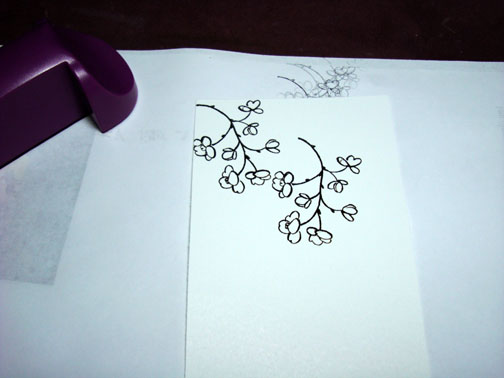
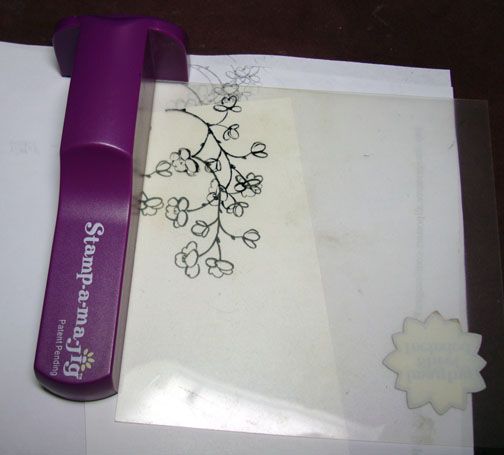
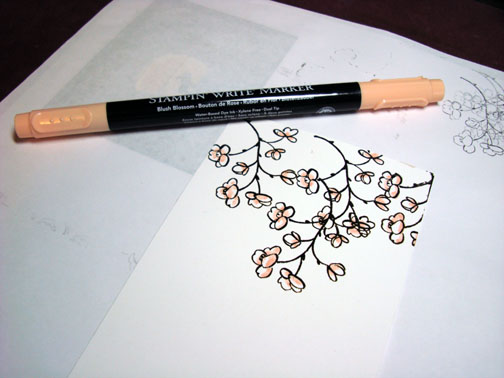
On a piece of Whisper White card stock I stamped the flower stems using my Stamp-a-ma-jig for placement by first loading the stamp with Versamark and then loading it with Black ink. You can use Versamark and black embossing powder for this step too if you wish.
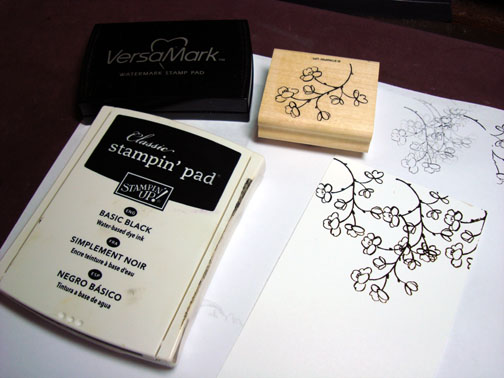
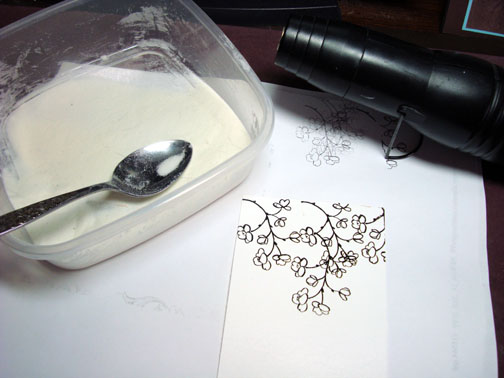
I heat embossed each image as I stamped it using clear embossing powder and a heat gun.
Note: I keep my clear embossing powder in a sandwich sized plastic container so I don’t have to try to put it back into the small container it came in. I only own clear embossing powder. That is why I load my stamp first with Versamark and then the colored ink in projects. This method allows me to embossing in any color!
Colored bottom of the flowers with a Blush Blossom marker. I left a lot of White showing on the flowers.
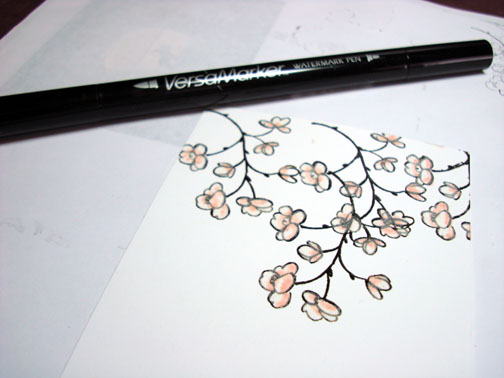
Colored over the flowers with a Versamark marker and then heat embossed the flowers with clear embossing powder and a heat gun.
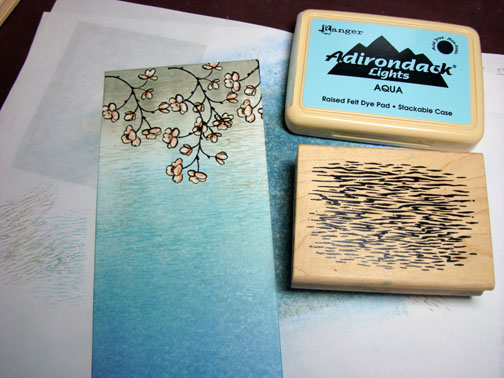
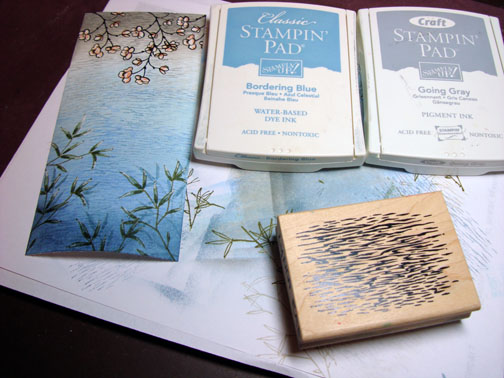
Brayered on Aqua ink over 2/3rds of the card stock.
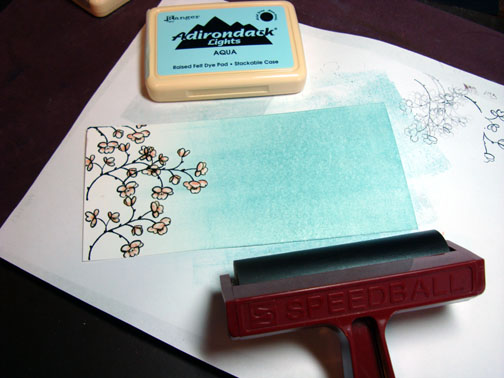
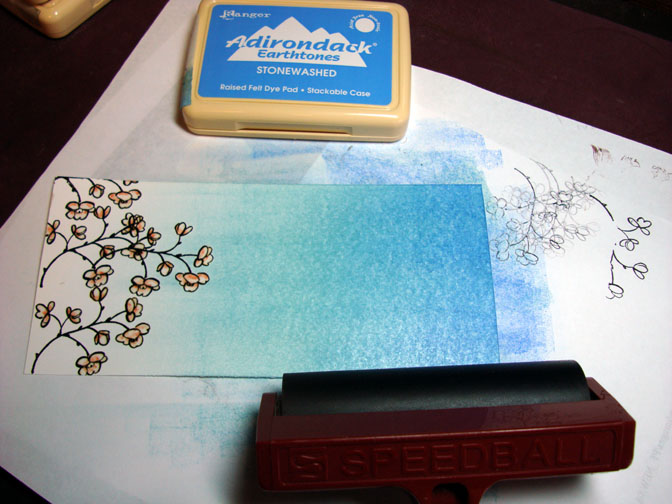
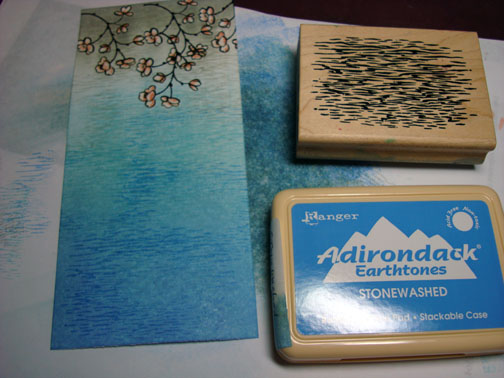
Brayered on Stonewashed ink over 1/2 of the card stock and not completely covering the Aqua ink brayered on in the last step. Working on a gradution in color here.

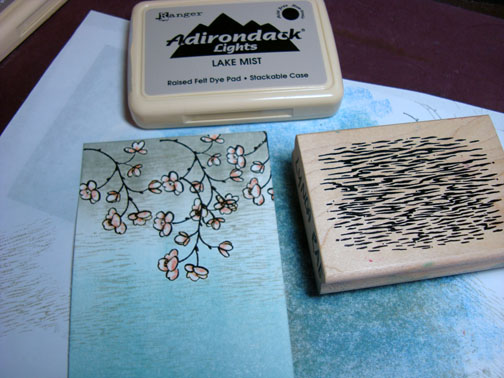
Brayered Lake Mist ink on top 1/4 of card stock.
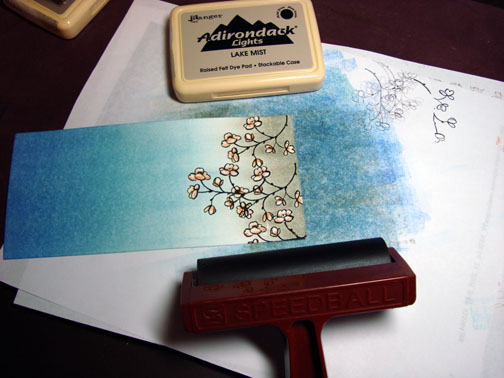
Wiped ink from embossed flowers using a paper towel. Stamped water lines stamp with Lake Mist ink on top 1/3rd of card stock.
Note: This water lines stamp was purchased at a garage sale a long time ago for $1. All it says on the stamp is “A Stamp in the Hand, 1982-1995. I’m not sure if it is still obtainable or not. There is not item number and I don’t know what the real name of the stamp is.
Stamped Waterlines stamp in the middle area of card stock with Aqua ink.
Stamped water lines stamp on bottom 1/3 of card stock with Stonewashed ink.
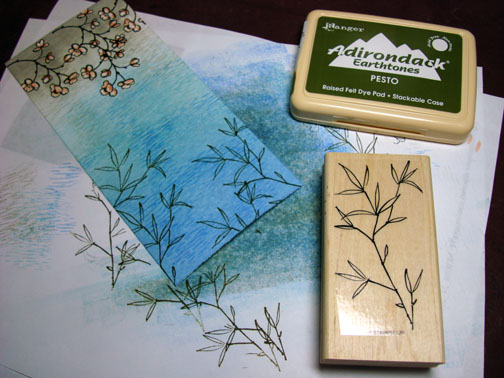
Stamped weeds at bottom of card stock using Pesto ink.
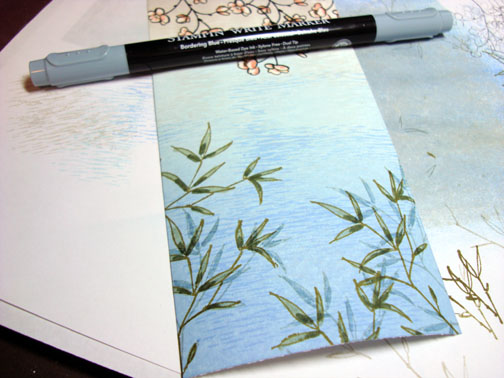
Colored weed leaves with a Mellow Moss marker.
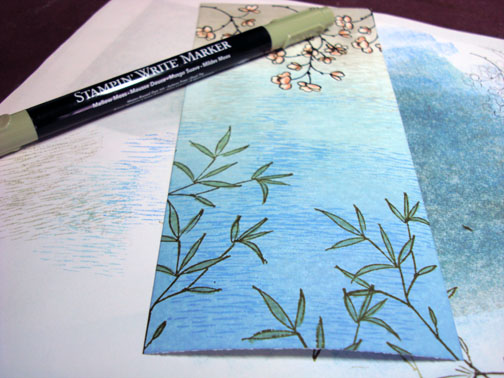
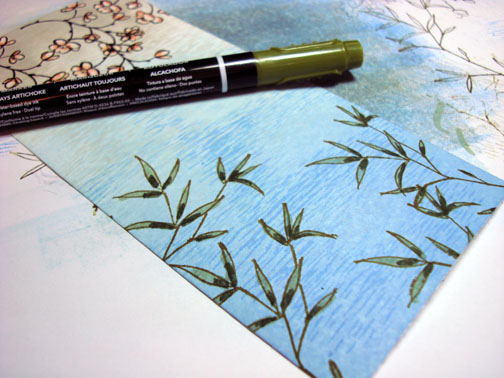
Colored bottom of the weed leaves with an Always Artichoke marker.
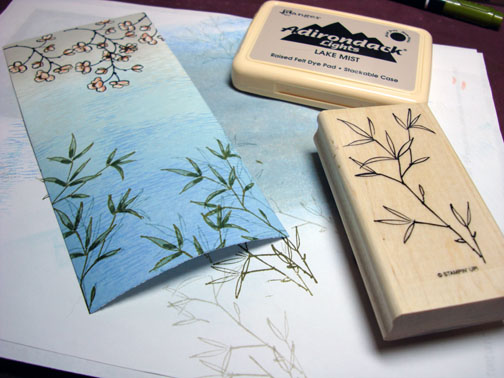
Stamped weeds again with Lake Mist ink, but stamped them just to the right of the previously stamped weeds. I’m trying to create a shadow of the leaves on the water here.
Colored the shadow weeds with a Bordering Blue marker.
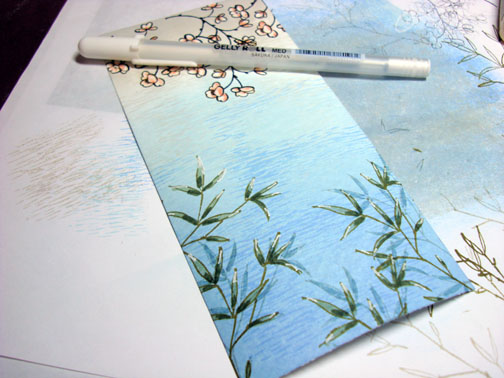
Put White Gel Pen on just the tips of green weed leaves for highlights.
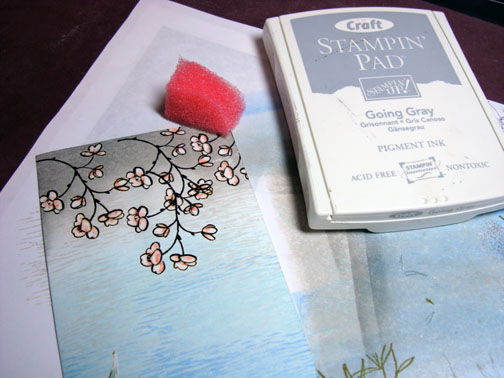
Sponged on Going Gray at the top of card stock.
Sponged on Bordering Blue ink at the bottom of card stock.
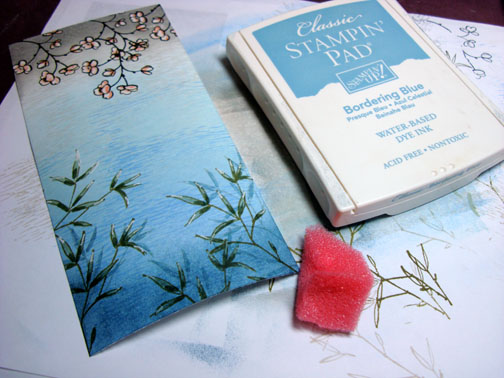
Stamped more water lines, at the top with Going Gray and at the bottom with Bordering blue.
Assembled card front and added brads and stamped the sentiment using my Stamp-a-ma-jig for placement and black ink.
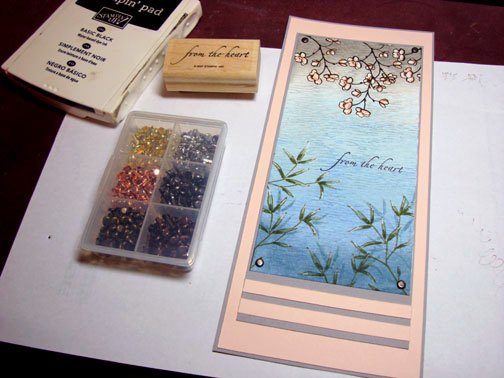
Finished card! This card measures 9.25″ x 4″. It will fit in a #10 sized envelope.
Thanks for following along with this tutorial. I hope it has inspired you in some way.
Have a safe and happy Easter.
Until tomorrow. . . . . .
35 responses to “At the Lake – Tutorial”