
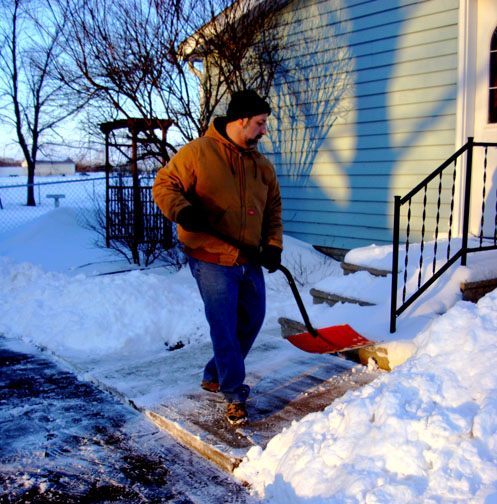
I created this card and tutorial last night after checking out all the snow we received here in my neck of the woods. We got a foot of snow and drifts of at least 4 foot. Winter is not over in Ohio.
This is my man, best friend and love of my life, Russ clearing a path for me, as he put it “clearing the way for YOUR HIGHNESS”. Too funny!
So, on with the winter scene tutorial without further ado.
Supplies:
| Stamps: Stampin’ Up Trees Three, Baroque Motifs, Holidays & Wishes, Rubber Stampede Mirror Image Stamp |
| Paper: Stampin’ Up Whisper White, Blue Bayou, River Rock |
| Ink: Stampin Up’ Soft Sky, Blue Bayou, River Rock, Basic Black, Adirondack Lake Mist & Pebble |
| Accessories: Brayer, Sponges, Versamark Marker, White Gel Pen, Ribbon, Stamp-a-ma-jig, Post it note |

I used my mirror image stamp. It is made by Rubber Stampede. You stamp any stamp on the solid rubber of the mirror image stamp then stamp the mirror image stamp on your paper and you got it, a mirror image.

I like to start off stamping my mirror image first. I find it is easier to line the regular image up with it.
Stamped Trees on mirror image stamp with Blue Bayou and then stamped the mirror image on Whisper White card stock.

Used my Stamp-a-ma-jig to line up tree image and stamped it with Basic Black ink.


Cropped the image and brayered Soft Sky ink over the Blue Bayou trees.

Brayered Lake Mist ink at top of black trees.

Sponged Pebble ink at top of card stock and sloped it down on the right side for interest.

Sponged Soft Sky under pebble sponging and at bottom of black trees.

Used the trusted torn Post-it-note as a mask to create a hard line where the ground meets the ice. I sponged on Blue Bayou ink right at the torn edge of the Post-it-note.


Removed Post-it-note and used my white gel pen in the crooks of the Black trees to create snow in the branches. Put just a tiny bit in the Blue Bayou trees too.

Assembled card and decided I wanted the appearance of wind in the air so I stamped one of my favorite stamps, Baroque Motifs over all the layers with River Rock ink. The River Rock ink did not show up well on the dark sky of the main image so I traced it with a Versamark marker to darken it.

There you have it another finished card.

Thanks for joining me today for this tutorial. Hope you have enjoyed seeing the process and will give it a try.
Hope your day is one of warmth and joy!
30 responses to “Still Winter Card – Tutorial”