

I put together this tutorial showing how to mask your card stock in order to put a sun in the background.
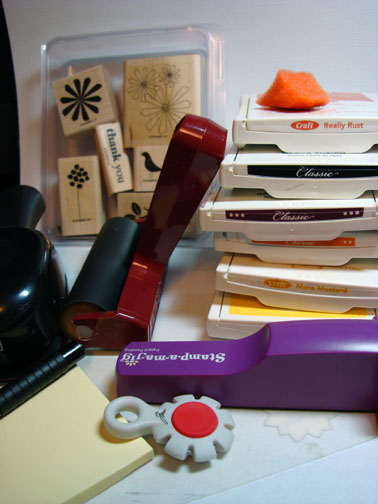
Supplies:
| Stamps: Spring Solitude |
| Paper: Barely Banana, More Mustard, Bravo Burgundy, scrap piece of Design Paper |
| Ink: Stampin Up Summer Sun, More Mustard, Pumpkin Pie, Really Rust, Bravo Burgundy, Basic Black |
| Accessories: Stamp-a-ma-jig, 1 1/4 Circle Punch, Post-It-Note, Brayer, Black Marker, Tim Holtz Distressing Tool, Sponge |
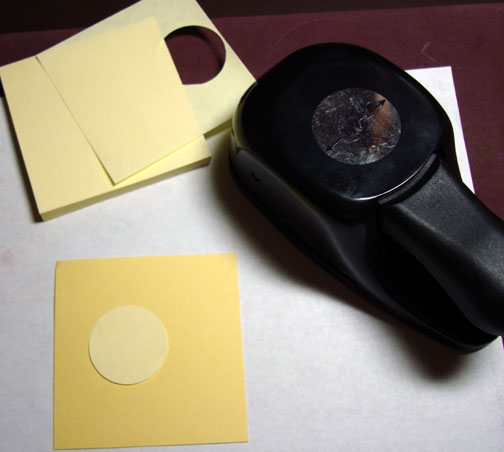
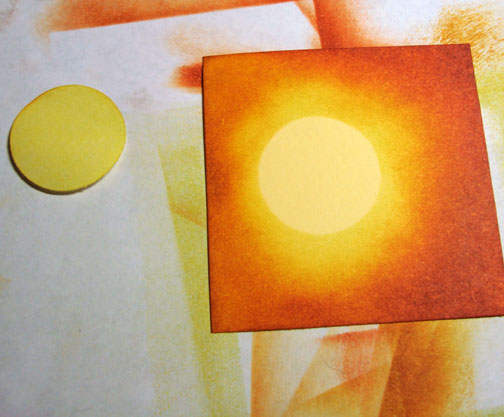
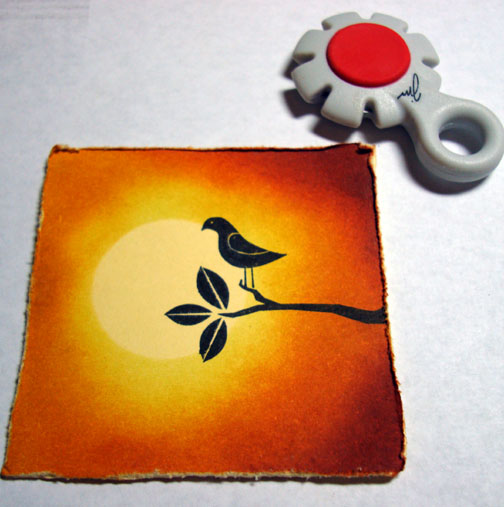
Start out with Barely Banana card stock and punch a circle from a post it note. You will want to punch it trying to get as much of the circle out of the sticky portion of the Post it Note.
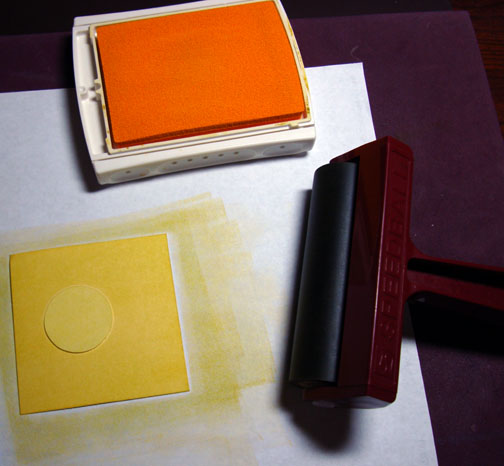
Position your circle mask on your card stock and brayer the entire card stock with Summer Sun ink.
Sponge More Mustard ink on using a circular motion with the sponge with out going all the way to the mask. Leave some of the Barely Banana ink showing around the sun mask.

Sponge Pumpkin Pie on in the same manner, only don’t cover all of the More Mustard Ink.
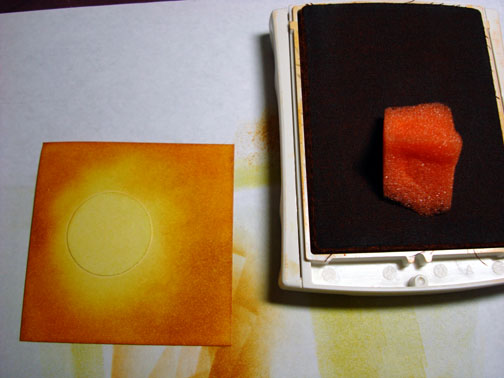
Sponge Really Rust on in the same manner only don’t cover all of the Pumpkin Pie ink.

Remove Post it Note mask.
Stamp branch using Black ink.
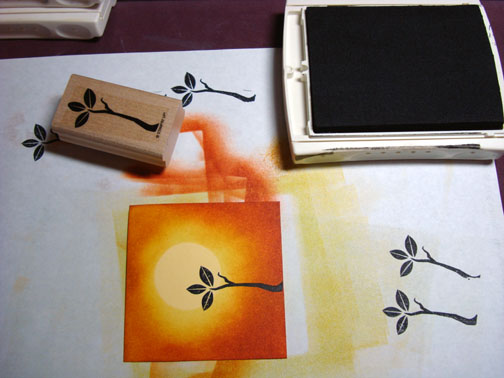
Stamp Bird using Stamp-a-ma-jig for positioning with Black ink.
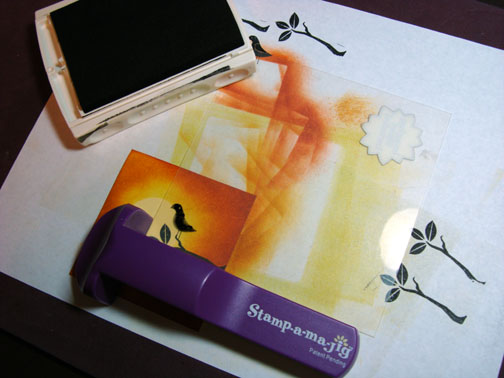
Decided I wanted the image to be darker to the right side so I sponged on Bravo Burgundy ink.
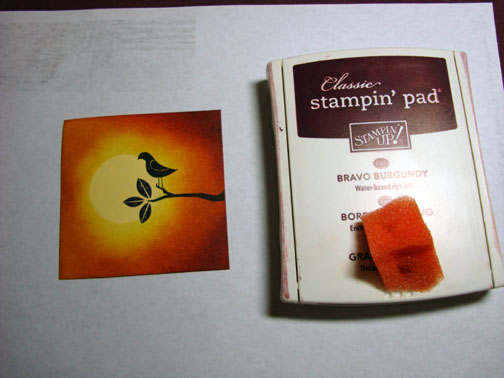
Distressed edge of with Tim Holtz distressing tool.
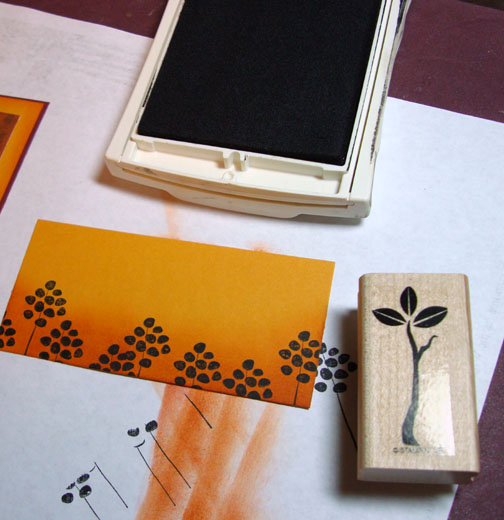
Sponged Really Rust ink on the More Mustard pieces of my layout.

Stamped weeds at bottom of More Mustard Piece of card stock.
Assembled card front and stamped additional branches on with black ink using my Stamp-a-ma-jig for placement.
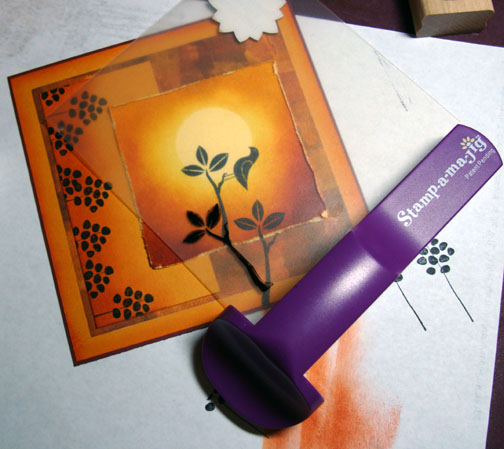
Since I stamped over layers of card stock there were little gaps in my stamped image so I colored them in with a black marker.

Finished card!
26 responses to “Thank You Black Bird – Tutorial”