Tag Archives: Watercolor

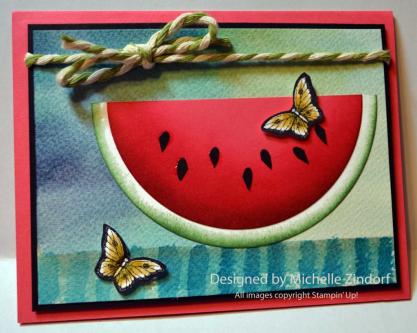
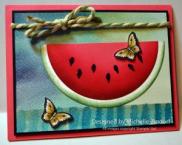
Watercolor & Watermelon – Stampin’ Up! Card

DSC_0030

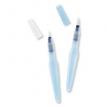
I love using Stampin’ Up’s Aqua Painter and Watercolor Paper to make quick little background scenes.  The watercolor paper really holds up when wet and doesn’t pill up like other card stock.  Not to mention it looks cute and very Summery with the watermelon and butterflies.  I hope you like it.  🙂

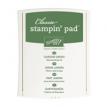
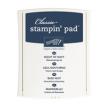
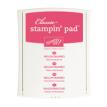
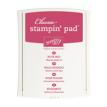
You can find the complete supply list below for today’s project and also how to the get the complete tutorial for this project free or by purchase below.

*************************************************

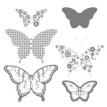
Supply List

Also used post it notes and a paper towel in the making of this project.

***************************************************

Have a super wonderful day!

Until my next post. . . . . . .  .

Huge Hugs!

**************************************************

Want the entire month worth of tutorials free (at least 12)?

Place a $50 merchandise order between April 1, 2015 and April 30, 2015 and receive the entire month of tutorials (at least 12) free of charge via e-mail.
You will receive all of the projects pictured below and they will keep coming until April 30th.  You will also receive 1 virtual token from me for each $50 in merchandise purchased with your order.  Collect 10 tokens and receive a free stamp set of your choice up to a $30 value.   Now, that’s the way to get some bang for your buck!
Free tutorials are an exclusive perk for my valued Stampin’ Up! customers and down line.
DSC_0040  DSC_0036a  DSC_0028  DSC_0032  DSC_0031  DSC_0016  DSC_0030
6 more tutorials to come this month.
************************************************************

Shop my online store now CLICK HERE *

Please use Hostess Code:  N22Z9TB4     (Do not use if merchandise order is over $150)

***************************************************

If you wish to purchase this month’s single tutorials or this month’s tutorial package CLICK HERE FOR DETAILS.

*********************************************************

Deals 1
Deals 2

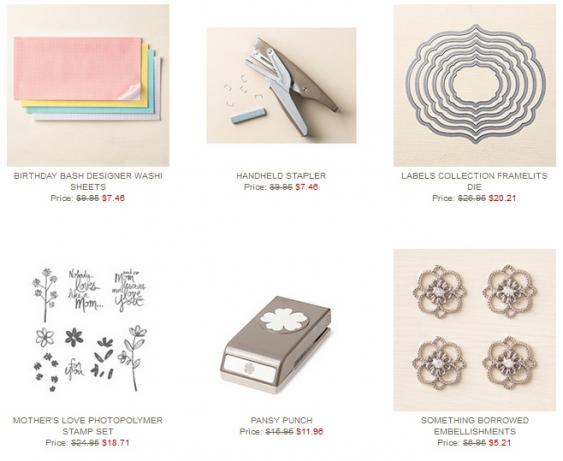
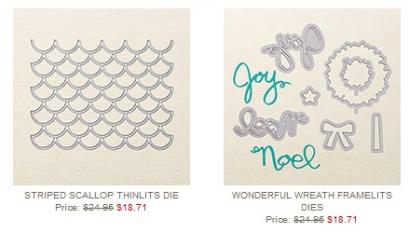
 Check out the latest batch of Stampin’ Up! Weekly Deals in my on-line store.  Discounted prices on this week’s deals end April 20th.

*********************************************************

Current catalogs

2014-15 Catalog     


Watercolor Summer Silhouettes – Stampin’ Up! Card Tutorial #608

Hey There,

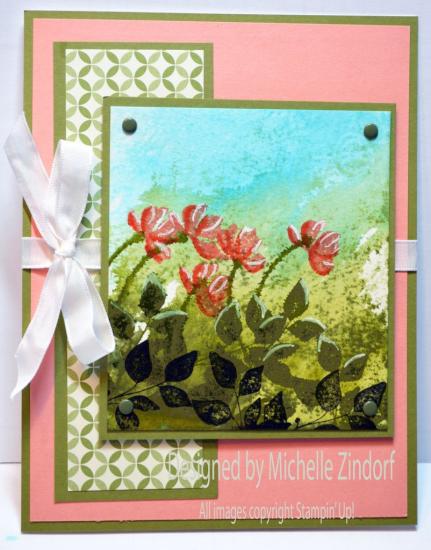
I’m sharing a super simple watercolor like background technique with you today.   Your going to flip when you try it.   This is my second card tutorial this week using the beautiful Stampin’ Up! set Summer Silhouettes (item #126447).  It’s a must have.

I’ve also thrown in a few sneak peeks from the new Stampin’ Up! catalog that will be released tomorrow, May 31, 2013.    You will be able to start ordering from it at 12:00 p.m. Mountain Time tomorrow.  Be sure to stop back tomorrow.  I’ll be putting up a link to the new catty for your view pleasure as soon as Stampin’ Up! posts it.  Just know that it ROCKS!

***************************************************************

I’ve added the featured card of the day to my sales page where you will also find some great deals on retired stamp sets and my brayer video.  CLICK HERE TO CHECK IT OUT

***************************************************************

Now on with today’s tutorial. . . . .  . .

Project Supplies:

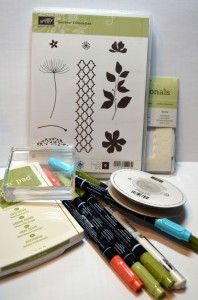
Stamps: Stampin’ Up! Summer Silhouettes (item #126447)

Card Stock: Stampin’ Up! Watercolor paper, Old Olive, Crisp Cantaloupe (sneak peek) and Gingham Garden item #129310 (sneak peek)

Ink: Stampin’ Up! Old Olive, Basic Black and Crisp Cantaloupe

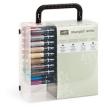
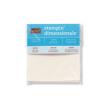
Accessories: Stampin’ Up!  Stampin’ Write Markers (Tempting Turquoise, Pear Pizzazz, Old Olive, Always Artichoke and Tangerine Tango), White Gel Pen, Acrylic Block, Regals Candy Dots (item number 130932 sneak peek), Stampin’ Dimensionals and Whisper White Ribbon

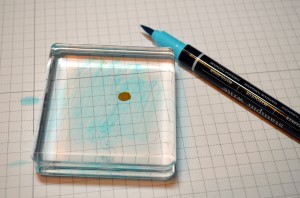
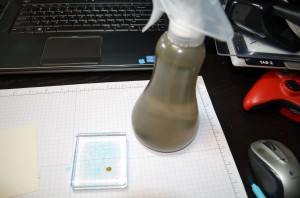
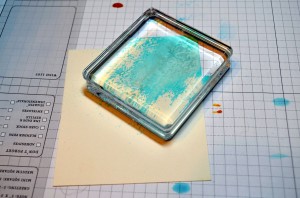
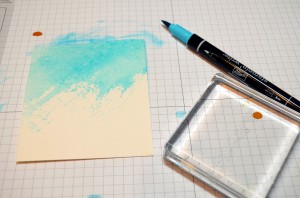
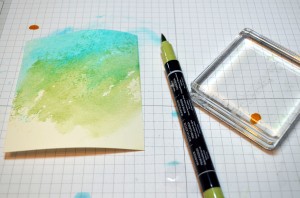
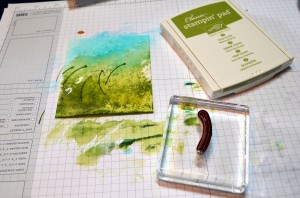
For each color in the background you will scribble your Stampin’ Write Marker on a acrylic block, spritz very lightly with water and then smear it on the watercolor paper.   The more you spritz the more diluted your color will become.  I barely spritzed.

Started with Tempting Turquoise ink and smeared in a downward motion on a 3.5″ x 4″ piece of Watercolor paper.  Repeat a couple of times for each color.


Next color Pear Pizzazz.  This was done with an upward motion.

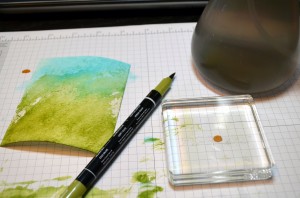
Next color Old Olive with an upward motion.

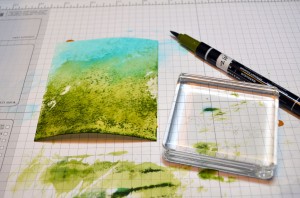
Lastly, I added Always Artichoke.   I wanted the Artichoke to be more prominent so I did not mist my block with water.  I scribbled on the block and smeared it with an upward motion.  This leaves little dots on the watercolor paper because it will only hit the peaks of the card stock.

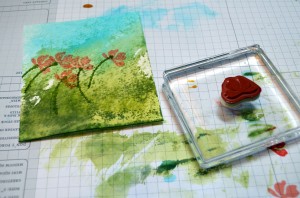
Stamped the flower stems using Old Olive ink.

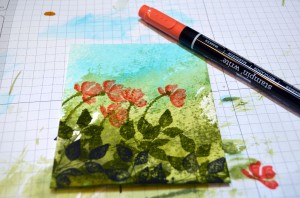
Stamped the flowers using Crisp Cantaloupe ink.

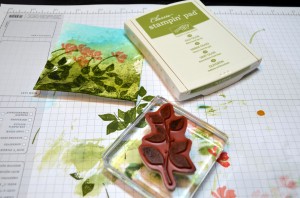
Stamped the leaves using Old Olive ink.

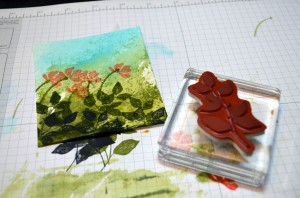
Stamped the leaves at the very bottom of the card stock using Basic Black ink.

Added a bit of Tangerine Tango marker to the undersides of the flower petals.

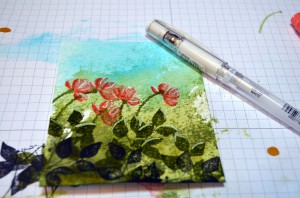
Added some highlights to the tops of the flower petals and tops of the leaves using a White Gel pen.

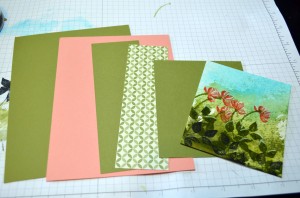
Here are my layer measurements.

Old Olive 6.5″ x 5″

Crisp Cantaloupe 6.25″ x 4.75″

Old Olive 2″ x 5.75″

Gingham Garden DSP 1.75″ x 5.5″ (sneak peek)

Old Olive 3.75″ x 4.25″

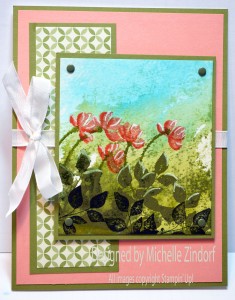
Assembled my card and added Whisper White Ribbon and Always Artichoke Candy Dots (sneak peek).

There you have it the finished card.

Urgent!   Only a few days left to pick up those Stampin’ Up! retiring stamps.  Retiring sets only available until June 3, 2013.

CLICK HERE TO SEE THE RETIRED STAMP LIST!!

CLICK HERE TO SEE THE RETIRING ACCESSORIES!!!

*********************************

Know the Code!!!!

MYSTERY HOSTESS:

With Stampin’ Up!’s announcement  of the new Hostess Code, we can now “pool” Online Orders together (place them individually, orders will ship directly to you – within the US only, but use the same hostess code). When smaller orders are put in together, the larger order qualifies for HOSTESS BENEFITS.

That means FREE STAMPS (or other products) I can SHARE with YOU!
So let’s get started with May’s Online Mystery Hostess Workshop!
How do you get to be part of the Mystery Hostess Workshop?
Simply use the Hostess Code below and place a minimum order of $50 (before tax and shipping) in my online store by 11:00 pm on Thursday, June 13, 2013.
Important: To be part of the Online Mystery Hostess Workshop, once you add your first item to your shopping bag the hostess code must be entered just below the Special Offers section and it should say Michelle Zindorf as the Hostess.
Once all the orders are placed, on Friday morning, June 14, I will draw ONE name to get hostess benefits on the entire order! I will call/email the winner to get your choices.
Your Hostess Code is: 3MZWCWAQ
Ready – Set – GO!! Start placing your orders now!… Remember, the deadline for this
event is 11:00 pm on Thursday, June 13, 2013.
Please do not put the hostess code in if your merchandise order is $150 or more.  You would lose your hostess benefits that you would have coming already.

Until my next post. . . . . .

Huge Hugs!

Weight loss in 2013: 23.4 lbs

***********************************************************

Michelle’s Free Stamp Program

Don’t miss out on my Customer’s free stamp set program. Check it out!  For your order of $50 in product using me as your demonstrator you will receive one virtual token.  Order $100 in product receive two virtual tokens, etc.  After you have collected 10 virtual tokens you will receive a free current stamp set of your choosing, a value of $30 or less.

Here is a link to my online shopping page that you can shop at 24/7 (from the comfort of your home, even in your pj’s) and the products will be shipped directly to your door step from Stampin’ Up.   CLICK HERE TO SHOP.   My free stamp set program will be an on going program.  :)

****************************************************************

The new Stampin’ Up! Annual Catalog is active on  May 31, 2013.  I have some on hand that can be pre-ordered.  The cost is $6.50 which includes flat rate shipping.  Please e-mail me at [email protected] if you would like to purchase one.

***************************************************************

Learn How to Brayer

I now have an online beginner brayer video classes that will teach you how to brayer. CLICK HERE TO GET THEM.

**************************************************

Also, check out my new Zindorf Naturals Soap Page.  This stuff is oh so good for your skin.   CLICK HERE TO CHECK IT OUT.


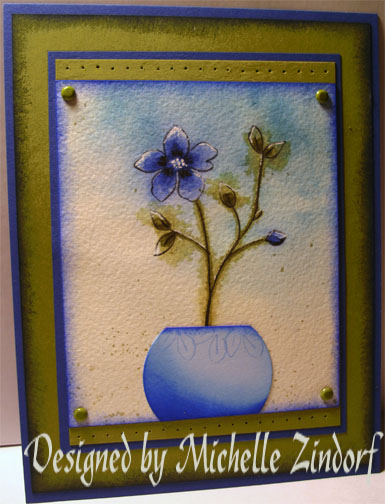
Watercolored & Punched Potted Flower – Tutorial #317

dsc03408.JPG

Occasionally, we all need to step outside of the box and shake things up a bit or our creative side might just get a bit stagnate.    Today’s tutorial shows me stepping outside of my normal creations and trying something a bit different.  I have water-colored before and really love the process, but I haven’t done it in quite some time. 

When I watercolor, I like the image to look like it is water-colored and a bit messy.  This is achieved by using wet watercolor on wet watercolor paper.  This allows the color to spread.  Then you can dry your watercolor paper and proceed to darken and shade things using wet watercolor on the dry paper.   This gives you more control and the color won’t spread like it did on the wet watercolor paper. 

Today’s tutorial shows the process.

Let’s get started. . . . . .  . . .

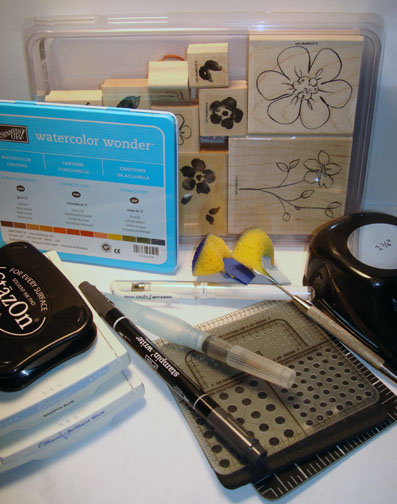
Supplies:

Stamps: Stampin’ Up! Flower Fancy
Paper: Stampin’ Up! Watercolor Paper, Old Olive and Brilliant Blue card stock
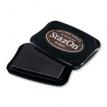
Ink: Stampin’ Up Bashful Blue, Brilliant Blue and Jet Black Stazon Ink
Accessories: Stampin’ Up! 1 3/4 circle punch, White Gel Pen, Aqua Painter, Heat Gun, Basic Black marker, Mat Pack and Piercing Tool, Watercolor Wonder Crayons, Old Olive Brads, Non-stick craft ink.

Don’t forget to request your copy of the Stampin’ Up Occasions Mini Catalog .   Just e-mail me your address and I will be glad to mail you one for free.  Are you getting inspiration from this blog?   One way you can help support it is to order your Stampin’ Up products through me.   Click HERE to place an order.  Want to become a Stampin’ Up Demonstrator and earn instant income?  Consider being part of my Stampin’ Up Team and start your own business.  Click HERE for more information.
dsc03415.JPG

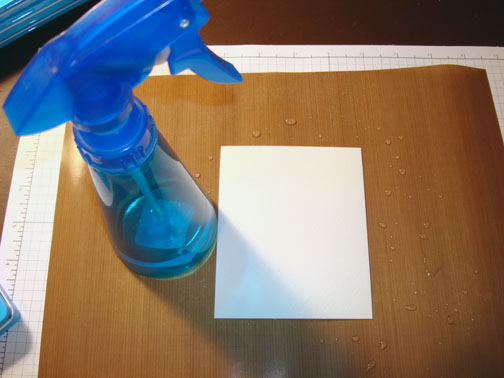
I started by covering my work surface with a non-stick craft sheet.   On this sheet you can wet your paper without it soaking through to your table etc.

Misted a 3.75″ x 4.5″ piece of Watercolor Paper using a spray bottle of water.  
dsc03374.JPG

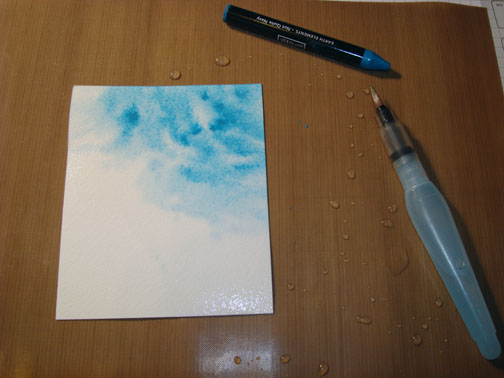
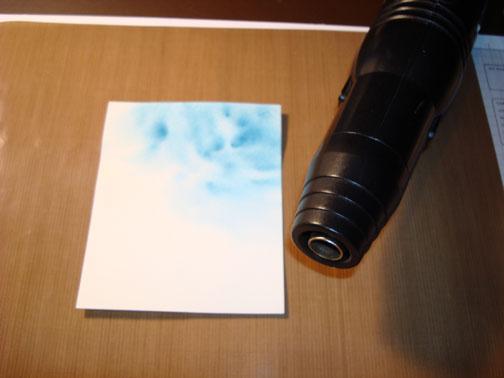
Let the water soak into the paper.   Loaded my Aqua Painter with the Tempting Turquoise Watercolor Wonder Crayon, by swiping the tip of the Aqua Painter against the Crayon.   Dabbed the Aqua Painter on the wet watercolor painter creating a blotchy area in the top right corner.

Note:  You will want your color to be dark when wet because it will dry much lighter.
dsc03375.JPG

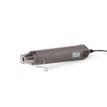
Heat you watercolor paper with your heat gun. I heat both sides of the paper a bit at a time to help with keeping the paper flat.  Drying the paper sets the color you just put on.
dsc03377.JPG

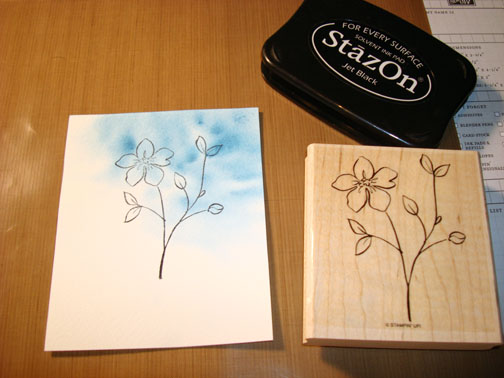
Stamped the flower image using Jet Black StazOn ink on my dry paper.
dsc03378.JPG

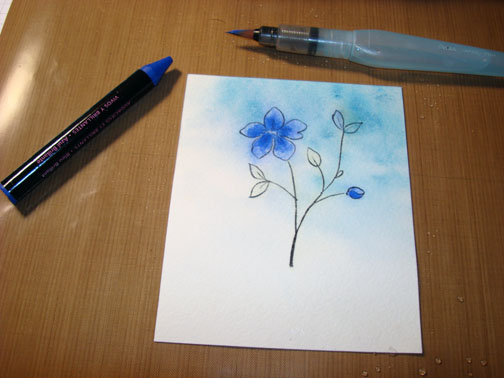
Misted the paper again with the water bottle.  Added Brilliant Blue Watercolor Crayon using the Aqua Painter. You will notice the color spreading on the wet paper, so you will want to put your color towards the center of the flower.
dsc03382.JPG

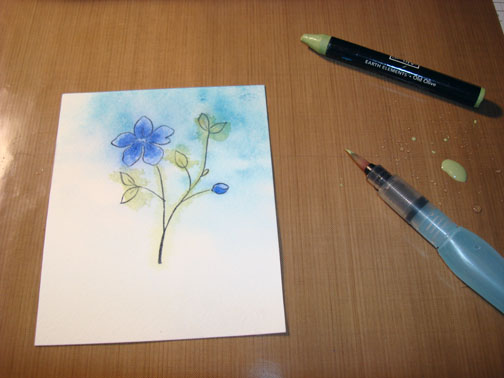
Added Old Olive Watercolor to the Leaves and stems on the wet paper.
dsc03383.JPG

Added a bit of Always Artichoke Watercolor to the base of the leaves.
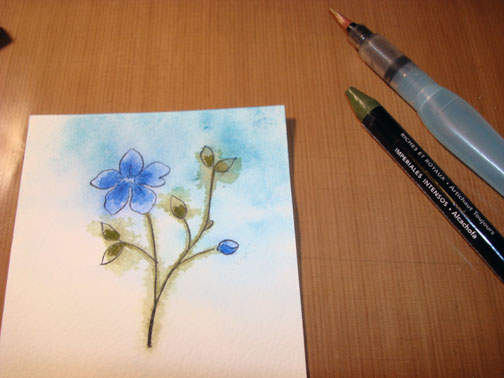
dsc03384.JPG

Dried the paper with a heat gun and added more Brilliant Blue watercolor to the center of the flowers.  With the paper dry you will have more control on where the color ends up.
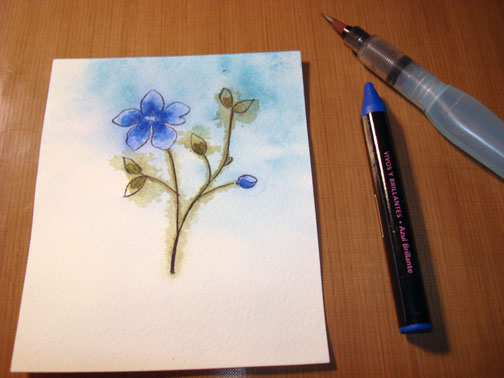
dsc03385.JPG

Added a bit more Always Artichoke to the leaves and added some to the stems.  Also, extended the stem to the bottom of the paper.
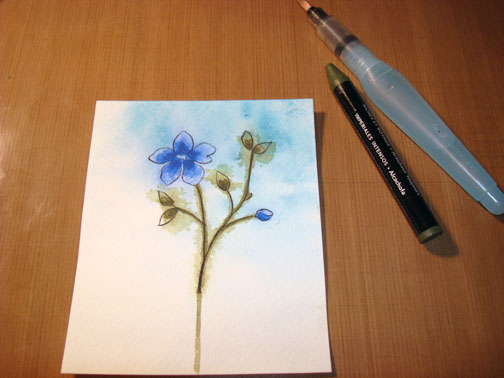
dsc03386.JPG

Added Basic Black marker to the stem to extend it to the bottom of the paper.

dsc03387.JPG

Dried the paper well with my heat gun.
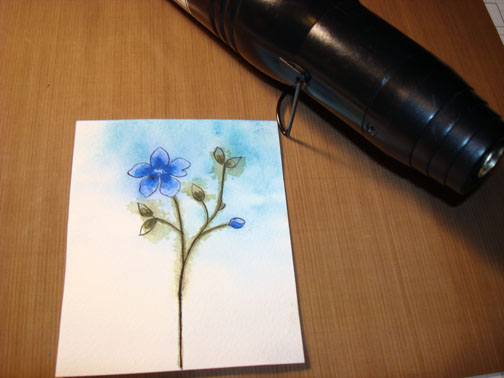
dsc03388.JPG

Added Basic Black marker to the center of the flower and darkened the veins on the leaves.
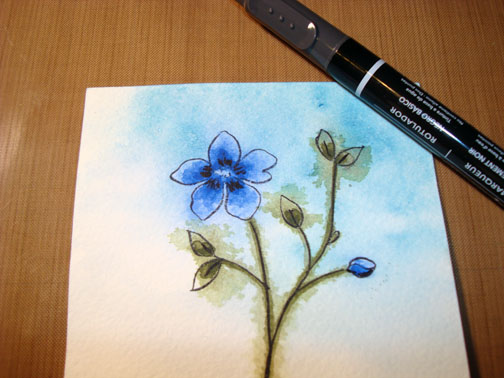
dsc03389.JPG

Added highlights to the flower, leaves and stem using a white gel pen.  Also, added white gel pen dots to the center of the flower.
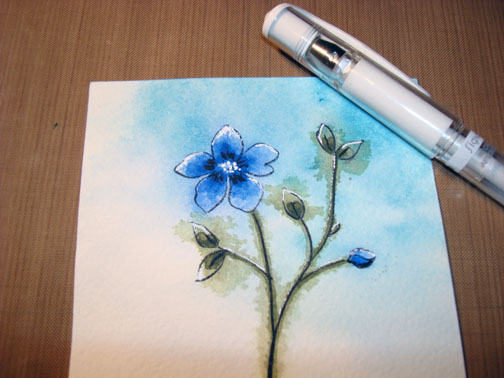
dsc03390.JPG

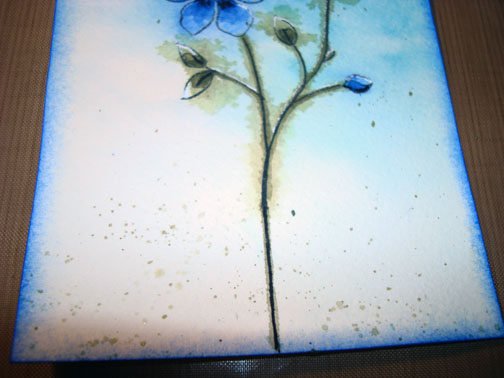
Cute a 4.75″ x 6.25″ piece of Old Olive card stock and sponged Brilliant Blue ink to the edges of it and my main image panel.
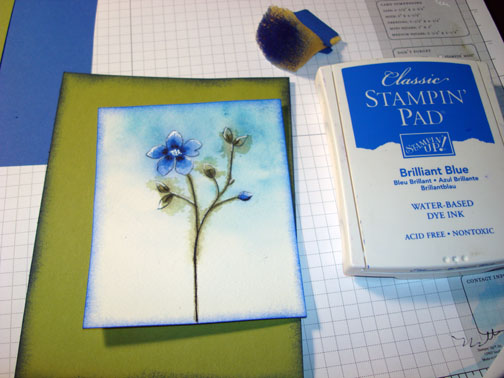
dsc03393.JPG

Loaded my Aqua Painter with Always Artichoke watercolor and tapped the Aqua Painter on the finger of my other hand to get it to speckle the watercolor paper.
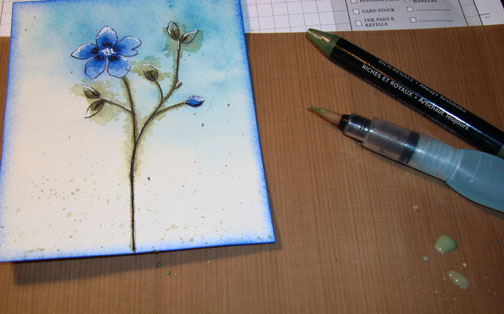
dsc03394.JPG

dsc03395.JPG

This was a last minute decision, lol, I decided to make a pot for my flower.

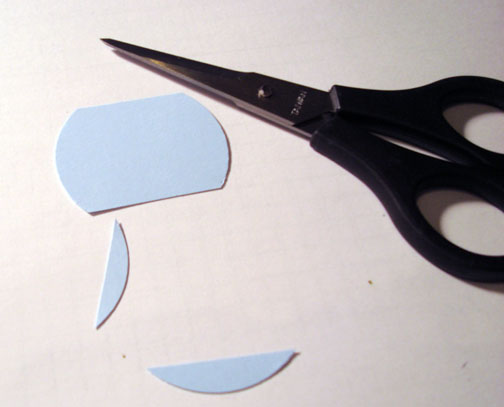
Punched a 1 3/4″ circle from Bashful Blue card stock.  Cut the top and bottom off of the circle.
dsc03398.JPG

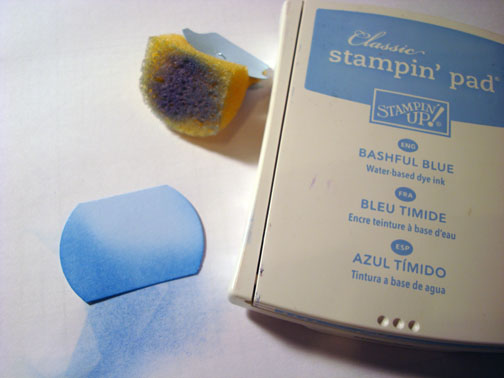
Sponged Bashful Blue ink on the pot to shade it.
dsc03399.JPG

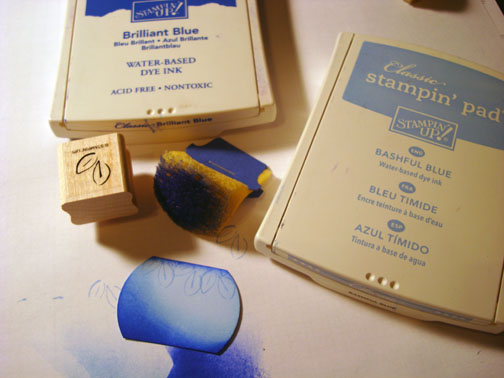
Stamped leaves at the top of the pot using Bashful Blue ink.  Sponged Brilliant Blue ink on the pot not covering up all of the Bashful Blue ink.
dsc03401.JPG

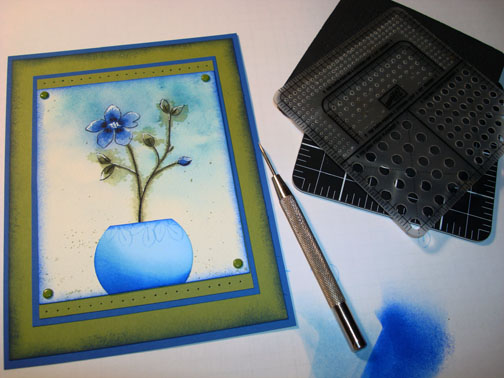
Assembled my card front and added Old Olive and Brilliant Blue Panels, Old Olive brads and some pierced holes using my mat pack and piercing tool.
dsc03403.JPG

Here is the finished card measuring 5″ x 6.5″.

dsc03408.JPG

I hope this has encourage you to do something a bit different today.

May you feel the warmth of the sun on your face today.

Until my next post. . . . . .  .

Hugs,

Michelle
 dsc04690.jpg   Get ready for Brayer Workshops!  I am coming to:

Colorado Springs, Colorado (Sold Out)

Boise area of Meridian, Idaho

Riverside, California (Southern California)

Salem, Oregon

Wheaton, Illinois

St. Cloud, Minnesota

Rockville, Maryland (Sold Out)

North Chili, New York (near Rochester) (Sold Out)

New Johnsonville, Tennessee

Kenova (Huntington), West Virginia

Helena, Montana

Middleburg Heights, Ohio

Venice, Florida

Grinnell, Iowa

Piedmont, Alabama (Near GA border close to Cedartown)

Auburn, Washington (near Seattle)

Elk Grove Village, Illinois

Savannah, Georgia

Atlanta, Georgia

North Liberty, Indiana

Saledad, California

Here is a link to my workshop calendar where you can see all of my travel schedule and to get info on beginner and advanced Brayer workshops:   https://zindorf.splitcoaststampers.com/workshop-calendar 

Link to my Stampin’ Up website where you can order all of your must have Stampin’ Up products from me 24-7:  https://michellezindorf.stampinup.net

Frequently asked questions answers:  https://zindorf.splitcoaststampers.com/frequently-asked-questions/