
Single quilted coaster 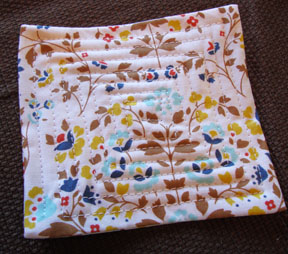
Hey There,
Today’s tutorial on quilted coasters involved getting out the sewing machine, but know if you can sew a straight line you will have no problem making these quick quilted coasters. They are super yummy looking using Stampin’ Up! fabrics, some of which are a sneak peek of what is to come in the new Stampin’ Up! Holiday Mini Catalog that starts on August 1, 2012. But for now, know you will want everything in the mini. It is so filled with fresh new stamps and embellishments, watch out!
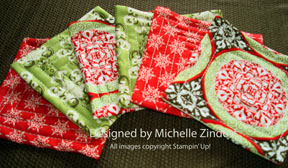
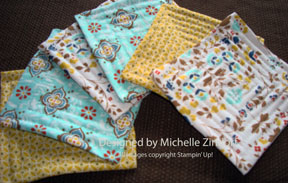
Below is a sample of some of my Stampin’ Up! fabrics that can be found in the annual catalog. I love the way the fabric matches all the great Stampin’ Up! colors we have come to love in the paper, ink, markers etc., etc.

Here are a few Stampin’ Up Reminders before I start the project. During the month of July, with any $50 purchase, you can get this beautiful stamp set for $5.

Don’t miss out on my Customer free stamp set program. Check it out! Along with a handmade thank you card from me for your order you will receive a token for each $50 in product you ordered using me as your demonstrator. After you have collected 10 tokens you will receive a free current stamp set of your choosing, a value of $39 or less. Here is a link to my online shopping page that you can shop at 24/7 (from the comfort of your home, even in your pj’s) and the products will be shipped directly to your door step from Stampin’ Up: CLICK HERE TO SHOP. My free stamp set program will be an on going program. ![]()
Want a new annual catalog shipped to you? I will be happy to send you one. The catalog is free, but there is a $5 shipping charge. Note, I will only sell or ship within the United States do to Stampin’ Up! policies. Please contact me at [email protected]. Payment can be sent via Paypal or check.
You can join my Stampin’ Up! team and become a Stampin’ Up! Demonstrator now for the great new price of $99, CLICK HERE TO CHECK IT OUT. Contact me whether you want to start your own business or just enjoy the 20% discount on products.
Want to purchase one of my original cards or some Stampin’ Up! retired sets CLICK HERE.
Now on with today’s tutorial. . . . . . .
Start by cutting a piece of fabric 4.5″ x 10″. You will need one of these for each coaster you make.

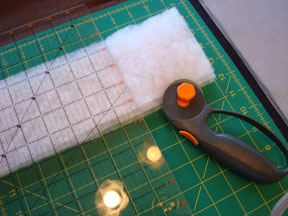
Cut a piece of batting 4″ square. You will need one of these for each coaster.
Fold the fabric in half, front sides facing each other, and stitch the right and left sides closed using a 1/4″ seam allowance. Now you have a pocket.
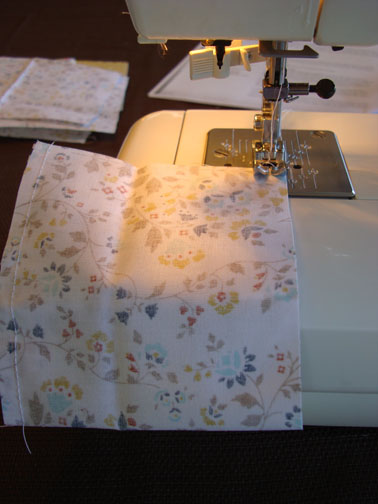
Now here is just a little tip if you are going to make a bunch of these. Sew one side on each coaster, running them through your machine one right after each other without cutting the thread. Flip them over and sew the other sides together and then cut them apart. (clear as mud?)
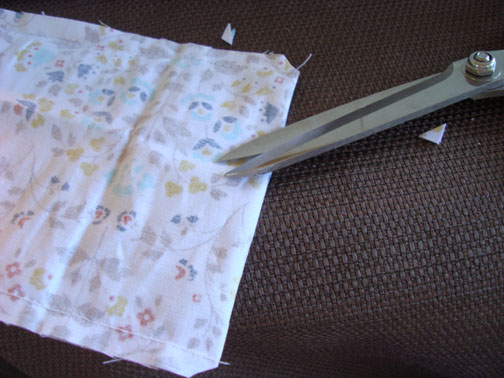
Clip your bottom corners.
Turn the piece right side out and use your bone folder or a crochet hook to get the corners to be square.
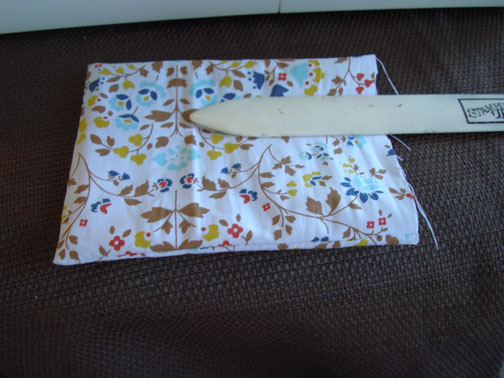
Tuck the 4″ square batting smoothly in the pocket.

Turn the top edges under having one edge cover the batting.
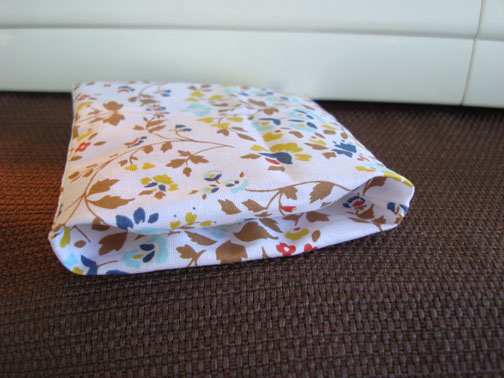
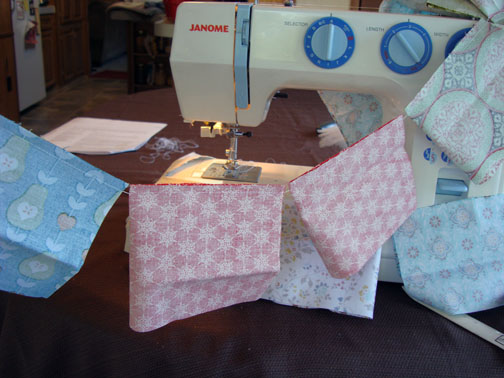
Sew the open end closed using a 1/4″ seam allowance to 1/4″ of the end of the fabric. With your needle down, turn the fabric so you are sewing down the next side, keep sewing around and around having a 1/4″ allowance from the previous row of stitches.
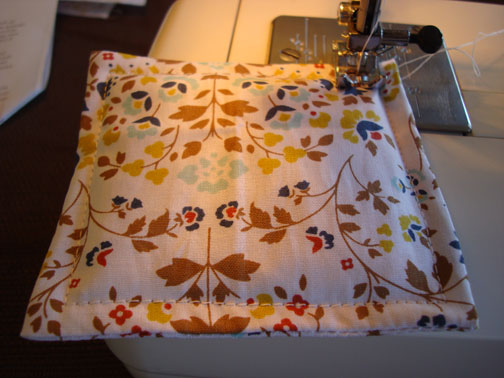
End your sewing in the middle and make a few back stitches.
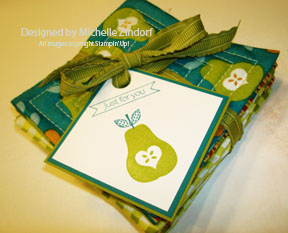
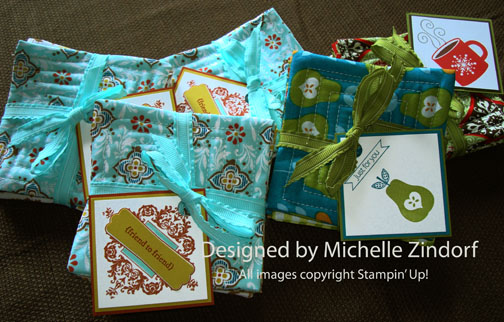
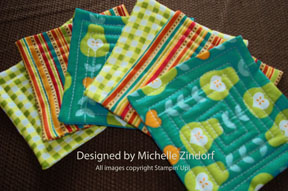
I put together stacks of 6 coasters using ribbon and adding a tag for each stack.
Here is a couple of sneak peeks for you. This set of coasters uses Stampin’ Up! Holiday Mini Catalog Orchard Harvest Designer Fabric and Perfectly Preserved Stamp set.
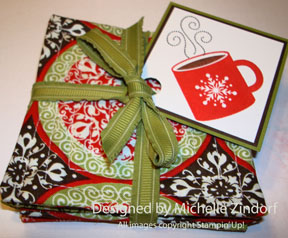
Another Mini Catalog Sneak Peak:
This set show cases the Stampin’ Up! Holiday Mini products, Candlelight Christmas Designer Fabric and Scentsational Season Stamp set.
The other 3 coaster sets I made today showcase the Comfort Cafe fabric from the Annual Catalog and Affection Collection Stamp Set from the Holiday Mini.
I hope you enjoyed this tutorial and find yourself dusting off that sewing machine to make some of these as quick house warming gifts or just some for yourself. I think you will be surprised at how fast they whip up.
May your day be overflowing with all the people you love.
Until my next post. . . . ..
Hugs,


 Get ready for Brayer and Direct to Paper Workshops! I am coming to the following locations, click the location name for more information.
Sacramento, California (SoldOut)
I hope you can make it to one of my workshops in 2012. I have decided not to travel after this year, so be sure to catch one this year!
Link to my Stampin’ Up website where you can order all of your must have Stampin’ Up products from me 24-7: https://michellezindorf.stampinup.net