
Hey There,
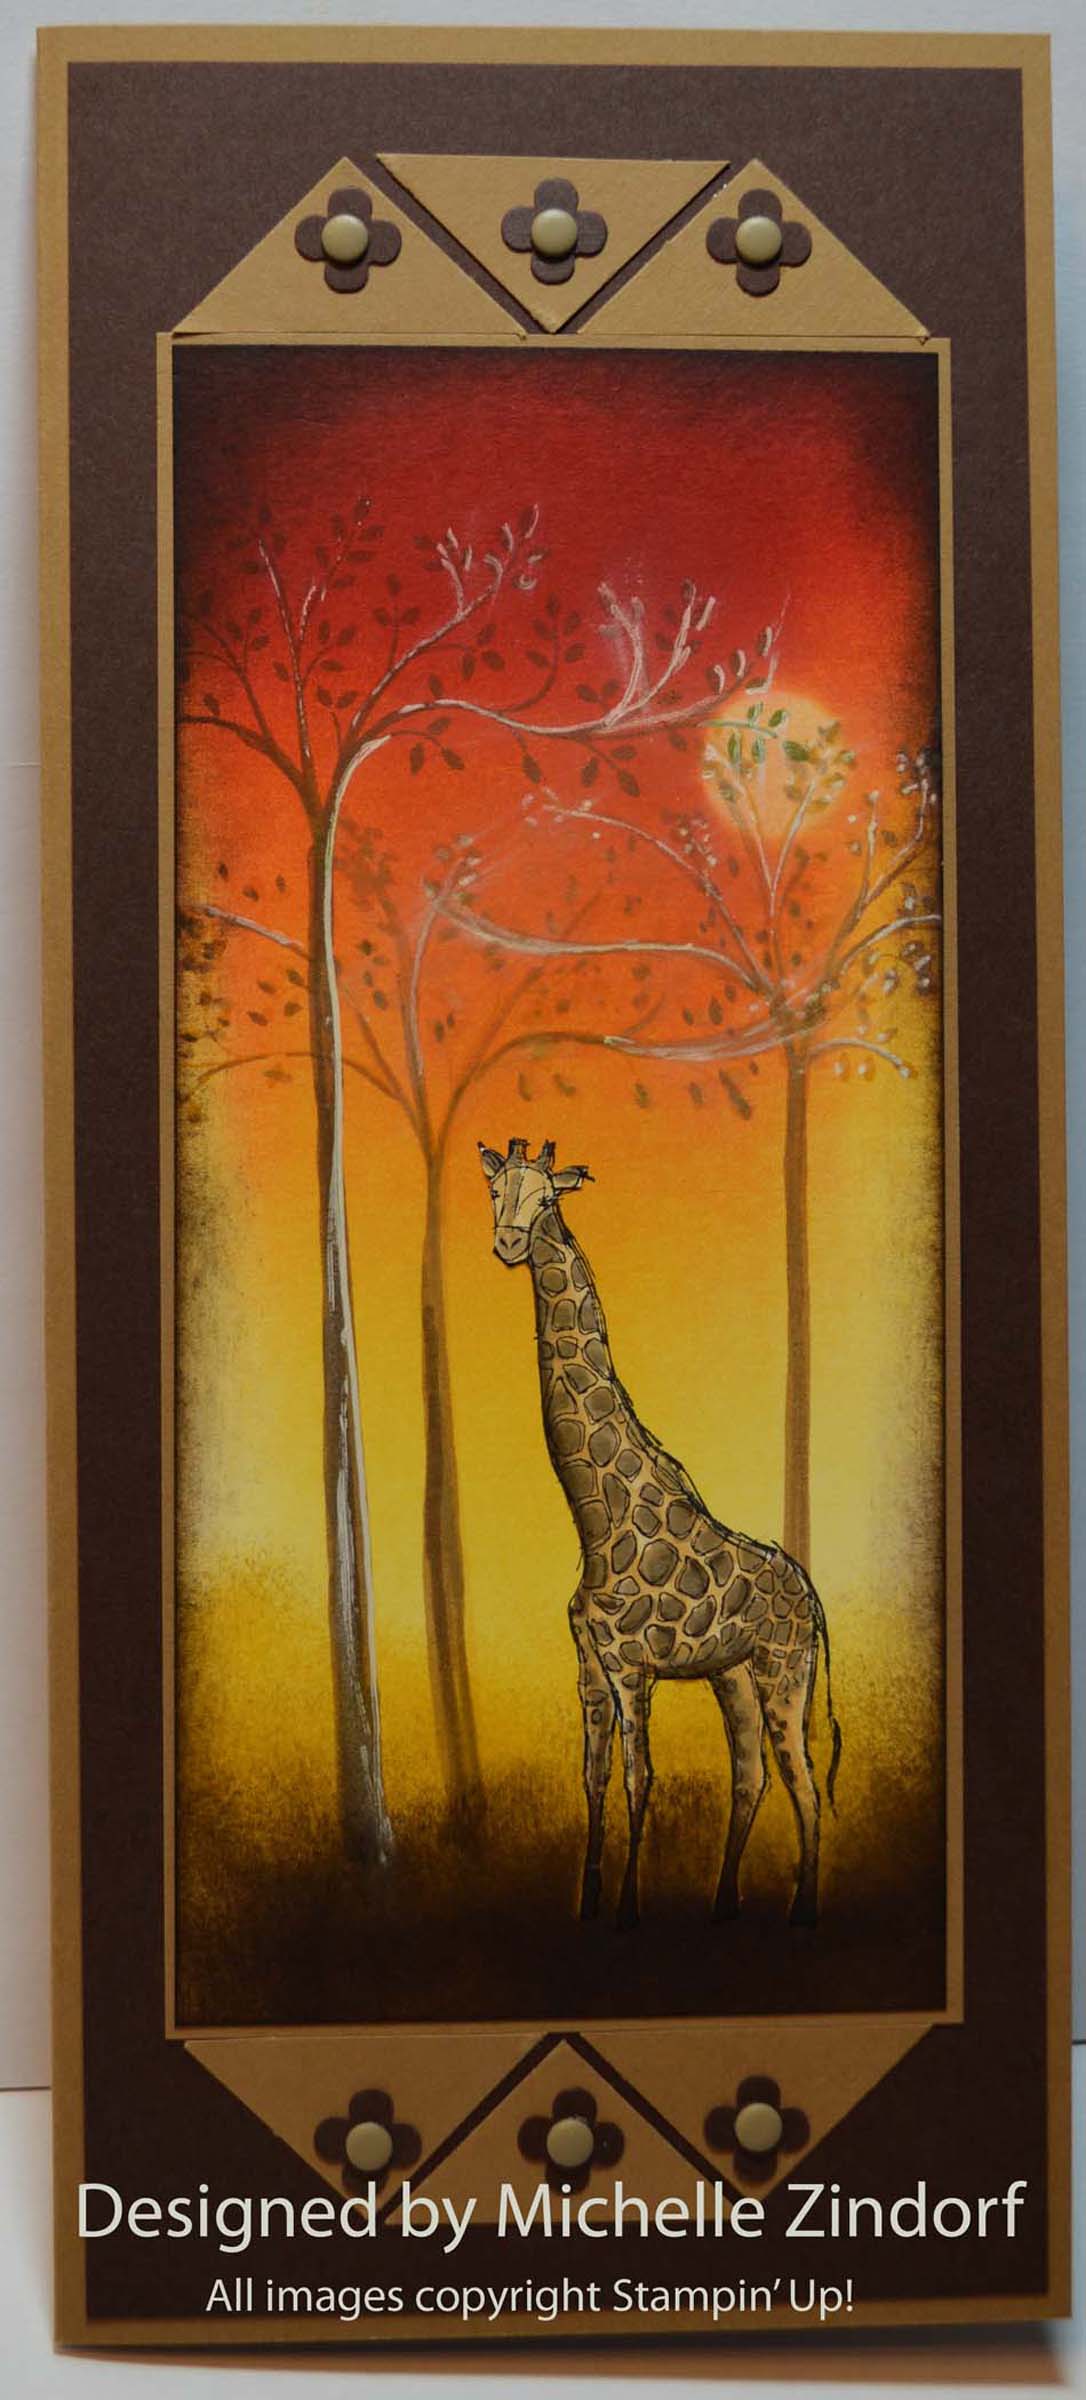
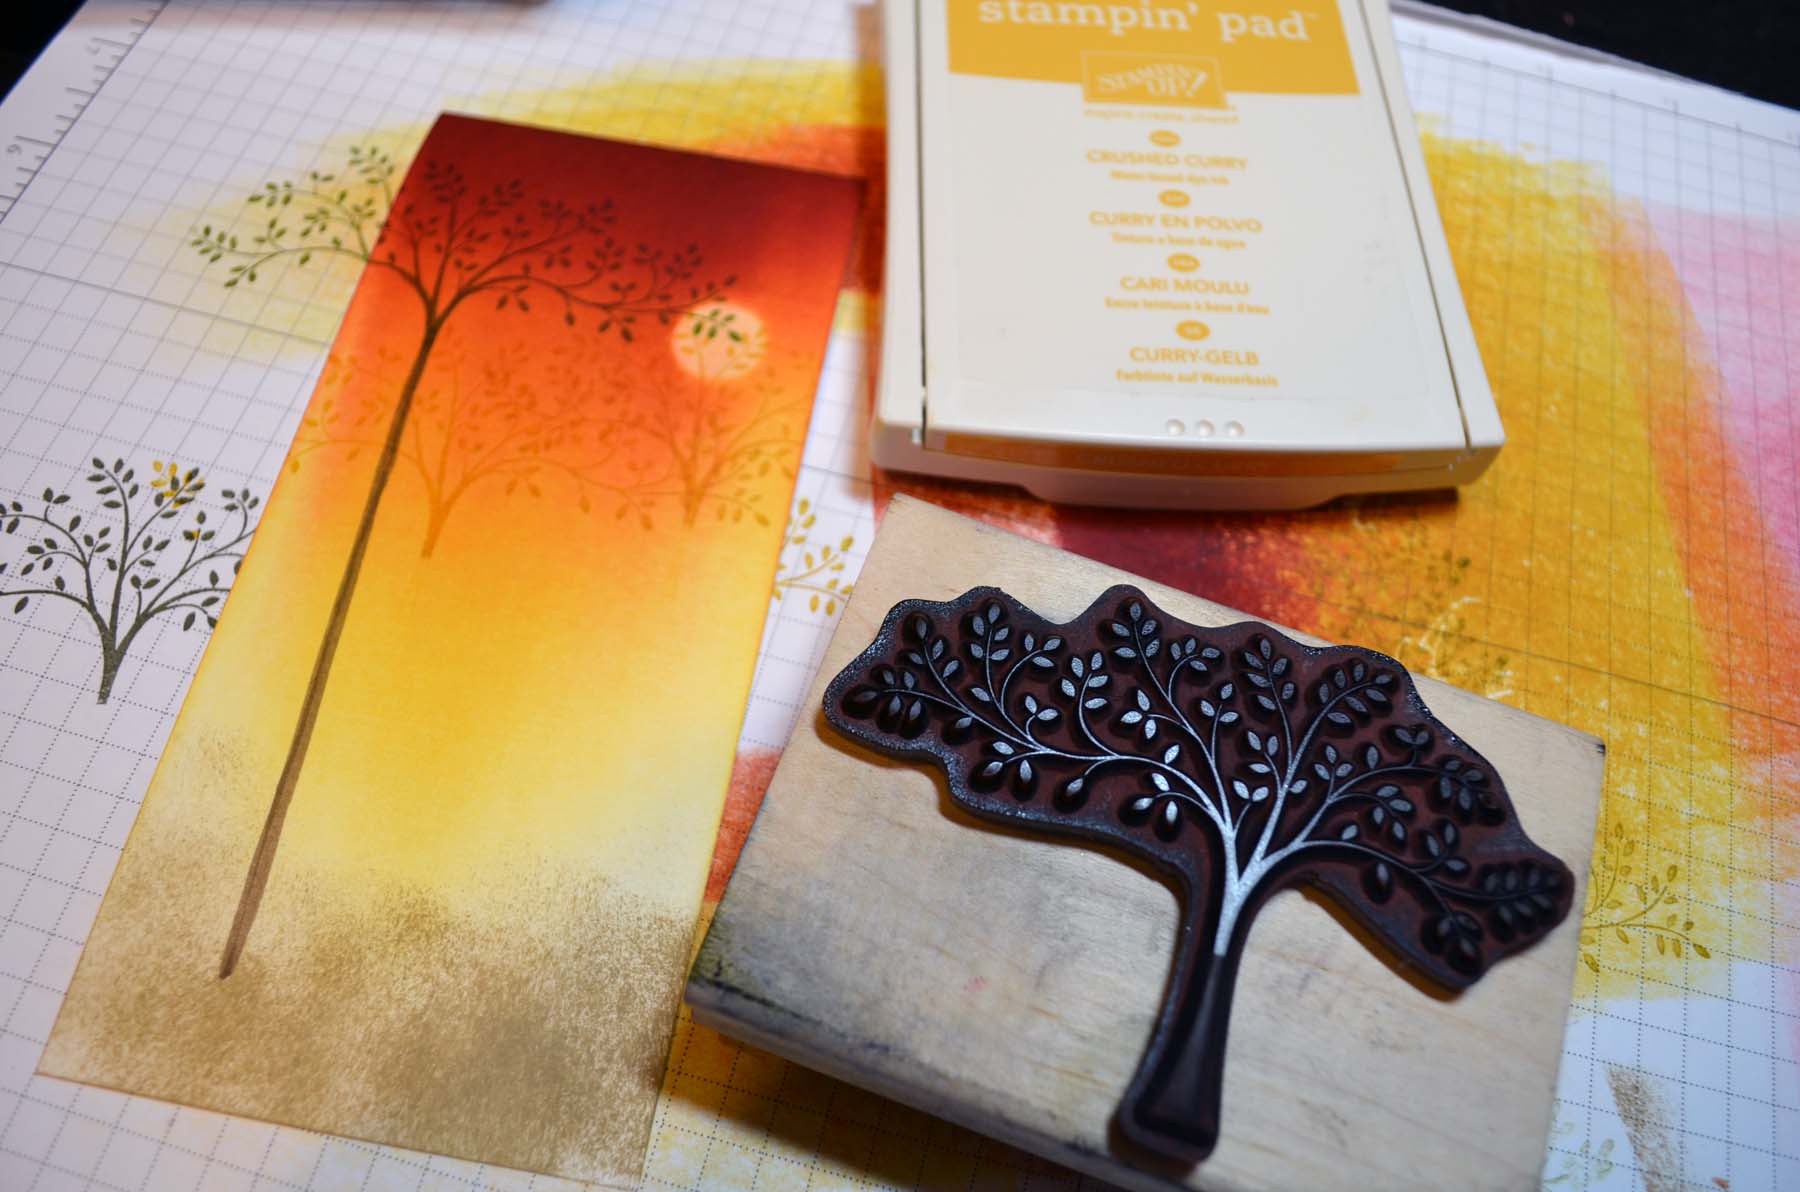
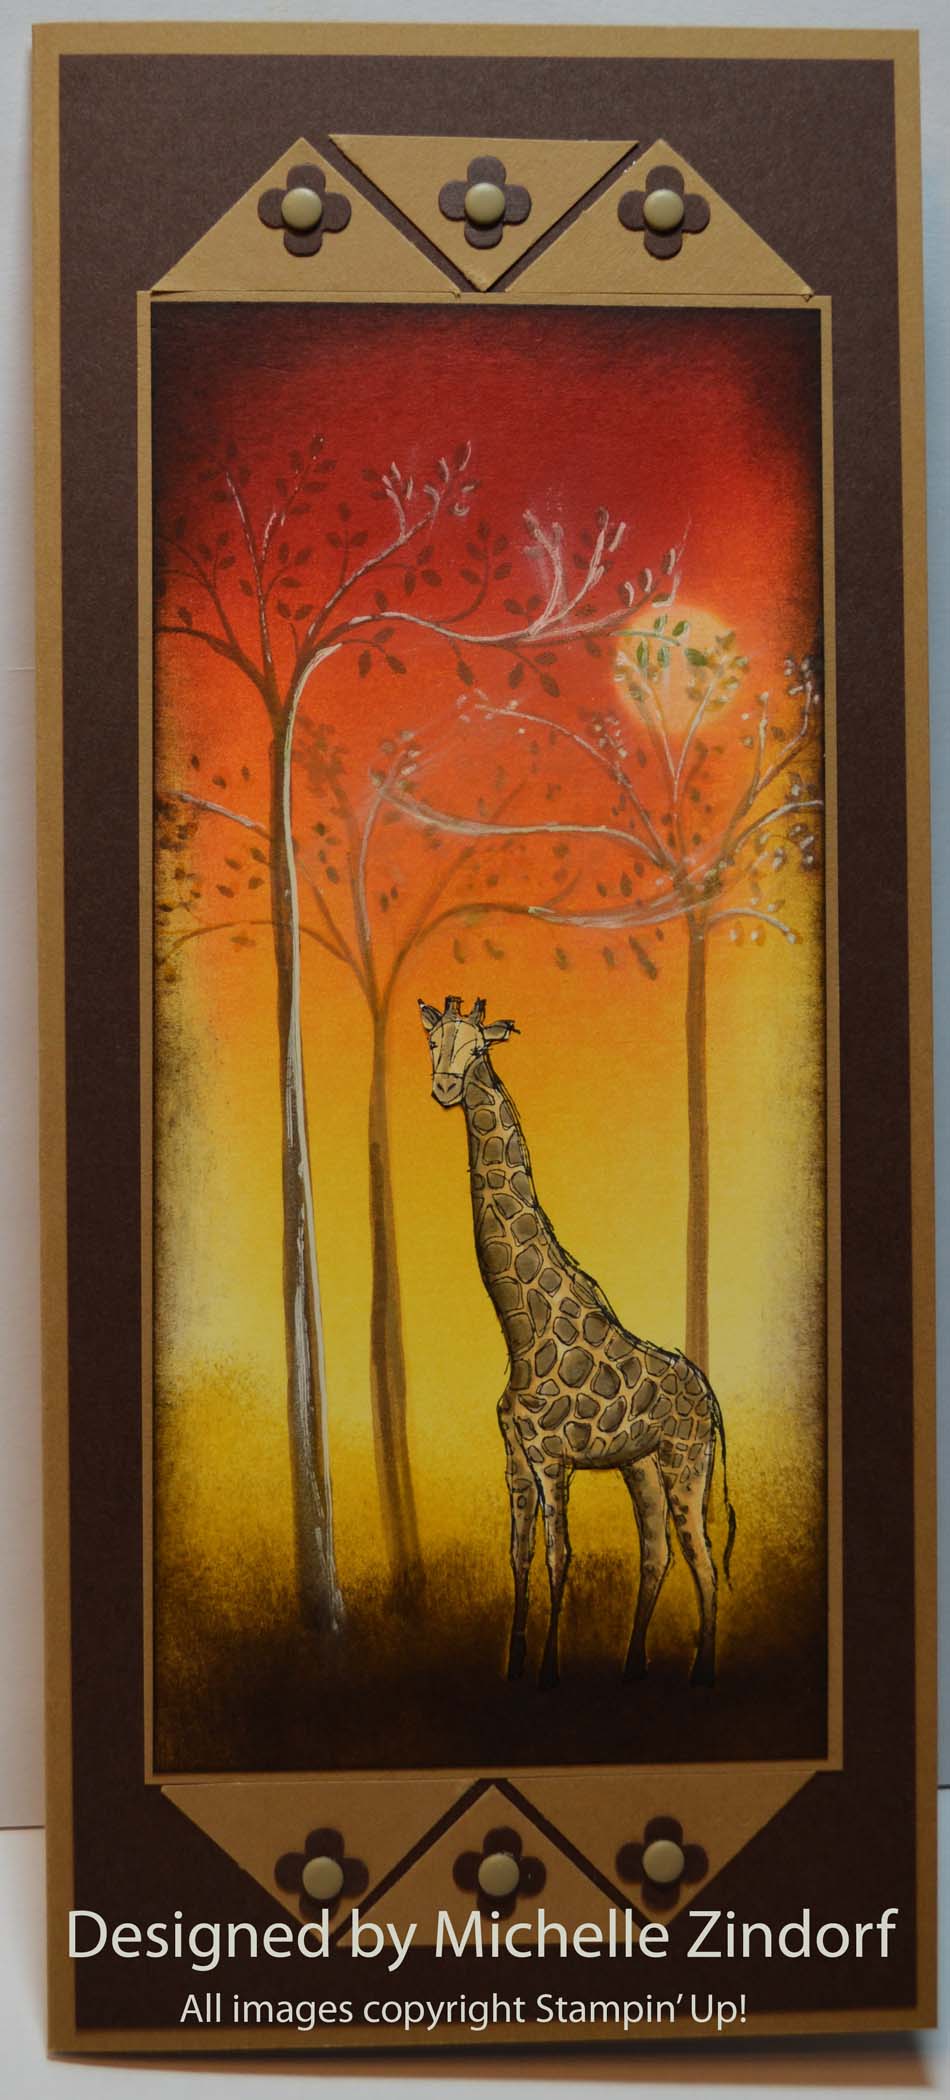
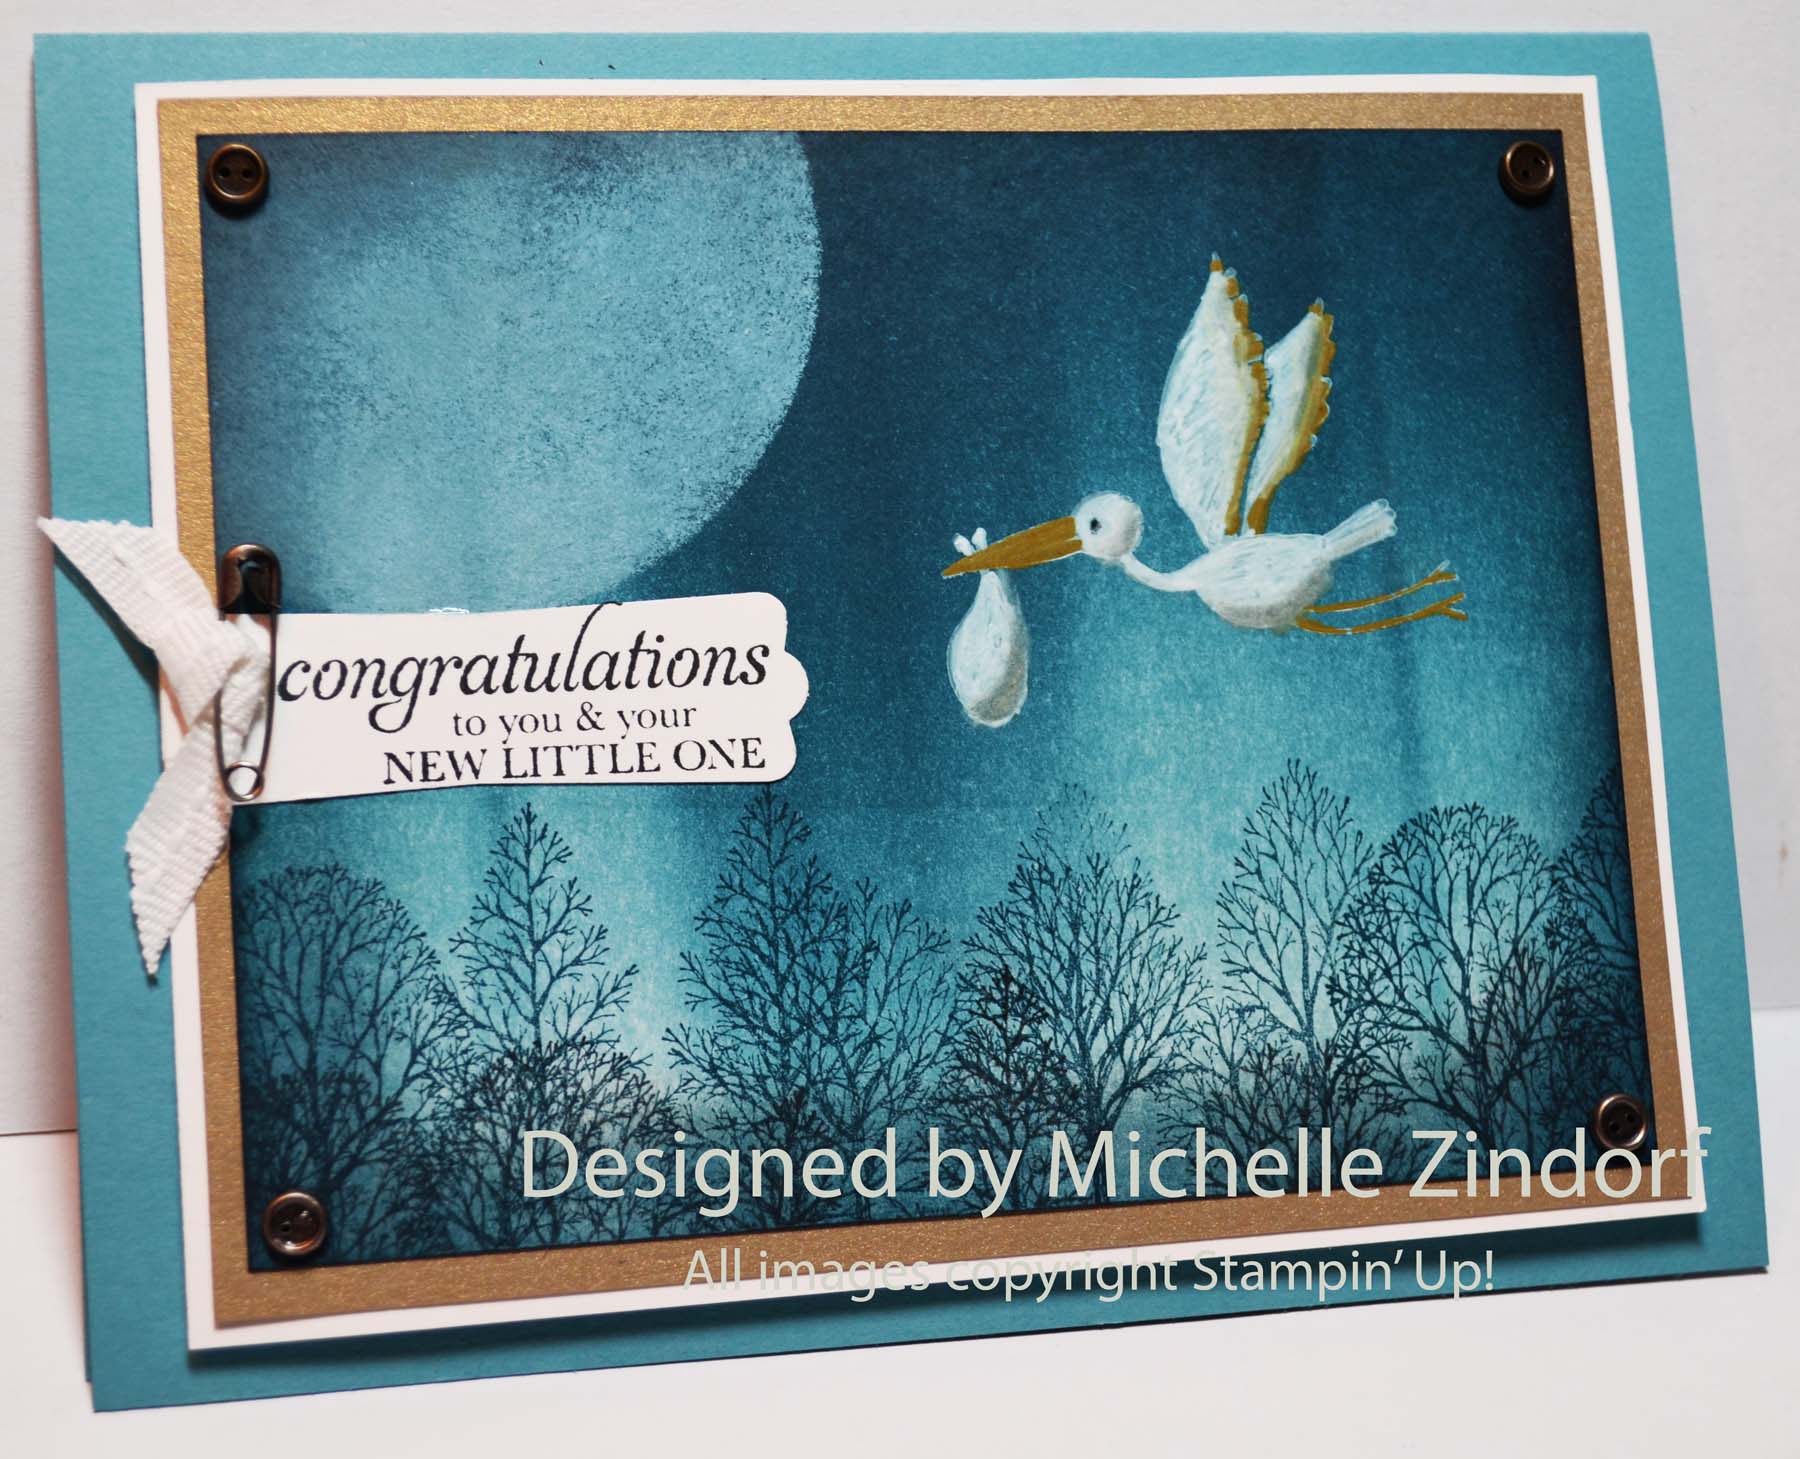
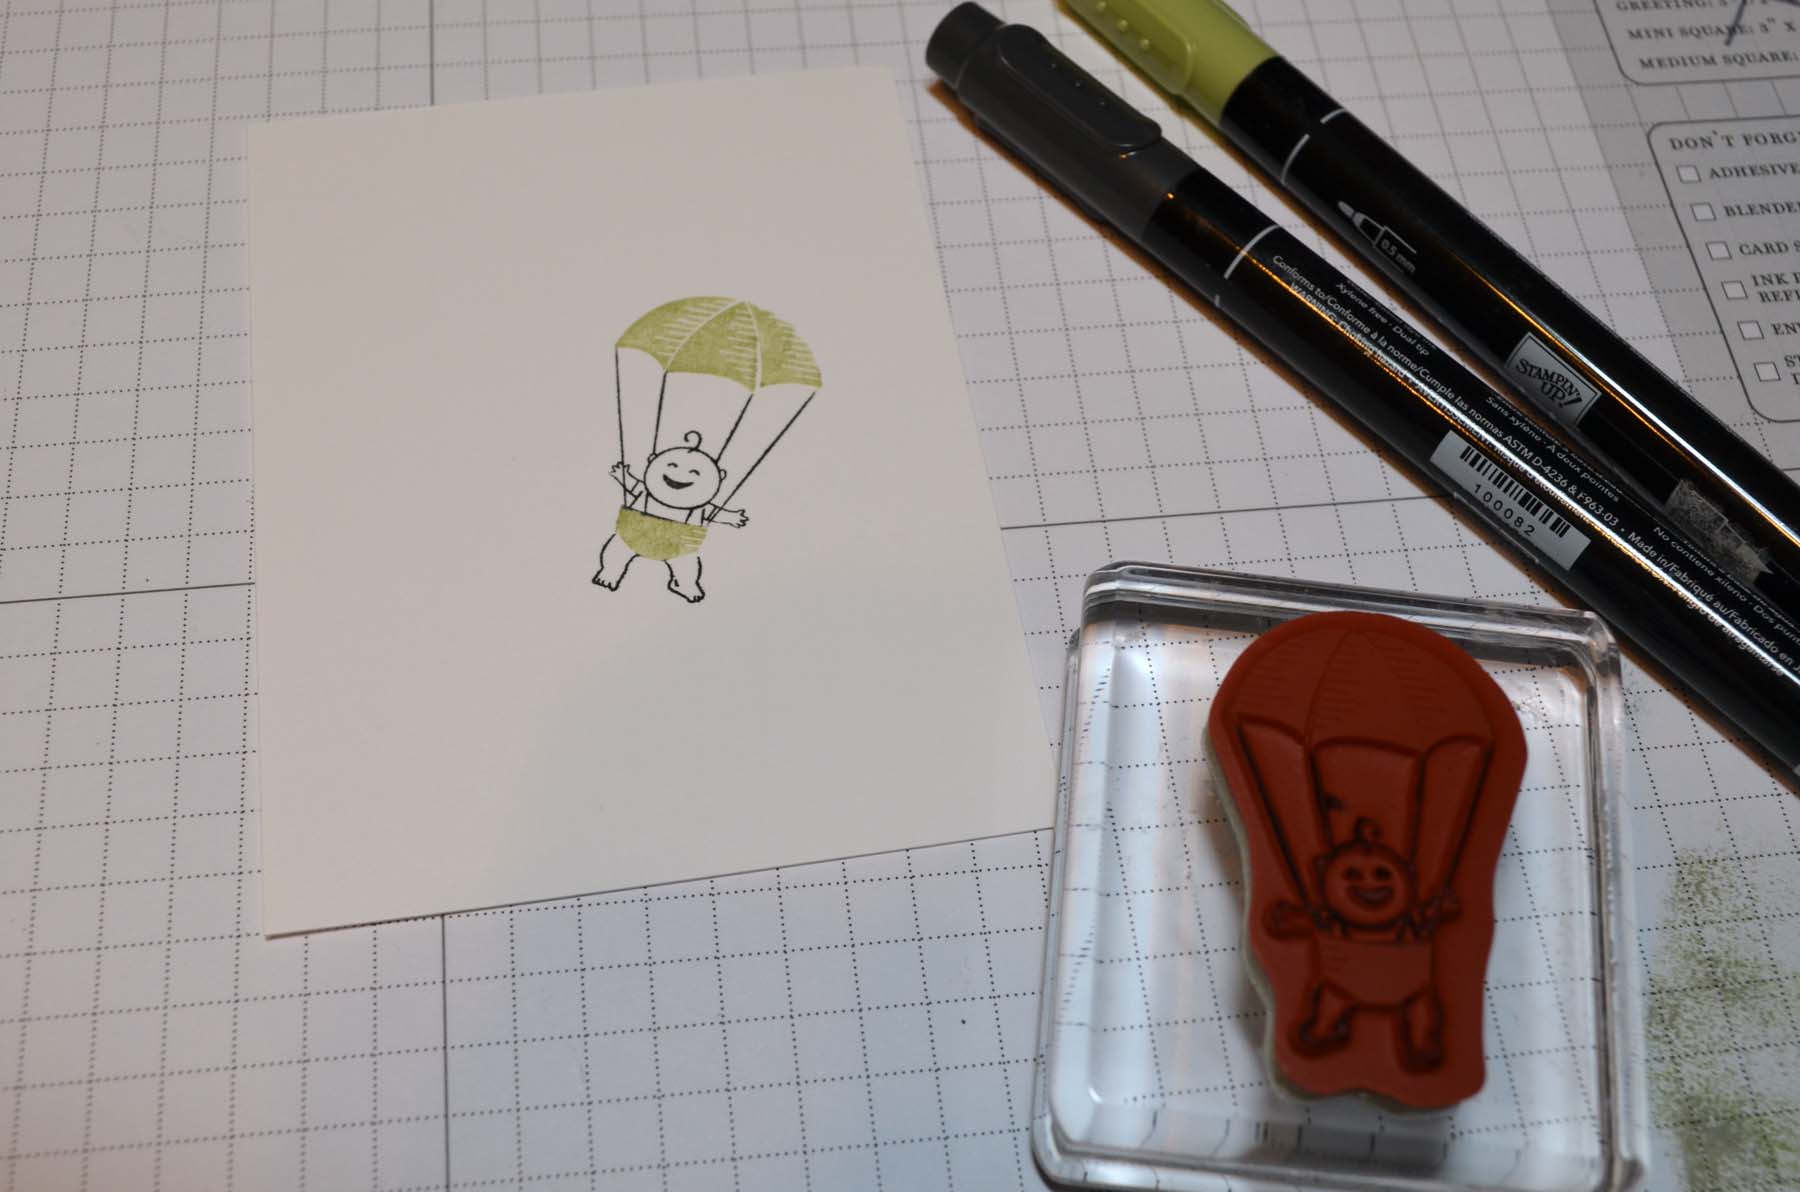
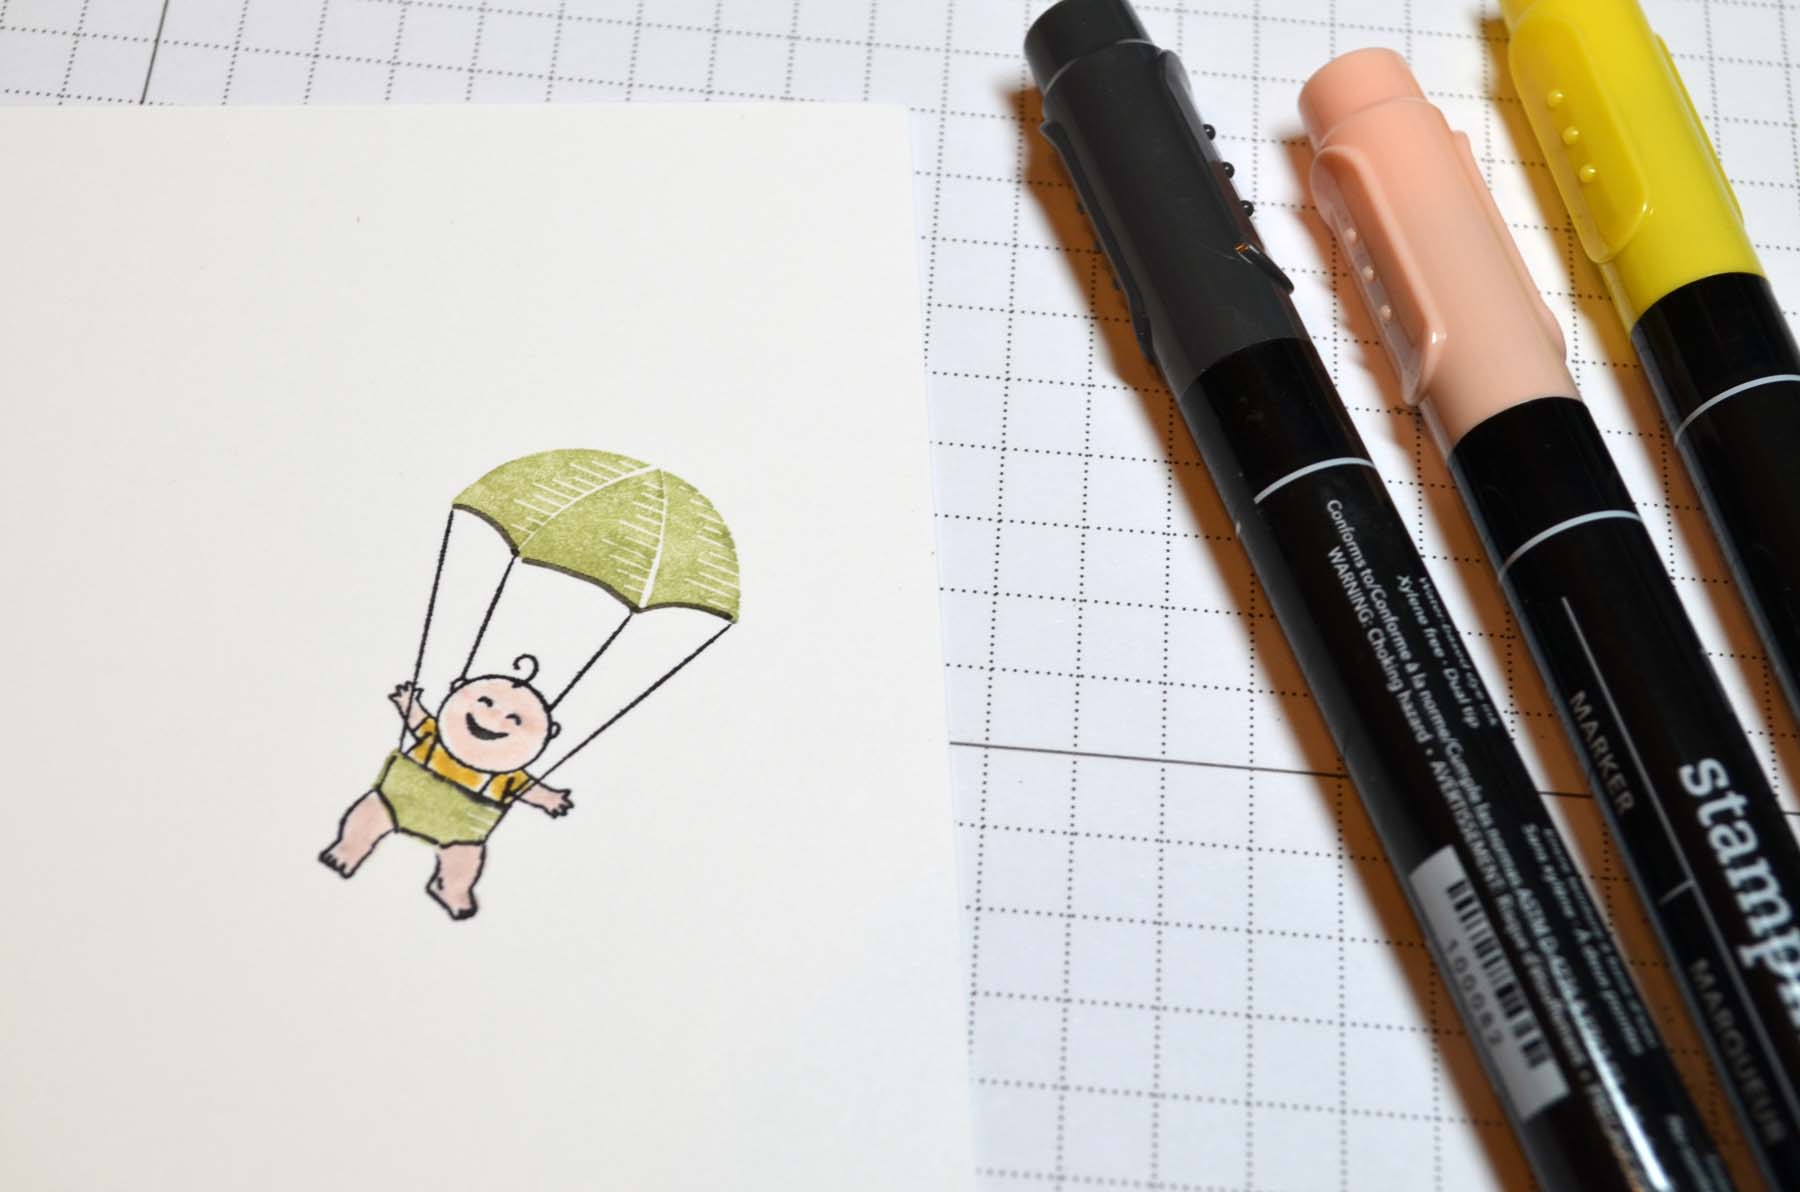
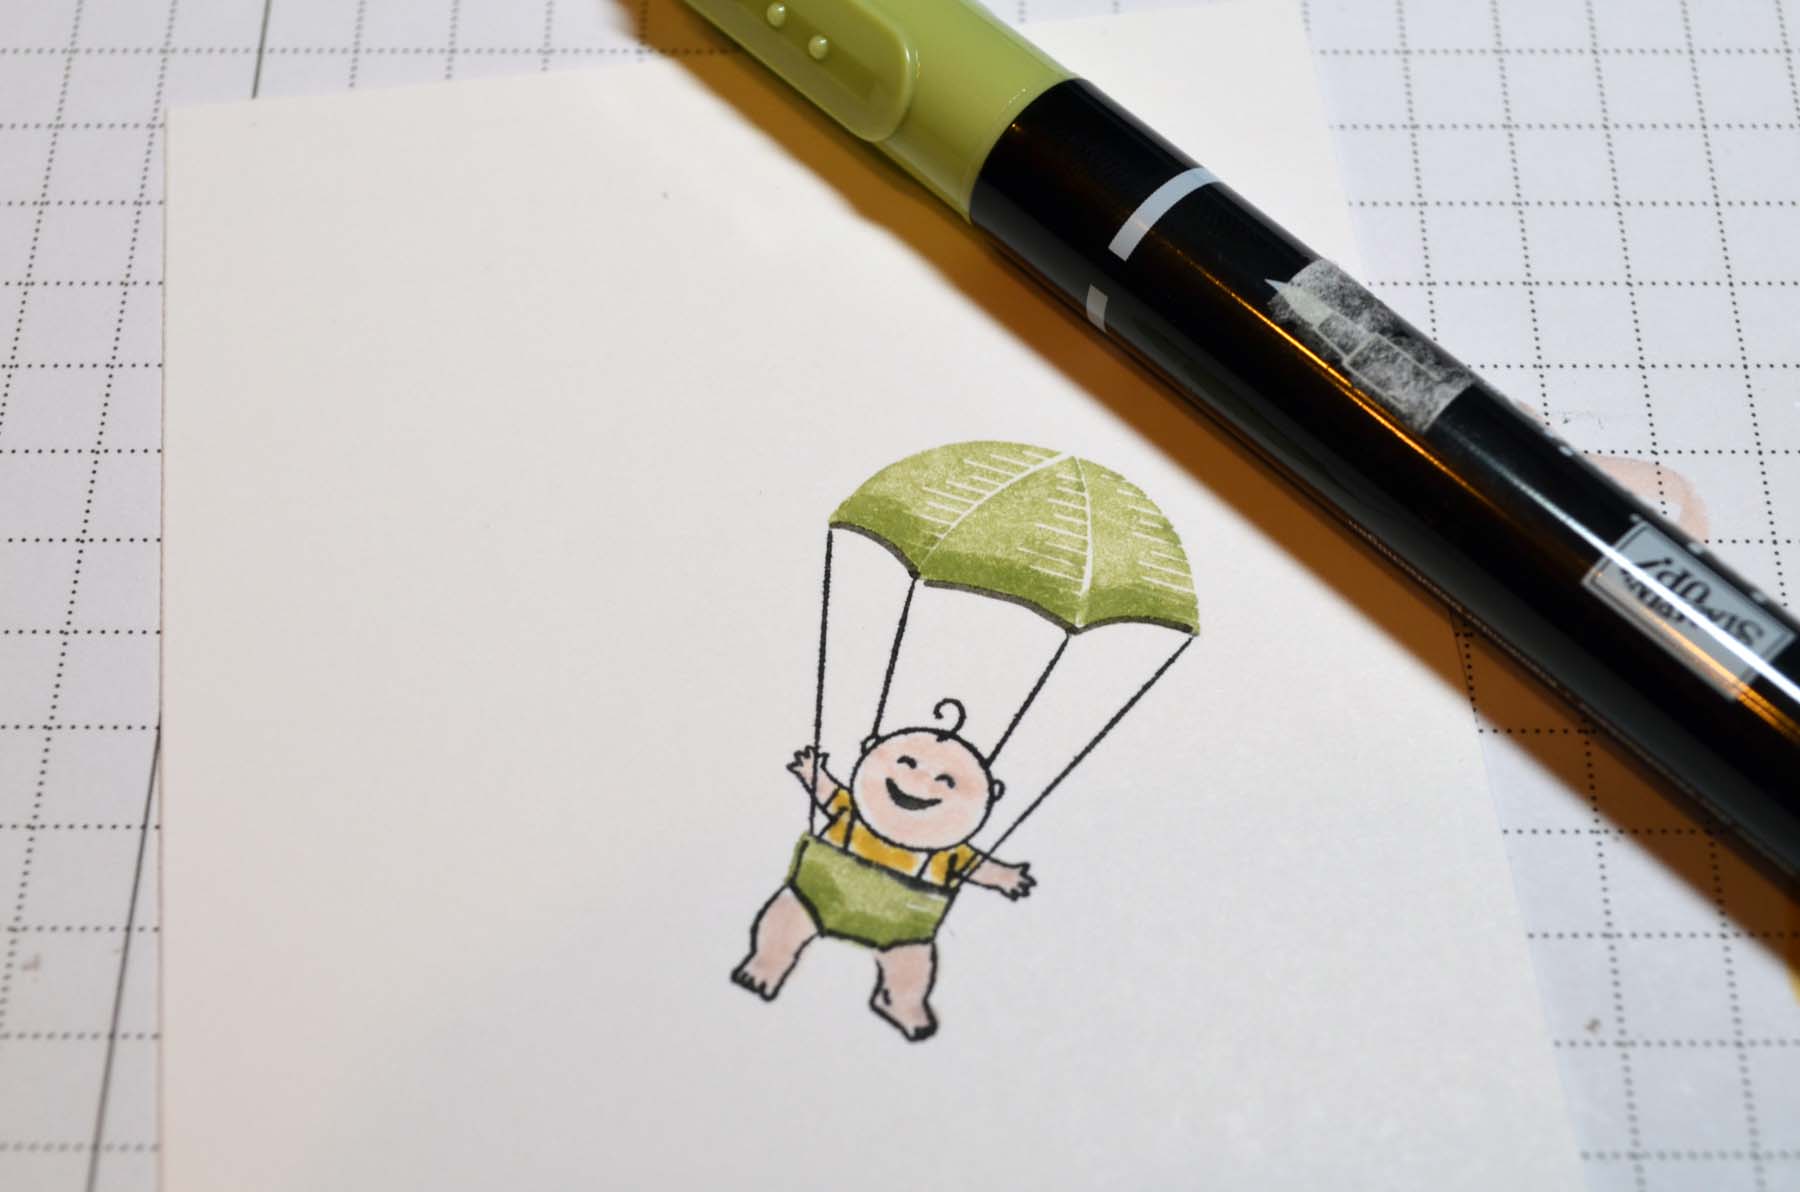
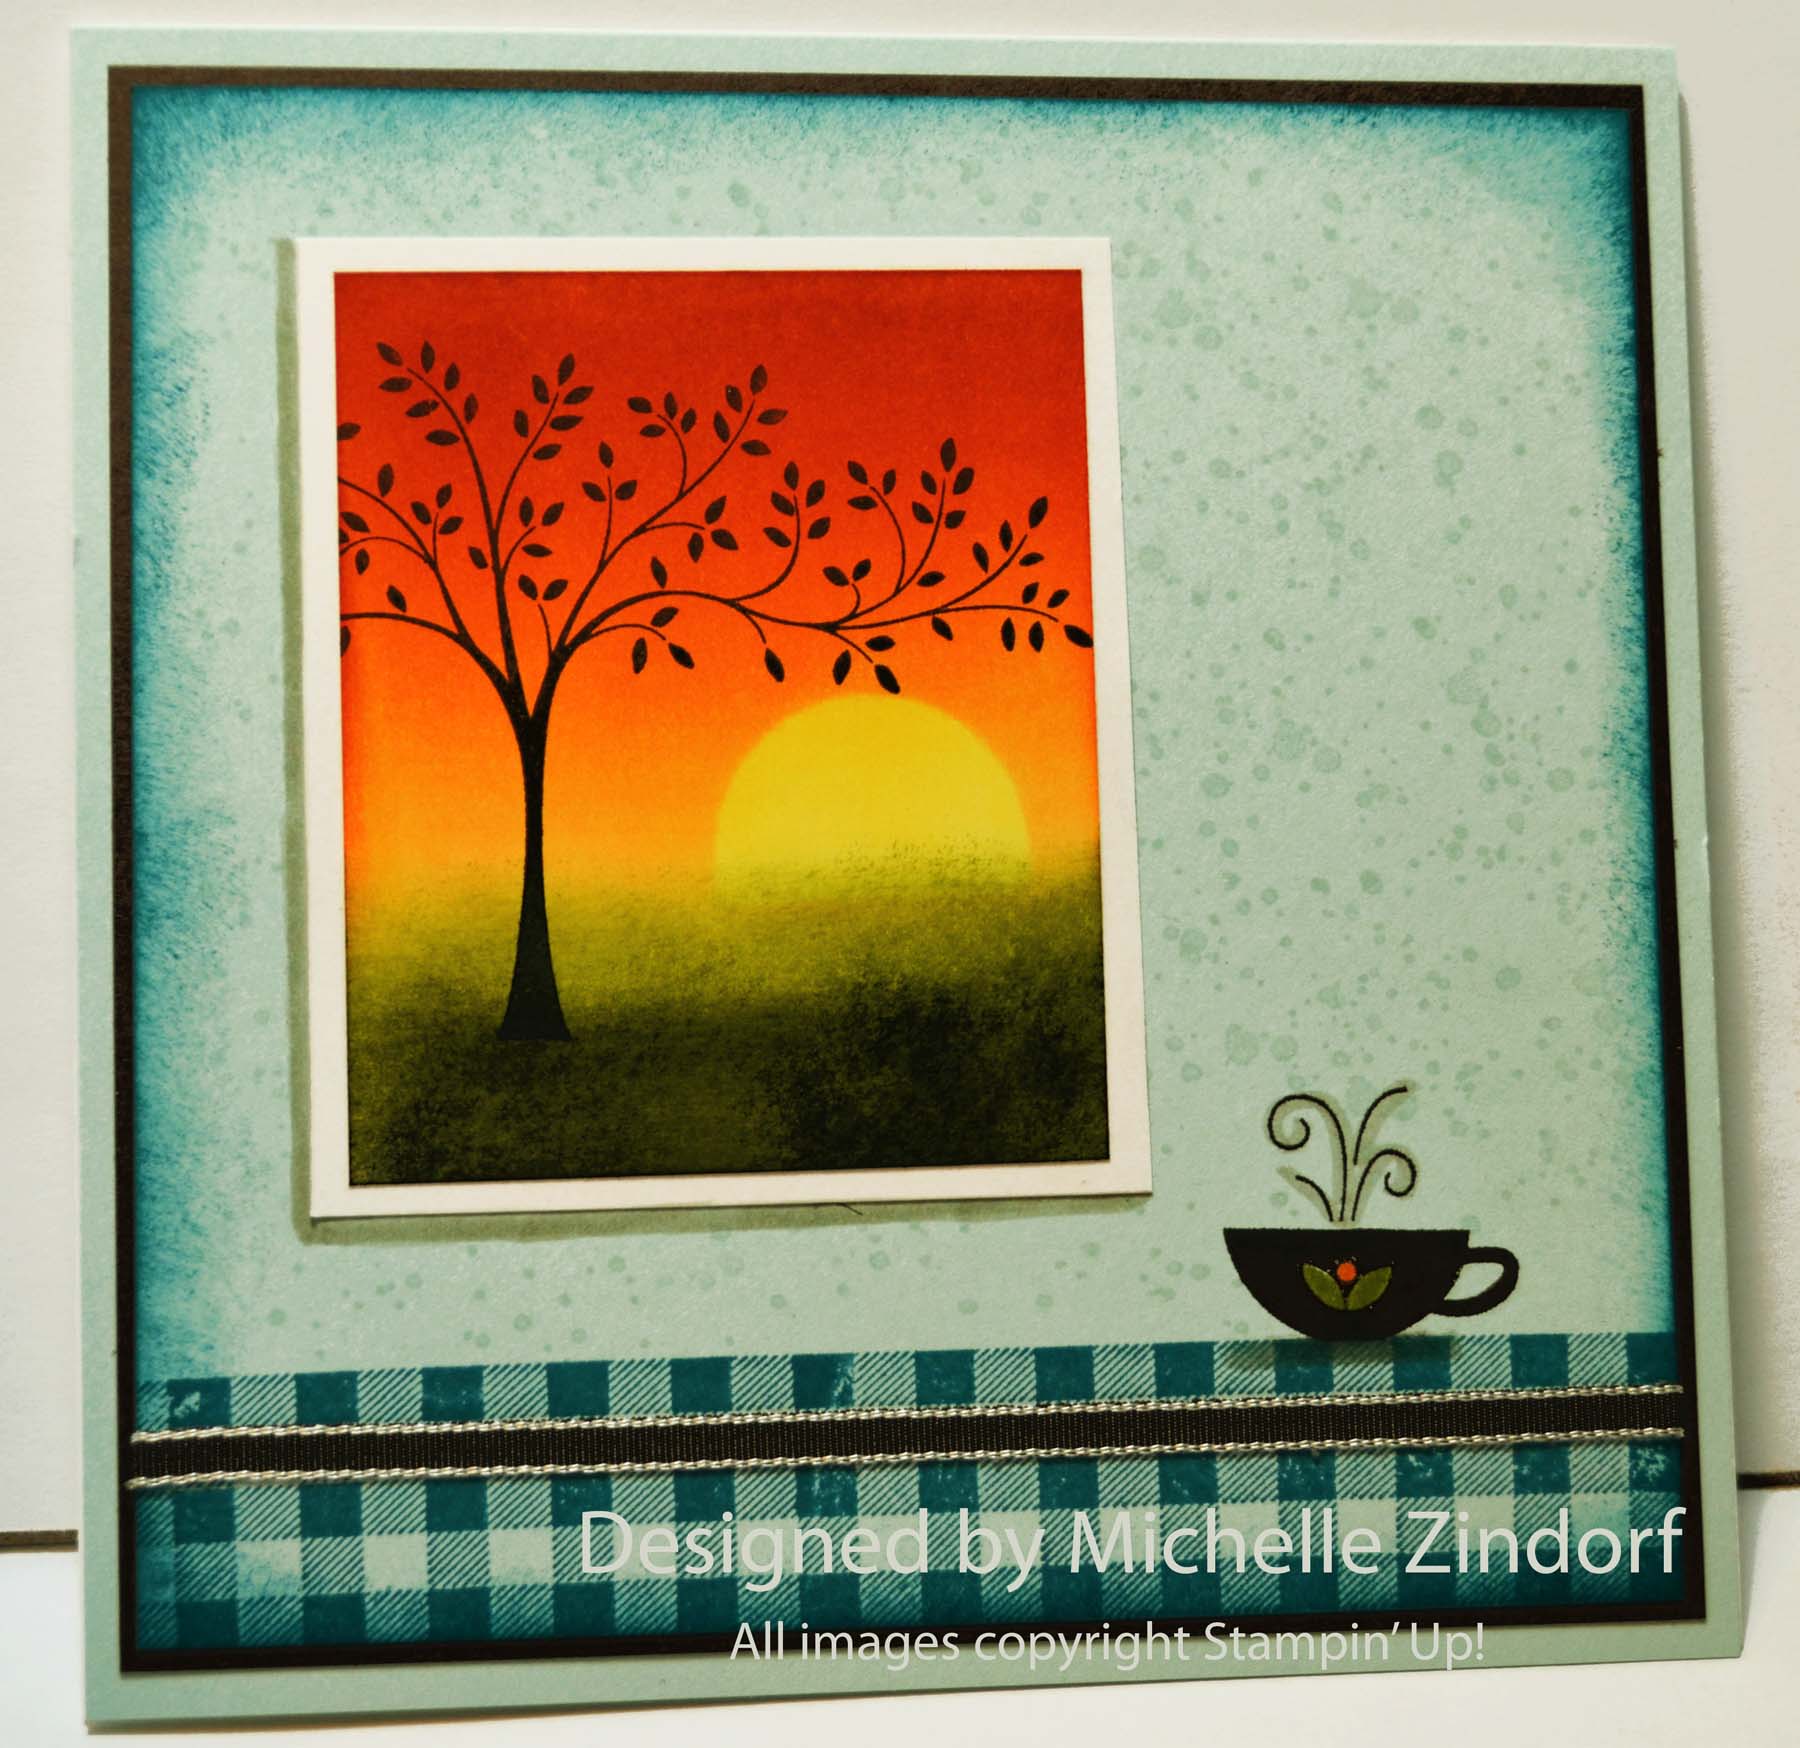
Here is card number two using the Stampin’ Up! Sweetest Gift stamp set. This time I paired it up with the Stampin’ Up! Lovely as a Tree stamp set to create this whimsical scene. You can check out the full tutorial for this project below.
But, before I start my project I want to say a Big, Huge, Humungous THANK YOU, THANK YOU, THANK YOU to my Incredible Customers and to my super wonderful Stampin’ Up! Down Line. You see I achieved the Stampin’ Up! Founder’s Circle for the 3rd time this year, WHOOHOOOO!!!
In Stampin’ Up! lingo it means that I am one of the top 100 Stampin’ Up! Demonstrators. For that Stampin’ Up! will pamper and entertain me on an all expense paid trip to St. George, Utah this September. I can hardly contain my excitement!
Again, you all ROCK! Thank you so much for helping me to achieve this honor. Also, a big thank you to the greatest company ever to work for, STAMPIN’ UP!
***************************************************************
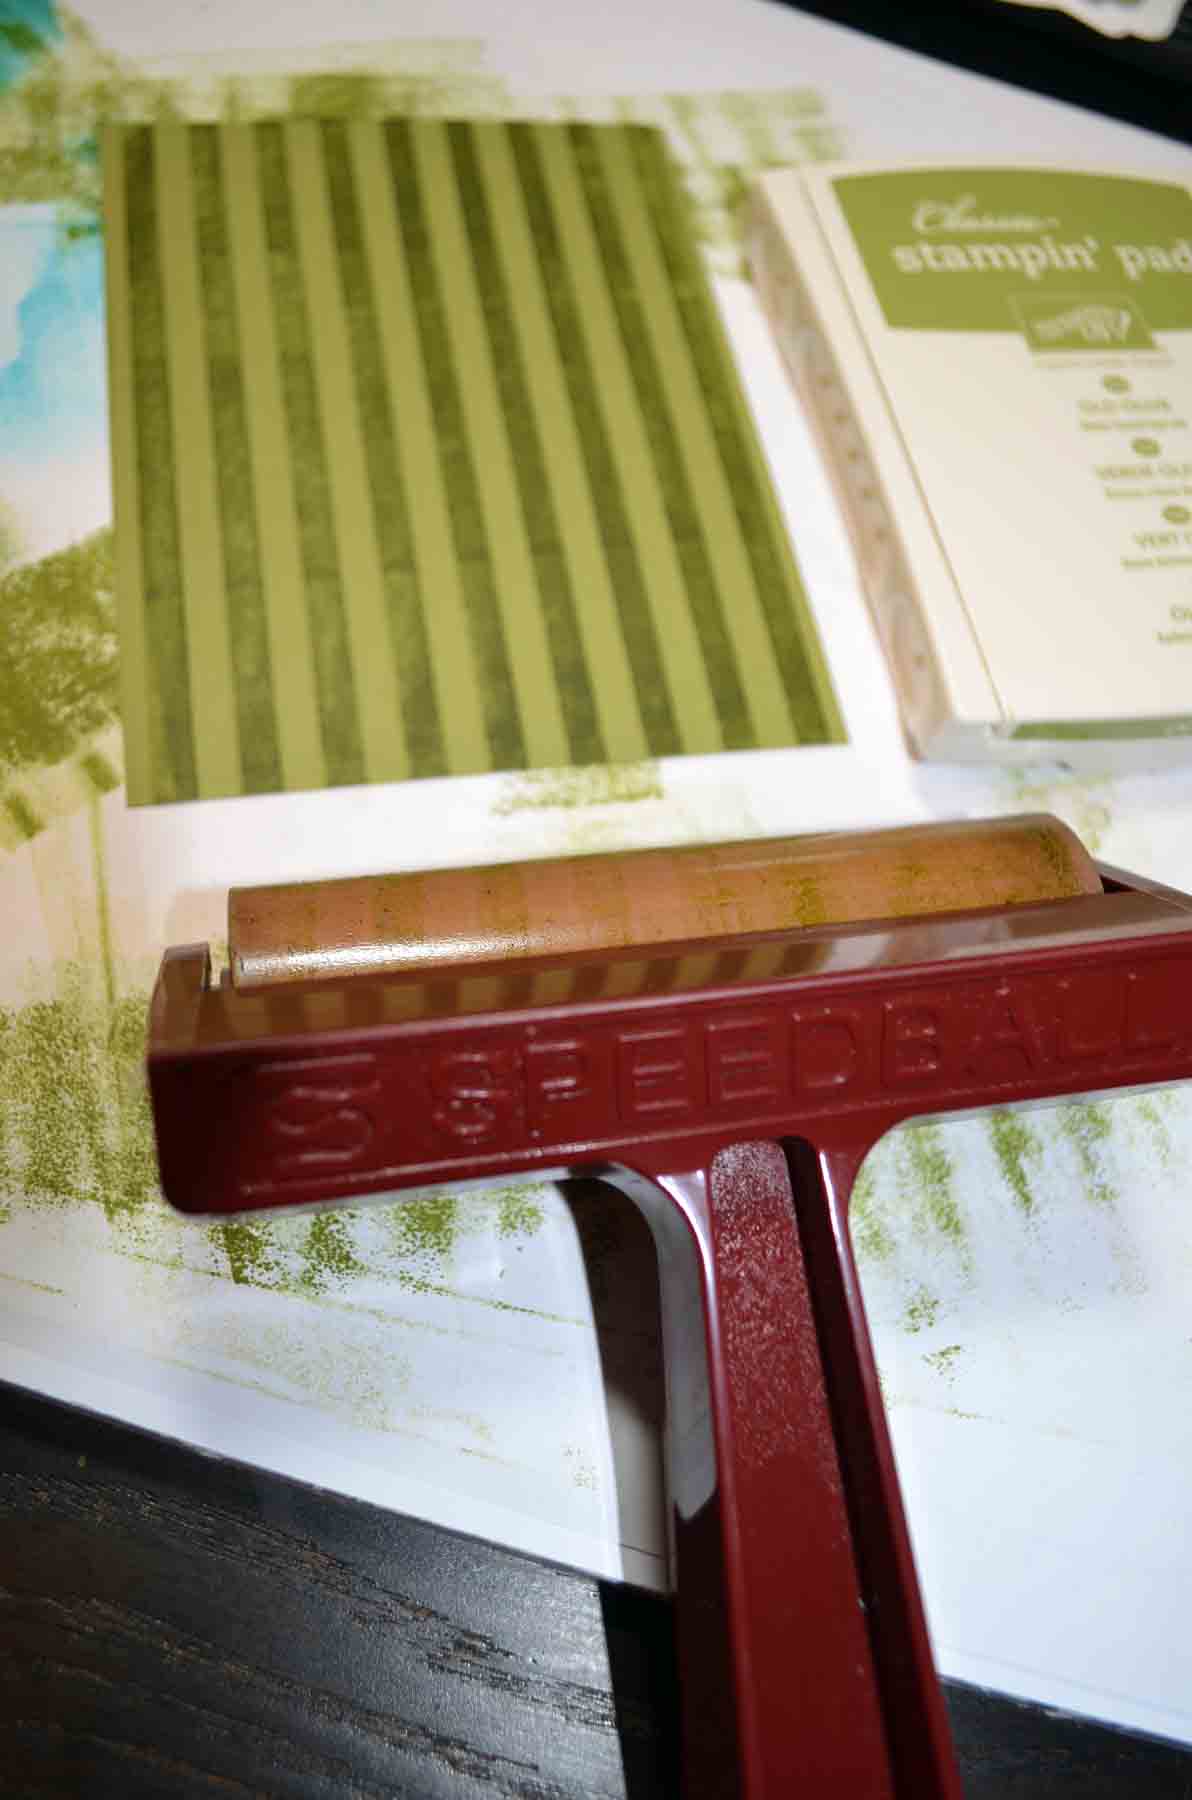
I’ve added the featured card of the day to my sales page where you will also find some great deals on retired stamp sets and my beginner brayer videos. CLICK HERE TO CHECK IT OUT
**************************************************
Now on with today’s tutorial. . . . . . .
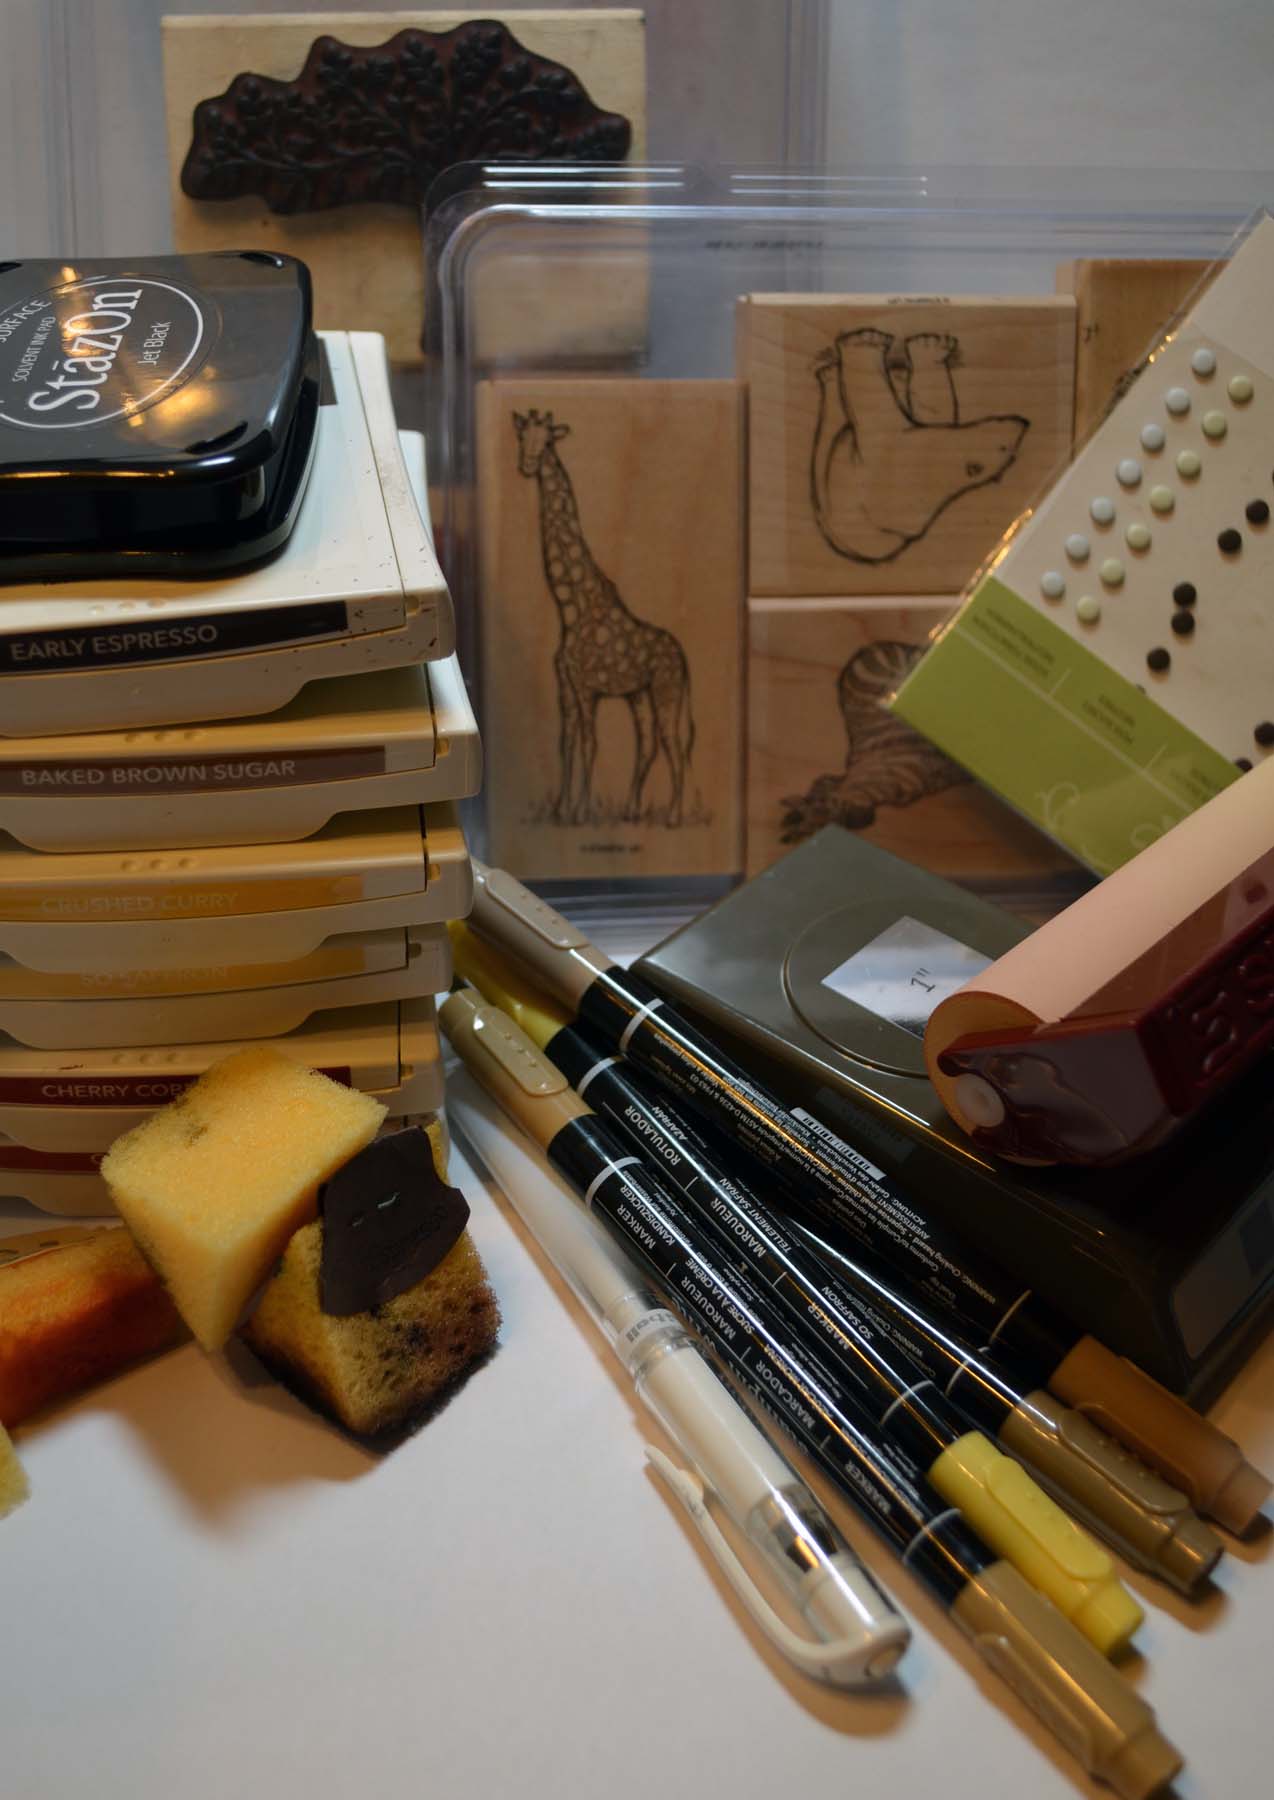
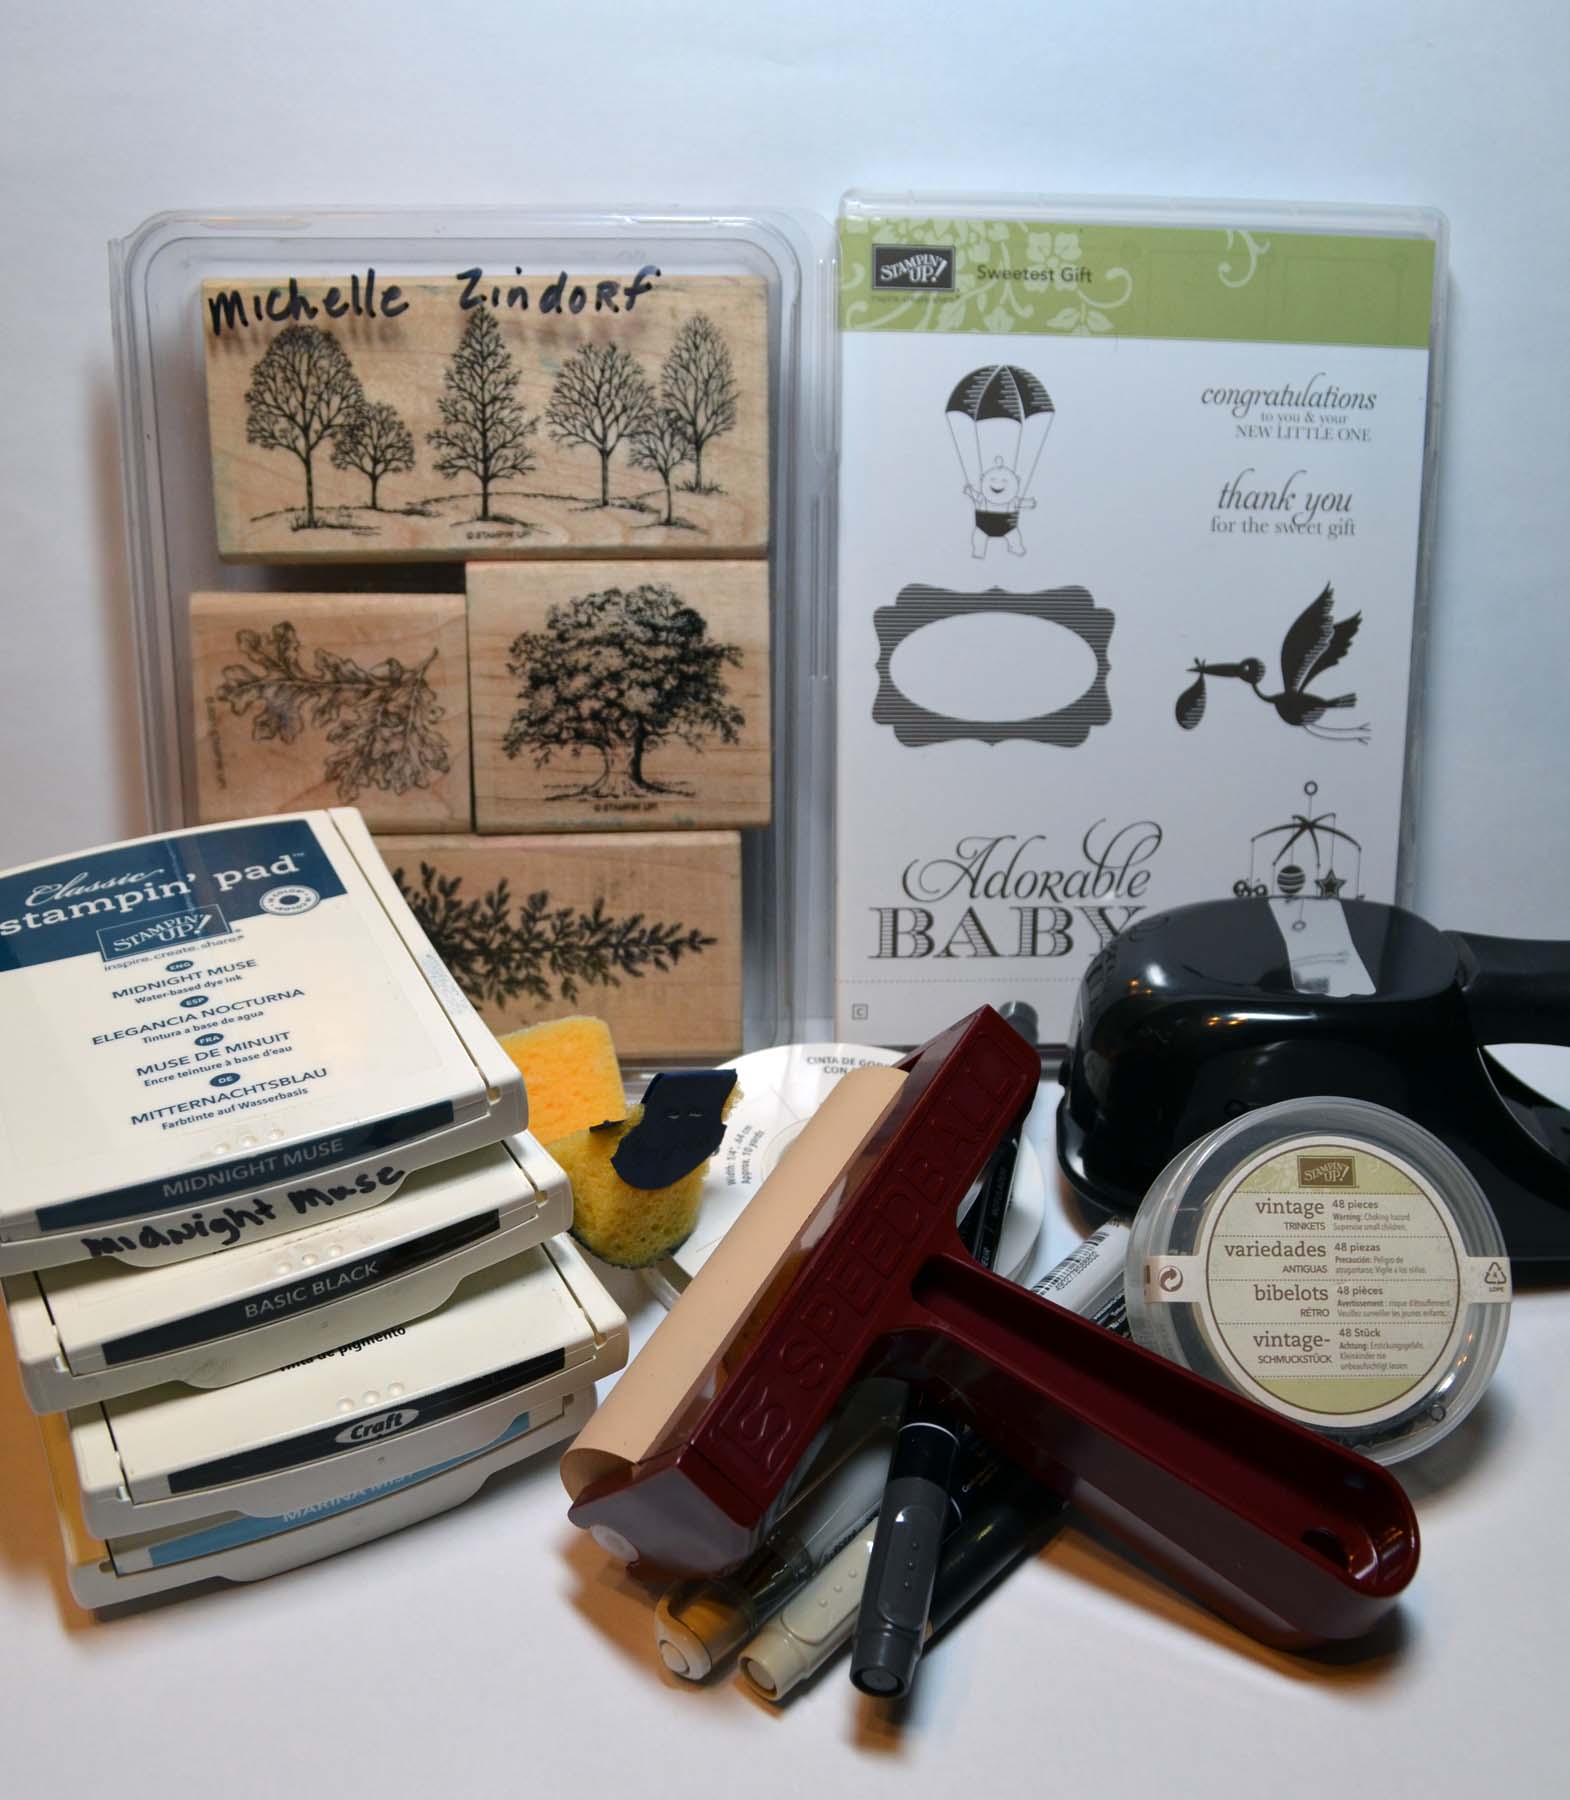
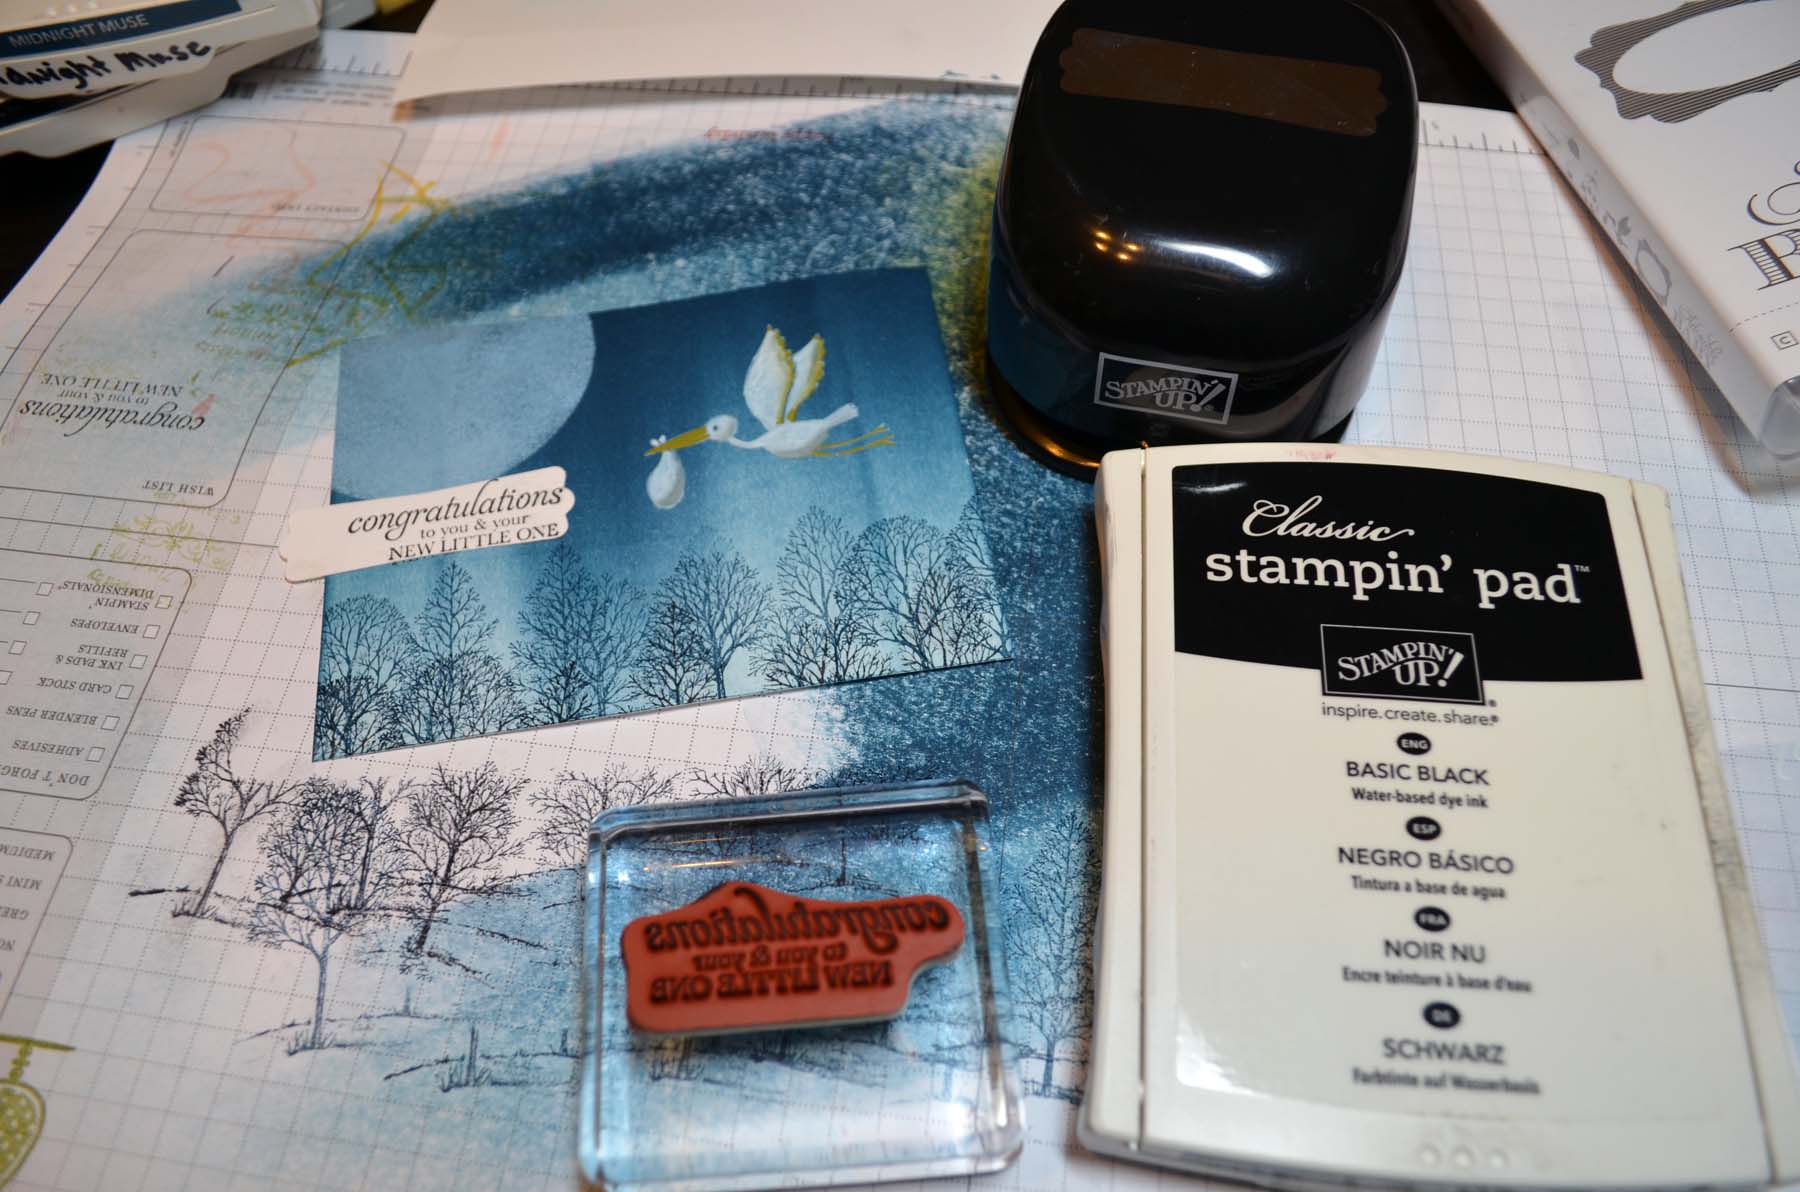
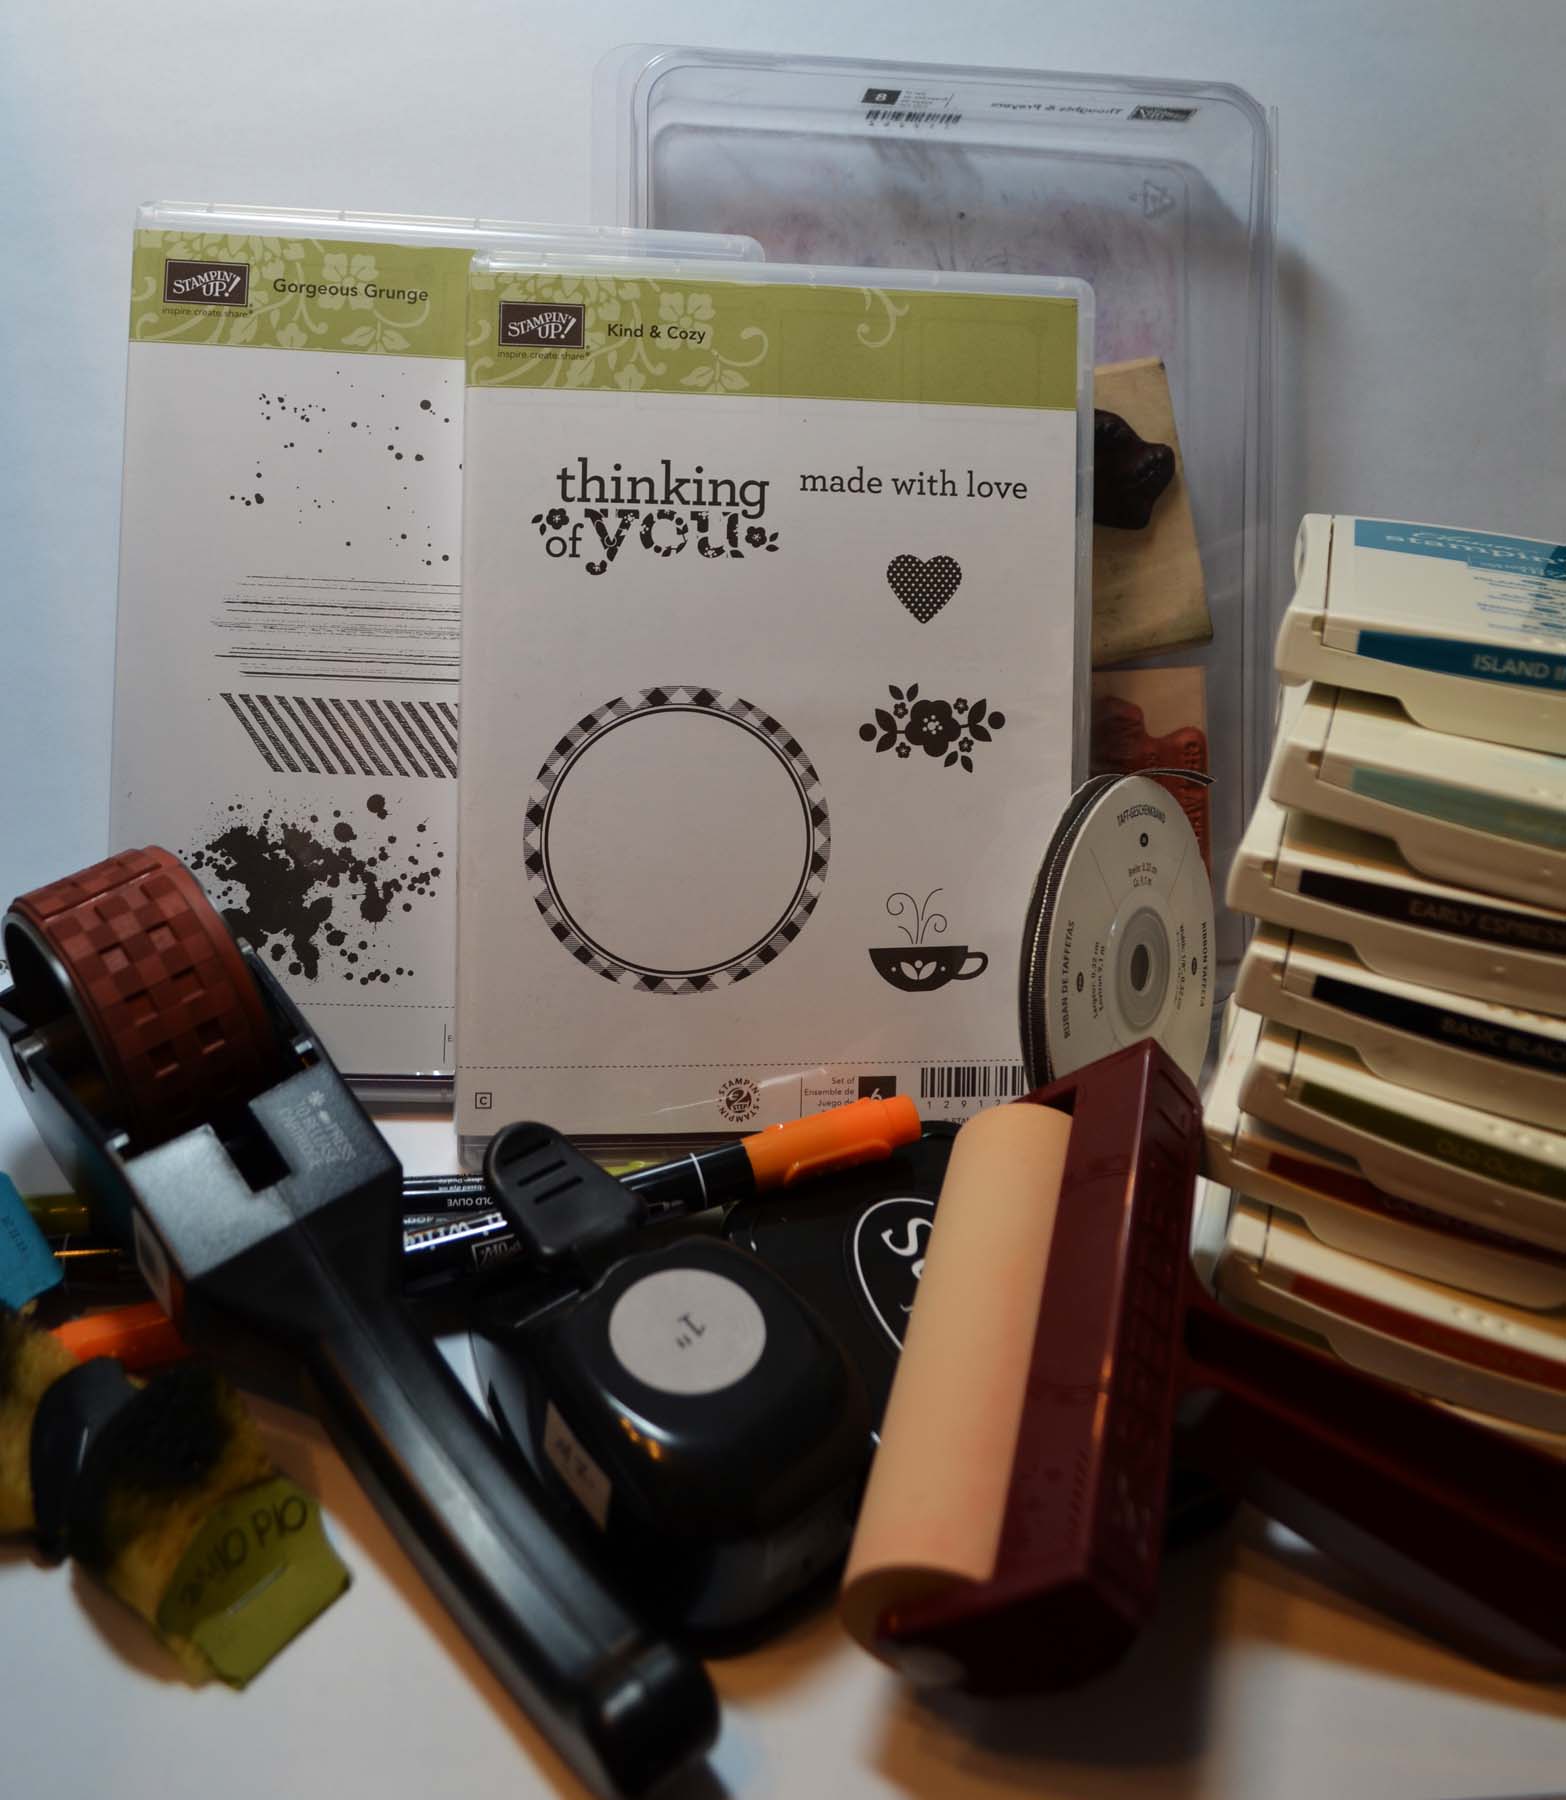
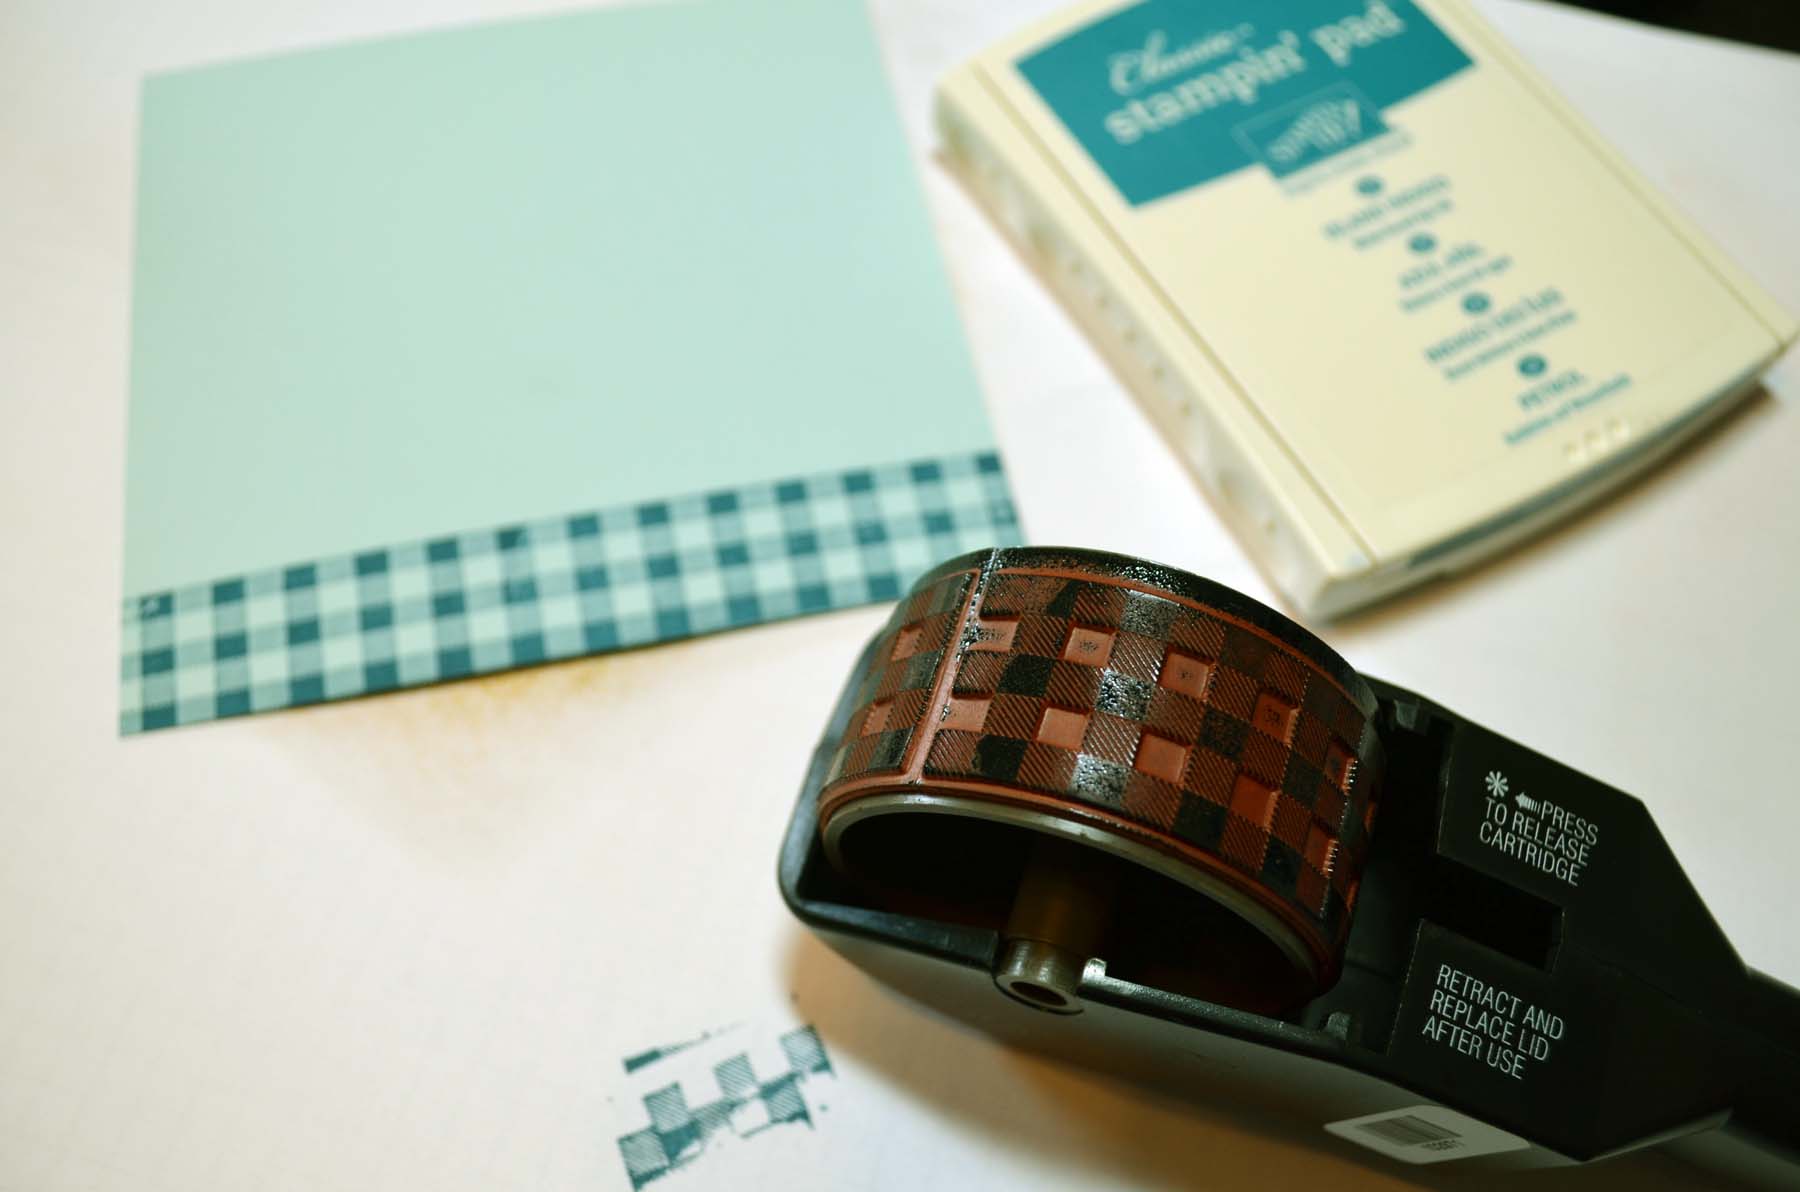
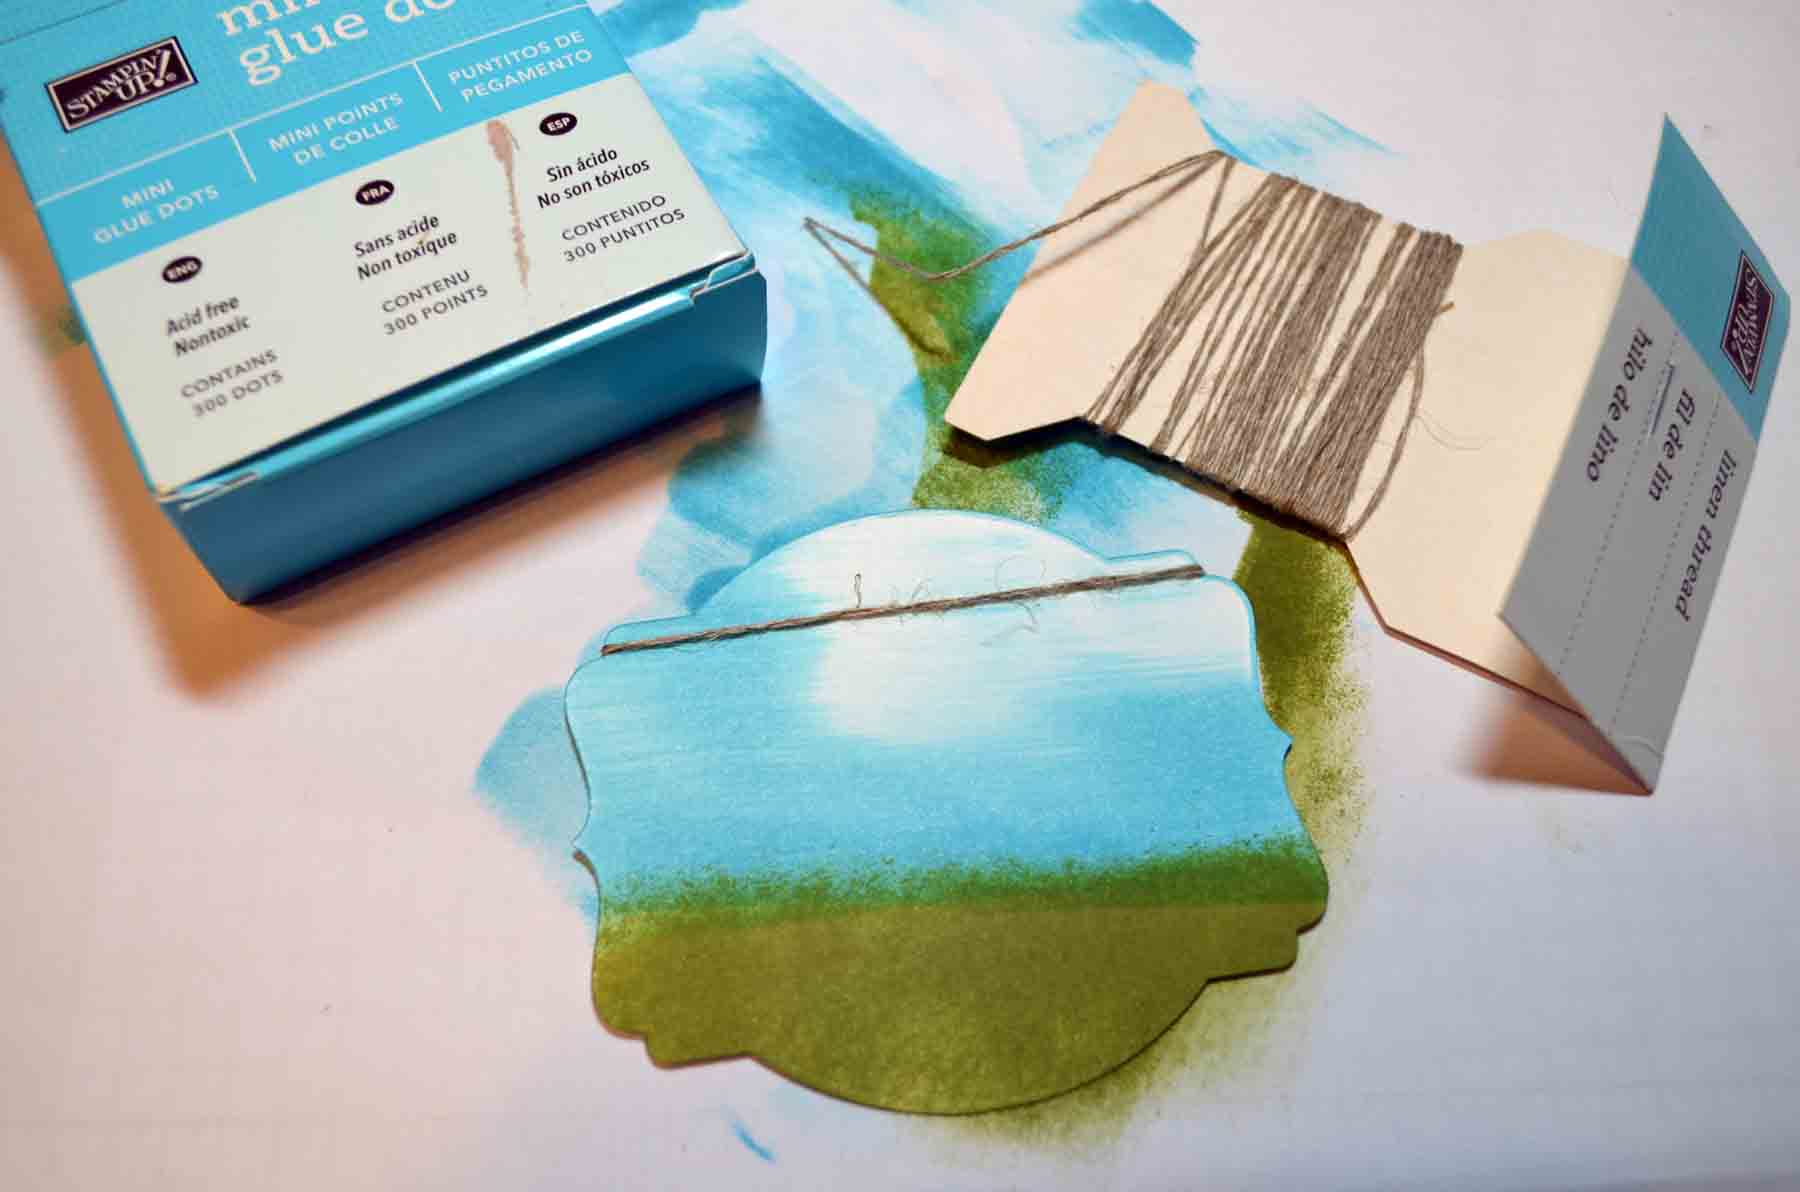
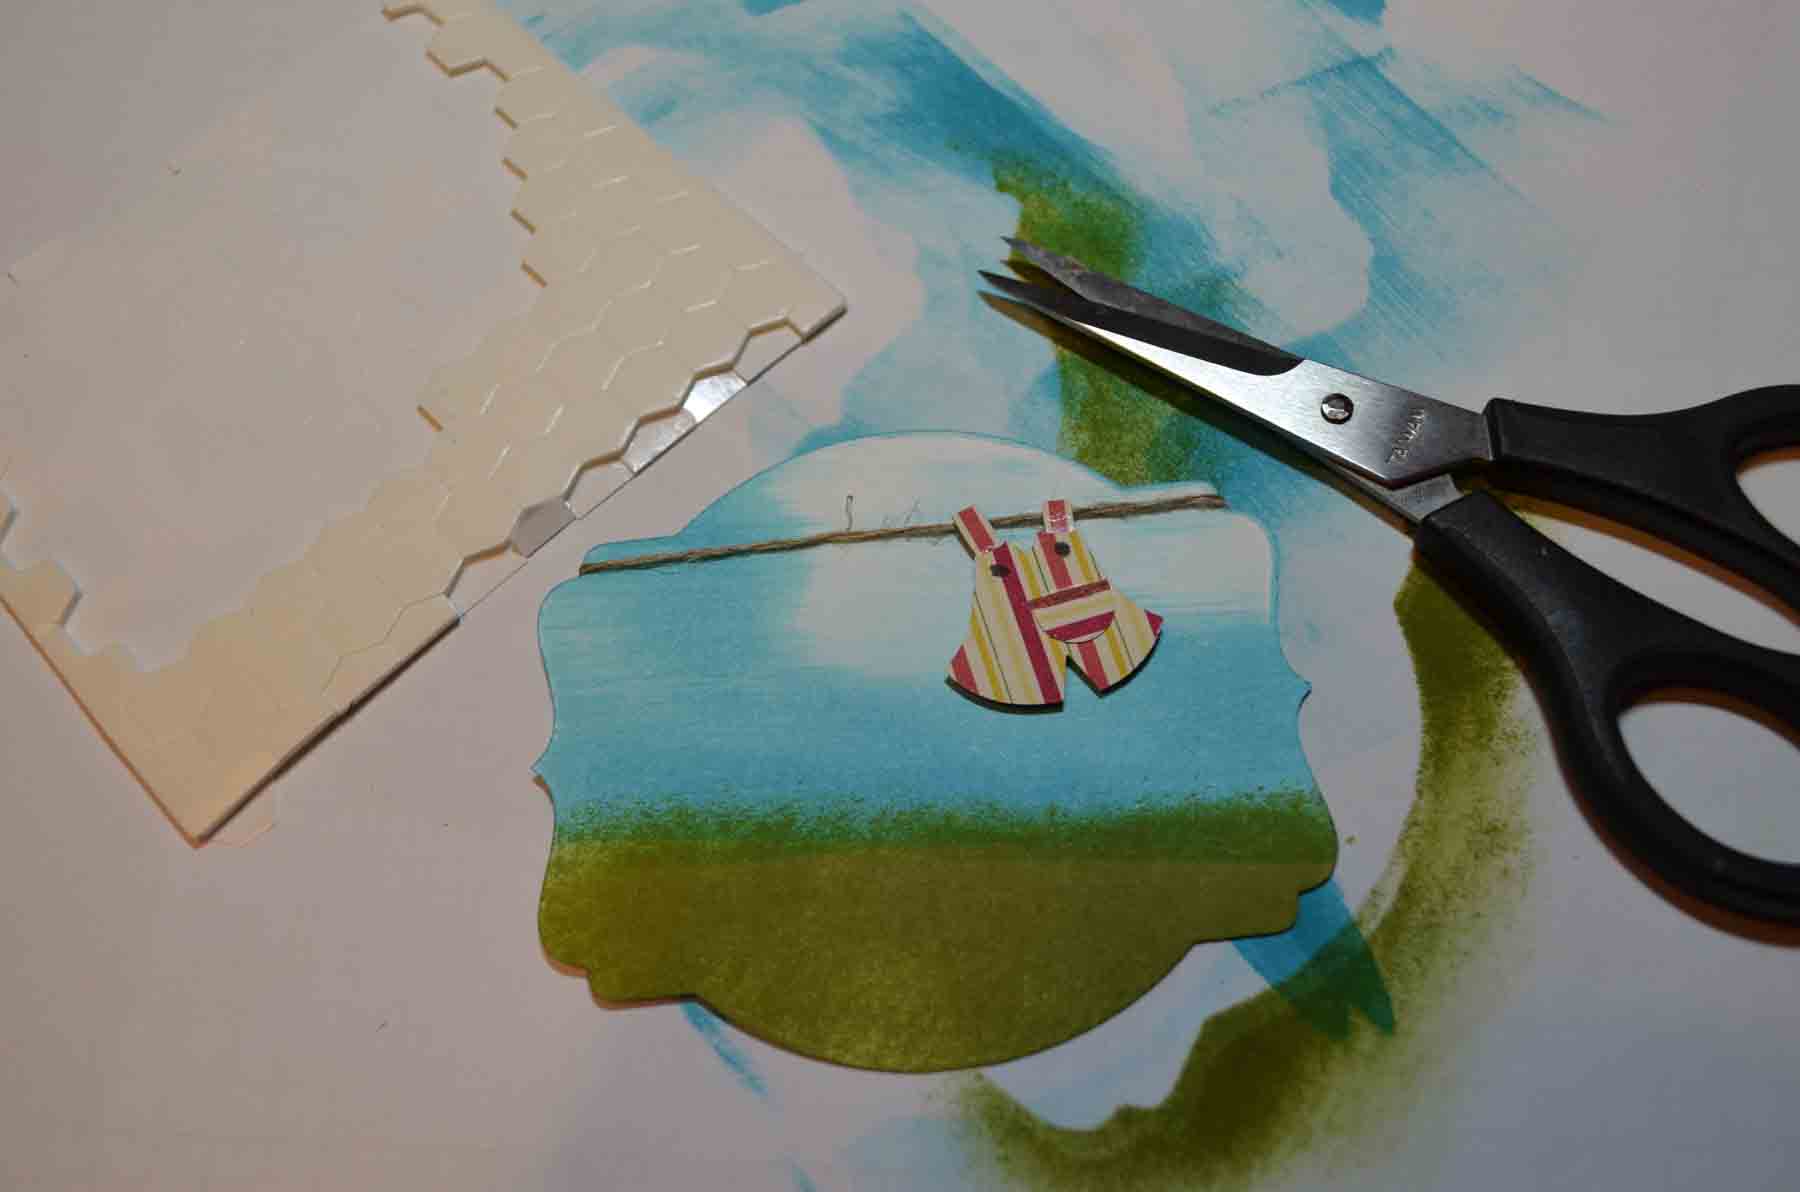
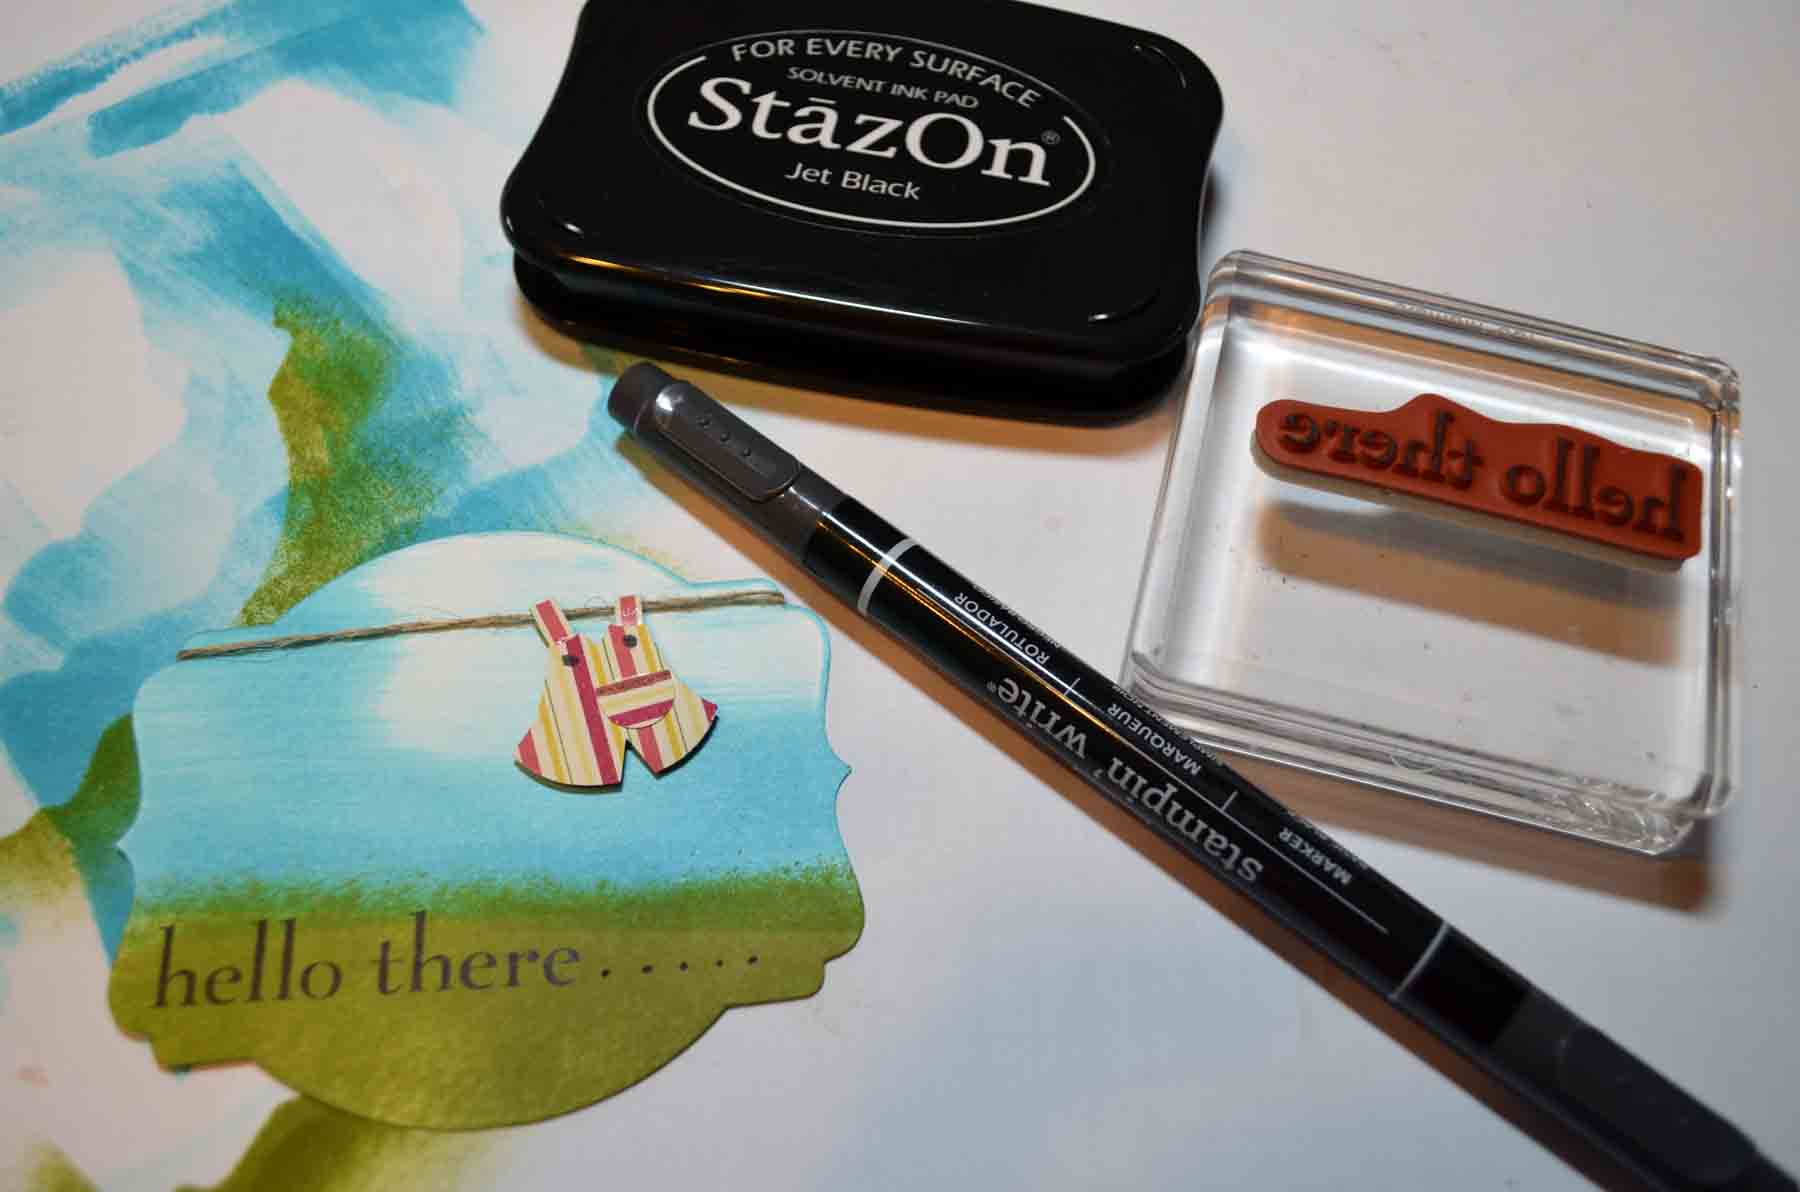
Project Supplies:
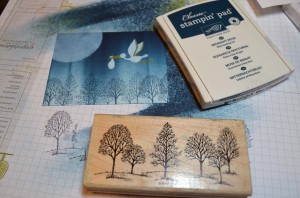
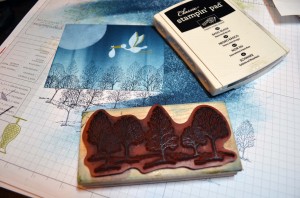
Stamps: Stampin’ Up! Sweetest Gift (item #130583 wood or 130586 clear) and Lovely As A Tree (item #128655 Wood or 127793 Clear)
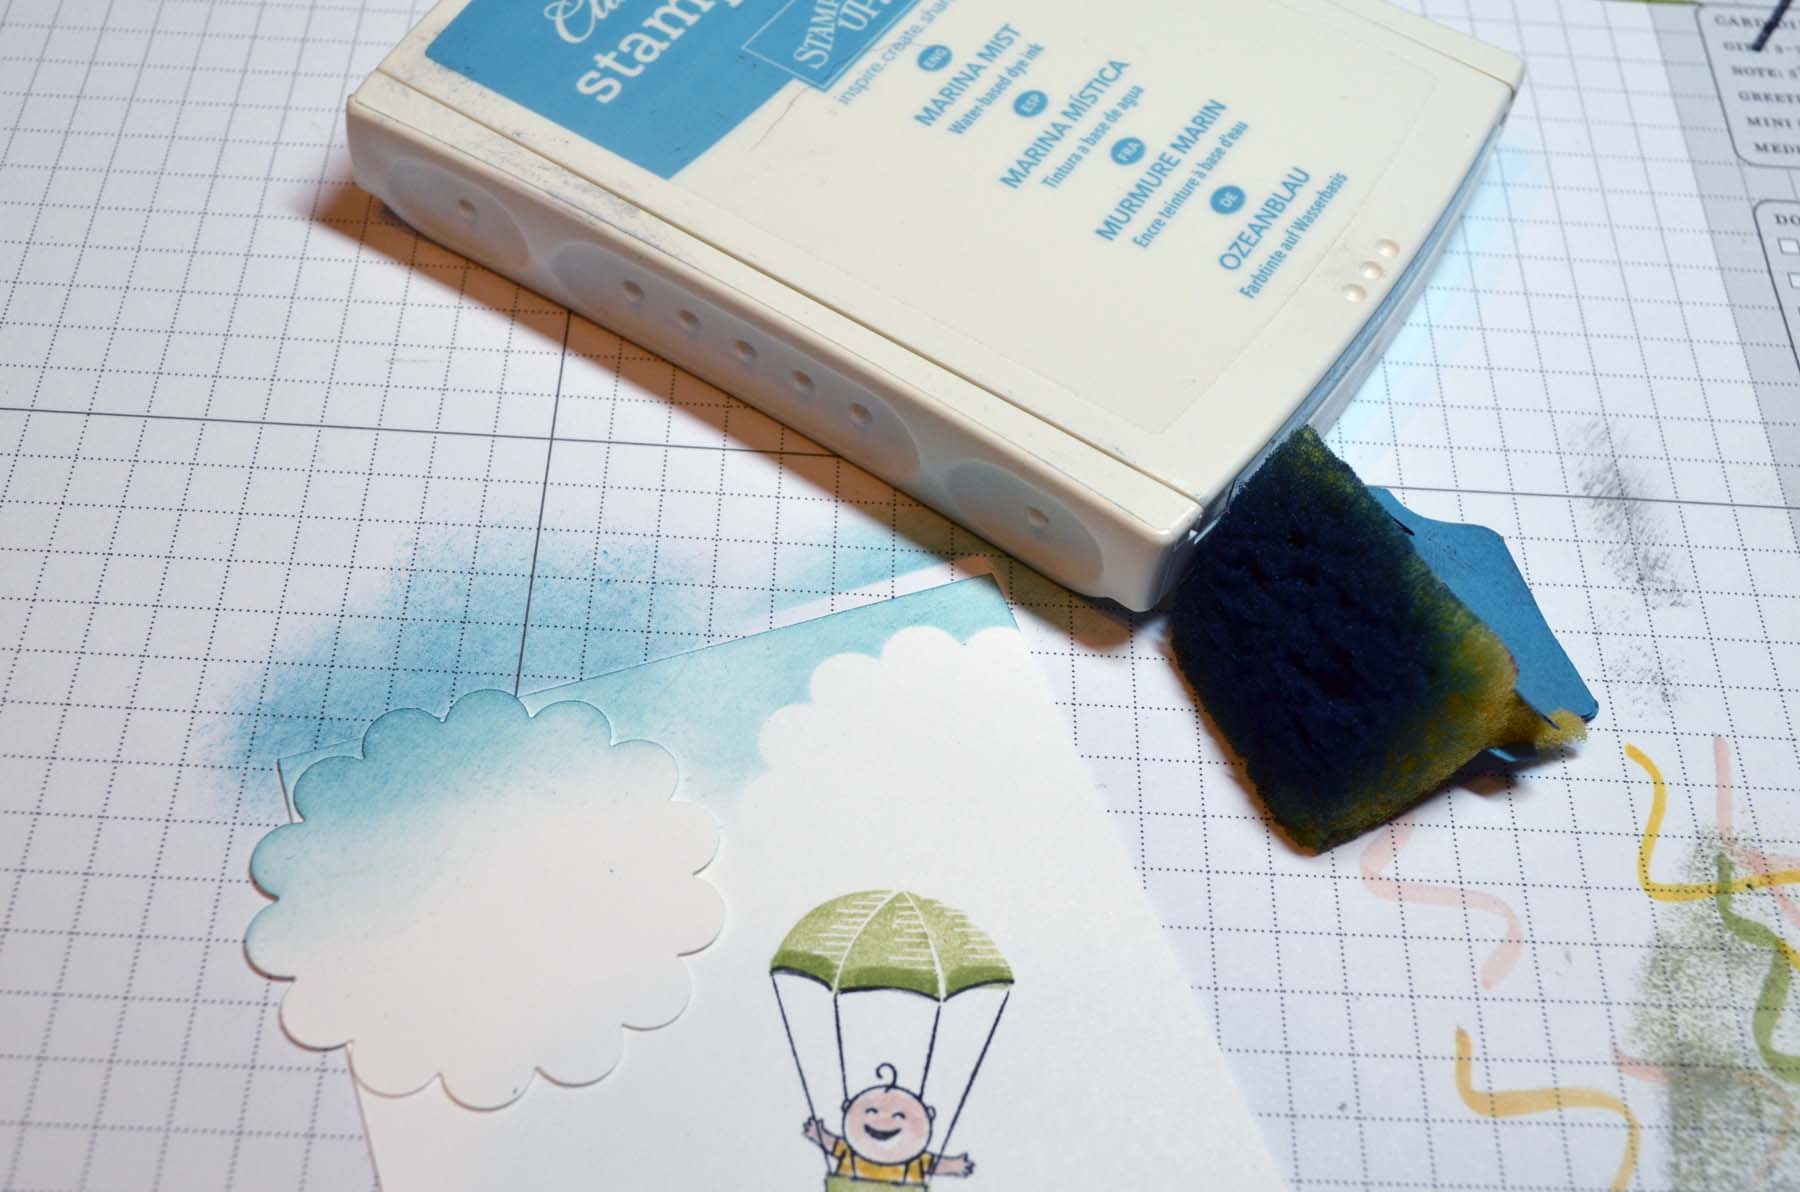
Card Stock: Stampin’ Up! Whisper White, Brushed Gold and Marina Mist
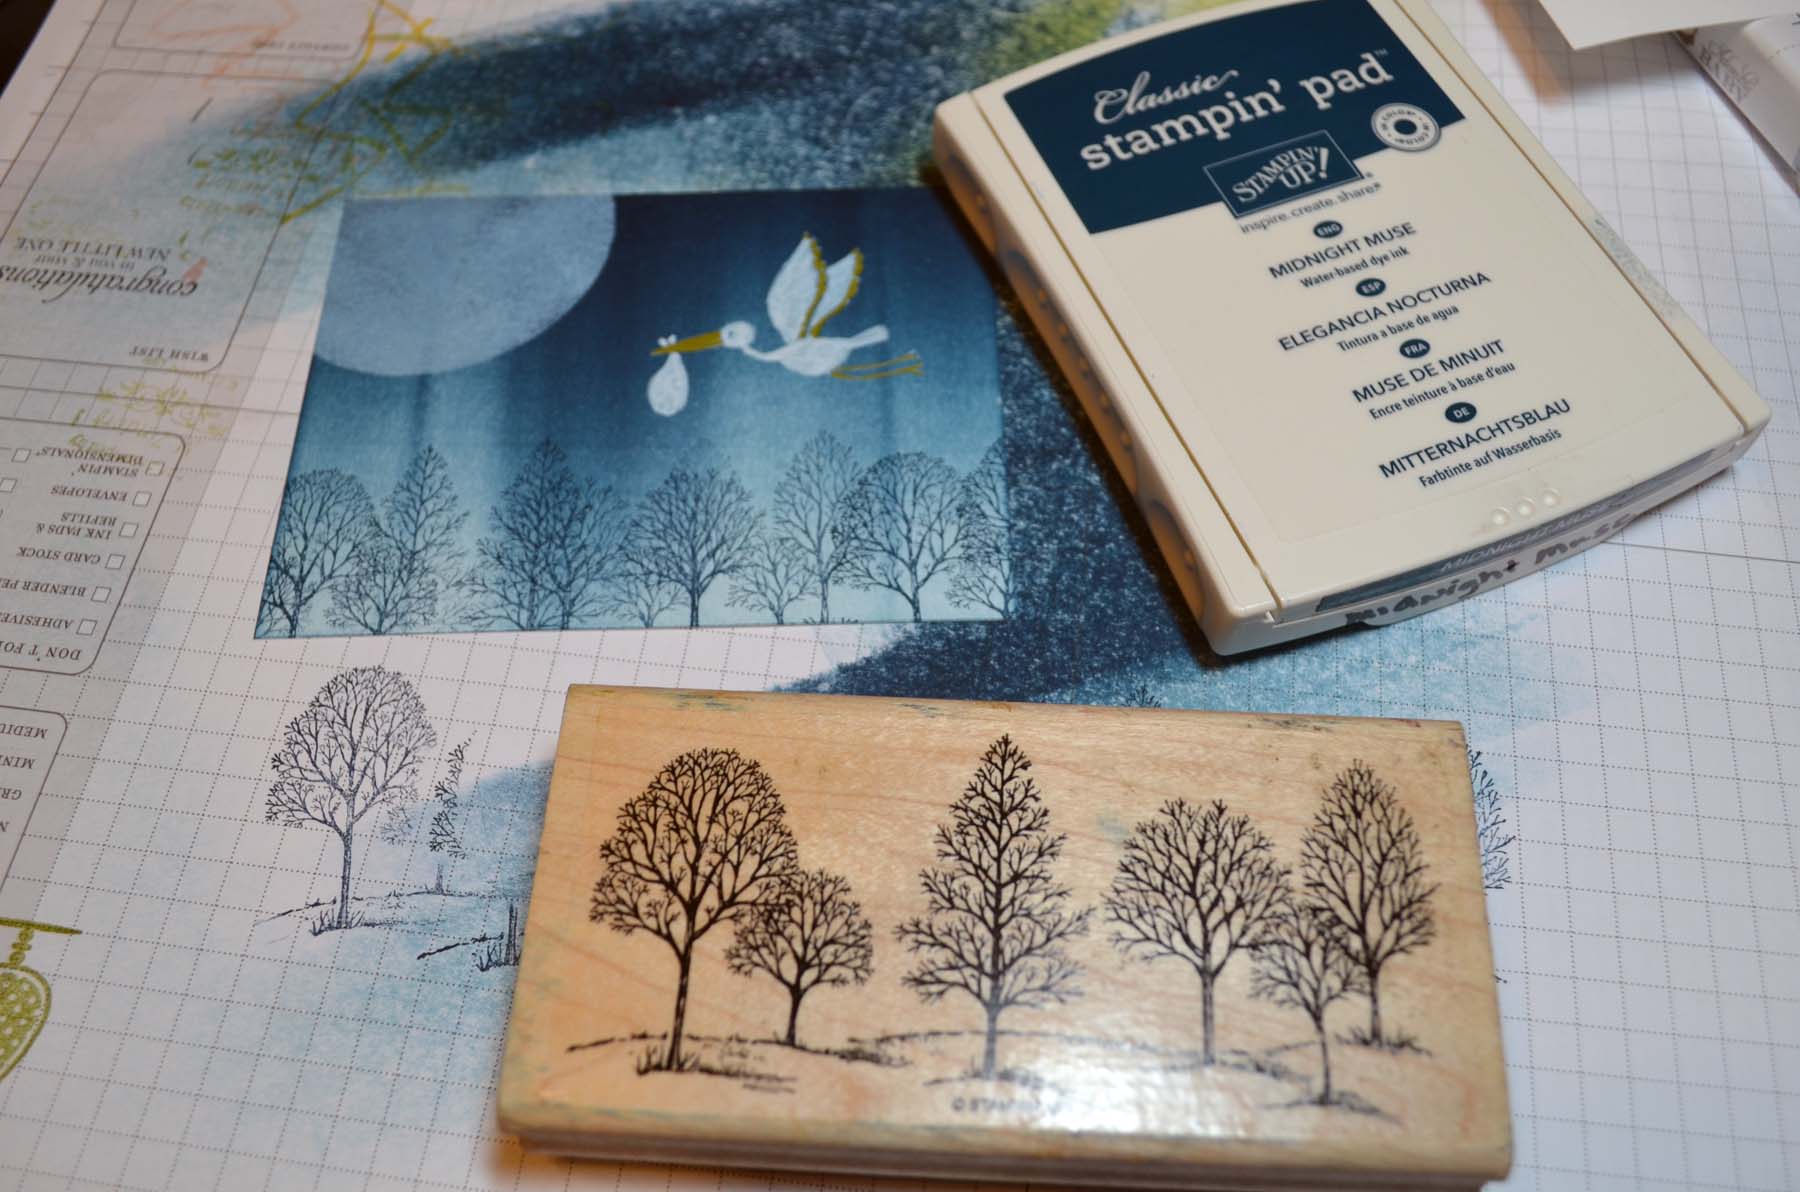
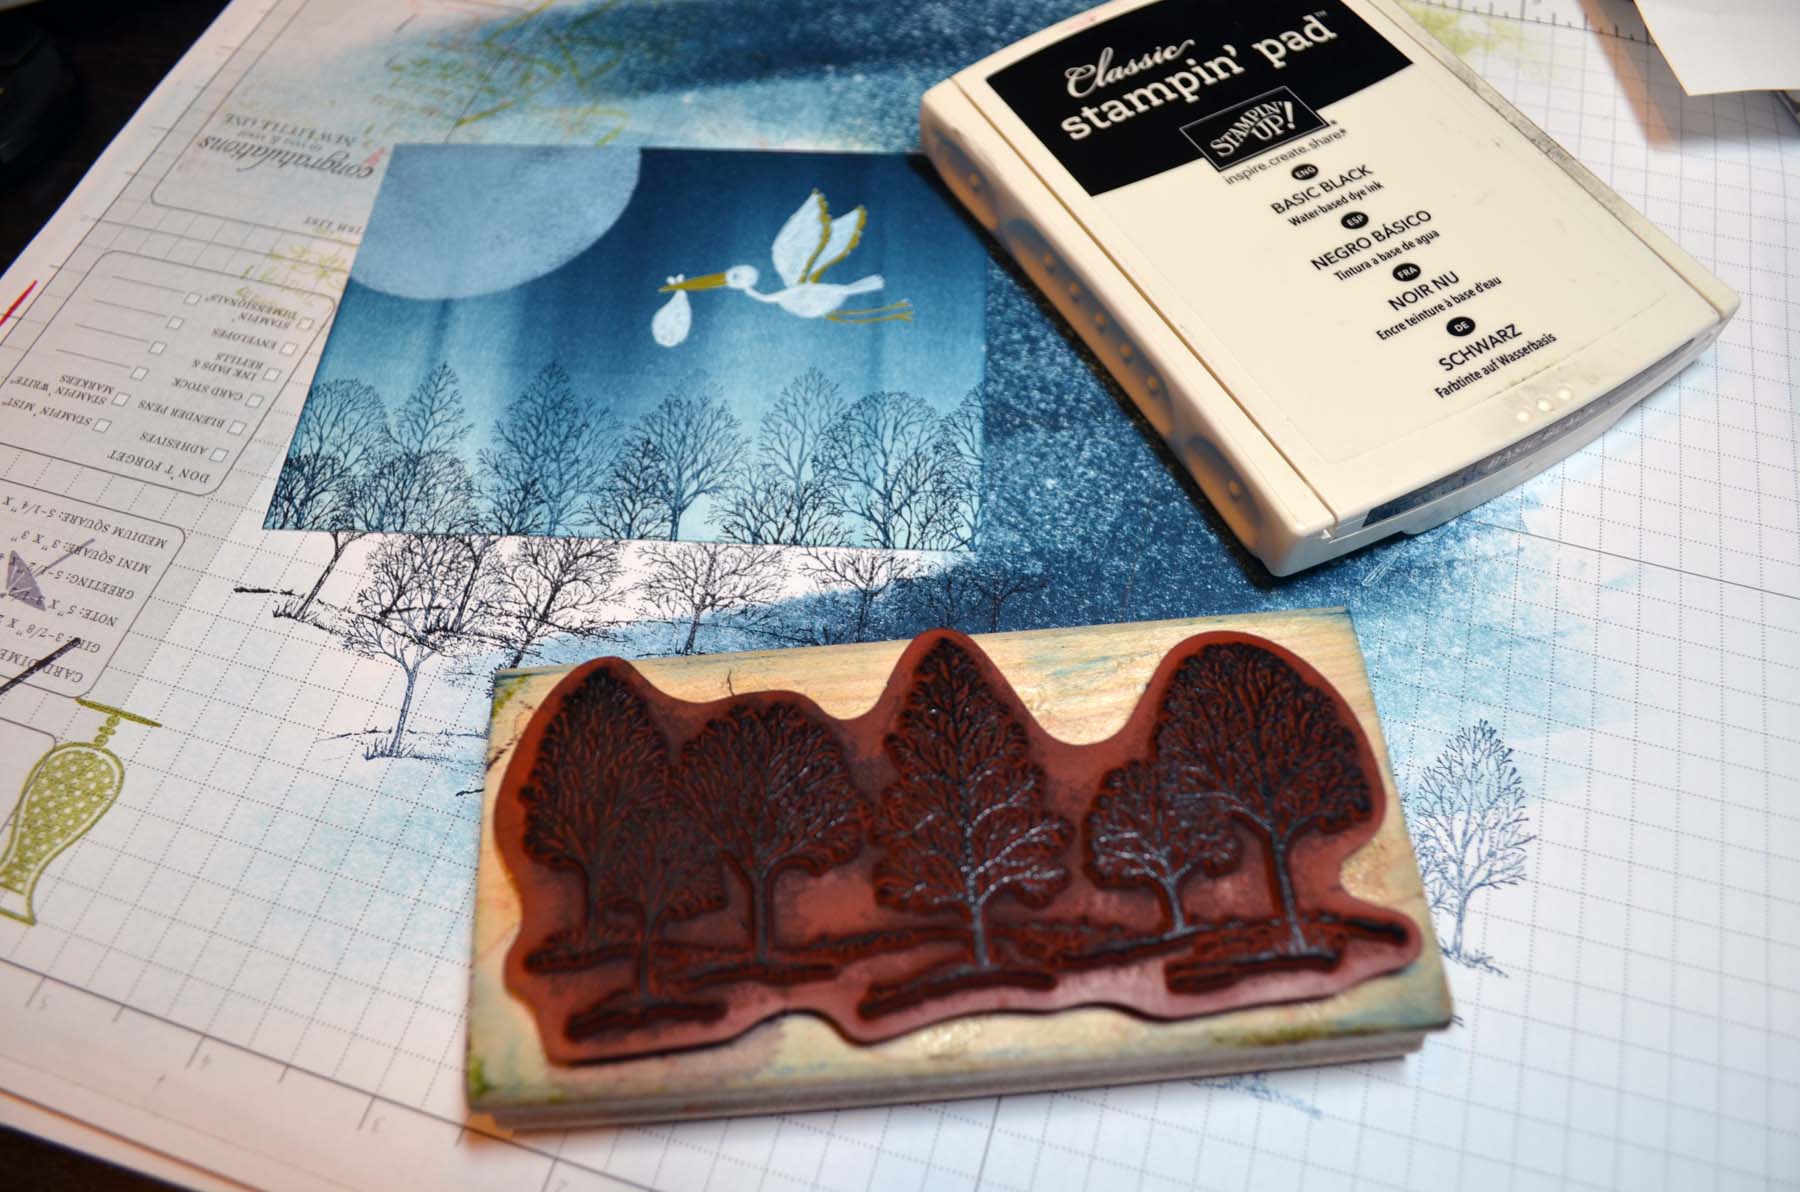
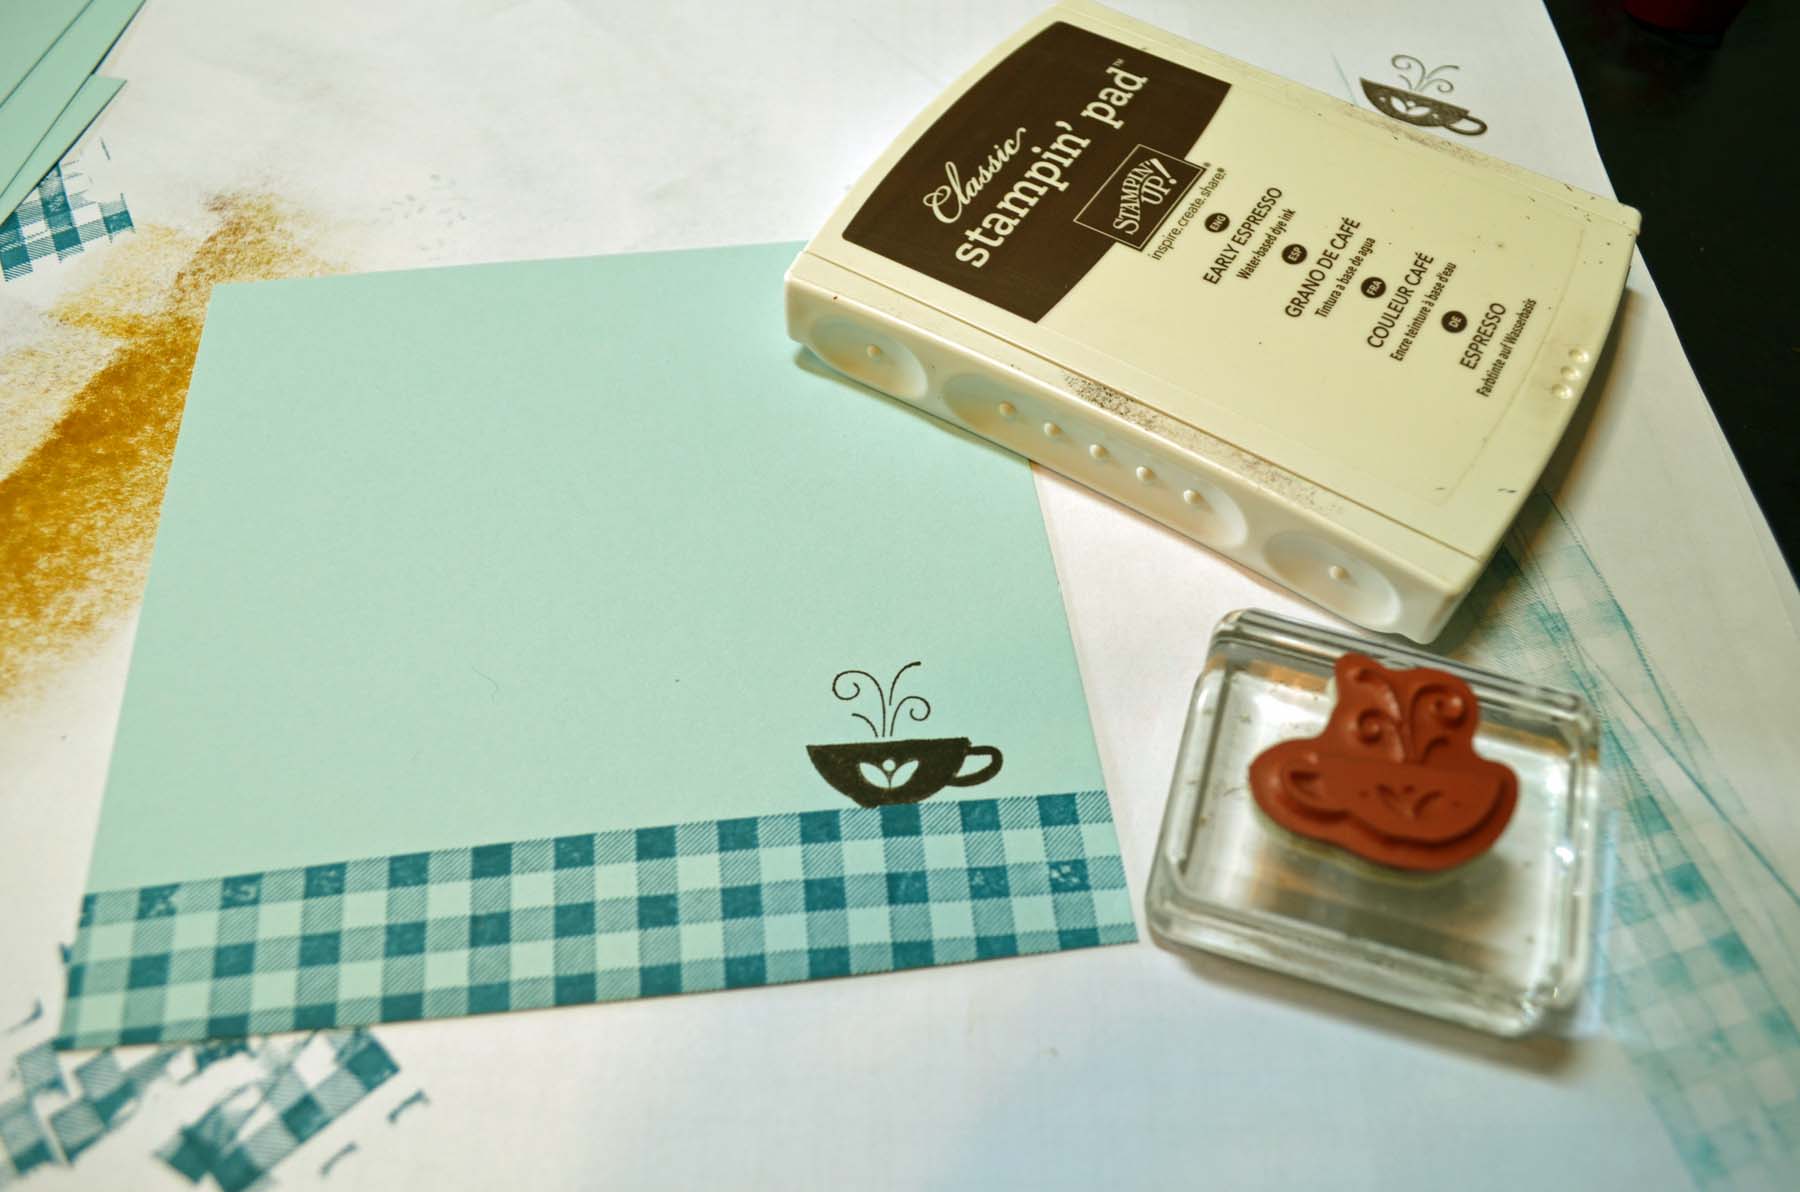
Ink: Stampin’ Up! Marina Mist, Midnight Muse, Basic Black and Whisper White Craft
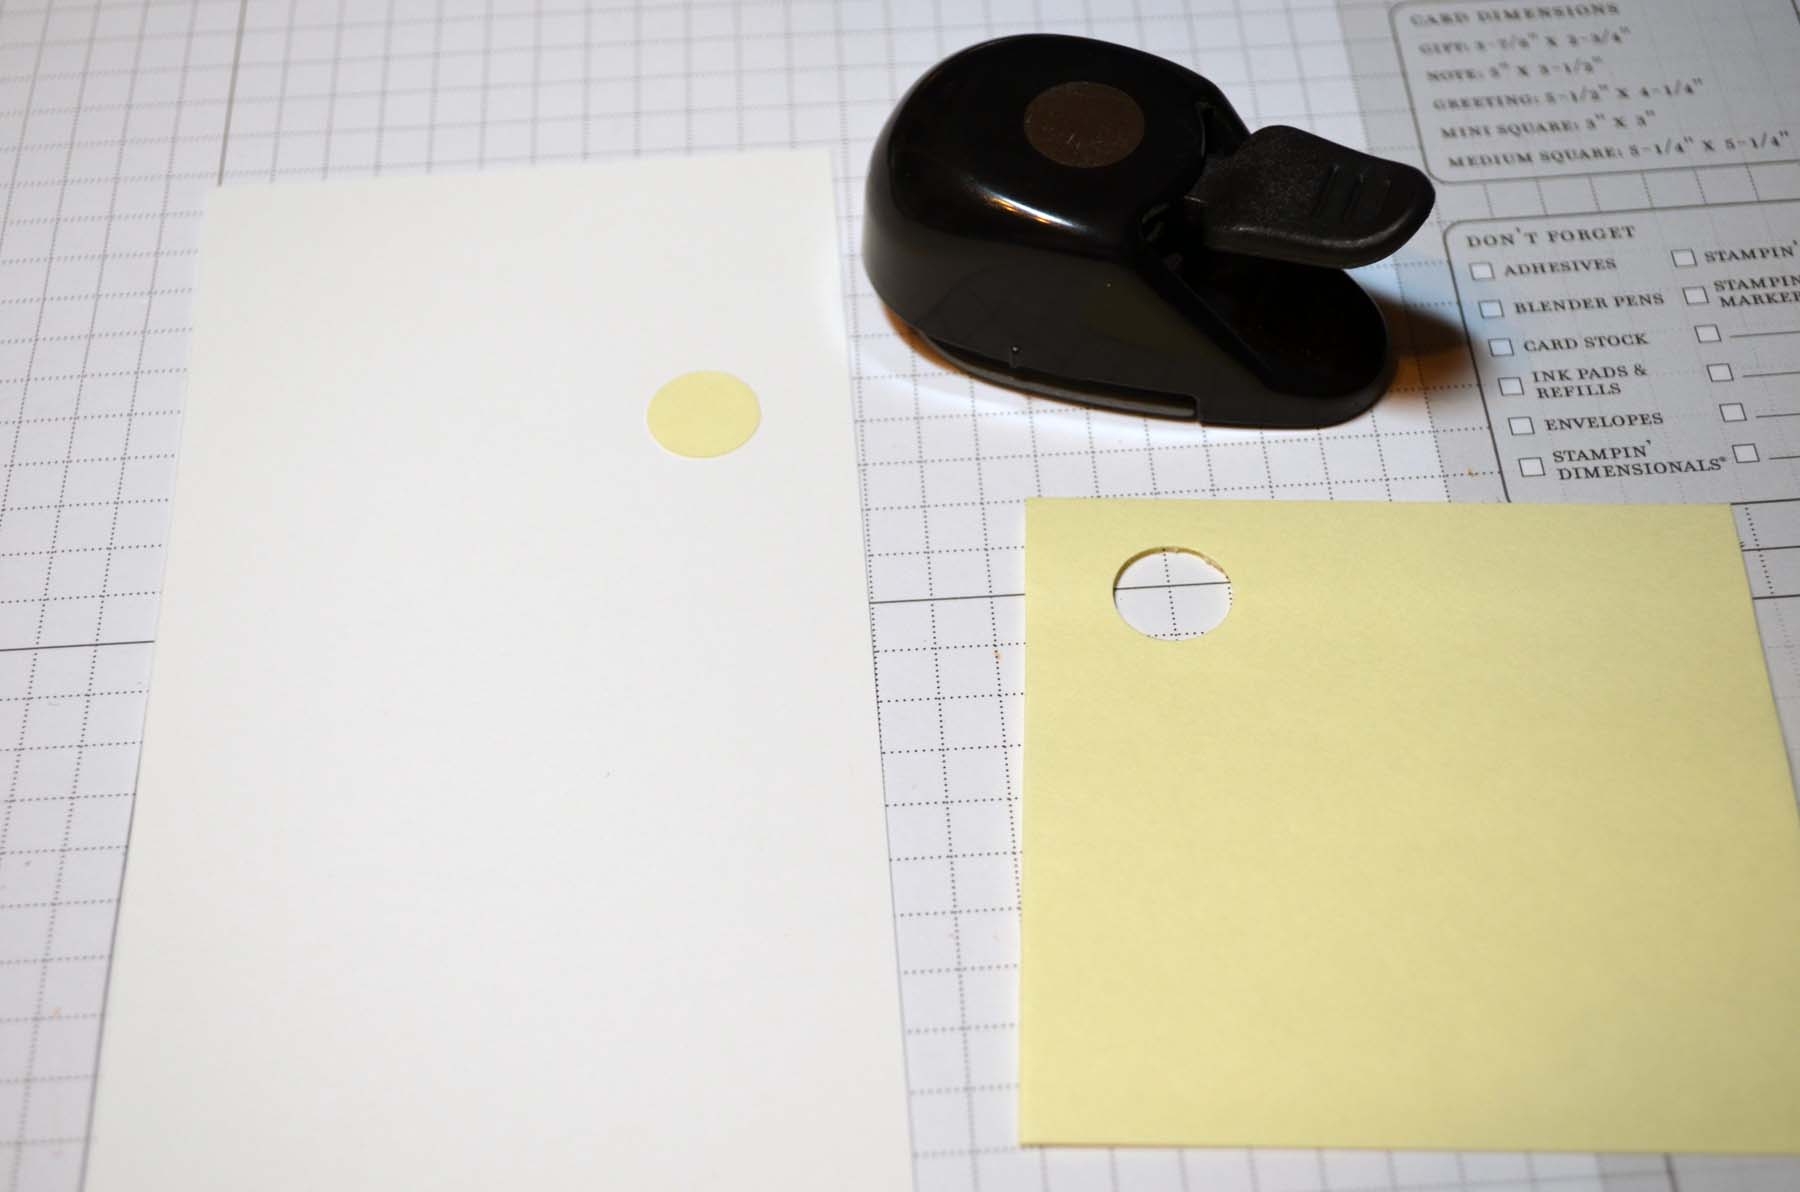
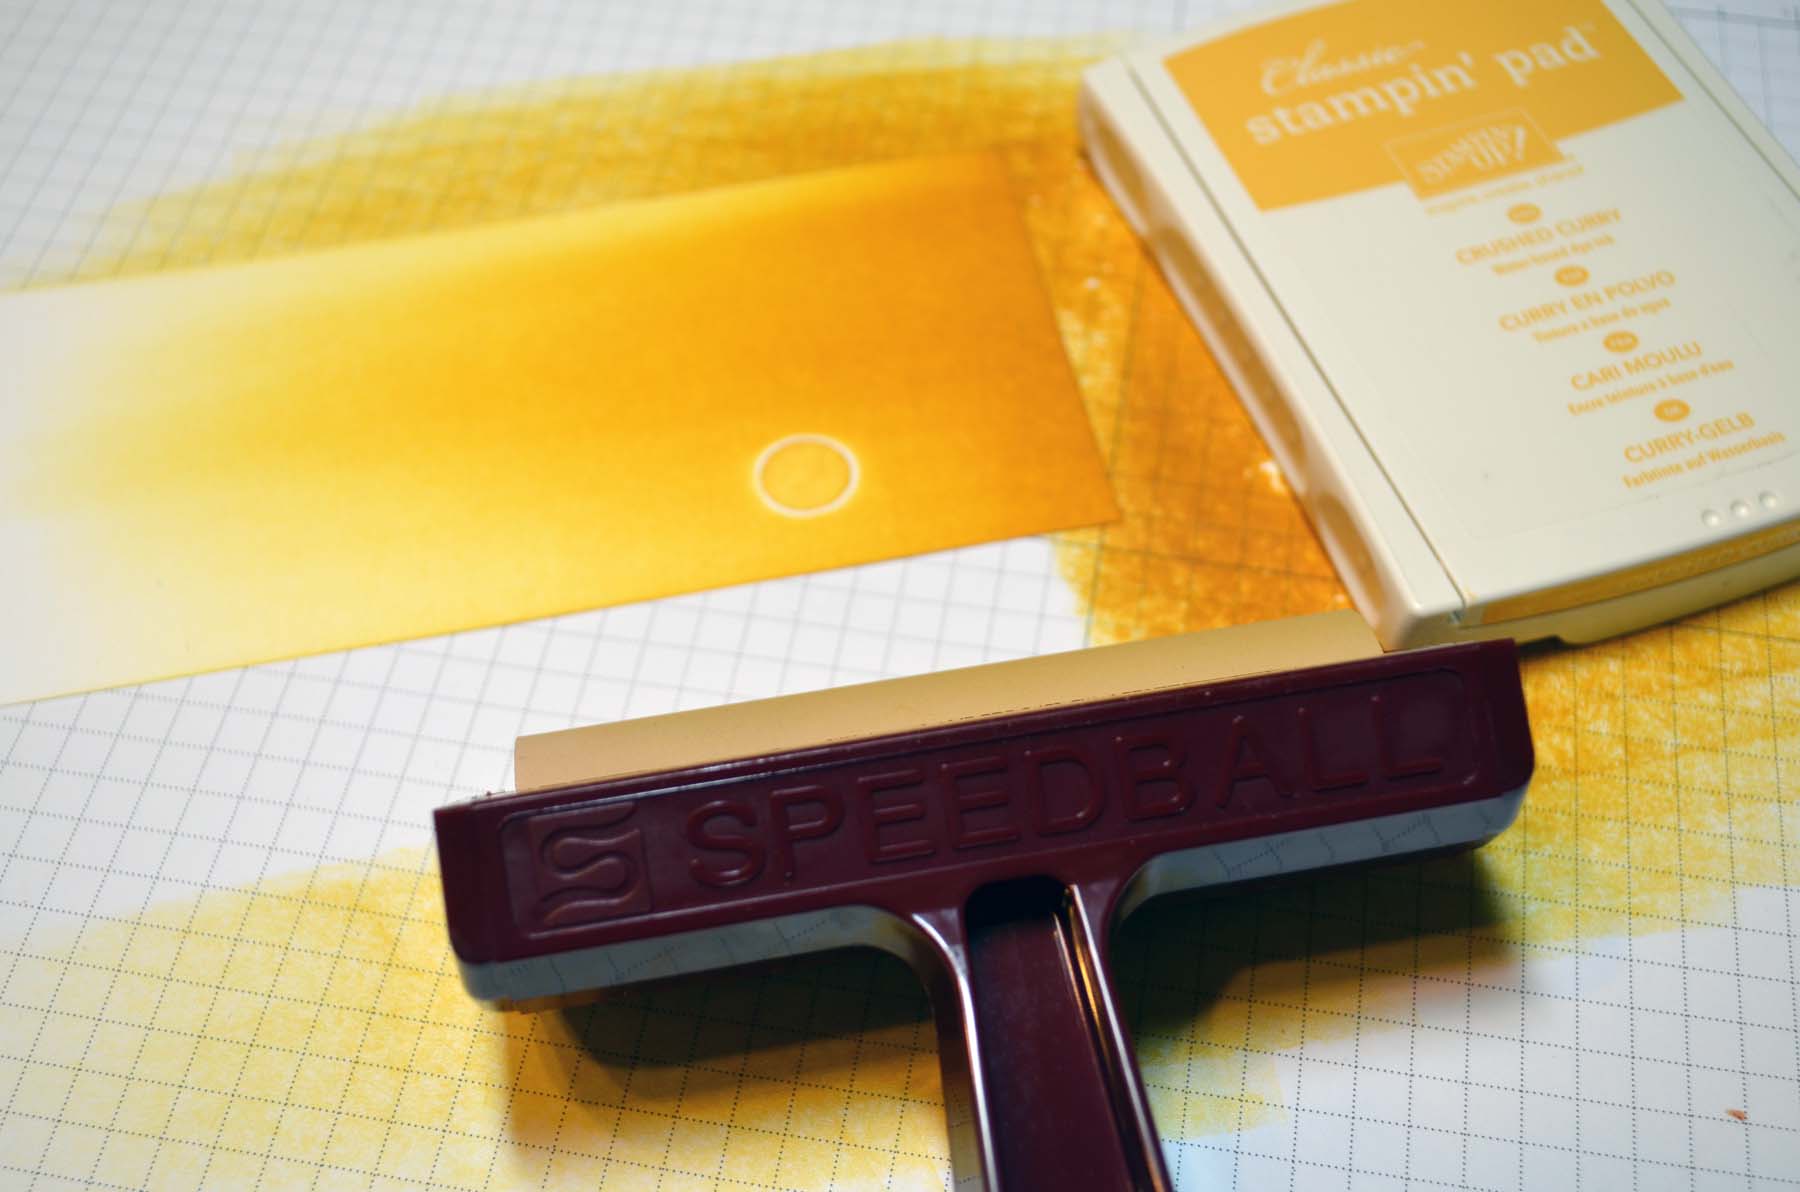
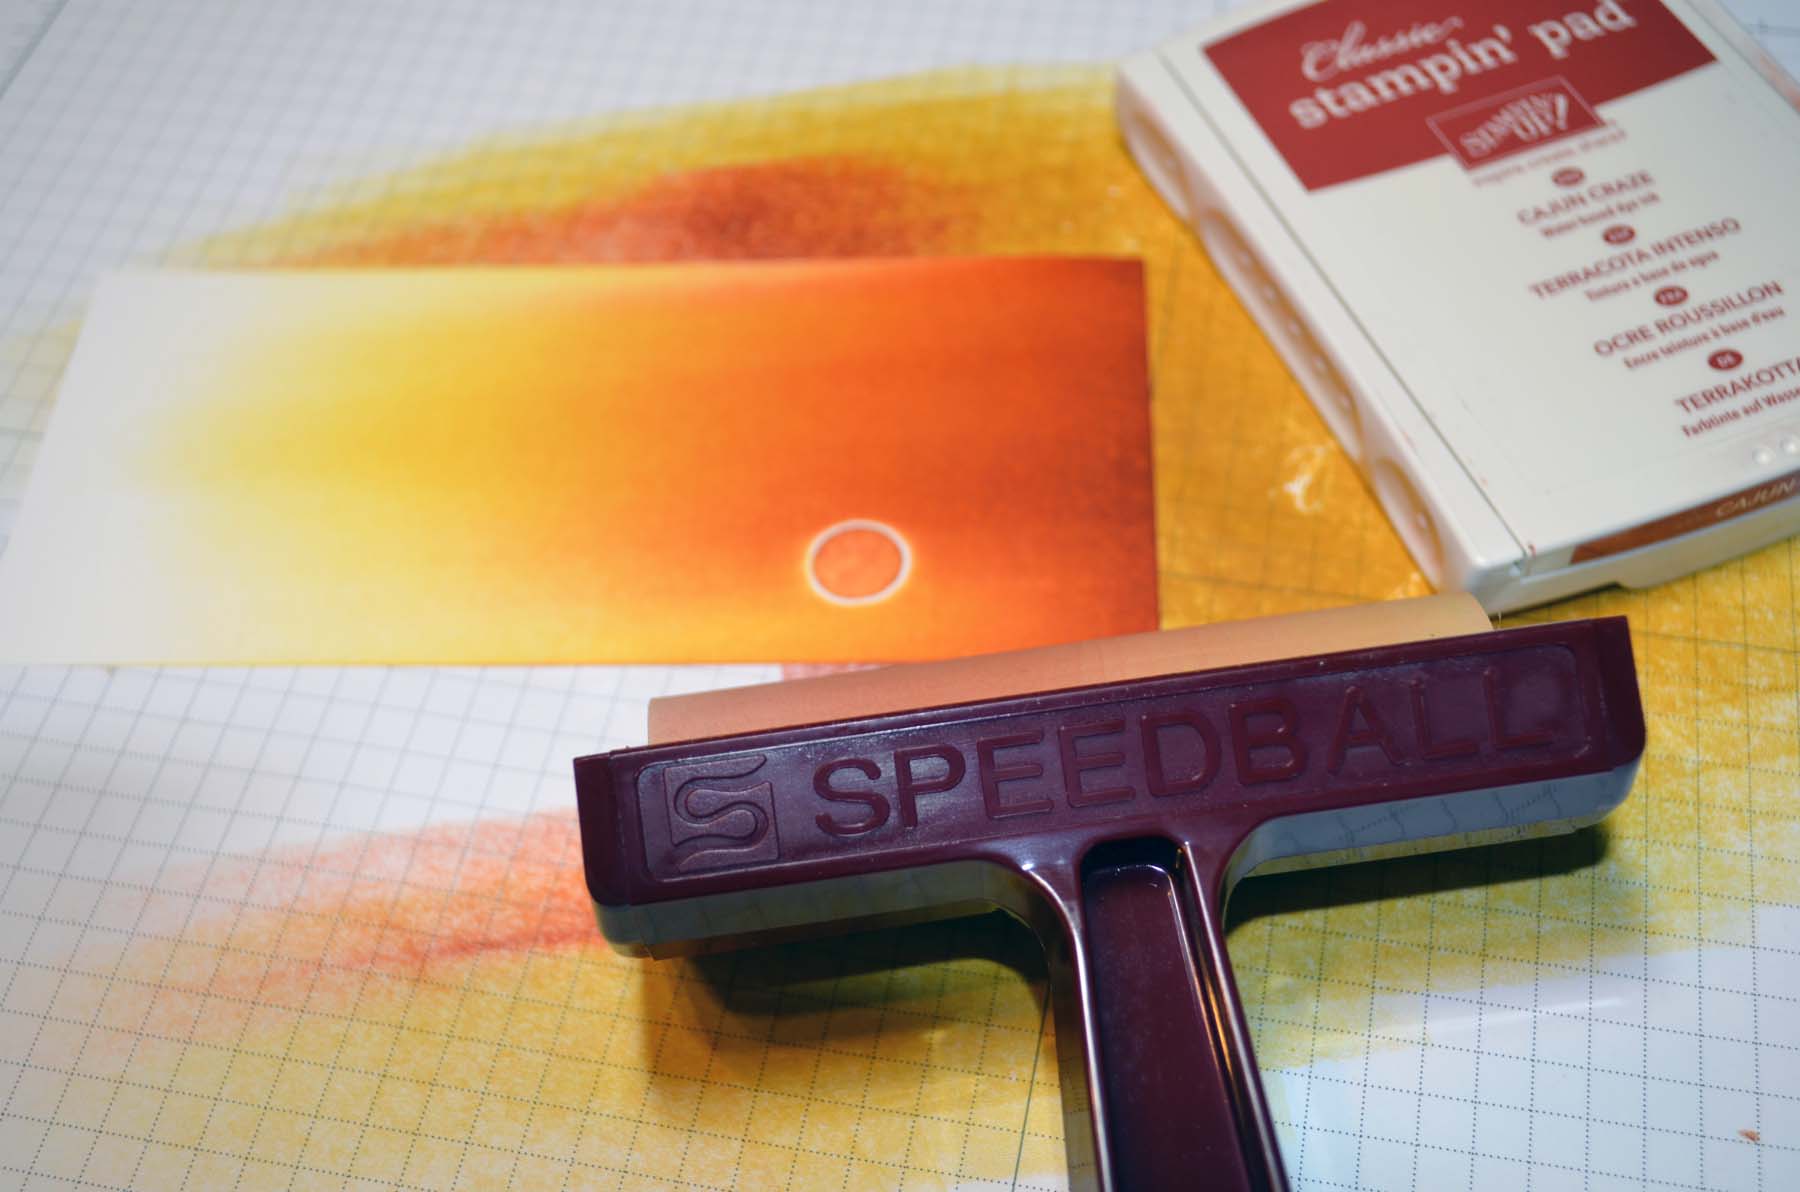
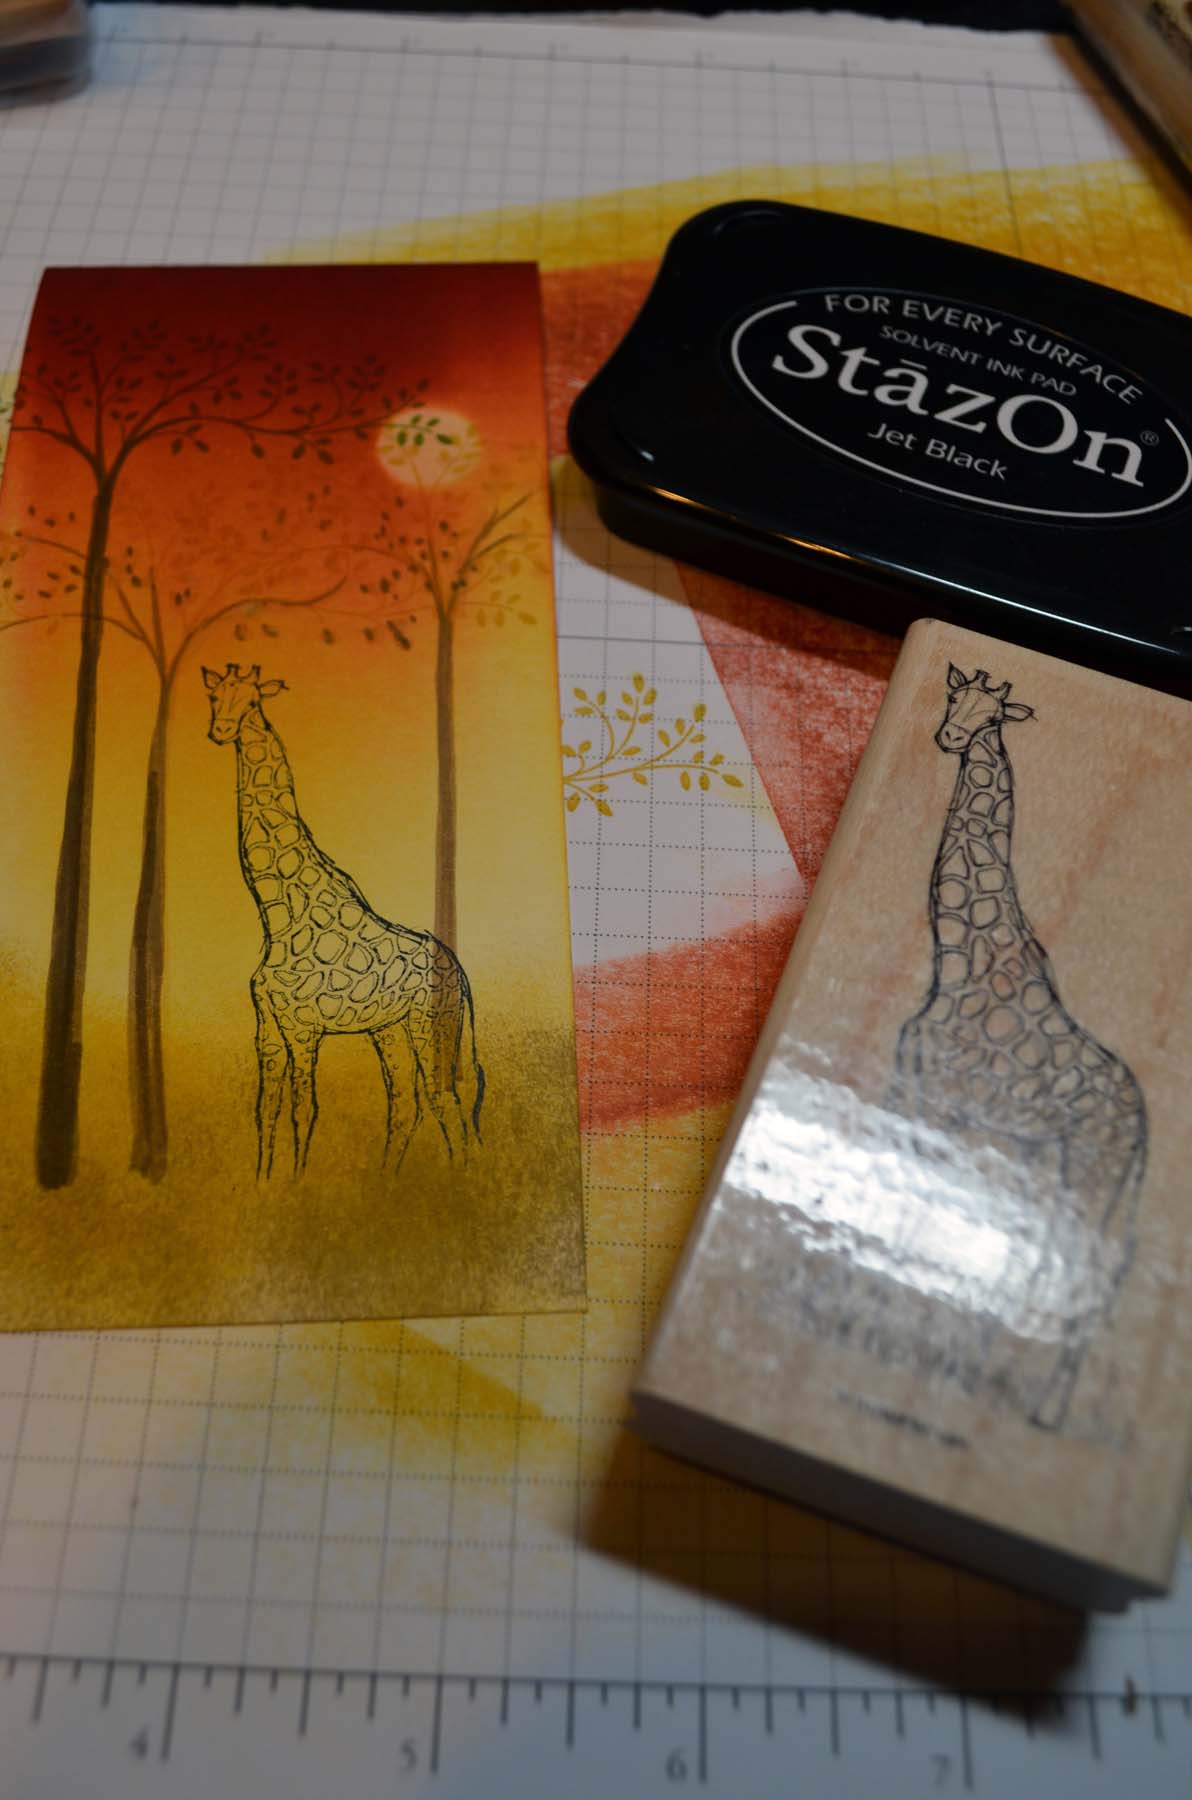
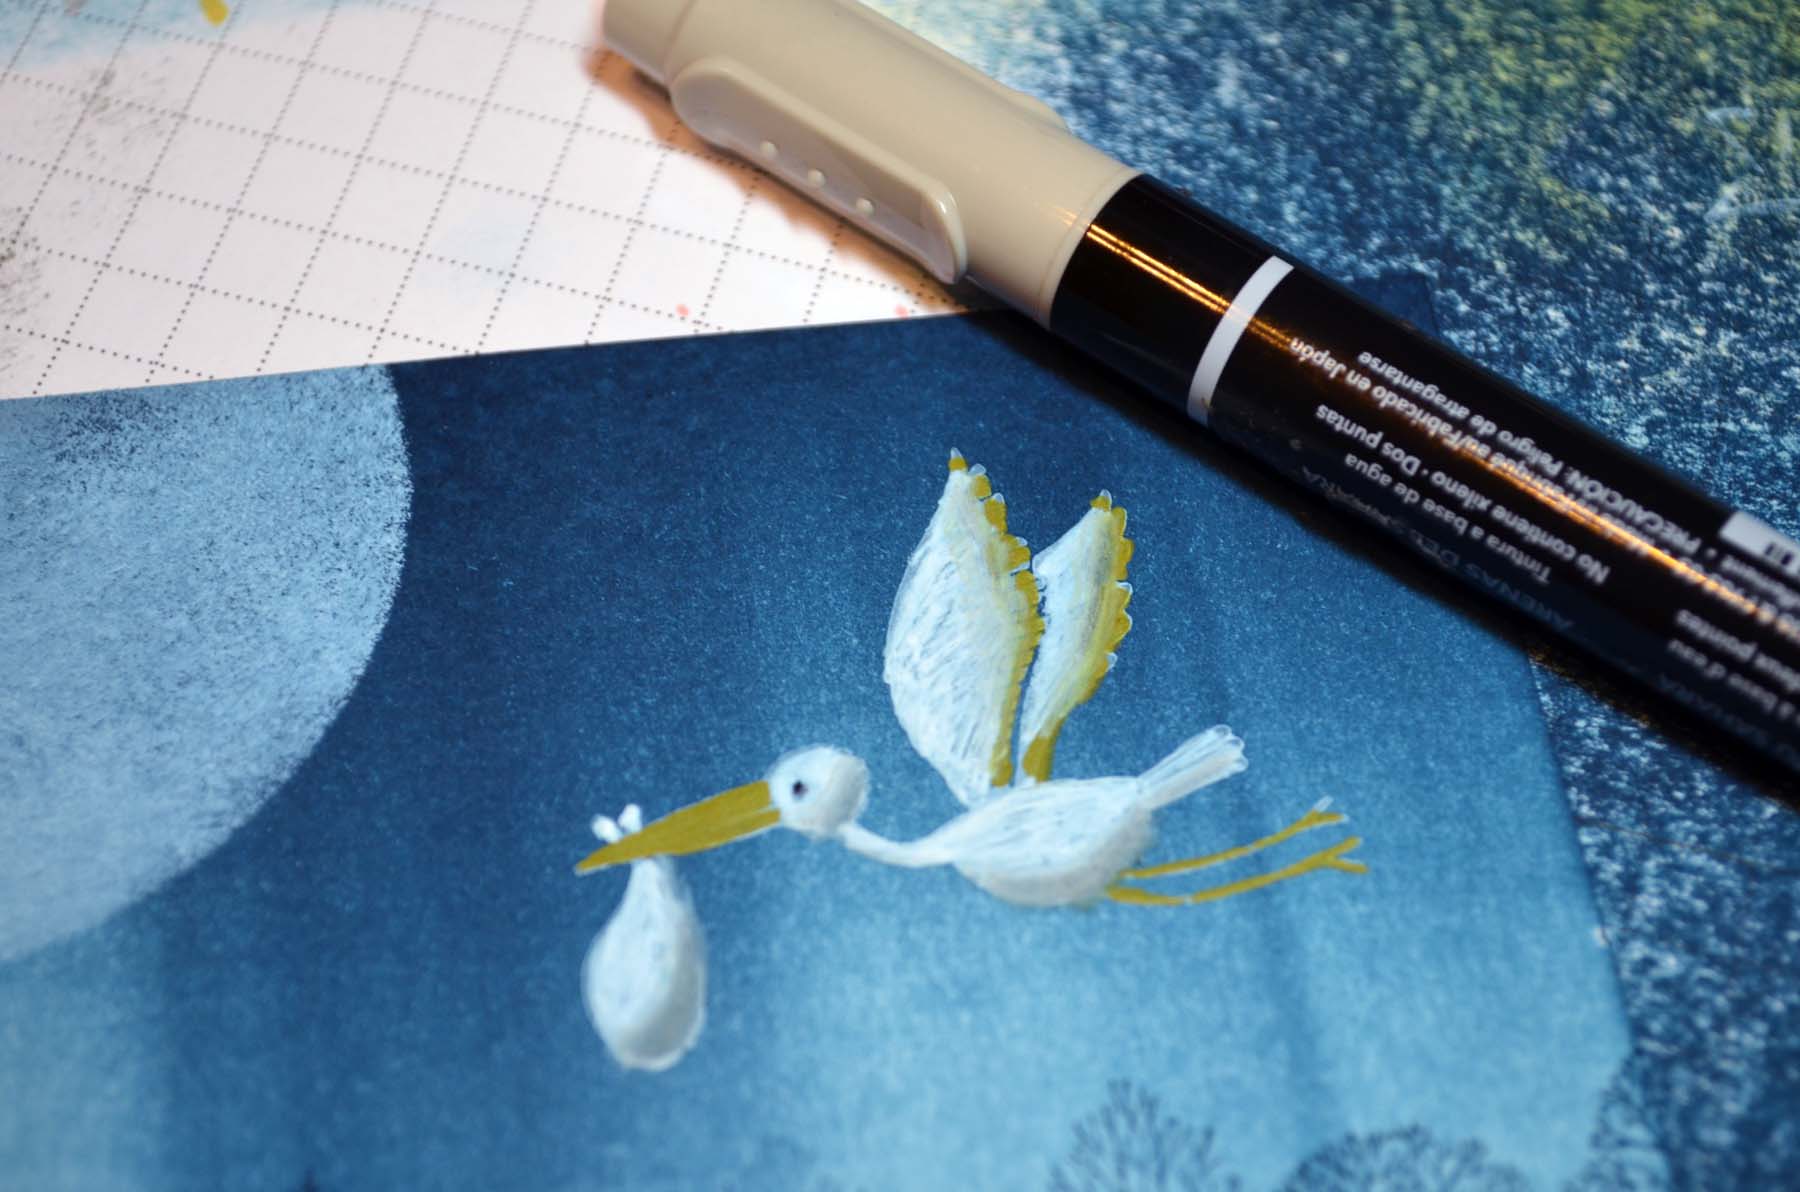
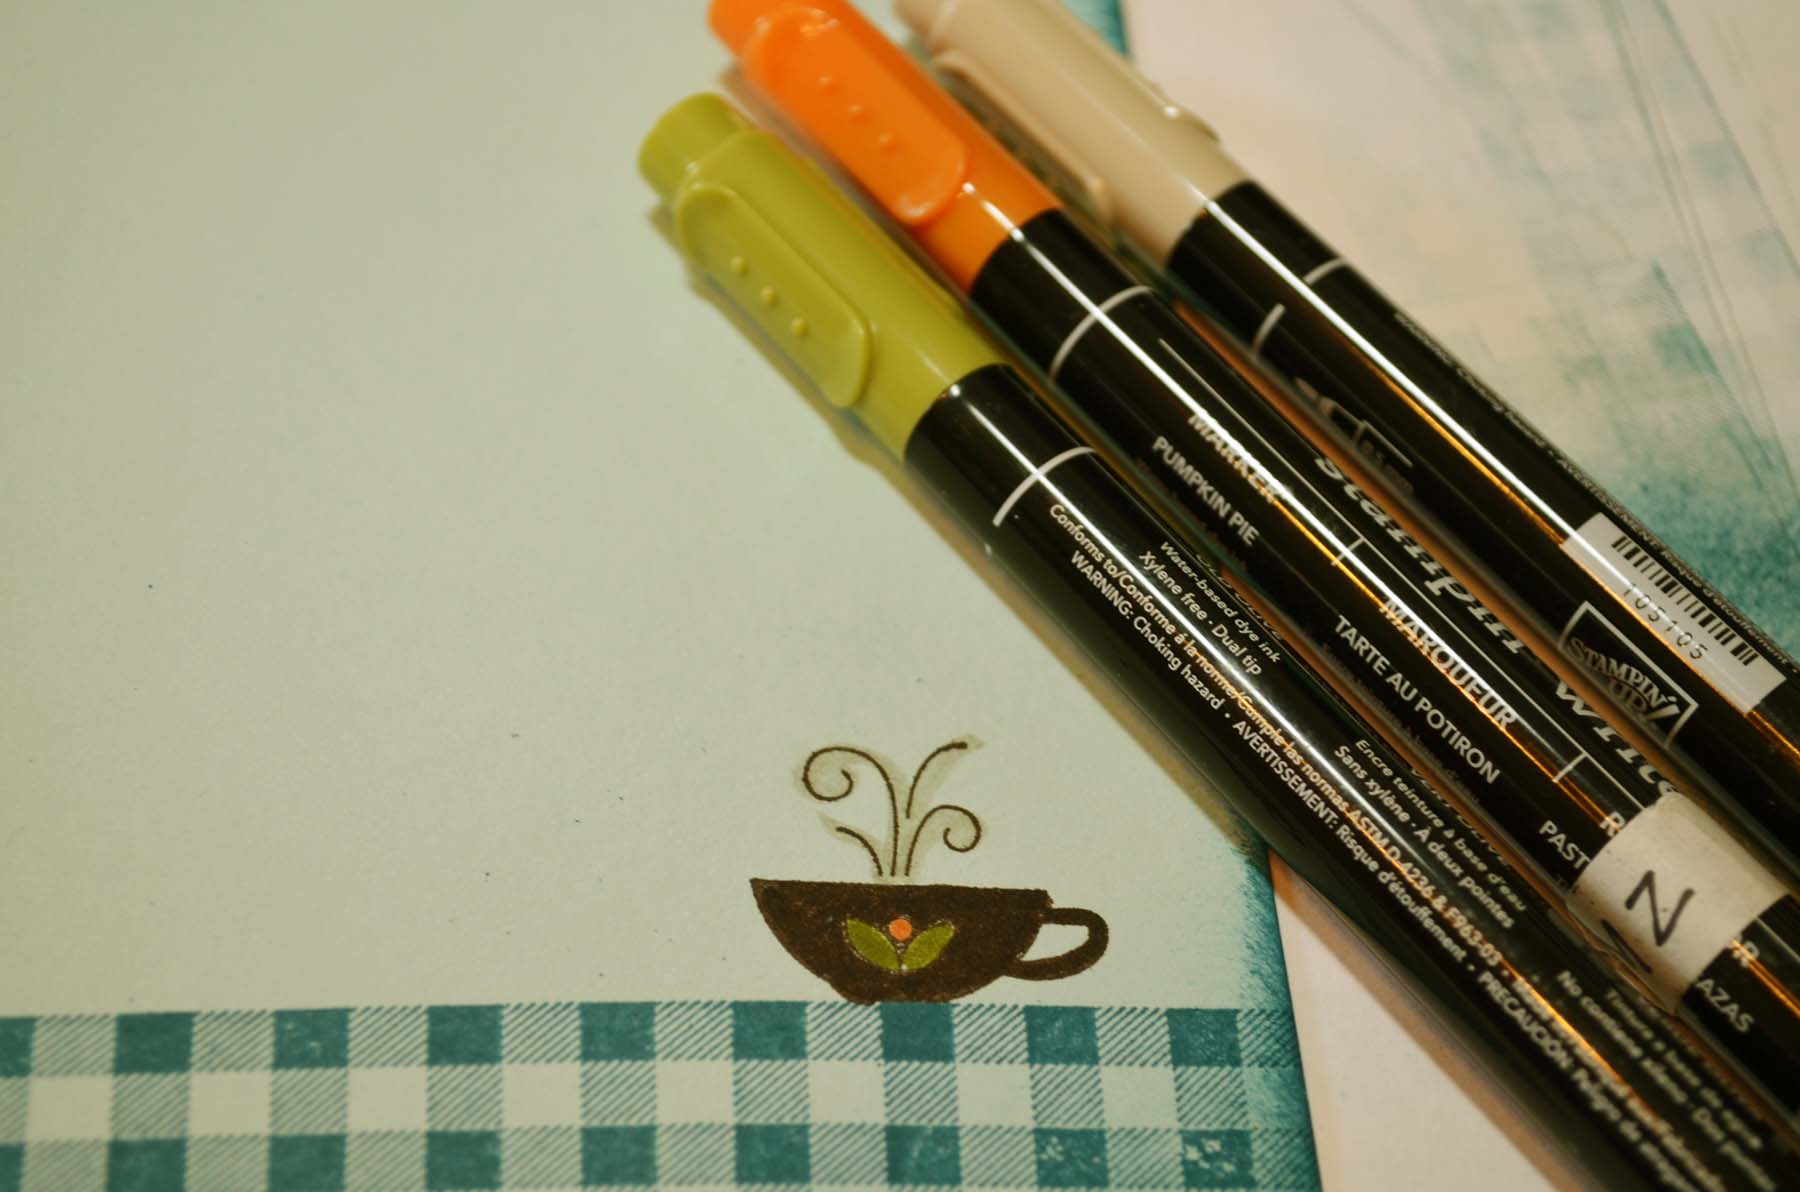
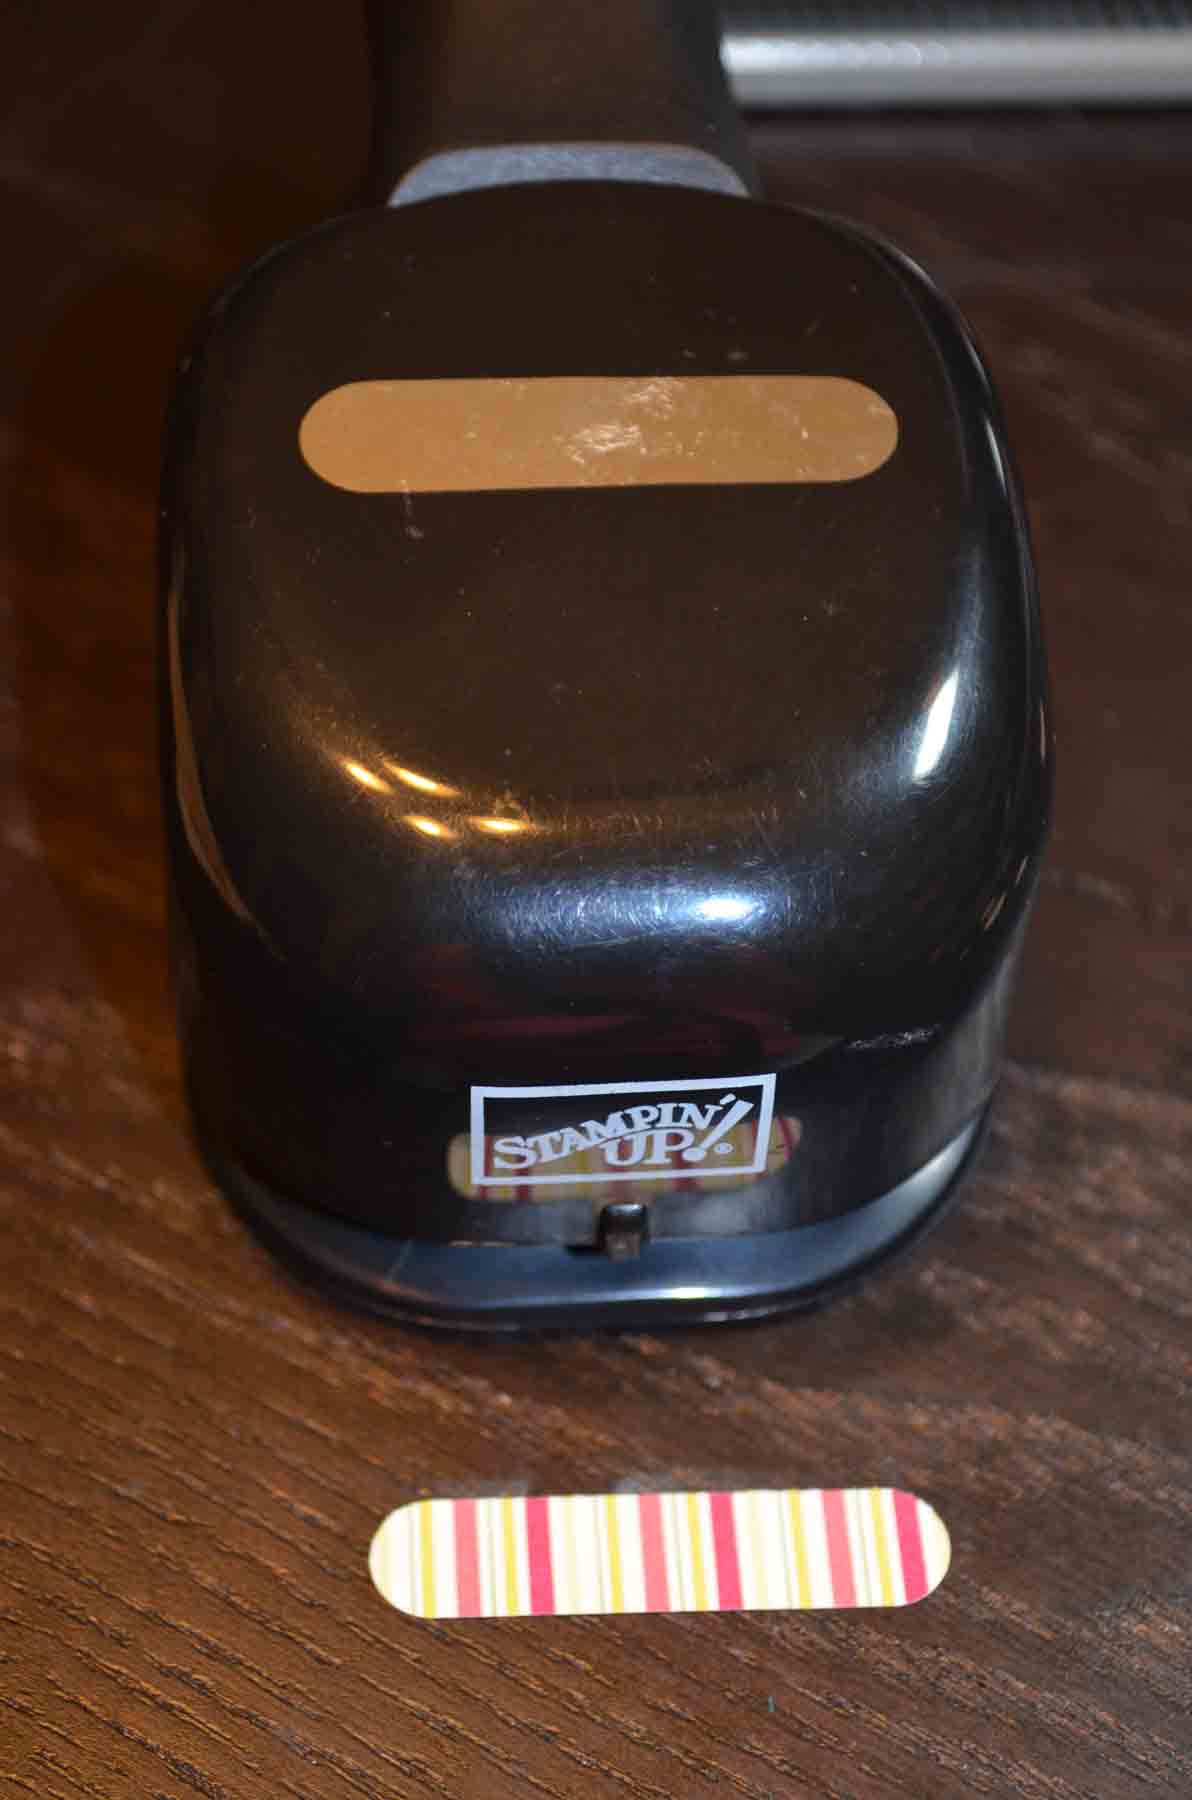
Accessories: Stampin’ Up! Sponges, 2 1/2″ Circle Punch, Brayer, Whisper White ribbon, Vintage Trinkets, Gold Marker, Basic Black and Sahara Sand Stampin’ Write Markers, White Gel Pen, Modern Label Punch

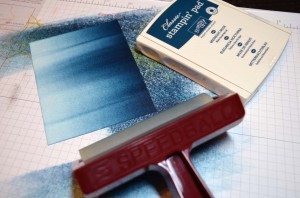
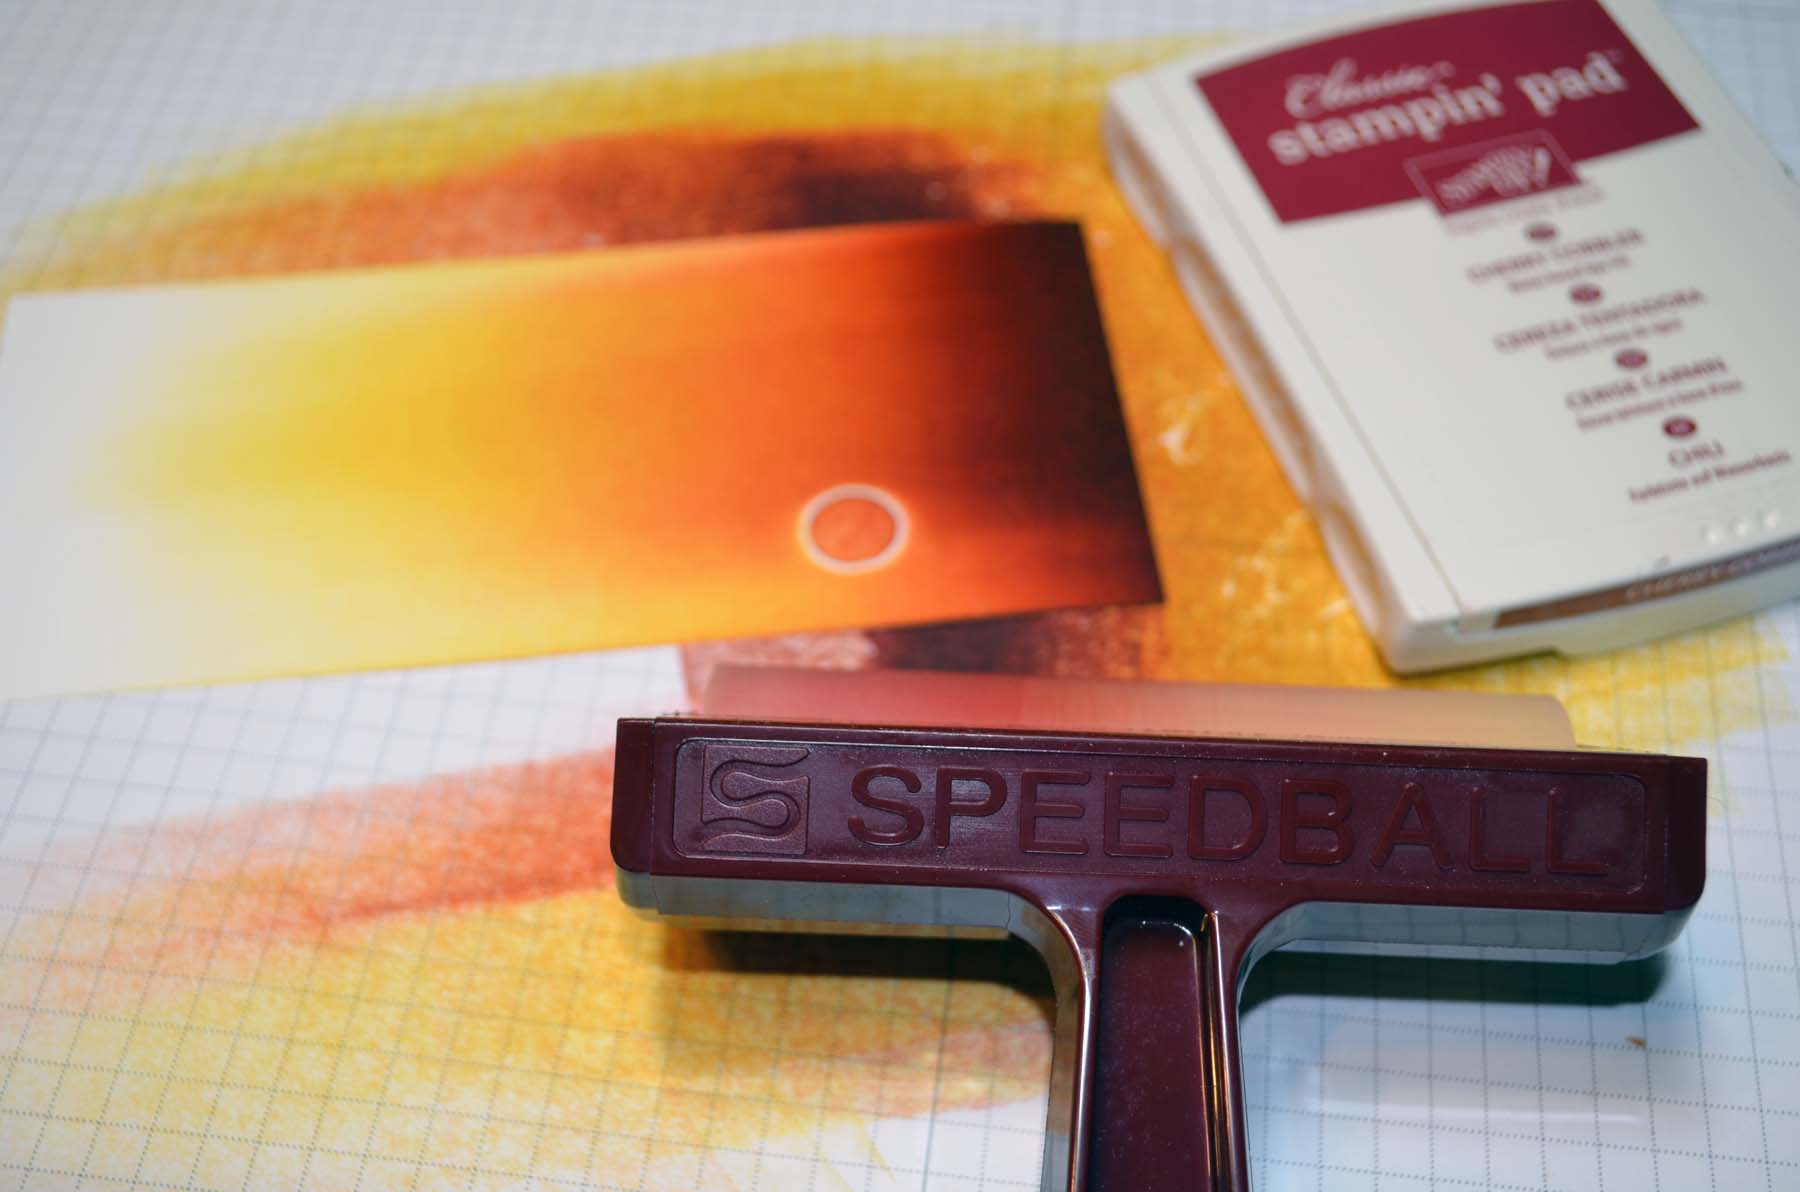
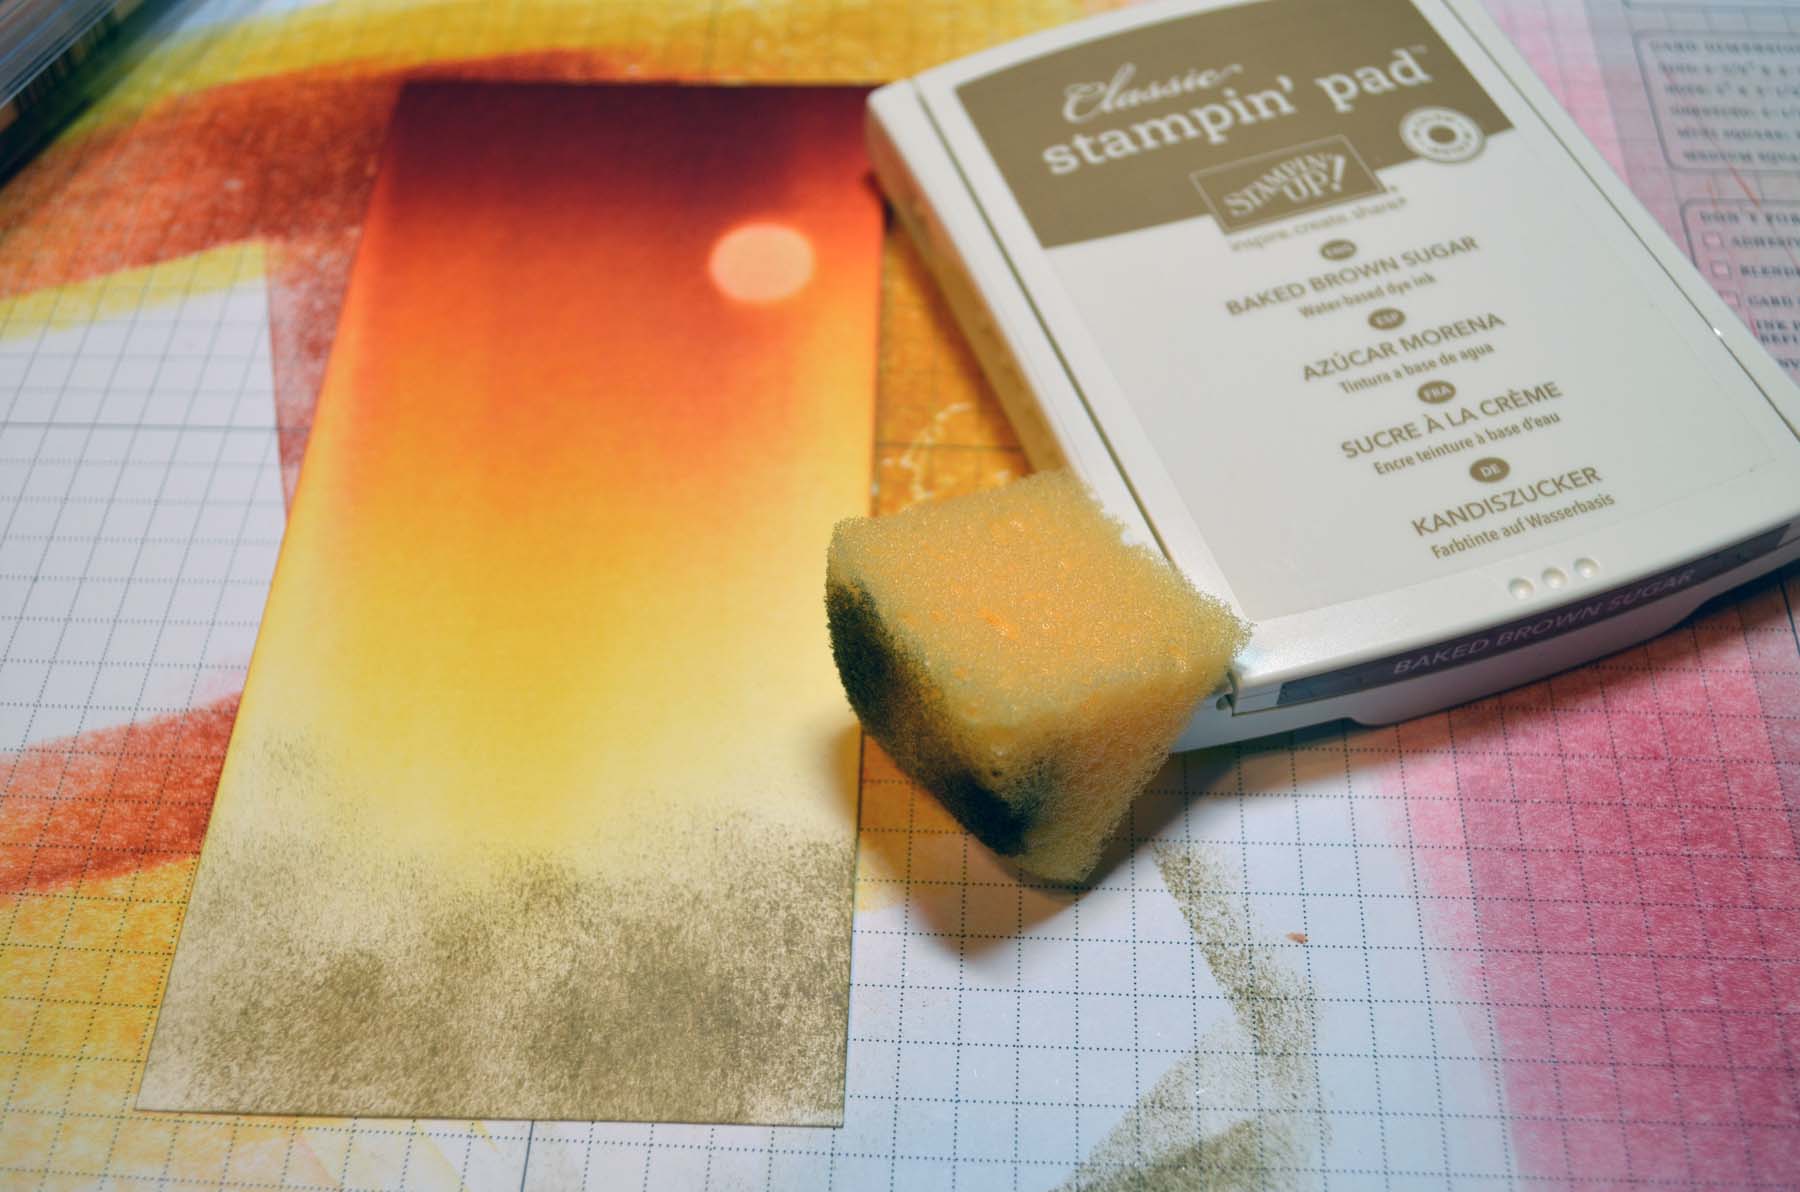
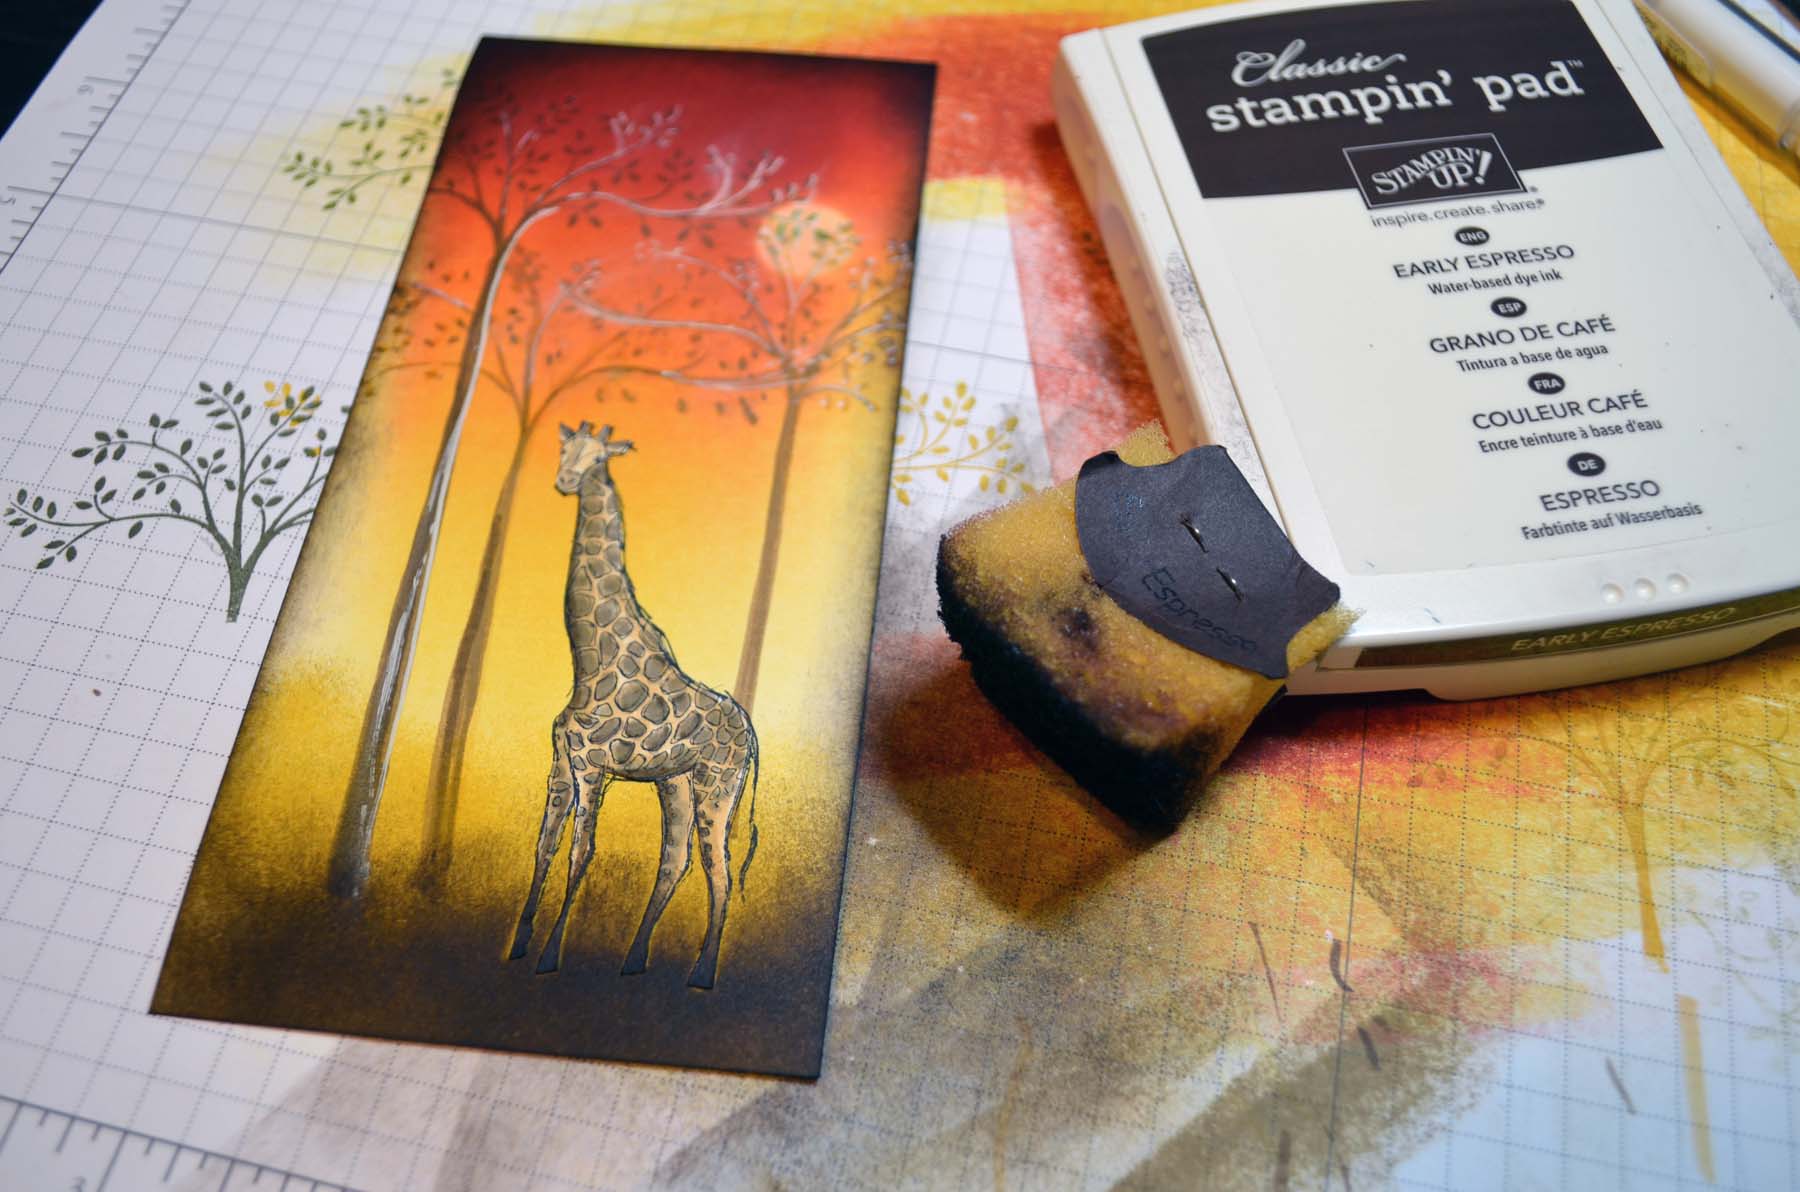
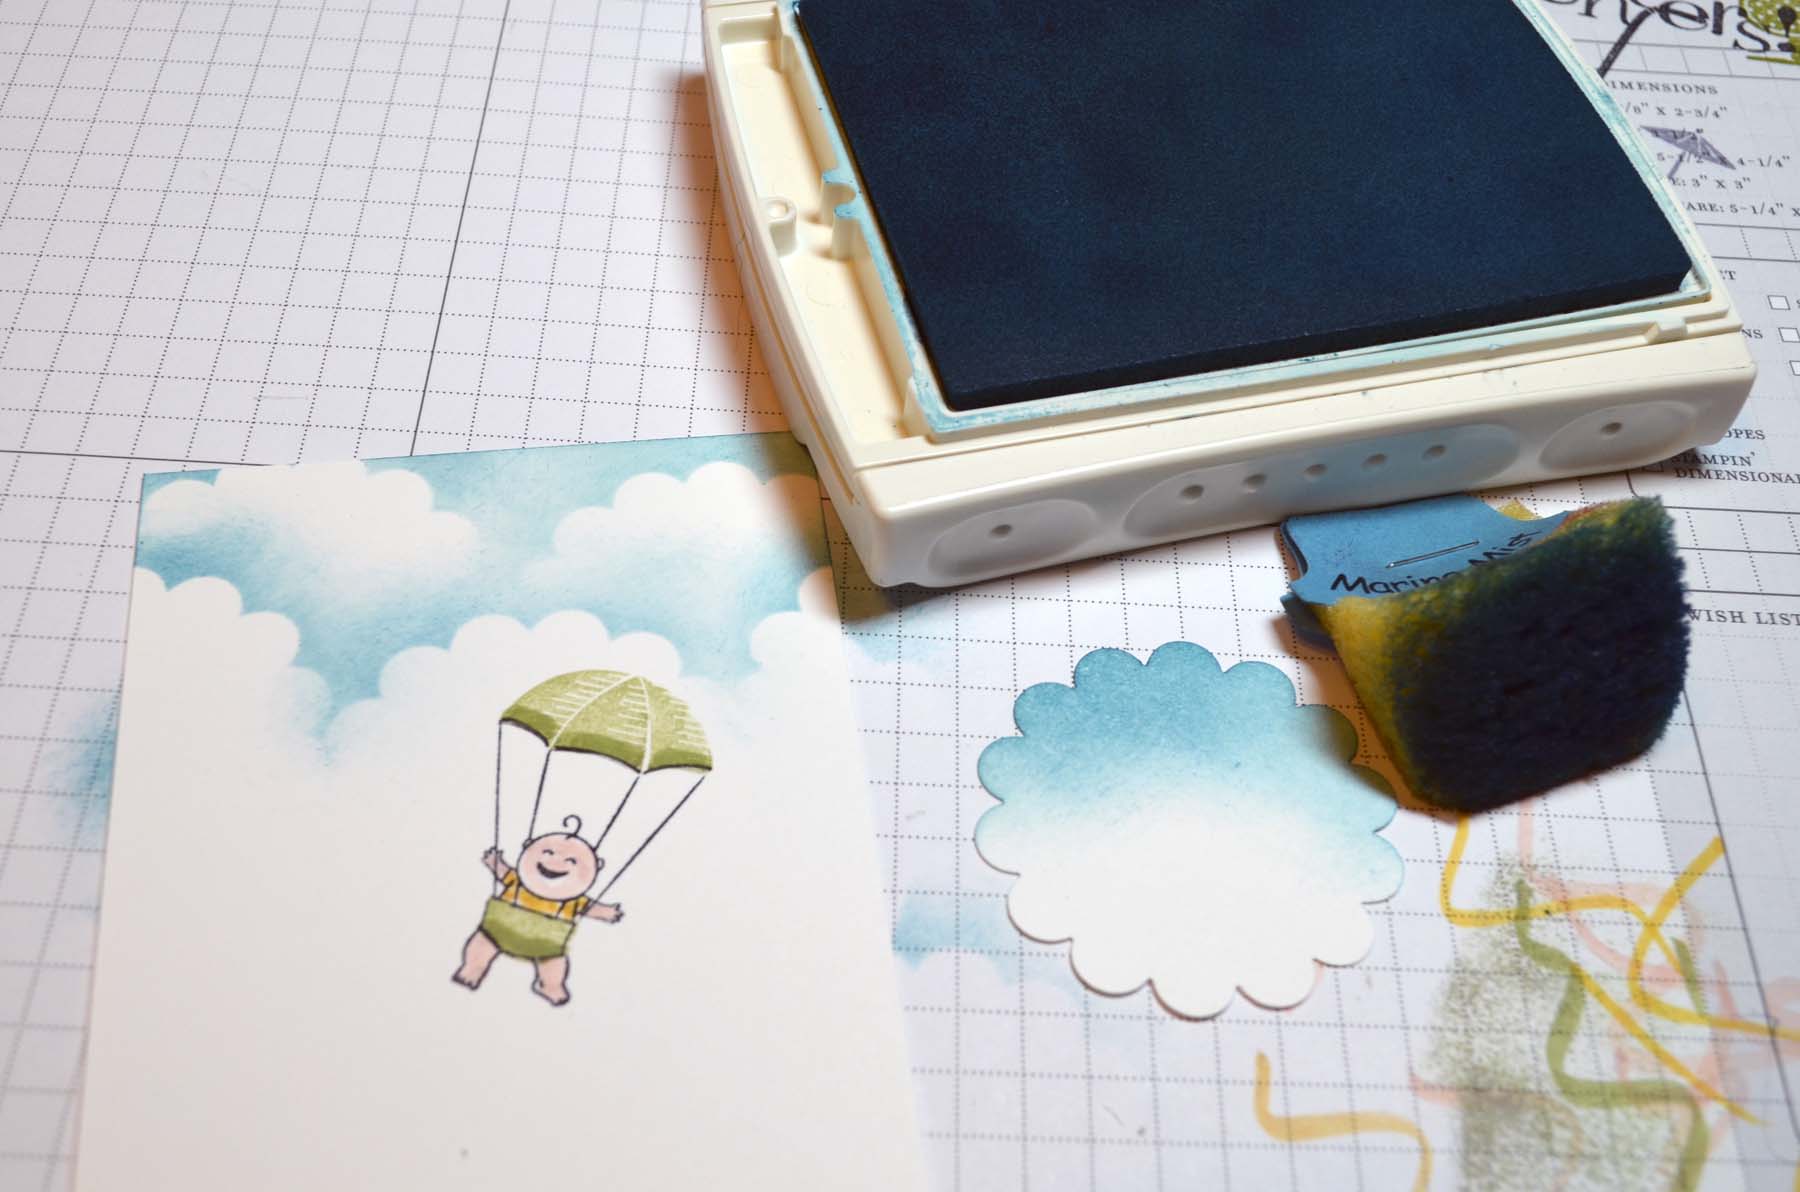
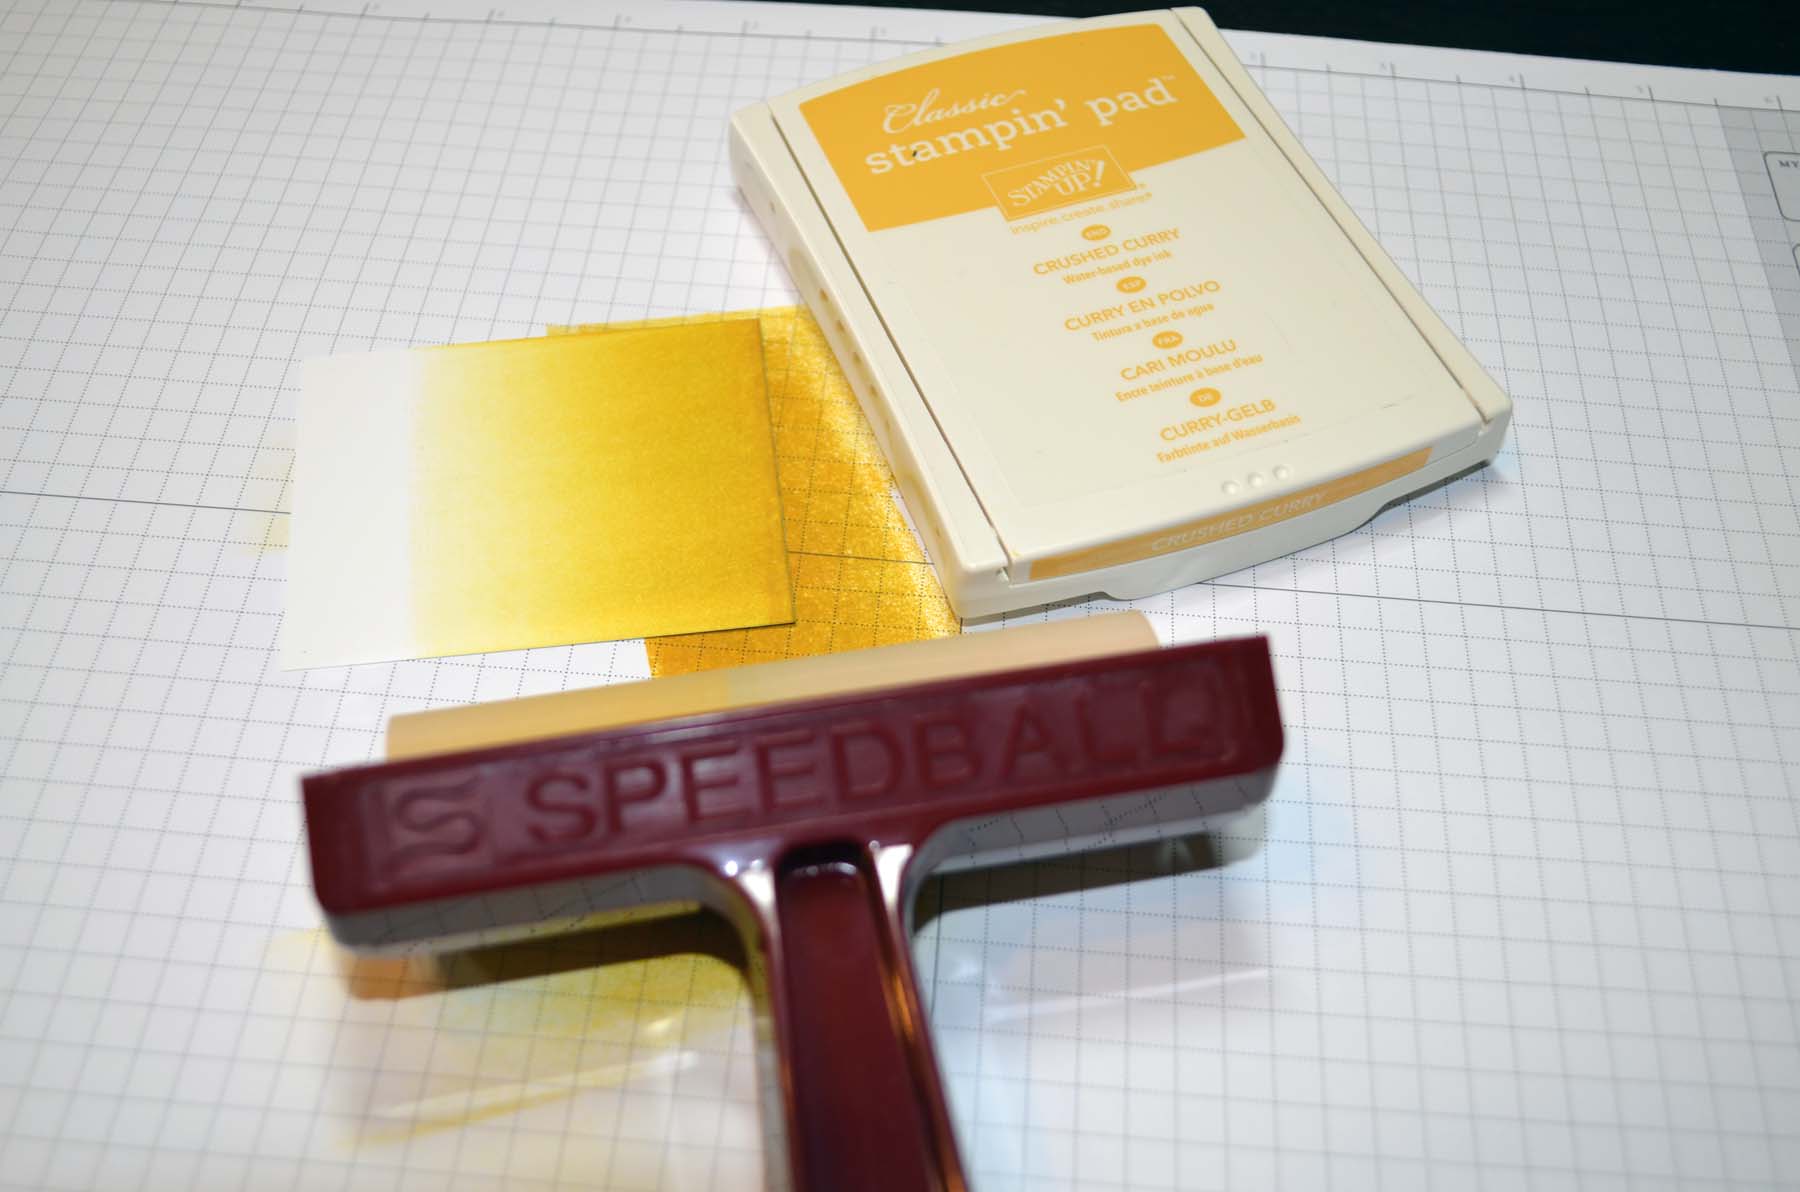
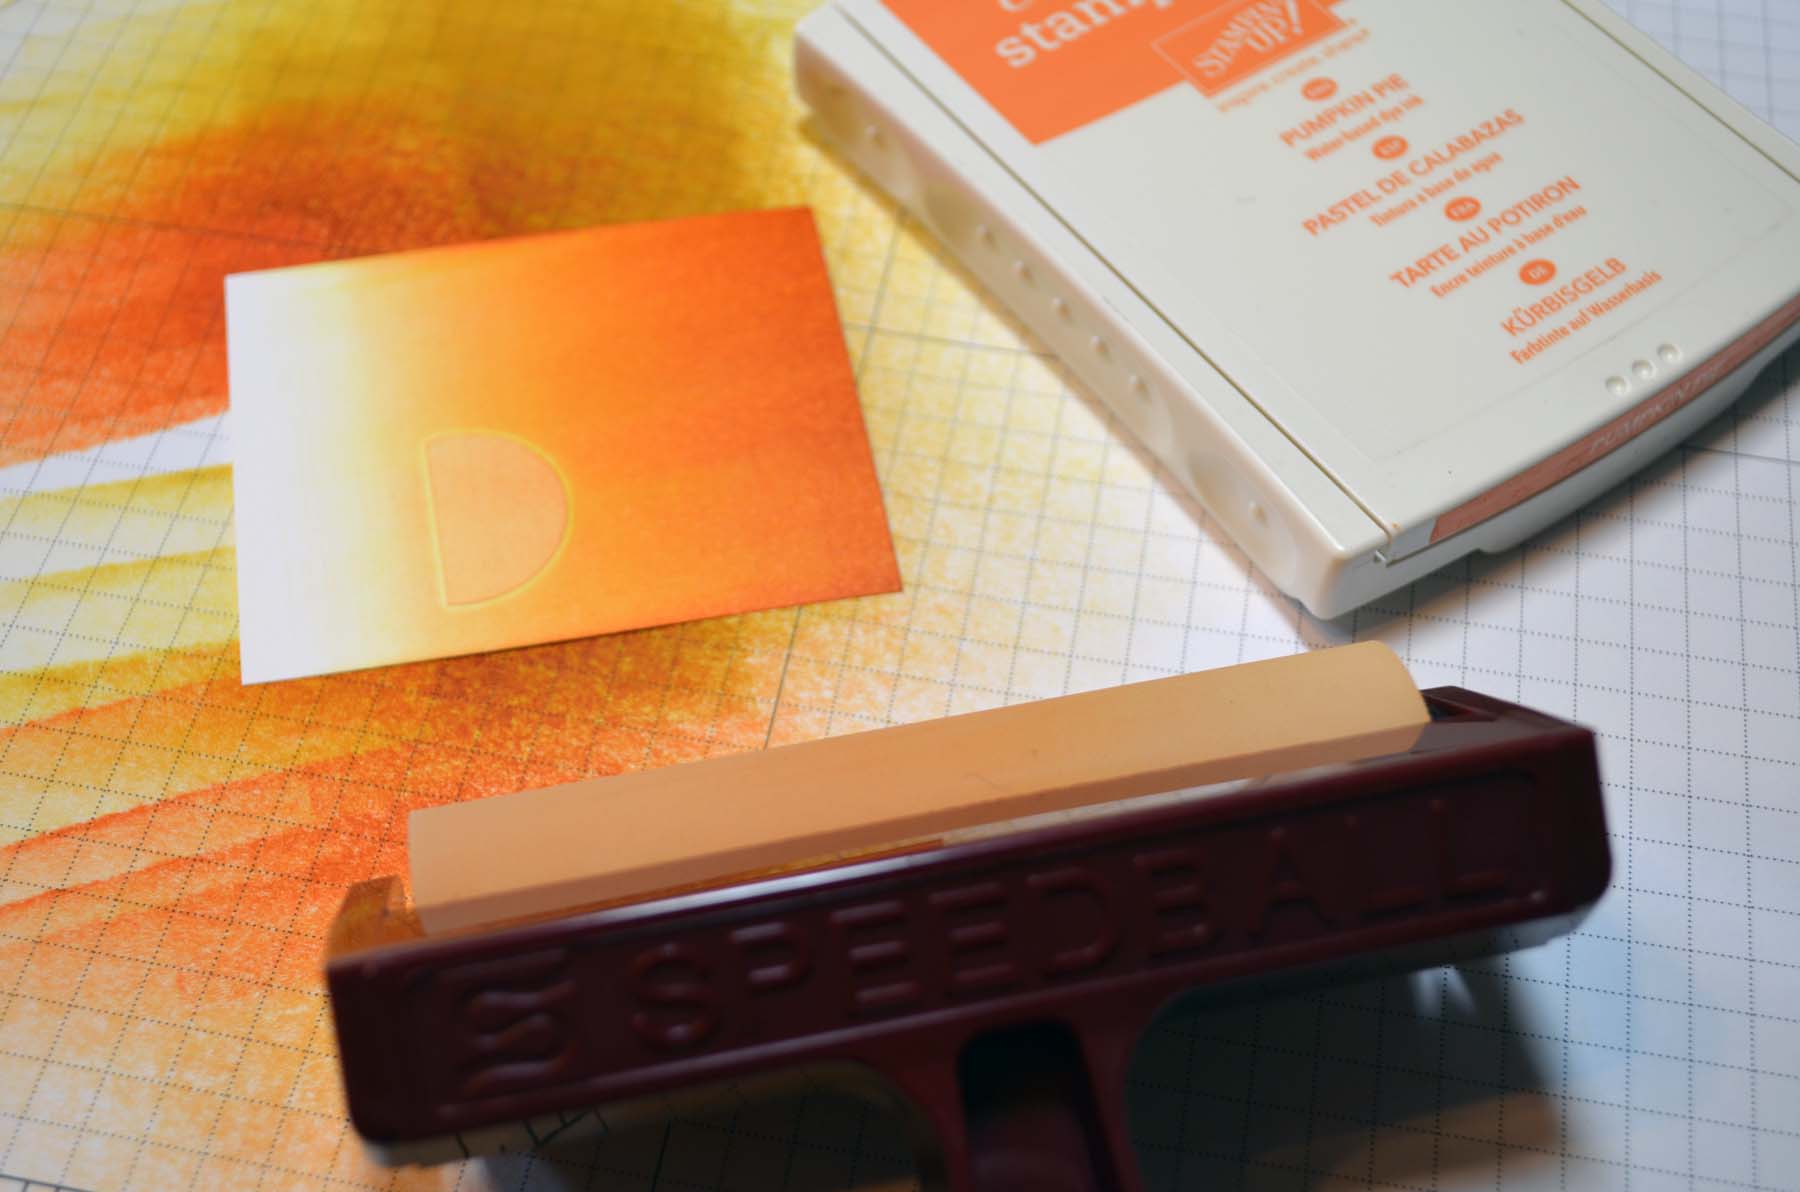
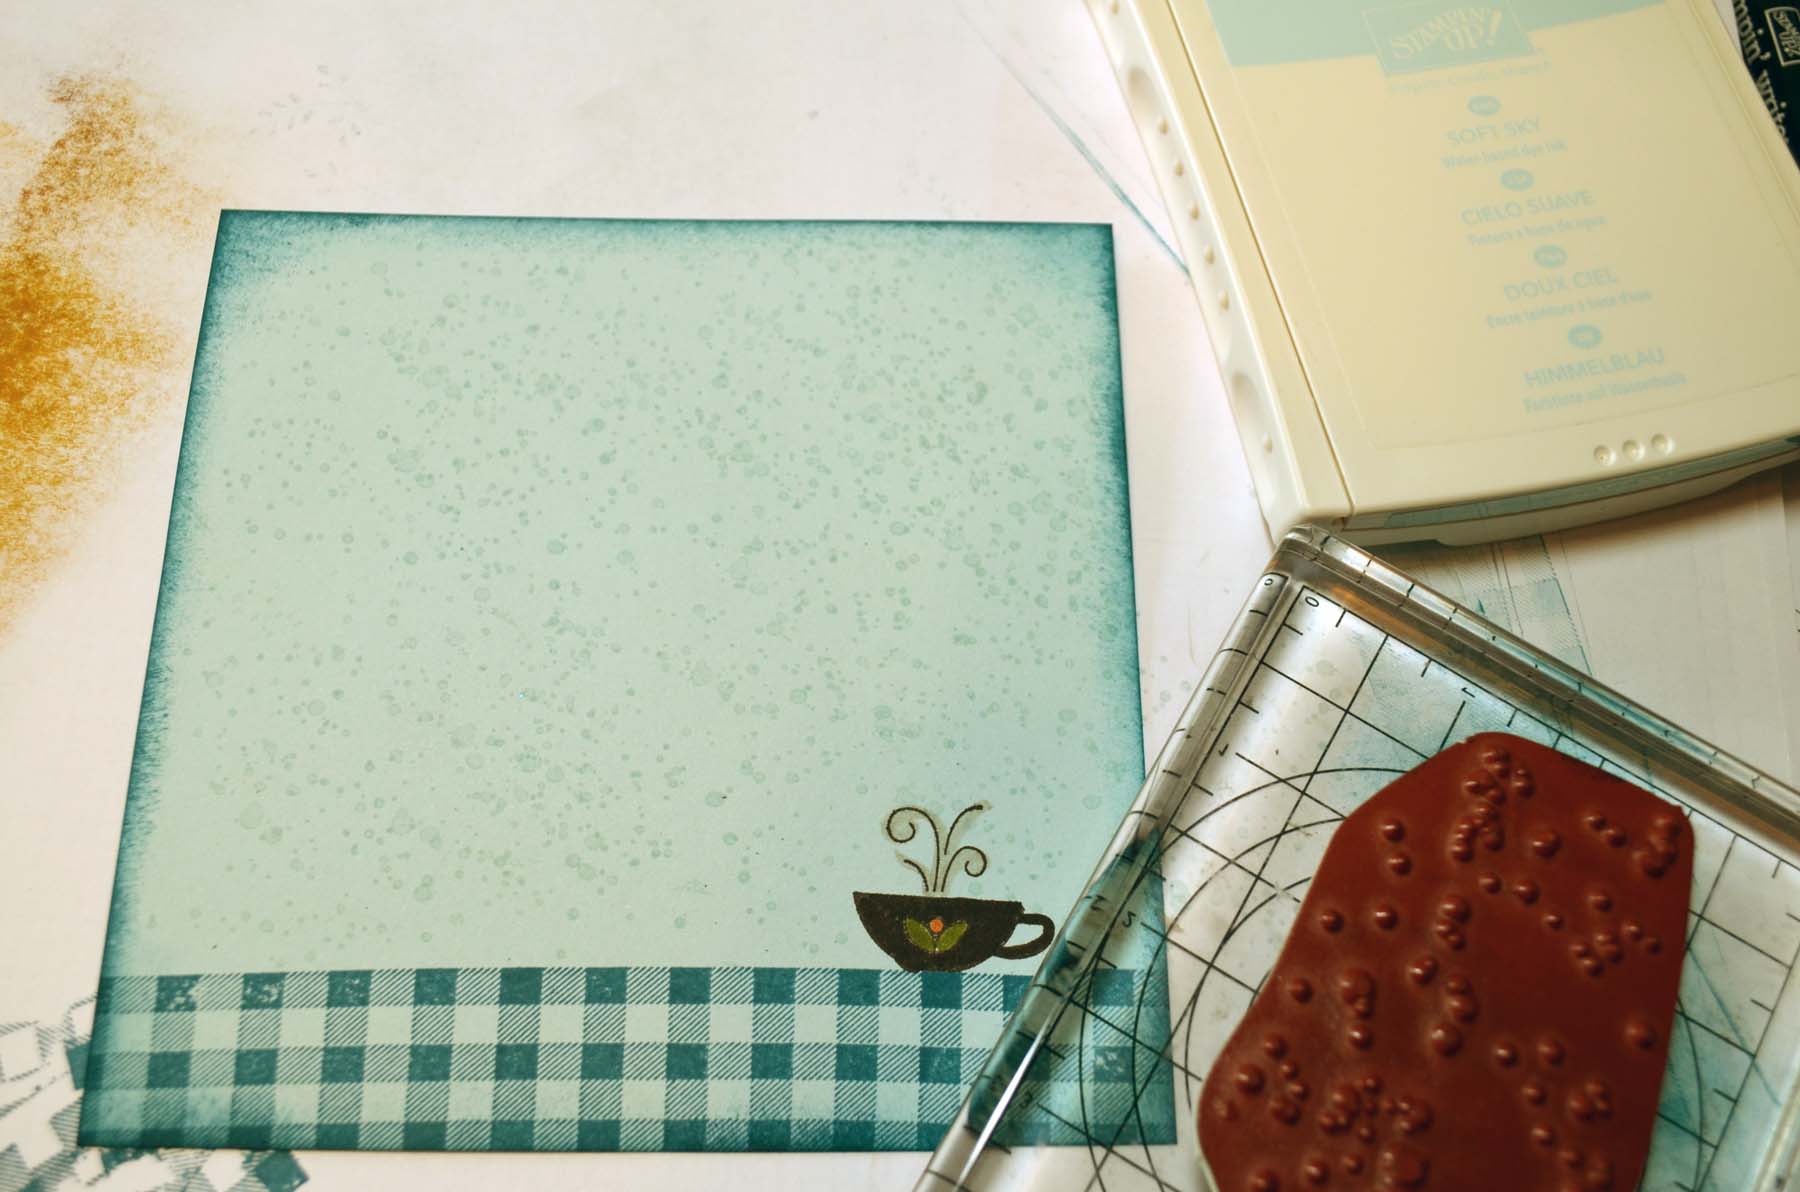
Started with a 3.5″ x 4.5″ piece of Whisper White card stock and brayered Marina Mist at the top of it.
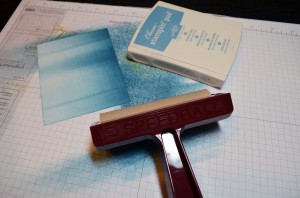
Brayered Midnight Muse ink at the top of the card stock, not covering the Marina Mist ink entirely.
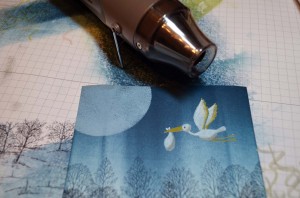
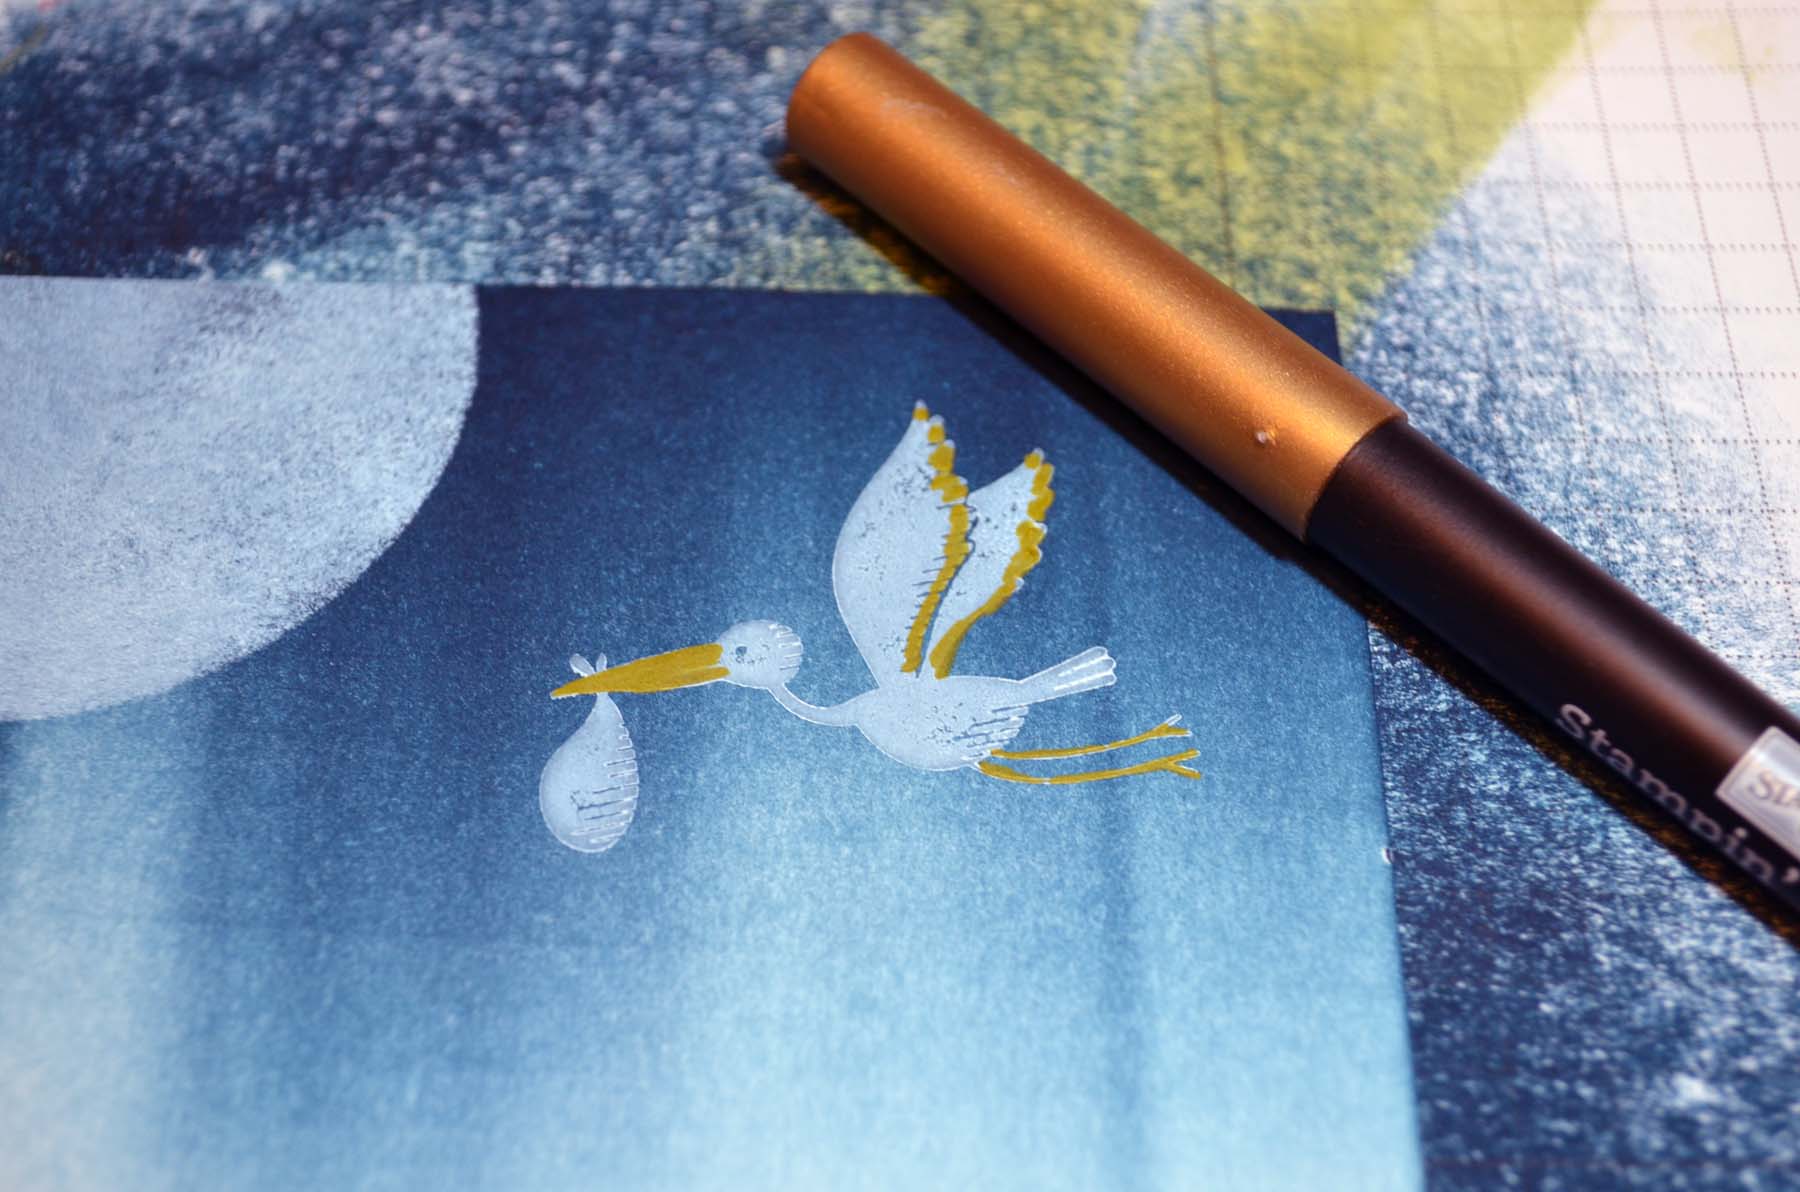
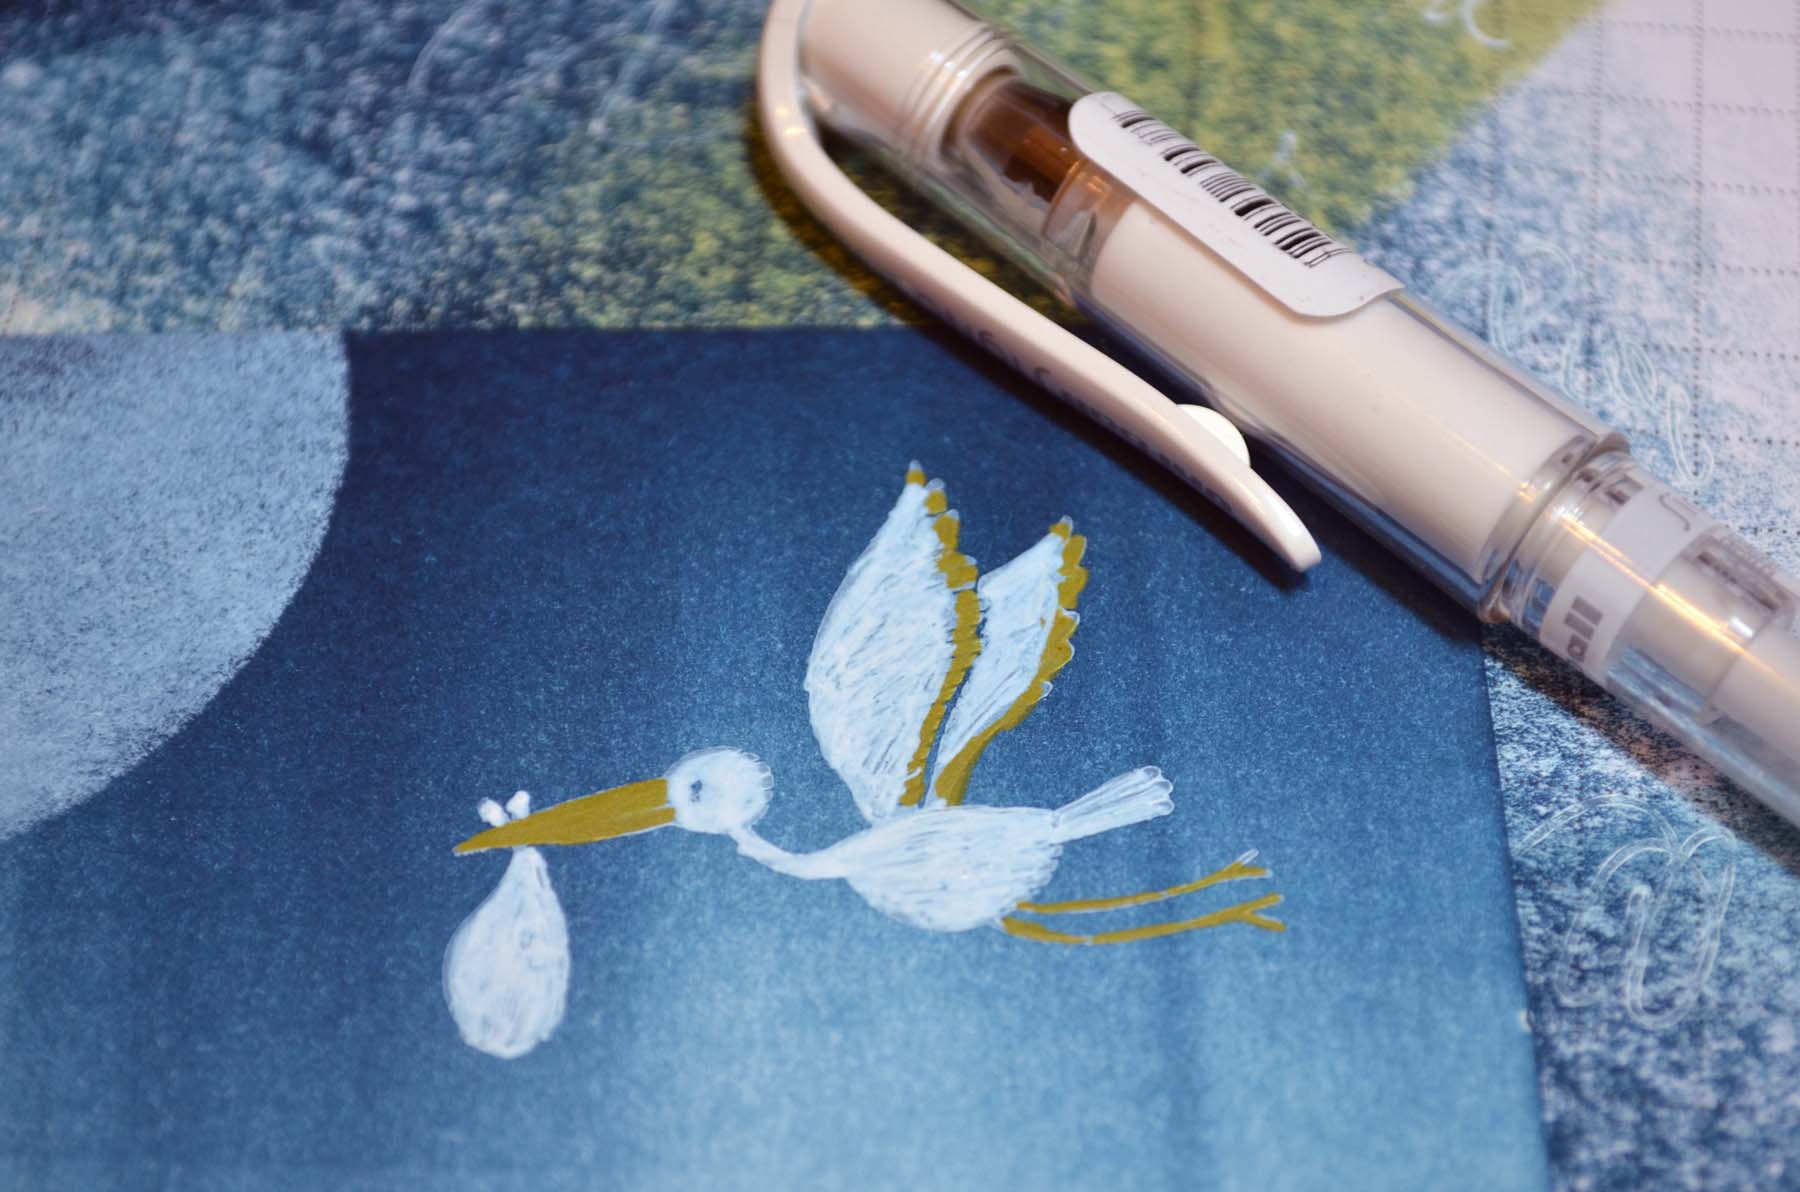
Stamped the stork using Whisper White Craft ink.
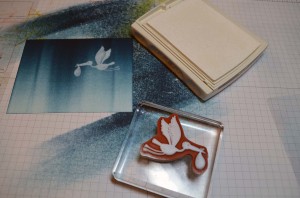
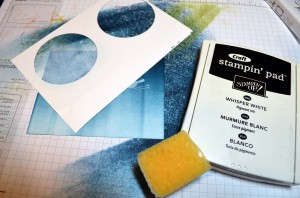
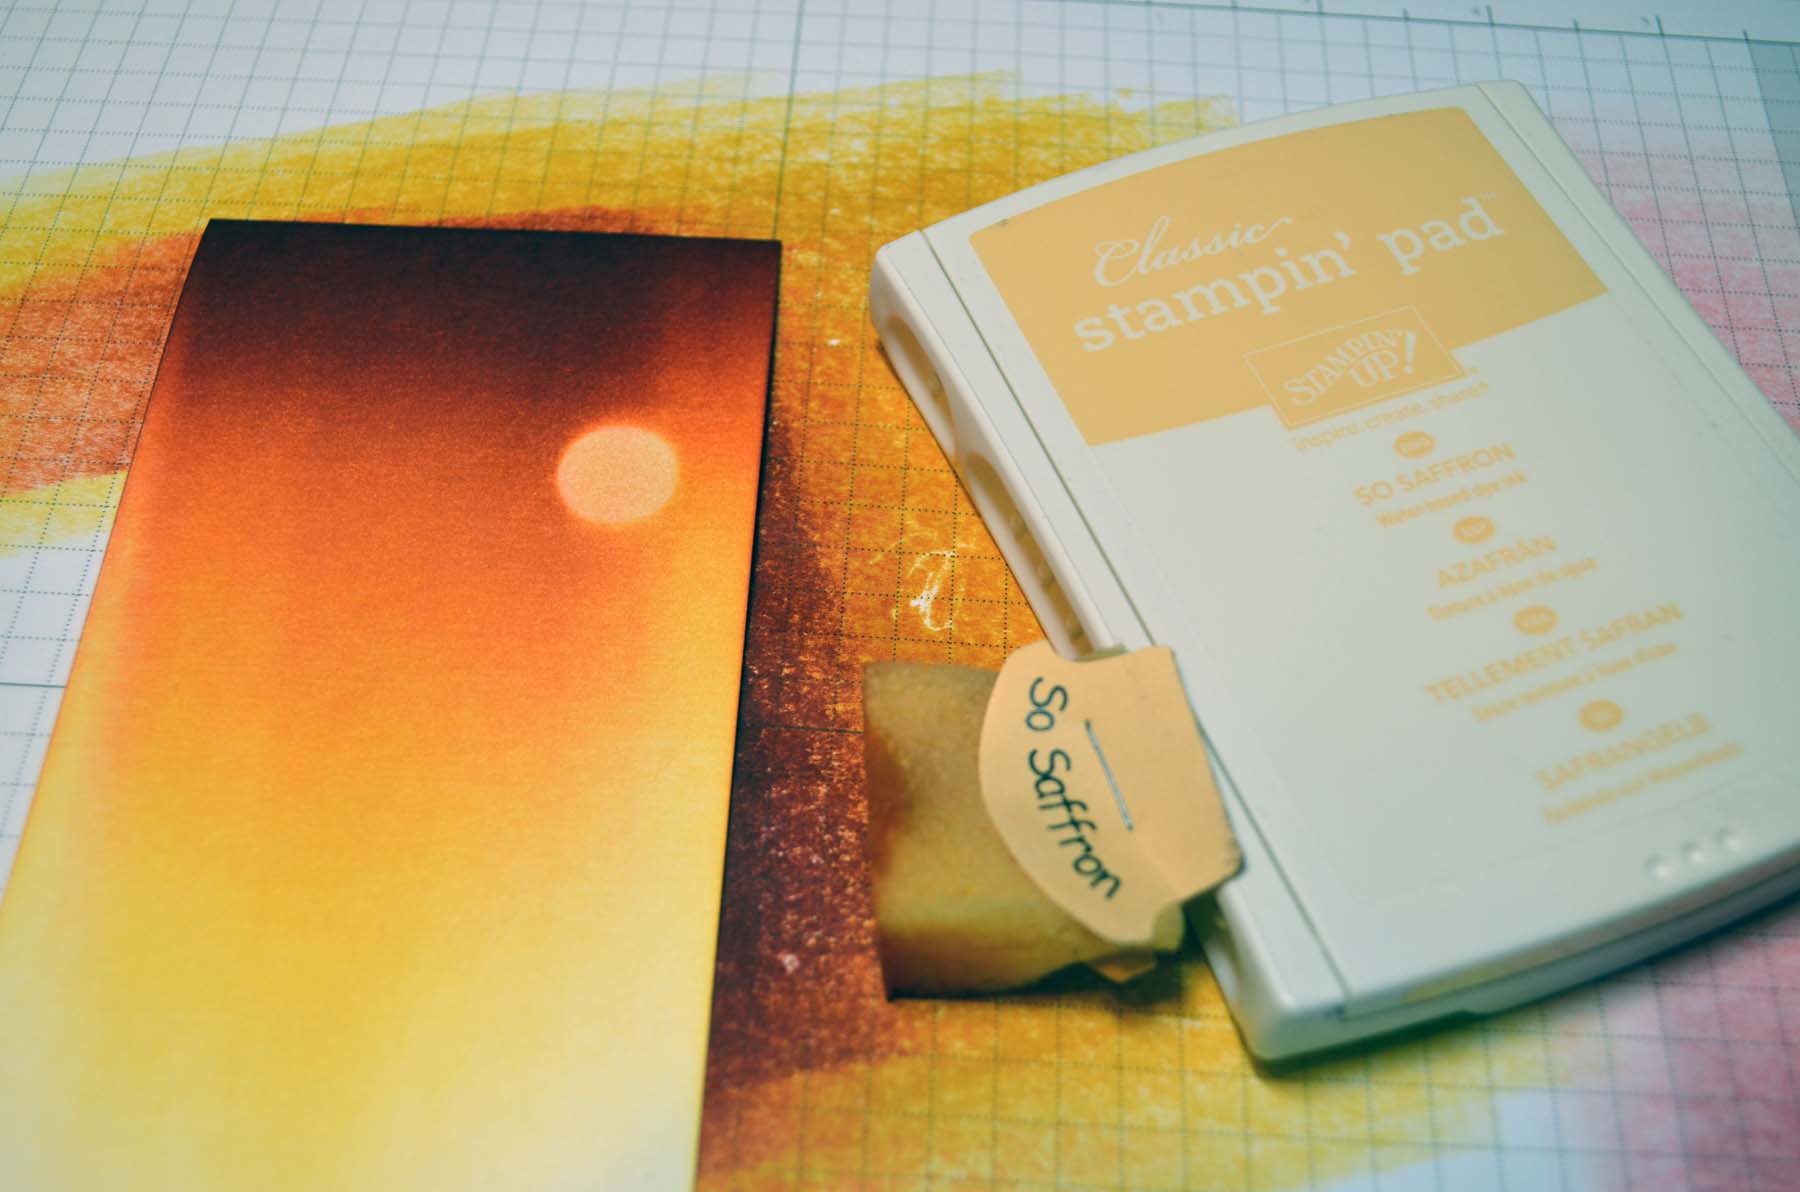
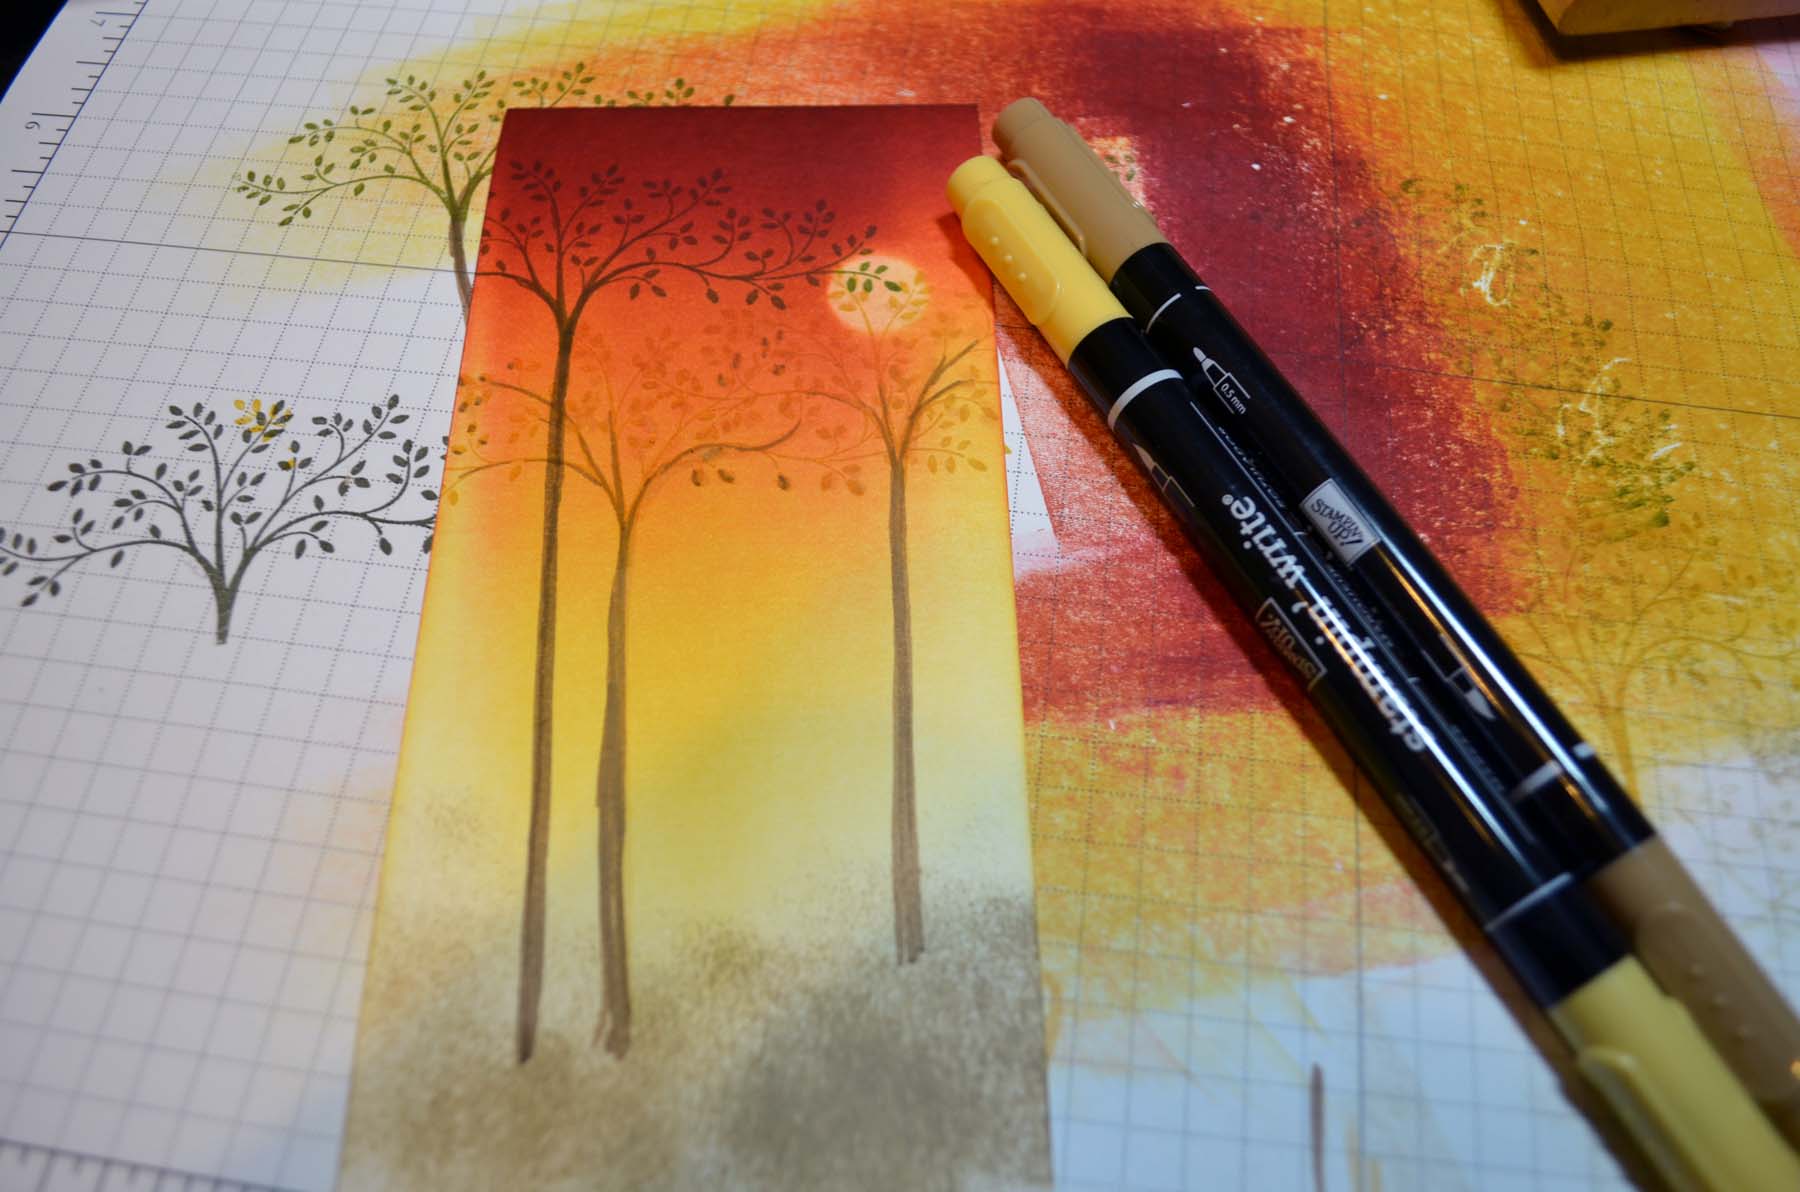
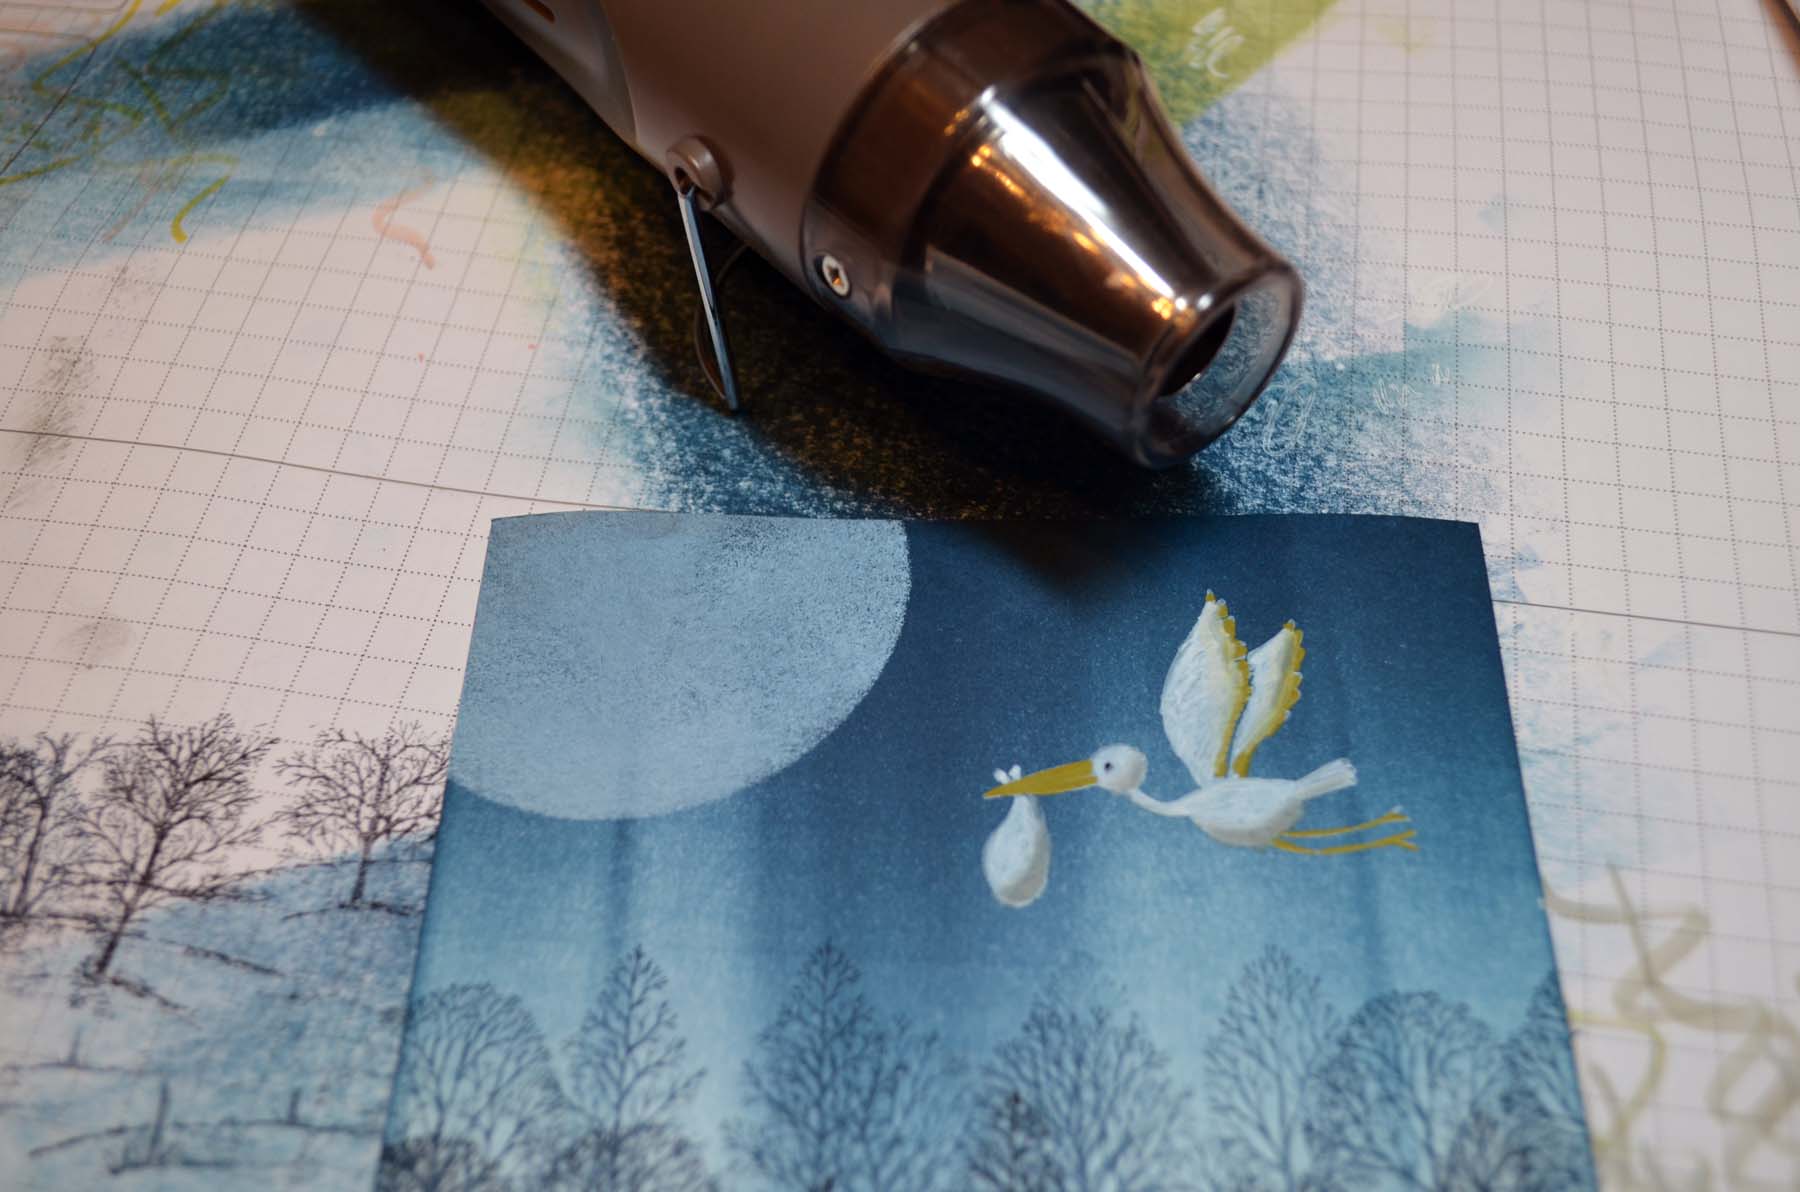
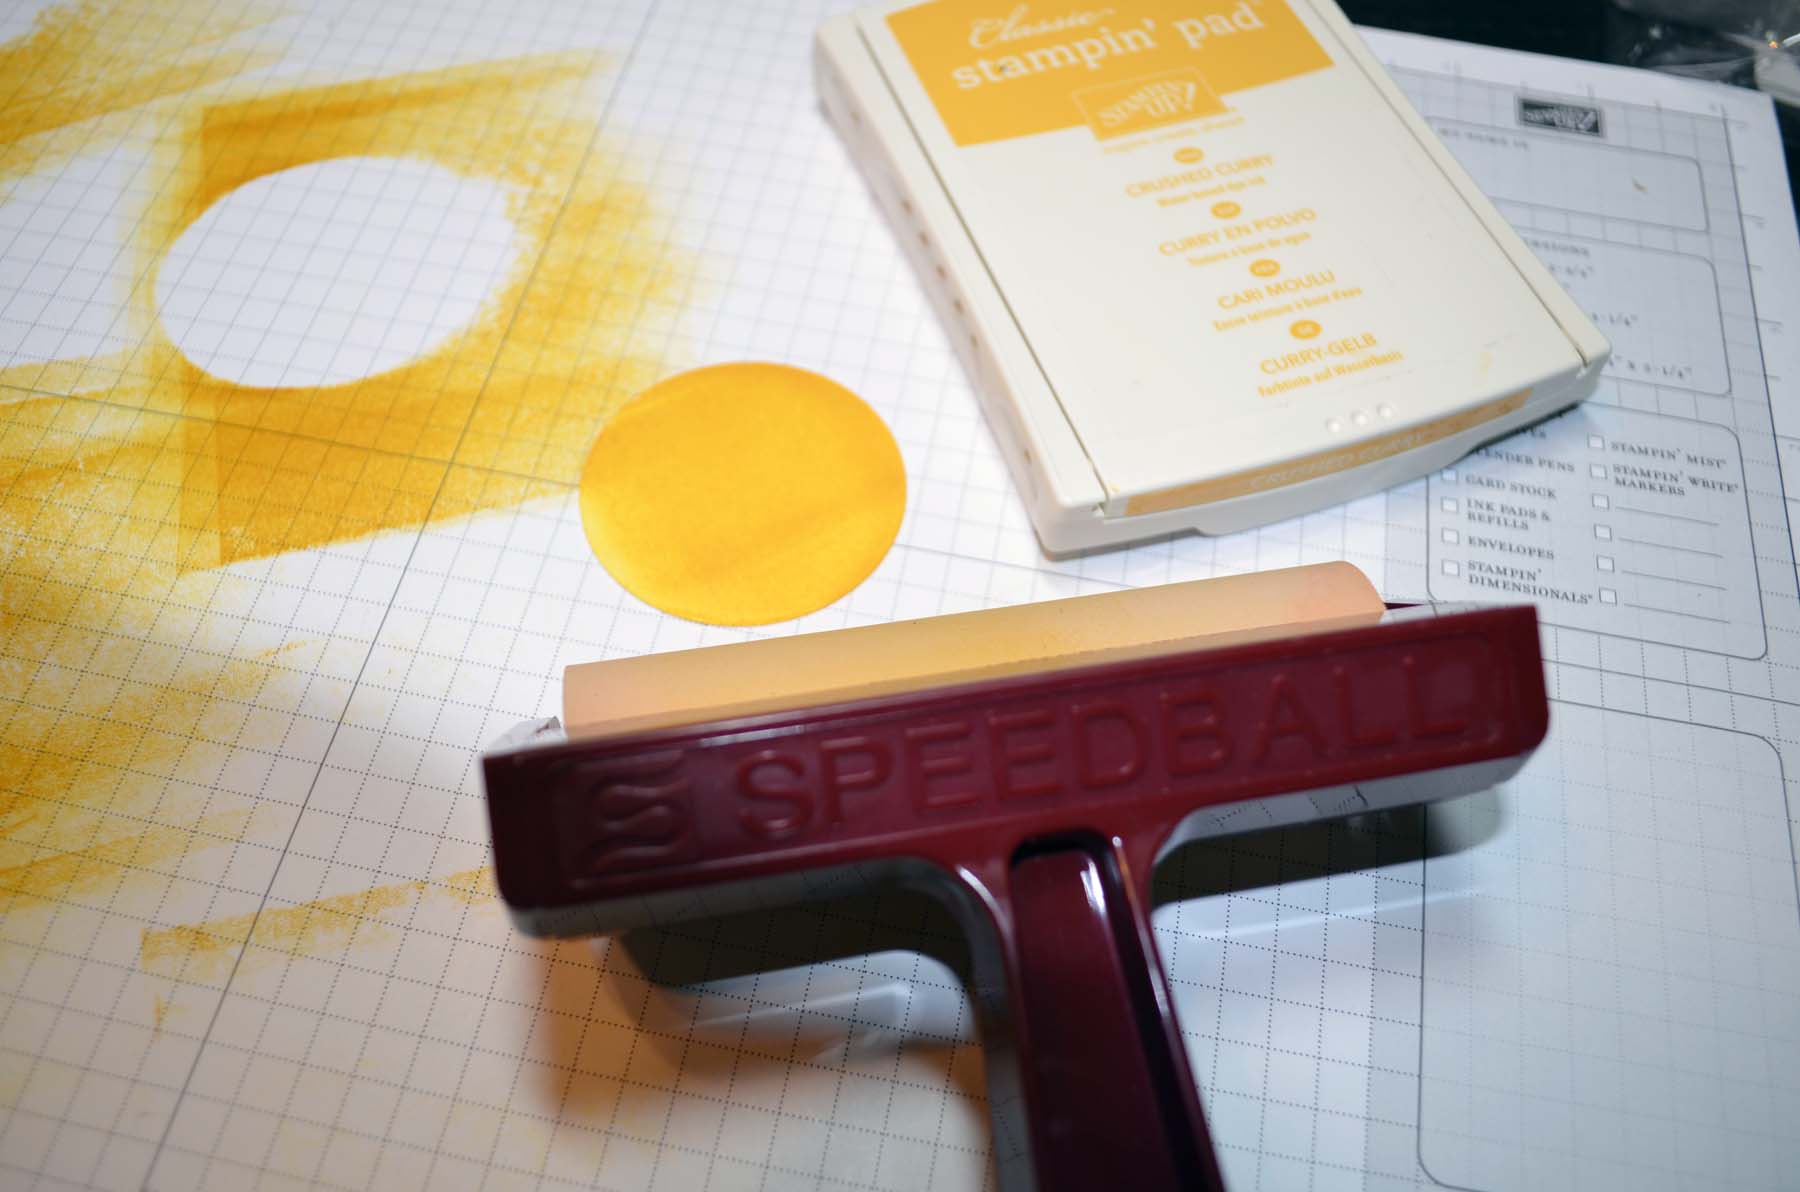
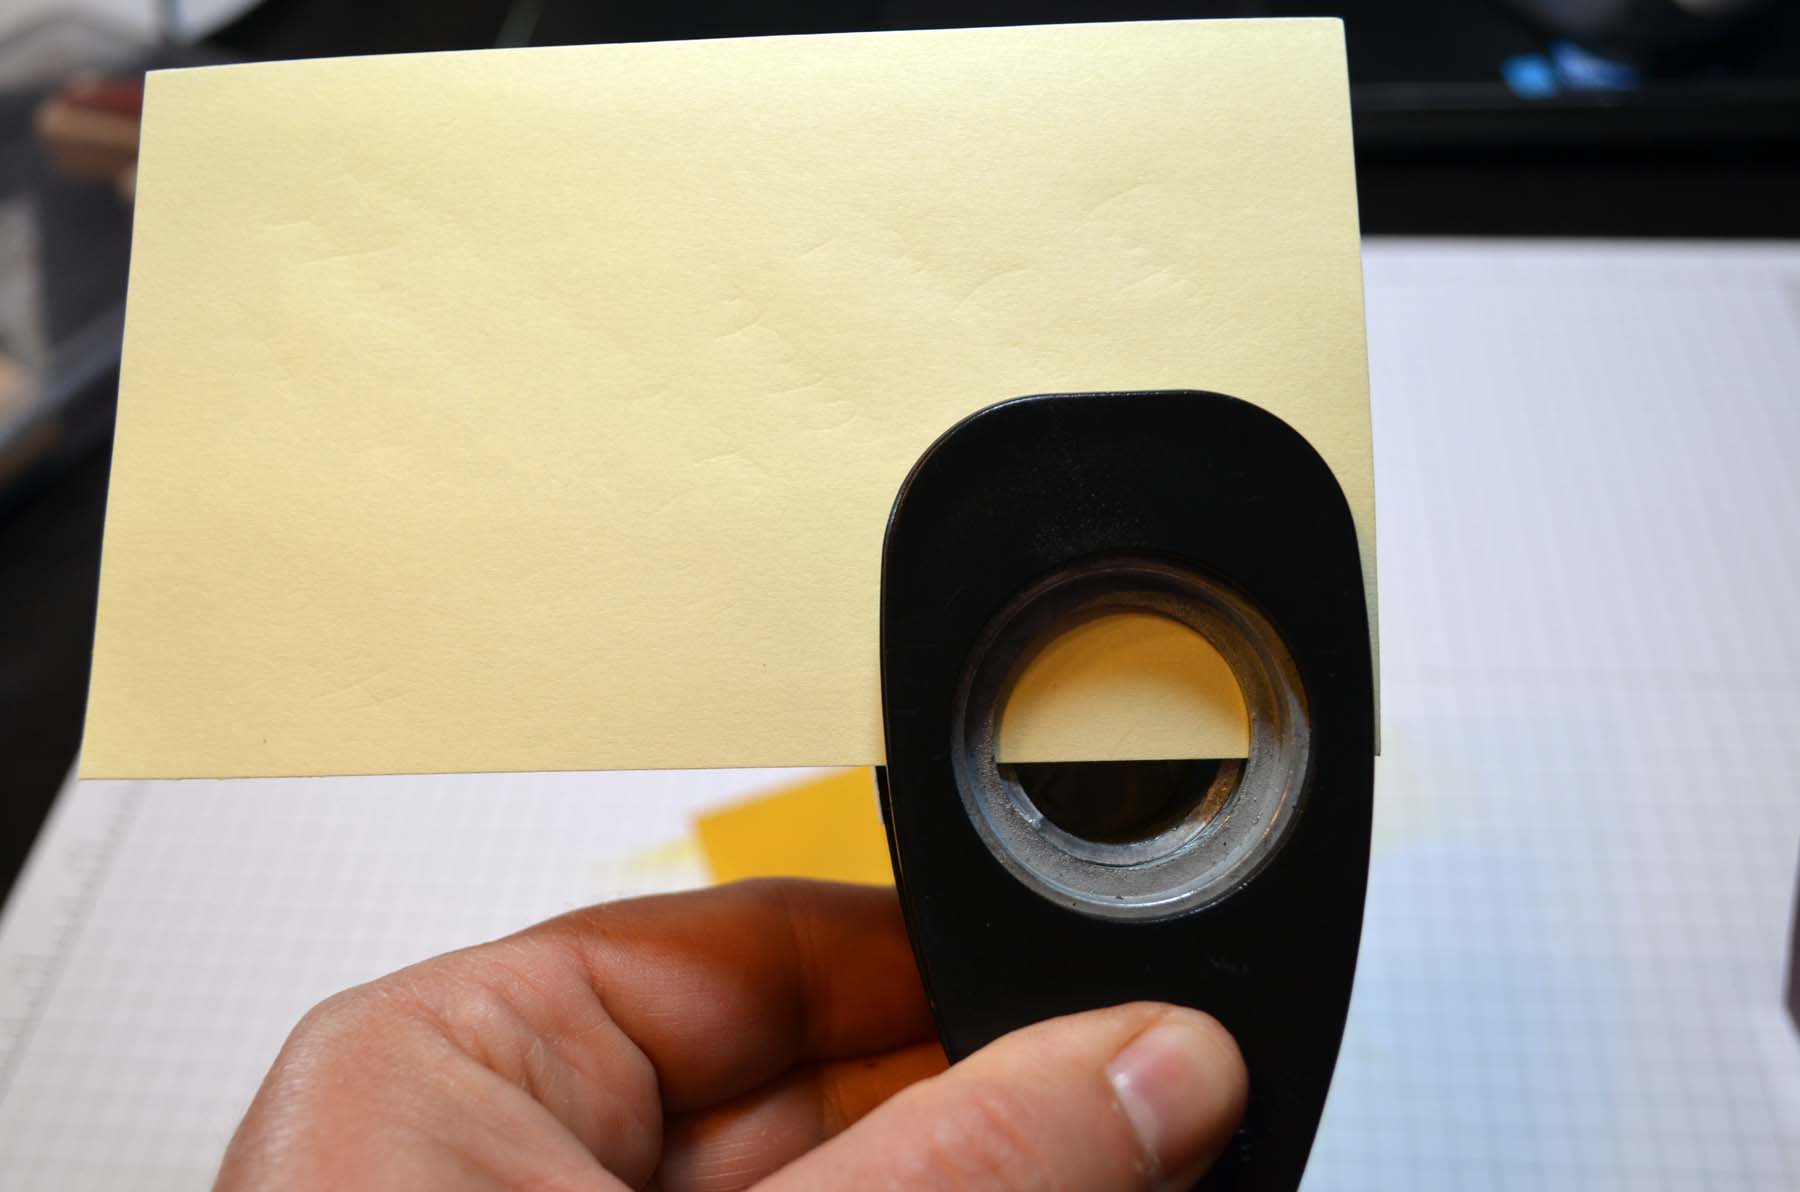
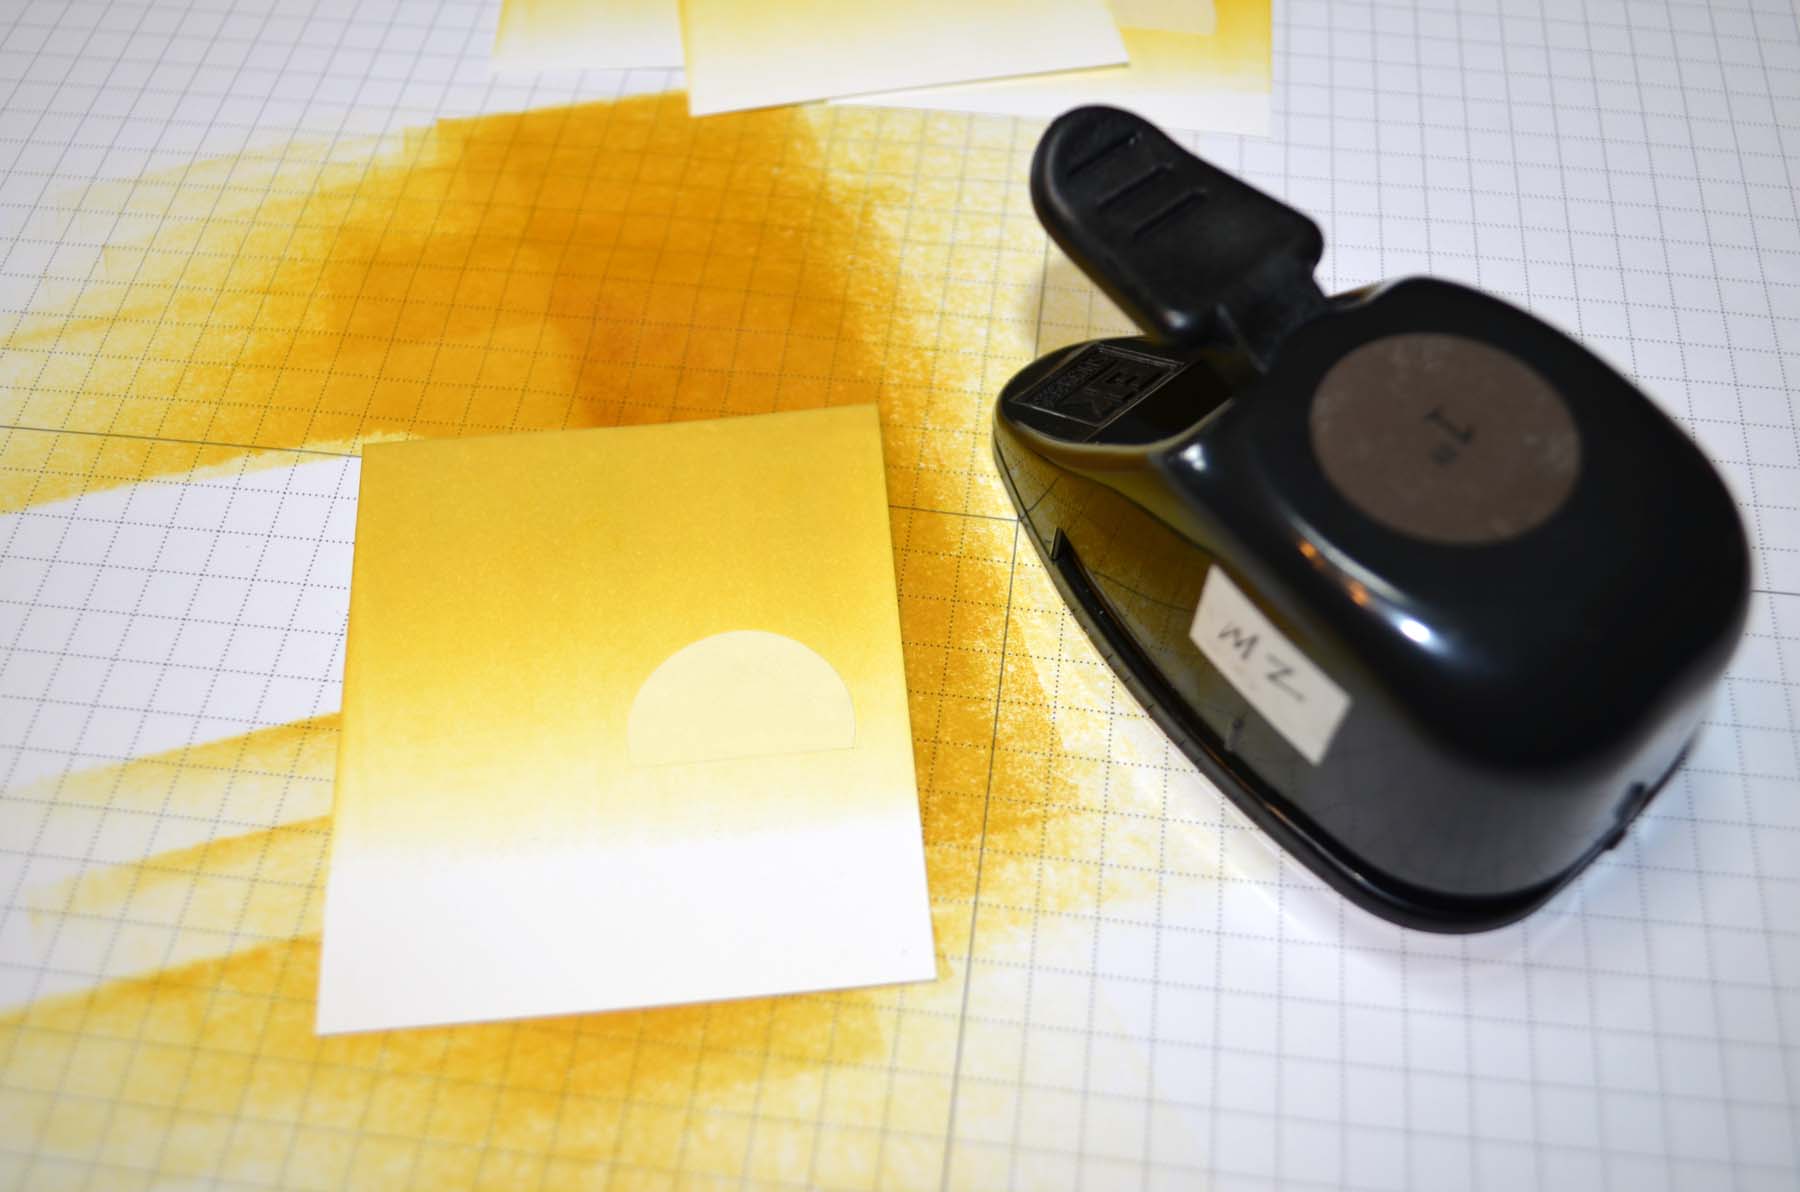
Punched a 2.5″ circle from scrap paper and used it as a mask to create my moon. Sponged Whisper White craft ink in the open circle space.
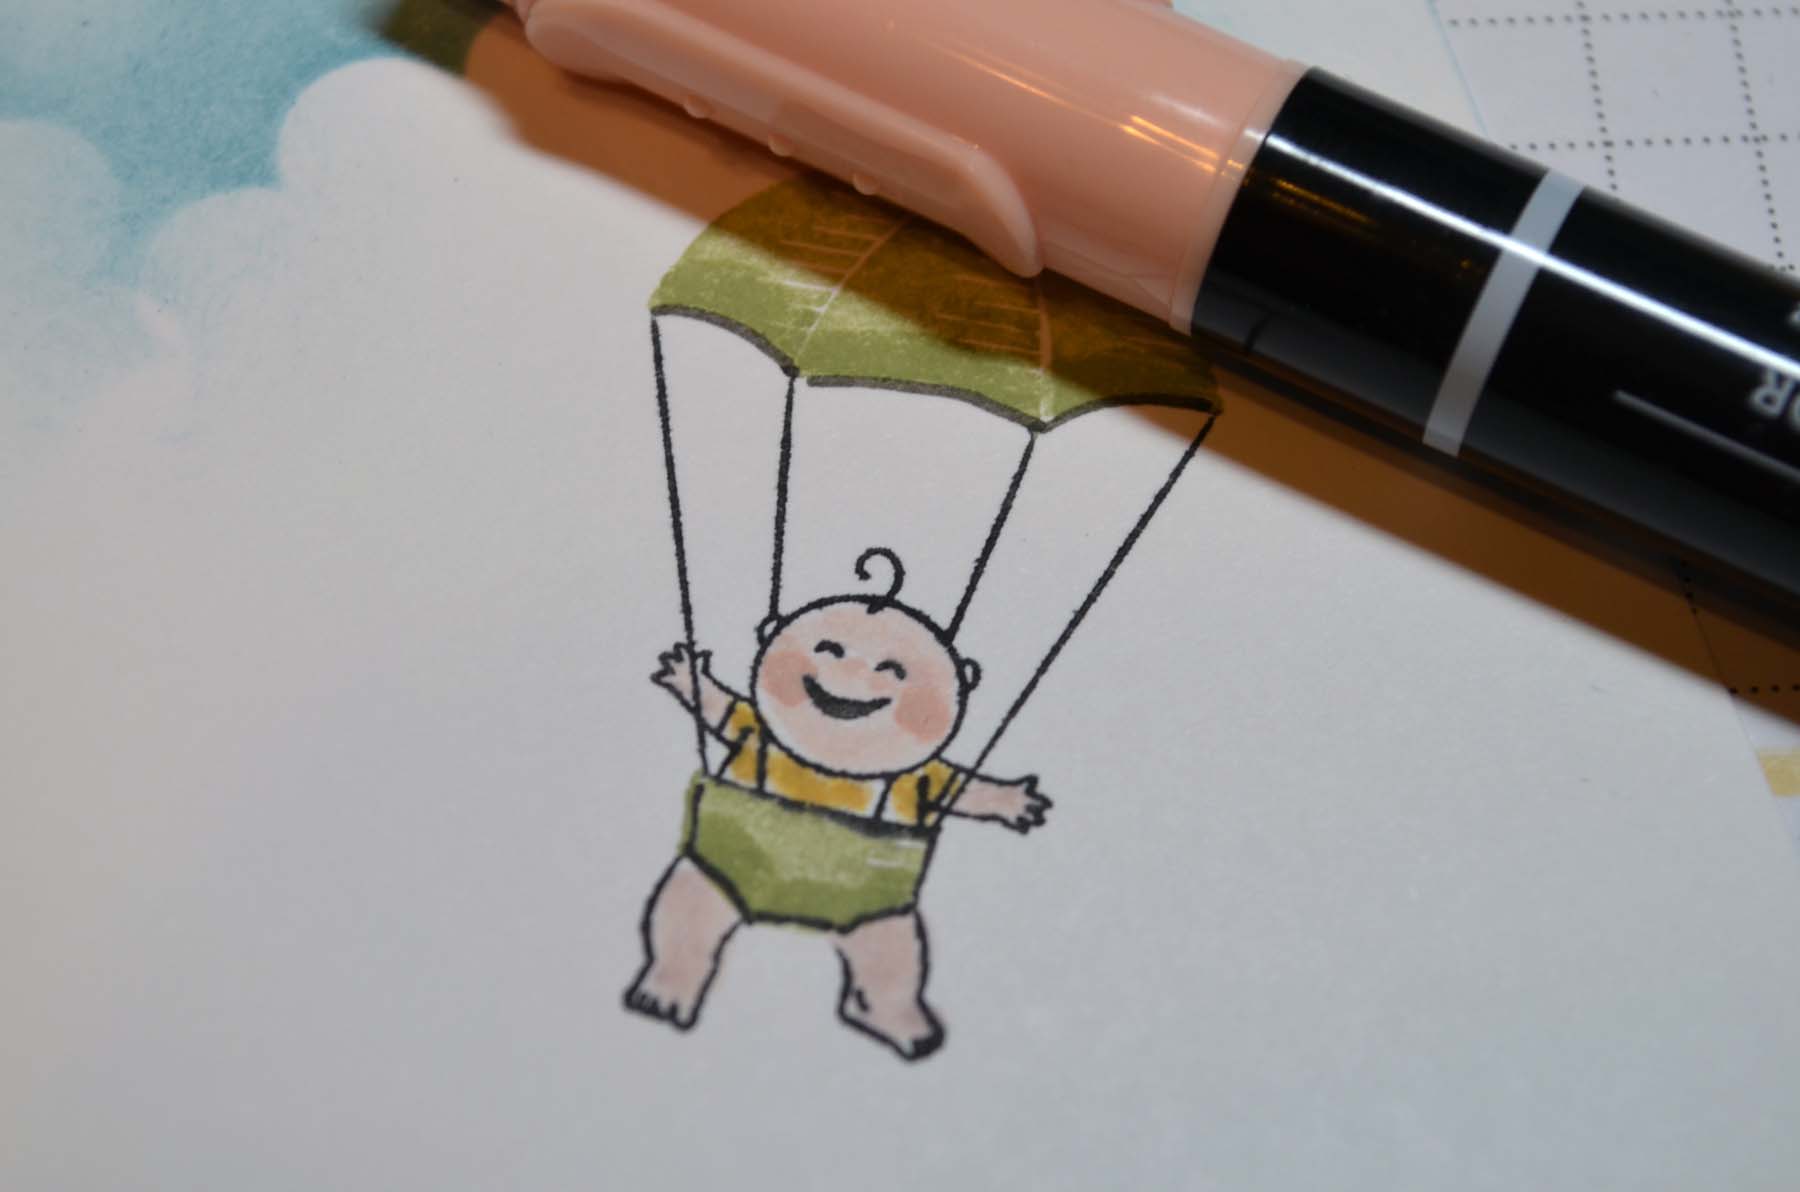
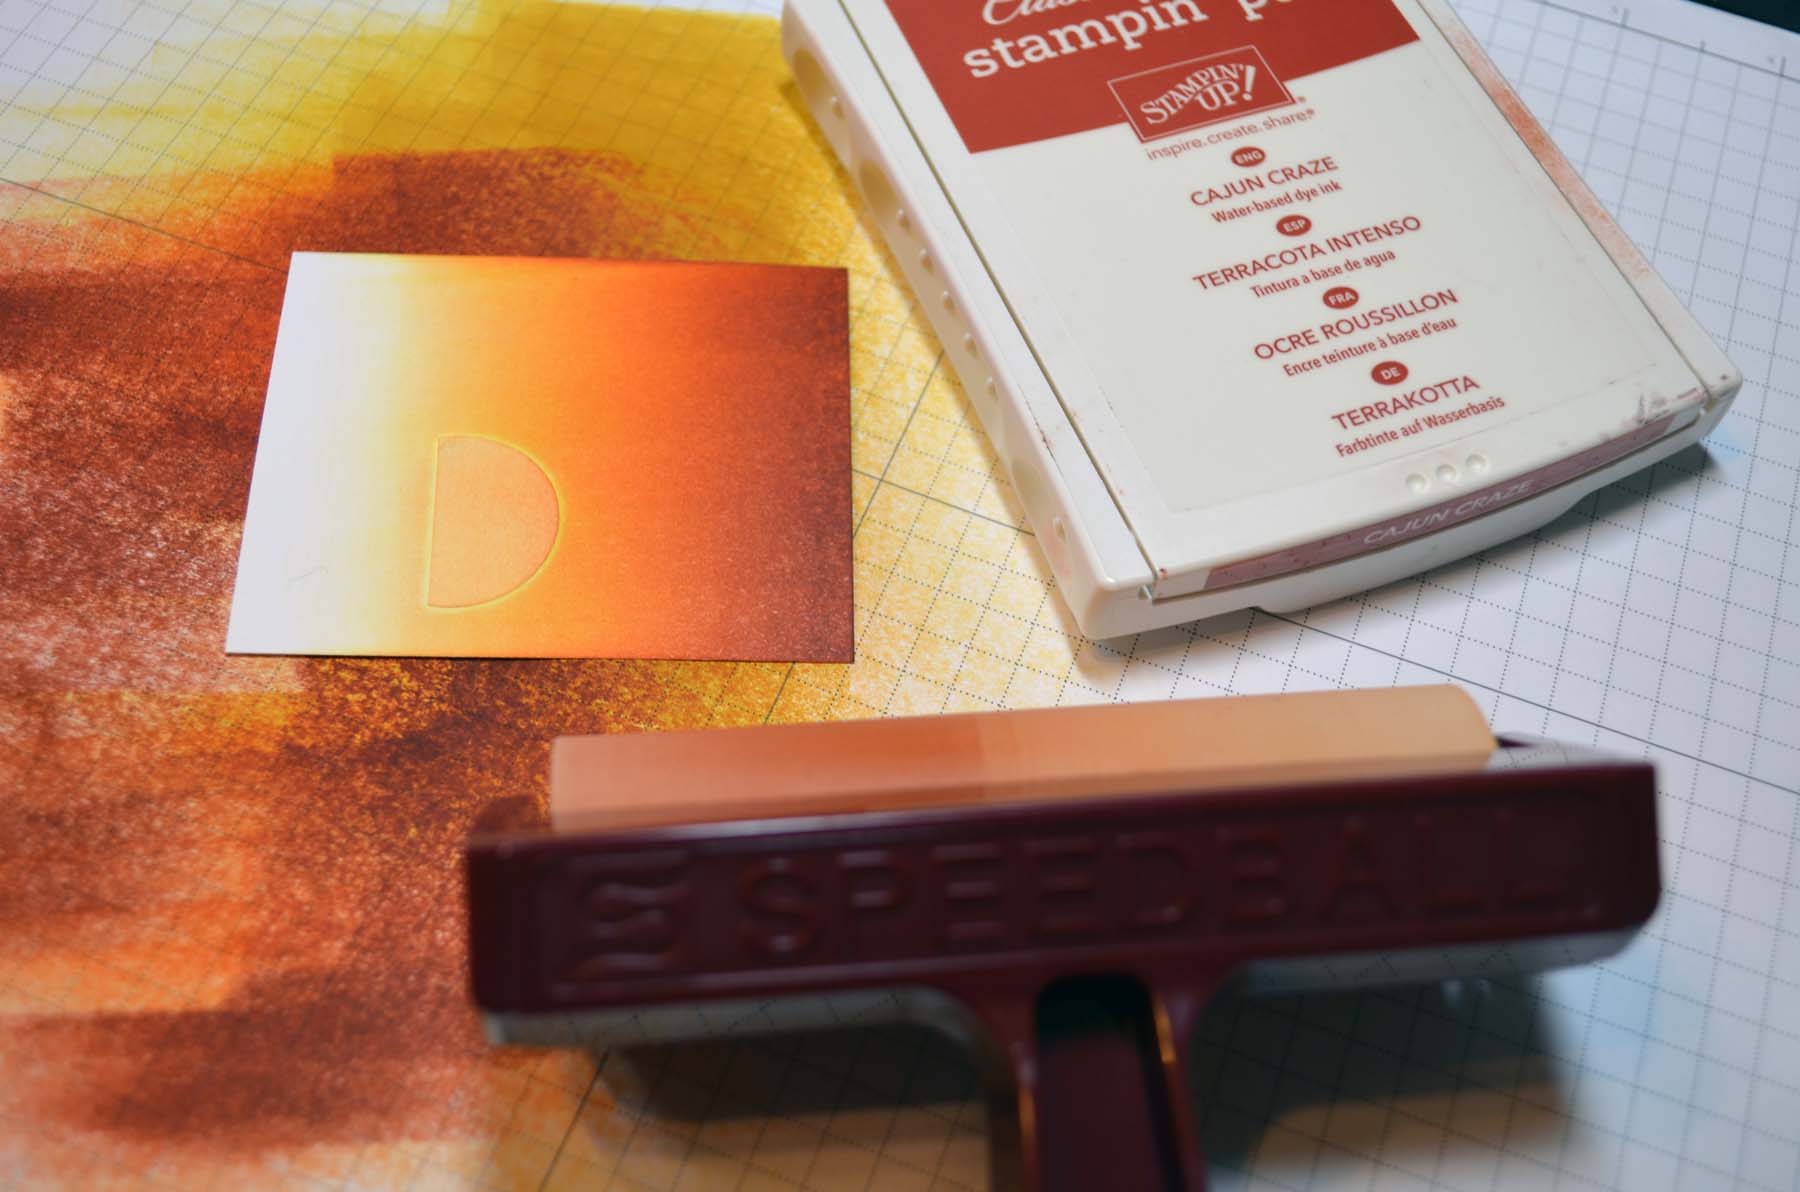
Added Gold Marker to the edges of the wings, beak and legs of the stork. Dotted the stork’s eye with a Basic Black marker.

Colored in the stork using a White Gel Pen.

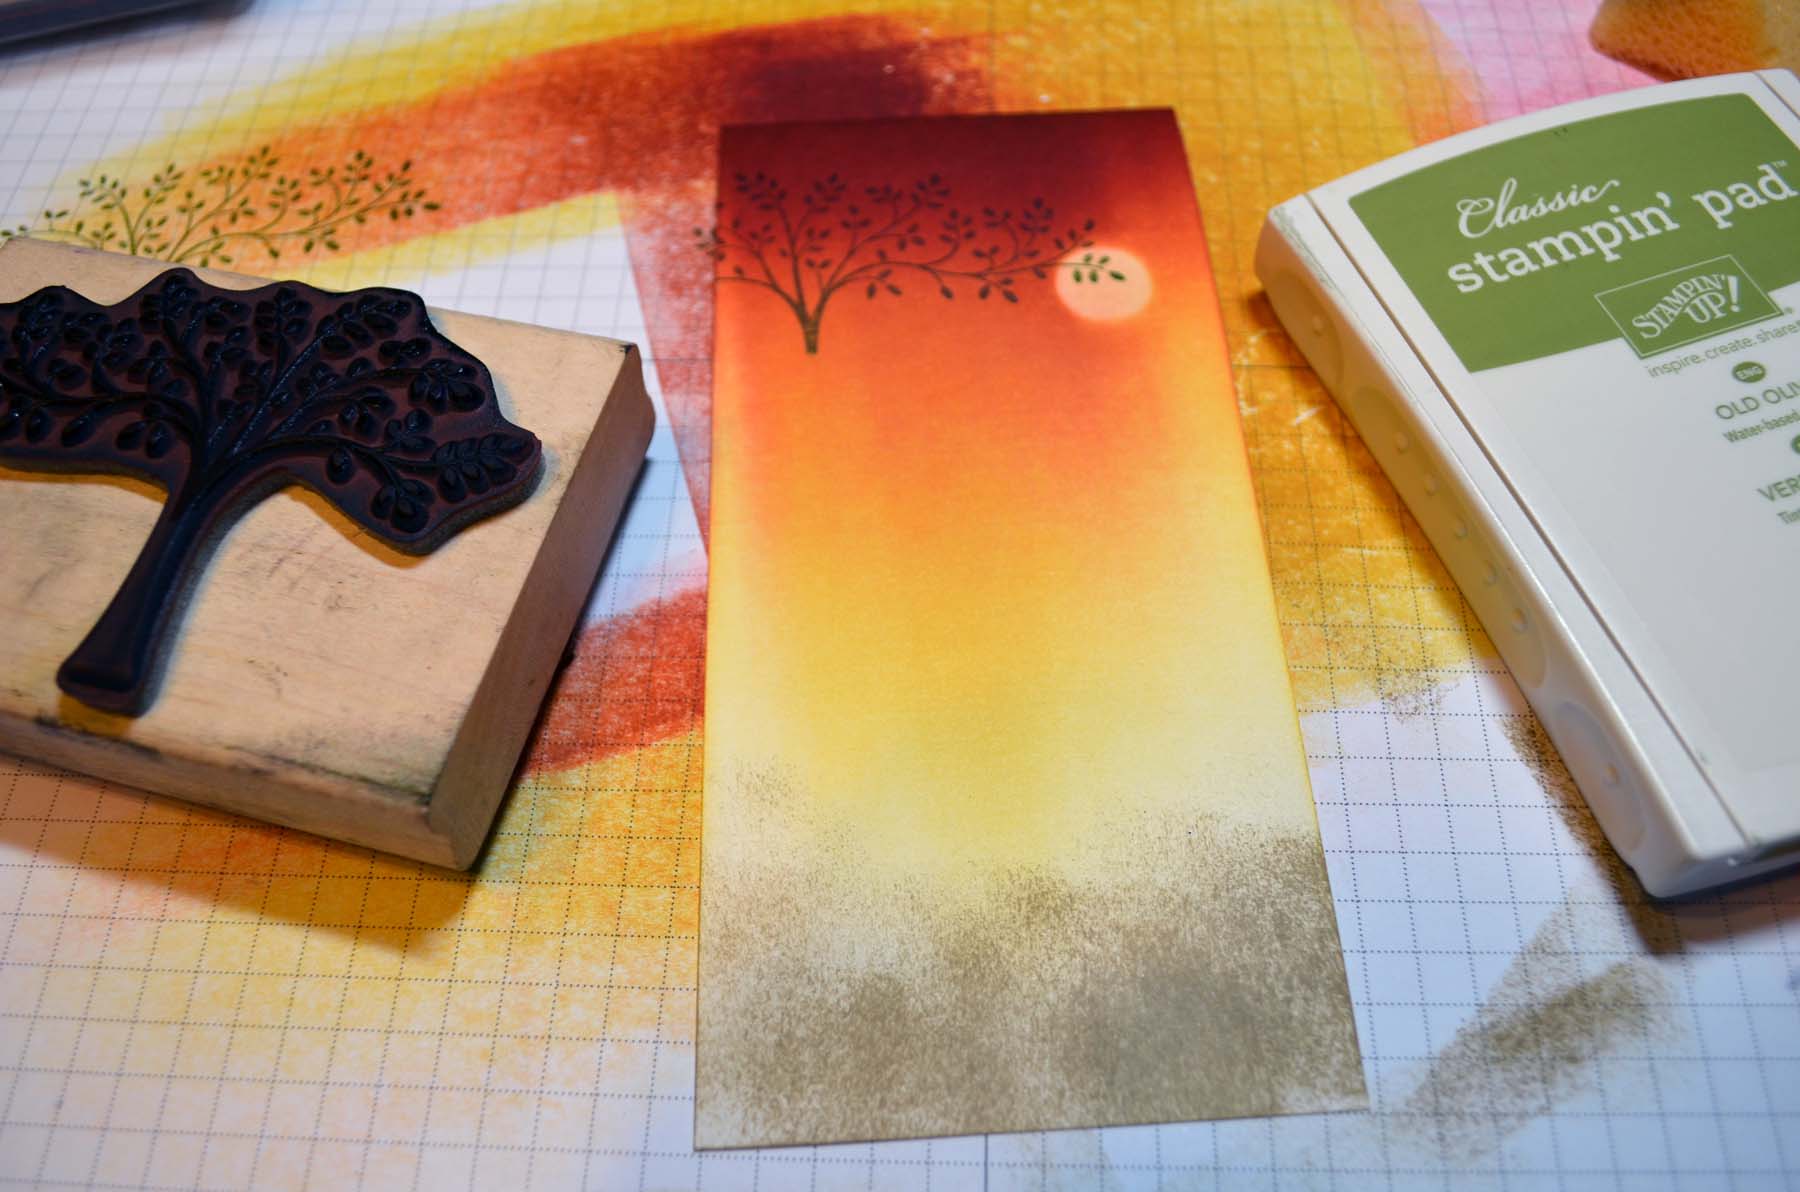
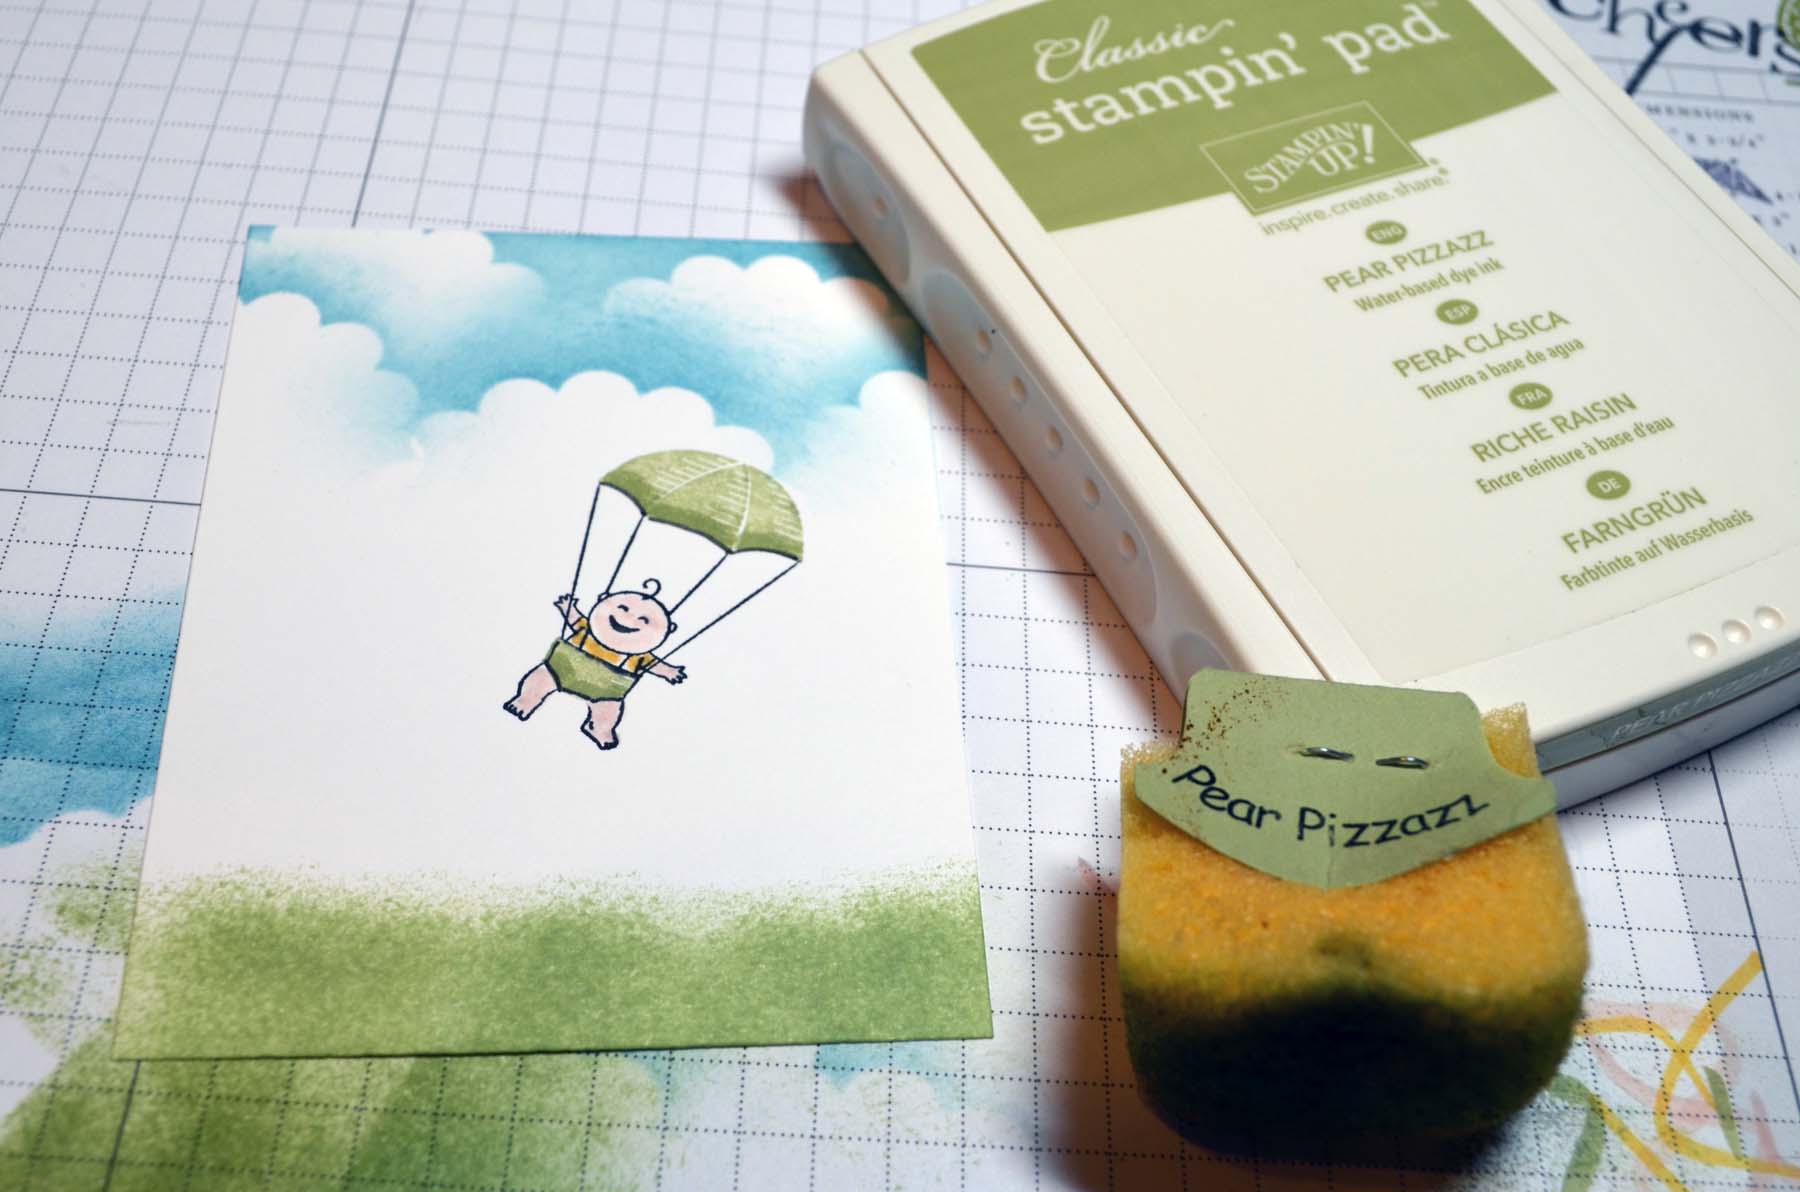
Stamped the Lovely as a Tree stamp using Midnight Muse ink and then lower with Basic Black ink.
Added a shadow on the stork and bundle using a Sahara Sand marker. The shadow goes at the edge of the wings, at the bottom of the bird, left side of the head and the left side of the bundle.

Heated the bird and moon with a heat tool to dry them so they don’t smear.
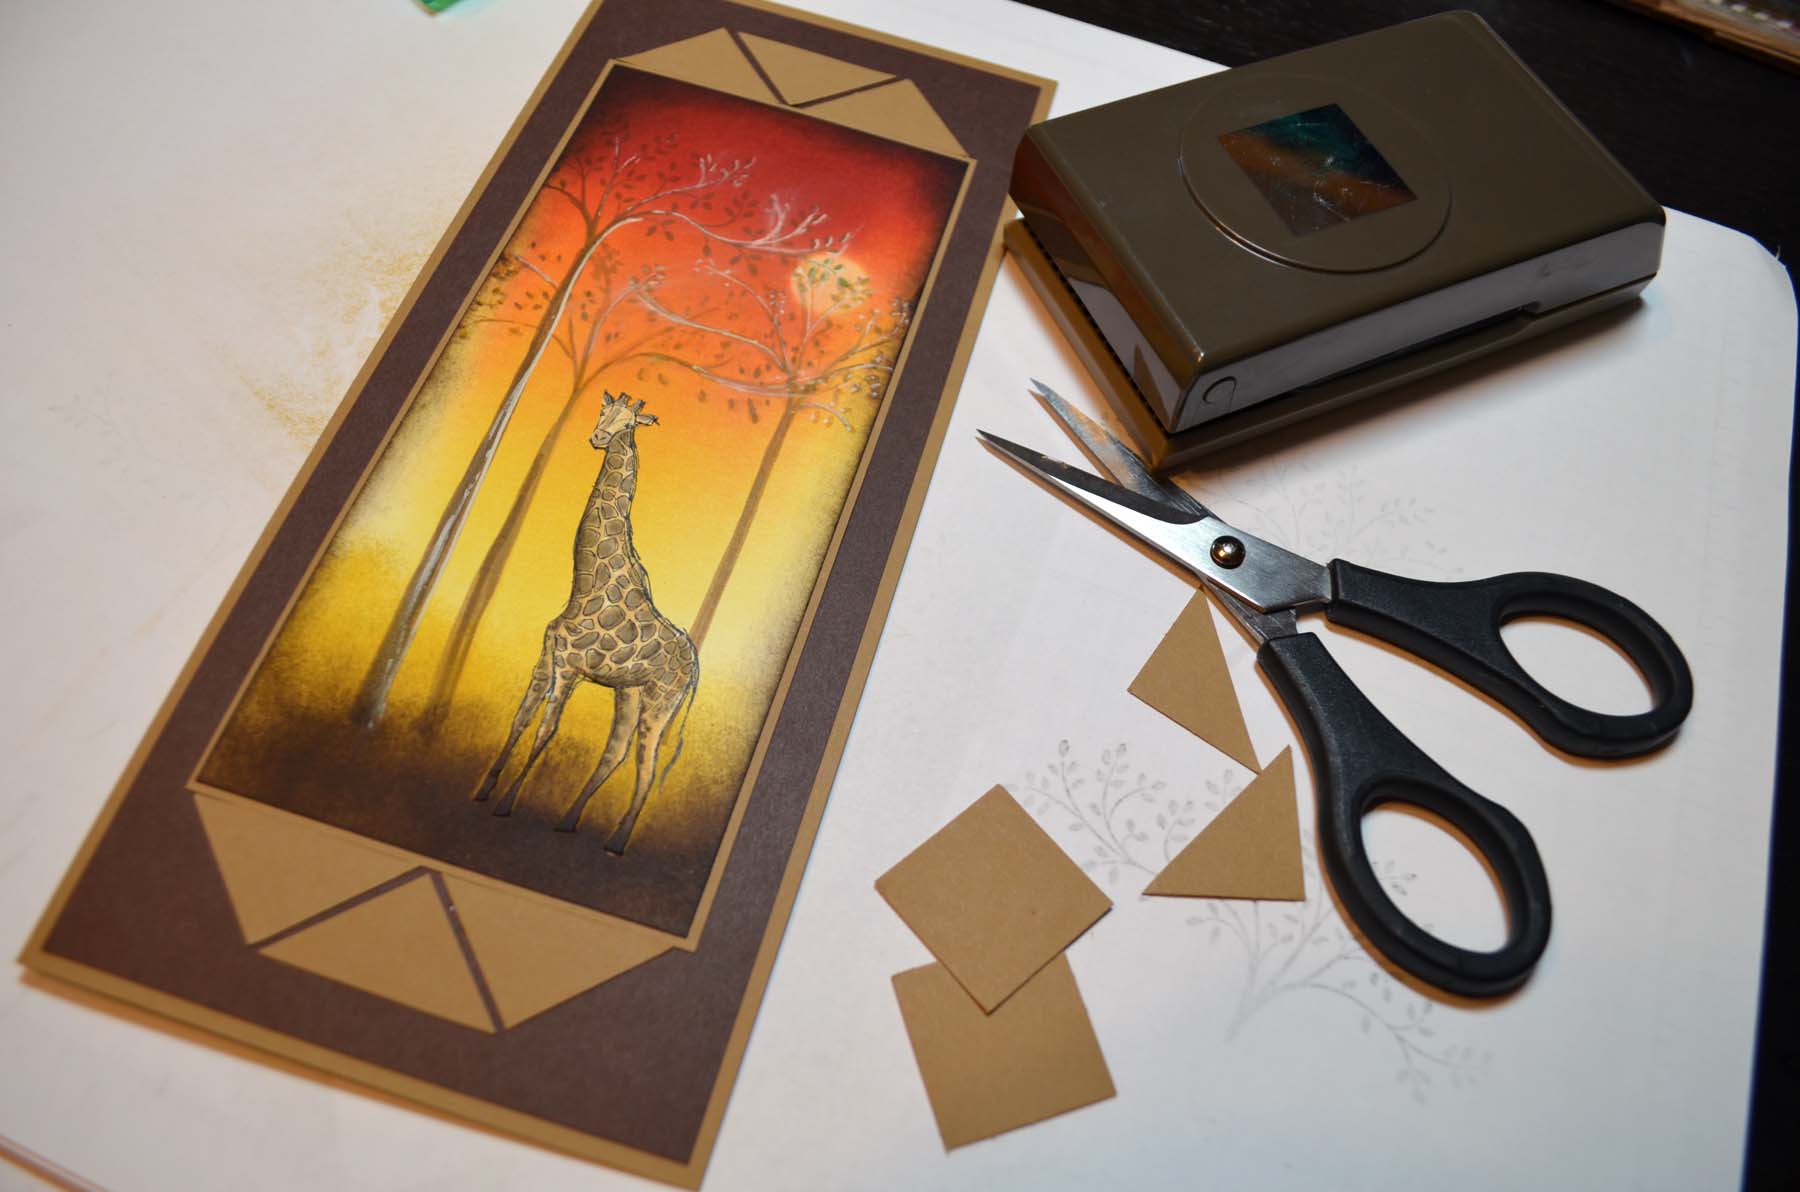
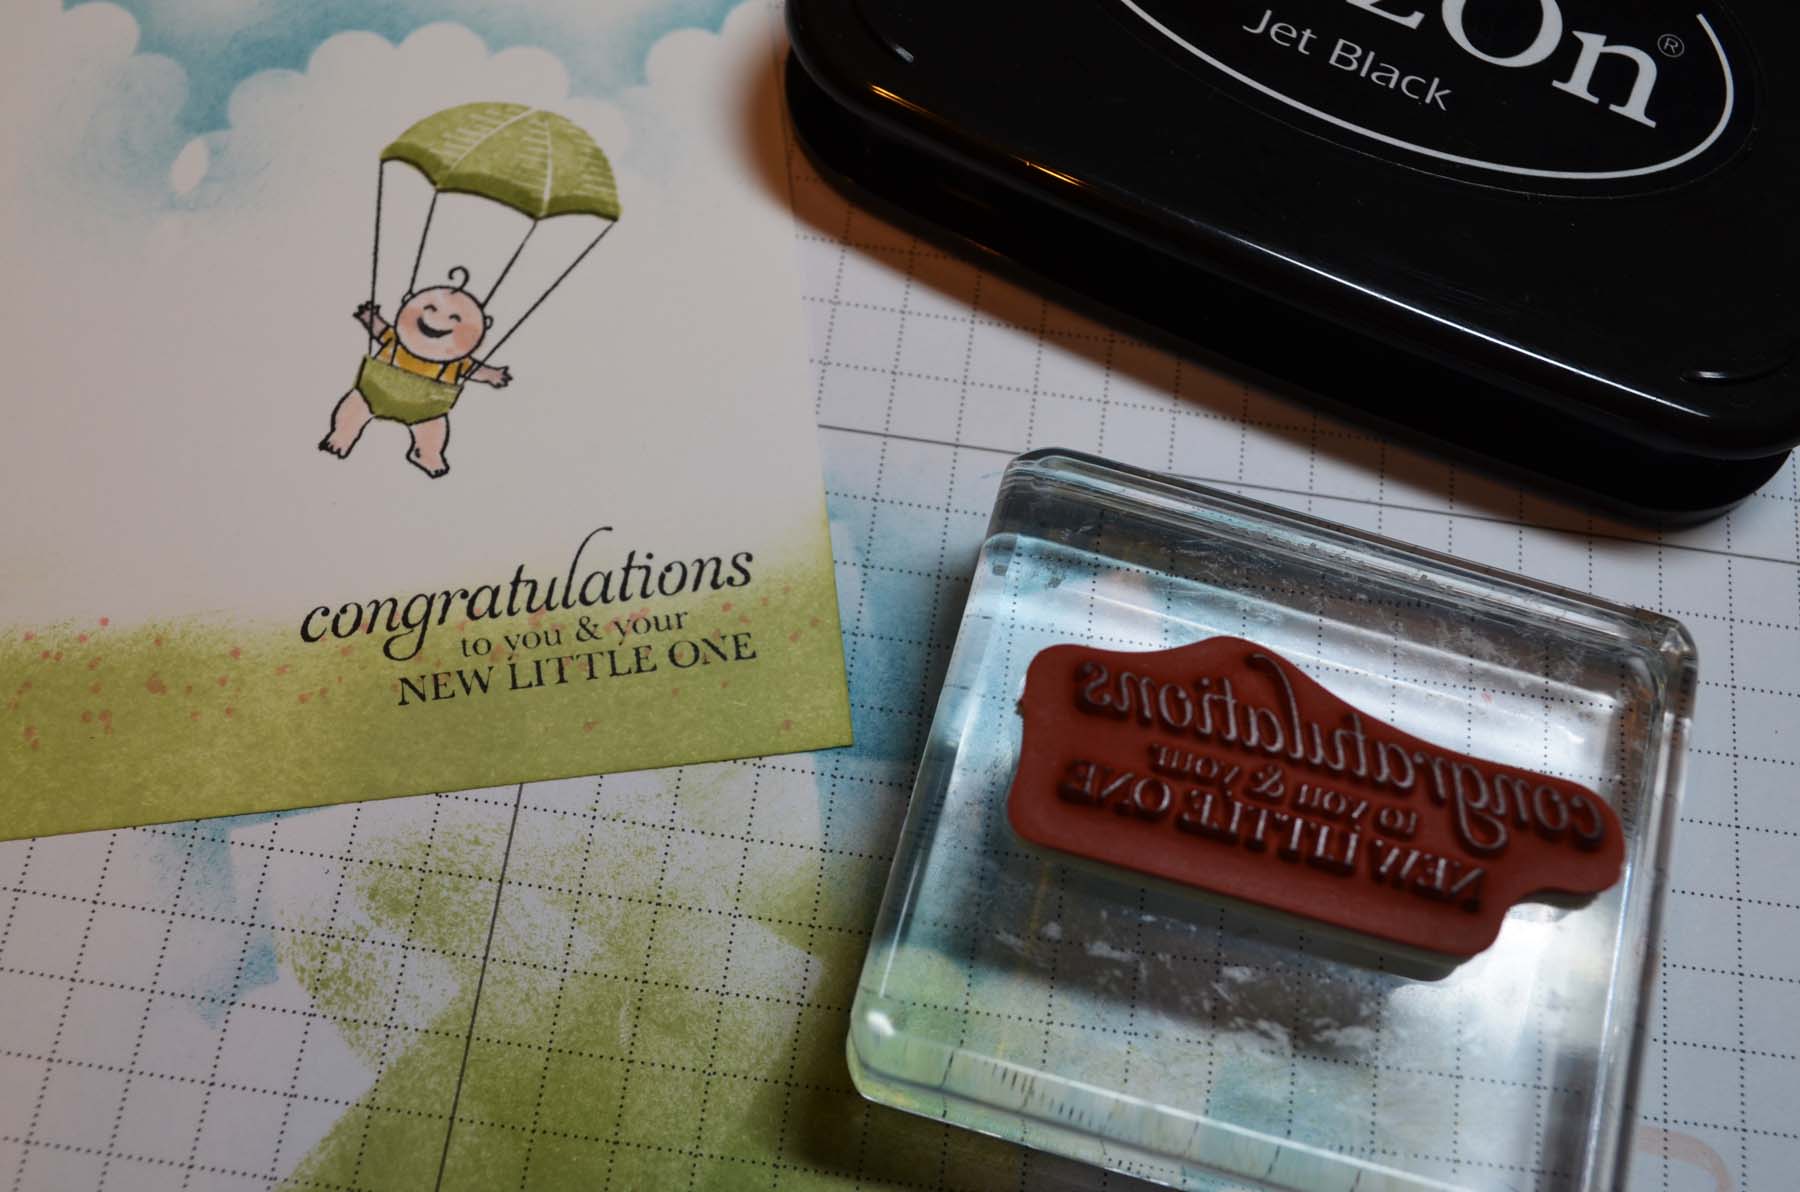
Stamped the sentiment on a scrap of Whisper White card stock and then punched it out using the Modern Label Punch.
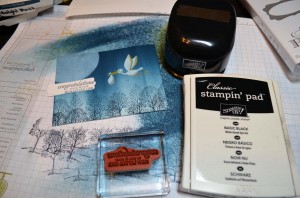
Sponged Midnight Muse ink around the edges of the main image panel.

Added a Marina Mist card base, Whisper White and Brushed gold panels, Whisper White ribbon knotted and Vintage Trinkets.
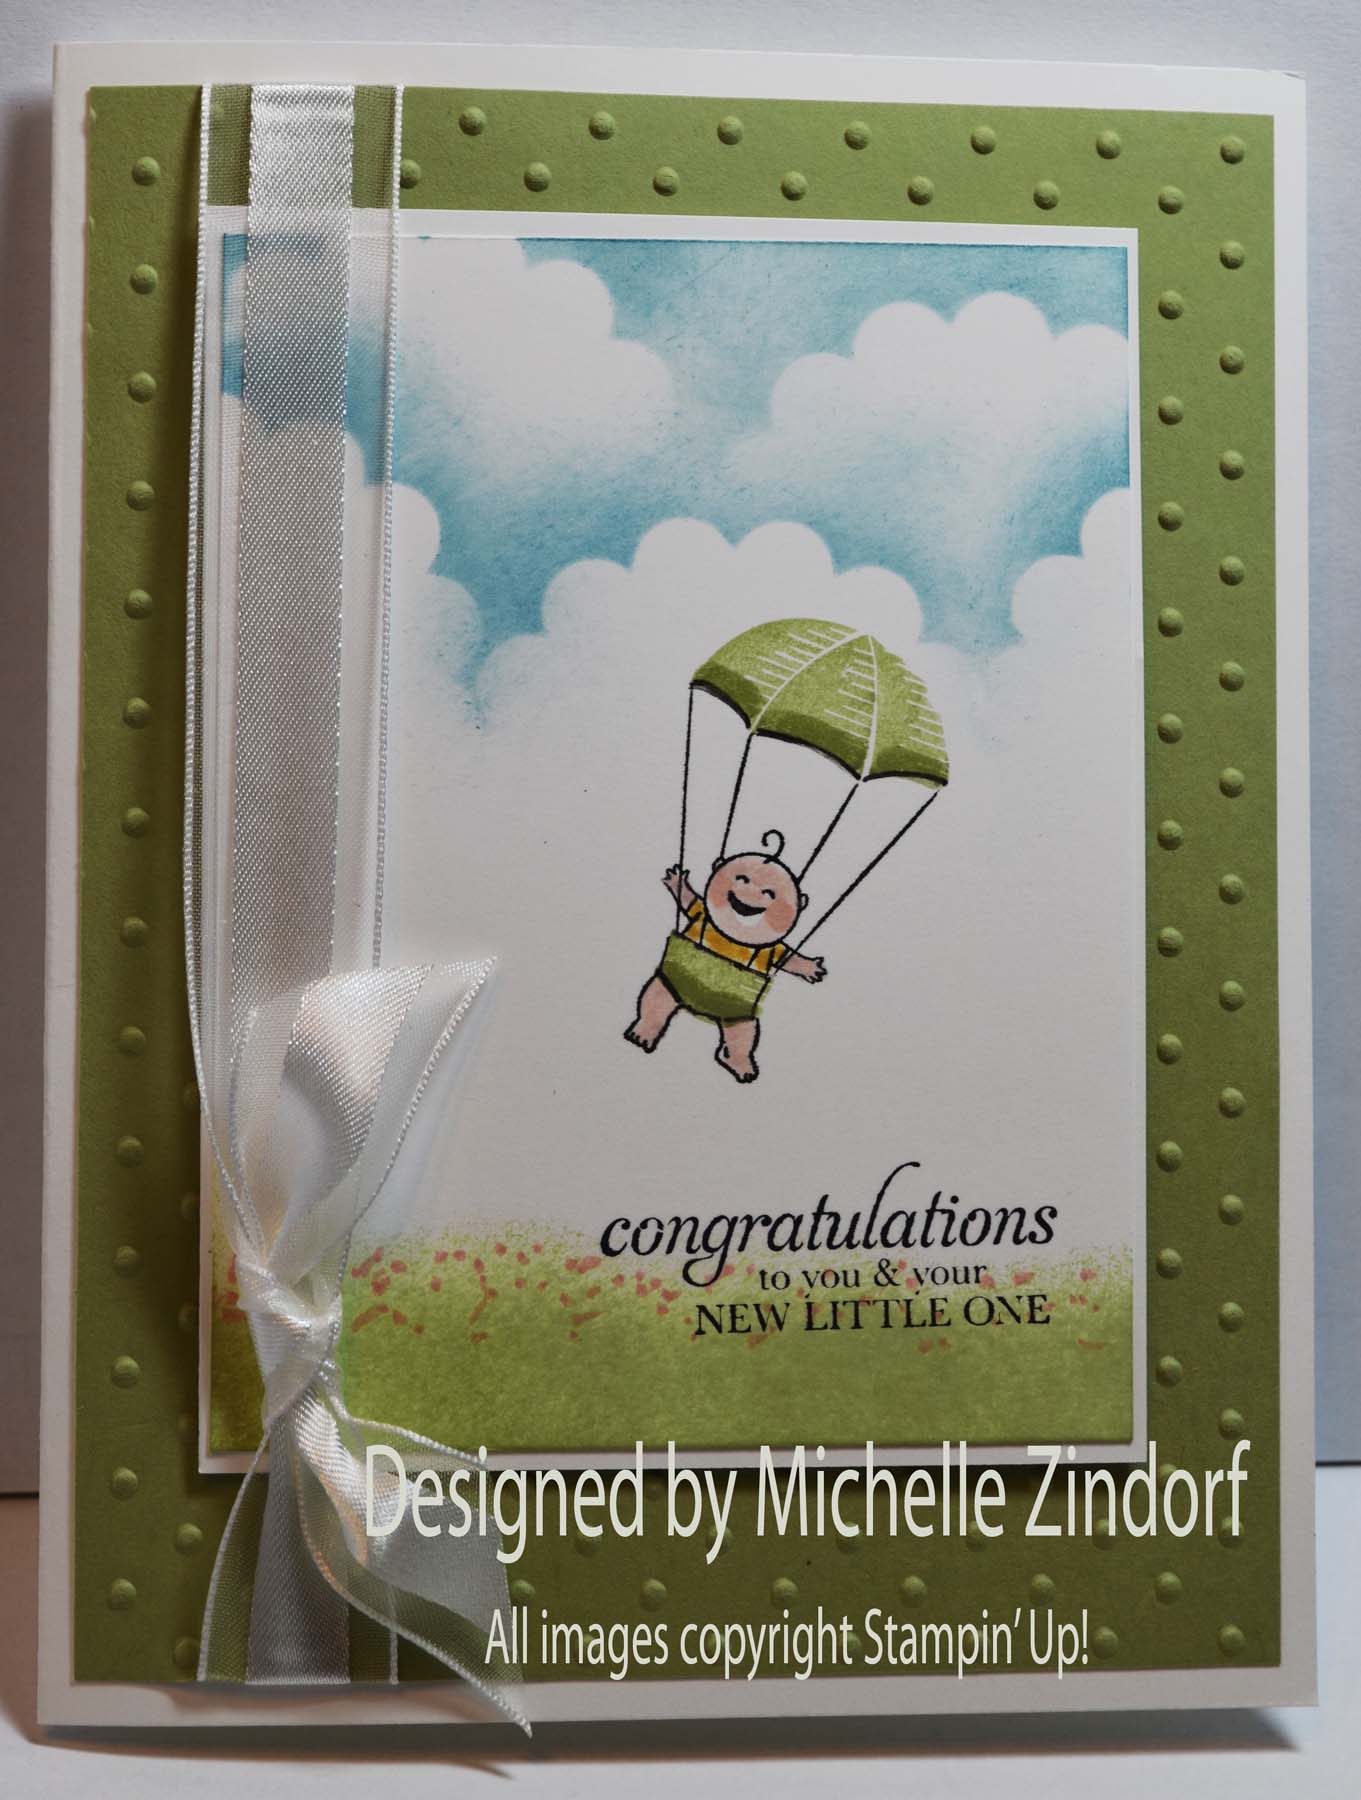
Here is the finished card measuring 4.25″ x 5.5″.
May your day be filled with wonder and surprise.
Until my next post. . . . . .
Huge Hugs!

******************************************************************
You could be my next Mystery Hostess! Make sure to use the code when ordering. . . .or you will miss out.
The new Mystery Hostess Code is KVP77JCH and this is how it works:
MYSTERY HOSTESS:
With Stampin’ Up!’s announcement of the new Hostess Code, we can now “pool” Online Orders together (place them individually, orders will ship directly to you – within the US only, but use the same hostess code). When smaller orders are put in together, the larger order qualifies for HOSTESS BENEFITS.
That means FREE STAMPS (or other products) I can SHARE with YOU!
So let’s get started with July/August Online Mystery Hostess Workshop!
How do you get to be part of the Mystery Hostess Workshop?
Simply use the Hostess Code below and place an order in my
online store by 11:00 pm on Friday, August 2, 2013.
Important: To be part of the Online Mystery Hostess Workshop, once you add your first item to your shopping bag the hostess code must be entered just below the Special Offers section and it should say Michelle Zindorf as the Hostess.
Once all the orders are placed, on Saturday morning, August 3, 2013, I will draw ONE name to get hostess benefits on the entire order! I will email the winner to get your choices.
Your Hostess Code is: KVP77JCH
Please do not put the hostess code in if your merchandise order is $150 or more. You would lose your hostess benefits that you would have coming already.
******************************************************************
Shop my online store now CLICK HERE
******************************************************************

View the 2013-2014
annual catalog online (Flash)
 Annual catalog
Stampin’ Supplies
Product Guide
I have some catalogs on hand that can be ordered. The cost is $6.50 each which includes flat rate priority shipping. Please e-mail me at [email protected] if you would like to purchase one click  ***********************************************************
Michelle’s Free Stamp Program
Don’t miss out on my Customer’s free stamp set program. Check it out! For your order of $50 in product using me as your demonstrator you will receive one virtual token. Order $100 in product receive two virtual tokens, etc. After you have collected 10 virtual tokens you will receive a free current stamp set of your choosing, a value of $30 or less.
Here is a link to my online shopping page that you can shop at 24/7 (from the comfort of your home, even in your pj’s) and the products will be shipped directly to your door step from Stampin’ Up. CLICK HERE TO SHOP. My free stamp set program will be an on going program. 
|
Paper Pumpkin Promotion

Offer Dates: July 18, 2013 -August 31, 2013
Offer Details: Use the promotion code PUMPKINDEAL to
join Paper Pumpkin before August 31, 2013, and pay only $10 a month*
for the first two months.
*plus tax, where applicable. Shipping included!
The Fine Print:
- For new subscribers only.
- Promotion applies only to the first two months of a new
subscription. After receiving two month’s worth, the price for each
month’s kit will go to the regular price: $19.95.
- You need to visit mypaperpumpkin.com to join.
- You must click “Add Promo Code” and then enter the promo code
PUMPKINDEAL in the “Promo Code” field when you sign up on the
mypaperpumpkin.com website to take advantage of this promotion.
- You must join by Saturday, August 31, 2013; 11:50 PM (MT).
|
|
***************************************************************
**************************************************
Learn How to Brayer

 I now have an online beginner brayer video classes that will teach you how to brayer. CLICK HERE TO GET THEM.
**************************************************
 Also, check out my new Zindorf Naturals Soap Page. This stuff is oh so good for your skin. CLICK HERE TO CHECK IT OUT. I’m adding new soaps all the time to check back frequently.


