
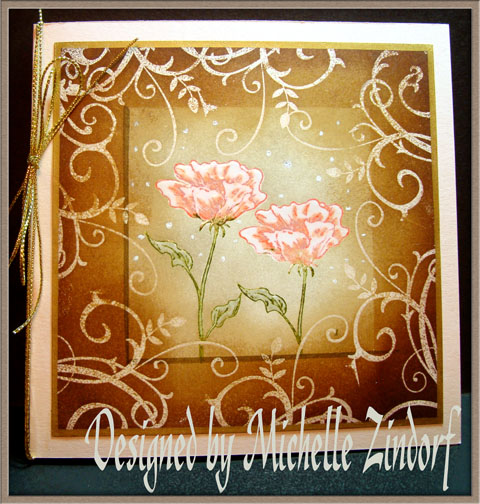
This card looks like it has many layers, but it only has (2) two, the main image panel and the Blush Blossom Card. Stay a moment with me and I will show you how this was all done.
Let’s get right to it. 🙂
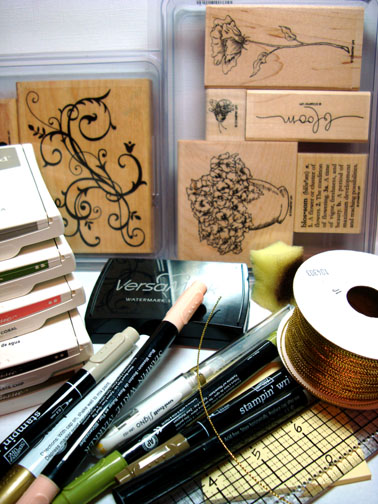
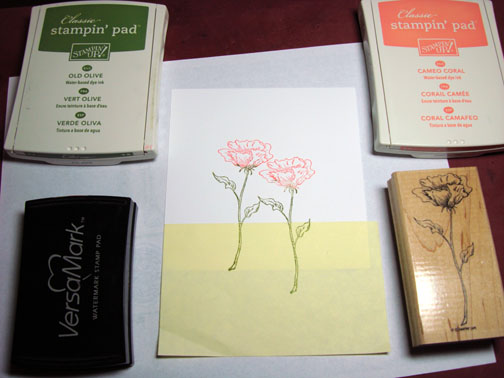
Supplies:
| Stamps: Stampin’ Up Bloomin’ Beautiful & Baroque Motifs |
| Paper: Stampin’ Up Whisper White & Blush Blossom |
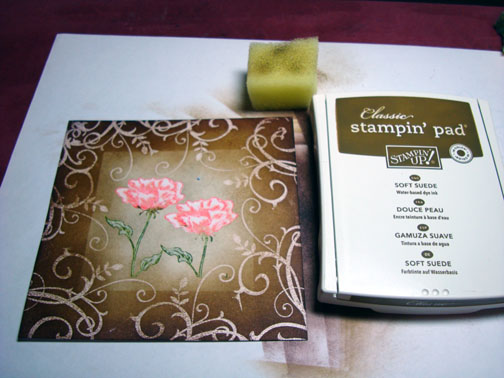
| Ink: Stampin’ Up Sahara Sand, Old Olive, Cameo Coral, Chocolate Chip & Soft Suede |
| Accessories: Stampin’ Up Markers, Sharpie Metallic Gold Paint Marker, White Gel Pen, Clear embossing Powder, Heat Gun, Versmark Pad & Marker, Post it notes & sponges |
Are you inspired by this Blog? One way you can help support this blog is by ordering your Stampin’ Up products through me. You can order from me 24-7 from this link: https://michellezindorf.stampinup.net or e-mail me at [email protected] if you are within the United States. Want a copy of the brand new 2009-2010 Stampin’ Up Catalog for $9.95, just e-mail me at [email protected] and I will get one in the mail to you. Want to become a Stampin’ Up Demonstrator and earn instant income? Consider being part of my Stampin’ Up Team.
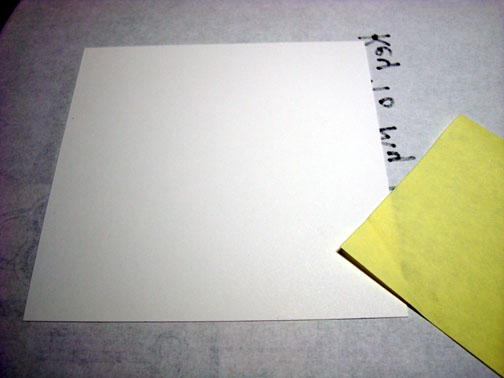
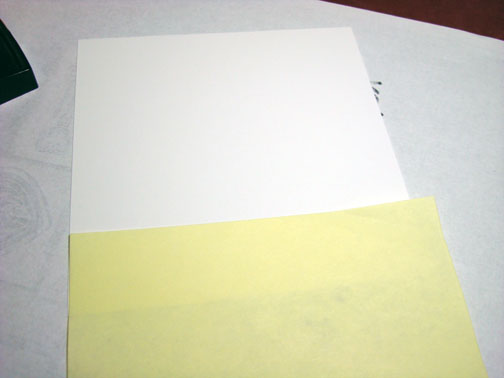
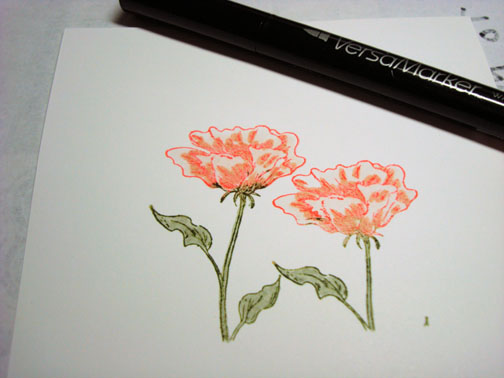
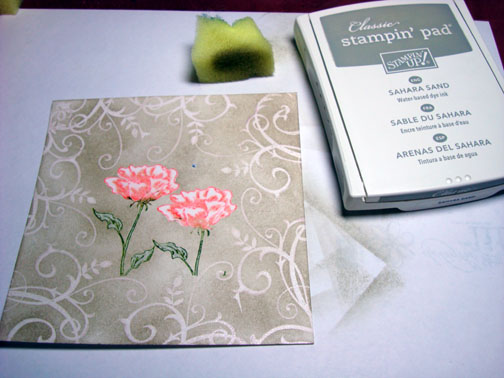
Started with a 4.75″ square piece of Whisper White card stock and masked the bottom 1″ of it with a post it note.
Stamped the flower twice at first loading my stamp with Versamark, Cameo Coral and tapped a bit of Old Olive on the stem area before stamping the image.
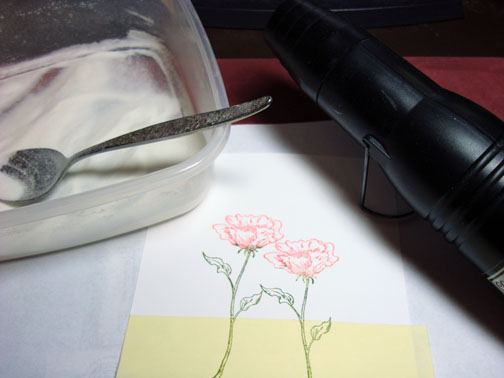
Heat embossed the flowers with clear embossing powder and a heat gun.
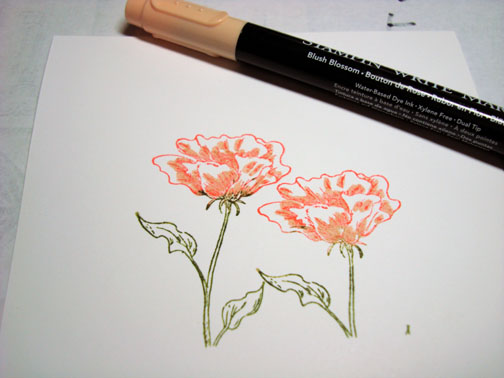
Added a bit of Blush Blossom marker to the flower heads.
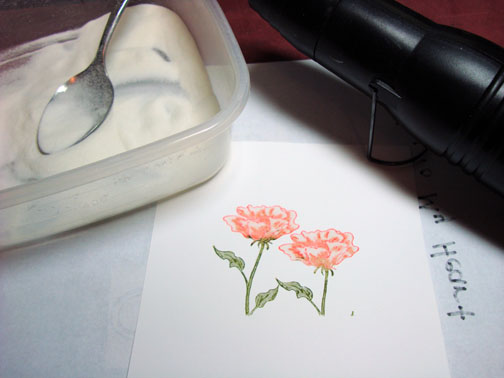
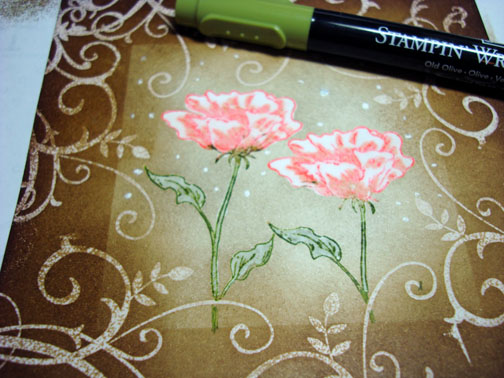
Colored in the stems and leaves with a Sahara Sand marker.
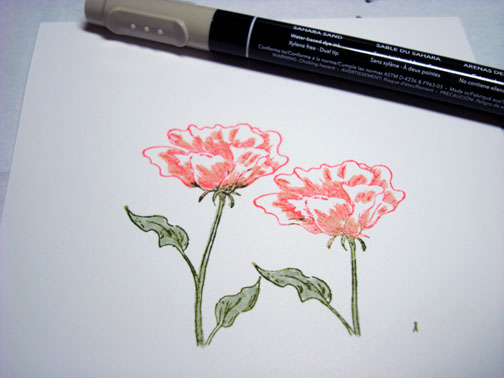
Colored over the flowers and stems with a Versamark marker and then heat embossed the images with clear embossing powder. If after heating your embossing looks pitted, go over it again with Versamark and clear embossing powder and heat again. This second layer of embossing really protects the images from the ink we will be putting over them.
Yikes, I grabbed my inked up Versamark pad here instead of my clean one, which was my intention. Oh well, gotta stick with it now that I stamped one of the flourishes with it.
Stamped flourished around the entire outside of the card stock with Versamark only.
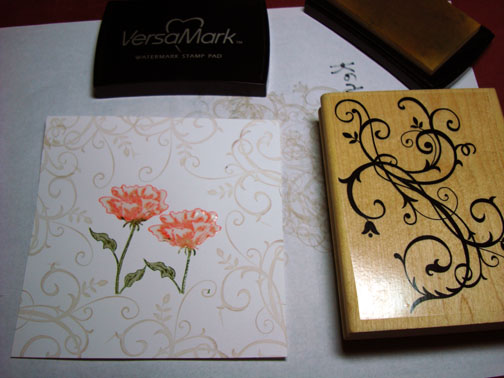
Heat embossed the flourishes with clear embossing powder and a heat gun.
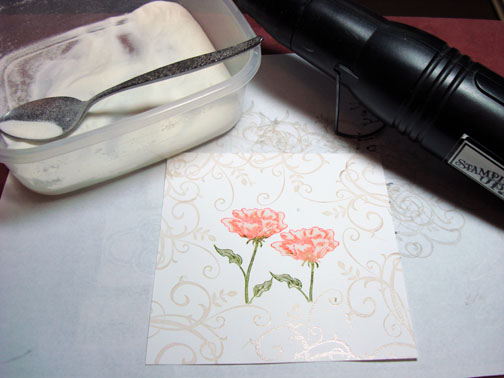
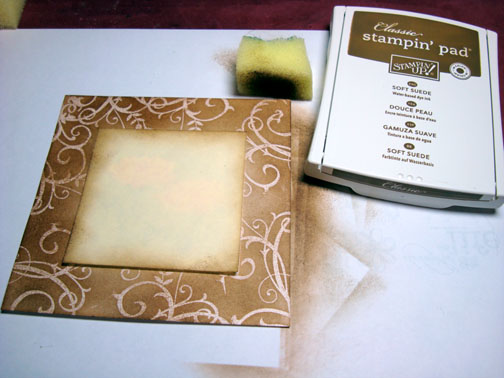
Sponged Sahara Sand ink all over the card stock.
Masked the center of the cardstock with a post it note.

Sponged Soft Suede ink around all over the unmasked portion of the card stock.
Can I say love this new In Color! I will be getting some mileage out of this pad in the future.
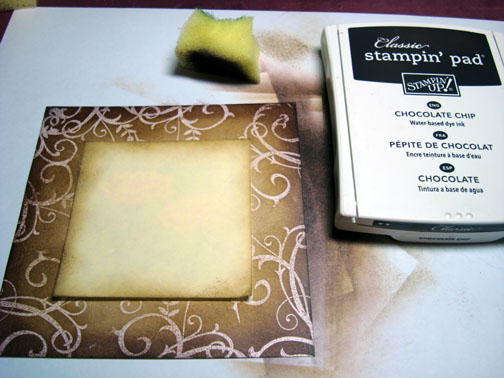
Sponged Chocolate Chip ink around the outside edge of the card stock, not covering the Soft Suede ink entirely.
Unmasked the panel.
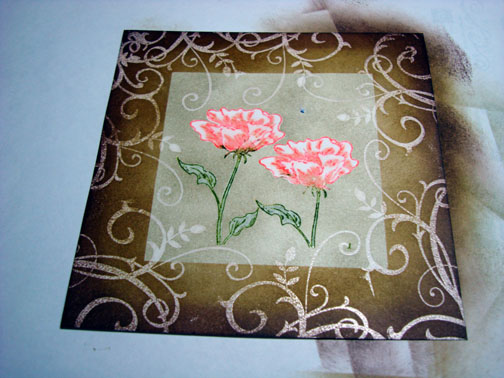
Sponged Soft Suede lightly over the edges of the previous masked area to soften them some.
I had a speck of something blue on my card stock so I decided to add the white gel pen dots to hide it. 🙂

Extended the stems down to the masked line with an Old Olive marker.
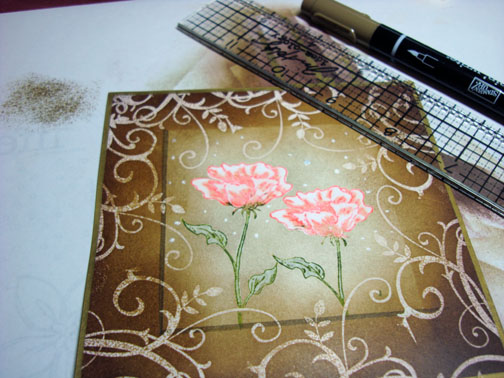
Added a Shadow on the bottom and left side of the previous mask area to create a shadow using a ruler and a Soft Suede marker. That’s right, for the first time Stampin’ Up has put out markers to match their in colors this year, YEAHHHHHH!

This is a very easy step that adds so much. 🙂
Oops! I see that I missed a photo. I used a Metallic Gold Sharpie Paint marker on the edge of the card stock to make it look like a gold card stock layer.
Adhered the main image panel to the Blush Blossom card. Also added some gold cord. Here it is assembled measuring 5.25″ square.
I hope this tutorial has inspired you to create layers with your images and shadows. Two layer cards are a lot lighter to mail. 🙂 And look at all the card stock you could be saving.
May your day be layered with happiness.
Until my next post. . . . . . . . . . . . . . . . .
Huge Hugs,
Michelle
Get ready for Brayer Workshops! I am coming to:
New Johnsonville, Tennessee
Stoughton, Wisconsin
Dayton, Ohio
Columbia, Missouri
Lynchburg, Virginia
Greenwood, Indiana
Castro Valley, California
Yardley, Pennsylvania (near Philadelphia)
Knox, Maine
Broomfield, Colorado
Moore, Oklahoma
Nashville, Indiana
Portland, Michigan
2010
Phoenix, Arizona
Monroe, Louisiana
Jacksonville, Florida
Mechanicsville, Virginia
Raleigh, North Carolina
Colleyville, Texas
Colorado Springs, Colorado
Salem, Oregon
Here is a link to my workshop calendar where you can see all of my travel schedule and to get info on beginner and advanced Brayer workshops: https://zindorf.splitcoaststampers.com/workshop-calendar
Link to my Stampin’ Up website were you can order all of your must have Stampin’ Up products from me 24-7: https://michellezindorf.stampinup.net
Frequently asked questions answers: https://zindorf.splitcoaststampers.com/frequently-asked-questions/
Pingback: Project 33 of 365: One Layer Wonder « Stampin' Betty: 365 Stampin' UP! Projects in 365 Days!!