
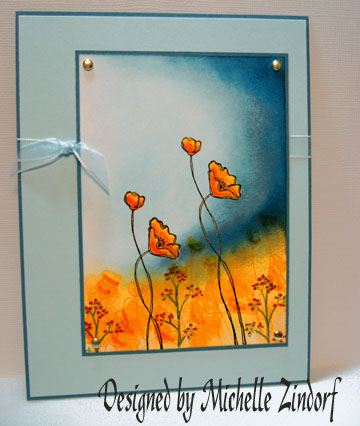
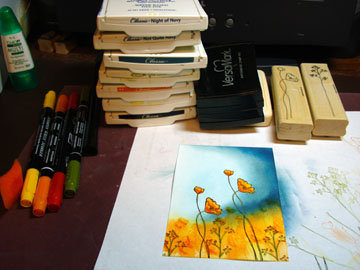
As promised here is the Orange Poppies card tutorial using the emboss resist technique.
| Stamps: SU Oh, So Lovely |
| Paper: Whisper White, Blue Bayou, Soft Sky |
| Ink: SU Old Olive, Pumpkin Pie, Summer Sun, Soft Sky, Blue Bayou, Not Quite Navy, Night of Navy, Black, Adirondack Aqua |
| Accessories: Versamark pad and marker, Brads, Ribbon, Sponges, SU Markers in Summer Sun, Pumpkin Pie, Real Read & Old Olive, Clear Embossing powder, heat gun. |
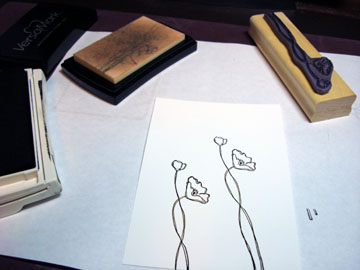
Load your poppies stamp with Versamark first and then with Black ink (all of my inks are Classic Dye inks), stamp poppies on Whisper White card stock and heat emboss using clear embossing powder.
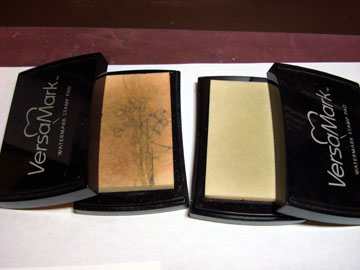
Note: I have two Versamark Pads, one for this technique and the other, clean one for just stamping Versamark.
Your pad will get colored ink on it, unless you clean your stamp between stampings.
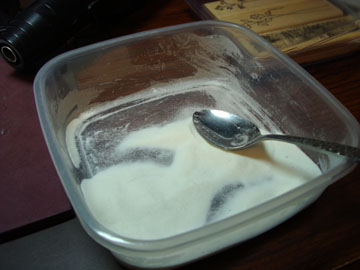
I keep my clear embossing powder in a plastic sandwich sized container and spoon it on. Much, much easier than trying to put the powder back in to the little canister container that it comes in.
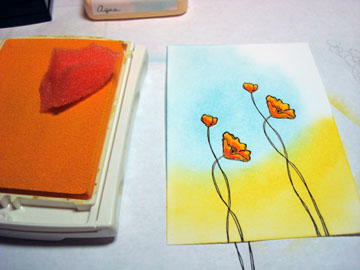
Color poppies with Summer Sun Marker.
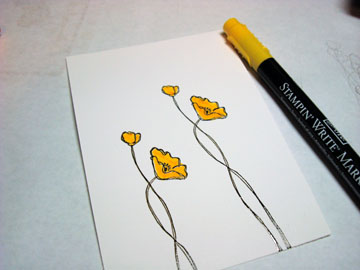
Add Pumpkin Pie Marker at base of flowers.

Color over poppies with Versamark Marker and heat emboss with clear embossing powder.
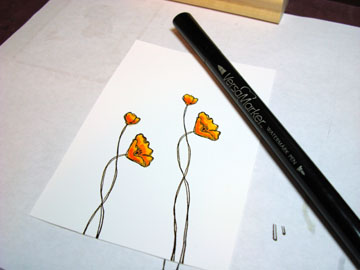
Now that your flowers are heat embossed they will resist any ink put over them. I love this technique, it really makes images pop!
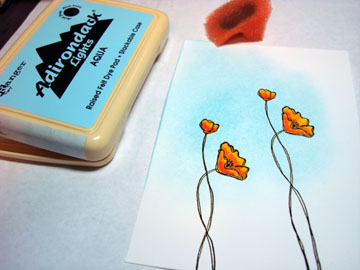
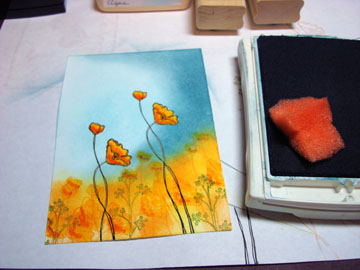
Sponge in a circular motion Aqua ink.
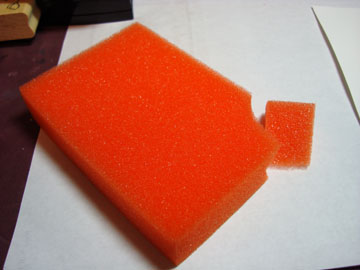
I’m asked a lot what kind of sponges I use. Well I’m cheap, so I buy really big bags of cheap sponges at the dollar store, lol. Using such cheap sponges allows me to always use a chunk of a fresh one.
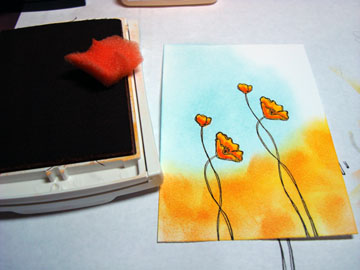
Sponge on Summer Sun ink using circular motions.
Dab on Pumpkin Pie ink in splotches.
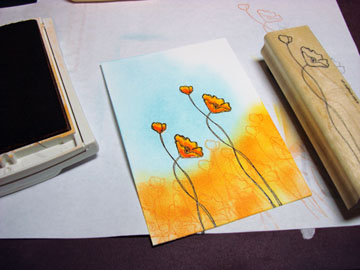
Stamp poppies over orange and yellow with Pumpkin pie ink.
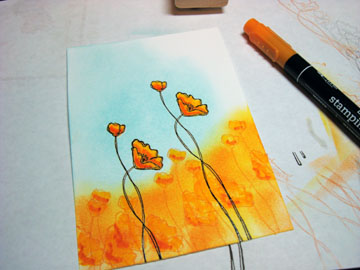
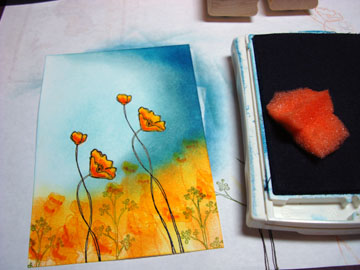
Color poppies with markers, first with Summer Sun and then add some Pumpkin Pie at the bases of the flowers. Your just wanting to define them a bit.
Stamp the sprigs using Old Olive ink.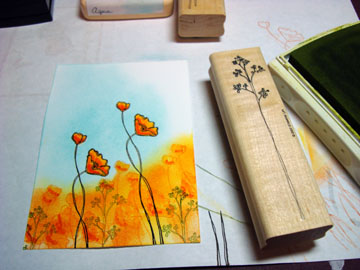
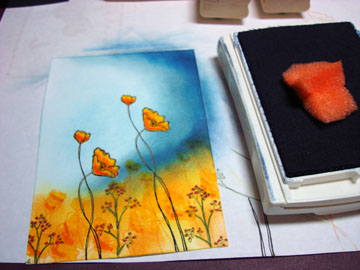
Sponge on right top half Blue Bayou ink.
Sponge on Not Quite Navy ink.
Color in sprigs with Old Olive and Real Red Markers to make them stand out more.

Finish off by sponging on Night of Navy ink.
And here it is ready to assemble.
I hope you enjoyed this tutorial. I realize it skips around a bit, but that is how my creative process flows.
Please leave me a comment giving me feed back on this tutorial and also any questions you may have.
24 responses to “Orange Poppies Tutorial”