
Switching gears this morning so I can crank out a Birthday card for my musician brother-in-law. Hard to drag myself away from using all the great Autumn images I have in stamps.
But, I love these images too. This set is “Rock Star” by Inkadinkadoo. I pick this up at Michael’s Craft store.
Well let’s get rock’n on this tutorial, yeah corny I know, lol. 🙂 Had to say, just had to!
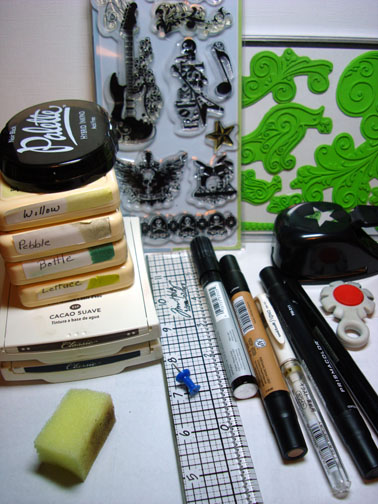
Supplies:
| Stamps: “Rock Star” by Inkadinkado & Nightingale by See D’s |
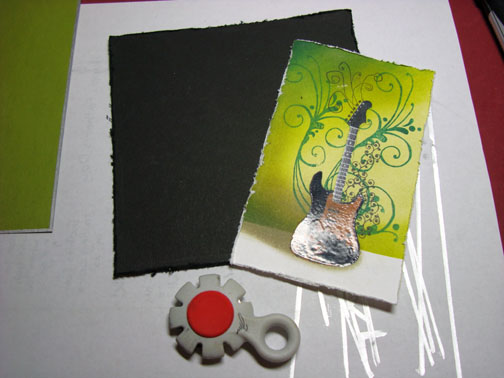
| Paper: Stampin’ Up Whisper White, Old Olive, Basic Black |
| Ink: Stampin’ Up Basic Black & Close to Cocoa, Adirondack Lettuce, Bottle, Pebble & Willow, Palette Noir Black |
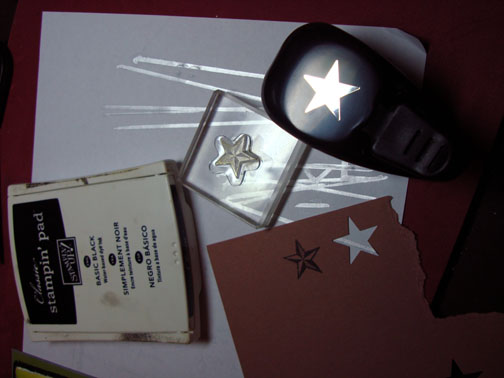
| Accessories: Star Punch, Prismacolor Metallic Silver Marker, Prismacolor Walnut marker, Tim Holtz ruler & distressing tool, White Gel Pen, Versamark marker, fine detail embossing powder, heat gun, post it note, sponge, push pin, silver brads |
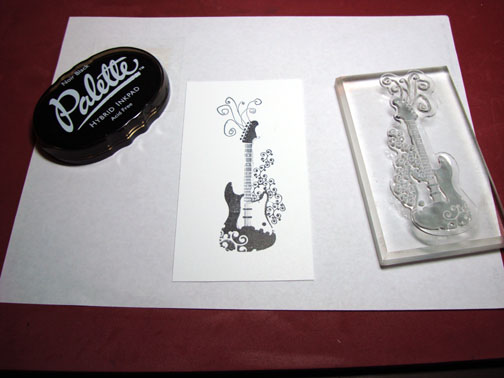
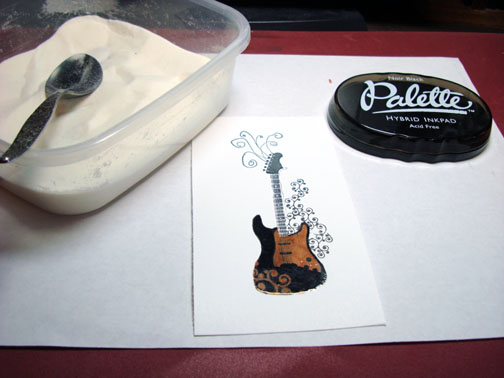
Stamped image with Palette Nior Black on a 3″ x 5″ piece of Whisper White card stock.
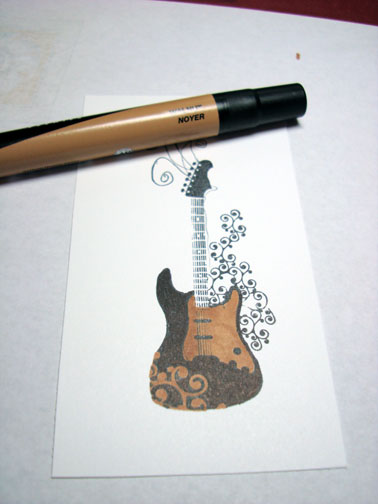
Colored in the open areas on the base of the guitar with a Prismacolor Walnut marker.
Colored over the entire guitar with a Versamark marker.
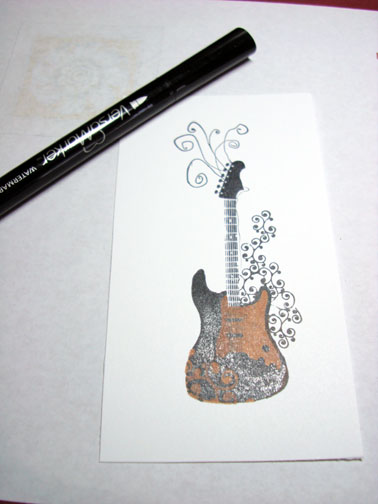
Heat embossed the image using fine detail clear embossing powder and a heat gun.
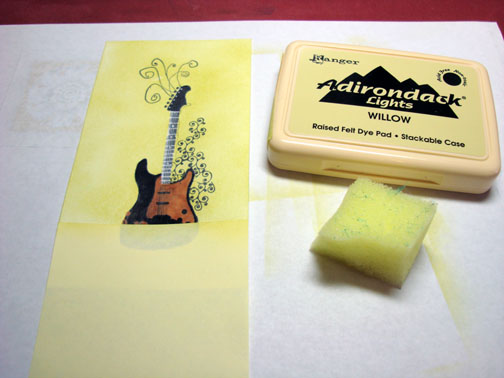
Masked about an inch of the bottom of the card stock with a post it note and sponged Willow ink at the top of the card stock using a circular motion.
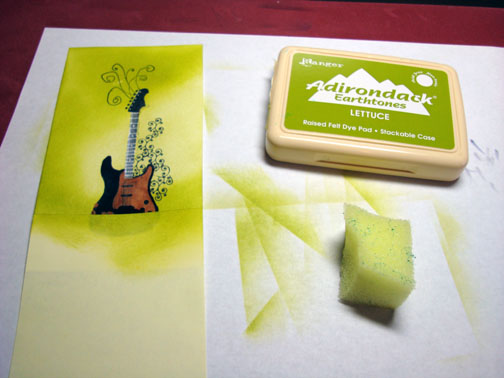
Sponged on Lettuce ink at the top, left and bottom of the area to create the illusion of a light source.
Sponged Bottle ink at the left side corners.
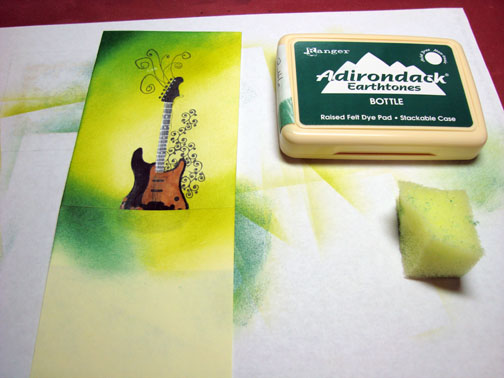
Stamped the flourish over the guitar using bottle ink.
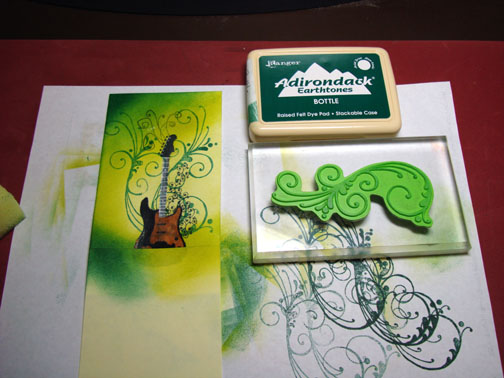
Carefully wiped the bottle ink off of the guitar.
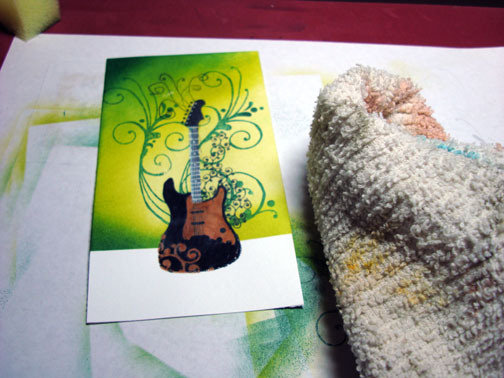
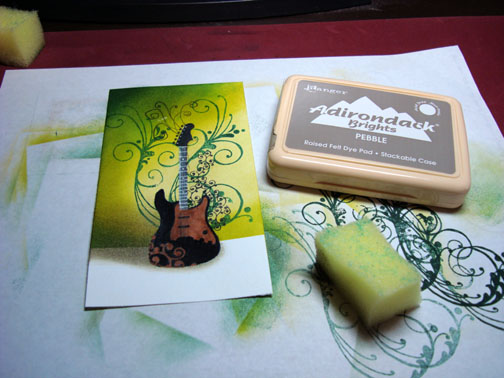
With the post it note mask removed, sponged Pebble ink at the left side of the bottom of the guitar image to create a shadow.
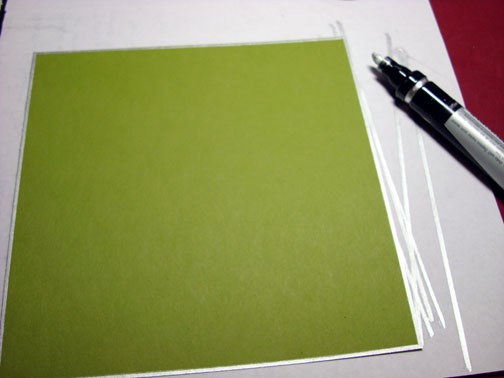
Cut a 5.75″ square panel of Old Olive card stock and used a Prismacolor Metallic Silver marker and run it down all the sides.
Stamped two stars with black ink on Close to Cocoa card stock, colored the inside of the stars in with a Prismacolor Walnut marker and punched them out with a star punch.
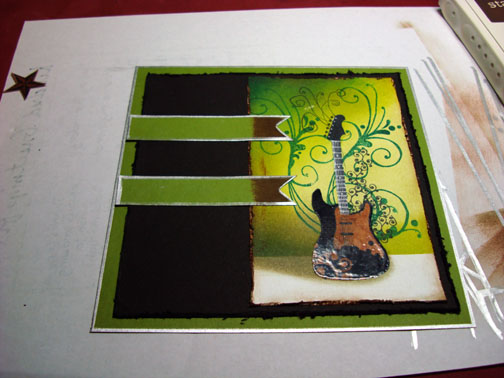
Distress the edges of my main image panel and a 5.25″ square panel of black card stock using the Tim Holtz distress tool.
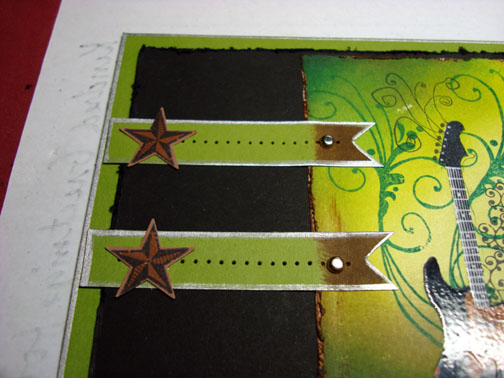
Cut to strips of Old Olive card stock, cut one end on each in a “V” shape. Ran the Silver marker down the sides of each one and then dragged the ends of the strips across my Close to Cocoa ink pad to add color to the tips.

Assembled the card front.
Used the Tim Holtz ruler and a push pin to add piercings to the card stock strips.
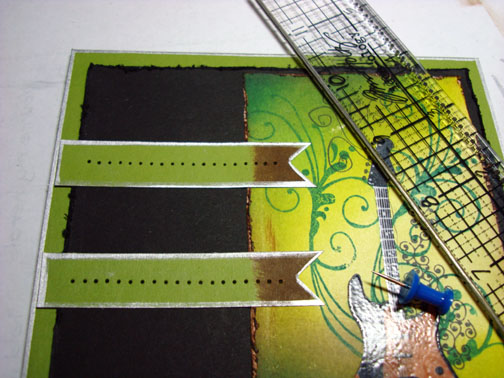
Added punched stars and silver brads.
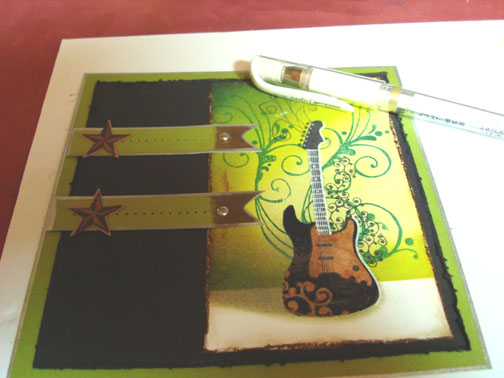
Made a highlight at the right side of the guitar with a white gel pen by drawing down the whole right side of the guitar. This makes the guitar appear to be 3 dimensional.
Here you have it the finished card measuring 5.75″ square.
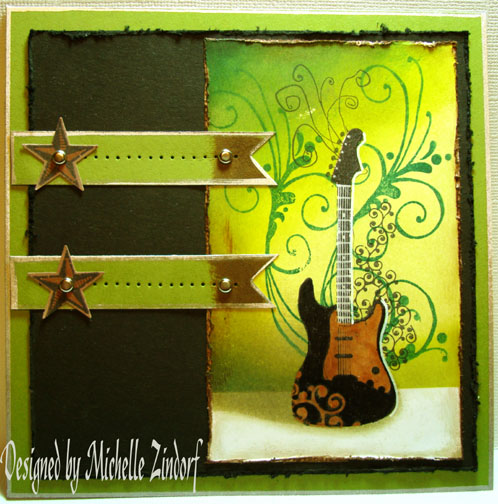
Hope you enjoyed this tutorial and will give the emboss resist grunge look a try. 🙂
May your day be filled with lively music.
Until my next post. . . . . . . . . . .
Hugs,
Michelle
Links to all my tutorials can be found here: https://zindorf.splitcoaststampers.com/tutorials-ive-written/
Here is a link to my workshop calendar if you want to get info on beginner and advanced Brayer workshops: https://zindorf.splitcoaststampers.com/workshop-calendar
50 responses to “You Rock – Tutorial #122”