Hey There,
I’m continuing on using the Stampin’ Up! set Gently Falling for today’s card tutorial. I hope you are seeing just how valuable this set is all year long. It’s so much fun using a stamp set in an unexpected way.
Leaves are on the trees, pretty much 9 out of 12 months of the year here in Ohio, but it seems that we really only appreciate their beauty in the Autumn months. Why is that, especially since they give us such relief from the heat in the Summer by provided us much needed shade. Okay, I confess, I’m a tree hugger, lol.
Check out the tutorial below.
!***************************************************************
I’ve added the featured card of the day to my sales page where you will also find some great deals on retired stamp sets and my brayer video. CLICK HERE TO CHECK IT OUT
***************************************************************
Now on with today’s tutorial. . . . . . .
Project Supplies:
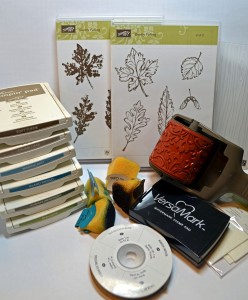
Stamps: Stampin’ Up! Gently Falling (item # 123804) and DayDream Wheel (item #126939)
Card Stock: Stampin’ Up! Whisper White, Old Olive, Pistachio Pudding, and Island Indigo
Ink: Stampin’ Up! Soft Suede, Crumb Cake, Marina Mist, Island Indigo, Always Artichoke and Old Olive
Accessories: Stampin’ Up! Sponges, Soft Suede Seam Binding, Stampin’ Dimensionals, Wood Embossing Folder, Regals Candy Dots, Versamark pad, Heat Gun, Clear Embossing Powder and Big Shot Machine
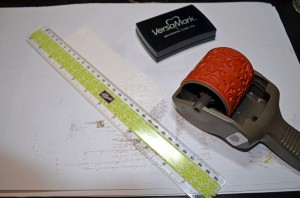
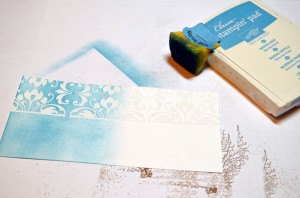
Load the Daydream wheel with Versamark and rolled across a 3″ x 6.25″ piece of Whisper White card stock using a ruler to keep things straight.
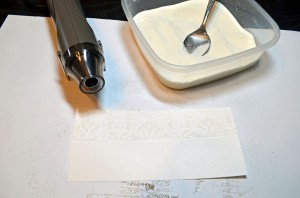
Heat emboss the image using clear embossing powder and a heat gun.
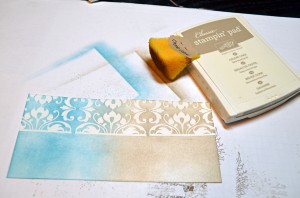
Sponged Marina Mist ink at on the left side of the card stock.
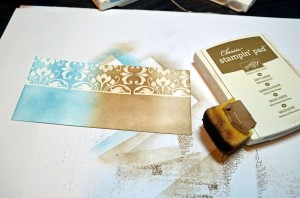
Sponged Crumb Cake ink on the right side of the card stock.
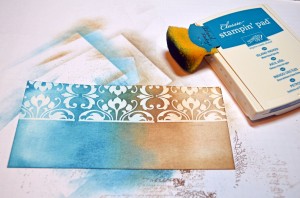
Added Soft Suede ink to the right center of the card stock and around the edges on the right side.
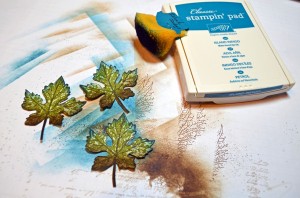
Sponged Island Indigo ink on the left center of the card stock and around the edges of the left side.
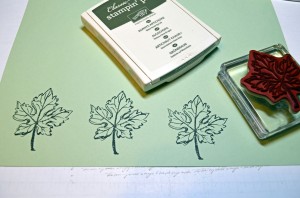
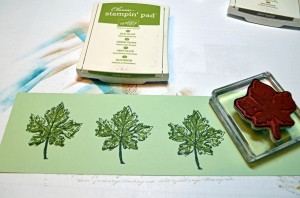
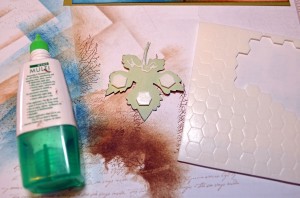
Stamped 3 leaves on Pistachio Pudding card stock using Always Artichoke ink.
Stamped the leaf filler stamp using Old Olive.
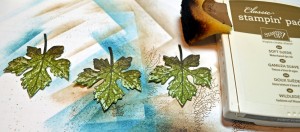
Cut the leaves out and sponged Soft Suede ink on the stem end of the leaves and Island Indigo on the top tips of the leaves.
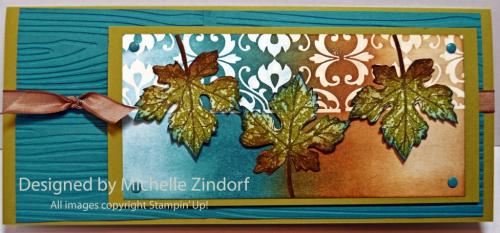
Adhered the leaves to the main image panel using Stampin’ Dimensionals on the top of the leaves and glue on the bottom (stem end) of the leaves. This adheres the leaves to the card stock and pops the top of them up but secures the stem.
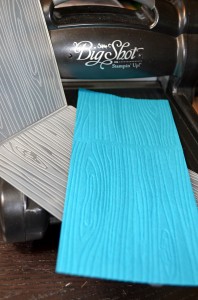
Cut a 8.5″ x 3.75″ piece of Island Indigo card stock and embossed it using the Wood embossing folder and the Big Shot machine. You need to run it through twice to get both ends of the card stock. You can see the crease where the design meets but it looks like part of the design once the card is put together.
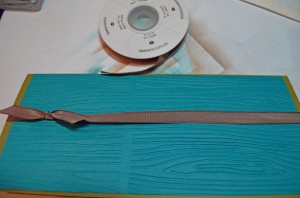
Added a 8″ x 9″ Old Olive card base and Soft Suede Seam binding.
Added a 3.25″ x 6.5″ Old Olive panel under the main image panel and the adhered them to the card using Stampin’ Dimensionals. Also added Island Indigo Candy Dots.
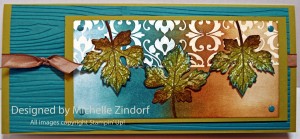
Here is the completed card that measures 4″ x 9″. This size card fits into a #10 size business envelope. Anyone remember how all the funny cards years back use to be this size? Maybe I’m showing my age here, lol.
Know the Code!!!!
MYSTERY HOSTESS:
With Stampin’ Up!’s announcement of the new Hostess Code, we can now “pool” Online Orders together (place them individually, orders will ship directly to you – within the US only, but use the same hostess code). When smaller orders are put in together, the larger order qualifies for HOSTESS BENEFITS.
Until my next post. . . . . .
Huge Hugs!
Weight loss in 2013: 23.4 lbs
***********************************************************
Michelle’s Free Stamp Program
Don’t miss out on my Customer’s free stamp set program. Check it out! For your order of $50 in product using me as your demonstrator you will receive one virtual token. Order $100 in product receive two virtual tokens, etc. After you have collected 10 virtual tokens you will receive a free current stamp set of your choosing, a value of $30 or less.
Here is a link to my online shopping page that you can shop at 24/7 (from the comfort of your home, even in your pj’s) and the products will be shipped directly to your door step from Stampin’ Up. CLICK HERE TO SHOP. My free stamp set program will be an on going program. ![]()
****************************************************************
The new Stampin’ Up! Annual Catalog is active on May 31, 2013. I have some on hand that can be pre-ordered. The cost is $6.50 which includes flat rate shipping. Please e-mail me at [email protected] if you would like to purchase one.
***************************************************************
Learn How to Brayer

 I now have an online beginner brayer video classes that will teach you how to brayer. CLICK HERE TO GET THEM.
**************************************************
 Also, check out my new Zindorf Naturals Soap Page. This stuff is oh so good for your skin. CLICK HERE TO CHECK IT OUT.


3 responses to “Not Just For Fall II – Stampin’ Up! Card Tutorial #606”