
Hey There,
Happy Tuesday!
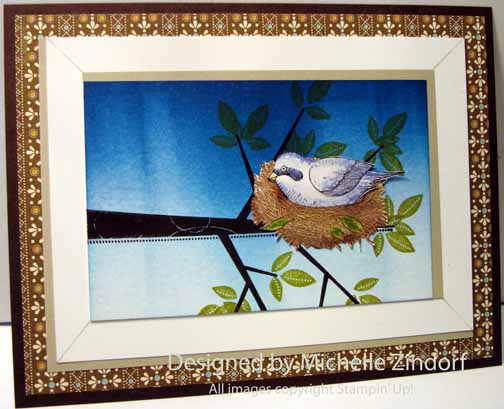
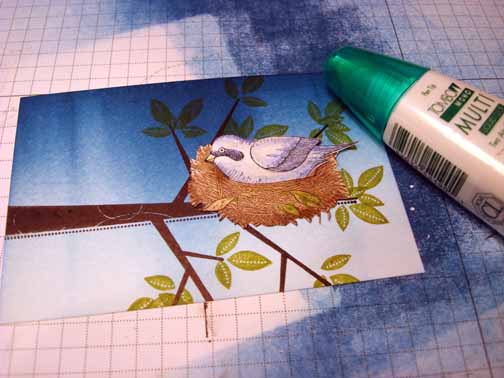
As I was looking through my stamps today I got the wild idea to put the Stampin’ Up! Language of Friendship bird in to the Stampin’ Up! Nature’s Nest and lookie there, it fits! I know the nest has eggs in it, but the bird covers them up nicely. Also, the Stampin’ Up! Season of Friendship Tree sideways is a great branch for the two to sit on.
I did pull out my Watercolor Wonder Crayons to get a soft look to the nest and the bird. Ever colored with markers and found them to be too bright or bold. Well the Watercolor Wonder Crayons blend beautifully and you can rub them in with your finger to give them a softer look. Hang out a moment and check this tutorial out.
***************************************************************************
Reminders:
Big, Big Special from Stampin’ UP! I have never seen any better deal than this and it is only through October 31, 2011.

Contact me, Michelle Zindorf at [email protected] or 937-344-1312. I would love to talk to you about how Stampin’ Up! may make your life and crafting better. Whether you want to start you own business or would like to get that awesome discount on products. Also, I would love to get to know you and have you on my Stampin’ Up! Team.
Also check out these other October 2011 Stampin’ Up specials. . . . .


*************************************************************************************
BIG SHOT – CUSTOMER GIVE AWAY. . . . . . DON’T MISS OUT!

Until October 31, 2011 you can get a chance to win a free brand new Big Shot Die Cut Machine worth $99.95.
How to enter. . . . Every person that orders Stampin’ Up! products through my Stampin’ Up Web Site (CLICK HERE TO SHOP) until October 31, 2011 will receive 1 entry for each $25 increment of products purchased. So if you place a product order that totals $50 that is 2 chances to win! How about those beans. I love giving things away! I will announce the winner on November 1, 2011.
************************************************************************************
Now on with today’s tutorial. . . . .
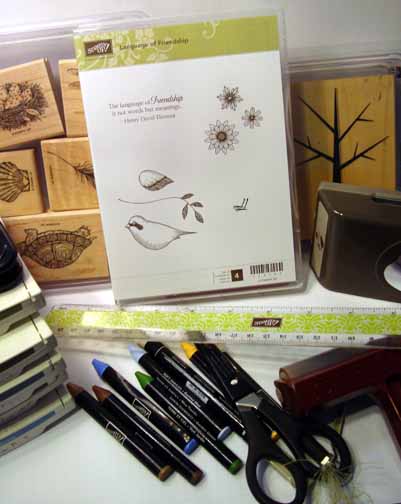
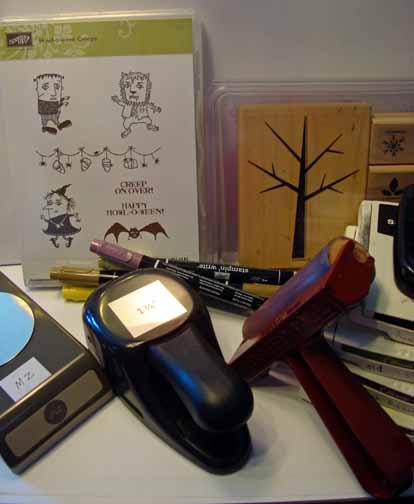
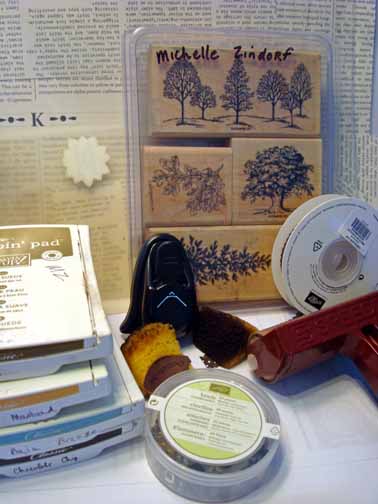
Supplies:
| Stamps: Stampin’ Up! Language of Friendship, Nature’s Nest and Season of Friendship |
| Paper: Stampin’ Up! Whisper White, Sahara Sand, Early Espresso and Stampin’ Up! Spice Cake Designer Series Paper |
| Ink: Stampin’ Up! Old Olive, Basic Black, Not Quite Navy, Early Espresso and Marina Mist, Stazon Jet Black |
| Accessories: Stampin’ Up! Bird Punch, Watercolor Wonder Crayons, Sahara Sand marker, Exacto Knife, Ruler, Brayer |
Want a free copy of the brand new Stampin’ Up! Holiday Mini Catalog? Just e-mail your address and I will get one right out to you. Get your copy of the new 2011-2012 Stampin’ Up! Idea Book & Catalog by sending $9.95 to me at P.O. box 116, West Alexandria, Ohio 45381 or via paypal to [email protected], shipping is free. ![]() Are you getting inspiration from this blog? One way you can help support it is to order your Stampin’ Up products through me. Click HEREto place an order and have your ordered delivered directly to your door step from Stampin’ Up! Want to become a Stampin’ Up Demonstrator , receive a 20% discount on product and earn instant income on orders? Consider being part of my Stampin’ Up Team and start your own business or become a Hobby Demo just for the discount. Click HERE for more information.
Are you getting inspiration from this blog? One way you can help support it is to order your Stampin’ Up products through me. Click HEREto place an order and have your ordered delivered directly to your door step from Stampin’ Up! Want to become a Stampin’ Up Demonstrator , receive a 20% discount on product and earn instant income on orders? Consider being part of my Stampin’ Up Team and start your own business or become a Hobby Demo just for the discount. Click HERE for more information.
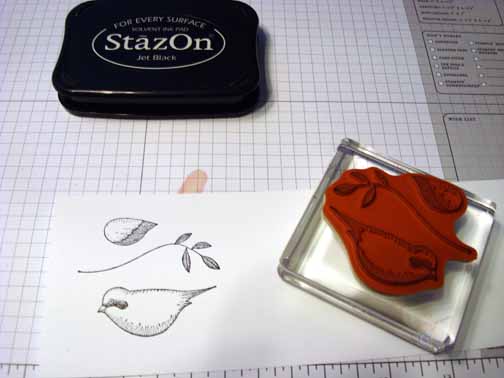
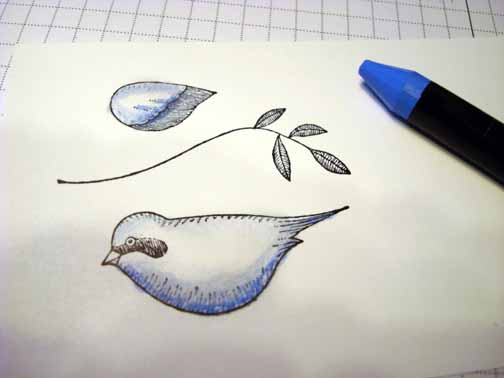
Stamped the Stampin’ Up! Language of Friendship Bird using Stazon Jet Black ink on a scrap piece of Whisper White card stock.
Added Bashful Blue Watercolor Wonder Crayon to the bird and it’s wing.
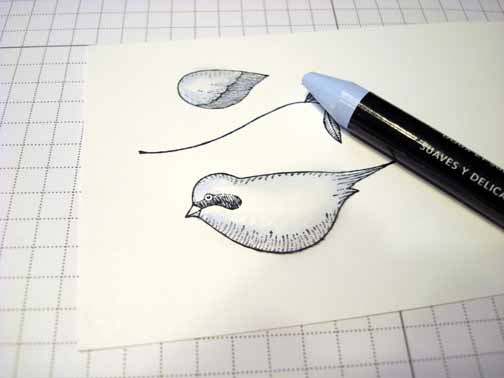
Added Ballet Blue to the darker areas of the bird and it’s wing.
Colored the Beak with Apricot Appeal.
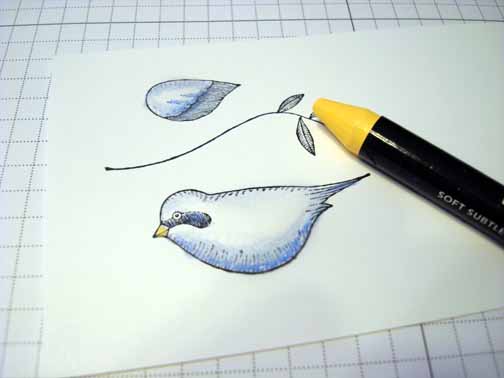
Punched out the Bird using the Stampin’ Up! Bird Punch.

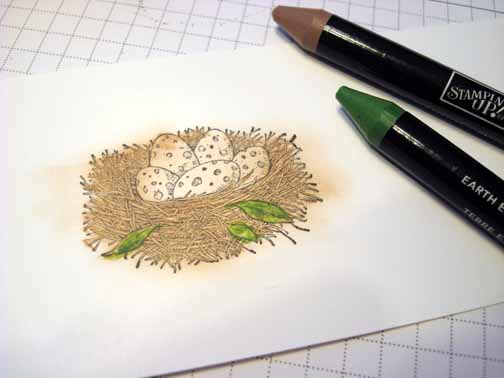
Stamped the Stampin’ Up! Nature’s Nest using Early Espresso ink on a scrap piece of Whisper White card stock.

Colored the Nest in with a Close to Cocoa Crayon and the leaves in with Garden Green.
Cut out the next and added Chocolate Chip crayon to the darkest areas.
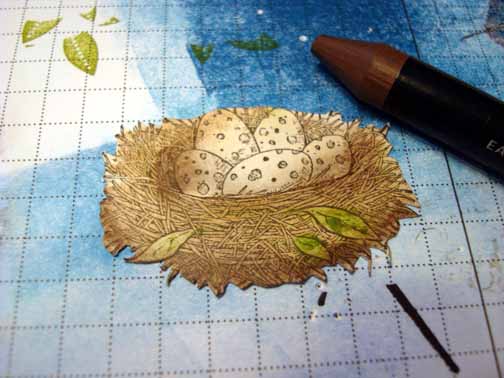
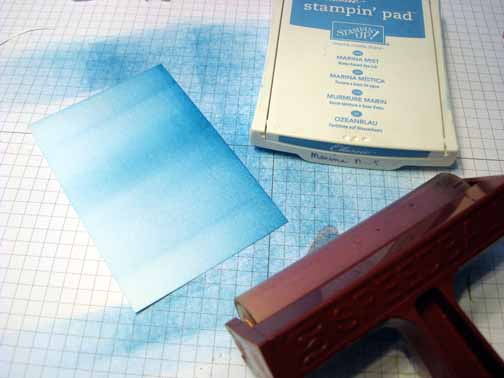
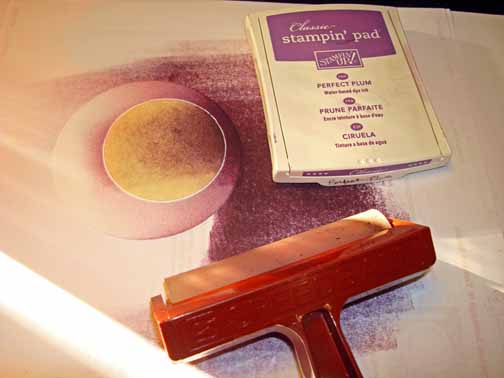
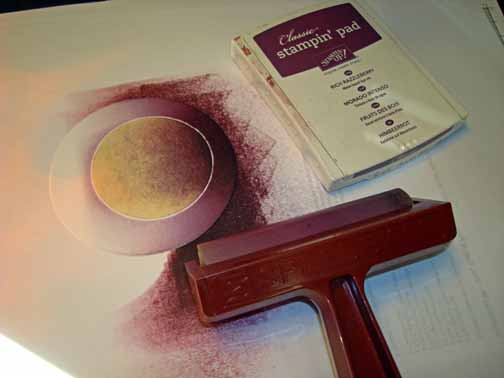
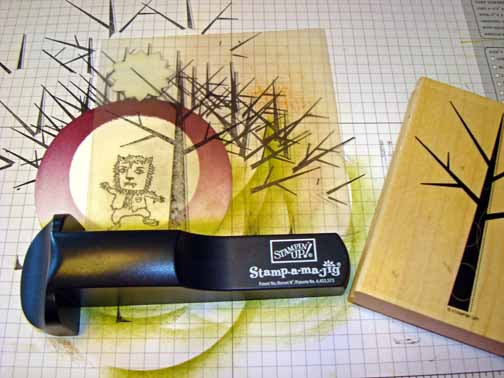
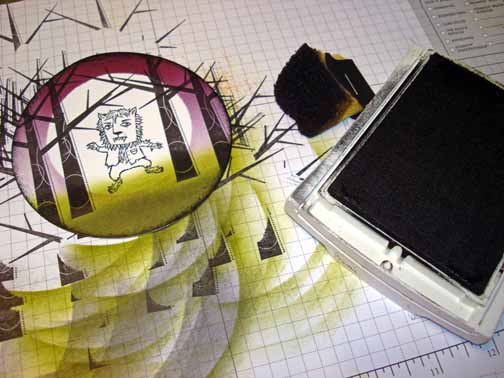
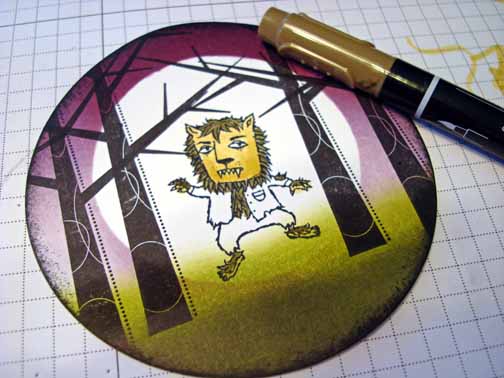
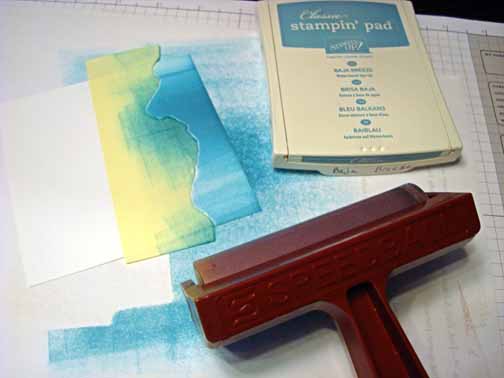
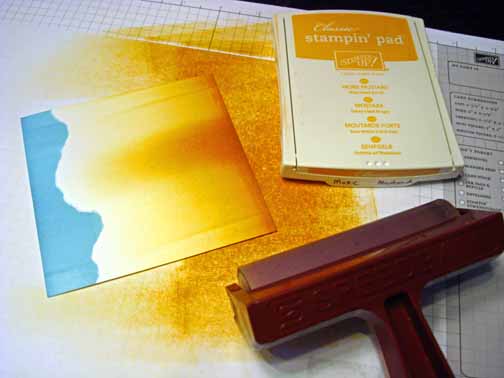
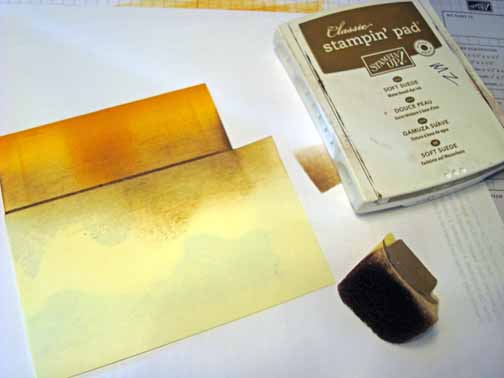
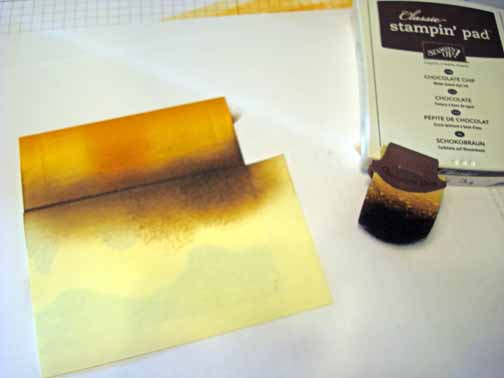
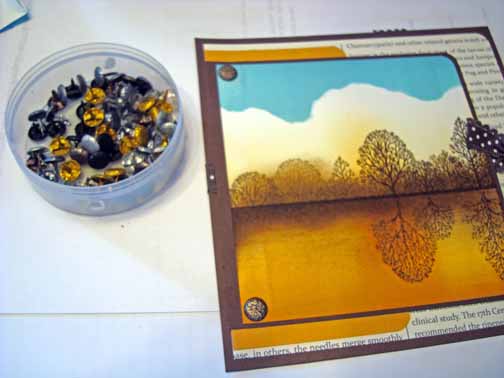
Brayered Marina Mist ink at the top of a 3″ x 4.5″ piece of Whisper White card stock.
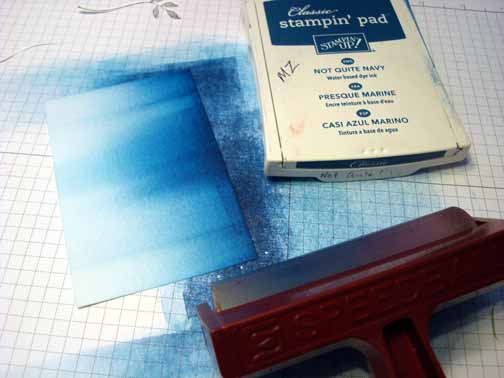
Brayered Not Quite Navy at the top of the card stock, not covering the Marina Mist ink entirely.
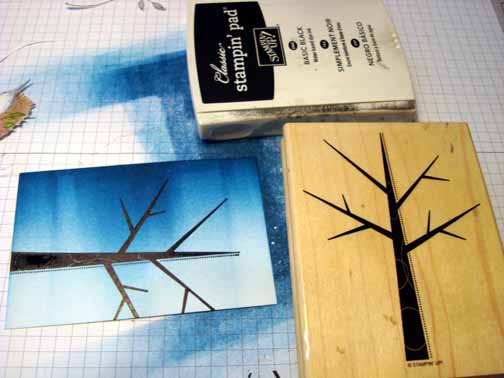
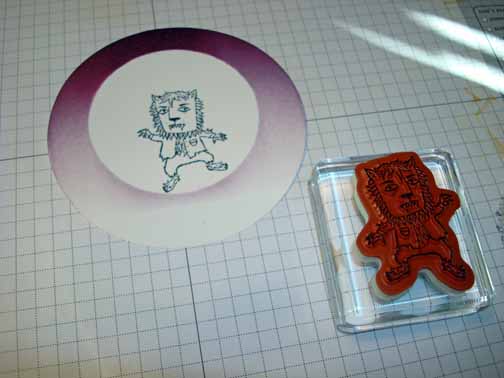
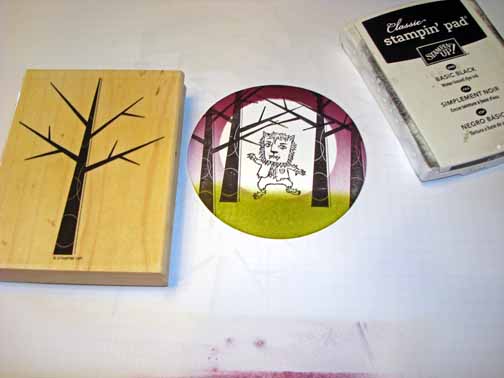
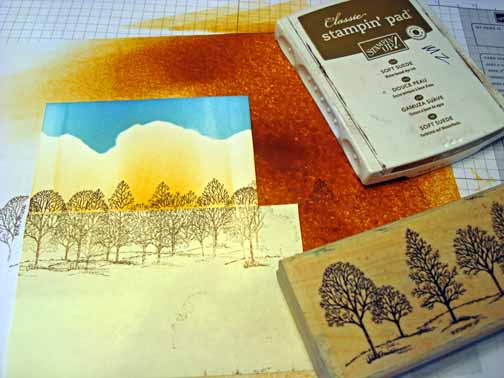
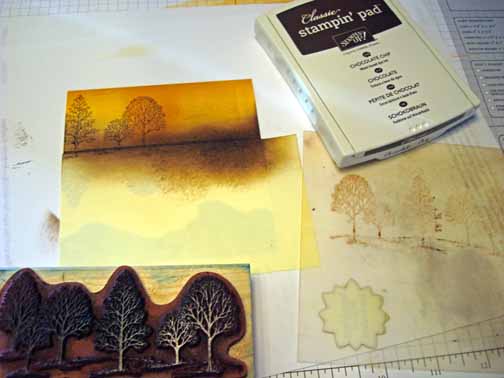
Stamped the Stampin’ Up! Season of Friendship tree sideways with Basic Black ink to create the branch.
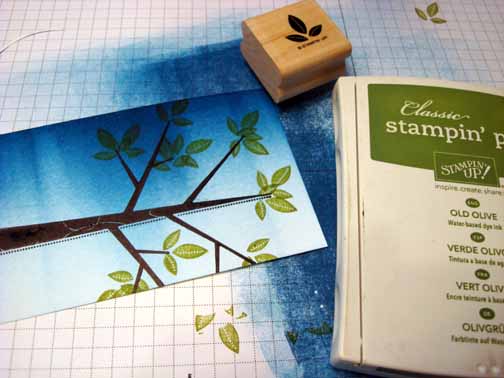
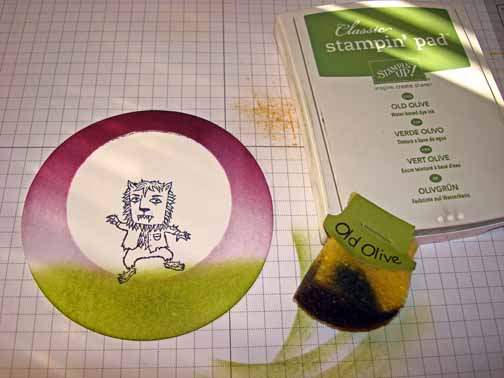
Stamped the leaves on the branch using Old Olive ink.
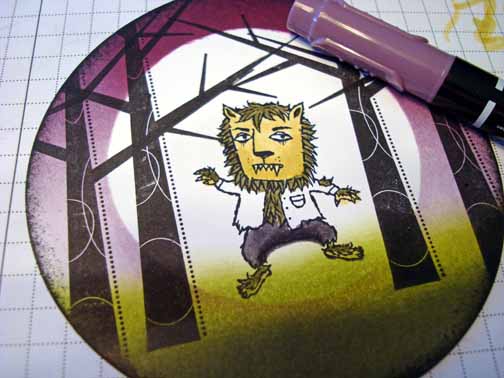
Cut a slit in the nest using an Exacto Knife. Put the bird in the slit and glued the bird to the nest and the wing to the bird. Also Glued the nest with the bird in it to the branch.
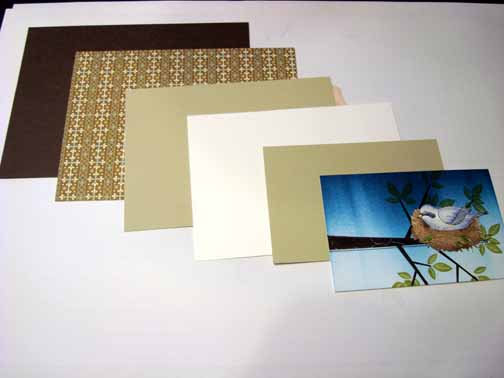
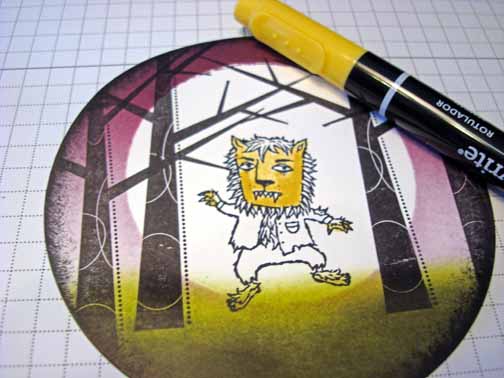
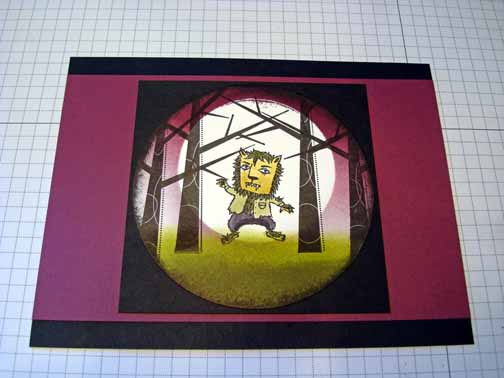
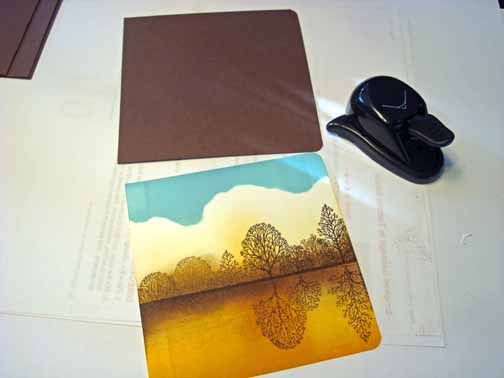
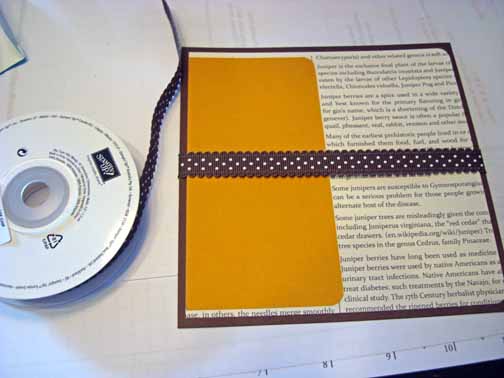
Cut a 5″ x 6.5″ Early Espresso Panel, 4.75″ x 6.25″ Stampin’ Up! Spice Cake Designer Series Paper panel, 5 5/8″ x 4 1/8″ Sahara Sand card stock panel, 5″ x 4″ Whisper White Panel, 3 1/8″ x 4 5/8″ Sahara Sand Panel.
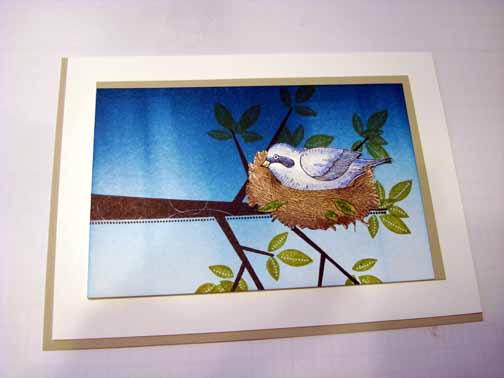
Glued the main image panel on the Sahara Sand panel, on the Whisper White panel and then on the other Sahara Sand panel off setting as show to create the window.
Add the next two panels and used a ruler and Sahara Sand marker (fine point end) and drew a line at each window corner.
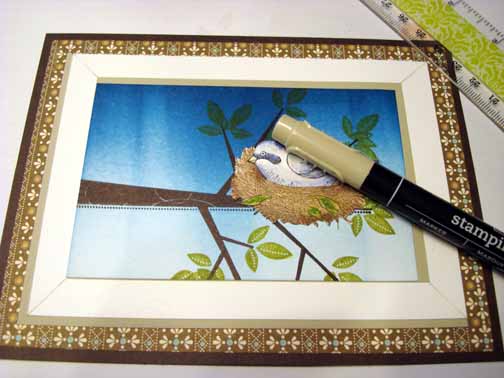
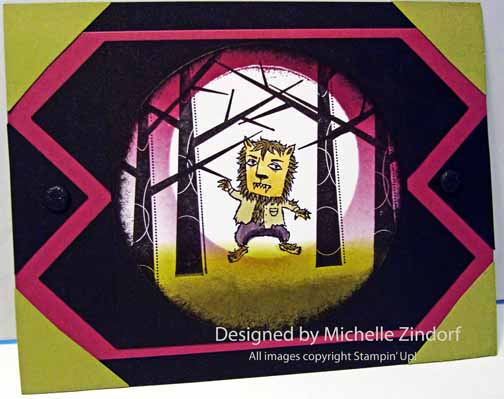
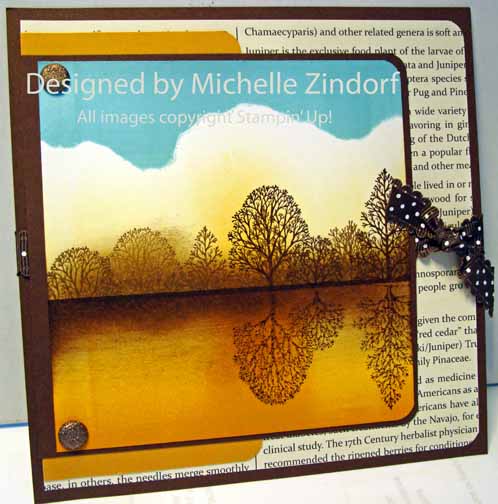
Here is the finished card measuring 5″ x 6.5″.
May your day be totally magical.
I’m head on the road again, this time to wonderful Savann
Until my next post. . . . . . .
Hugs,

 Get ready for Brayer Workshops! I am coming to the following locations, click the location name for more information.
Savannah, Georgia (Sold Out)
Dayton, Ohio – Direct to Paper Workshops
Post Falls, Idaho (outside of Coeurd’Alene)
Sand Lake, Michigan (just North of Grand Rapids)
Longmont (Gunbarrel), Colorado
Here is a link to my workshop calendar where you can see all of my travel schedule and to get info on beginner and advanced Brayer workshops, along with the newly added Direct to Paper Workshop: https://zindorf.splitcoaststampers.com/workshop-calendar
Don’t see a workshop in your State? Interested in hosting the workshops in your area Click HERE to get hostess information.
Link to my Stampin’ Up website where you can order all of your must have Stampin’ Up products from me 24-7: https://michellezindorf.stampinup.net
