
Well I hope everyone had a terrific weekend. I was teaching locally this weekend so I got to sleep in my own bed. In fact I didn’t want to get up this morning, lol. I slept in until 6:00 a.m. This is extremely strange for me since I am normally up around 3:30 a.m. When a lot of stampers are heading to bed I am getting up. Most days I am in my stamp room stamping before the coffee gets done brewing. I know sick, lol.
My tutorial today is a scene that is very familiar in my area. Right now though you cannot see very far because the cornstalks are so very tall. If you have not been to Ohio, it is very flat and when the crops have been harvested you can see for miles.
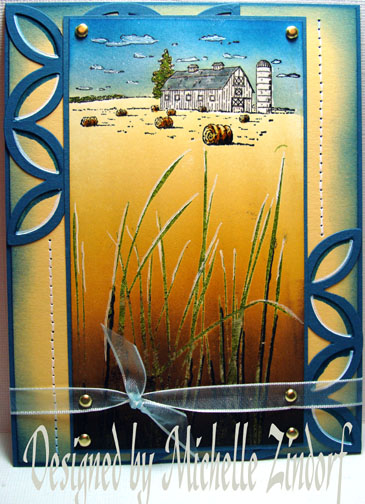
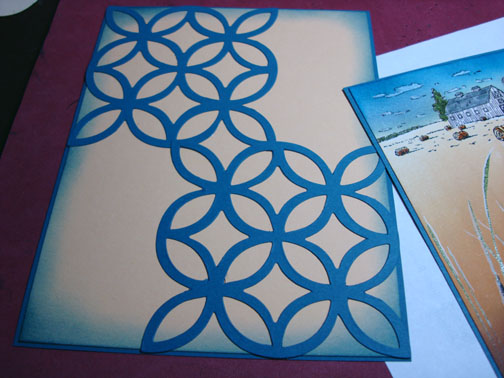
One of the stamp sets I used today is a new one from Stampin’ Up “Farm Life”. Terrific set! I pared it up with another Stampin’ Up set “inspired by Nature” and a new Stampin’ Up Die cut for the Big Shot “Lattice”. Hope you like it and will hang out a while and check out today’s tutorial.
Let’s get started.. . .
Supplies:
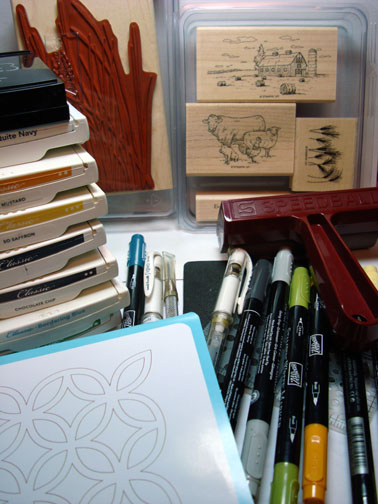
| Stamps: Stampin’ Up “Farm Life” and “Inspired by Nature” |
| Paper: Stampin’ Up Whisper White, Not Quite Navy and So Saffron |
| Ink: Stampin’ Up Not Quite Navy, More Mustard, So Saffron, Basic Black, Chocolate Chip, Bordering Blue and Old Olive |
| Accessories: Stampin’ Up Die “Lattice”, Stampin’ Up Markers, Brayer, Sponge, White Gel Pen, Versamark pad and marker, Piercing Tools, Clear embossing powder and a heat gun |
Are you inspired by this Blog? One way you can help support this blog is by ordering your Stampin’ Up products through me. You can order from me 24-7 from this link: https://michellezindorf.stampinup.net or e-mail me at [email protected] If you are within the United States. Want a copy of the brand new 2009-2010 Stampin’ Up Catalog for $9.95, just e-mail me at [email protected] and I will get one in the mail to you. Want to become a Stampin’ Up Demonstrator and earn instant income? Consider being part of my Stampin’ Up Team. Through August 31 you can become a Stampin’ Up Demonstrator for as little as $85 with the mini kit. Also Stampin’ Up is now having a weekly special, click this link to check it out: https://www.stampinup.net/esuite/home/michellezindorf/promotions
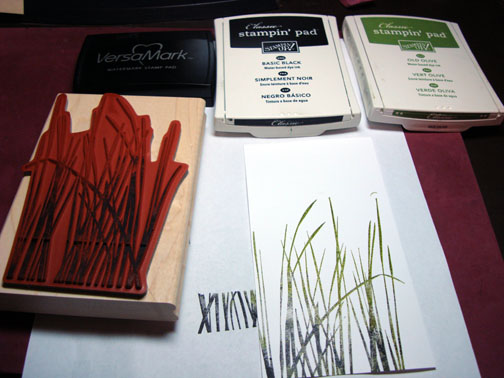
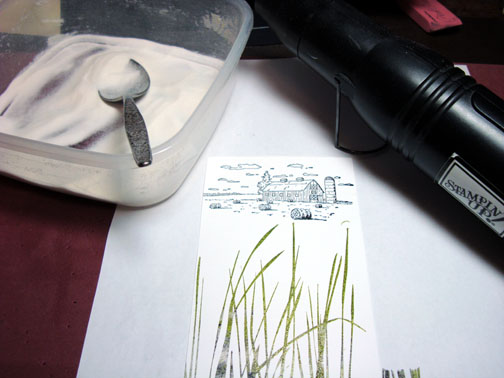
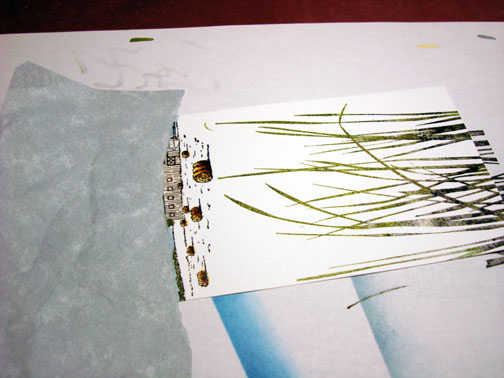
Stamped the Inspired by Nature Stamp by first loading it with Versamark, then Old Olive ink and then tapped my Basic Black pad on the bottom of the stamp image before stamping on a 3.25″ x 6″ piece of Whisper White card stock.
Heat embossed the image using clear embossing powder and a heat gun.
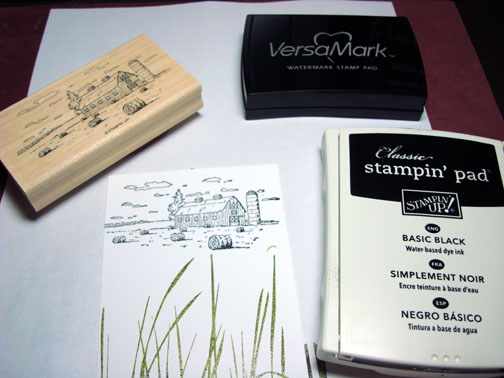
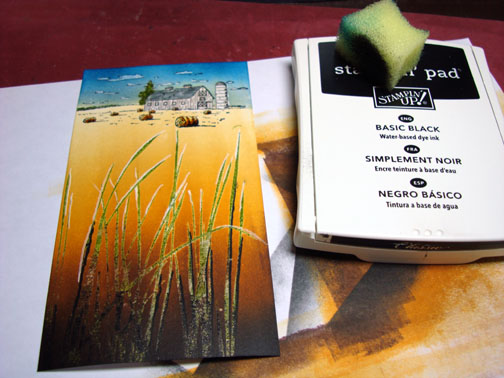
Stamped the Farm scene by first loading the stamp with Versamark and then black ink before stamping it. Heat embossed the image using clear embossing powder and a heat gun.
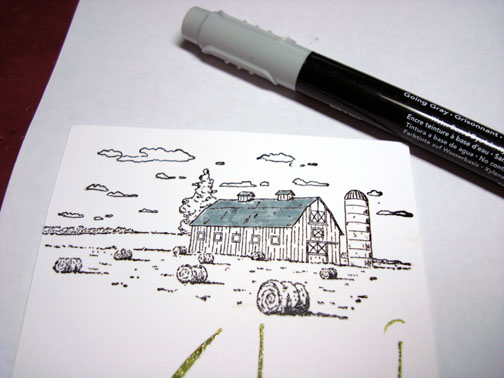
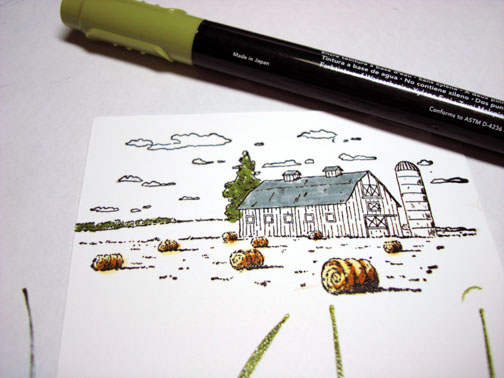
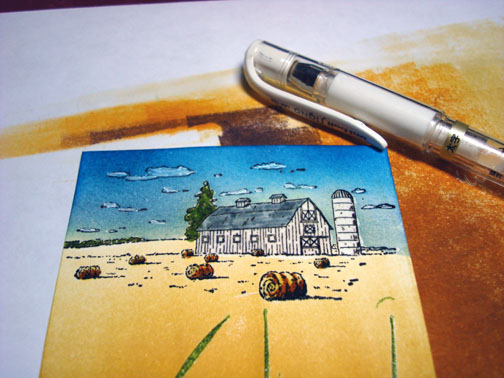
Colored the barn roof with a Gray marker.
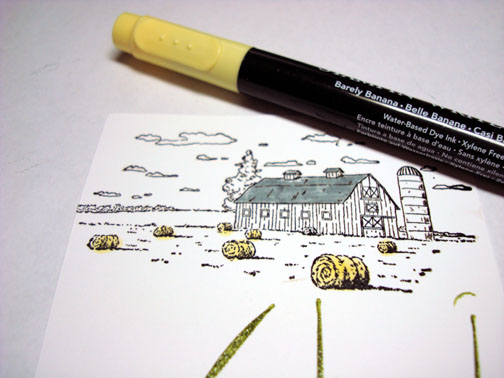
Colored the hay rolls in with Barely Banana marker.
Added More Mustard marker to the hay rolls.
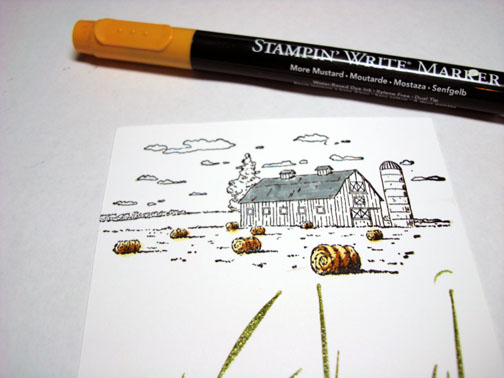
Colored the tree in with an Old Olive marker.
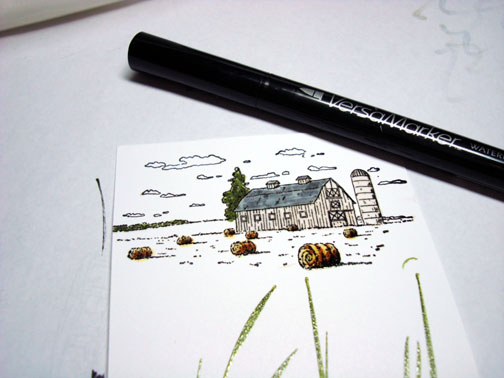
Colored over the parts of the image I just colored, plus the entire barn to protect the white with a Versamark marker. Heat embossed the image using clear embossing powder and a heat gun.
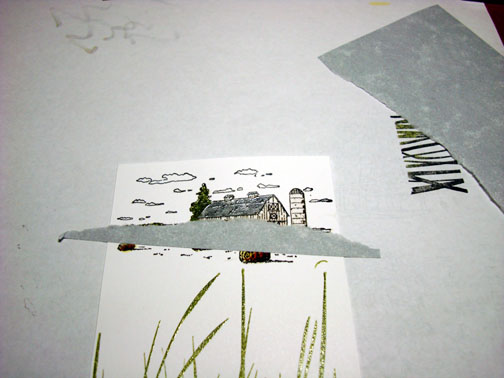
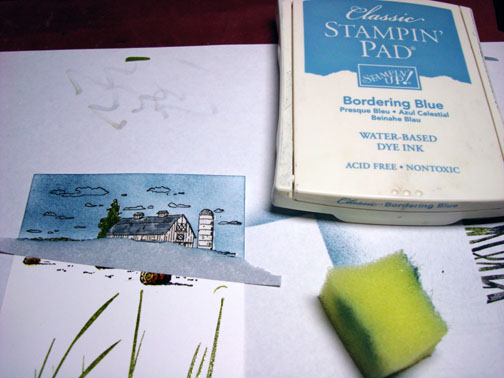
Tore a bit of post it note to mask under the barn.
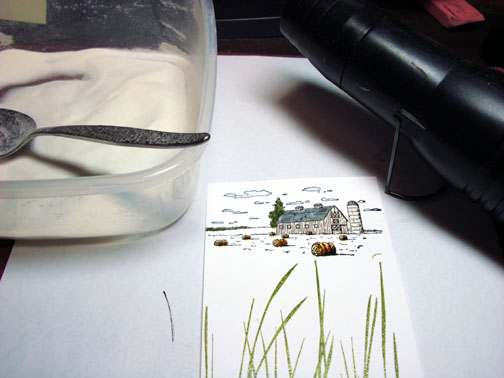
Sponged Bordering Blue ink in the sky area.
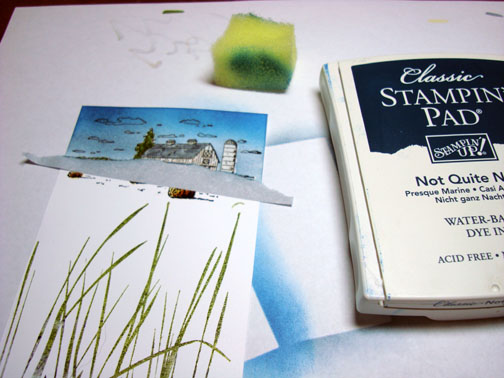
Sponged Not Quite Navy at the top of the card stock.
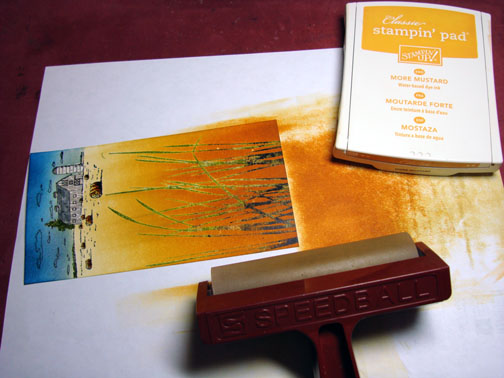
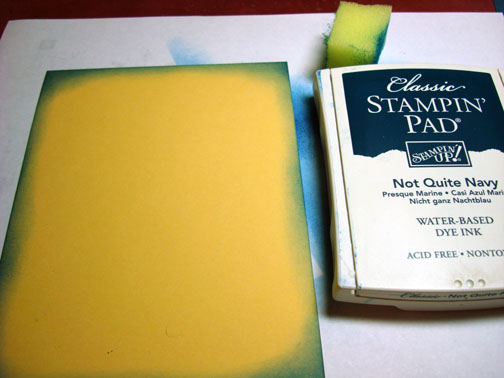
Brayer So Saffron ink at the bottom of the card stock up to the sky line.
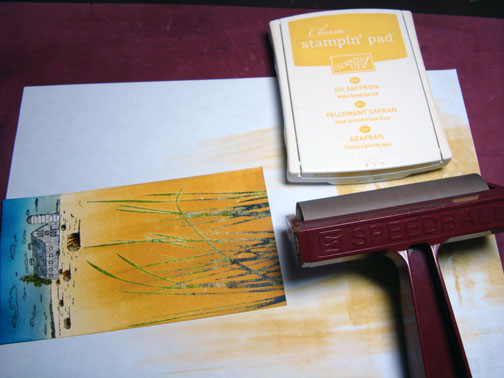
Brayered More Mustard ink at the bottom of the card stock not covering the So Saffron ink entirely.
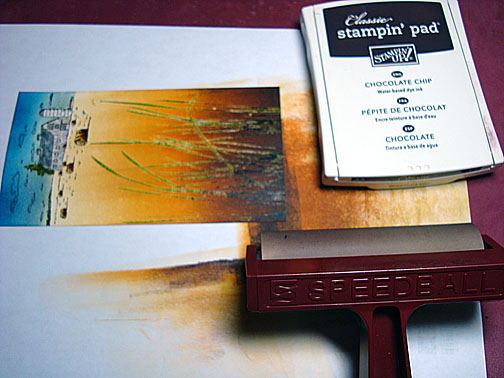
Brayered Chocolate Chip ink at the bottom of the card stock not covering the More Mustard ink entirely.
Colored in the clouds with a White Gel pen.
Out lines some of the grasses at the bottom with a Black marker.
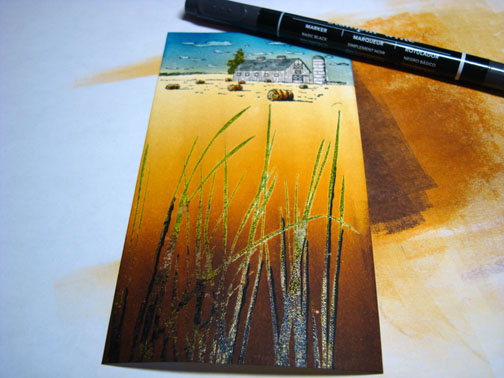
Added white gel pen highlights to the tops of the grasses.
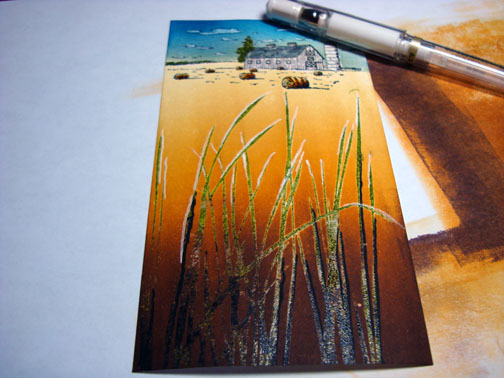
Sponged Black at the bottom of the card stock.
Sponged Not Quite Navy around a 4 7/8″ x 6 3/8″ panel of So Saffron.
Cut to Lattice Die cuts out of Not Quite Navy.
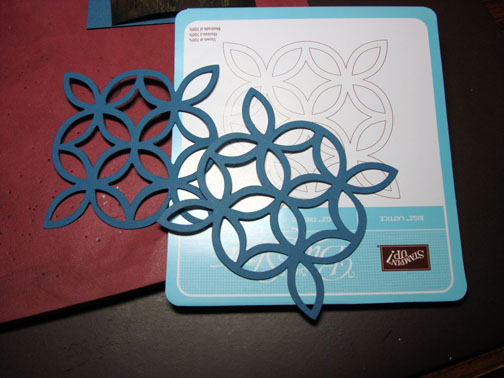
After arranging these a couple of hundred times I decided on this format, lol.
Added the main image panel and piercings to each side of the card stock using the Stampin’ Up Piercing Tool and Mats.
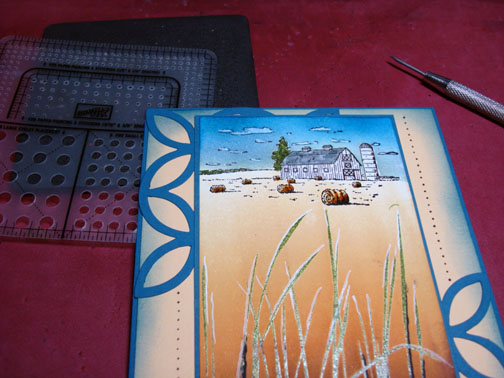
Add Shadows and highlights to the die cuts that showed on each side with a Not Quite Navy marker and a white gel pen.

Added Brads and a ribbon and finished assembling it.
Here is is finished measuring 5″ x 6.5″.
I hope this tutorial has inspired you to get out those down home stamps. 🙂
May you day be blessed.
Until my next post. . . . . . . . . . . . . . . . . . ..
Huge Hugs,
Michelle
 Get ready for Brayer Workshops! I am coming to:
Columbia, Missouri
Lynchburg, Virginia
Greenwood, Indiana
Castro Valley, California
Yardley, Pennsylvania (near Philadelphia)
Knox, Maine
Akron, Ohio
Broomfield, Colorado
Moore, Oklahoma
Nashville, Indiana
Portland, Michigan
2010
Phoenix, Arizona
Monroe, Louisiana
Jacksonville, Florida
St. Louis, Missouri
Mechanicsville, Virginia
Raleigh, North Carolina
Colleyville, Texas
Colorado Springs, Colorado
Boise area of Meridian, Idaho
Riverside, California (Southern California)
Salem, Oregon
Wheaton, Illinois
Rockville, Maryland
North Chili, New York (near Rochester)
New Johnsonville, Tennessee
Helena, Montana
Middleburg Heights, Ohio
Venice, Florida
Here is a link to my workshop calendar where you can see all of my travel schedule and to get info on beginner and advanced Brayer workshops: https://zindorf.splitcoaststampers.com/workshop-calendar
Link to my Stampin’ Up website were you can order all of your must have Stampin’ Up products from me 24-7: https://michellezindorf.stampinup.net
Frequently asked questions answers: https://zindorf.splitcoaststampers.com/frequently-asked-questions/
15 responses to “Down on the Farm – Tutorial #240”