

I am spending loads of time in my garden, pulling weeds, watering, moving perennials from here to there. There is always work to be done. I love being out in the garden when I have the time. Most of the time I am gripping because I am trying to fit my gardening in around other things and feel rushed. We got a good soaking rain yesterday so I don’t have to water today and can spend the time playing in the soil, my favorite part!
Let’s get on with today’s tutorial so I can get out there. I hear the birds calling me.
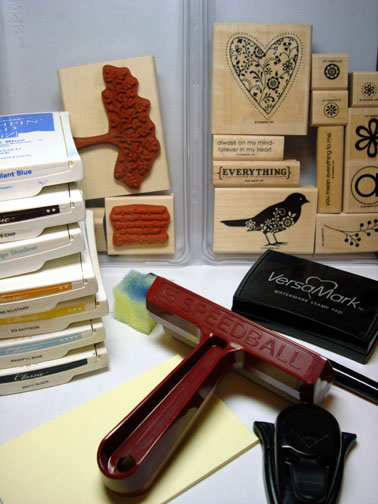
Supplies:
| Stamps: Stampin’ Up “Always” and “Thoughts & Prayers” |
| Paper: Stampin’ Up Whisper White and Brilliant Blue |
| Ink: Stampin’ Up Brilliant Blue, Chocolate Chip, Sage Shadow, More Mustard, So Saffron, Bashful Blue and Basic Black |
| Accessories: Versmark marker & Pad, Brayer, Clear embossing powder and a heat gun, Sponge, Ticket Corner Punch and a Post it note |
Are you inspired by this Blog? One way for you can help support this blog is by ordering your Stampin’ Up products through me. You can order from me 24-7 from this link: https://michellezindorf.stampinup.net or e-mail me at [email protected] if you are within the United States. Want a copy of the current mini catalog, just e-mail me your address and I will pop one in the mail to you.
Want to become a Stampin’ Up Demonstrator and earn instant income? Consider being part of my Stampin’ Up Team.
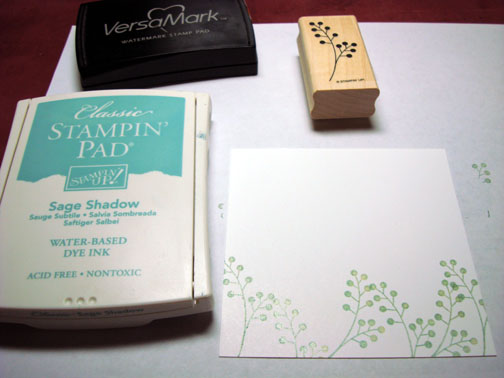
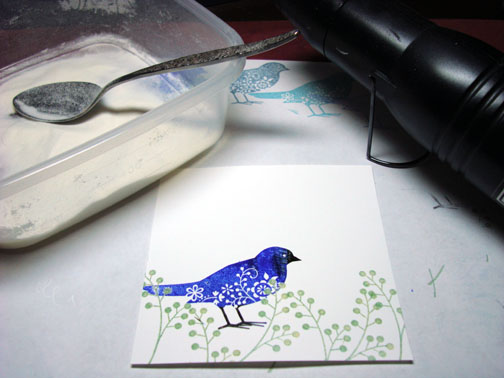
Stamped this plant stamp on a 4″ square piece of Whisper White card stock by first loading the stamp with Versamark and then with Sage Shadow ink before stamping it.
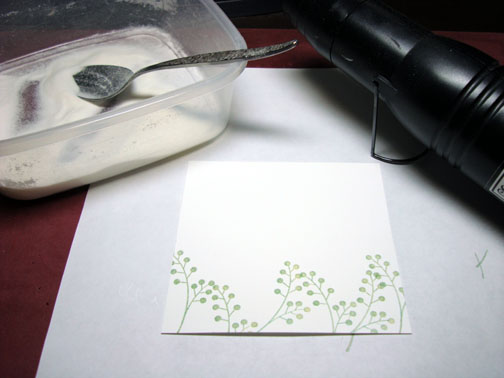
Heat embossed the images using clear embossing powder and a heat gun.
Decisions, decisions, lol. Here is an example of me not being able to make up my mind on what color to use. Scrap paper is a lovely thing!
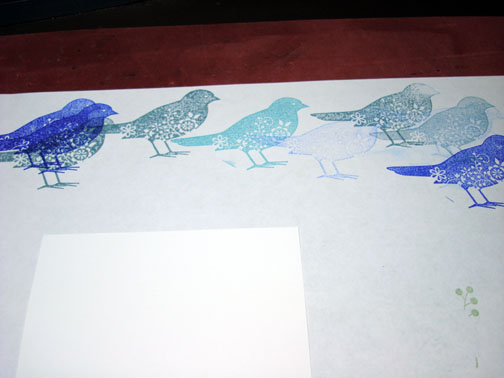
Made the decision to stamp the bird by first loading the stamp with Versamark, then with Brilliant Blue ink, added a bit of black ink on the stamp where the feet and beak are before stamping it.

Heat embossed the bird with clear embossing powder and a heat gun.
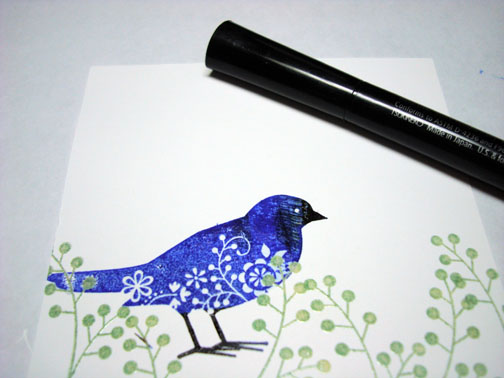
I want to retain the white design on the bird, so I colored over the design on the bird with a Versamark marker and then heat embossed it with clear embossing powder and a heat gun.
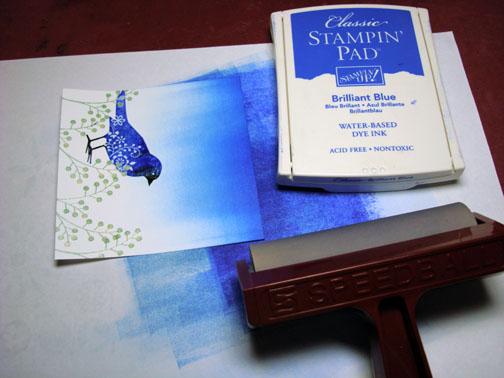
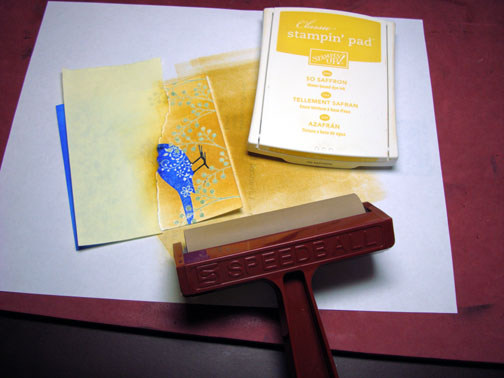
Brayered Bashful Blue ink at the top of the card stock.

Brayered Brilliant Blue ink at the top of the card stock, not covering the Bashful Blue ink entirely.
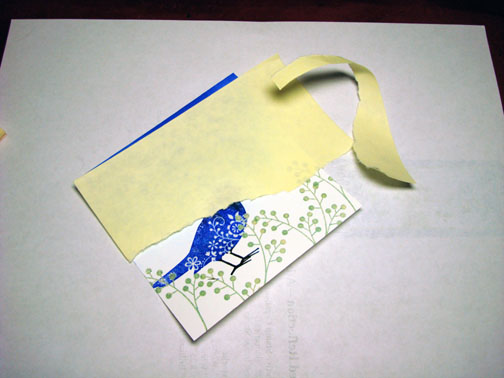
Ripped a post it note and masked the sky area and to create a hill.
Brayered So Saffron ink at the bottom of the unmasked area.
Brayered just a touch of Chocolate Chip ink at the bottom of the card stock.
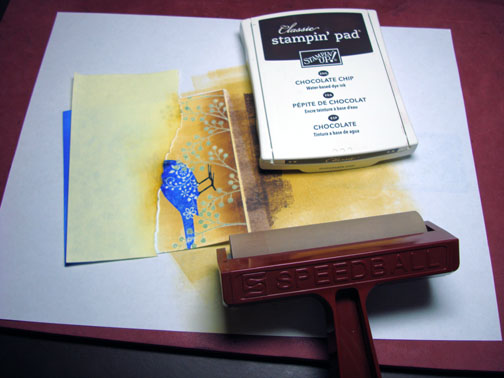
Sponged More Mustard ink at the top of the unmasked area.
Removed the mask.
Stamped the tree twice by first loading my stamp with Sage Shadow ink and then patted the Chocolate Chip ink pad on the trunk of the tree stamp before stamping it. Dada. . . Tree is already colored.
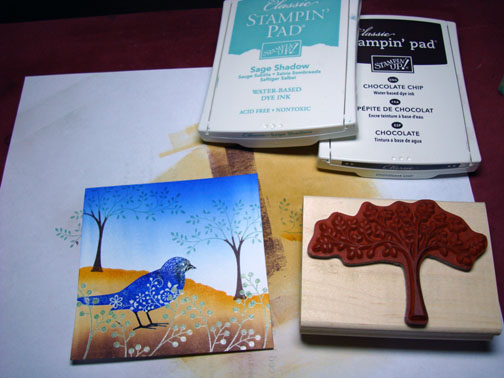
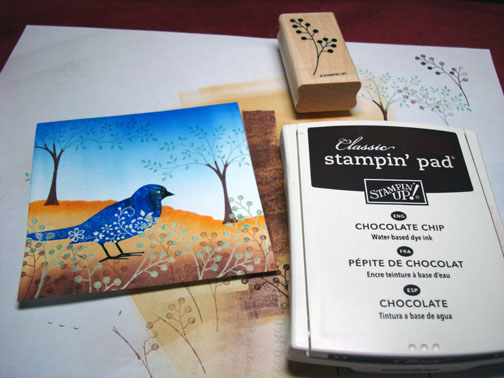
Stamped a few more of the plant stamp images at the bottom of the card stock using Chocolate Chip ink and stamping off once on my scrap paper before stamping (Second Generation stamping).
Rubbed in a bit of Chocolate Chip ink under the trees to create a shadow effect.

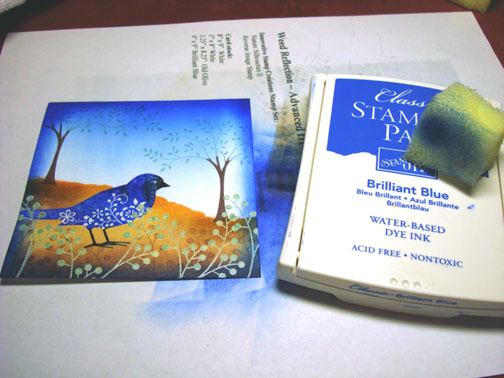
Sponged Brilliant Blue ink all around the outside edge of the card stock.
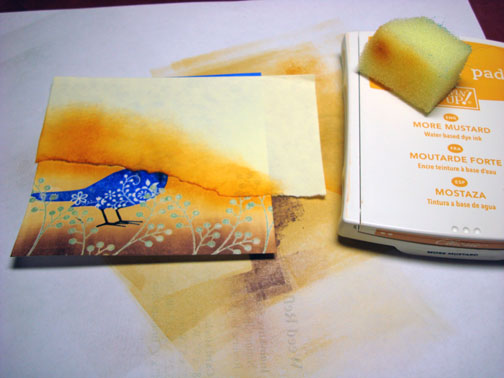
I seem to be having a bit of trouble deciding colors today. I first looked at this card stock color combination.
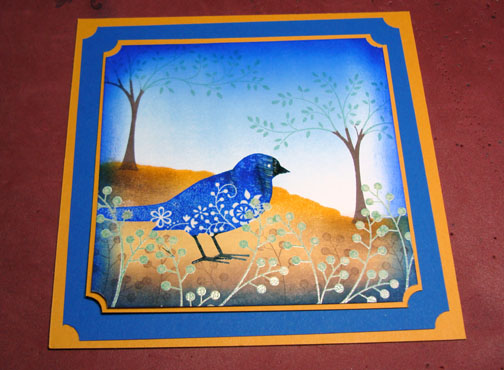
But decided I like the Brilliant Blue and Whisper White card stock panels better. I used a Ticket Corner Punch by Stampin’ Up on a couple of the panels.
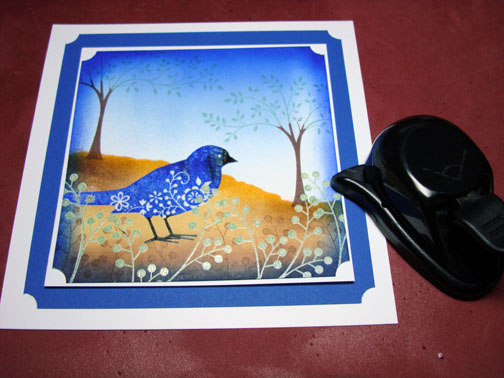
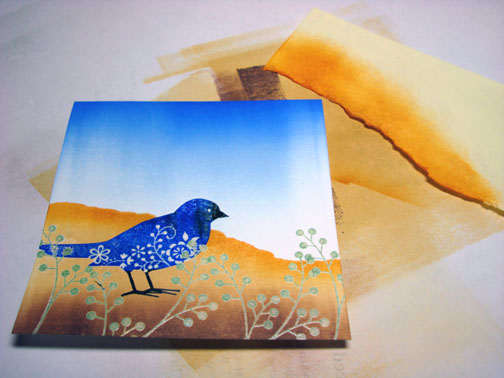
Assembled my card and here it is finished measuring 5.25″ square.
I hope this tutorial has inspired you to get out your clear embossing powder and heat gun today.
May your day be spent listening to the sound of song birds.
Until my next post. . . . . . . . . . . . . . . . .
Huge Hugs,
Michelle
 Get ready for Brayer Workshops! I am coming to:
Dayton, Ohio
Buffalo, Minnesota
Webster, New York
New Johnsonville, Tennessee
Stoughton, Wisconsin
Columbia, Missouri
Lynchburg, Virginia
Greewood, Indiana
Castro Valley, California
Yardley, Pennsylvania (near Philadelphia)
Knox, Maine
Broomfield, Colorado
Moore, Oklahoma
Portland, Michigan
2010
Phoenix, Arizona
Jacksonville, Florida
Pocatello, Idaho
Salem, Oregon
Here is a link to my workshop calendar where you can see all of my travel schedule and to get info on beginner and advanced Brayer workshops: https://zindorf.splitcoaststampers.com/workshop-calendar
Link to my Stampin’ Up website were you can order all of your must have Stampin’ Up products from me 24-7: https://michellezindorf.stampinup.net
Here is a link to all of my tutorials: https://zindorf.splitcoaststampers.com/tutorials-ive-written/
Frequently asked questions answers: https://zindorf.splitcoaststampers.com/frequently-asked-questions/
17 responses to “A Little Blue Bird Told Me – Tutorial #215”