
Coffee is on my mind this morning. 🙂 Our power, for some strange reason, has been going off and on this morning so getting my coffee brewed was a challenge in itself.
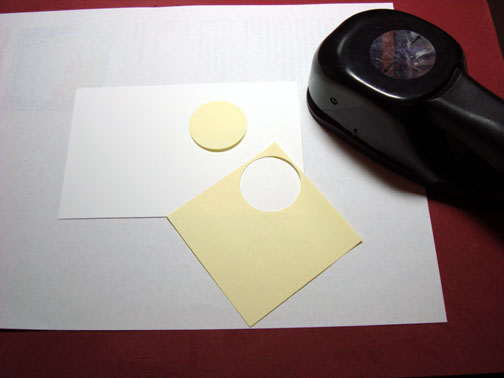
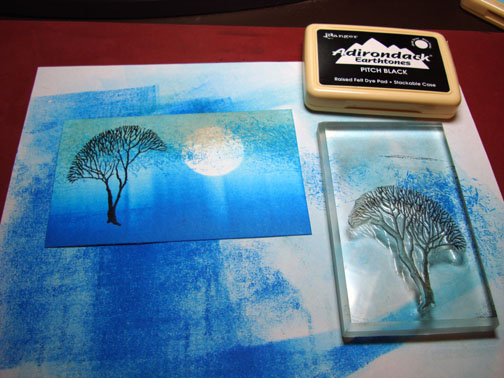
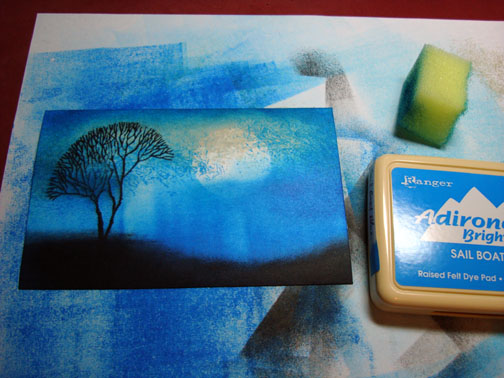
This is a little still life scene tutorial. I was able to achieve this look by using the emboss resist technique. You can stack any images by heat embossing the images. You will want to start with the image that will be in foreground, then the middle ground and then put in your background. In other words, work front to back in your scene.
Let’s get started on the tutorial.
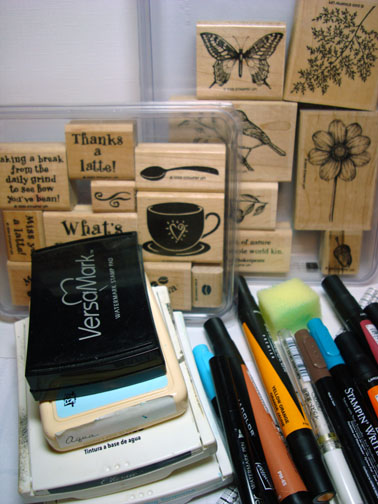
Supplies:
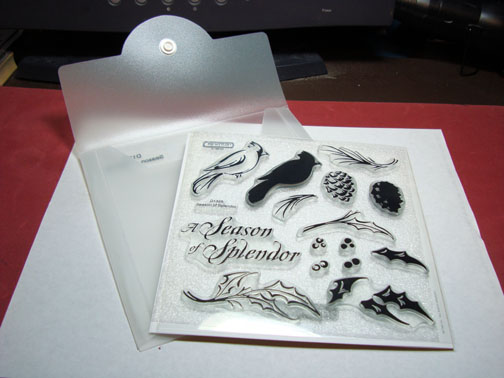
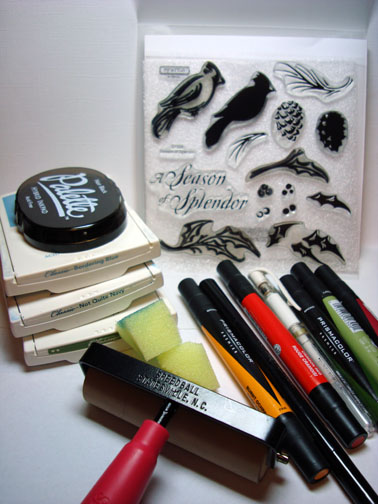
| Stamps: Stampin’ Up What’s Brewin’ & Touch of Nature |
| Paper: Stampin’ Up Whisper White, Cool Caribbean & Summer Sun |
| Ink: Stampin’ Up Tempting Turquoise & Basic Black, Adirondack Aqua |
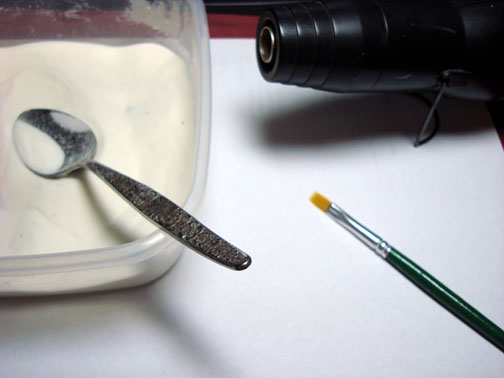
| Accessories: Versamark pad & Marker, Fine Detail Embossing Powder, Heat Gun, Tim Holtz Ruler, Push Pin, Stampin’ Up markers, Prismacolor Markers, Sponge, White Gel pen, Post it note |
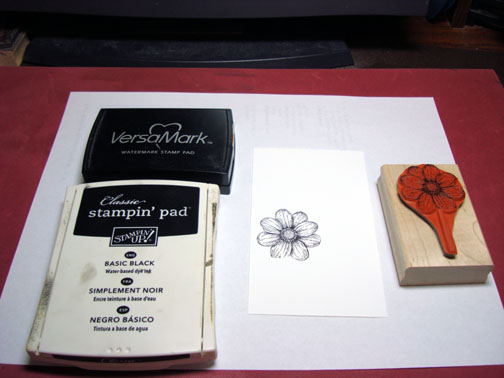
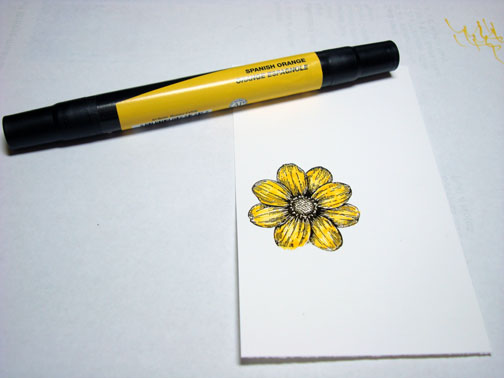
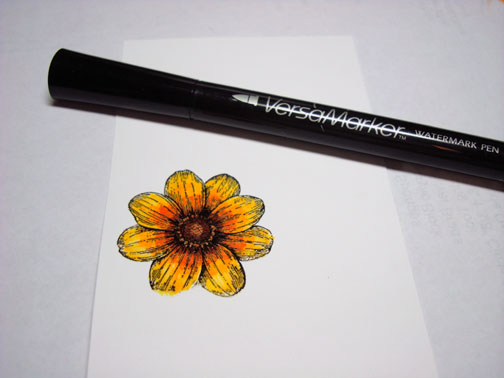
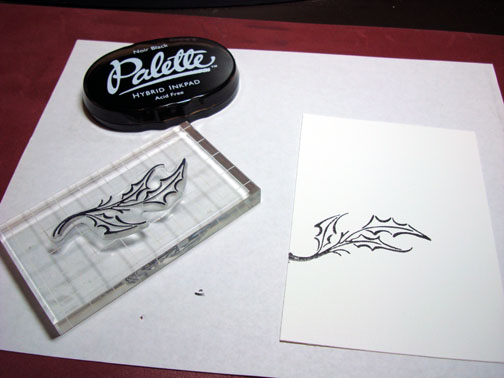
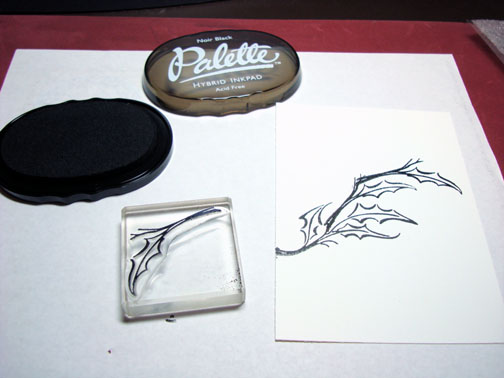
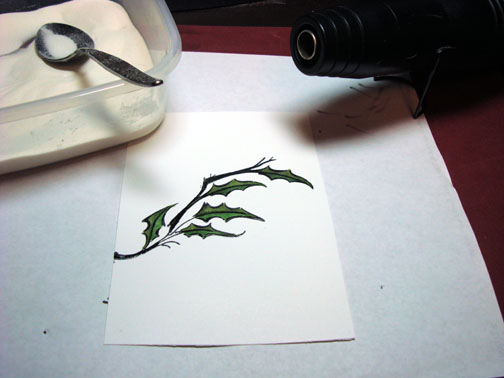
Stamped flower by first loading the stamp with Versamark and then Black ink before stamping. Note: I did not put Versamark or ink on the stem part of the image because I wanted to omit that part.
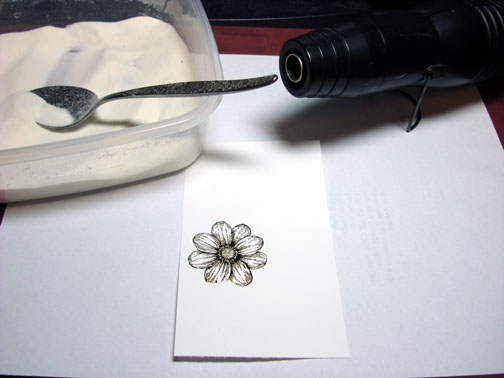
Heat embossed the image using fine detail embossing powder and a heat gun.
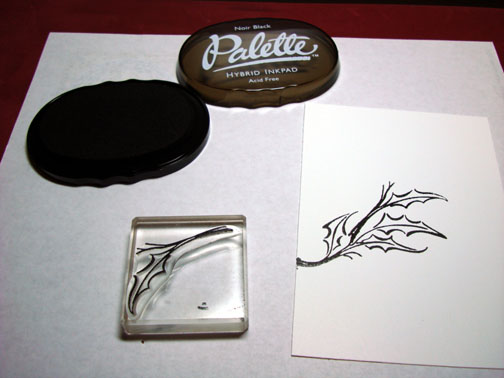
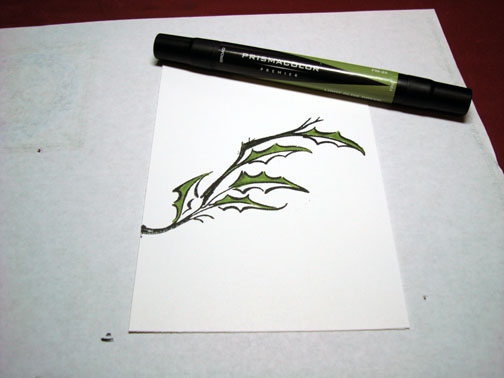
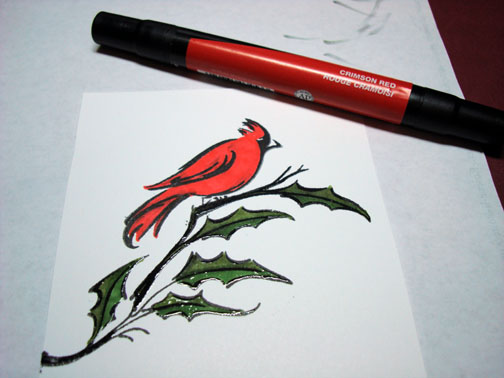
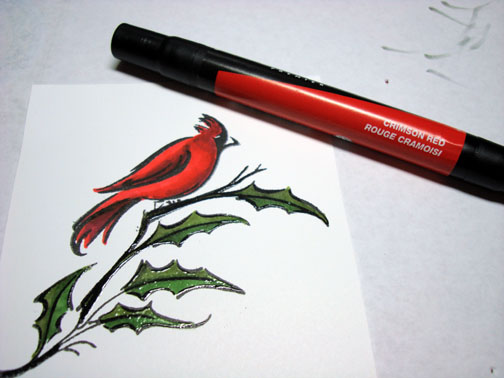
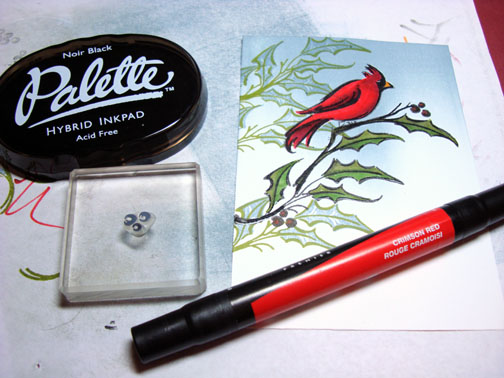
Colored the flower with a Prismacolor Spanish Orange marker.
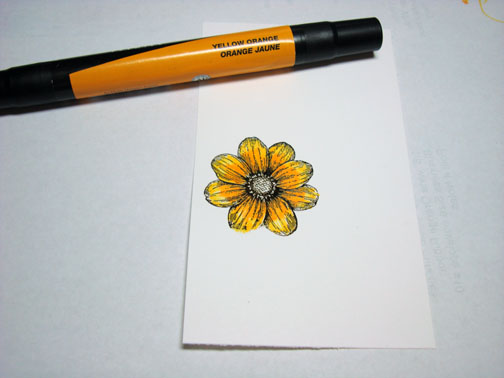
Added some Yellow orange to the inner part of the petals.
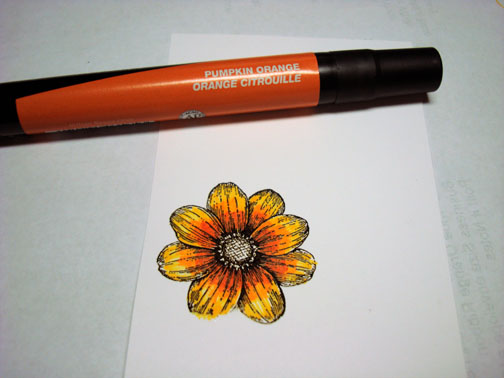
Added some Pumpkin Orange to the very inner part of the petals.
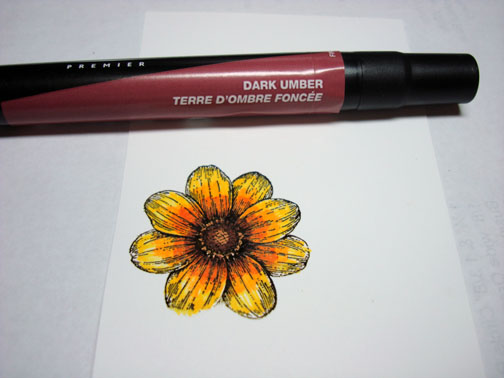
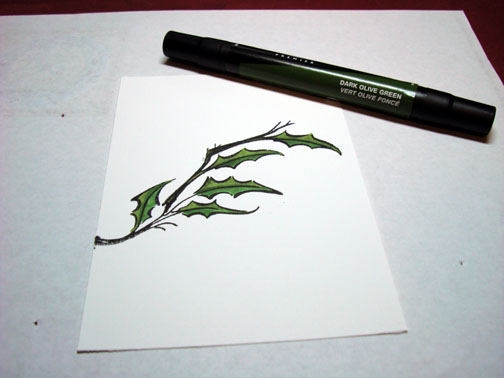
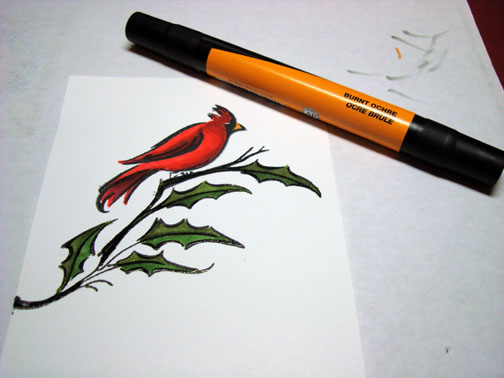
Colored the center in with Sienna Brown.

Added Dark Umber marker to the center of the flower, but left the very center light.
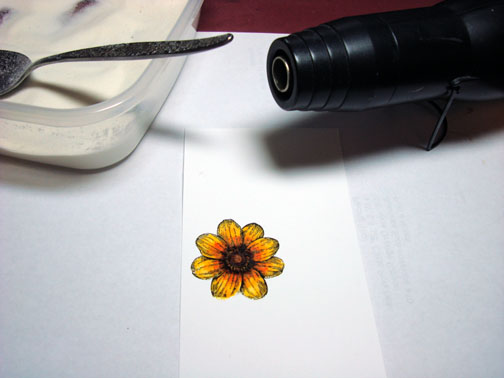
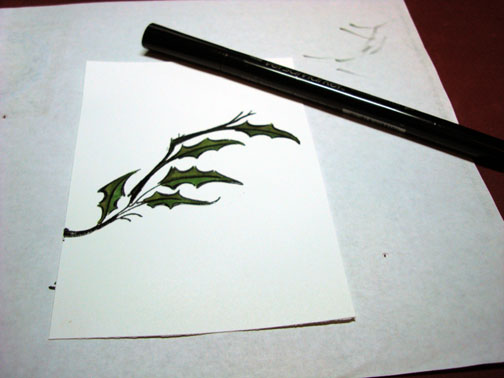
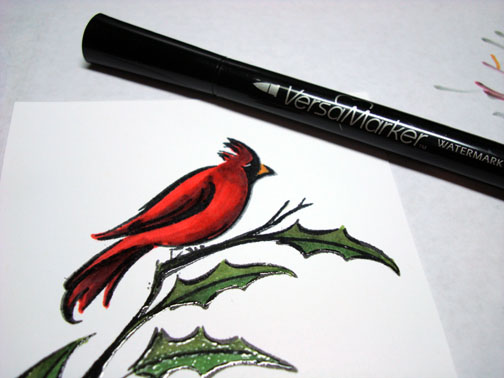
Colored over the flower with Versamark marker and heat embossed the image using clear embossing powder and a heat gun.
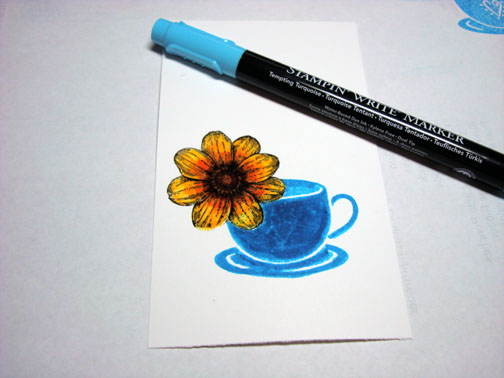
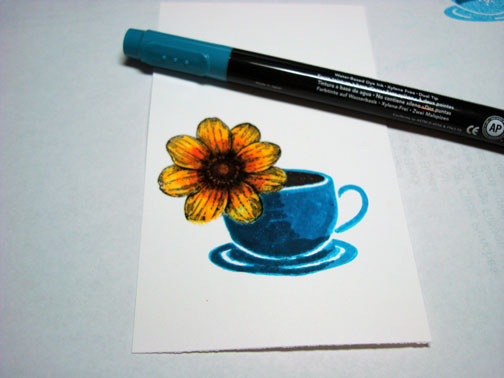
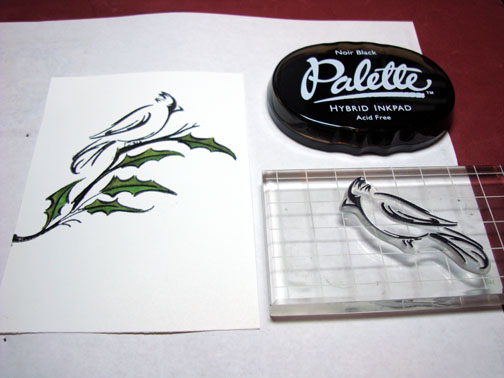
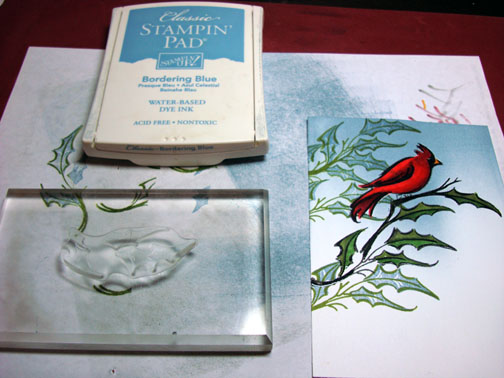
Stamped the cup over part of the flower with Tempting Turquoise ink.

Colored over the entire cup image with a Tempting Turquoise marker to omit the heart design in the cup.
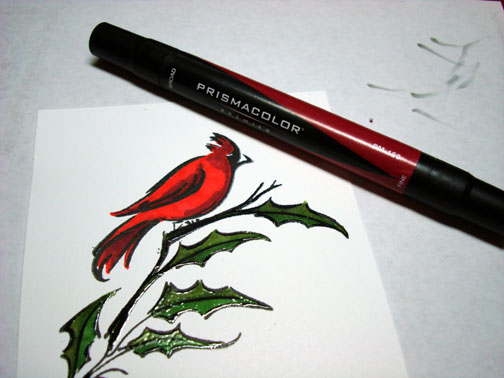
Colored the coffee in with a Chocolate Chip marker.
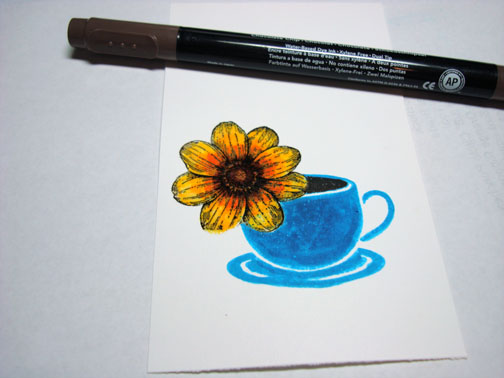
Added Taken with Teal marker to the left side of the cup to create a shadow.
Colored over the entire cup image with a Versamark marker. Note: be careful to start by coloring your light part of the image first and then color over the dark part of the image. The dark part of the image will transfer to your lighter colors if you color from the dark part of the image to the lighter ones.
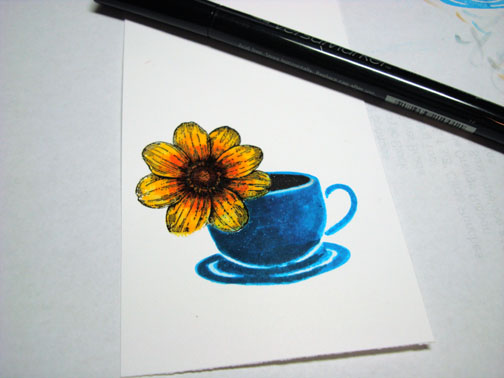
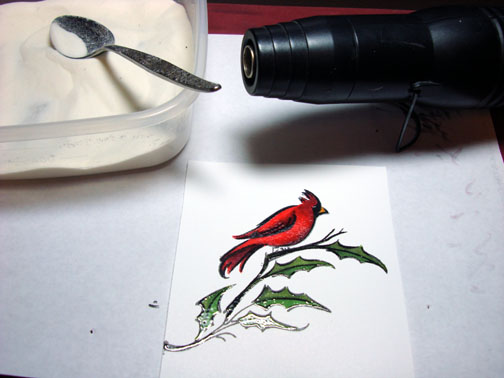
Heat embossed image using clear embossing powder and a heat gun.
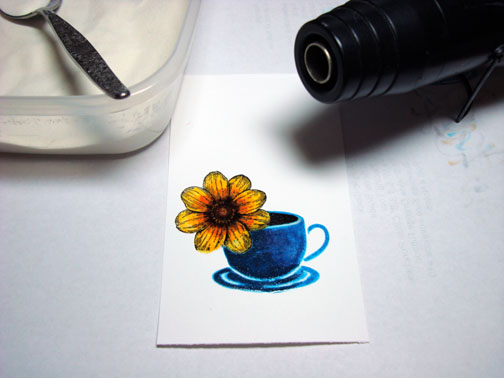
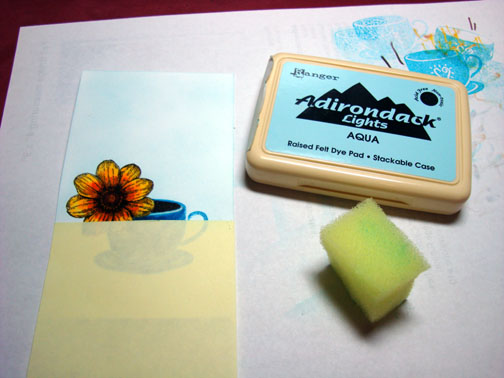
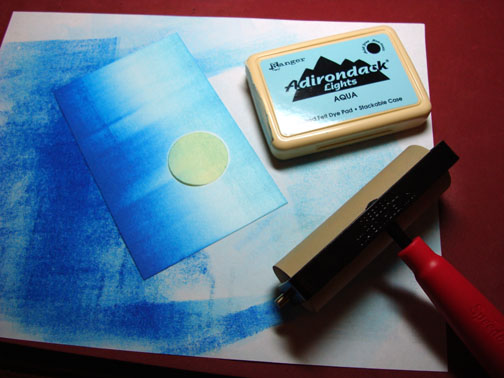
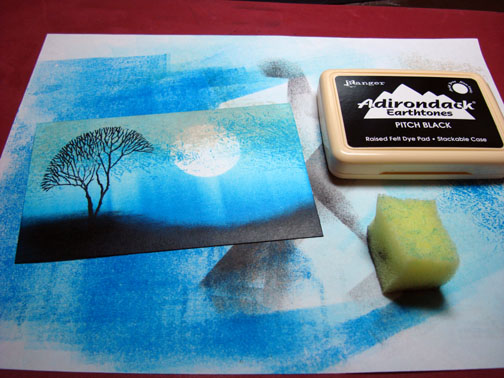
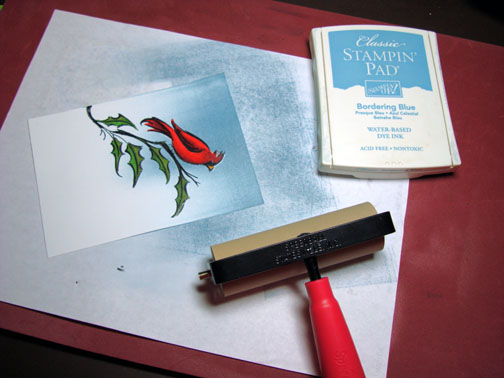
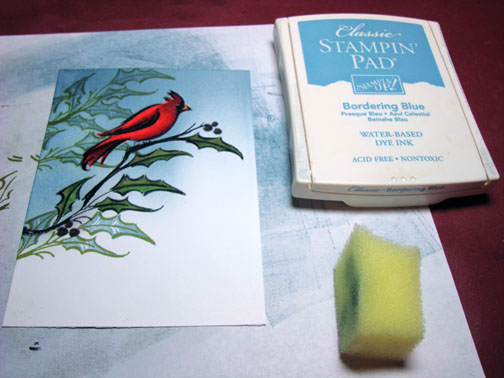
Used a post it note to mask the bottom portion of the card stock.
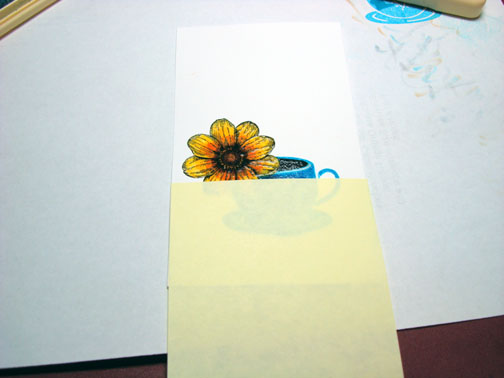
Sponged Aqua ink in the uncover part to create the wall in the background.
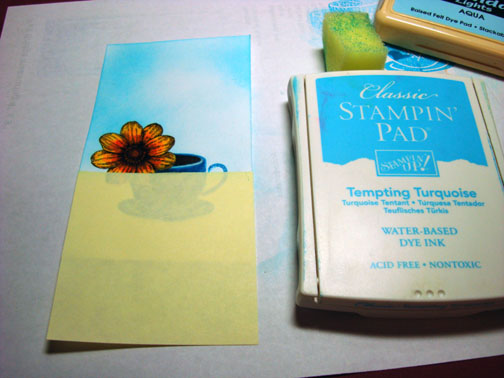
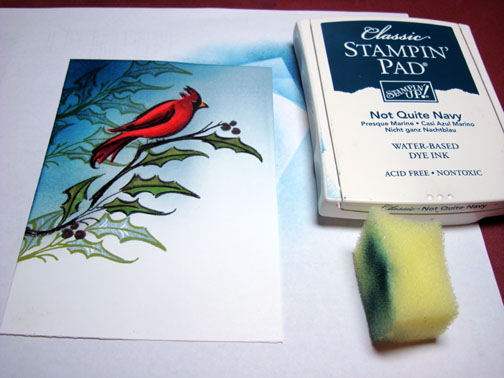
Added some shadow on the wall by sponge Tempting Turquoise ink lightly on the left and top part of the card stock.
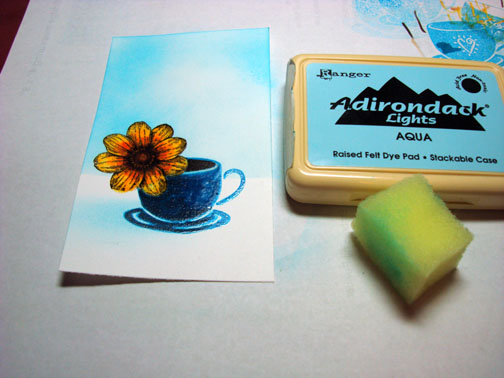
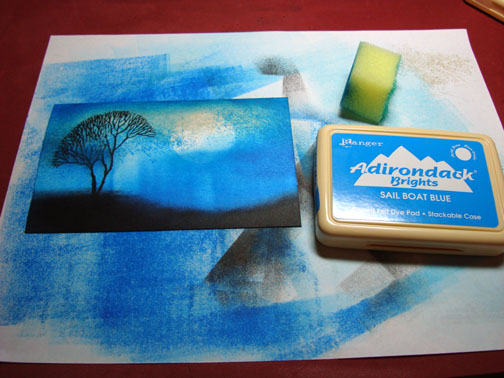
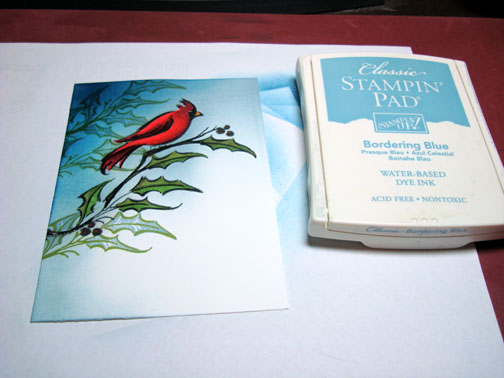
Removed the post it note and added some Aqua ink with a sponge to the left of the coffee cup to create a shadow.
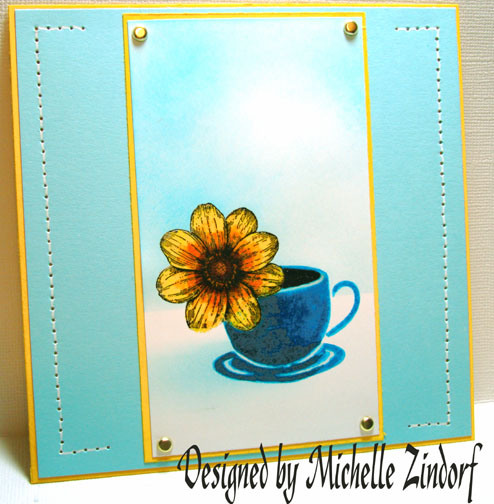
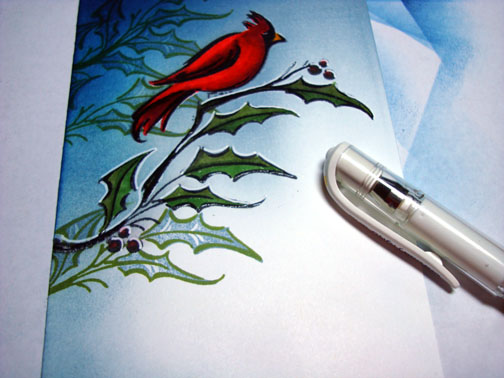
Assembled card fronted and added faux stitching by piercing holes down the left and right sides of the card stock with a push pin and a Tim Holtz Ruler (ruler has piercing holes that run the length of the ruler). Drew a line from one hole to the next with a white gel pen to create the faux stitching.

Here is the card completed measuring 5.5″ square.
May your day start off with your most favorite beverage too.
Until my next post. . . . . . . . . . . .
Hugs,
Michelle
Links to all my tutorials can be found here: https://zindorf.splitcoaststampers.com/tutorials-ive-written/
Here is a link to my workshop calendar if you want to get info on beginner and advanced Brayer workshops: https://zindorf.splitcoaststampers.com/workshop-calendar


