
Hello, hello, hello! I’m in Autumn mode again today and probably will be for a while now. This is my favorite season to stamp.
Today’s tutorial takes a look at the spider in a whole new light. Usually we depict the spider as a scary creature, but I happen to be fond of the spider because he helps keep the bad destructive bugs in check in my garden. This time of year the spiders really get busy and build their webs every where around my yard, home etc. We live together peacefully, most of the time. That is until I walk through one of their web creations, YUCK!
Let’s get started. 🙂
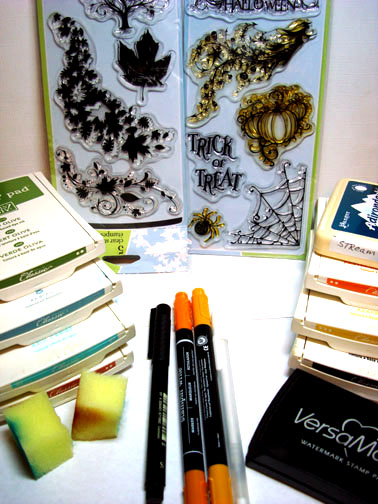
Supplies:
| Stamps: Inkadinkado “All Hallow’s Eve” & “Fall Season” also by Inkadinkado |
| Paper: Stampin’ Up Whisper White, Pumpkin Pie & Taken with Teal |
| Ink: Stampin’ Up Really Rust, Cool Caribbean, Baja Breeze, Old Olive, Basic Black, So Saffron, Pumpkin Pie, Adirondack Stream |
| Accessories: Tim Holtz Ruler, Push Pin, Black fine point marker, Stampin’ Up markers Pumpkin Pie & More Mustard, White Gel Pen, Sponges, Versamark Pad, Fine Detail Clear Embossing Powder, Heat Gun |
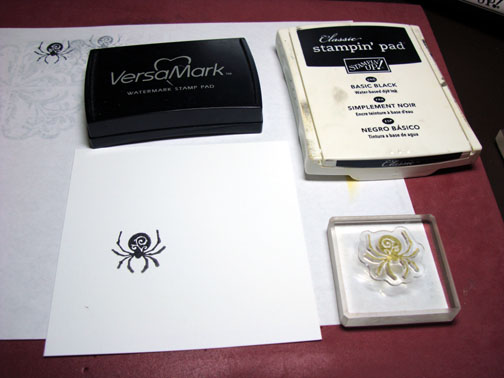
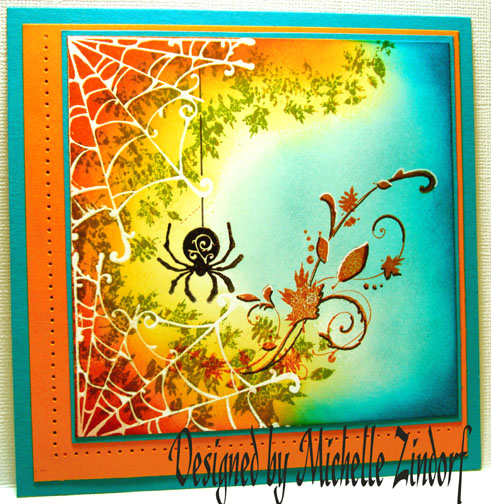
Stamped spider by first loading my stamp with Versamark and then loading it with black ink before stamping it on a 4.5″ x 4.5″ piece of Whisper White card stock.
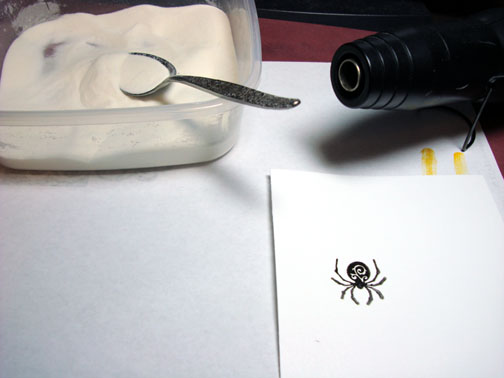
Heat embossed the image with clear embossing powder and a heat gun.
Stamped the Web in two corners of the card stock with Versamark only.
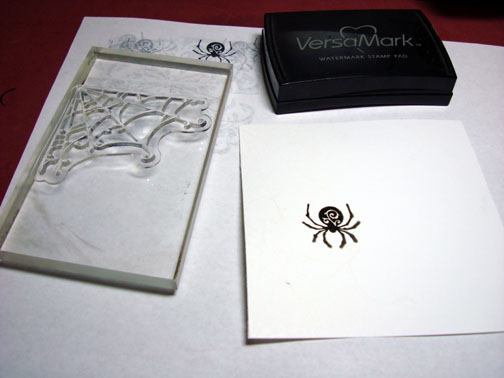
Heat embossed the webs using clear embossing powder and a heat gun.

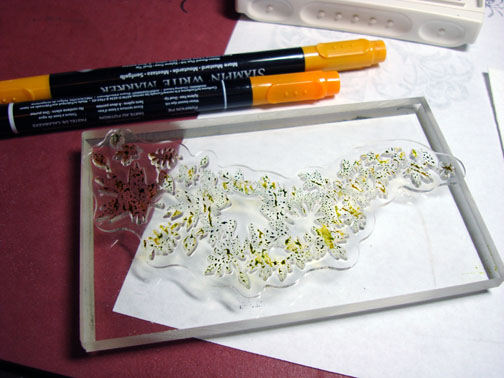
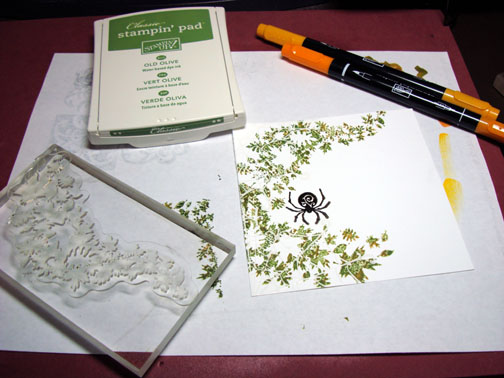
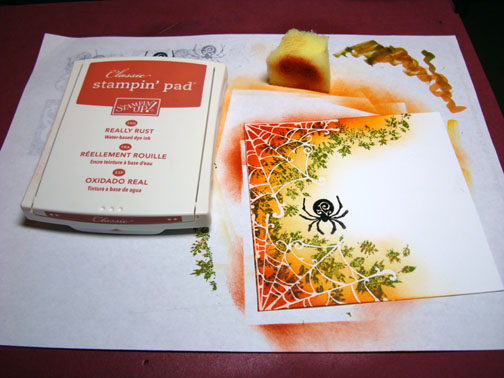
Stamped the leaves by loading the stamp with Old Olive ink and then tapping the paintbrush tip of my More Mustard & Pumpkin Pie markers on the stamp before stamping. This give a variation in color to the image.
Sponged in a circular motion So Saffron ink.
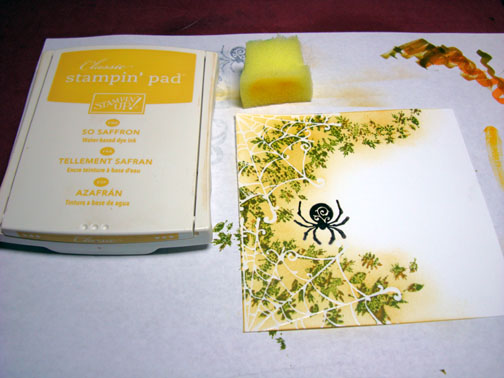
Sponged in a circular motion Pumpkin Pie ink, not covering the So Saffron ink entirely.
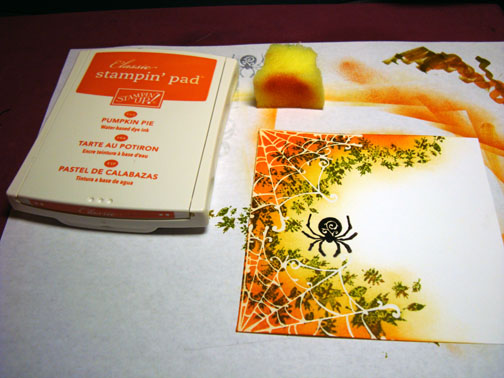
Sponged in a circular motion Really Rust ink, not covering the Pumpkin Pie ink entirely.
Sponged in a circular motion Baja Breeze ink.

Sponged in a circular motion Cool Caribbean ink, not covering the Baja Breeze ink entirely.

Stamped leaf flourish with Really Rust ink.
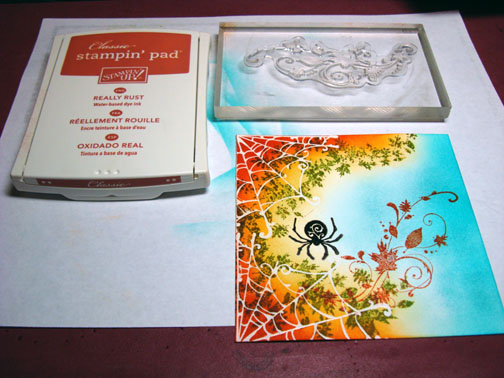
Used a ruler and a fine point black marker to draw the line for the spider.

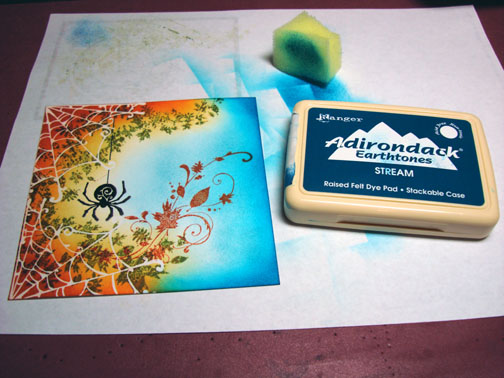
Sponged Stream ink on the right side of the card stock.
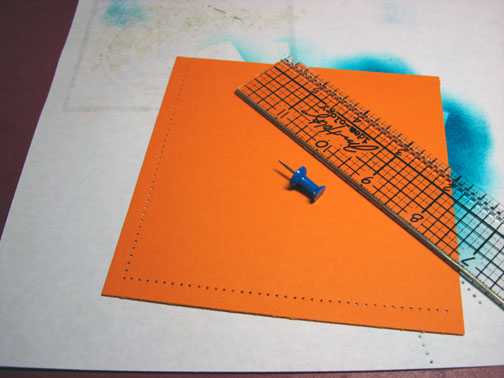
Pierced two sides of a Pumpkin Pie Panel using the Tim Holtz ruler and a push pin.
Note: This is a handy ruler. It has holes in it so you can do your piercing in a straight line.
Assembled the card front and added highlights to some of the flourishes with a white gel pen.

Darkened the bottom side of the leaf flourish with a Black fine line marker to make it stand out more.

Here you have it the finished card measuring 5.5″ square.
I hope this tutorial has inspired you to look at the spider in a new light.
May your day be filled with pleasant breezes and sunshine.
Until my next post. . . . . . . . . . . . .
Hugs,
Michelle
Note: Links to all my tutorials can be found here: https://zindorf.splitcoaststampers.com/tutorials-ive-written/
Here is a link to my workshop calendar if you want to get info on beginner and advanced Brayer workshops: https://zindorf.splitcoaststampers.com/workshop-calendar/
37 responses to “Autumn Spider – Tutorial #119”