
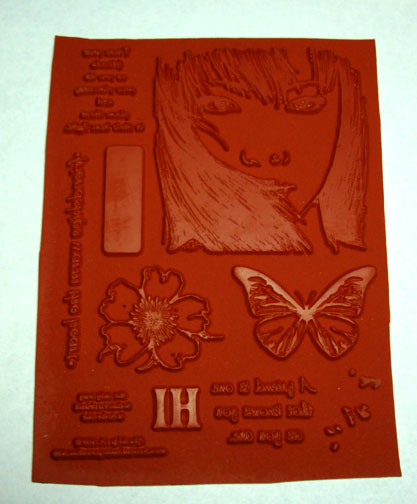
Today’s post will help take some of the mystery out of buying Deeply etch red rubber stamps, such as this sheet from Innovative Stamp Creations “Friendship”.
When you get your stamp sheet it will look like the picture above. I cut mine out and cut them very closely to the design.
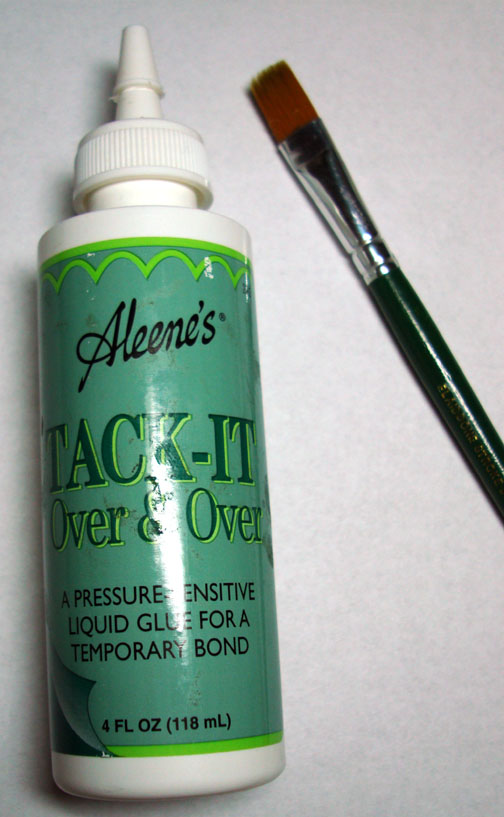
After they are all cut out I paint Aleene’s Tack it over and over on the back sides of the stamps and let dry for about an hour. It doesn’t take much of this glue. The glue goes on white in color but dries clear and is tacky to touch and stays that way. The tackiness lets you stick the stamp to your acrylic block over and over.
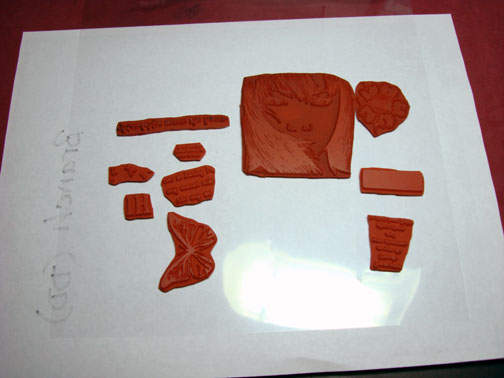
Next, I stick the stamps to a clear transparency sheet.
I put the transparency sheet with the stamps on it and the index sheet that came with the stamps in a large plastic store bag. I write the name on the top of the bag with a
Sharpie Marker.
Note: A copy of the index sheet also goes in my stamp binder for easy viewing and selection.
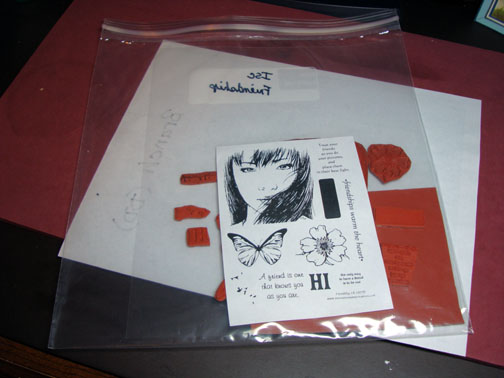
The Baggie then gets stored away standing up right in a box, sorted by manufacturer. It is very easy to look through them to find what I need. They also take very little room to store, love it!
I found that no foam pad is necessary with these good quality, deeply etched red rubber stamps to get a good stamped image.
Here is the link to Innovative Stamp Creations store: https://www.innovativestampcreations.com/ischomepage.html
There are definitely a million ways to store stamps out there. I just wanted to share my storage and prep solution with you. Hope this took a little of the mystery out of buying red rubber stamp sheets.
May your day be filled with good impressions!
Until my next post. . . . . . . .
Hugs,
Michelle
Pingback: » Cutting Up!