
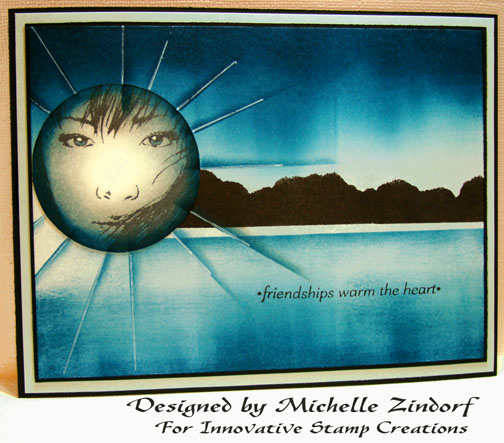
I created this card using the sketch challenge on Innovative Stamp Creations’ site and the Innovation Stamp Creations set Friendship. Here are the details for the challenge.
WIN a FREE ISC Stamp Sheet of your choice!
Super easy, use ISC stamps only on your design, then post your link in the comments section on the Innovative Stamp CreationsBlog
A random name will be chosen and announced on the blog!
Ends: 6/29/08 (c6)
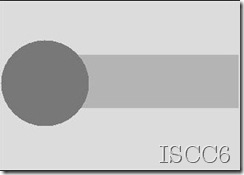
Let’s get started on the tutorial. 🙂
Supplies:
| Stamps: Innovative Stamp Creations – Friendship |
| Paper: SU Whisper White, Basic Black, Soft Sky |
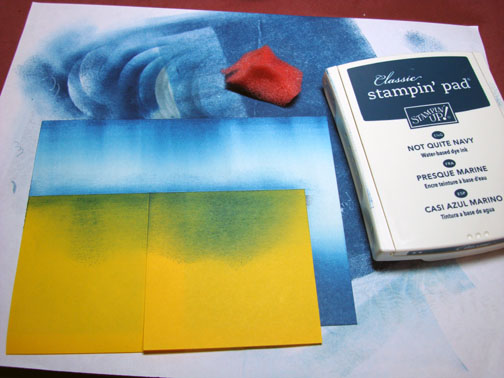
| Ink: SU Soft Sky, Not Quite Navy, Basic Black, Palette Noir Black |
| Accessories: Bordering Blue marker, White Gel Pen, Coluzzle Circle Template, Ruler, Post it notes, Sponges, Brayer, Stamp-a-ma-jig |

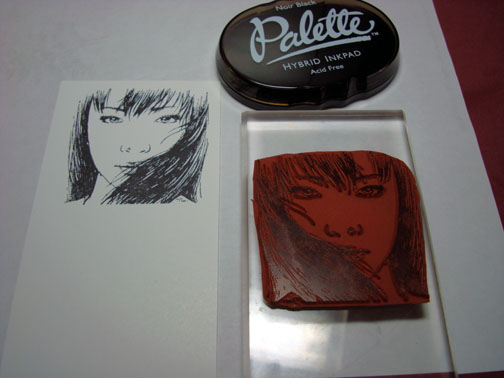
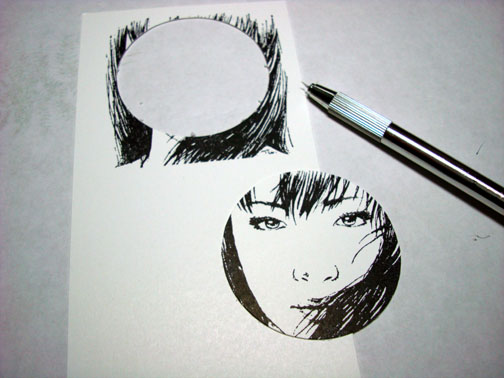
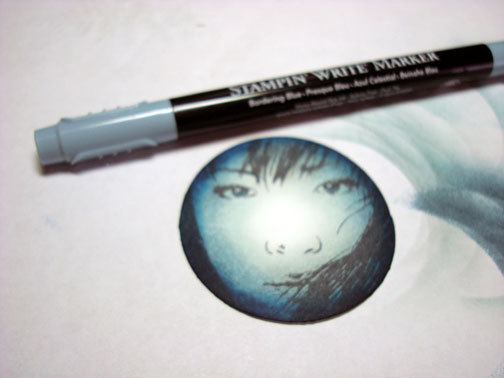
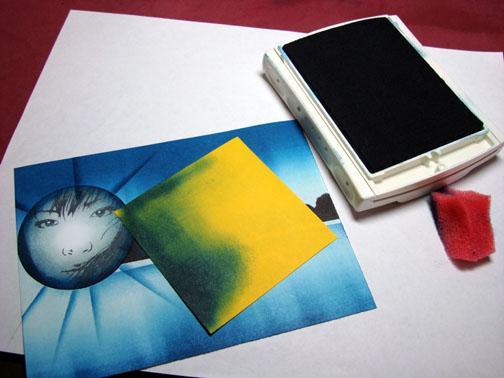
Stamped face image on Whisper White card stock using Palette Noir black ink.
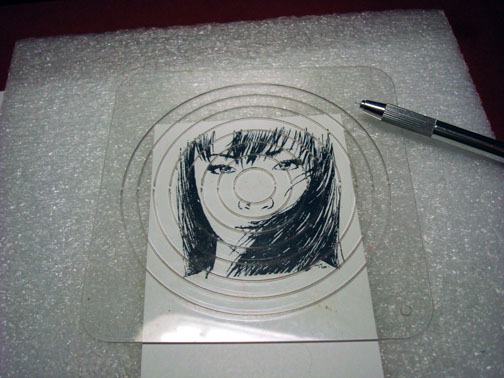
Cut the image in a circle using a circle Coluzzle template.
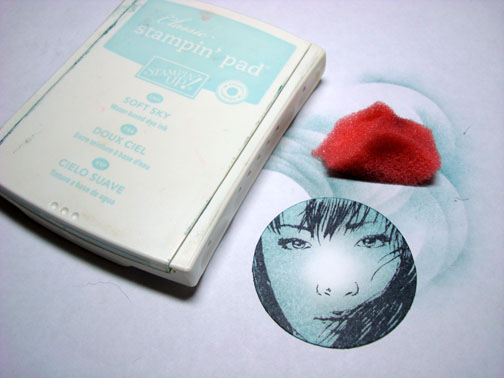
Sponge Soft Sky ink on the image using a circular motion and leaving a light area in the middle of the image.
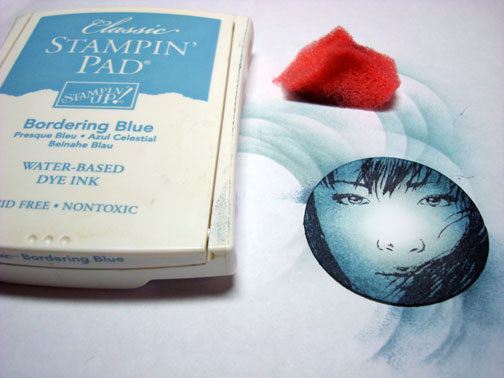
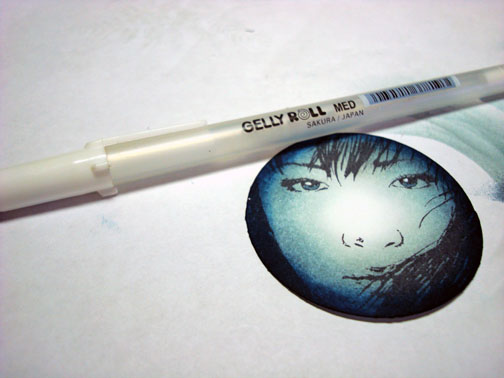
Sponge Bordering Blue ink on the image, not covering the Soft Sky ink entirely.
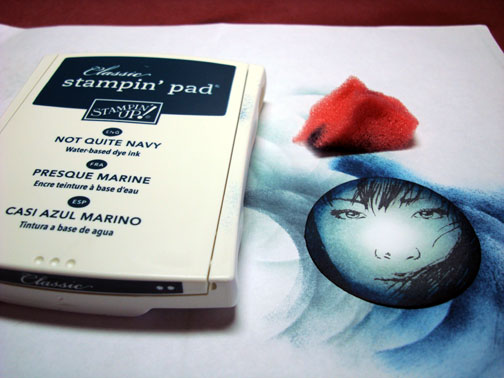
Sponge Not Quite Navy ink around the edge of the image.
Colored the eyes with a Bordering Blue marker.
Colored the highlight in the eye with a White Gel Pen.
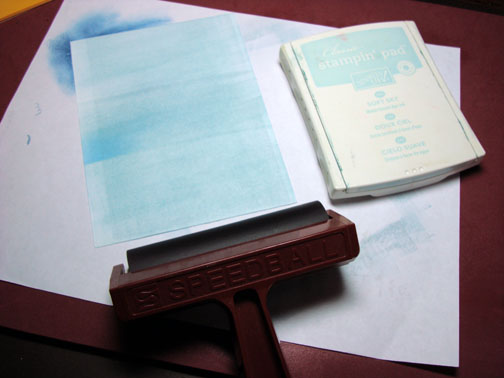
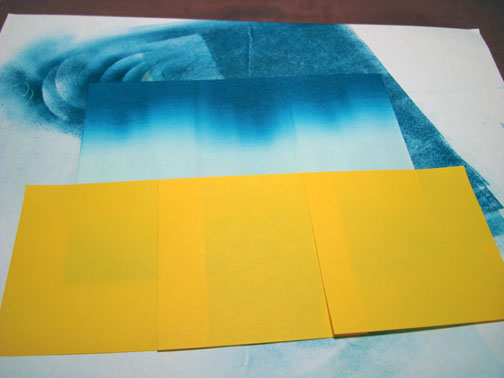
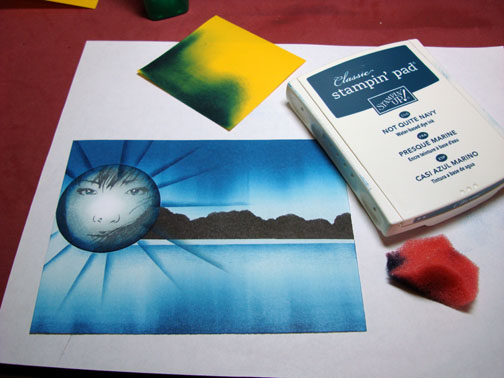
Background panel: Brayered Soft Sky ink on Whisper White card stock.
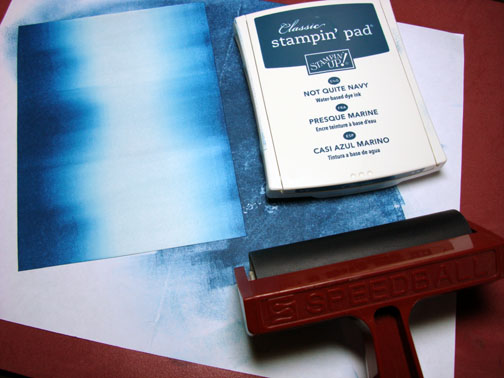
Brayered Not Quite Navy Ink on the top and bottom of the card stock, leaving the Soft Sky ink showing in the middle.
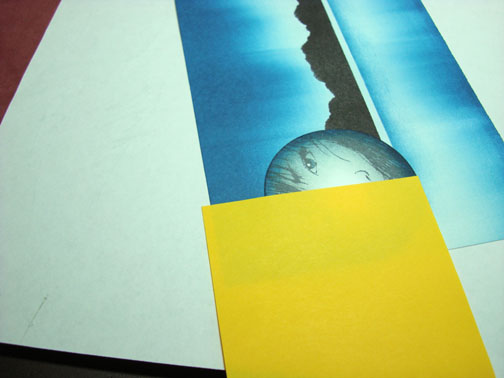
Covered the bottom of the card stock with post it notes to mask it.
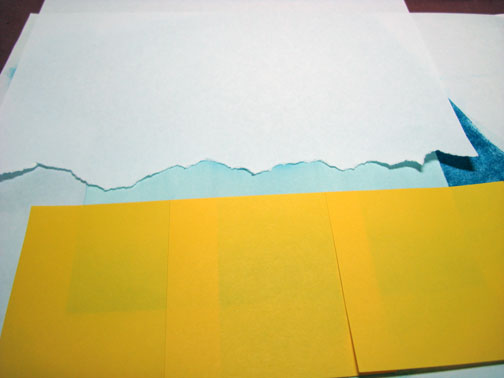
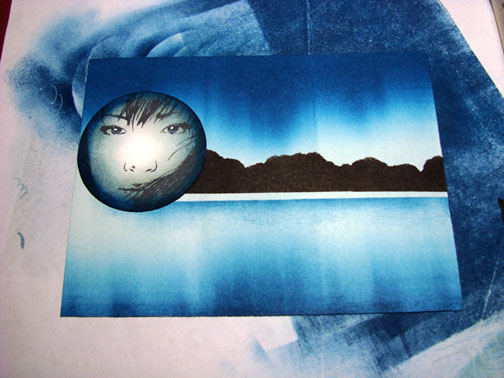
Ripped a Jagged edge in a piece of scrap paper to use to mask the top of the card stock and to create a mountain image.
Holding the scrap paper mask in place, sponged black ink in the unmasked area.
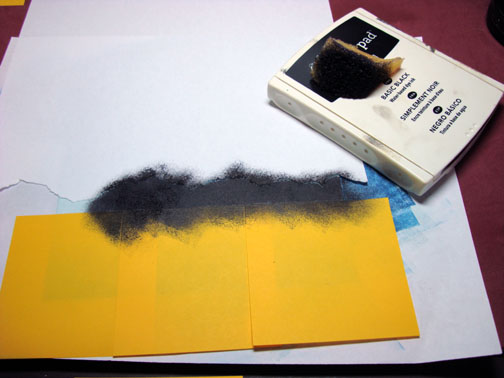
Removed both masks.
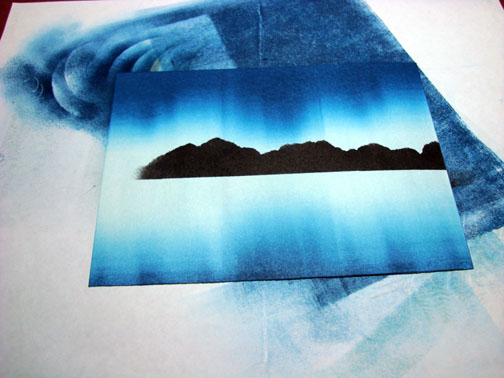
Turned card stock upside down and put post it notes on to mask a little bit of the card stock under the mountains to create a beach. Sponged Not Quite Navy ink right at the edge of the post it notes using a swiping motion from right to left. This creates the look of water.
Removed mask and adhered friendship image to the background.
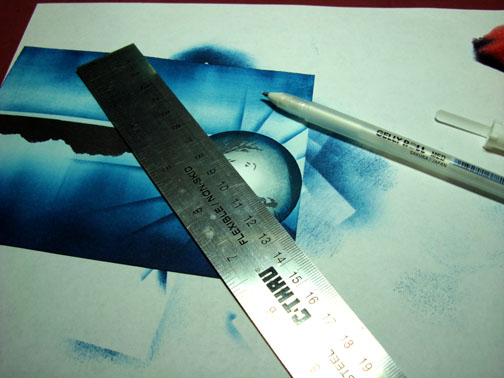
Using yet another post it note, I placed it on the card stock and sponged Not Quite ink at the edge of it to create rays of light. Moving the post it note and sponging ink over and over again until I went completely around the image.
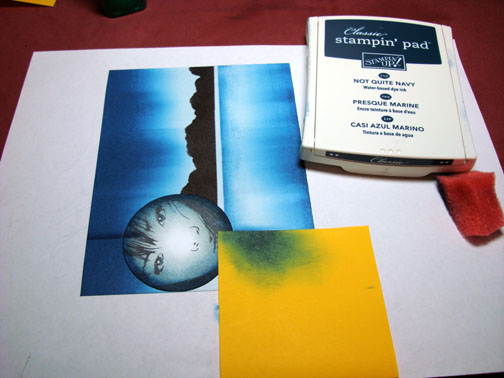
Using a ruler, added a line of White gel pen on each Not Quite Navy light ray.
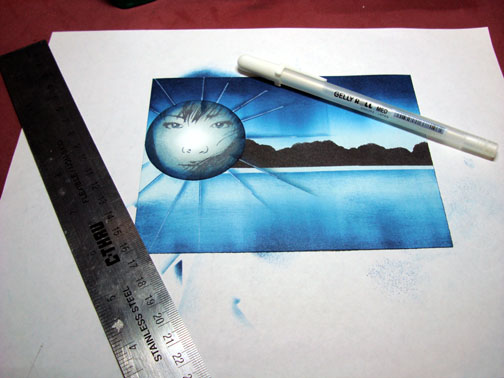
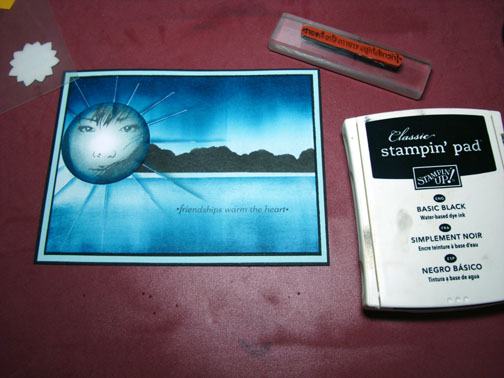
Assembled card and using a Stamp-a-ma-jig, stamped sentiment with black ink.
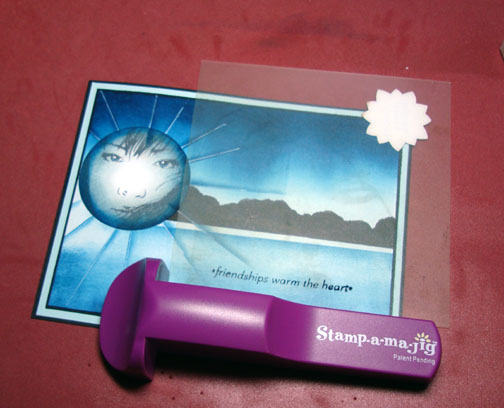
Here is the finished card, measuring 5″ x 6.5″.
Hope you enjoyed this tutorial and will try putting rays of light on one of your projects. 🙂
One more thing before I wrap things up today. We have a winner for the Basic Grey stamp set! Note: I ended up using a random number generator, because my husband thought it too much pressure to pick a number when there were over 400 entries and he didn’t want to make any one upset, lol. Such a sweetie that man of mine is! Drum roll please.. . . .. . . . . . .
It is comment 198
Karen, who wrote:
“Thanks for your wonderful tutorials- I have learned so much from you! And it seems I have the insidious CRS as well!
It’s so generous of you that you’d put out this blog candy as well as share your secrets- thank you!”
Karen I will be e-mailing you for your address. 🙂
A big thank you to everyone that played along. All of your comments were heart warming and some very funny. Stampers are the best people!
May your day be filled with sunshine.
Until my next post. . . . . .
Michelle
31 responses to “ISC Warm the Heart – Tutorial”